Week 3 Reading Response

Creative Reading Response:

I began the reading assuming I knew how to ‘define’ interactivity, however, as the author started giving counter examples of what’s not interactive, like the fridge and the books, I began to reflect on whether I really ‘know’ how to define interactivity or do I just recognize interactivity, because knowing is very different from recognizing; the former is active and genuine understanding and the latter is passive and intuitive/ shallow understanding. Throughout the text, I was just in this cycle between contemplation and realization.

On one hand, I strongly resonated with Crawford’s metaphor of interactivity as a ‘conversation’ between the user and computer, because indeed, that’s the traits I find in successful interactive art works; the art ‘speaks’ to you, ‘listens’ to your reaction, process them and then in response, speak to you again. However, on the other hand, when he began talking about user-interface designers and graphic designers, I grew confused and began to question what he meant by integrating “form with function”. I thought of it in 2 ways: first, the shallow way, in which by function he means literal computer function where the “thinking” is supposed to happen, like in AI; second, perhaps he means every ‘form’/ ‘visual design’ is supposed to be functional in a way that contributes to the interaction. Both ways of thinking feel a bit weird, in the sense that I don’t know if artworks should ‘think’, but perhaps he wasn’t talking about art works, and I just automatically assumed so because of my experiences with art works. It would make a lot more sense if he addressed, perhaps designers, than artists, but again, artists can be designers. Overall, I think I learned a lot in terms of expanding my view on the topic of interactivity and what it really means to make my works interactive, whether as a designer or an artist.

Assignment #3 OOP

Concept:

When I first thought of art works based on class and object oriented programming, I thought of algorithmic drawings of trees, which I found very interesting and pretty, thus, I decided to base my work on nature, and specifically trees. I made the work to be interactive where the user can “build” a forest with trees of varied heights depending on where they press their mouse and also random colors of green so the forest doesn’t look like one whole block of green, and has more depth and layers. 

Highlight of codes I’m proud of:

I’m really proud of the tree class, especially the specific values of the circles, where each shifts a little based on the trunk’s center. I’m also very happy about the height manipulation where mouseY is used to determine the height of the tree!

class Tree{

  /* using the same x, and different y for the trunk 
  and the size for the tree bush and colors so i can change colors */
  constructor(x, startY, endY, size, colors){
    this.x = x;
    this.startY = startY;
    this.endY = endY;
    this.size = size;
    this.colors = colors; 
  }
  /* using the variables and slight value changes to 
  draw the trunk and circles */
  show(){
    strokeWeight(40);
    stroke('#804242');
  line(this.x,this.startY,this.x,this.endY);
    noStroke();
    fill(this.colors);
    circle(this.x+30,this.endY, this.size);
    circle(this.x+30, this.endY+50, this.size);
    circle(this.x-30, this.endY+50, this.size);
    circle(this.x-20, this.endY-10, this.size);
  }
  
}

Embedded sketch

How Was This Made

I first gained my momentum by laying out the bush class because it was relatively easier in shapes and positioning. I first created the class and all the parameters that’s needed and then tested out the show() method by giving them values on the sketch page and after tweaking the coordinates and it all, I translated the value relationship (the coordinates between each shape) back into variables in the class. 

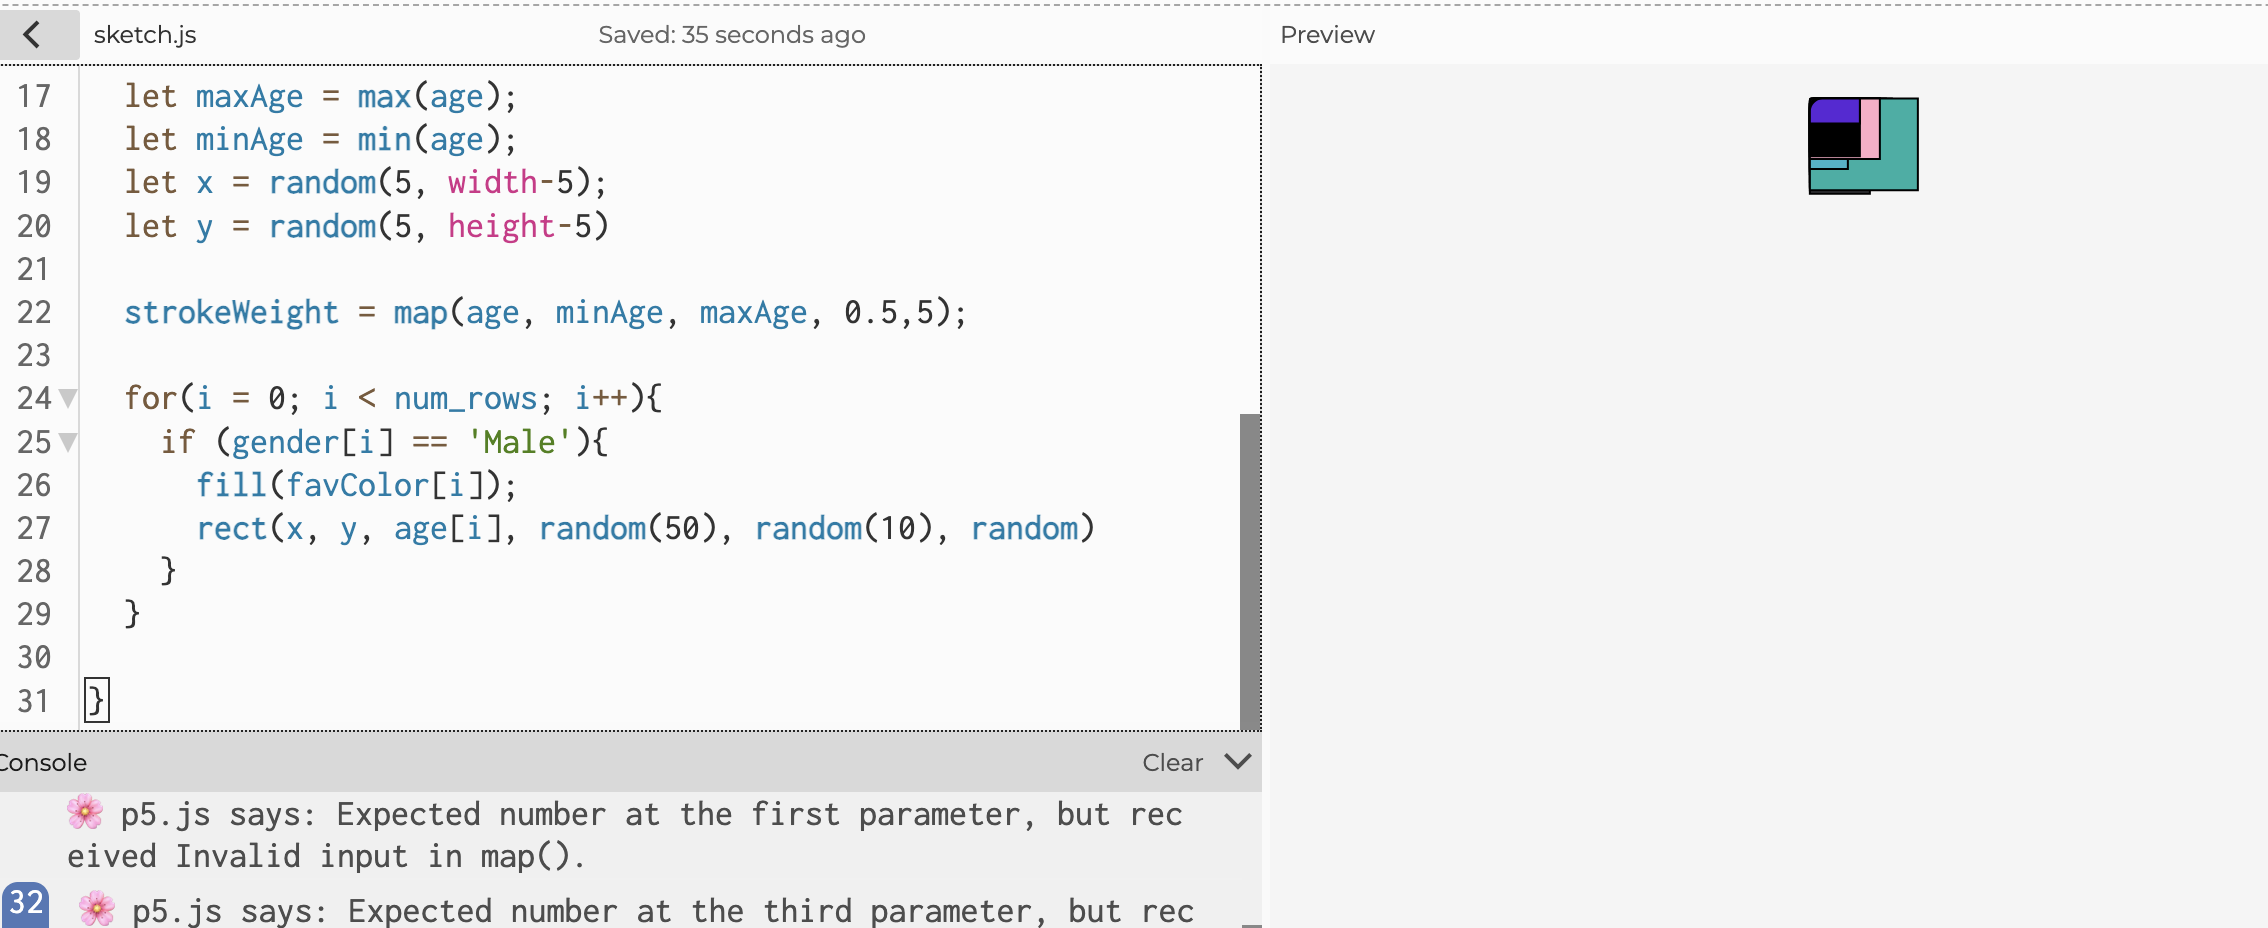
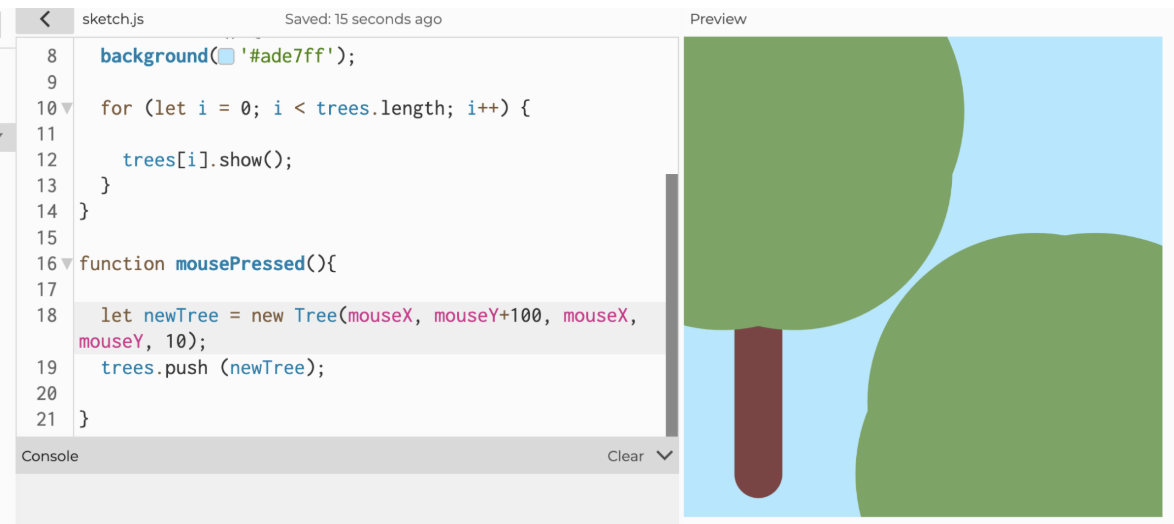
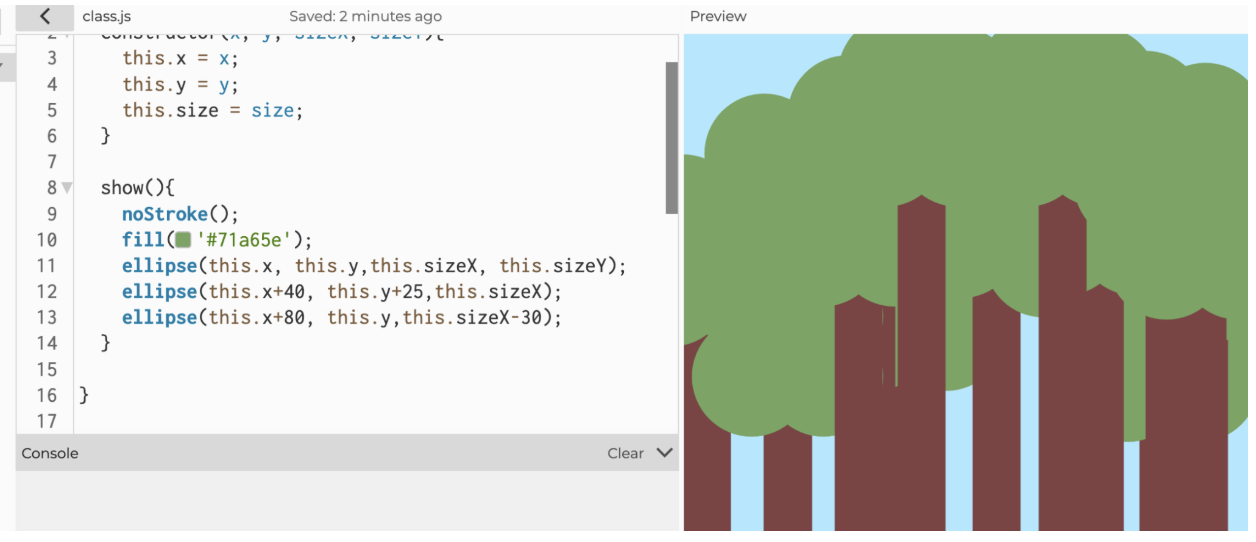
With that experience, I did the same with the trees class where I laid out possible parameters first and then tested them out in the sketch and refined them after testing. For instance, during the testing, I realized that there wasn’t a need to include an endX parameter because the x coordinate for the tree doesn’t move; the trunk’s x coordinate stays the same and the leaf clusters are based on the trunk’s coordinates. Therefore, I removed that parameter and updated the class. Then I started working on the responsive height feature where when the user presses on the screen, the coordinate of the mouse will be used as the height for the tree. To implement this, I relied on the p5js reference library to check on the mousePressed() function. After I placed in all the values, I tried to run it but ran into some confusing problems, which turns out is because of the parameter editing I did previously; I forgot there were only 4 parameters and I entered 5, which then caused the following error where leafs got way too big:

Entered mouseX as a parameter twice because I forgot I removed the “endX” from parameter, therefore mouseX got entered as the “size” value. 

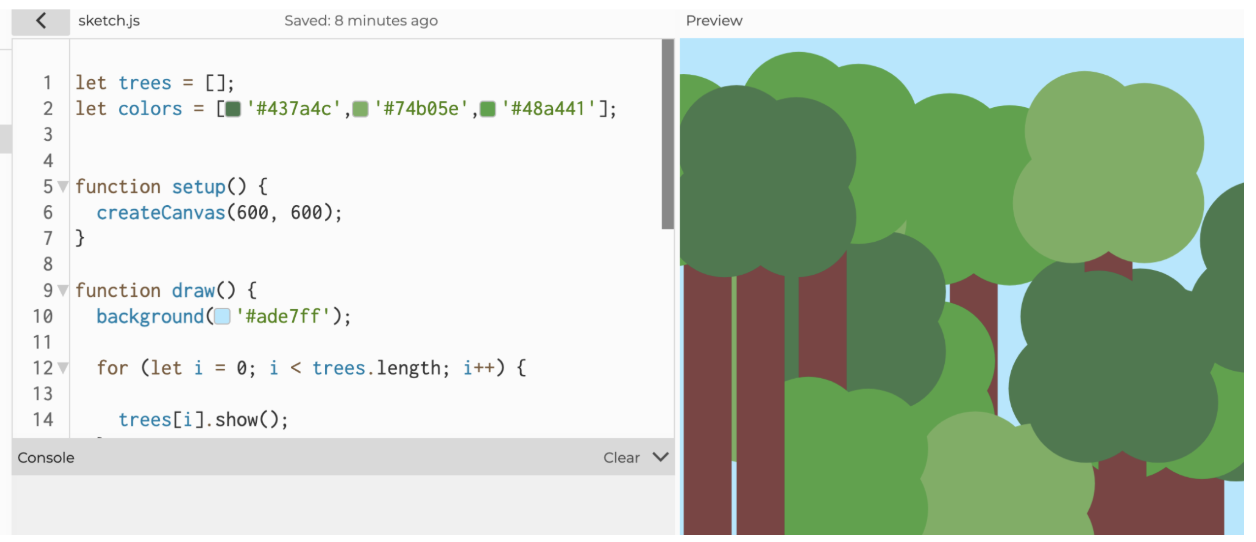
After fixing that I was pretty done with the technical aspects, but as I furthered my “experiment”, I realized that as the user grow more and more trees, the trees start blending into one another because of the lack of borders and same colors. To solve that I tried adding back the strokes, but they didn’t look good, so instead I decided to give the trees random colors by using an array.

Before: Trees blended with each other because too many overlapping of same color

After:

Lastly, I instantiated the bush class and switched the order of drawing so that the bushes are drawn after the trees and stays on top of them. 

Reflection for future work/ improvements: 

I hope to learn more complex features that allow me to expand the forest and allow me to play with more “details”. Also, I should keep track of the classes and their parameters so I don’t make the same mistakes when the parameters increase.

Assignment #2 loops

Concept:

When I began brainstorming for the assignment, I first thought of words like “life”, “loop”, and “infinity”. So I really wanted to do something that represents the repetition of daily life in the short run but also the uniqueness in our path in the long run.

To me, some days just seem like a loop that passes by in the blink of an eye, leaving me with nothing. However, that’s not true and I’m just too accustomed to life in the short run. As I grew, I realized that many of the valuable things I acquired in this stage of my life are due to those “looping” days I found meaningless before, thus I wanted to create an artwork that would display different “courses of life”, where each shape represents someone. I also incorporated many elements of randomness to reflect on what I believe to be life—unknown starting line, unknown direction, and unknown endings.

Highlight of code I’m proud of:

I’m particularly proud of this section where I struggled a lot before finally figuring out. After I figured out this part, all the rest were downhill.

//rectangle
  for(let rep = 0; rep < 2; rep+=1){
    fill('#2fb63f')
    noStroke();
    rect(x1,y1,random(1,50), random(1,50));
    x1+=random(1,10);
    y1+=random(1,10);
}

The reason I struggled so much at first is because I couldn’t wrap my head around the fact that draw() function is in of itself a loop, which is why my for loop never “ended”, when, in fact, it did, but the draw function just kept on calling it, creating “nonstop” loops. After I realized what was happening, I stopped being stubborn and played along: using the for loop as a manipulation for how many shapes I want to draw per call, indirectly manipulating the speed for each shape’s path, which again plays into the idea of “life”.

Embedded sketch


How Was This Made:

I started the work by brainstorming a general idea I wanted my artwork to convey, which was a display of different “life” paths in this case. After I settled the shapes and concepts, I began experimenting with the loops and values.

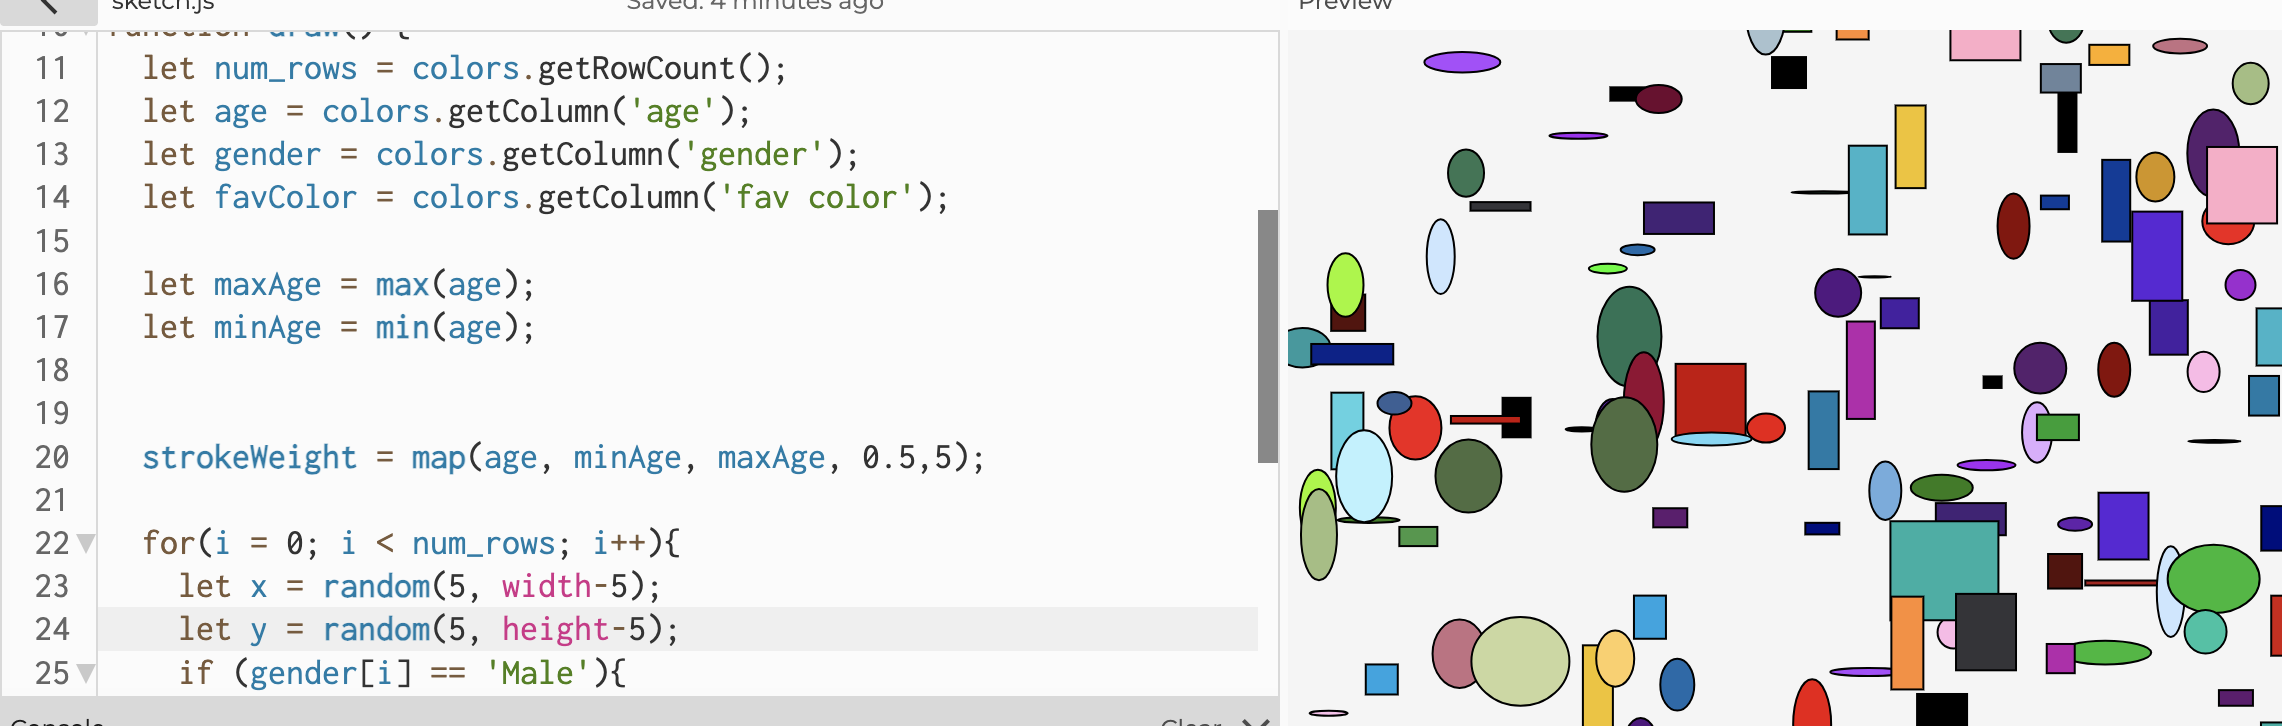
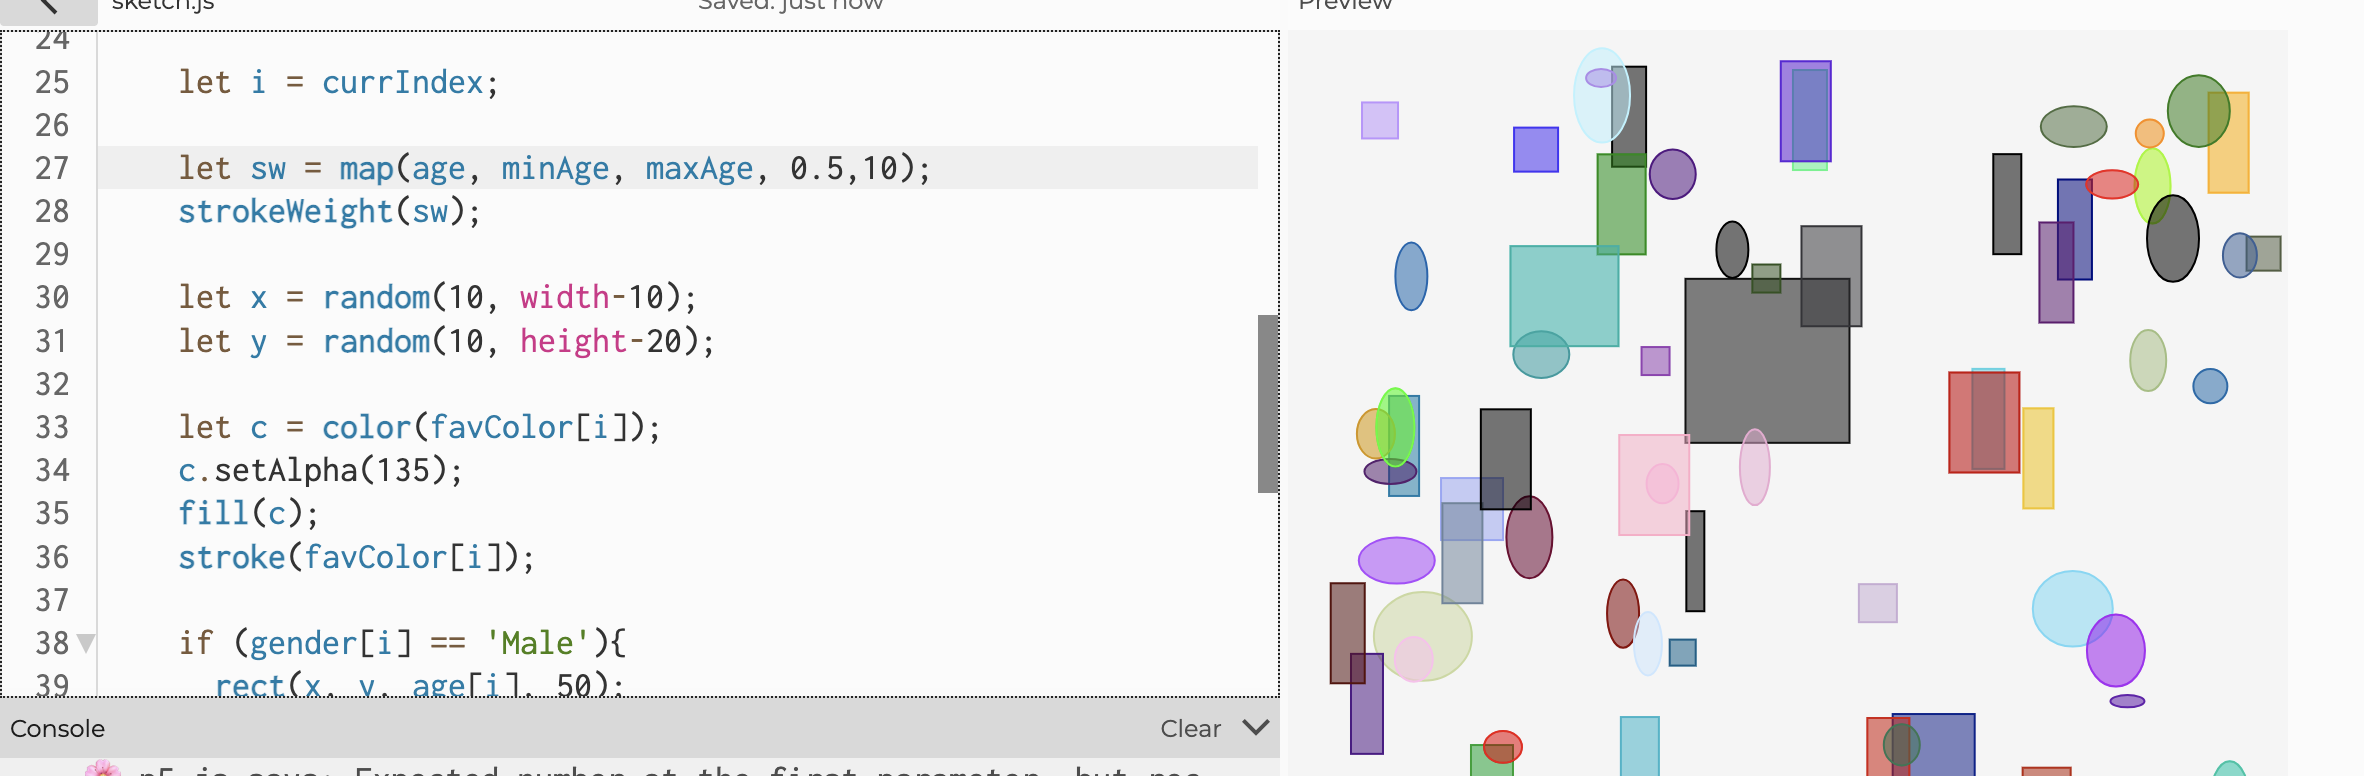
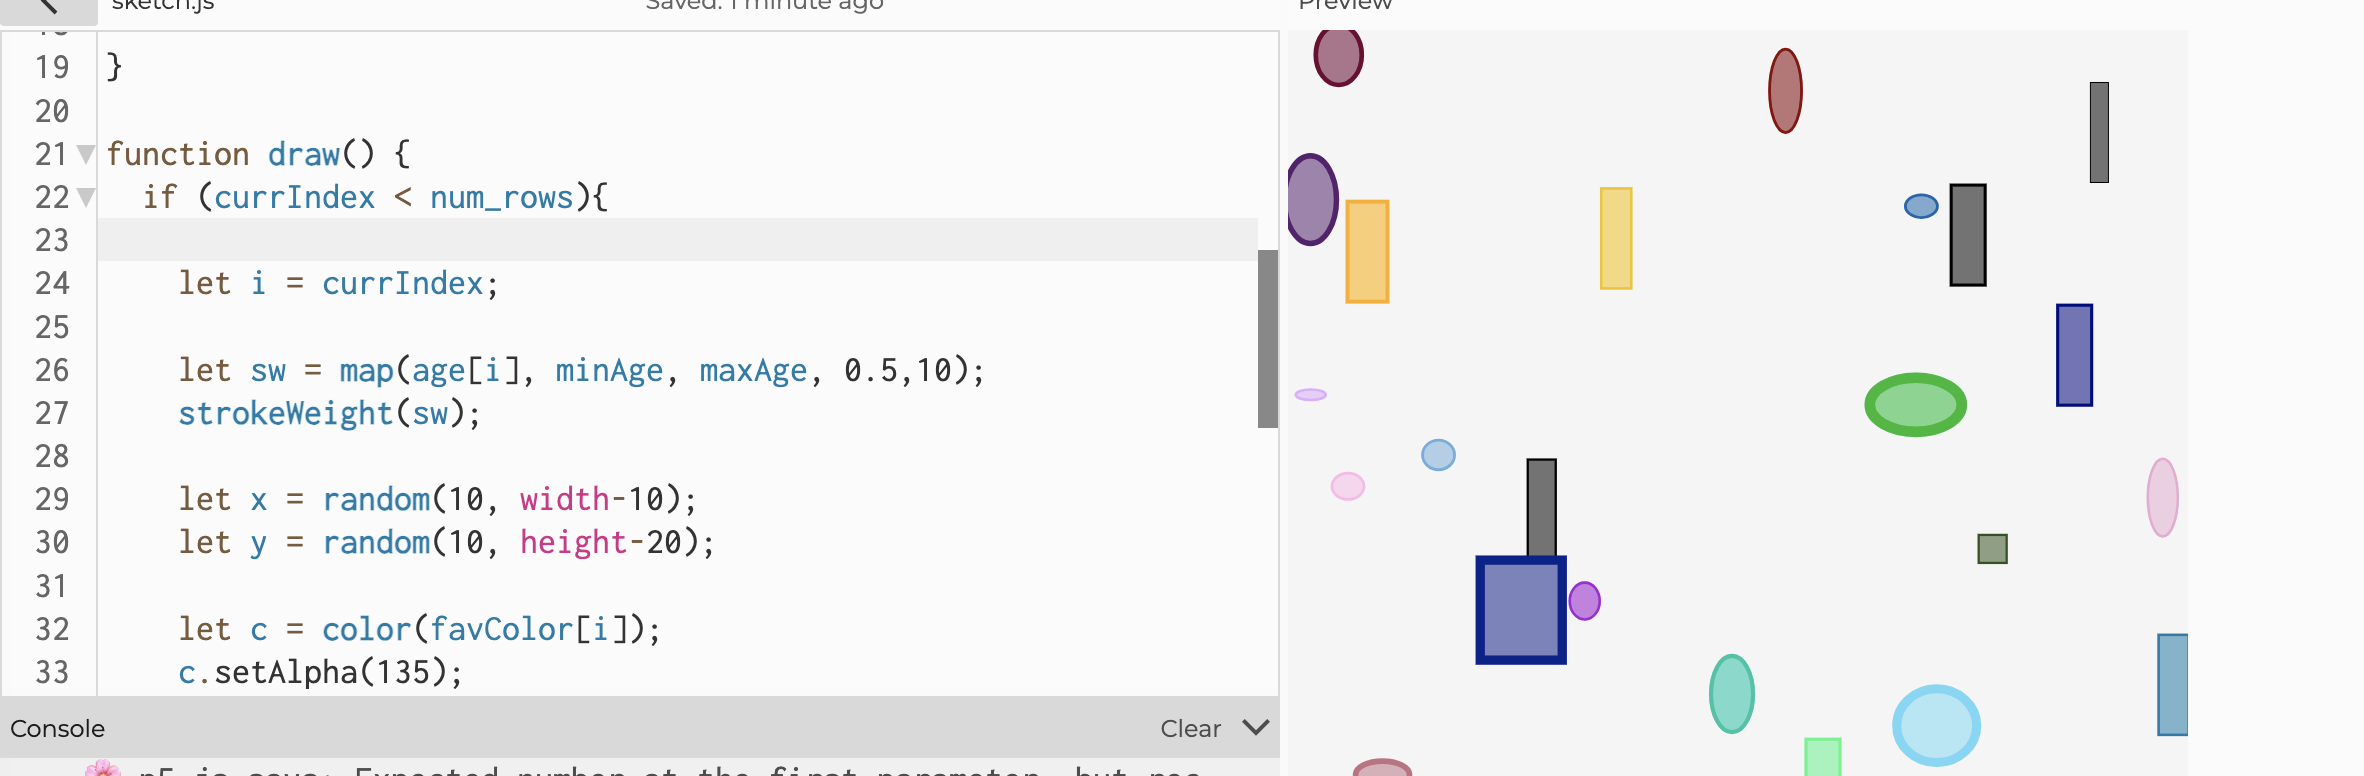
At first, I wasn’t aware of the role that the draw() function played in “continuing” the loops I wrote and kept on triggering infinite loops. However, as I proceeded with my experiments—trying all the ways that “might” work–I finally realized there wasn’t something I could change like in other computer programs I’ve done before, because it was just how draw() worked. Then I began to think how I could put for/while loops in this “loop”, and ended up observing the shapes in different frame rates to see when my loop “stops”, which led me to realize that the condition I put in for loops determines how many shapes are drawn in each frame.

I then decided I could use the for loop as a way of manipulating the speed and direction of each shape’s path and let draw to continue the looping of the for loop.

I also heavily relied on the p5js reference library during the process.

Reflection and future improvements:

I wish I could rest better before engaging in experiments and work because I think a big part of my struggle in this assignment stemmed from mental fatigue which made me unable to think clearly.


Creative Reading Response:

Two things I found really interesting in this video were the different inspirations that led to many of the art works, as well as the part in 29:40 where Casey Rea talks about how he would “coax” the program of randomness to display effects he liked. Both cases expanded my perspective on both the concept of randomness and “art” in general. An example of the first case was when Casey mentioned how one of his works was inspired by cell communication, which was really fascinating to me in the sense that I never knew “communications” can manifest as visual trails, let alone as colors and artworks. This made me reflect on my perception of the world and how shallow I am in my knowledge of art. Then Casey Rea displayed another work of his towards the end of the video and mentioned how he’d slightly manipulate the code so that the randomness remains but also displays different effects he wanted. This made me question what true randomness is. Conventional definition of randomness is something unexpected, uncontrolled, and obeying “chance”, however in this case, Casey Rea is saying he can “control” and “expect” the outcomes while allowing the smaller component of the work maintain “randomness”. Is the mix of randomness in micro level and control on the macro level really considered randomness? Or is randomness always entirely “independent”? Or are we still able to call an art work a work of “chance” if it’s a mix of both? I think I will be holding these questions while I continue to explore art.

Week #1 self_portrait

Concept

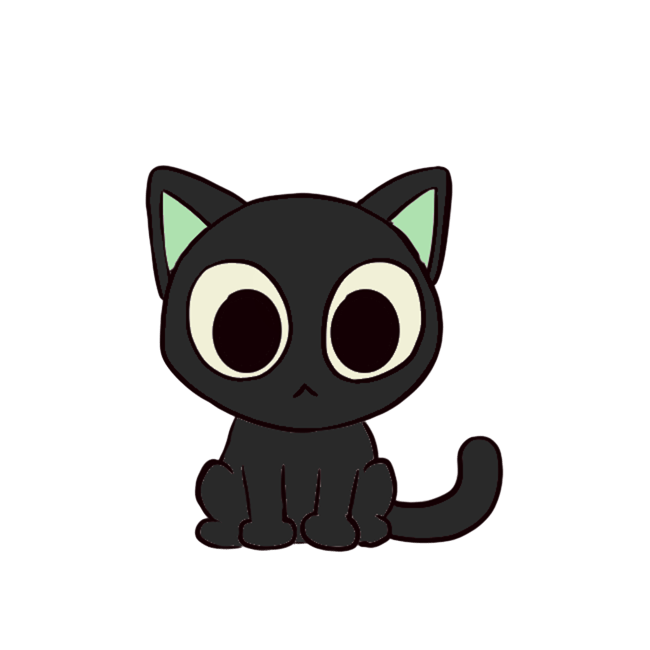
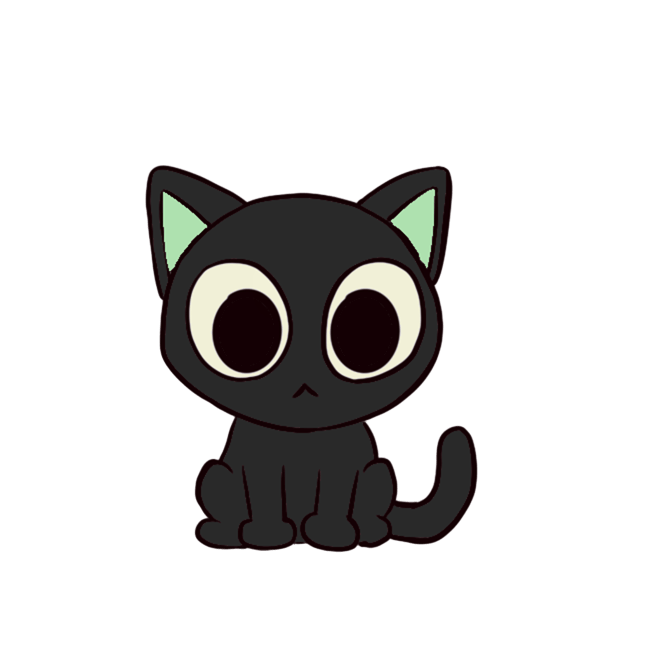
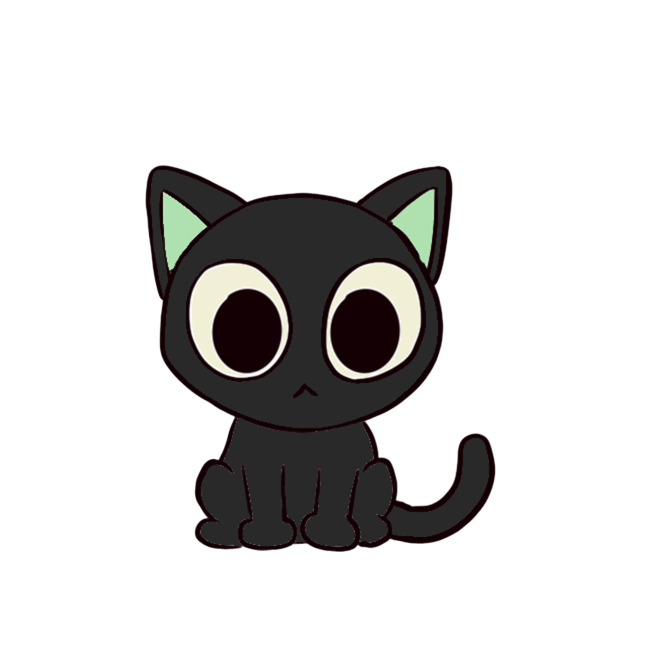
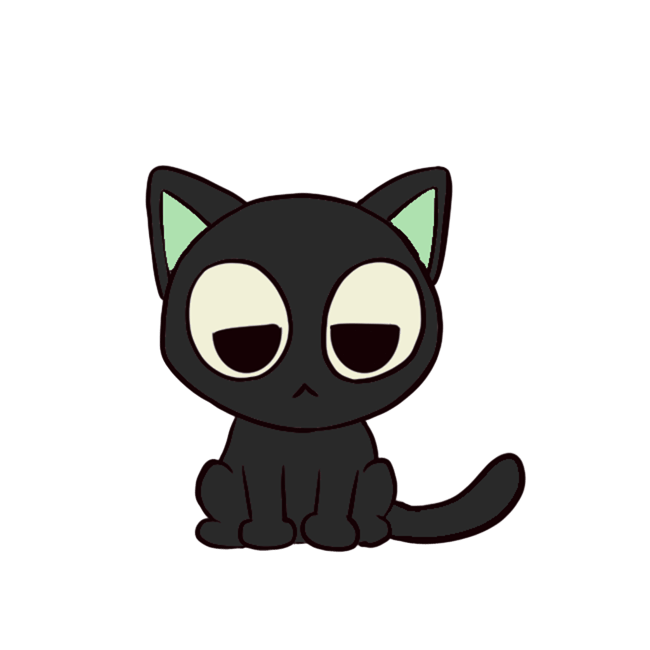
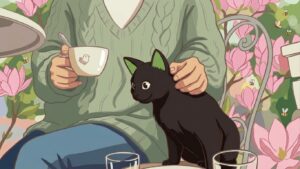
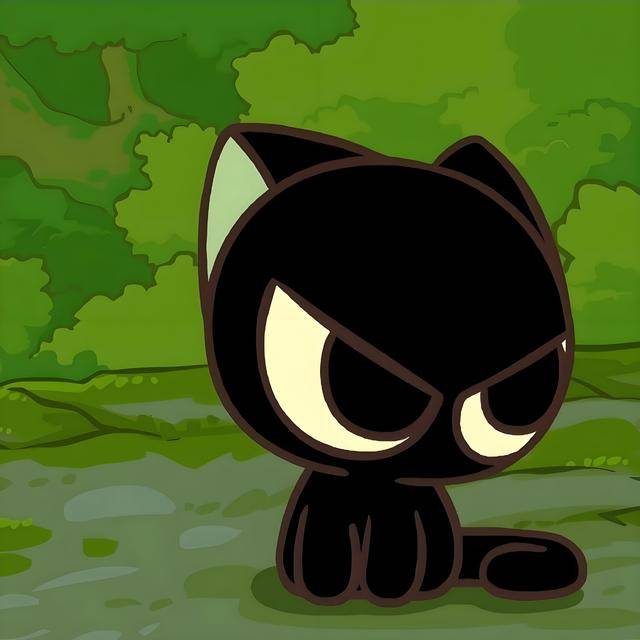
For this assignment, I chose to draw my favorite cartoon character “Luo xiaohei”, a black cat, as my spiritual character. At first, I was quite indecisive on which character best represents me as a self-portrait, but as I tried to look around, I just saw my xiaohei keychain and found myself thinking of how relatable (and adorable) he is. To fully utilize the skills acquired during class, and even further challenge myself, I decided to draw him being annoyed, where he would frown and his eyelids become slanted, forcing me to experiment/practice more with the arc function.

Some code that I’m really proud: 

The front legs where I did multiple experiments with the arc diameter, width, and height!

//legs
  arc(225, 353, 90, 170, PI, PI+QUARTER_PI);
  arc(210,350,90,170,PI+HALF_PI+QUARTER_PI,0);
  arc(183,356,64,160,PI+HALF_PI+QUARTER_PI,0);
  arc(251.5,353, 64, 163, PI, PI+QUARTER_PI);

As well as the ears, where I kept on experimenting with layers and arc values (as you can see the complex PI values, the QUARTER_PI/8, and the green part last)

//ears
 arc(270,175,90,130,PI+HALF_PI+QUARTER_PI/8, 0);
 arc(279,141,50,60,PI,PI+HALF_PI);
 arc(160,147,130,60,PI+HALF_PI,0);
 fill('#c1f0b7')
 arc(165,187,49,140, PI, PI+HALF_PI);

Embedded Sketch

How this was made

I started the assignment by drawing the sky and grass. Because Xiaohei is a young cat, he’s pretty small, so I made the grass section bigger than the sky to create this lower vision point. Originally, I started drawing the head first like how I’d usually do, but then realized drawing the head first makes drawing the torso difficult because I used arcs for the torso and it’d create a “hill” on top of the head, so I switched order and made the torso drawn first and then other body parts, so the torso could be “covered” and things would look more natural. After I was done with the body, I began to do the tail, where I gradually practiced my arc functions.

I drew the tail in 3 sections: one half oval for the tail connected to the body; one half circle as the tail turn; one half oval for tail end.

Then I began drawing the eyes and ears. With the eyes, I first drew 2 slanted lines for the “frown” and then experimented with the pupil and “white” part of the eyes in the way they are tilted. After I’m done figuring out the tiltness, I switched the order of the line and the eye part to make things more natural. Same applied to the ears: I kept experimenting with the width, height, and arc angles.

I referenced this picture “Xiaohei“ and also sought help from the p5js reference library “reference library”

Reflection and future improvements

I think one thing I could do better in the future is perhaps draft out the parts of the drawing and dissect the parts into orders of layers (which gets to drawn first and which last), so I can make the process a bit smoother, in the sense that I wouldn’t need to spend the time on that but rather on the finer details like the angle of the eyes and ears.