Button Beats!
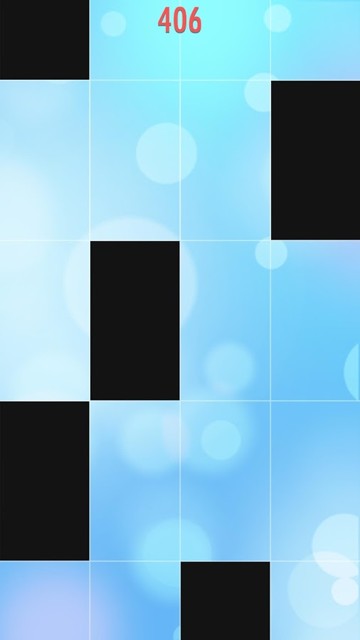
My final project is a game inspired by a popular game called Piano Tiles called Button Beats. Users are able to physically play the game using physical buttons, while the gameplay is displayed on a laptop screen and recreated in p5js, with some differences like a life powerup through the special golden tile.
Video of gameplay: https://drive.google.com/file/d/1q-BEMe4s6vl2vXgGhi7uOwFdDXdhTPeO/view?usp=sharing
Arduino
My arduino program is in charge of sending all the serial inputs from the push buttons when a player presses a key on the piano to the p5js. This is similar to the musical instrument assignment we did in class except the speaker is not in the arduino but rather music playing on the computer from p5 as long as the player pressed the right key in the right time frame. The arduino code reads the serial input from the button and sends that to p5 as A, B, C, or D depending on which button was clicked. The code for this can be seen below:
const int buttonPins[] = {2, 3, 4, 5};
const char buttonChars[] = {'A', 'B', 'C', 'D'};
const int numButtons = 4;

void setup() {
  Serial.begin(9600);
  for (int i = 0; i < numButtons; i++) {
    pinMode(buttonPins[i], INPUT_PULLUP);
  }
}

#sends the serial of the button pressed as the letter A, B, C, or D
void loop() {
  for (int i = 0; i < numButtons; i++) {
    if (digitalRead(buttonPins[i]) == LOW) {
      Serial.println(buttonChars[i]);
      delay(200);
    }
  }
}
P5JS
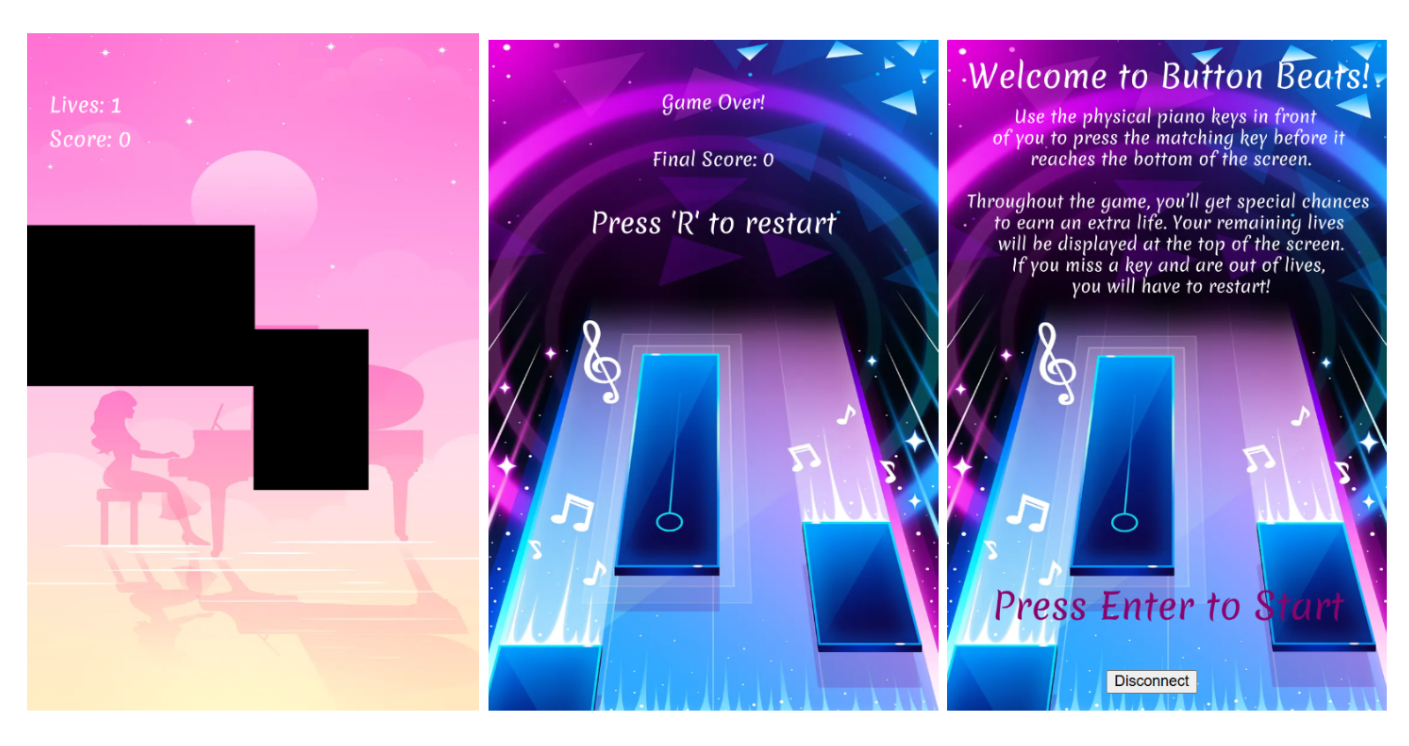
The p5js runs the code for the entire game. It sets up all the game states and all the game logic. The player will see a welcome screen at the start explaining the rules and a way to connect to the Arduino. Once the user presses enter, the game begins, the music starts playing, and the tiles are randomly generated for the user to physically press on the arduino. When a button is pushed on the arduino, the p5js receives this and follows the logic provided in p5js to ensure that there is currently a tile in that lane and marks that as pressed. If not, the player loses a life. Also, if the player fails to press the button before the tile leaves the screen, they lose a life. If a player loses all their lives and makes a mistake, the game goes to the game over screen and gives the player the option to restart. Here are pictures of all the game states:
Throughout the game, there is a chance to gain extra lives if the golden tile appears which has a 2.5% probability of appearing at any time in the game. The black tiles also appear randomly, but do speed up as the game goes on which increases the game’s difficulty. The score is kept based on how many tiles you pressed before losing all your lives. Here is the link to the game: https://editor.p5js.org/izza.t/full/moFOZkumG
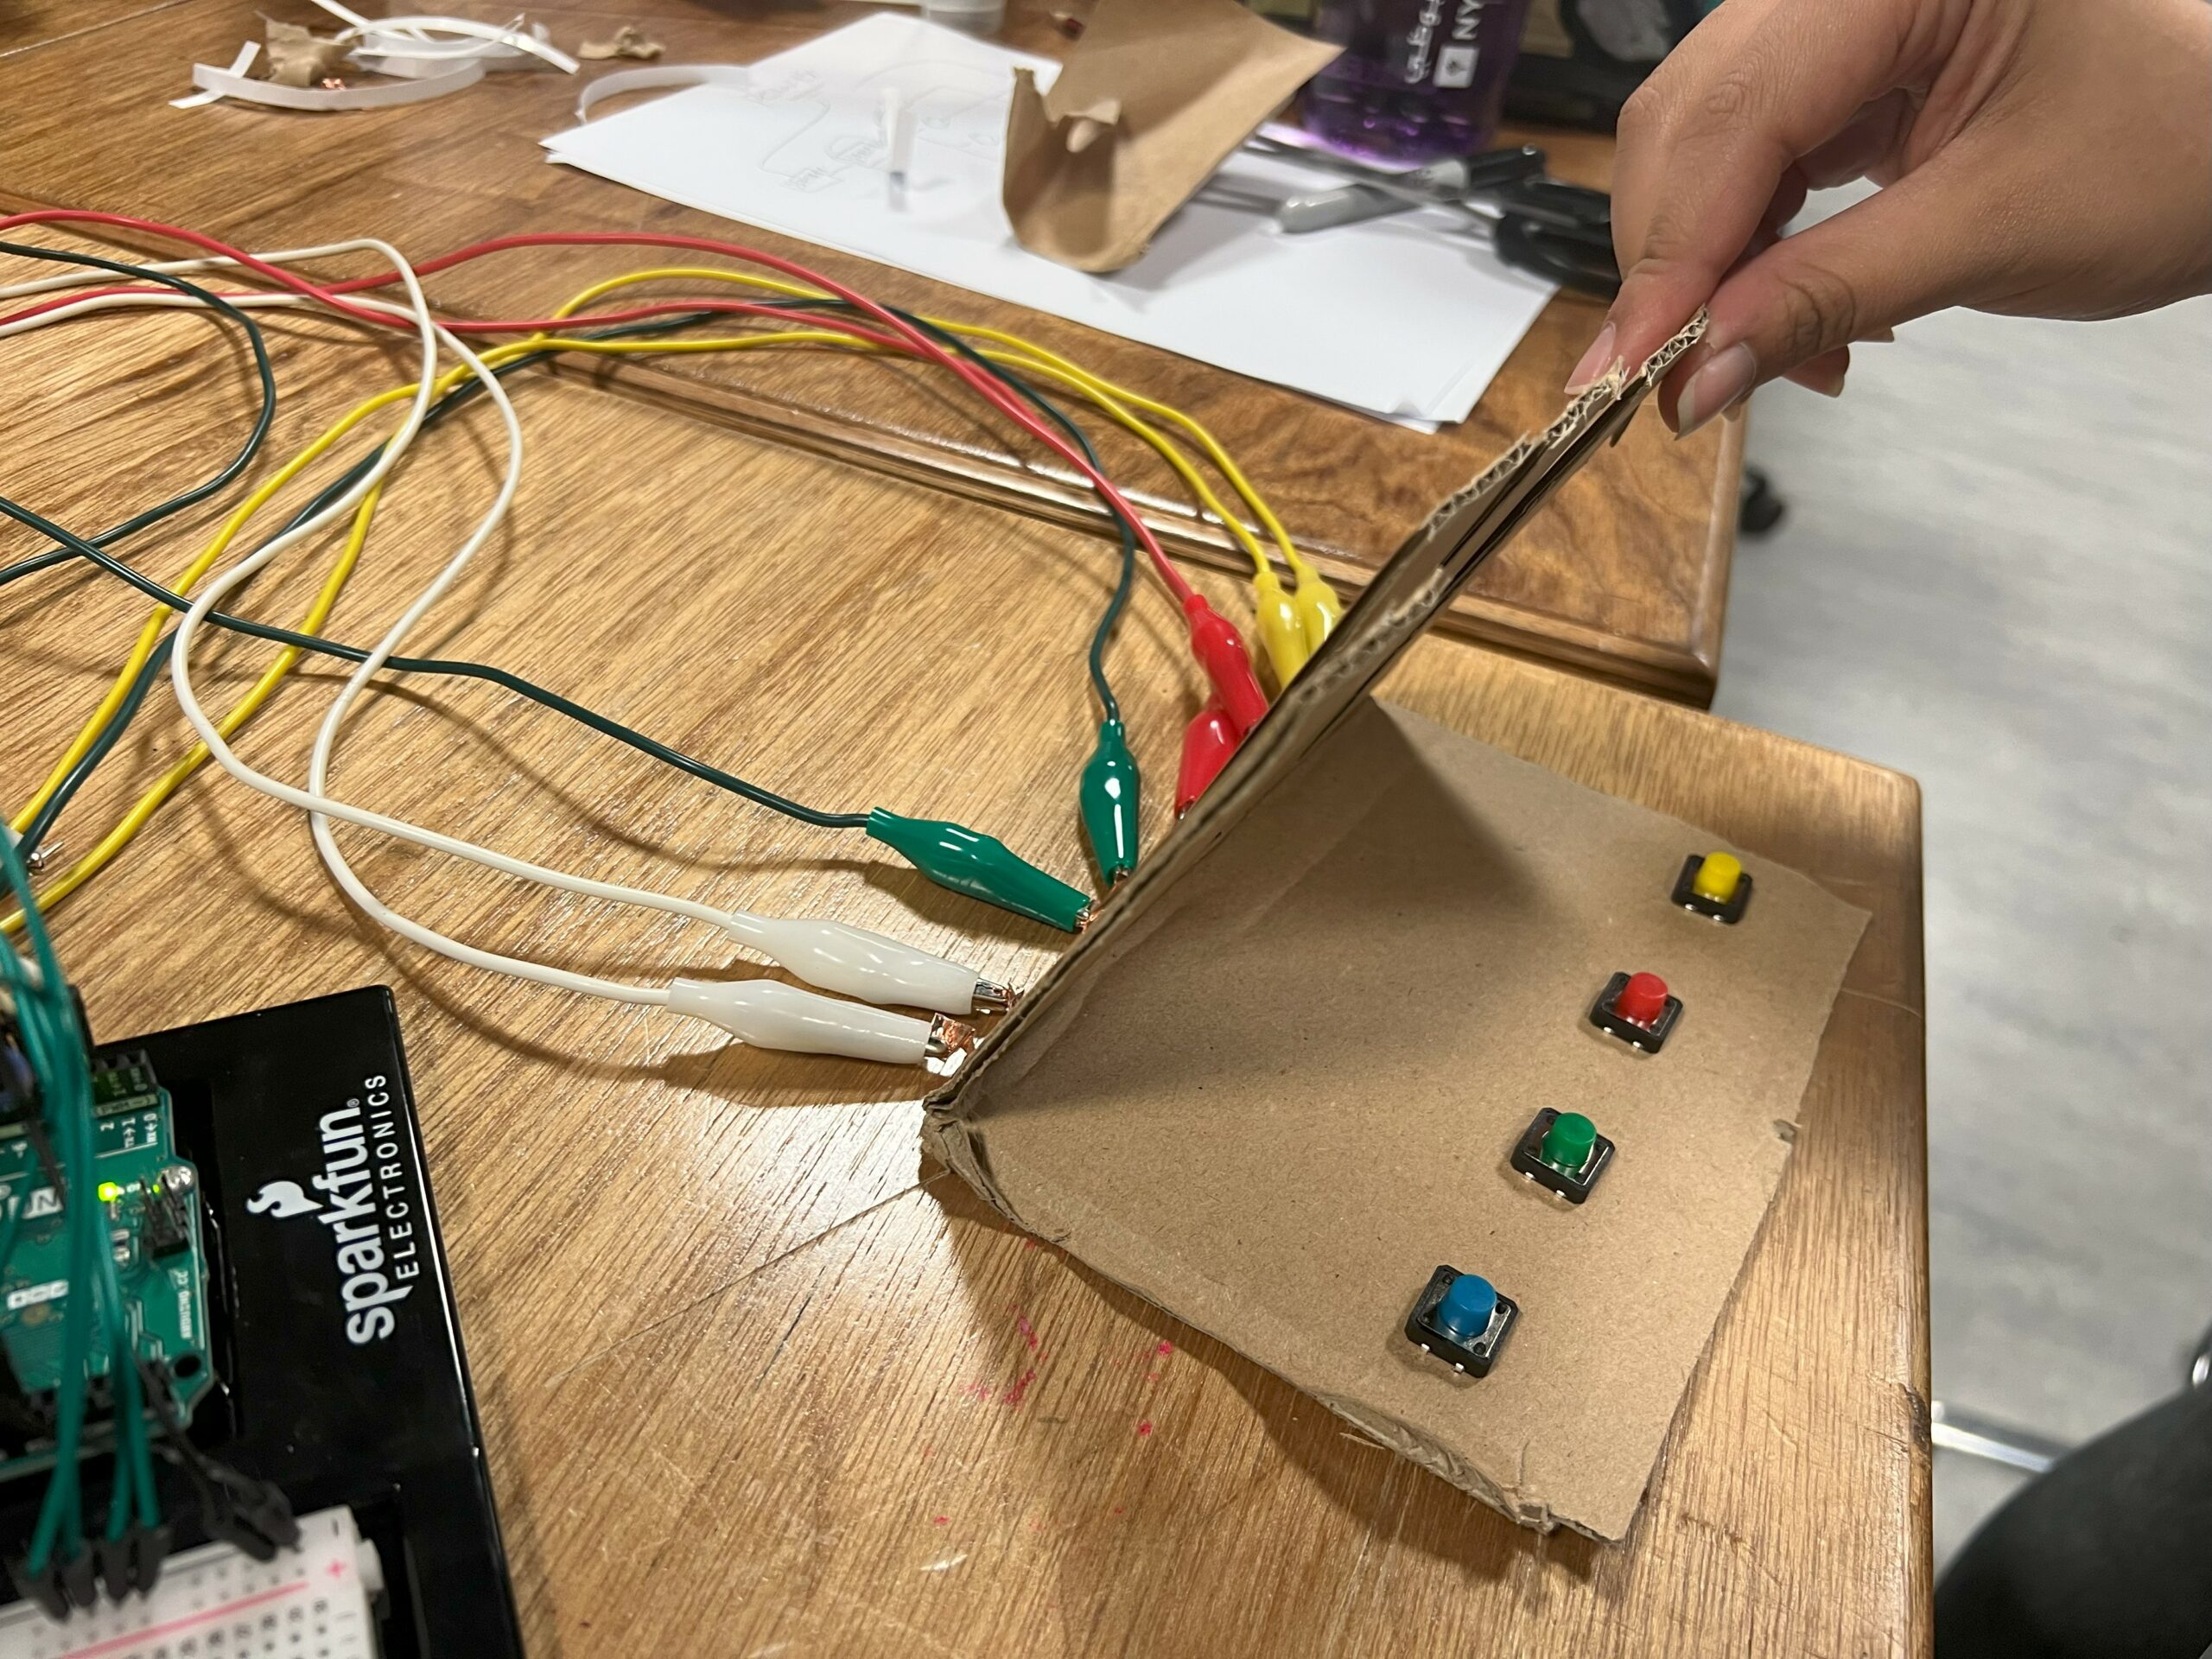
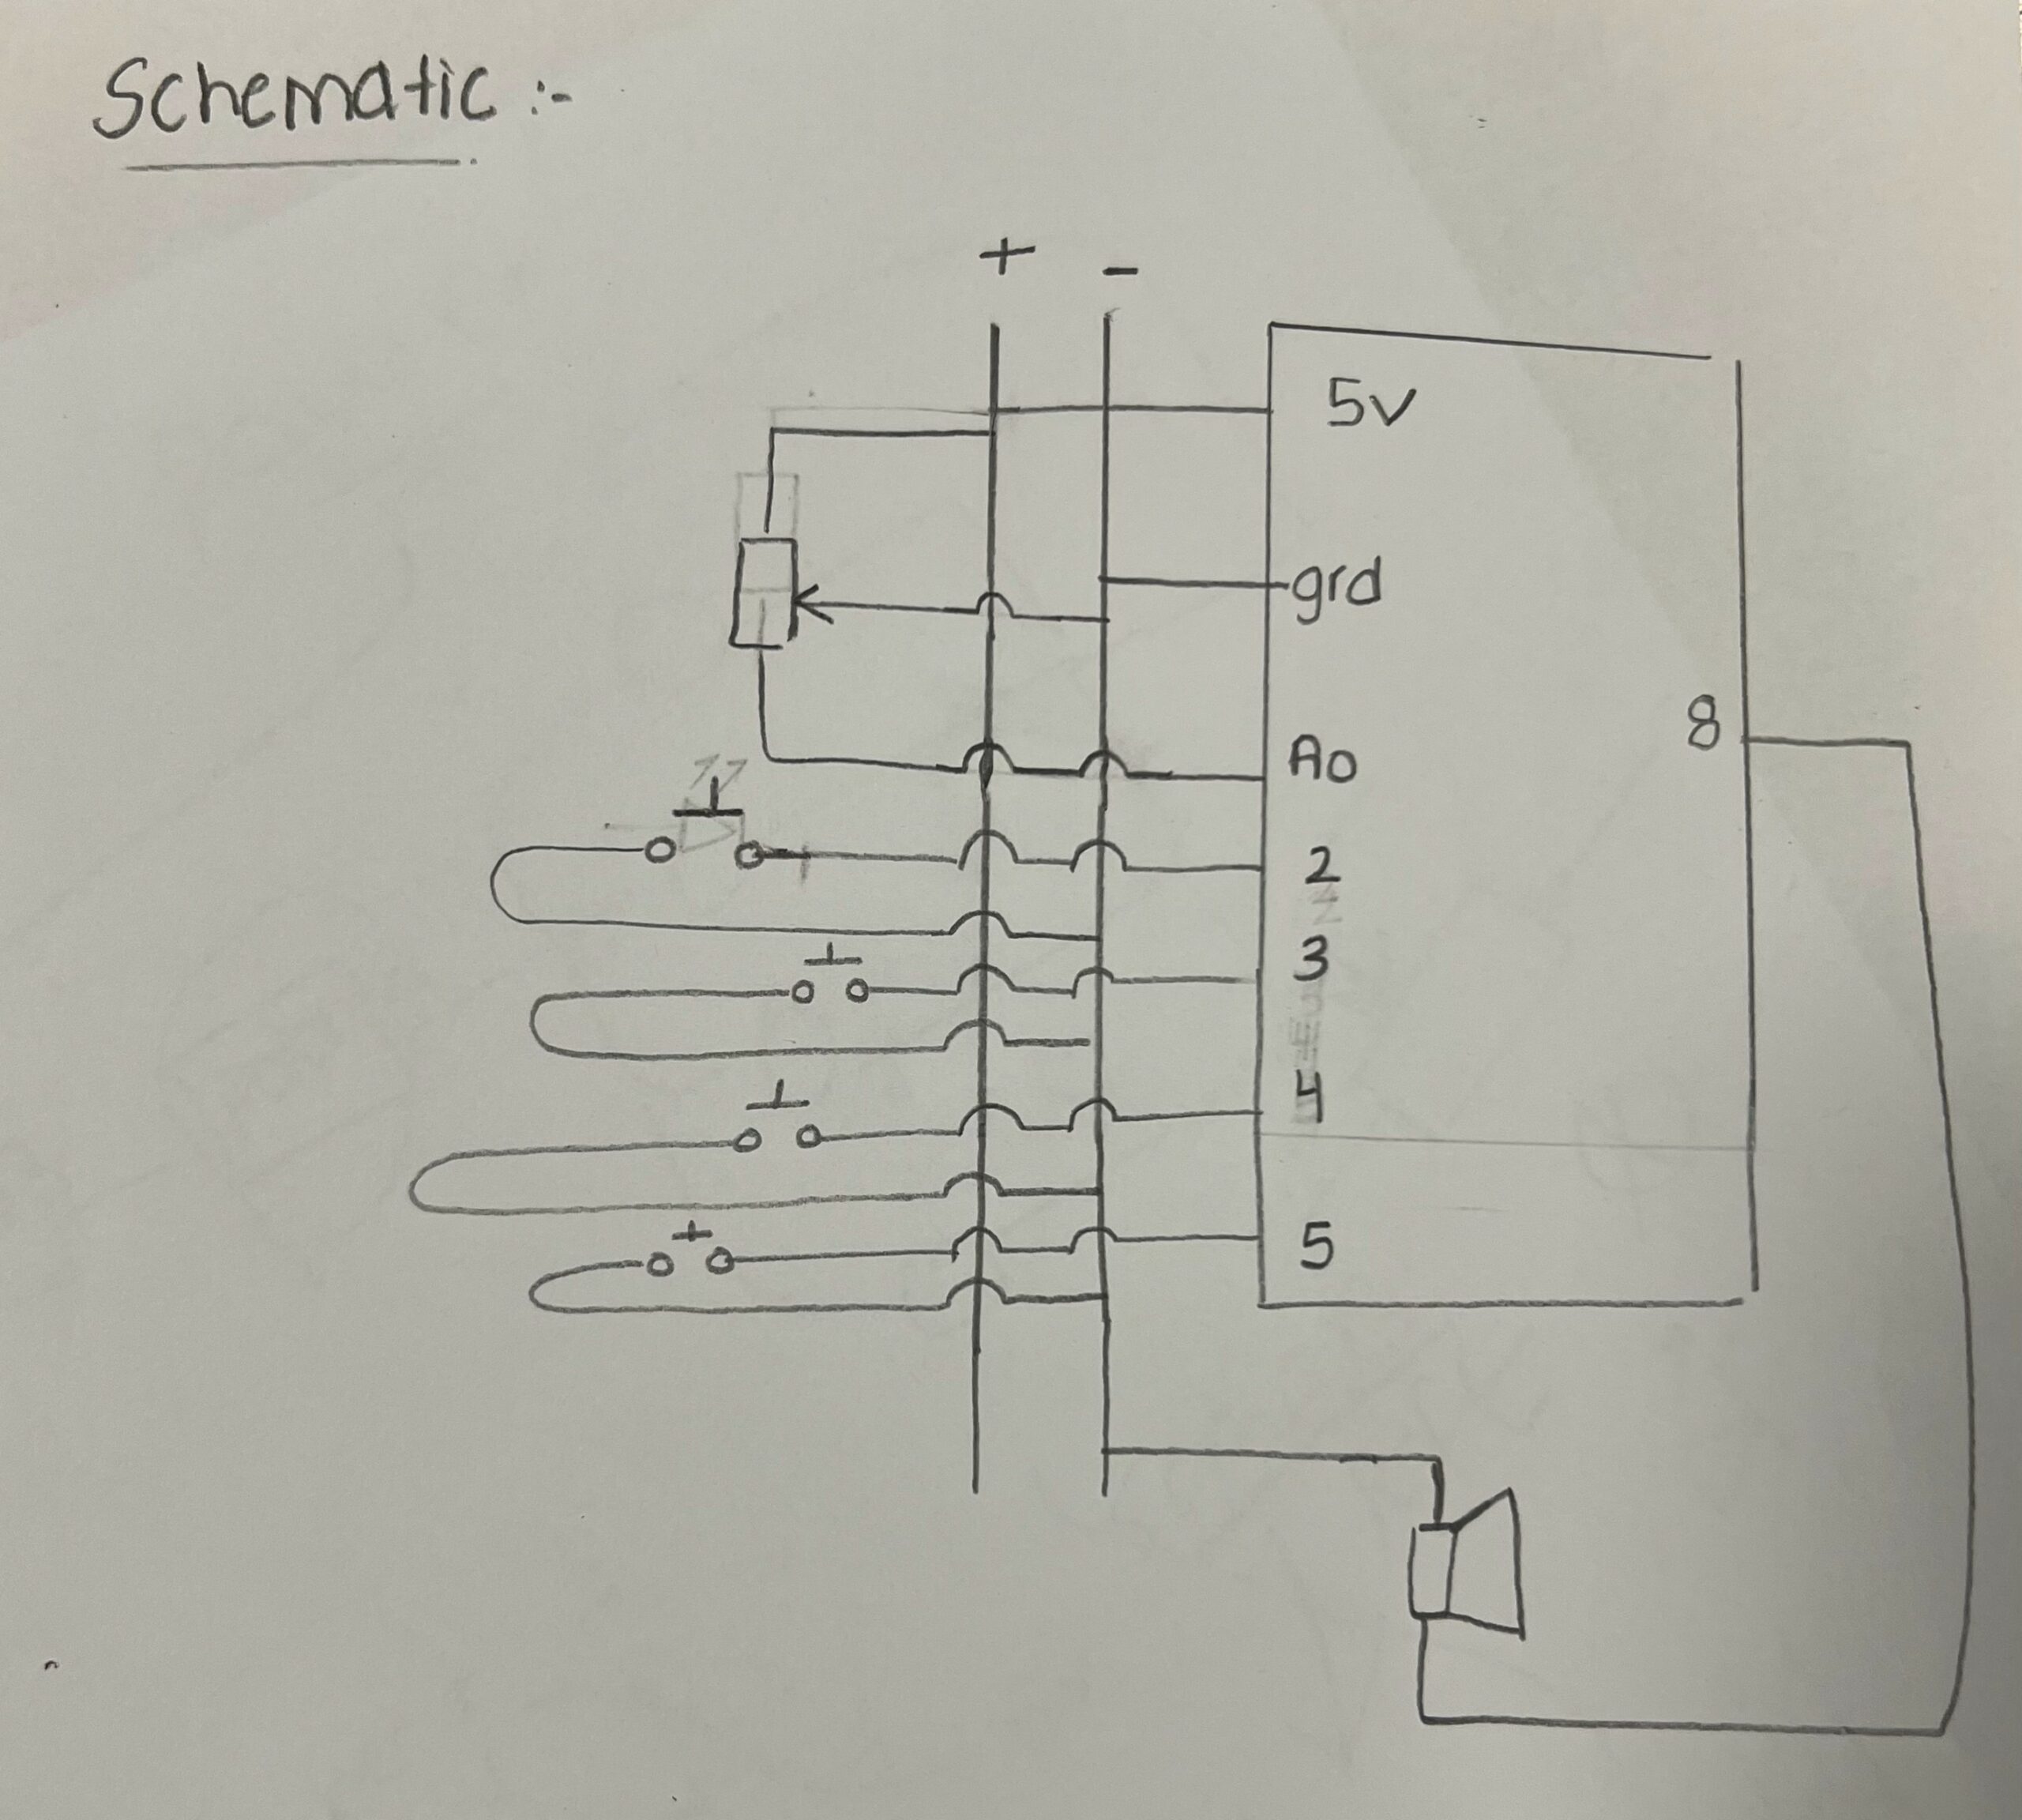
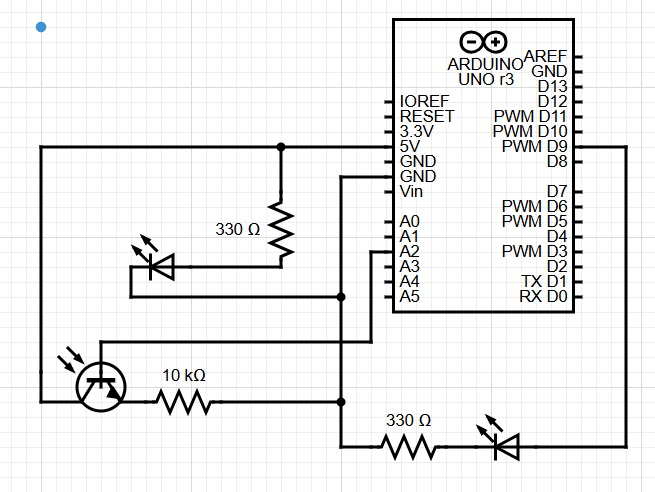
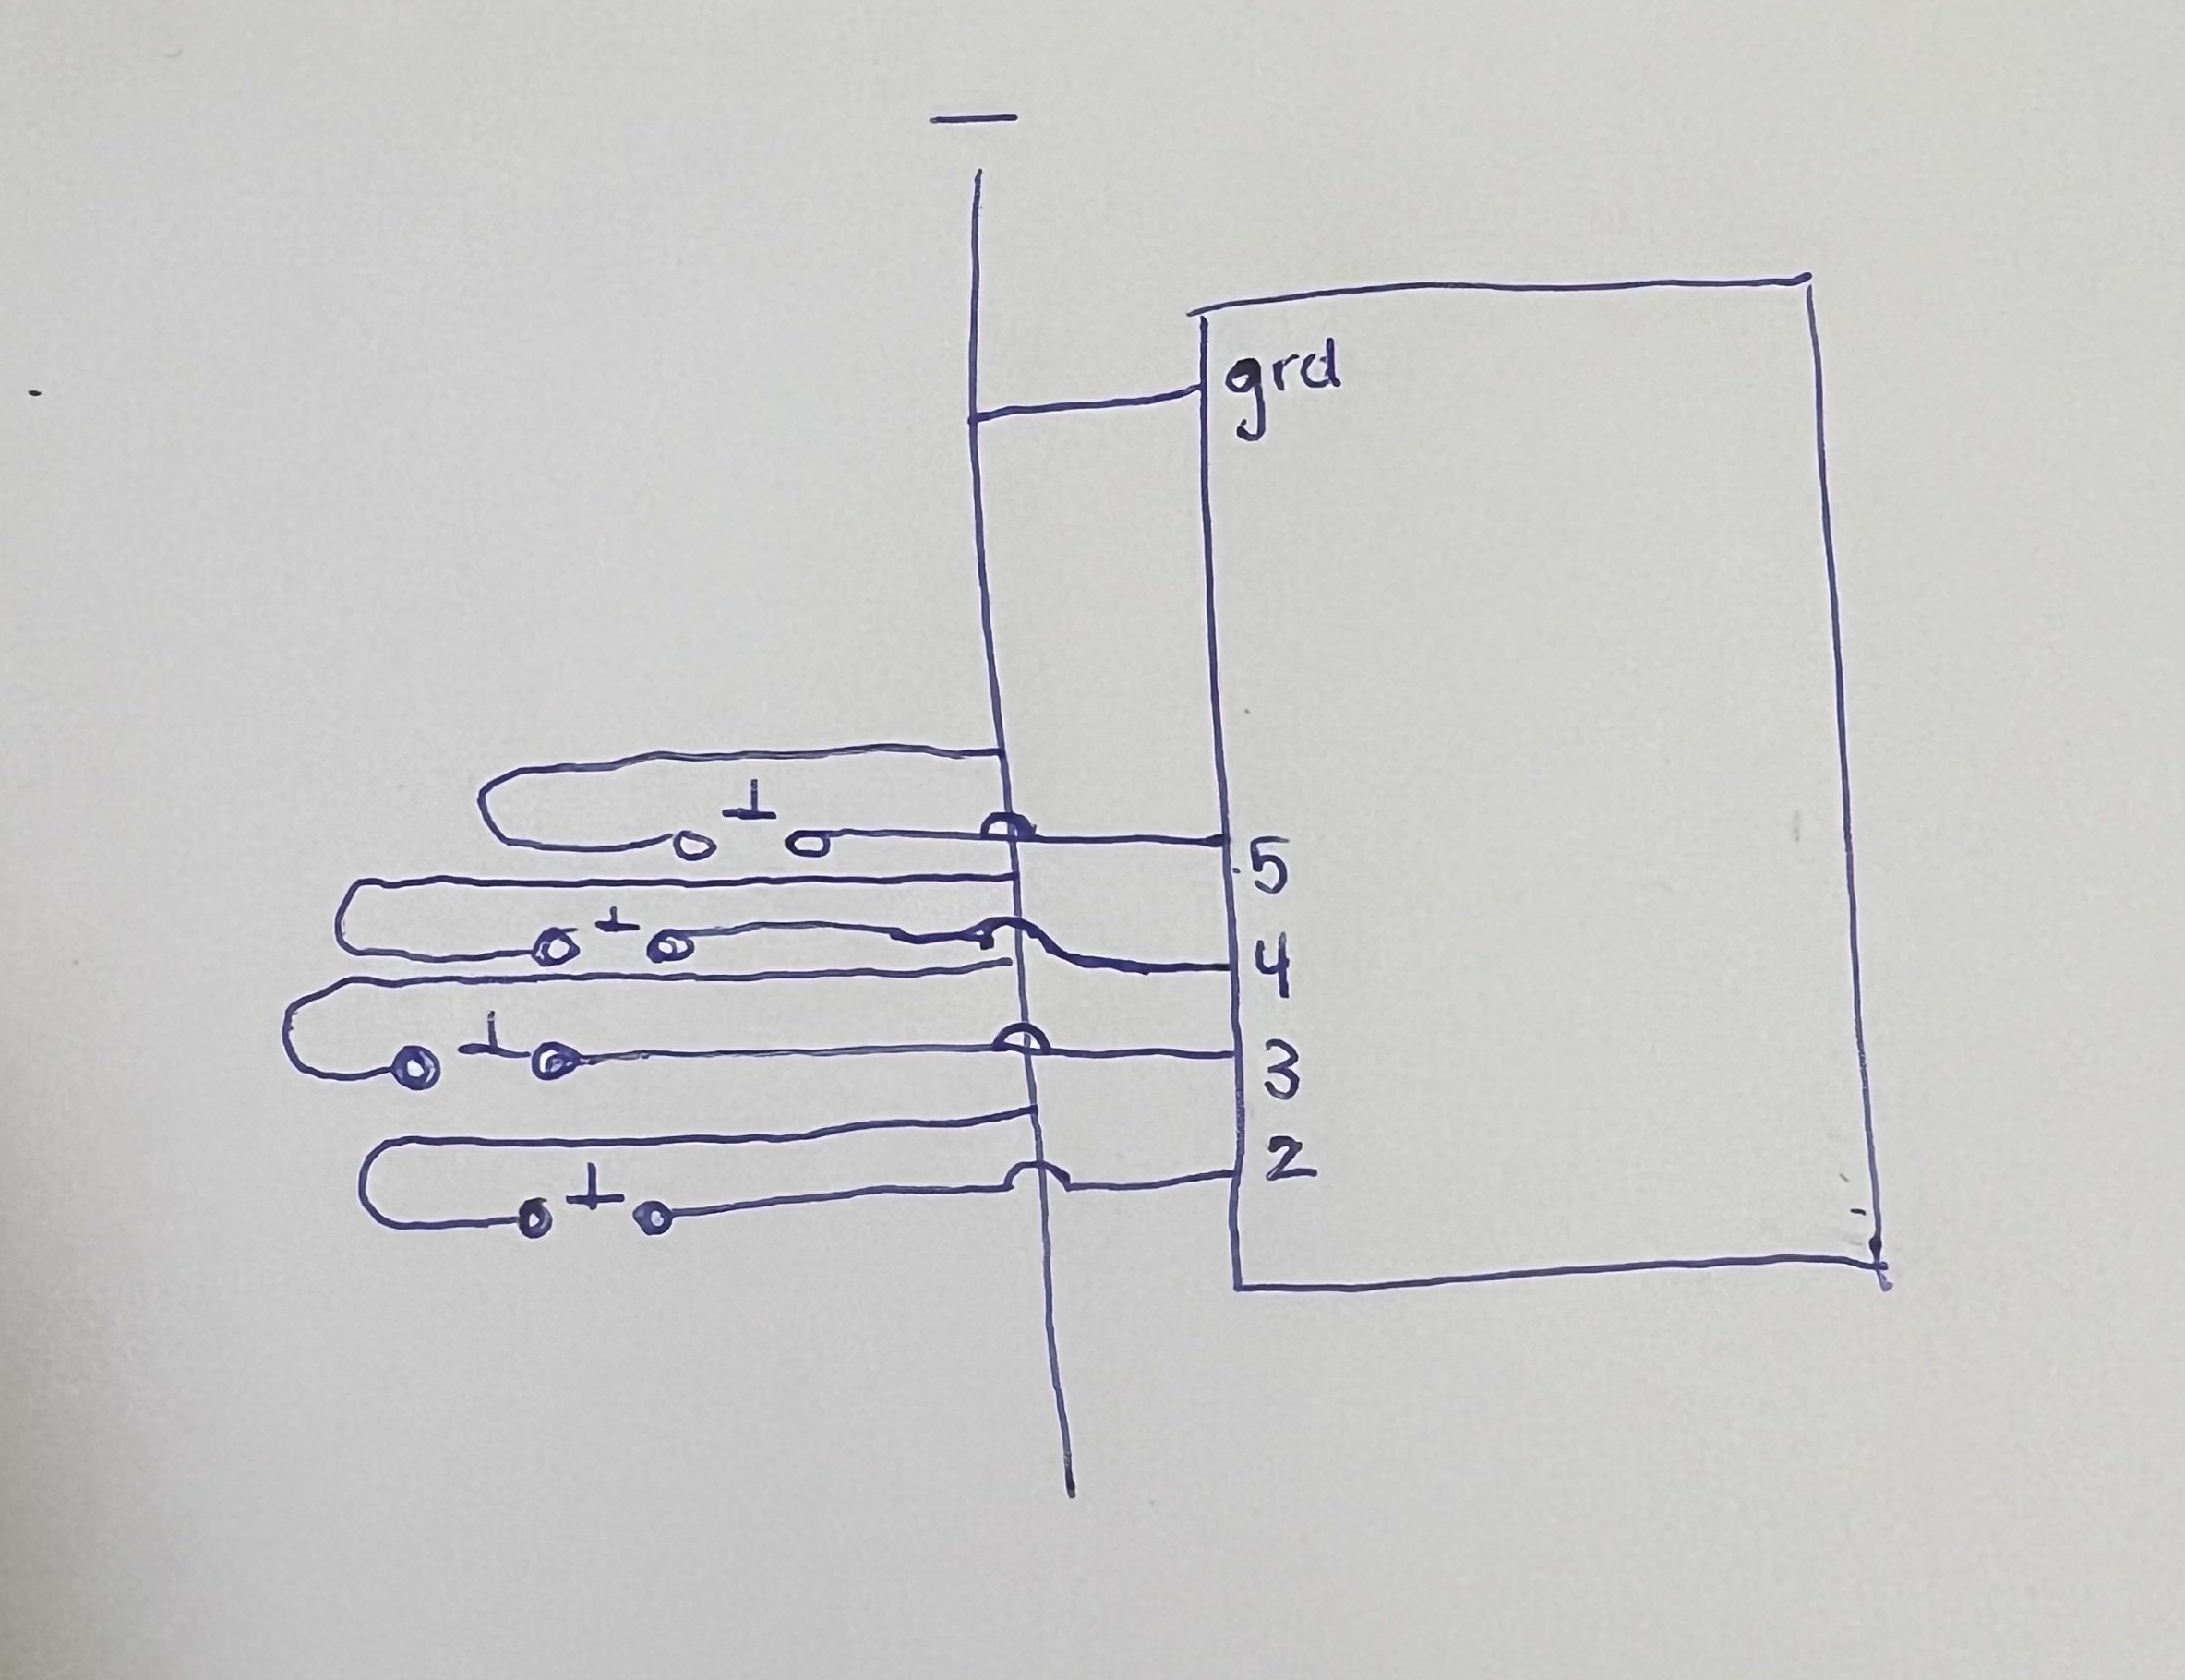
The circuit consists of the 4 push buttons connected to pins 2, 3, 4, and 5 as well as ground. Here is the schematic below:
I’m particularly proud of the way the game handles the inputs and creates a game that looks pretty similar to the original piano tiles itself. It was really fun from a user perspective to be able to use actual buttons to play the game instead of tapping on a screen. The game working and knowing when you’ve missed a tile or when a tile goes off screen is also something I’m pretty proud of.
One thing though is that the tiles are randomly generated and there is only one song. In the future, it would be nice to have it such that the keys are synced up to the song as is in the game Piano Tiles itself as well as options to select different songs.