Link to p5js code: https://editor.p5js.org/luke.s.ng/sketches/U8Xmnxnwu
Concept:
My final project is a Audio Workstation that can allow users to input music from Arduino using a special glove into p5 and visualize it. I was inspired by this Mimu glove created by MI.MU GLOVES LIMITED, which allows users to make music through movement using only a pair of glove with a lot of physical computing programmed into the device. My project is a simplified version of this, which only utilizes Arduino. I used p5.js to enhance the user’s experience visually, allowing them to see how their music is seen to the eyes.
User testing:
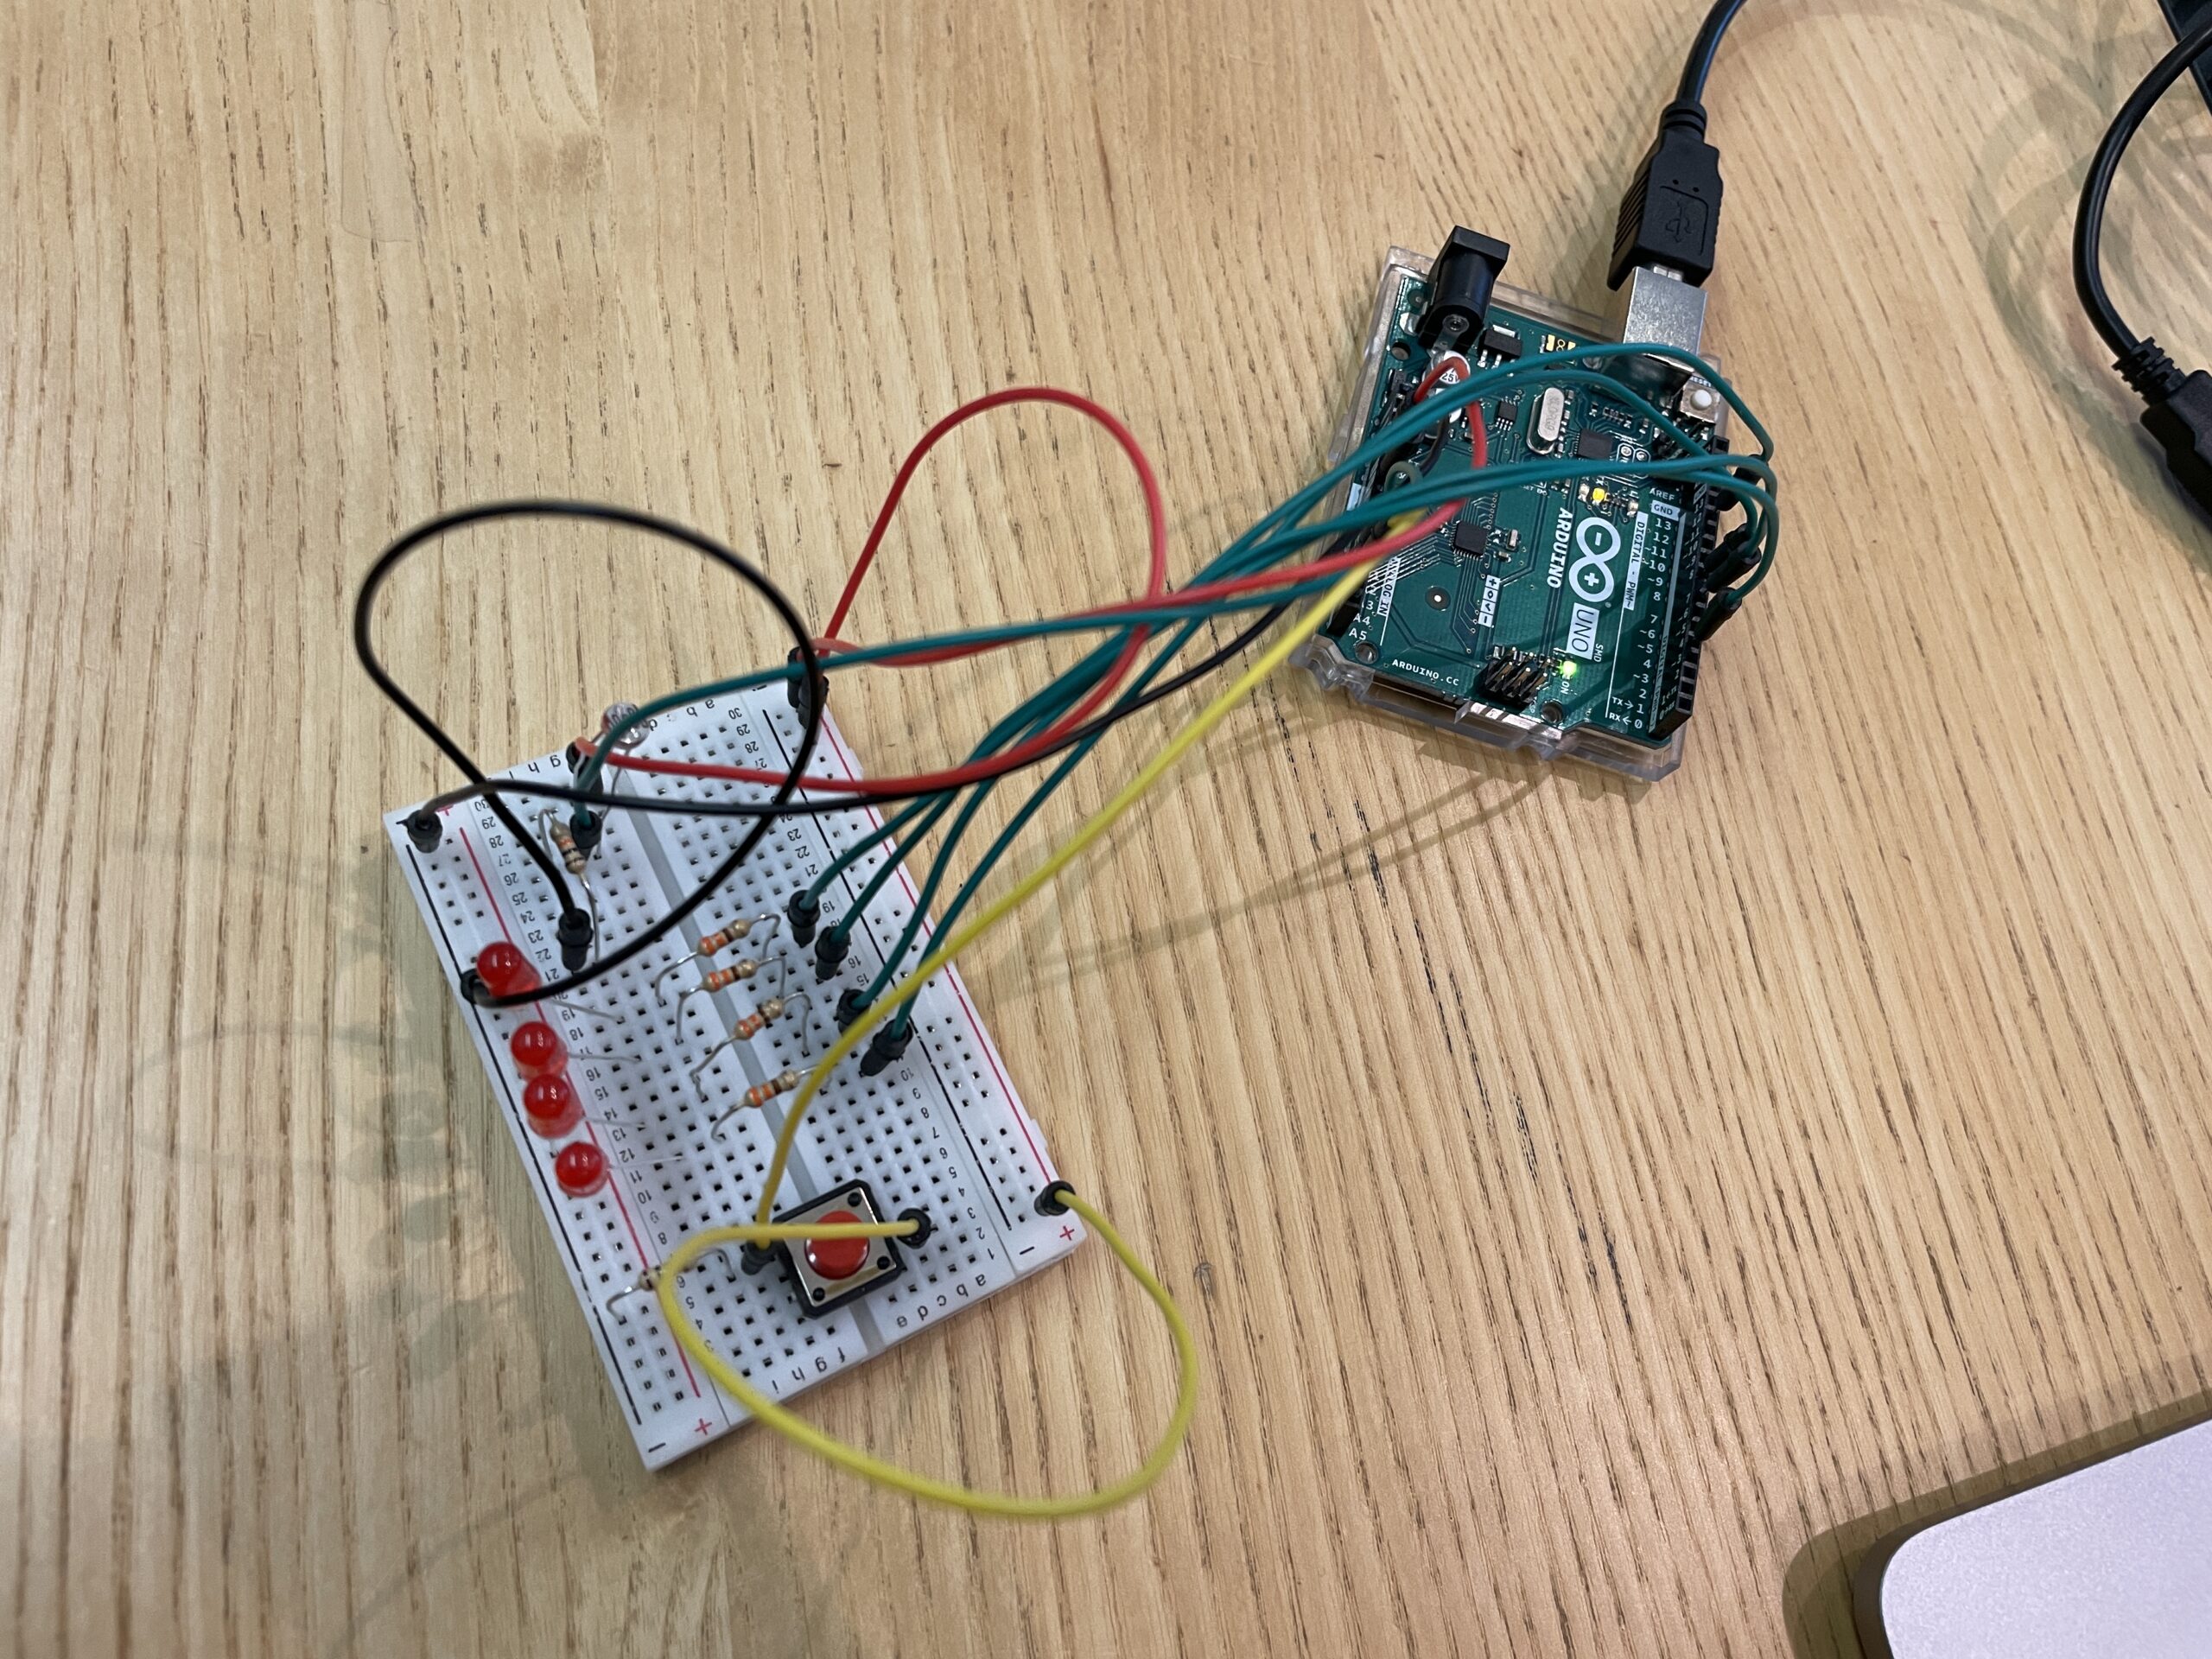
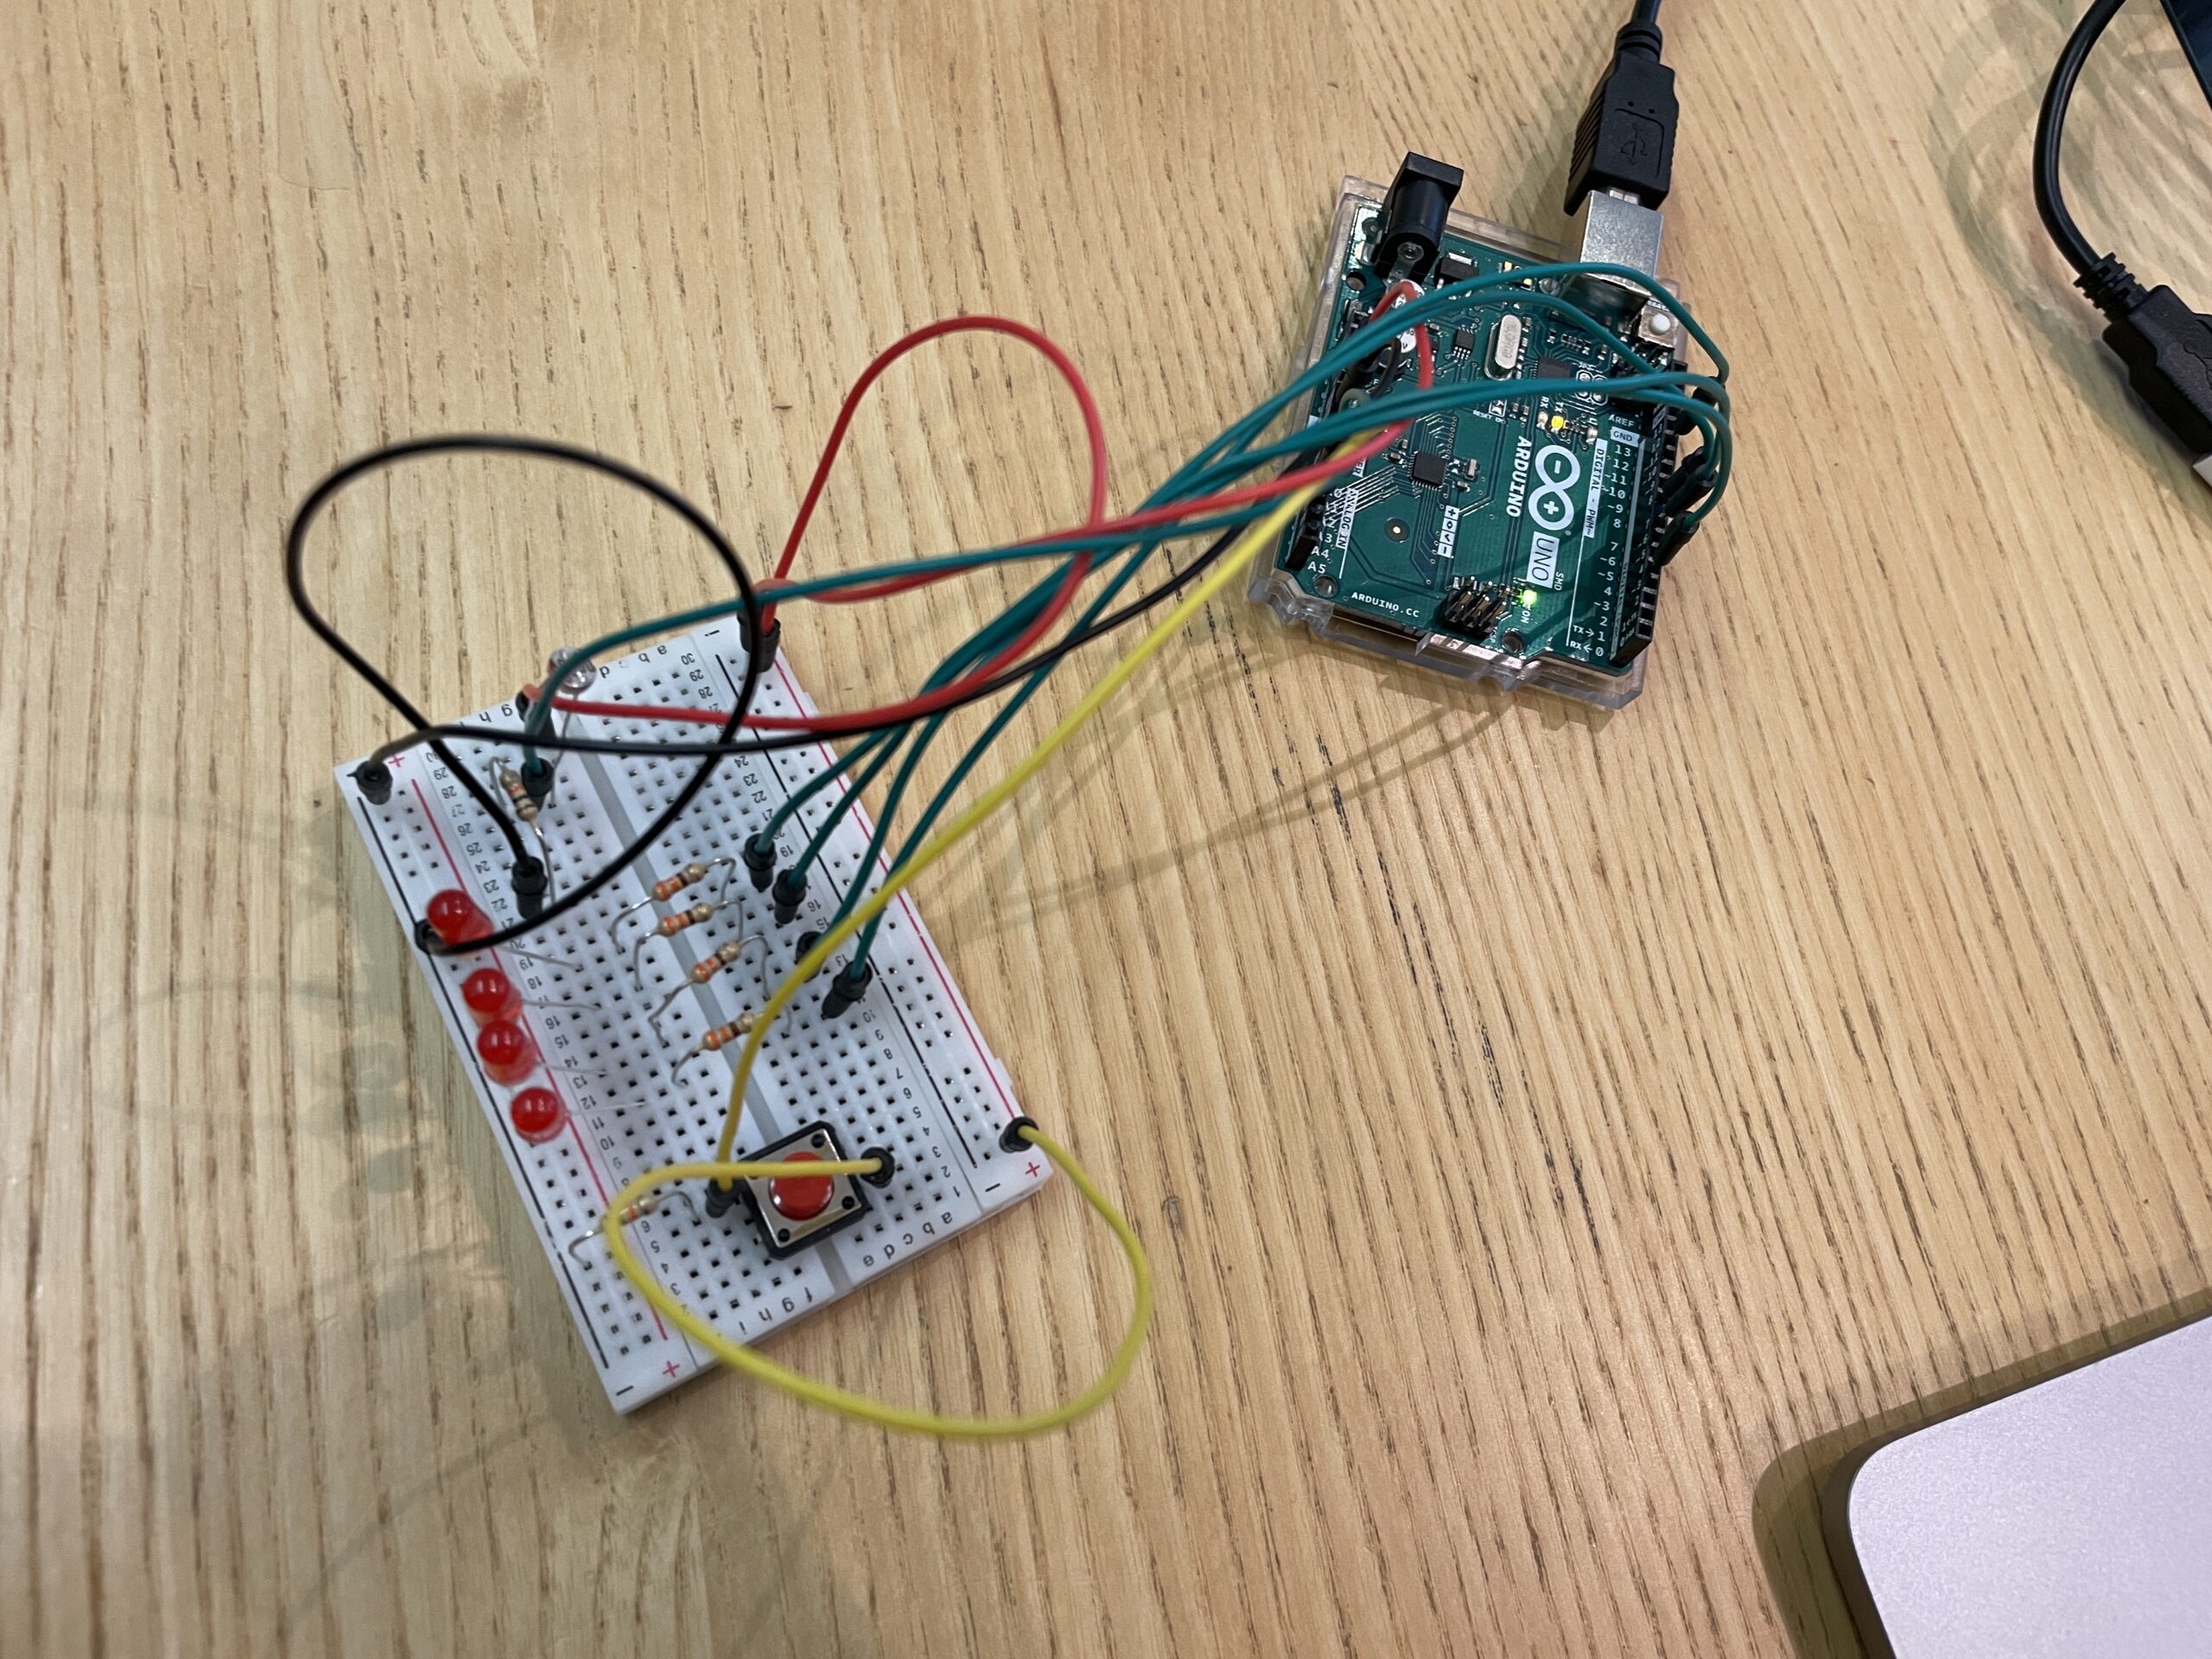
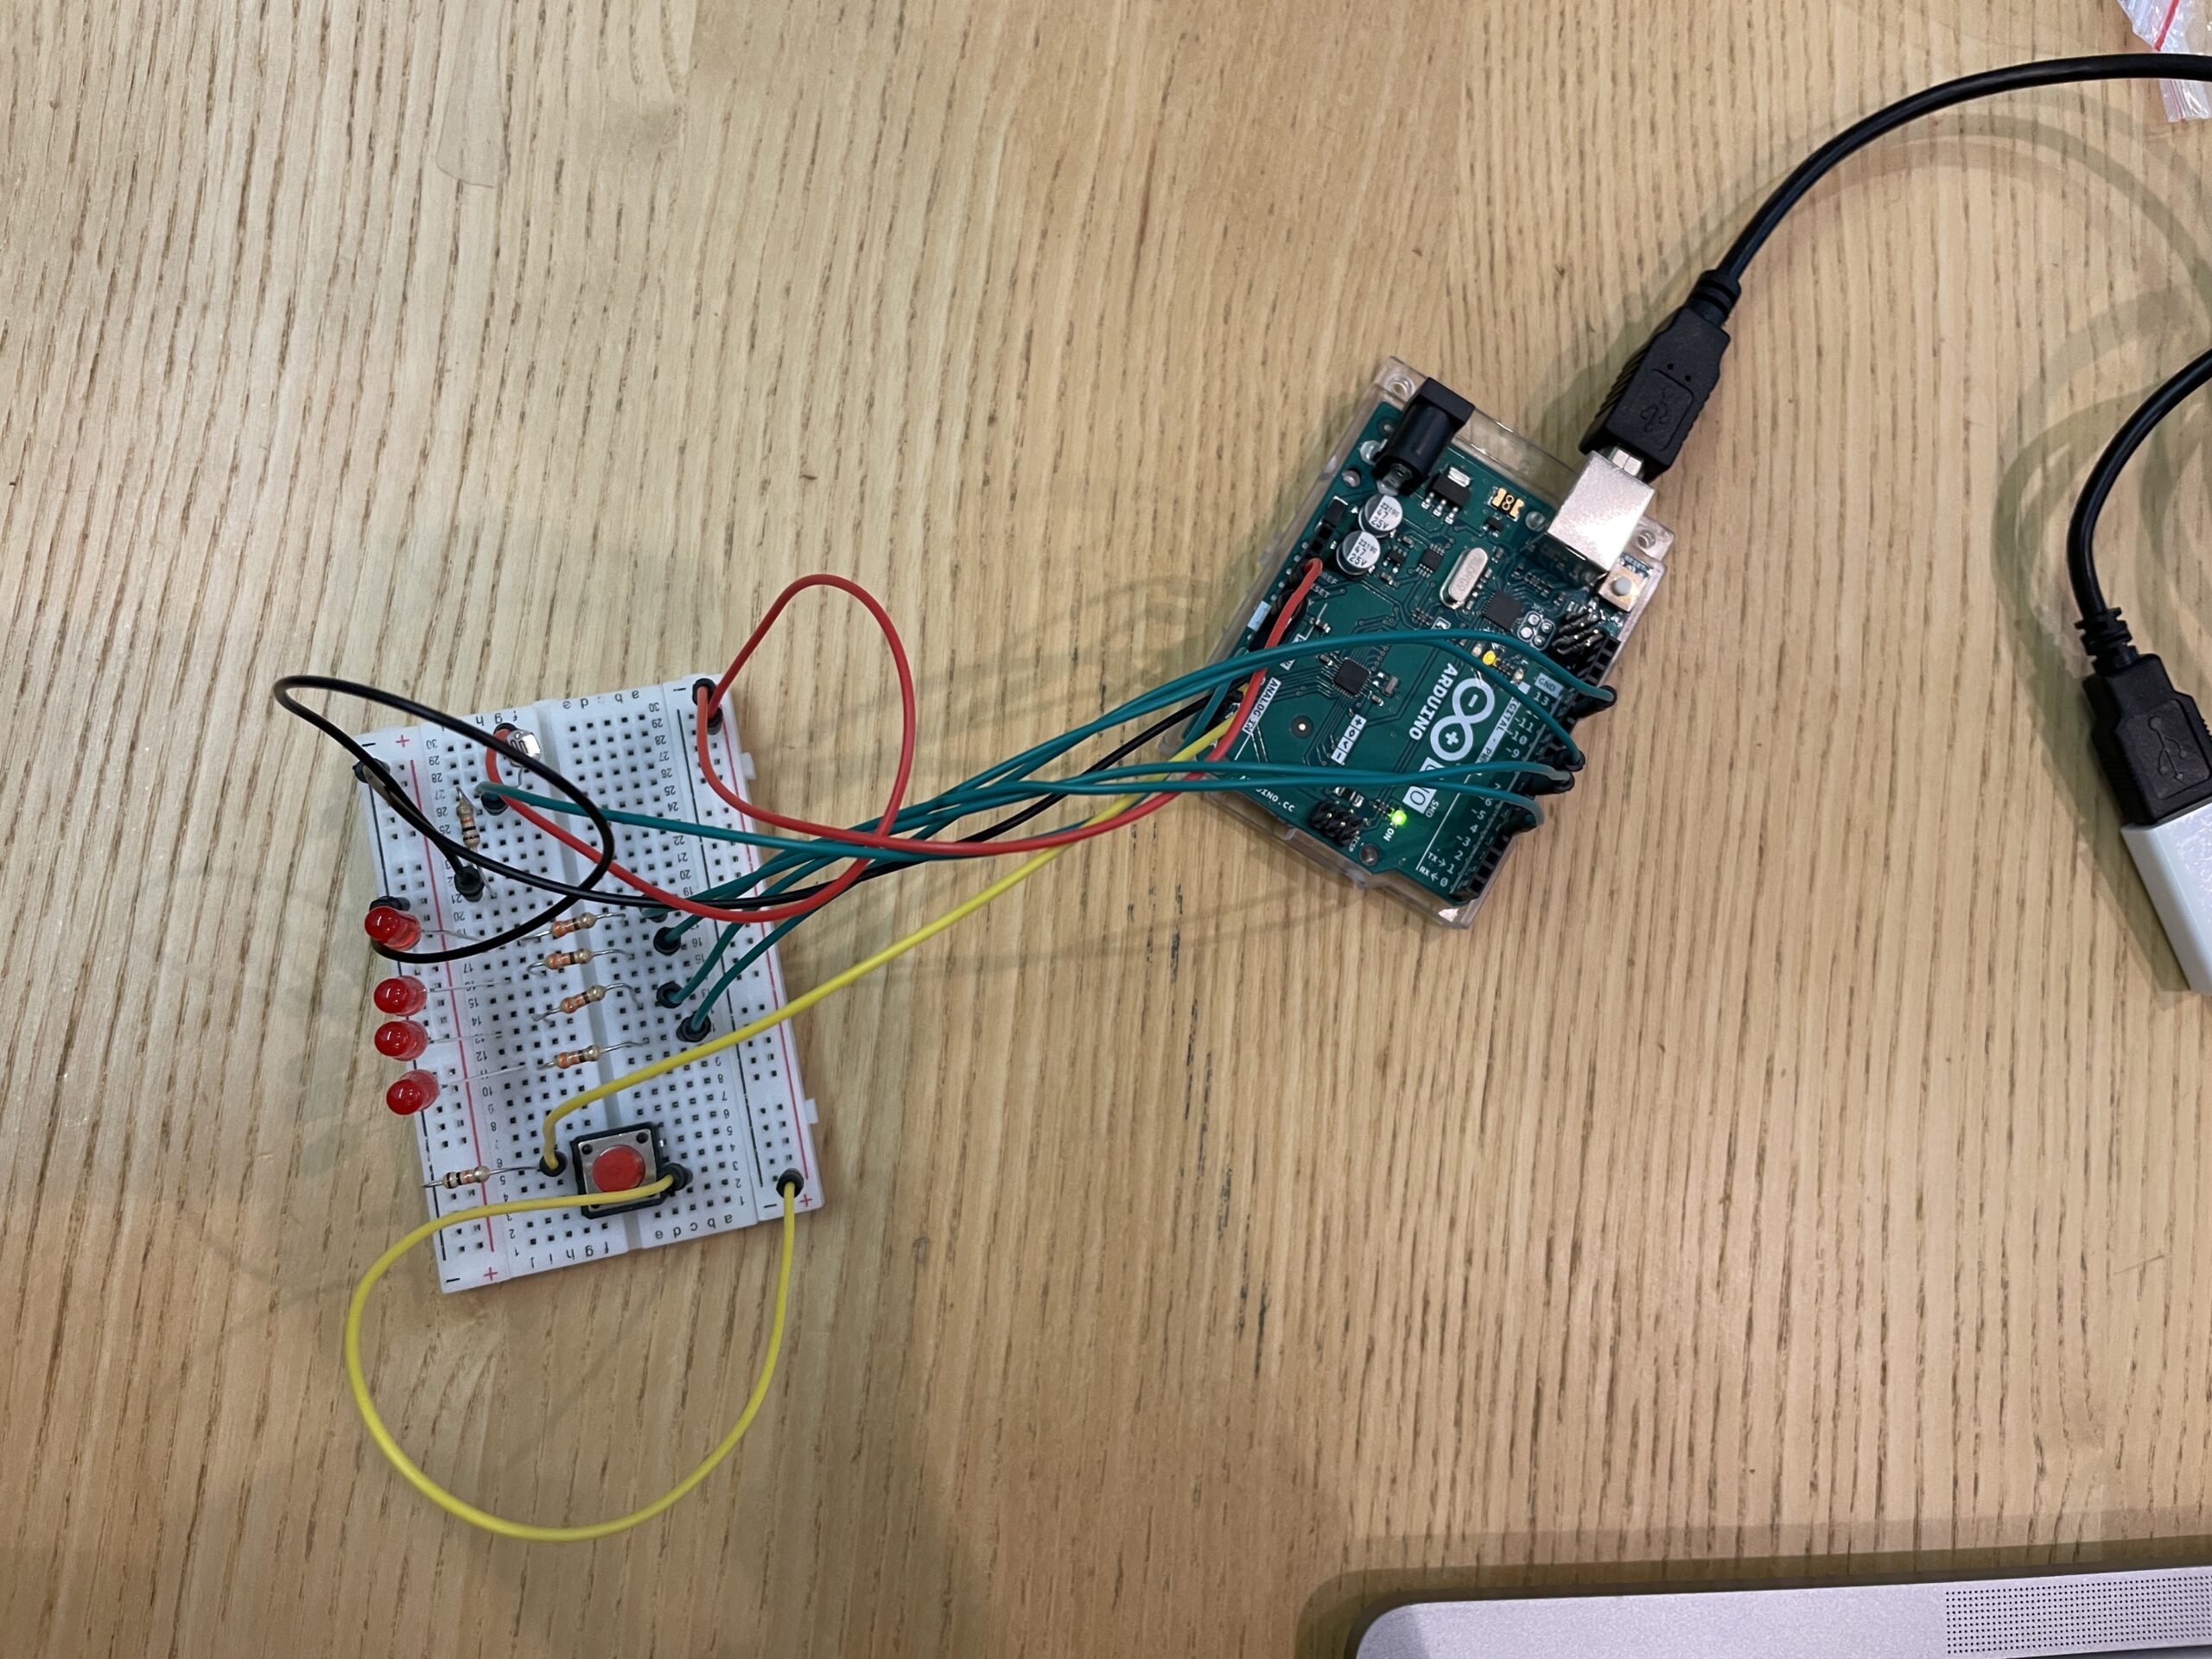
Some pictures / video of project interactions & comments + feedback:
What parts of your project did you feel the need to explain? How could you make these areas more clear to someone that is experiencing your project for the first time?
I got more than 10 people who came and interacted with my device, and a few of them were my classmates and friends from other classes.
Ume passed by, and I also invited her to test it. Afterward, she suggested that for future improvement, I could consider implementing this device in a way that it can trigger many musical instruments at the same time. She commented that this project of mine is already advanced enough, and her suggestion can be considered for a later, more advanced stage of learning interactive media.
Other than Ume, your friend also suggested that I can keep this device as a simple music maker but develop it into one that can incorporate more musical instruments.
Implementation/Description of interaction design:
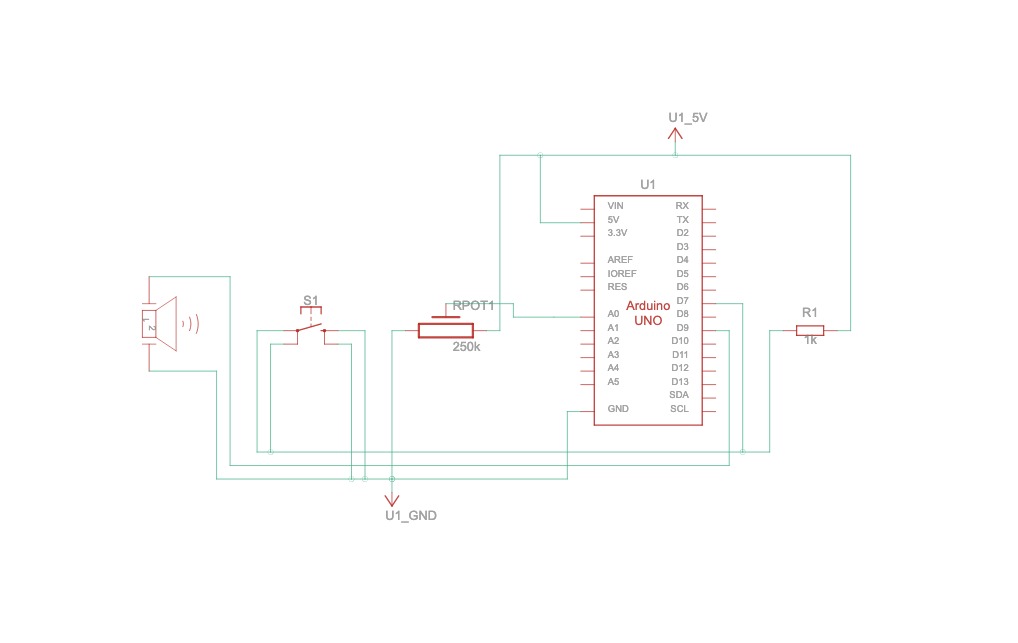
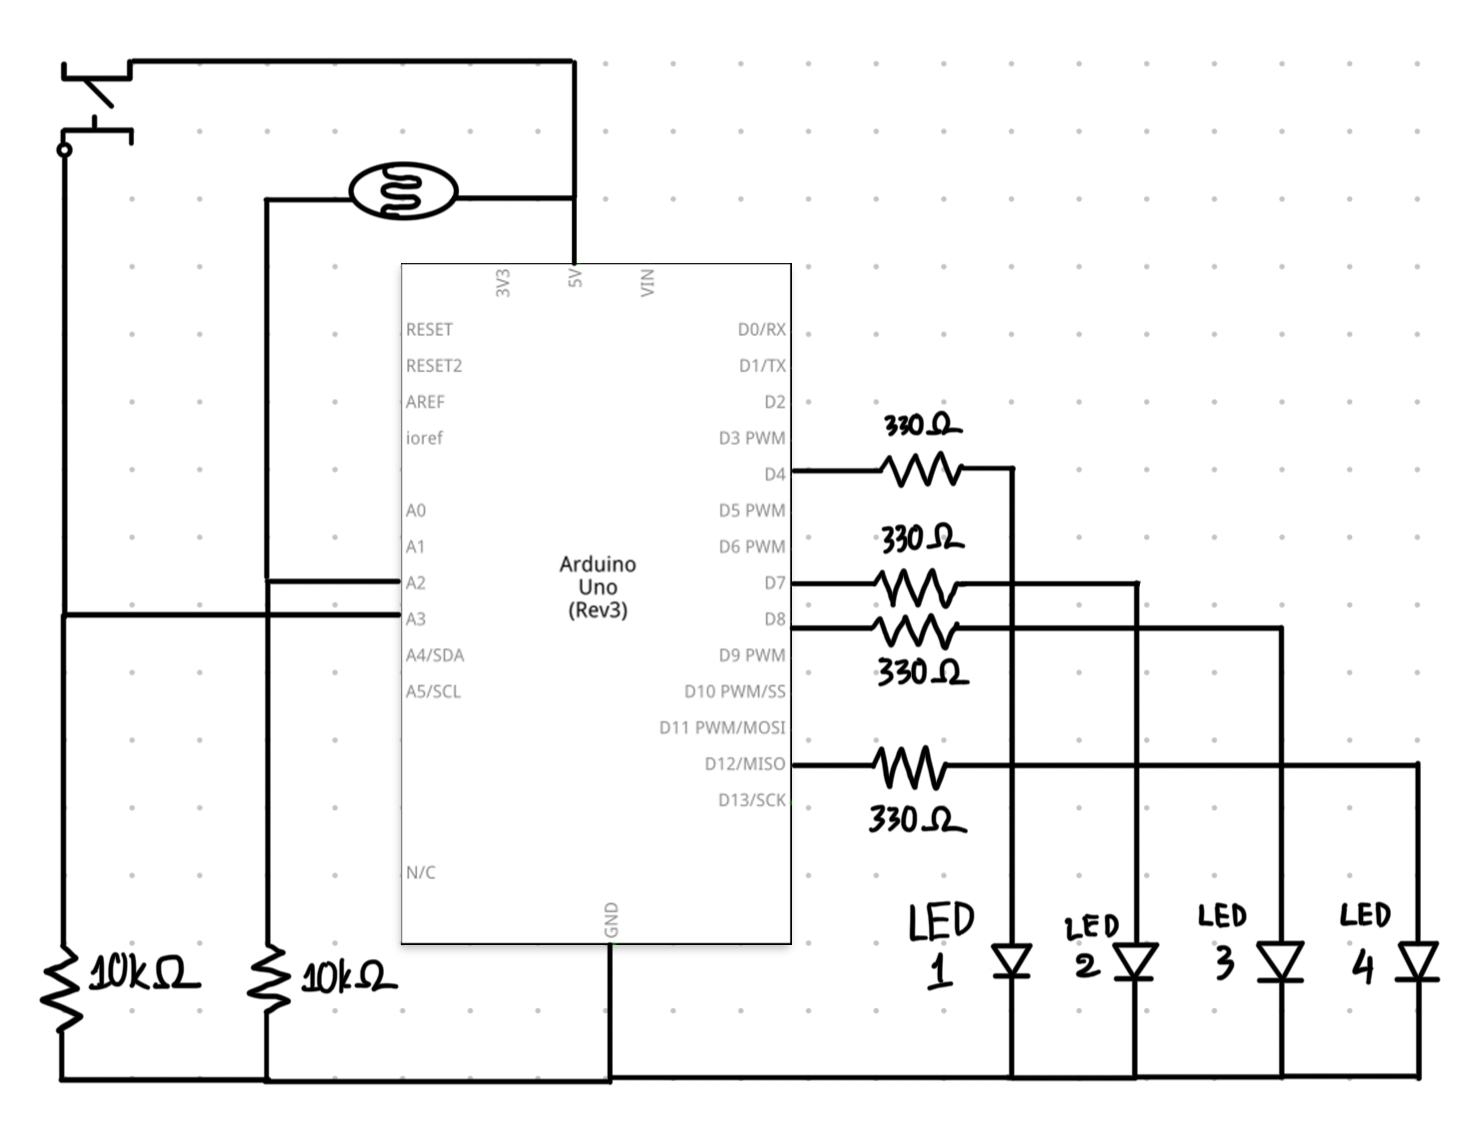
Users can create music notes using Arduino and trigger them to appear inside p5. The Arduino board makes use of two major components: four buttons representing four fingers and one distance sensor. Each finger is assigned a different music instrument: index finger – piano, middle finger – drum, ring finger – guitar, pinky – synthesizer pulses.
The program currently supports the C major scale, consisting of 7 basic notes: C, D, E, F, G, A, B. Piano notes range from C4 to B5. Drum rhythm ranges from heavy kick to high crash. Guitar notes range from C3 to A3. And synthesizer pulses range from C6 to A6.
The user can control one instrument using two simultaneous actions: pressing the buttons attached to the tip of the glove they wear, users can trigger music notes inside p5.js. Simultaneously, by VERTICALLY controlling a distance sensor placed on the table, they can select/control the notes by changing the frequency of the buttons/their fingertips. Users can press other buttons at the same time to play with other musical instruments.
Additionally, they can press “R” and then play one instrument to record, then press “S” to stop, then press “L” to loop and save the first instrument. They can then input another instrument. The process can be repeated for other instruments. Users can keep doing that until they have generated something either funky, following a stream of consciousness, or a nice melody.
p5js will take the notes users input, put them through an amplitude analyzer and create a visualization on screen.
Arduino code:
const int trigPin = 7;
const int echoPin = 8;

void setup() {
  // Start serial communication so we can send data
  // over the USB connection to our p5js sketch
  Serial.begin(9600);

  pinMode(trigPin,OUTPUT);
  pinMode(echoPin,INPUT);

  // start the handshake
  while (Serial.available() <= 0) {
    Serial.println("0,0"); // send a starting message
    delay(300);            // wait 1/3 second
    digitalWrite(LED_BUILTIN, LOW);
    delay(50);
  }
}

void loop() {
  // wait for data from p5 before doing something
  while (Serial.available()) {
    // digitalWrite(LED_BUILTIN, HIGH); // led on while receiving data
    if (Serial.read() == '\n') {
      // detecting the pressure sensor
      int PressureSensor = analogRead(A0);
       delay(5);

      int PressureSensor2 = analogRead(A2);
      delay(5);

      int PressureSensor3 = analogRead(A4);
      delay(5);

      int PressureSensor4 = analogRead(A6);
      delay(5);


      long duration, inches, cm;

  // The PING))) is triggered by a HIGH pulse of 2 or more microseconds.
  // Give a short LOW pulse beforehand to ensure a clean HIGH pulse:
  digitalWrite(trigPin, LOW);
  delayMicroseconds(2);
  digitalWrite(trigPin, HIGH);
  delayMicroseconds(10);
  digitalWrite(trigPin, LOW);
  // The same pin is used to read the signal from the PING))): a HIGH pulse
  // whose duration is the time (in microseconds) from the sending of the ping
  // to the reception of its echo off of an object.
  duration = pulseIn(echoPin, HIGH);

  // convert the time into a distance
  inches = microsecondsToInches(duration);

  Serial.print(PressureSensor);
  Serial.print(',');
  Serial.print(inches);
  Serial.print(',');
  Serial.print(PressureSensor2);
  Serial.print(',');
  Serial.print(PressureSensor3);
  Serial.print(',');
  Serial.println(PressureSensor4);

  delay(100);
    }
    // digitalWrite(LED_BUILTIN, LOW);
  }

}

long microsecondsToInches(long microseconds) {
  // According to Parallax's datasheet for the PING))), there are 73.746
  // microseconds per inch (i.e. sound travels at 1130 feet per second).
  // This gives the distance travelled by the ping, outbound and return,
  // so we divide by 2 to get the distance of the obstacle.
  // See: https://www.parallax.com/package/ping-ultrasonic-distance-sensor-downloads/
  return microseconds / 74 / 2;
}

long microsecondsToCentimeters(long microseconds) {
  // The speed of sound is 340 m/s or 29 microseconds per centimeter.
  // The ping travels out and back, so to find the distance of the object we
  // take half of the distance travelled.
  return microseconds / 29 / 2;
}
p5.js code:
The p5js code is too long to post here, so I’ll include aspects of code that I’m really proud of.
function startPlayingGame() {

// remember to calibrate the note accordingly
background(0);

console.log(note_piano);
if (note_piano > 200){
        if (freq_piano >= 1 && freq_piano <= 2){
          c4_piano.play(); c4_piano.setVolume(0.1);
    }
        else if (freq_piano >= 3 && freq_piano <= 4){
            d4_piano.play(); d4_piano.setVolume(0.1);
    }
        else if (freq_piano >= 5 && freq_piano <= 6){
            e4_piano.play(); e4_piano.setVolume(0.1);
    }
        else if (freq_piano >= 7 && freq_piano <= 8){
            f4_piano.play(); f4_piano.setVolume(0.1);
    }
        else if (freq_piano >= 9 && freq_piano <= 10){
            g4_piano.play(); g4_piano.setVolume(0.1);
    }
        else if (freq_piano >= 11 && freq_piano <= 12){
            a4_piano.play(); a4_piano.setVolume(0.1);
    }
        else if (freq_piano >= 13 && freq_piano <= 14){
            b4_piano.play(); b4_piano.setVolume(0.1);
    }
        else if (freq_piano >= 15 && freq_piano <= 16){
            c5_piano.play(); c5_piano.setVolume(0.1);
    }
        else if (freq_piano >= 17 && freq_piano <= 18){
            d5_piano.play(); d5_piano.setVolume(0.1);
    }
        else if (freq_piano >= 19 && freq_piano <= 20){
            e5_piano.play(); e5_piano.setVolume(0.1);
    }
        else if (freq_piano >= 21 && freq_piano <= 22){
            f5_piano.play(); f5_piano.setVolume(0.1);
    }
        else if (freq_piano >= 23 && freq_piano <= 24){
            g5_piano.play(); g5_piano.setVolume(0.1);
    }
        else if (freq_piano >= 25 && freq_piano <= 26){
            a5_piano.play(); a5_piano.setVolume(0.1);
    }
    else if (freq_piano >= 27 && freq_piano <= 28){
            b5_piano.play(); b5_piano.setVolume(0.1);
    }
  }


  if (drum > 200){
    if (freq_piano >= 1 && freq_piano <= 3){
      heavykick.play(); heavykick.setVolume(0.1);
    }
        else if (freq_piano >= 4 && freq_piano <= 6){
            lightkick.play();
            lightkick.setVolume(0.1);}

            else if (freq_piano >= 7 && freq_piano <= 9){
              snaresidekick.play();
              snaresidekick.setVolume(0.1);}

              else if (freq_piano >= 10 && freq_piano <= 12){
                lowtom.play();
                lowtom.setVolume(0.1);}

                else if (freq_piano >= 13 && freq_piano <= 15){
                  snarecenter.play();
                  snarecenter.setVolume(0.1);}

                  else if (freq_piano >= 16 && freq_piano <= 18){
                    hihatopen.play();
                    hihatopen.setVolume(0.1);}

                    else if (freq_piano >= 19 && freq_piano <= 21){
                      hitom.play();
                      hitom.setVolume(0.1);}

                      else if (freq_piano >= 22 && freq_piano <= 24){
                        crash.play();
                        crash.setVolume(0.1);}

  }

  if (guitar > 200){
    if (freq_piano >= 1 && freq_piano <= 3){
      c3_guitar.play();
      c3_guitar.setVolume(0.1);
    }

    else if (freq_piano >= 4 && freq_piano <= 6){
      d3_guitar.play();
      d3_guitar.setVolume(0.1);
    }

    else if (freq_piano >= 7 && freq_piano <= 9){
      e3_guitar.play();
      e3_guitar.setVolume(0.1);
    }

    else if (freq_piano >= 10 && freq_piano <= 12){
      f3_guitar.play();
      f3_guitar.setVolume(0.1);
    }

    else if (freq_piano >= 13 && freq_piano <= 15){
      g3_guitar.play();
      g3_guitar.setVolume(0.1);
    }

    else if (freq_piano >= 16 && freq_piano <= 18){
      a3_guitar.play();
      a3_guitar.setVolume(0.1);
    }

    else if (freq_piano >= 19 && freq_piano <= 21){
      b3_guitar.play();
      b3_guitar.setVolume(0.1);
    }
  }


  if (synth > 200){
    if (freq_piano >= 1 && freq_piano <= 3){
      c6_synth.play();
      c6_synth.setVolume(0.1);
    }

    else if (freq_piano >= 4 && freq_piano <= 6){
      d6_synth.play();
      d6_synth.setVolume(0.1);
    }
    else if (freq_piano >= 7 && freq_piano <= 9){
      e6_synth.play();
      e6_synth.setVolume(0.1);
    }

    else if (freq_piano >= 10 && freq_piano <= 12){
      f6_synth.play();
      f6_synth.setVolume(0.1);
    }

    else if (freq_piano >= 13 && freq_piano <= 15){
      g6_synth.play();
      g6_synth.setVolume(0.1);
    }

    else if (freq_piano >= 16 && freq_piano <= 18){
      a6_synth.play();
      a6_synth.setVolume(0.1);
    }

    else if (freq_piano >= 19 && freq_piano <= 21){
      b6_synth.play();
      b6_synth.setVolume(0.1);
    }
  }
// Visualization for the drum
  push()
    angleMode(DEGREES);
    colorMode(HSB);
    spectrum2 = fft2.analyze();

    // background(0);

    noStroke();
    translate(windowWidth / 2, windowHeight / 2);
    //beginShape();
    for (let i = 0; i < spectrum2.length; i++) {
      let angle = map(i, 0, spectrum2.length, 0, 360);
      let amp = spectrum2[i];

    //change the shape of the visualizer
      let r2 = map(amp, 0, 512, 50, 500);

    //create the circle
      let x2 = (r2 + 50) * cos(angle);
      let y2 = (r2 + 50) * sin(angle);

    //color the bar
      stroke(i, 100, 100);
      line(0, 0, x2, y2);
      }
  pop()

    angleMode(RADIANS)


// Visualization for the piano
  push()
  fill(0, 0, 0, 5);
  stroke(0, 255, 255);
  angleMode(RADIANS)

    for (let i = 0; i < n; i++) {
      theta.push(random(0, 2 * PI));
      dir.push(1);
      r.push(random(30, 380));
      rdir.push(1);
      c.push(createVector(windowWidth/2, windowHeight/2));
    }

    rect(0, 0, windowWidth, windowHeight);
    let spectrum = fft.analyze();

    // Calculate average amplitude to detect beats
    let level = amplitude.getLevel();

    // Adjust animation based on music intensity or beats
    for (let i = 0; i < n; i++) {
      theta[i] = theta[i] + (PI / 100) * dir[i];
      rdir[i] = checkr(rdir[i], r[i]);
      r[i] = r[i] + rdir[i];
      x = c[i].x + r[i] * cos(theta[i]);
      y = c[i].y + r[i] * sin(theta[i]);
      point(x, y);

      // modify animation based on beat detection
      let bass = fft.getEnergy("bass");
      let treble = fft.getEnergy("treble");

      // adjust wave parameters based on music energy
      r[i] = map(bass, 0, 255, 30, 380);
      dir[i] = map(treble, 0, 255, -1, 1);
  }
  pop()

// waveform visualization
  push()
    angleMode(DEGREES);
    stroke('rgb(255,182,222)');
    noFill();
    translate(windowWidth / 2, windowHeight / 2);

    let wave = fft_waveform.waveform();

    for (let k = -1; k <= 1; k += 2) {
      beginShape();
      for (let i = 0; i <= 180; i+= 0.7) {
        let j = floor(map(i, 0, windowWidth, 0, wave.length - 1));

        let r3 = map(wave[j], -1, 1, 100, 250);

        let x3 = r3 * sin(i) * k;
        let y3 = r3 * cos(i);
        vertex(x3, y3);
      }
      endShape();
    }
  pop()

// waveform of the particles
  push()
    translate(windowWidth/2, windowHeight/2);

    let spectrum4 = fft_particles.analyze(); // Analyze frequency spectrum

    // console.log(spectrum);

    let currentHasFrequency = spectrum4.some(freq => freq > 0);

    // If frequency detected and no particle created for this frequency yet
    if (currentHasFrequency && !particleCreated && spectrum4[0]) {
      let p = new Particle();
      particles.push(p);
      particleCreated = true; // Set flag to true to prevent continuous particle creation for this frequency
    }

    // Update and display particles
    for (let i = particles.length - 1; i >= 0; i--) {
      particles[i].show();
      particles[i].update();
    }

    // Reset flag after particle creation
    if (particleCreated && particles.length > 0) {
      particleCreated = false;
    }
  pop()
// function to initiate commands.
function keyPressed() {
  if (key == " ") {
    setUpSerial();
  }

  if (key == 'r') {
    startRecording();
  } else if (key == 's') {
    stopRecording();
  } else if (key == 'p') {
    playRecording();
  } else if (key == 'l') {
    loopRecording();
  }
}


// functions to initiate music-making options
function startRecording() {
  recorder.record(soundFile);
  console.log('Recording started...');
  recordingStarted = true;
}

function stopRecording() {
  recorder.stop();
  console.log('Recording stopped.');
}

function playRecording() {
  soundFile.play();
  console.log('Playback started...');
}

function loopRecording(){
  soundFile.loop();
    isLooping = true;
}
Communication between Arduino and p5.js:
From p5js side:
function readSerial(data) {
  ////////////////////////////////////
  //READ FROM ARDUINO HERE
  ////////////////////////////////////

  if (data != null) {
    // make sure there is actually a message
    // split the message
    let fromArduino = split(trim(data), ",");
    print(fromArduino);
    // if the right length, then proceed
    if (fromArduino.length == 5) {
      // only store values here
      // do everything with those values in the main draw loop

      // We take the string we get from Arduino and explicitly
      // convert it to a number by using int()
      // e.g. "103" becomes 103

      if (isLooping == false){
        note_piano = int(fromArduino[0]);
        drum = int(fromArduino[2]);
        guitar = int(fromArduino[3]);
        synth = int(fromArduino[4]);
      }

      // get frequency for all types of sound
      freq_piano = int(fromArduino[1]);

      if (!recordingStarted && freq_piano != 0) {
        startRecording(); // Start recording
      }
    }
    //////////////////////////////////
    //SEND TO ARDUINO HERE (handshake) - MUST have these lines for Arduino to send to p5
    //////////////////////////////////
    let sendToArduino = fromArduino + "\n";
    writeSerial(sendToArduino);
  }
From Arduino side:
Serial.print(PressureSensor);
  Serial.print(',');
  Serial.print(inches);
  Serial.print(',');
  Serial.print(PressureSensor2);
  Serial.print(',');
  Serial.print(PressureSensor3);
  Serial.print(',');
  Serial.println(PressureSensor4);
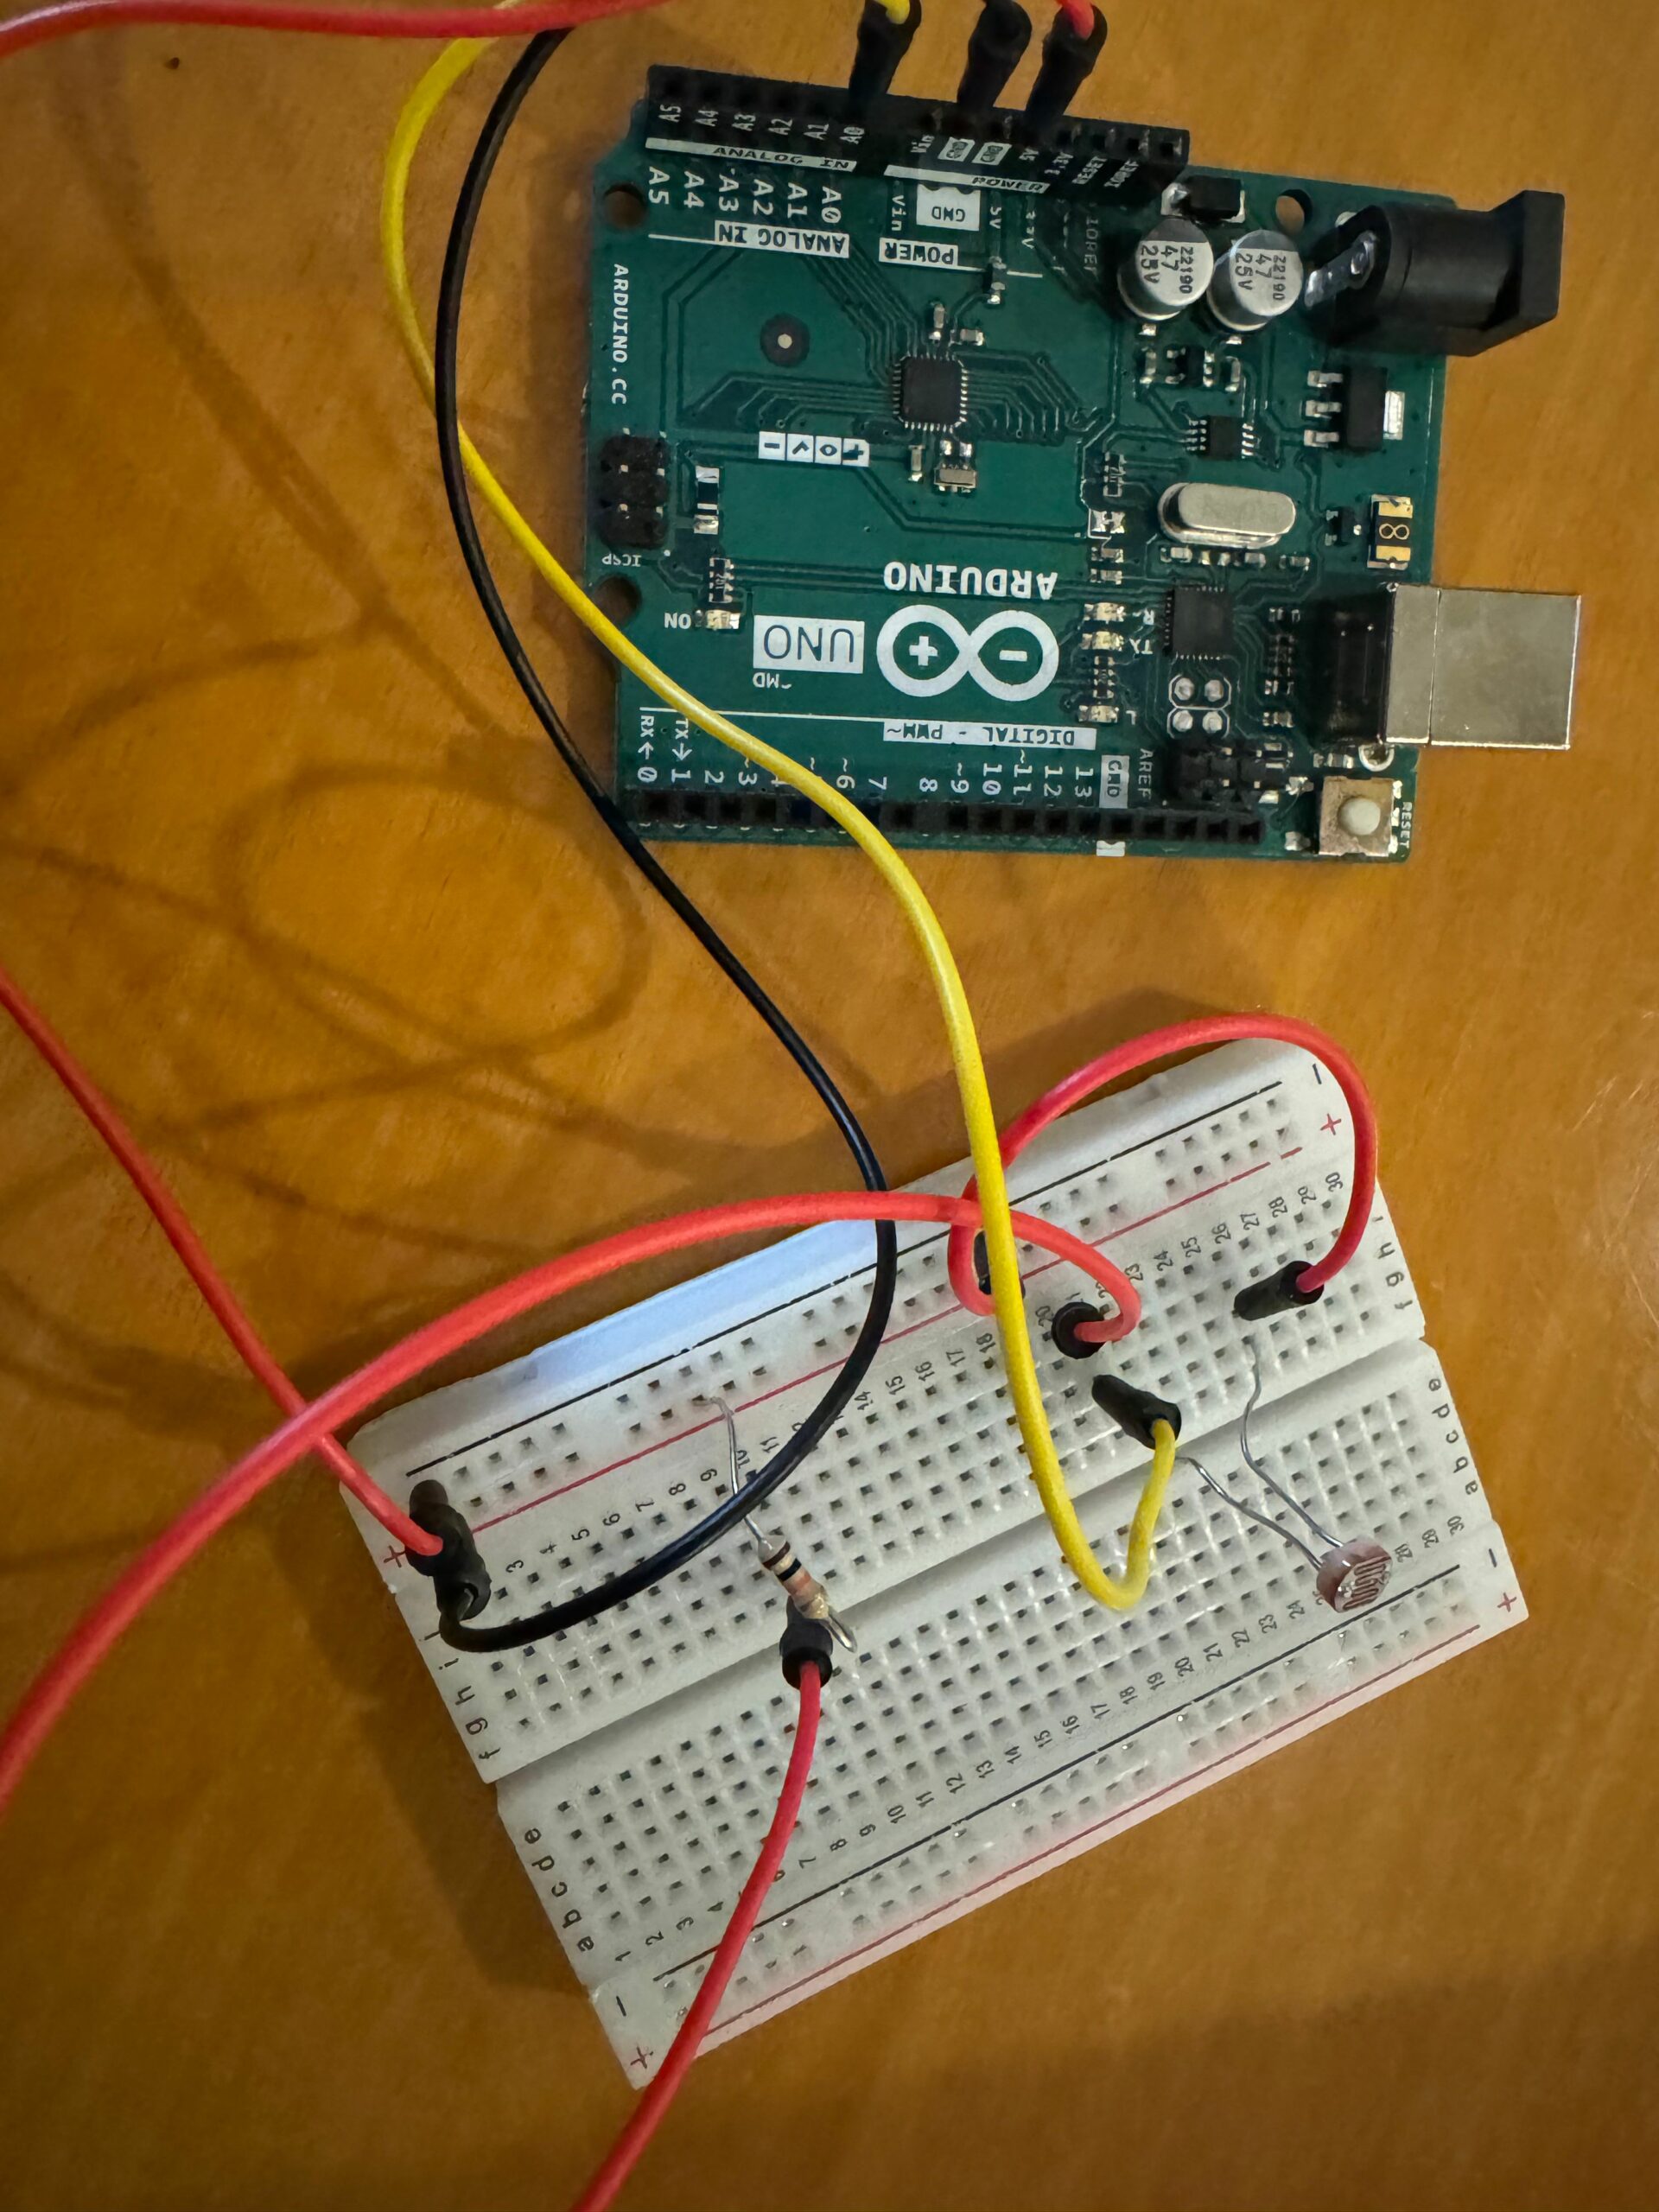
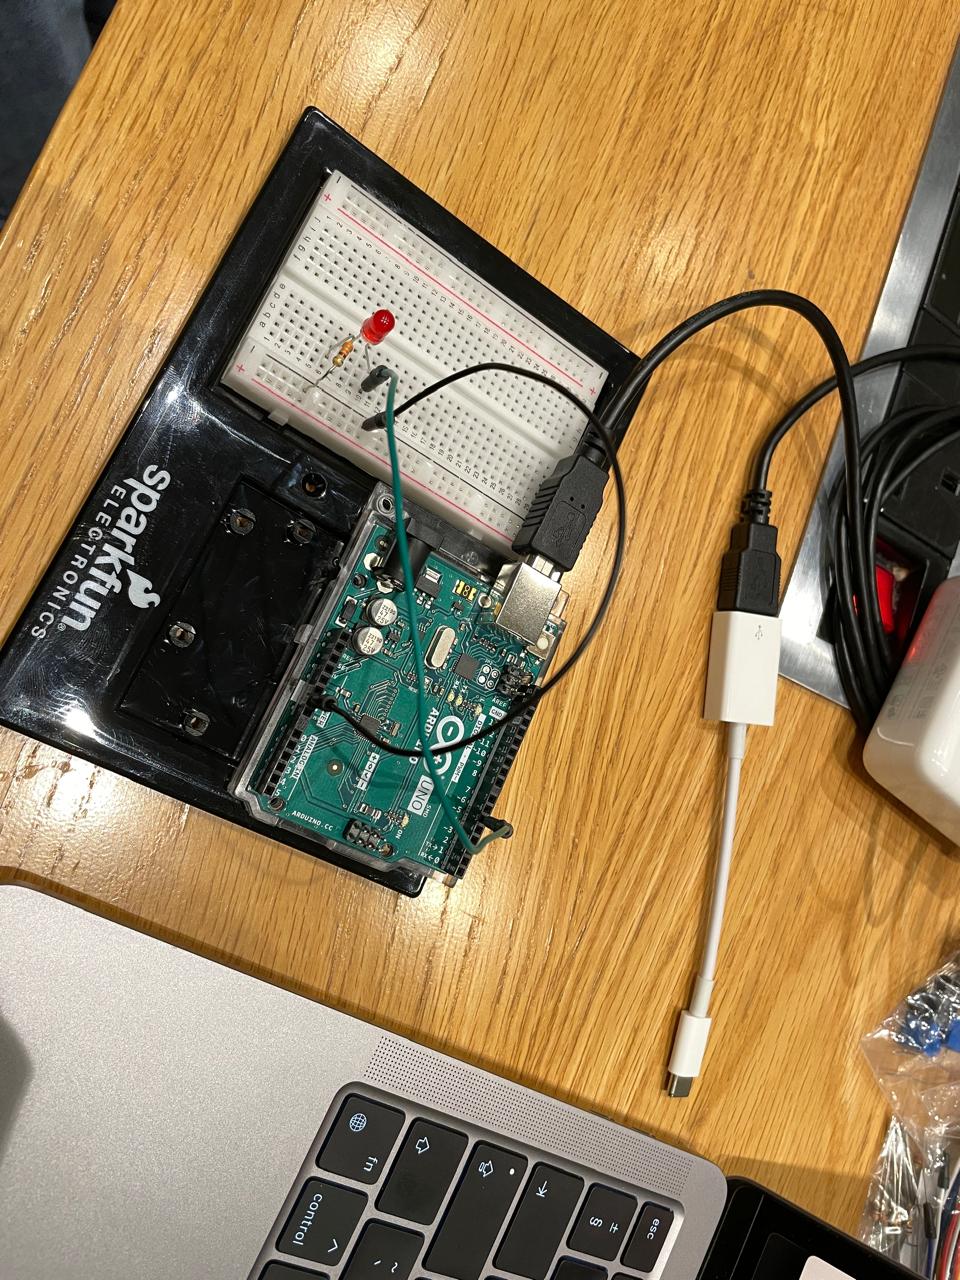
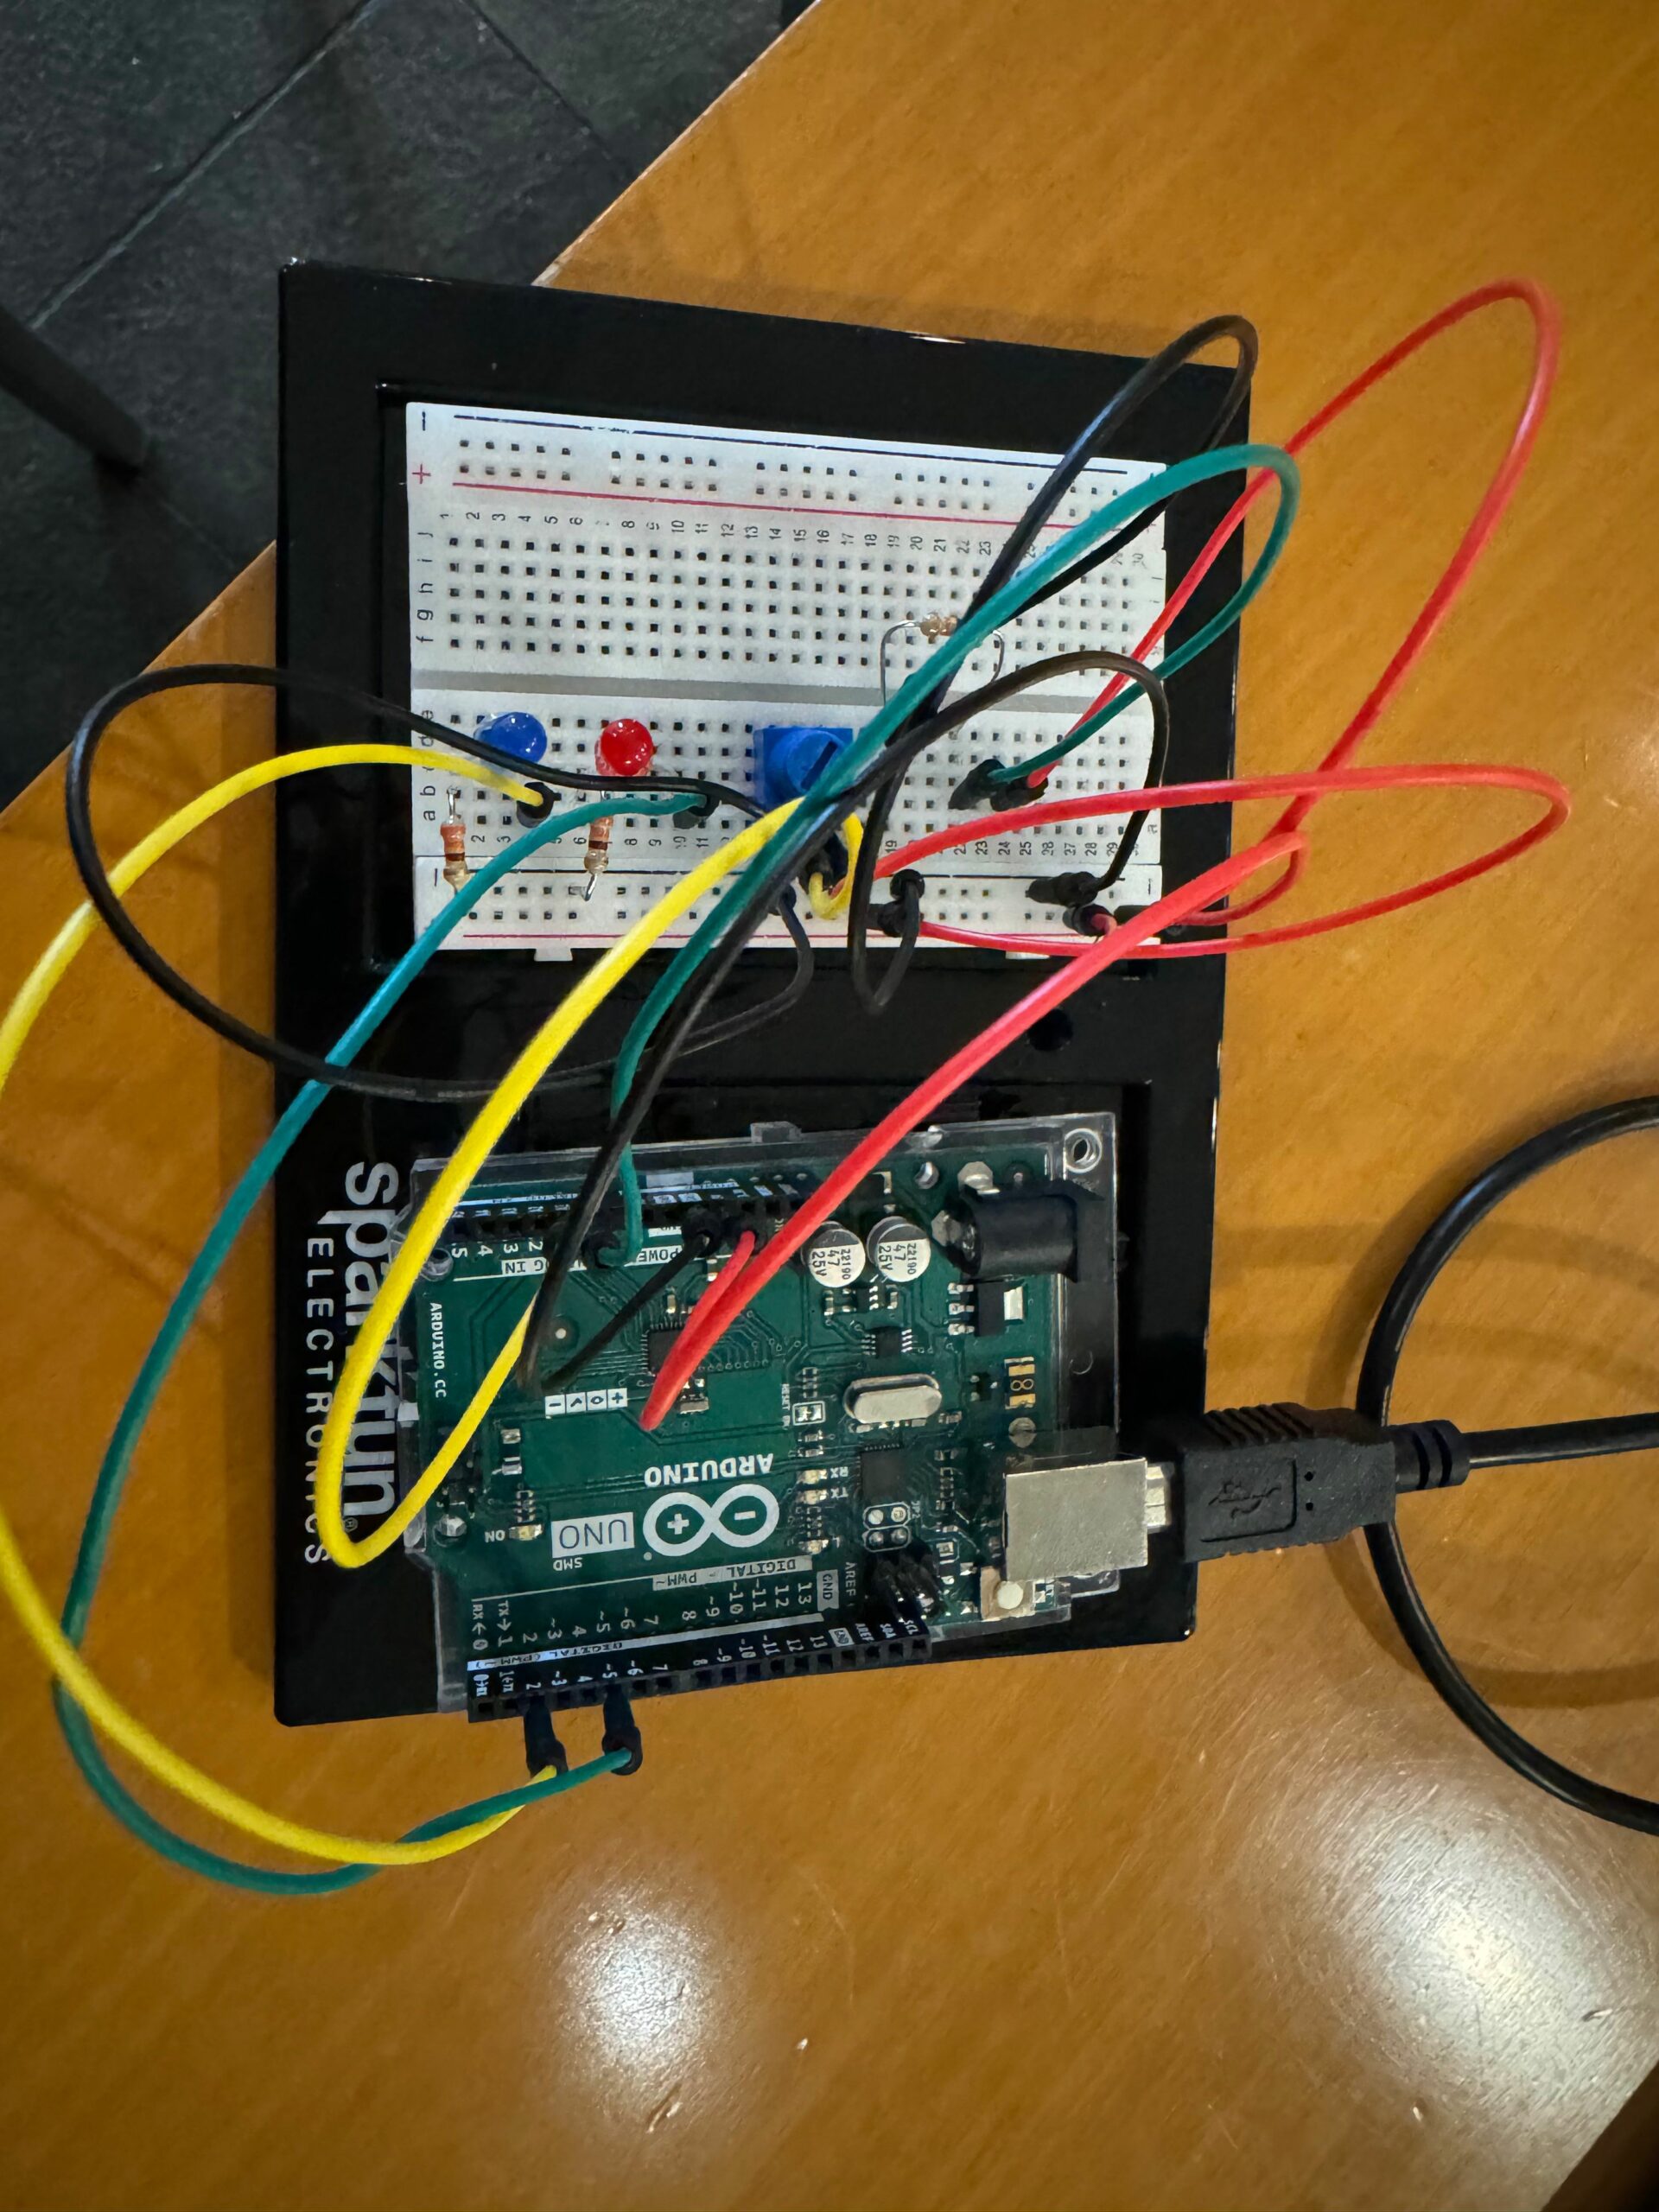
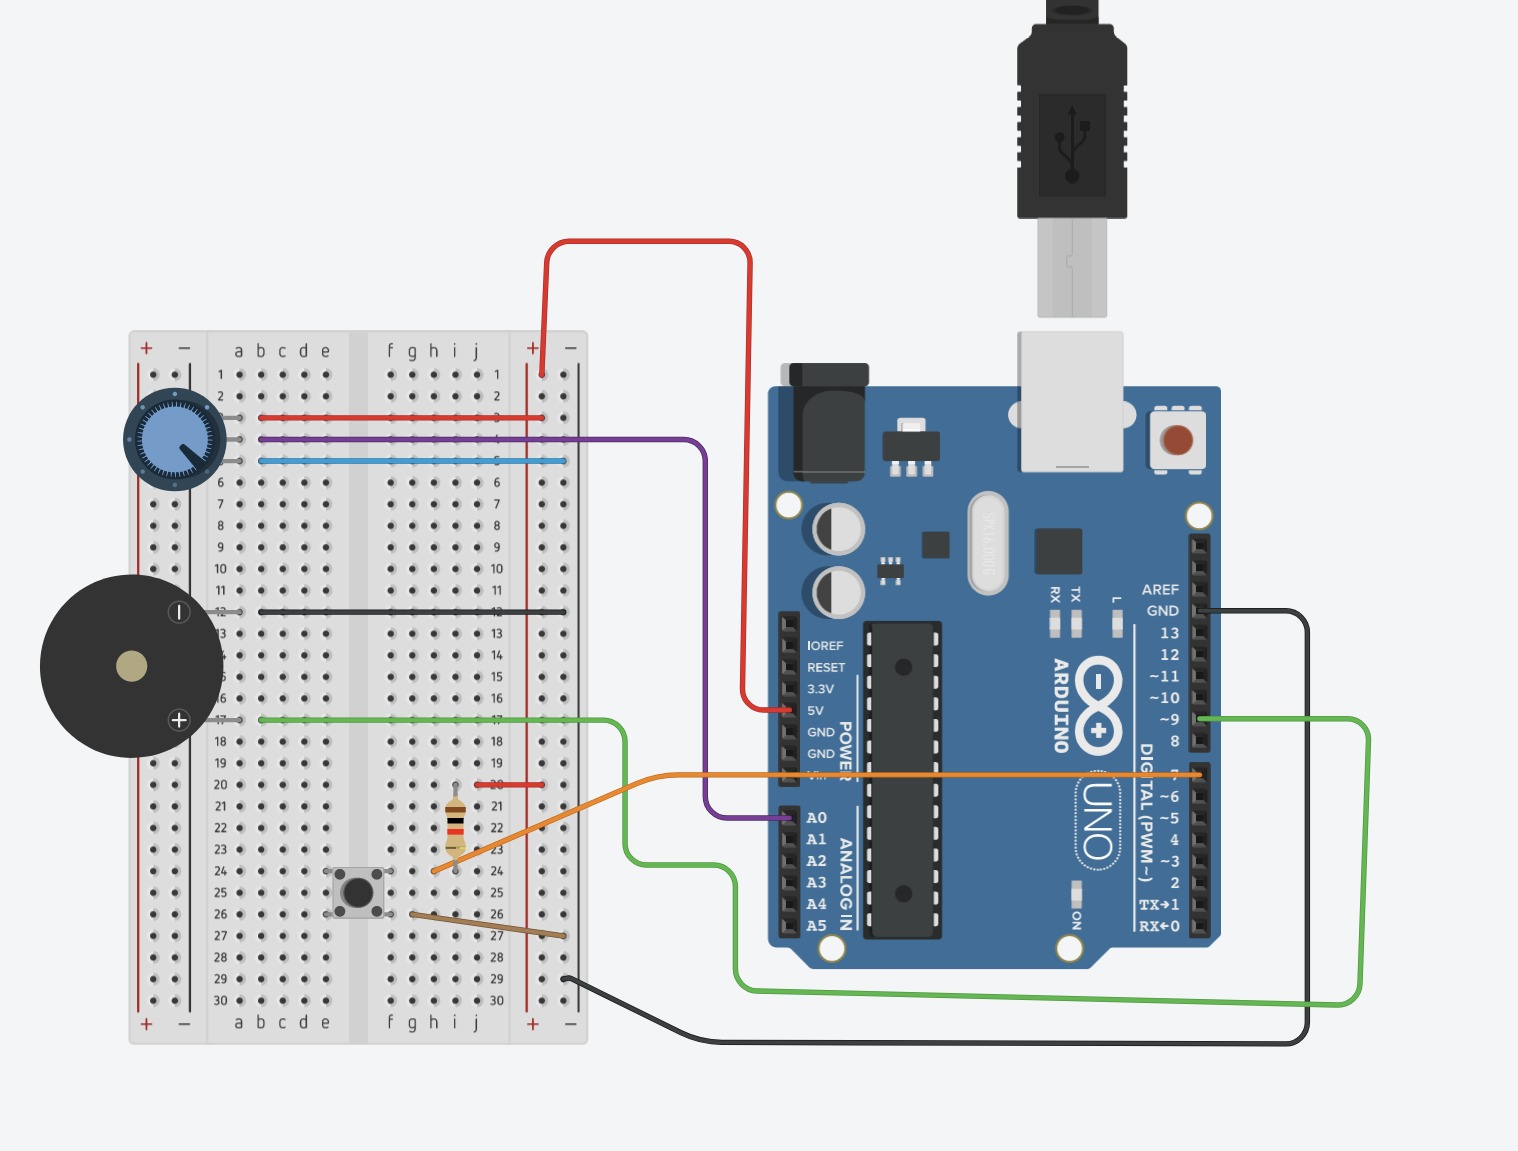
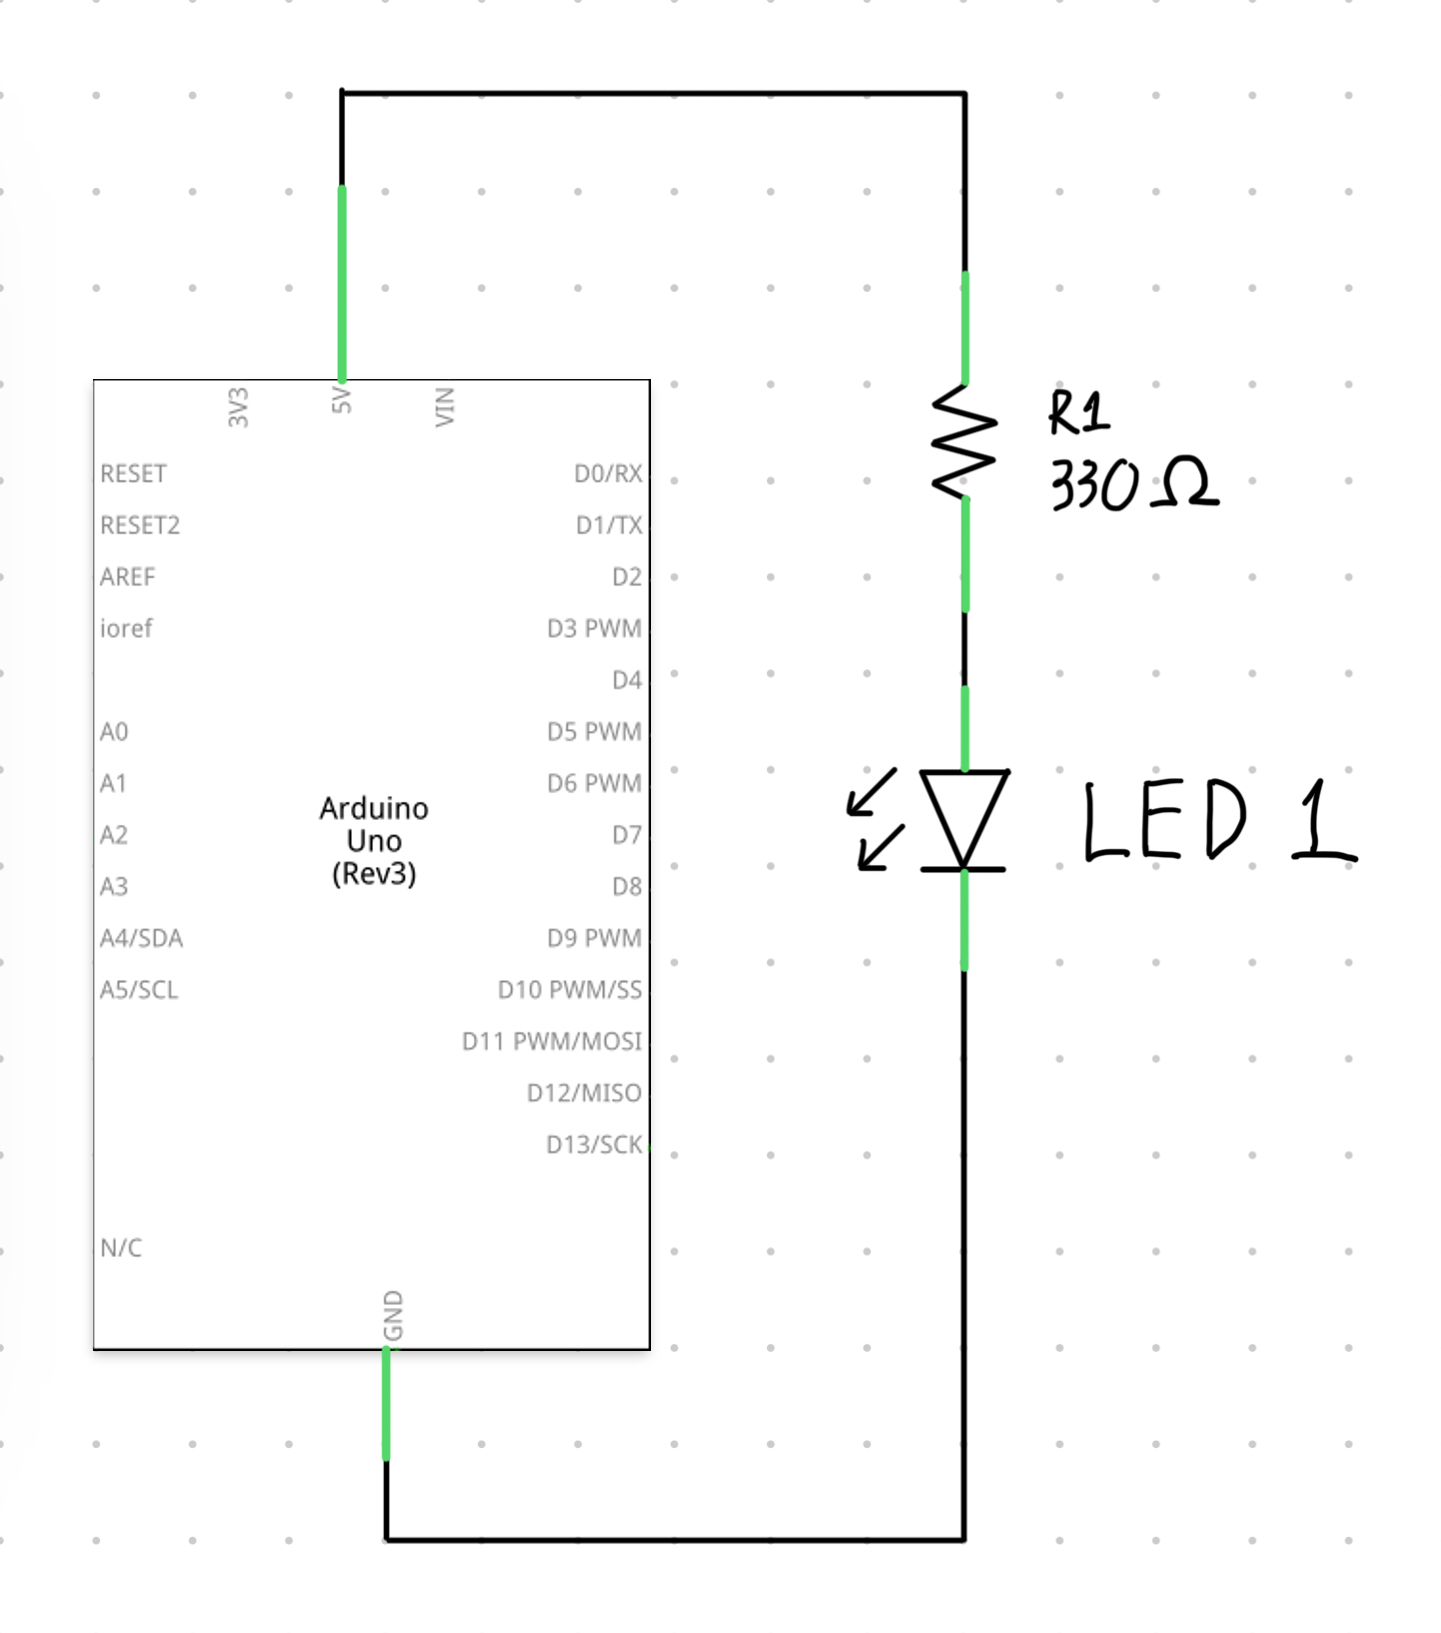
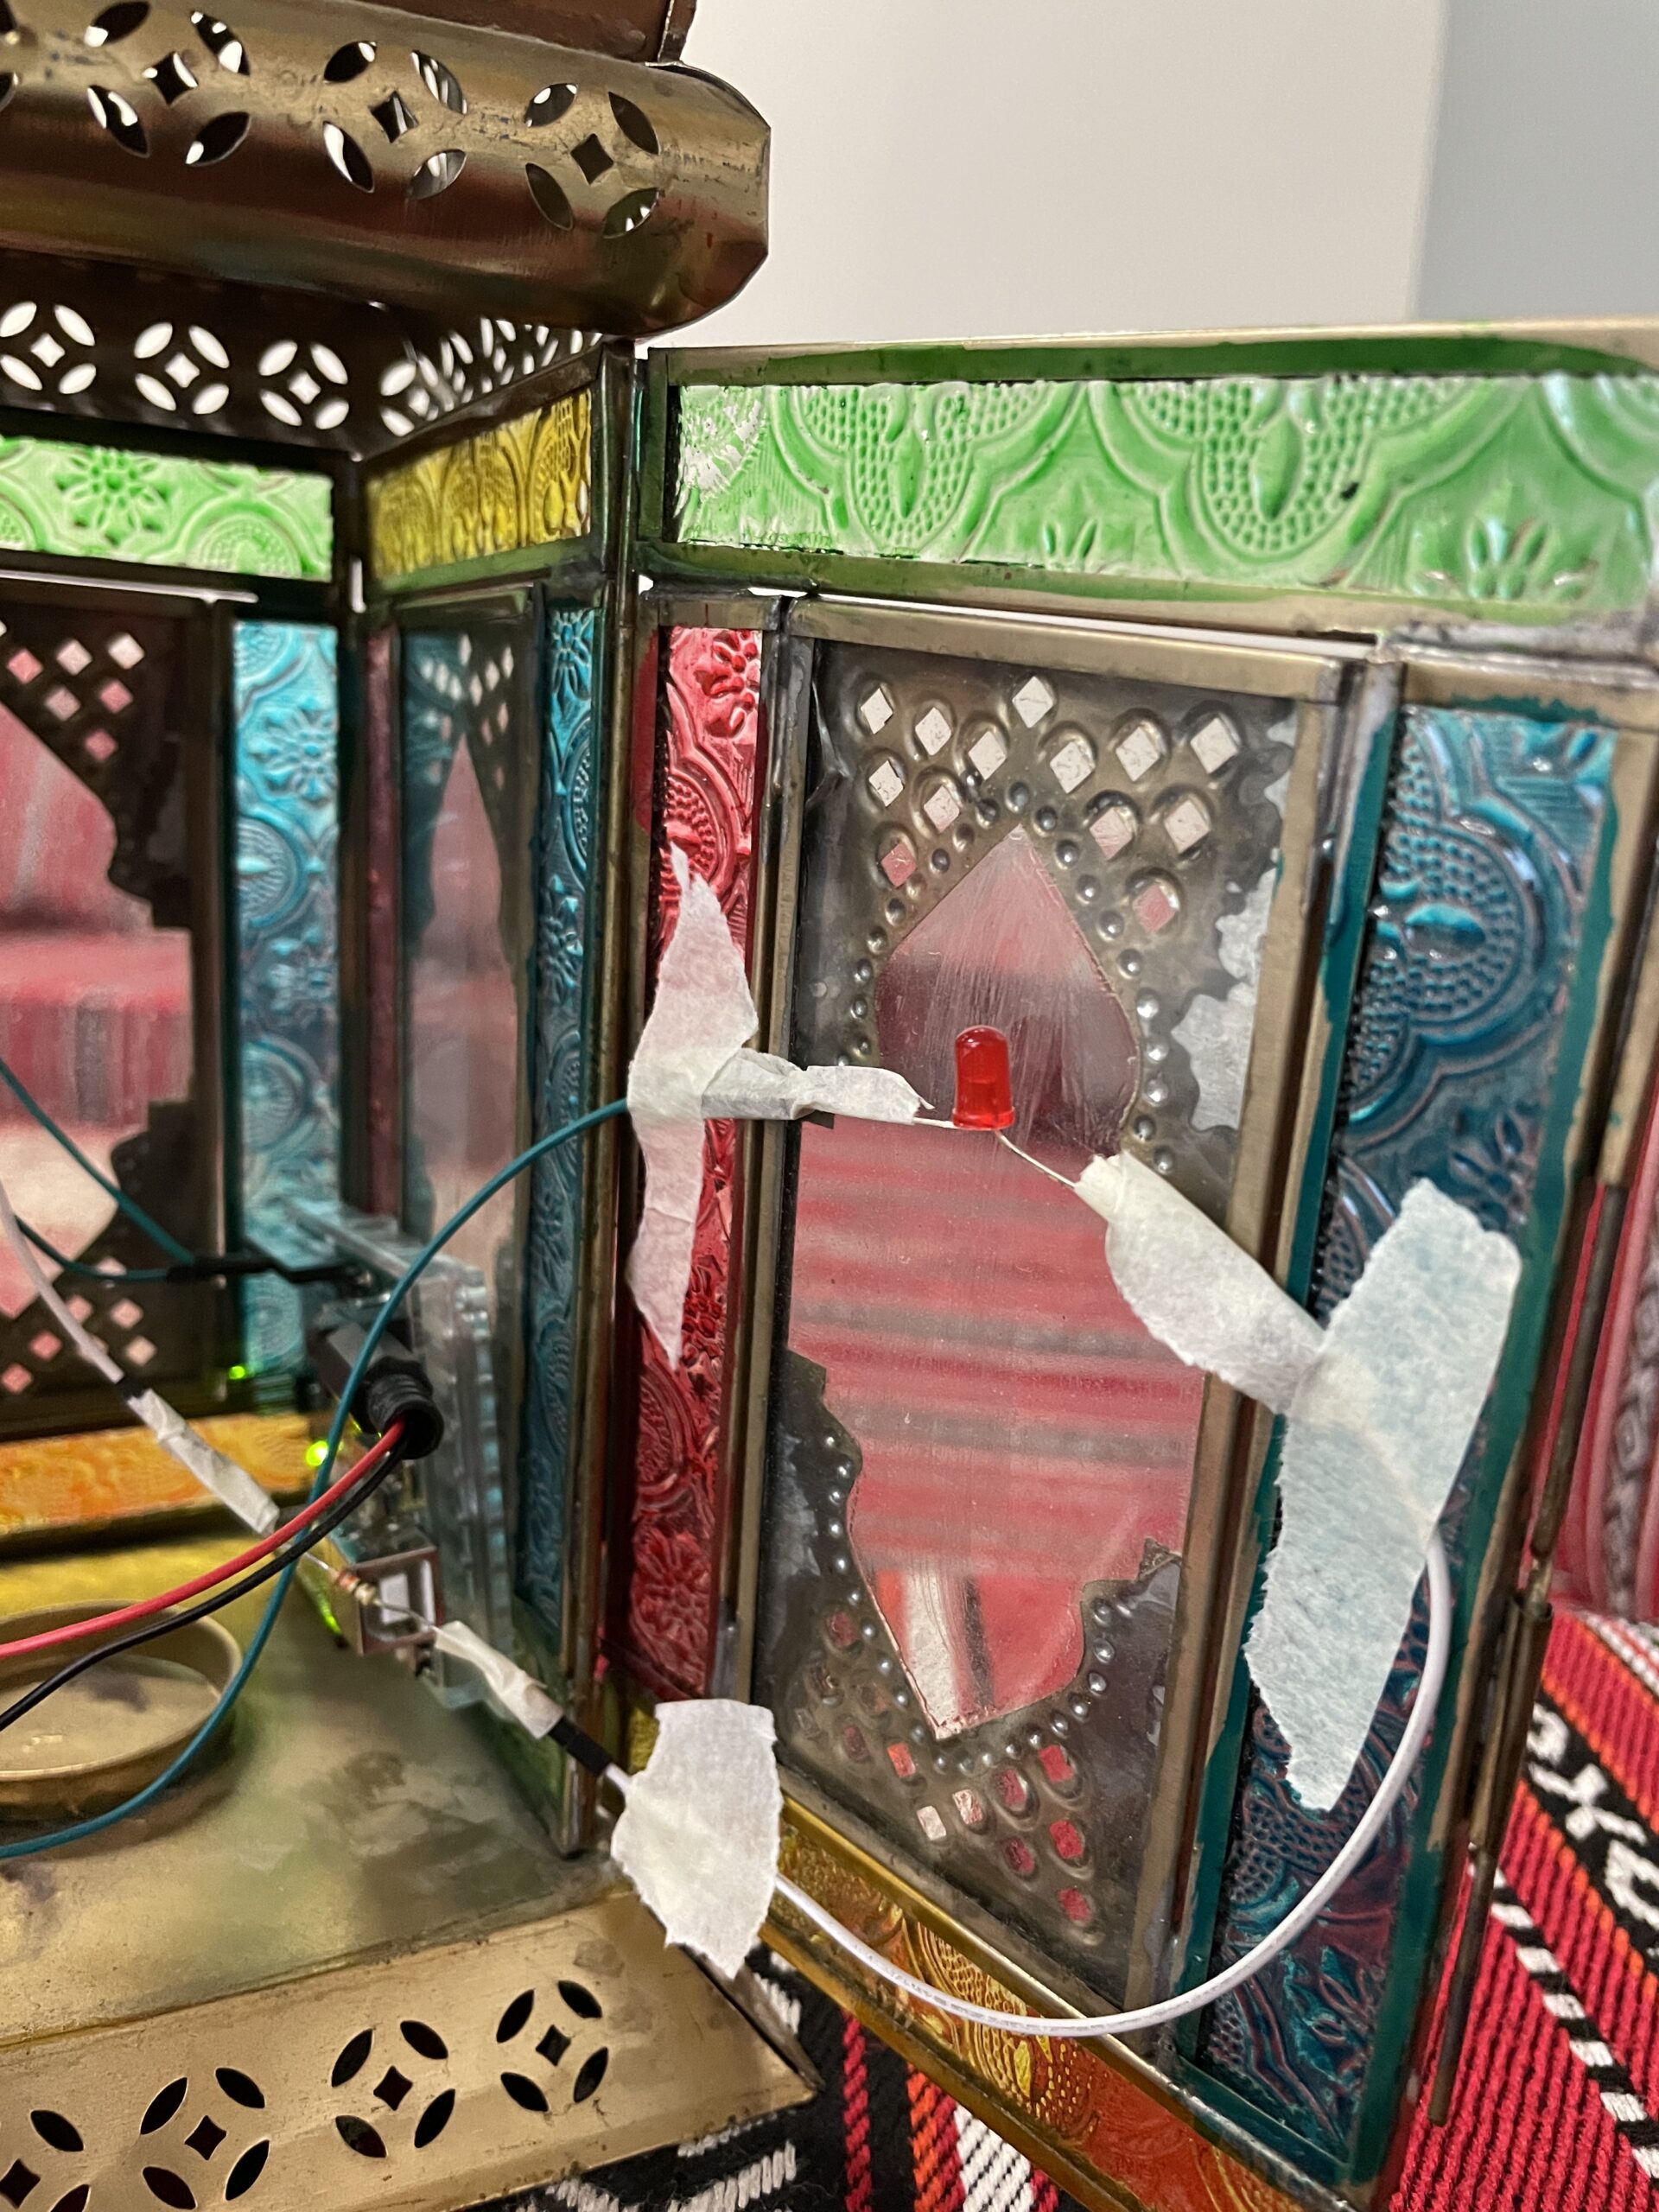
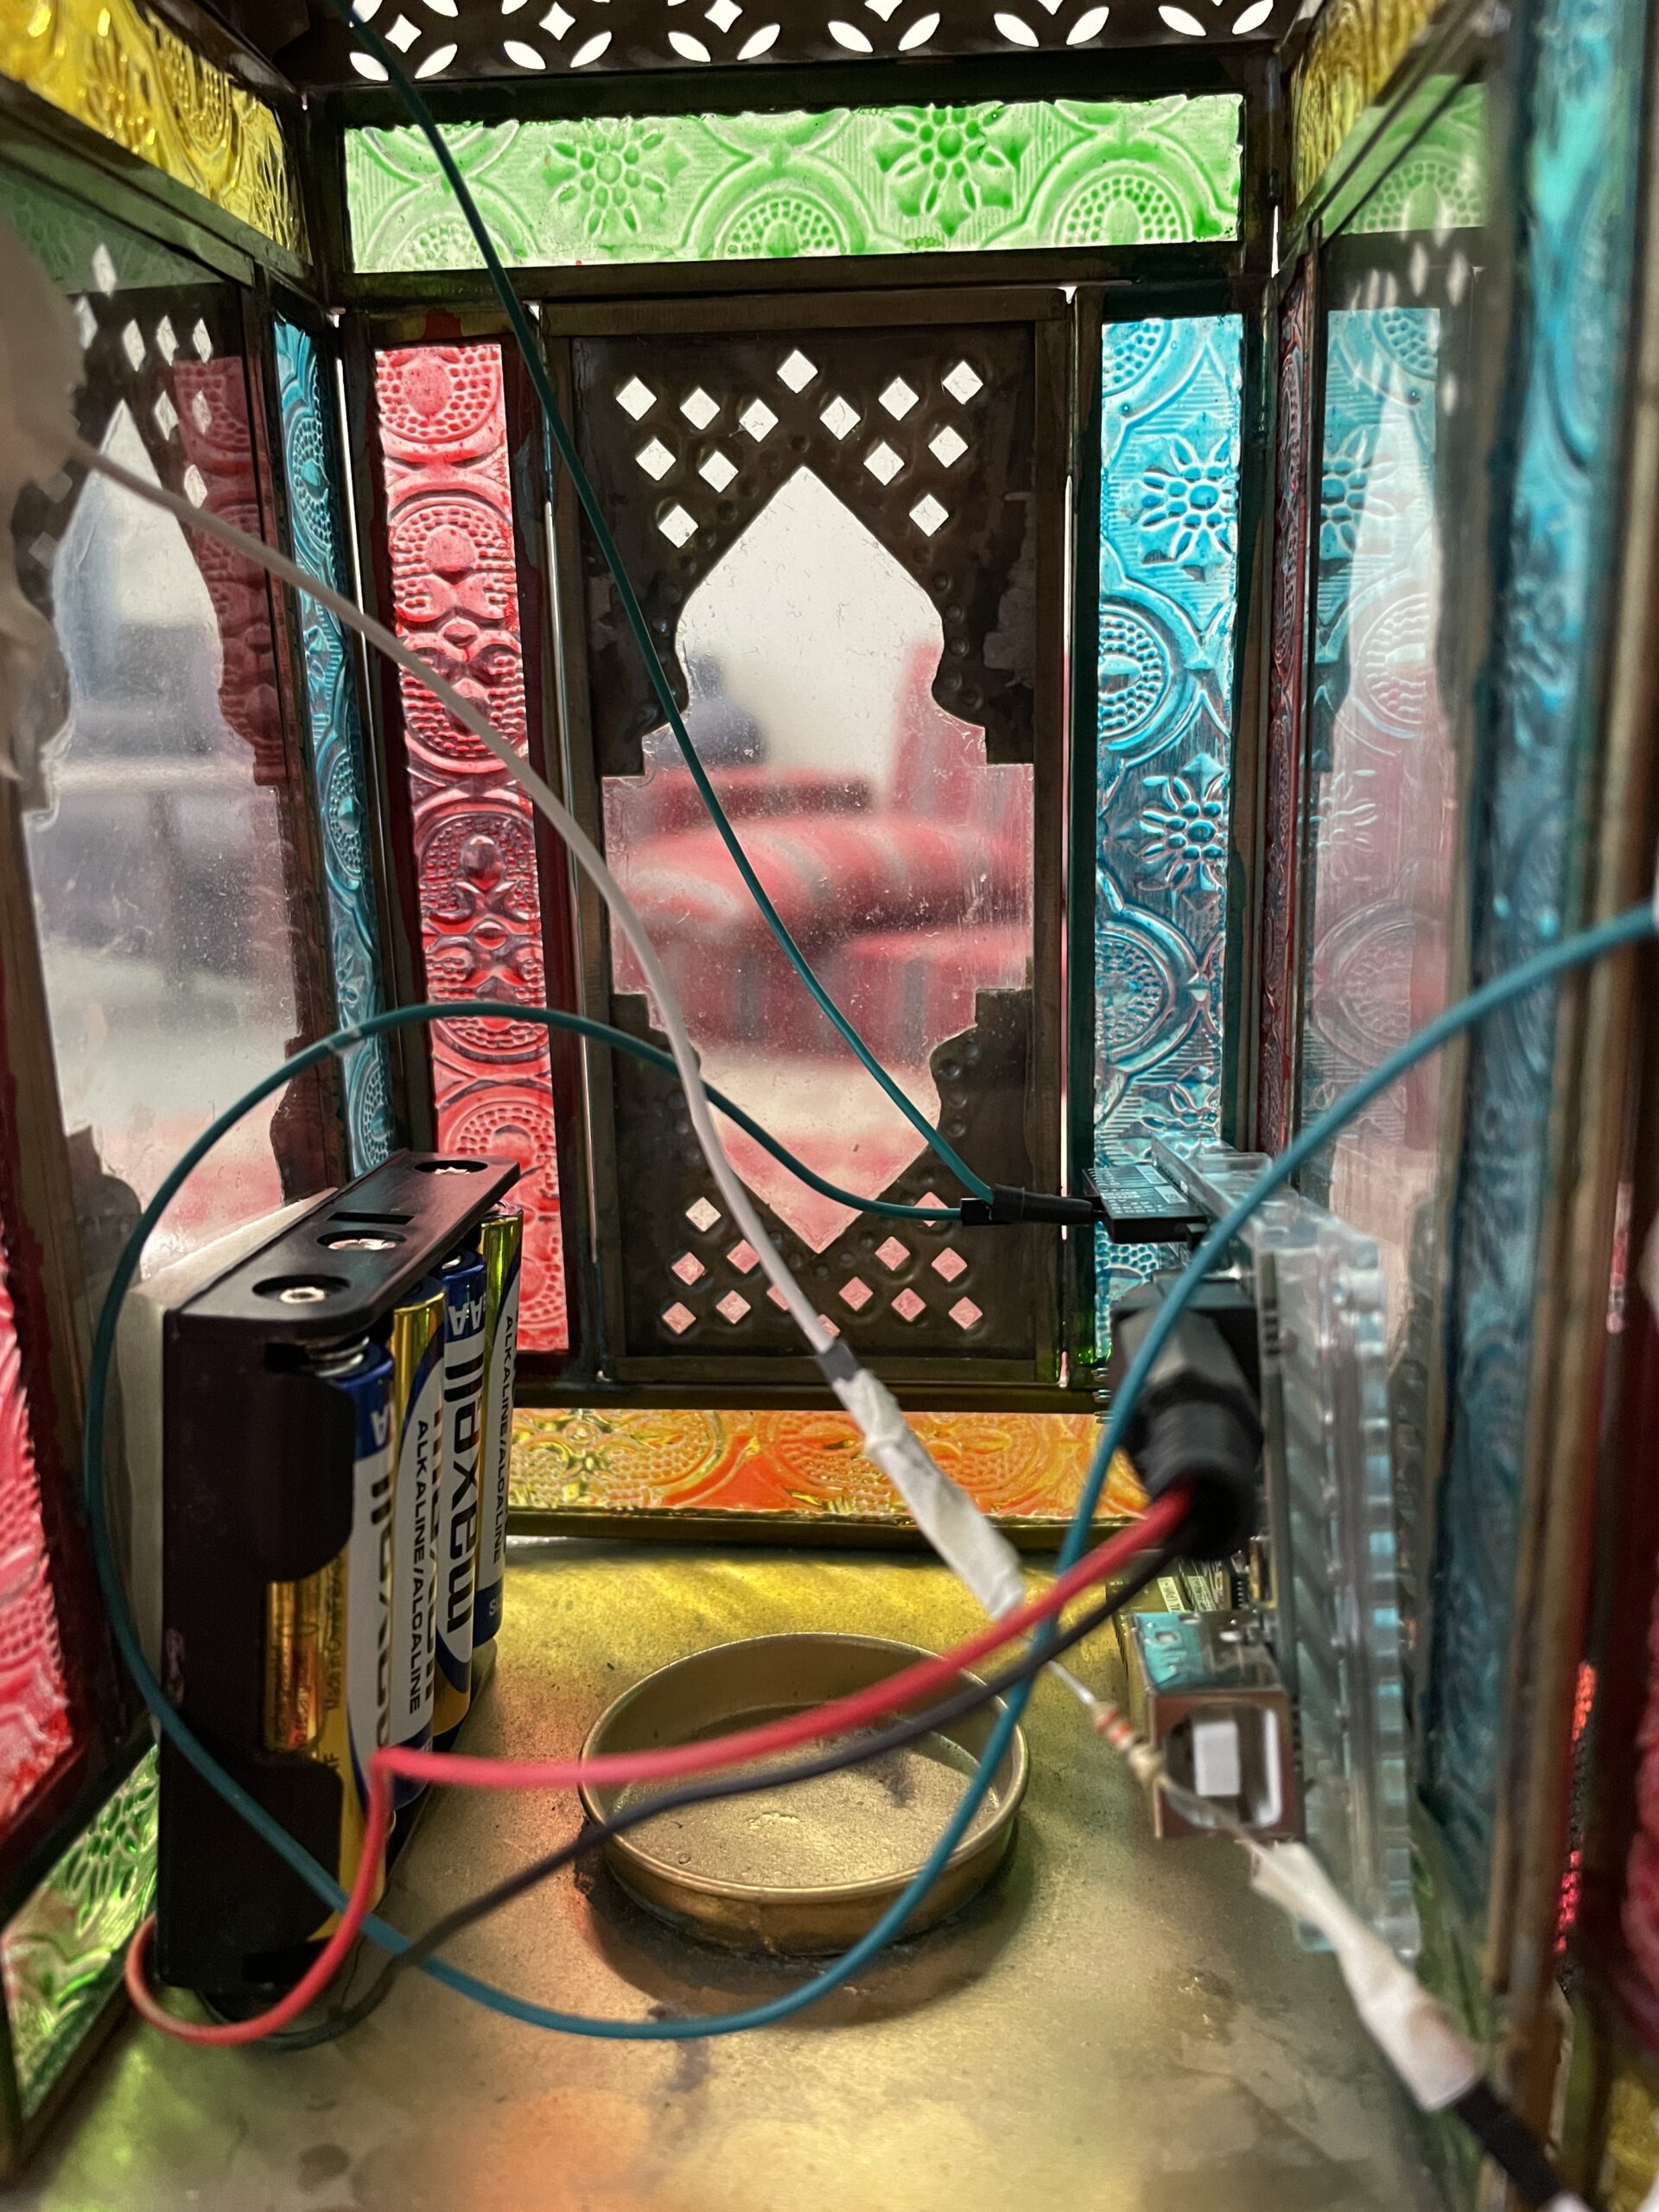
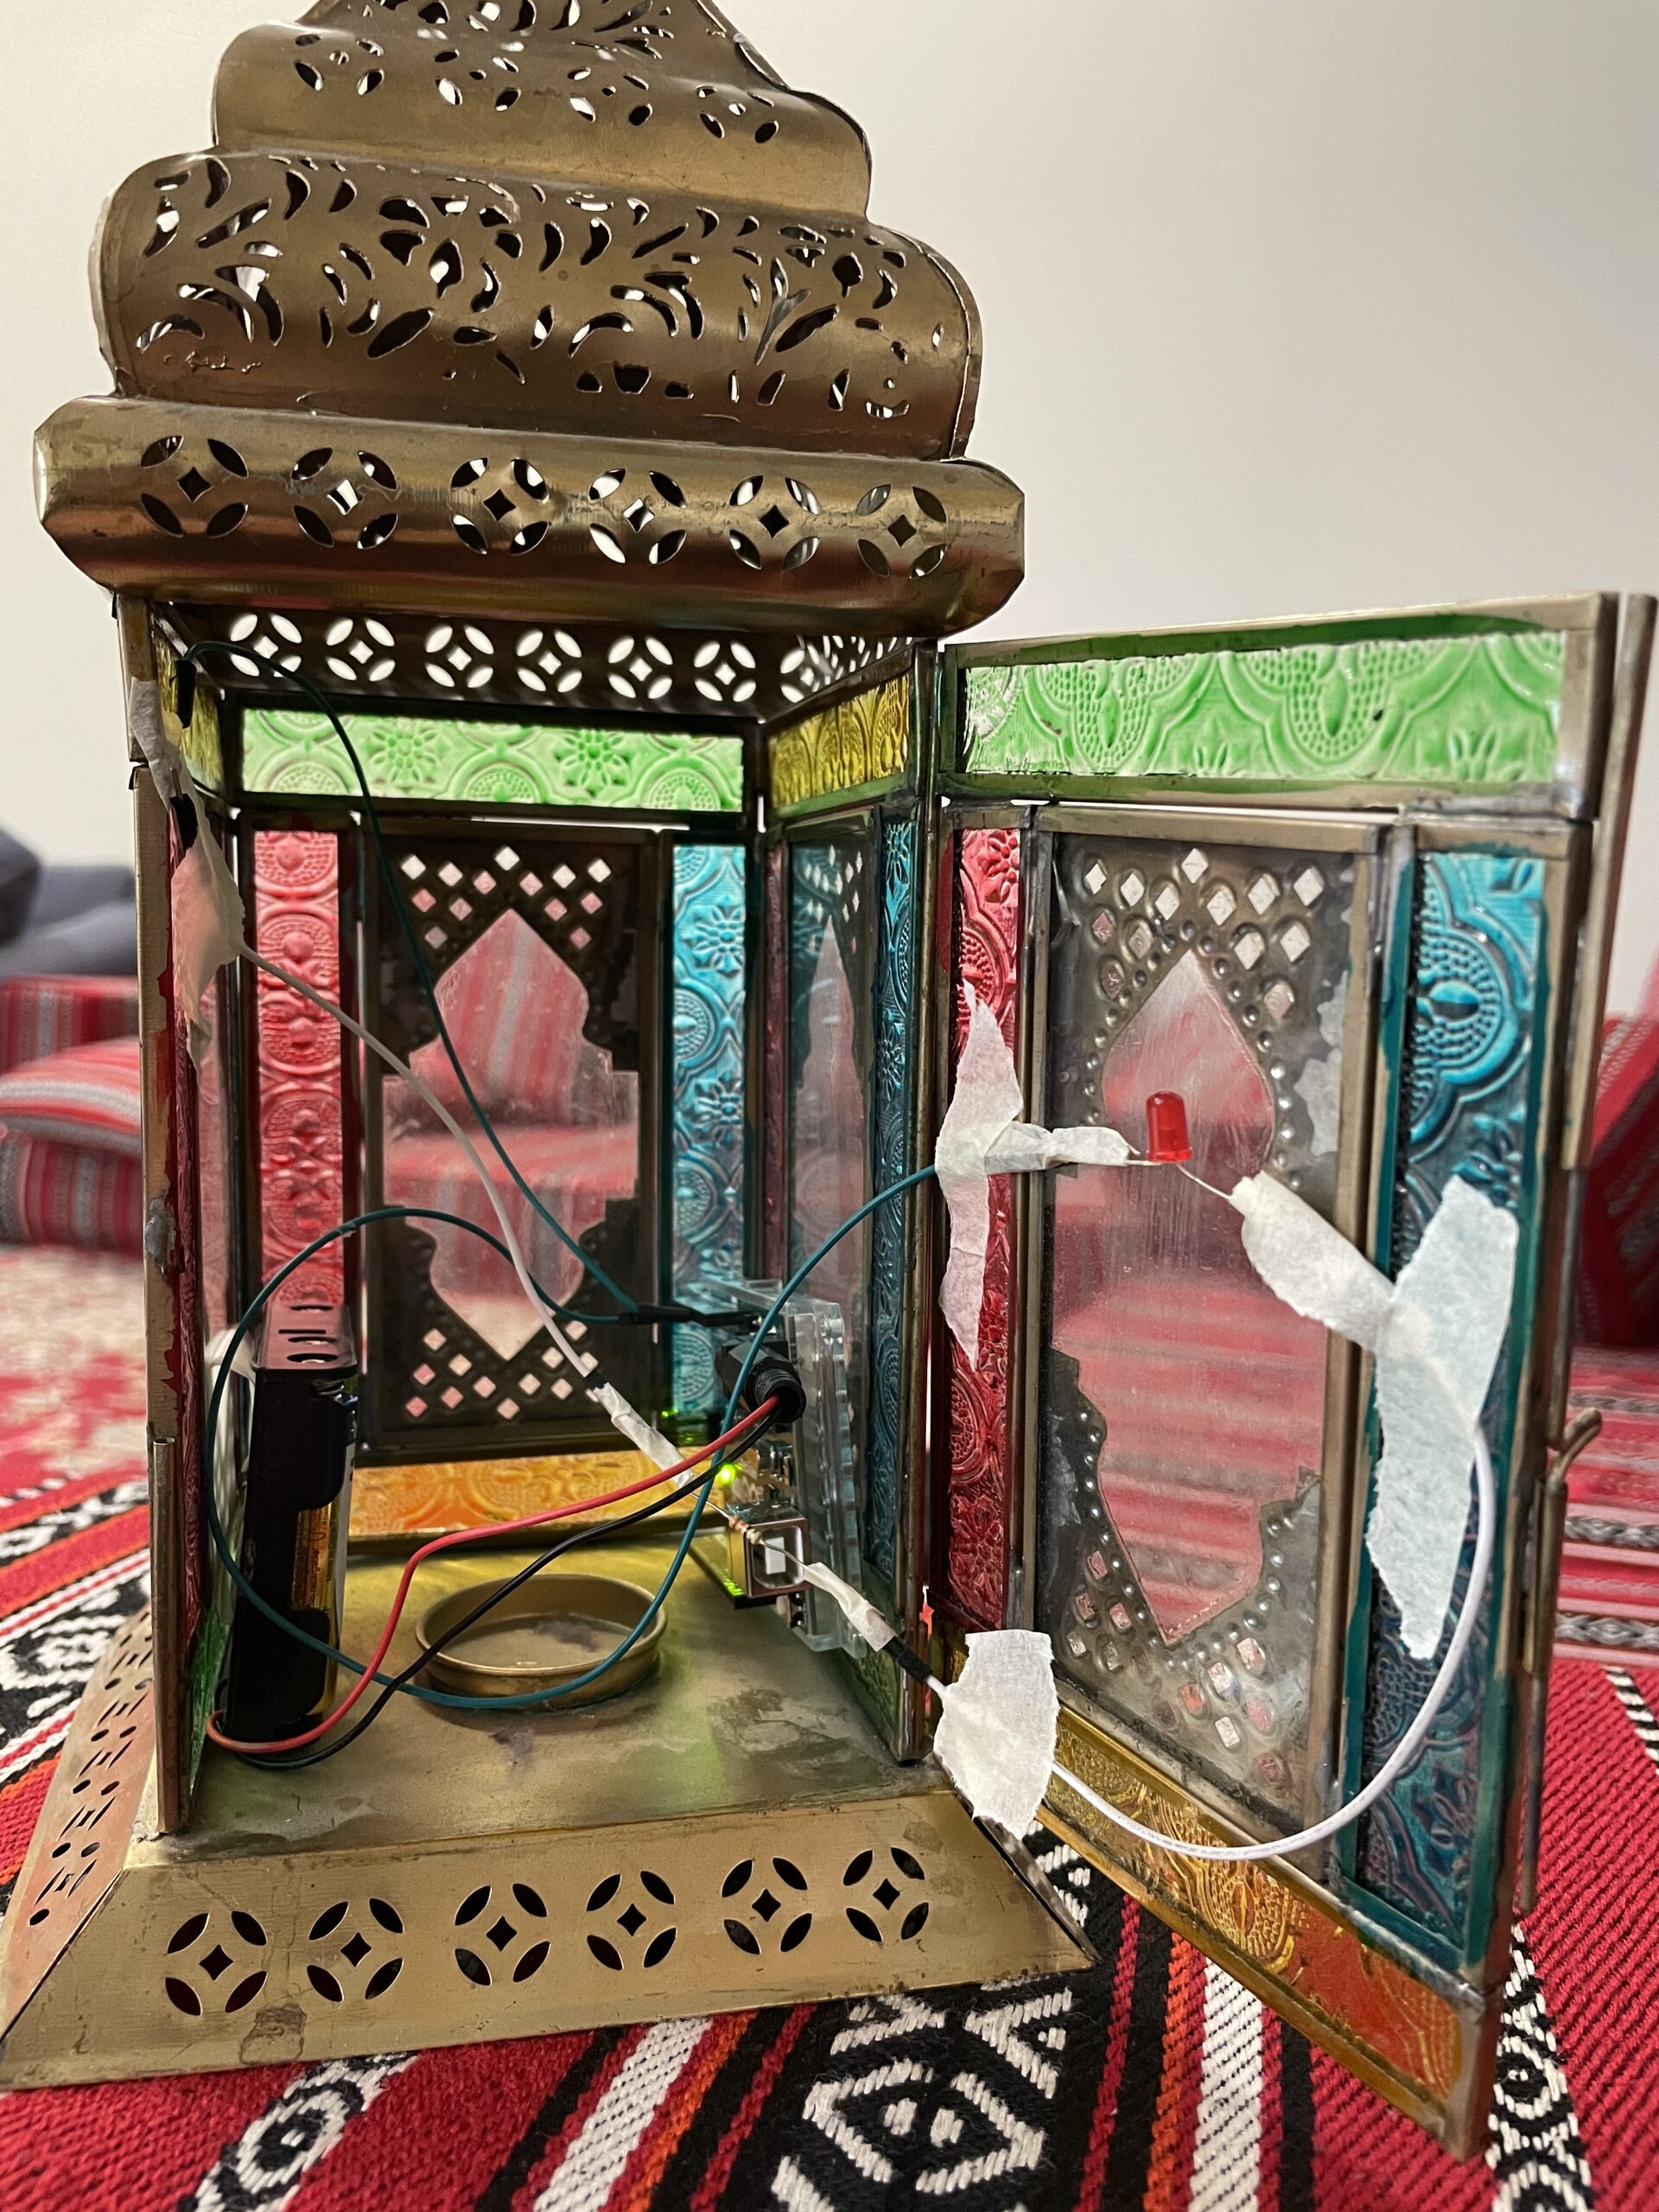
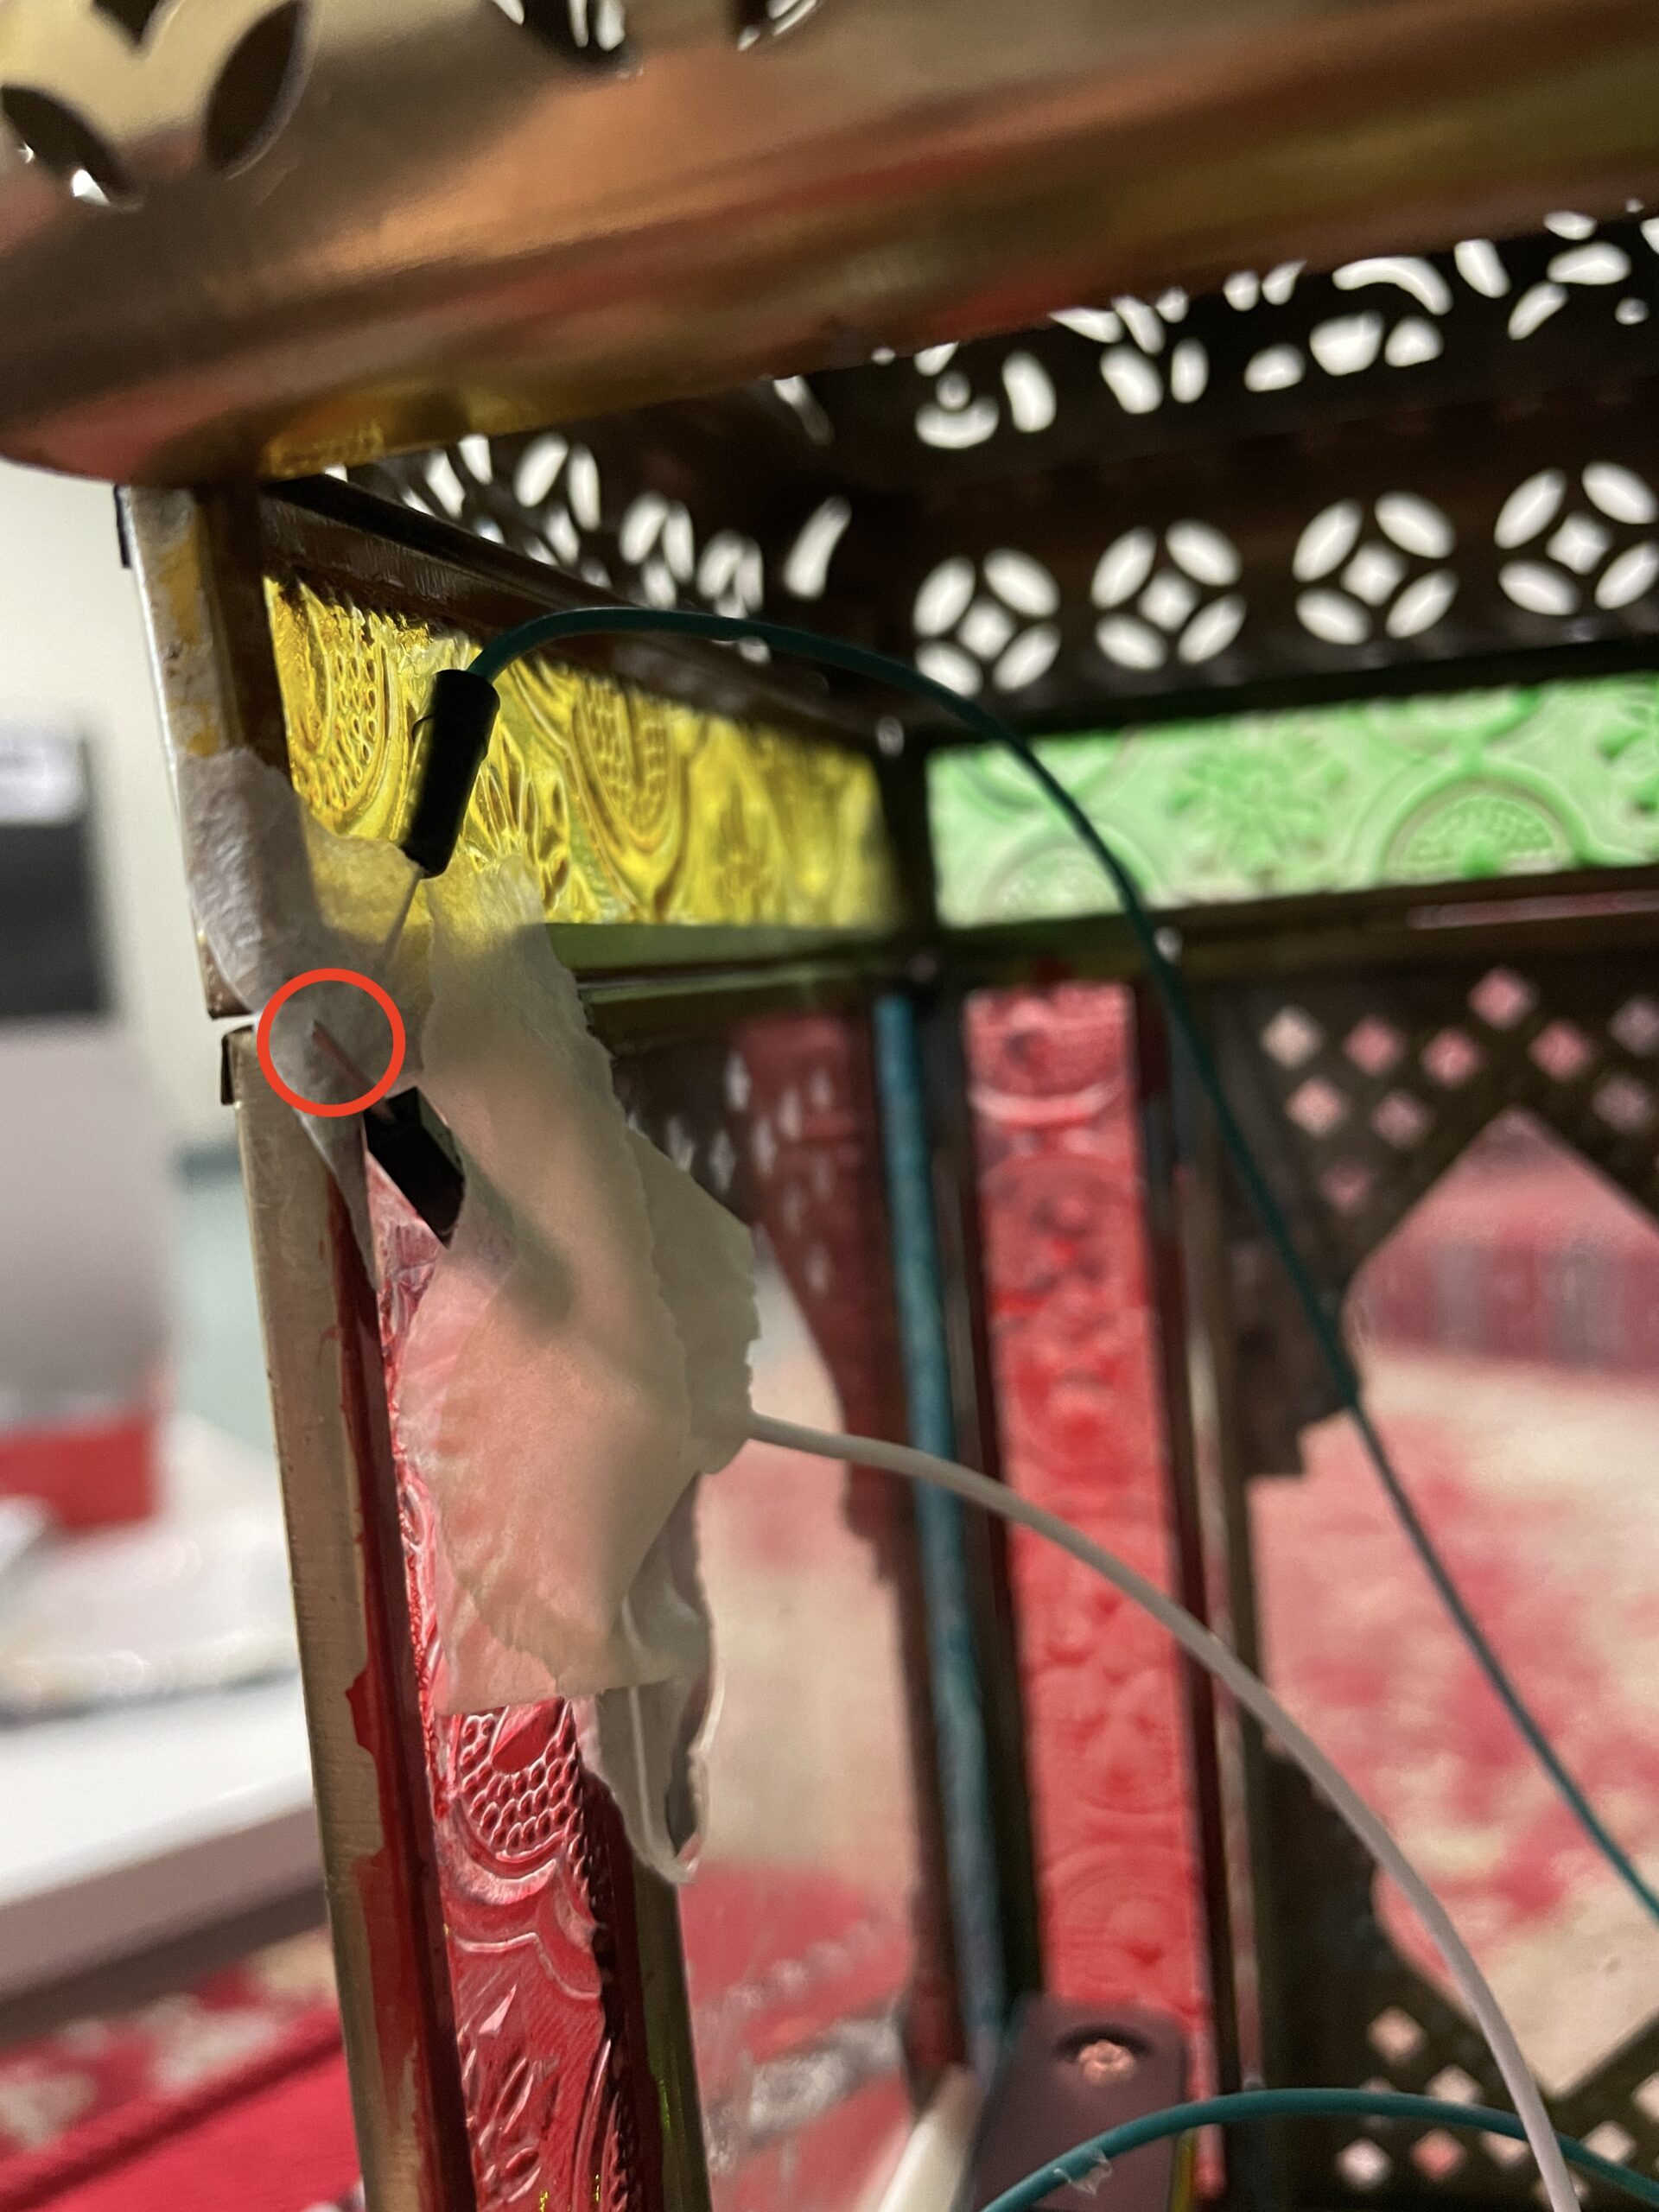
Schematics:
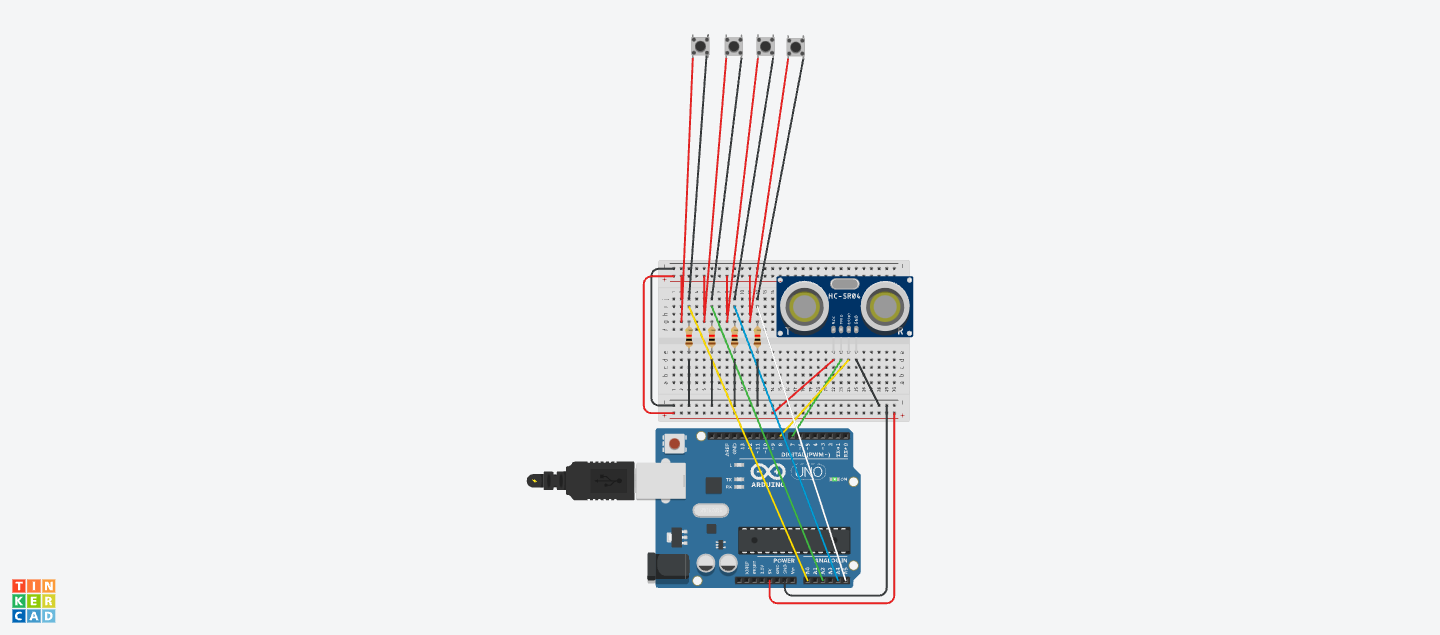
Some issues and aspects of the project I’m particularly proud of:
I was particularly proud of creating the visualizer. I took some time to learn how to use the p5.FFT function inside p5js. Initially, I watched this Sound Visualization: Frequency Analysis with FFT – p5 tutorial from Daniel Shiffman: https://www.youtube.com/watch?v=2O3nm0Nvbi4. But the tutorial is about syncing the visualizer with a played sound. I had a lot of trouble making the visualizer sync to every time the music note is triggered. I also had some issues combining the visualizers onto one plane and arranging their positions. I had to be really careful with controlling the variables.
I also wanted the users to have the option to record what they play, and figuring out how to record took me a lot of time. I kept failing at this part as I initially approached the code from the perspective of adding each note and each sound byte to an array and playing it back later.
BUT the aspect that I was struggling with the most was about using a pressure sensor. Its variable range varied way too much. The threshold for triggering the music notes when I pressed kept changing from time to time. The music generated inside p5 was not good at all. I was so fixated on this idea as I thought it was the only possible option. Until I discovered the button. It provided a much more stable parameter range of extremely high values and extremely low values for controlling the threshold as a digital device. The buttons I found are really soft to the touch, and they can be attached to the tip of the glove.
Another issue I ran into was about establishing a connection between Arduino and p5js:
I kept running into this error:

and
Pressure sensor doesn’t run when adding while (Serial.available() <= 0) {} and while (Serial.available()) {}
Future improvement:
I approached the project hoping to have only one visualizer for each instrument, but it seems that the object p5.FFT is a universal object that can’t take the frequency of any individual musical instrument. Therefore, I have to think of ways to make that happen for the future.
Also, I hope to be able to incorporate the accelerometer or gyrometer to monitor the motion of wrists and use that to trigger drum pattern/rhythm.
Observations from IM Showcase interactions for future improvements:
Everyone intuitively followed the screen instructions, but almost everyone seems to not know how to proceed at the connecting p5js with Arduino part.
There are two aspects where users are mostly confused about: how to use the distance sensor and how to connect p5js to Arduino. In terms of the distance sensor, it doesn’t come to them intuitively that they can hover their left hand up and down above the distance sensor to trigger different frequencies, hence different musical notes. For a few users, I had to explain to them how they should operate the project, and for them, I had to provide very detailed instructions. I’ve implemented the text “Press Space Bar to connect to the glove,” but it seems that only those who know how to set up serial communication understand it; those who don’t seem not. So for an area of improvement, I’m thinking of having it run as soon as the user presses the “ROCK ON” button to start the visualizer.