💫Reminder
My final project is about creating art works and relieving stress simultaneously!
📌Links to go through my previous posts:
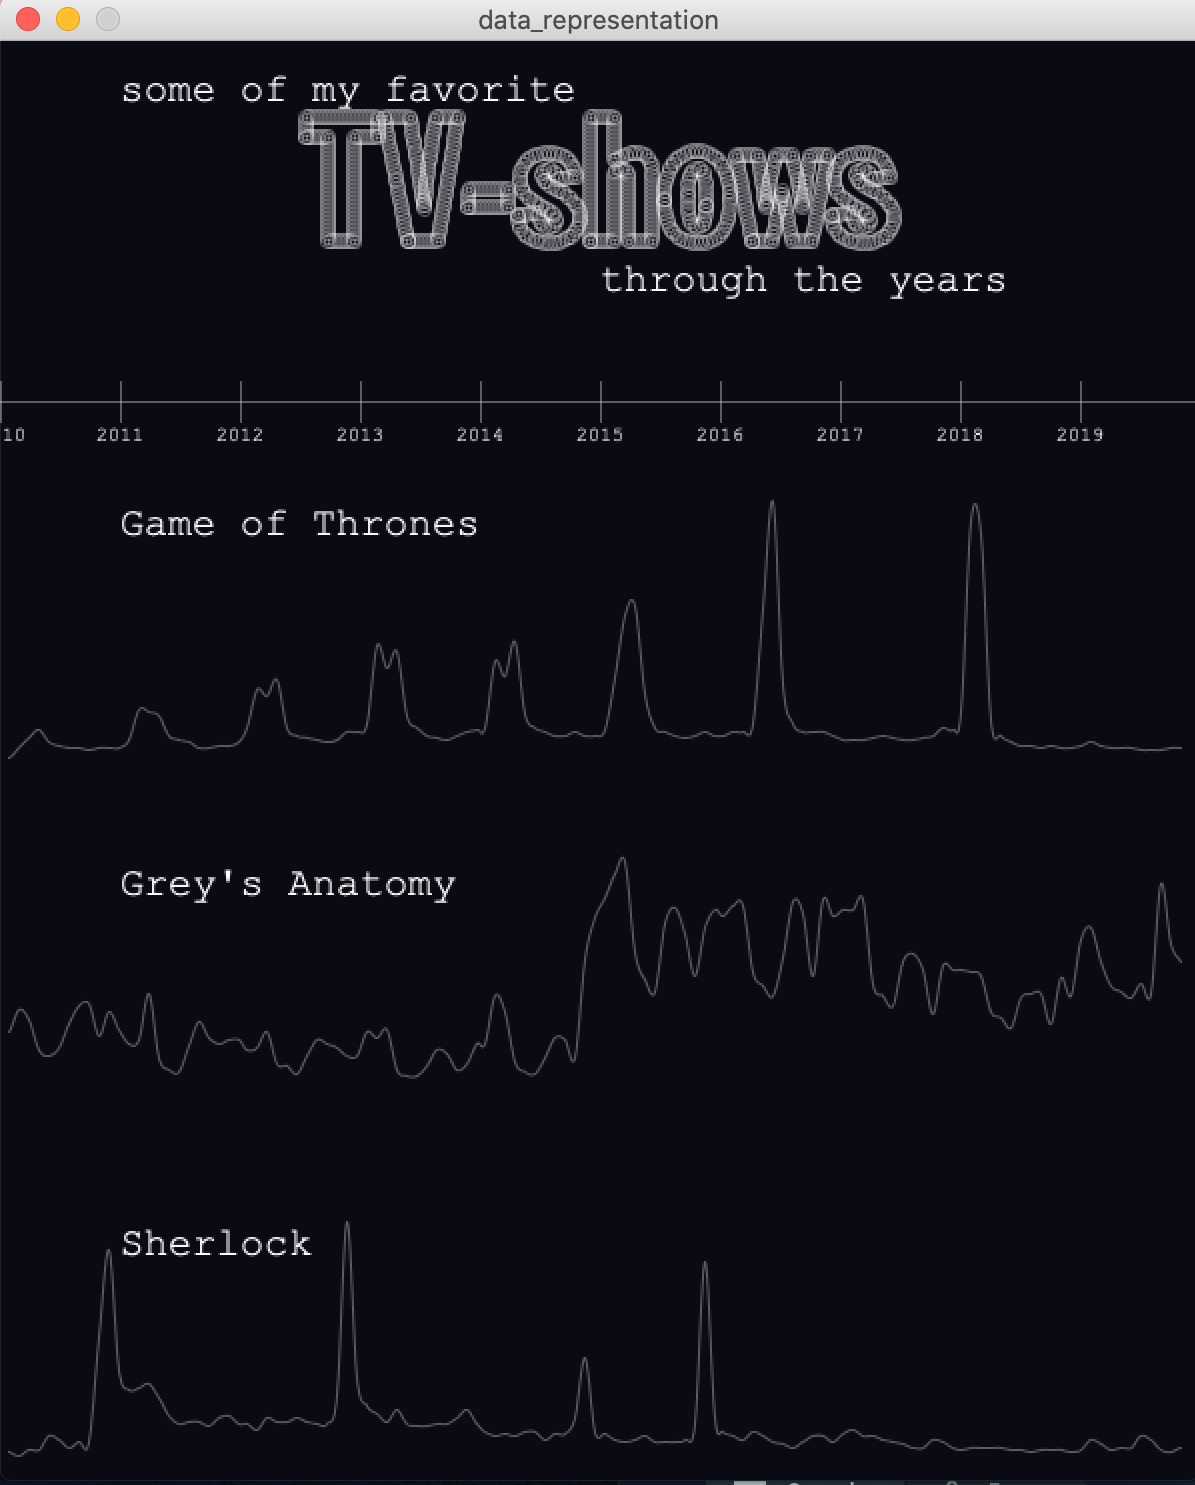
Week 13: Final Project Progress
Final Project Progress [week 14]
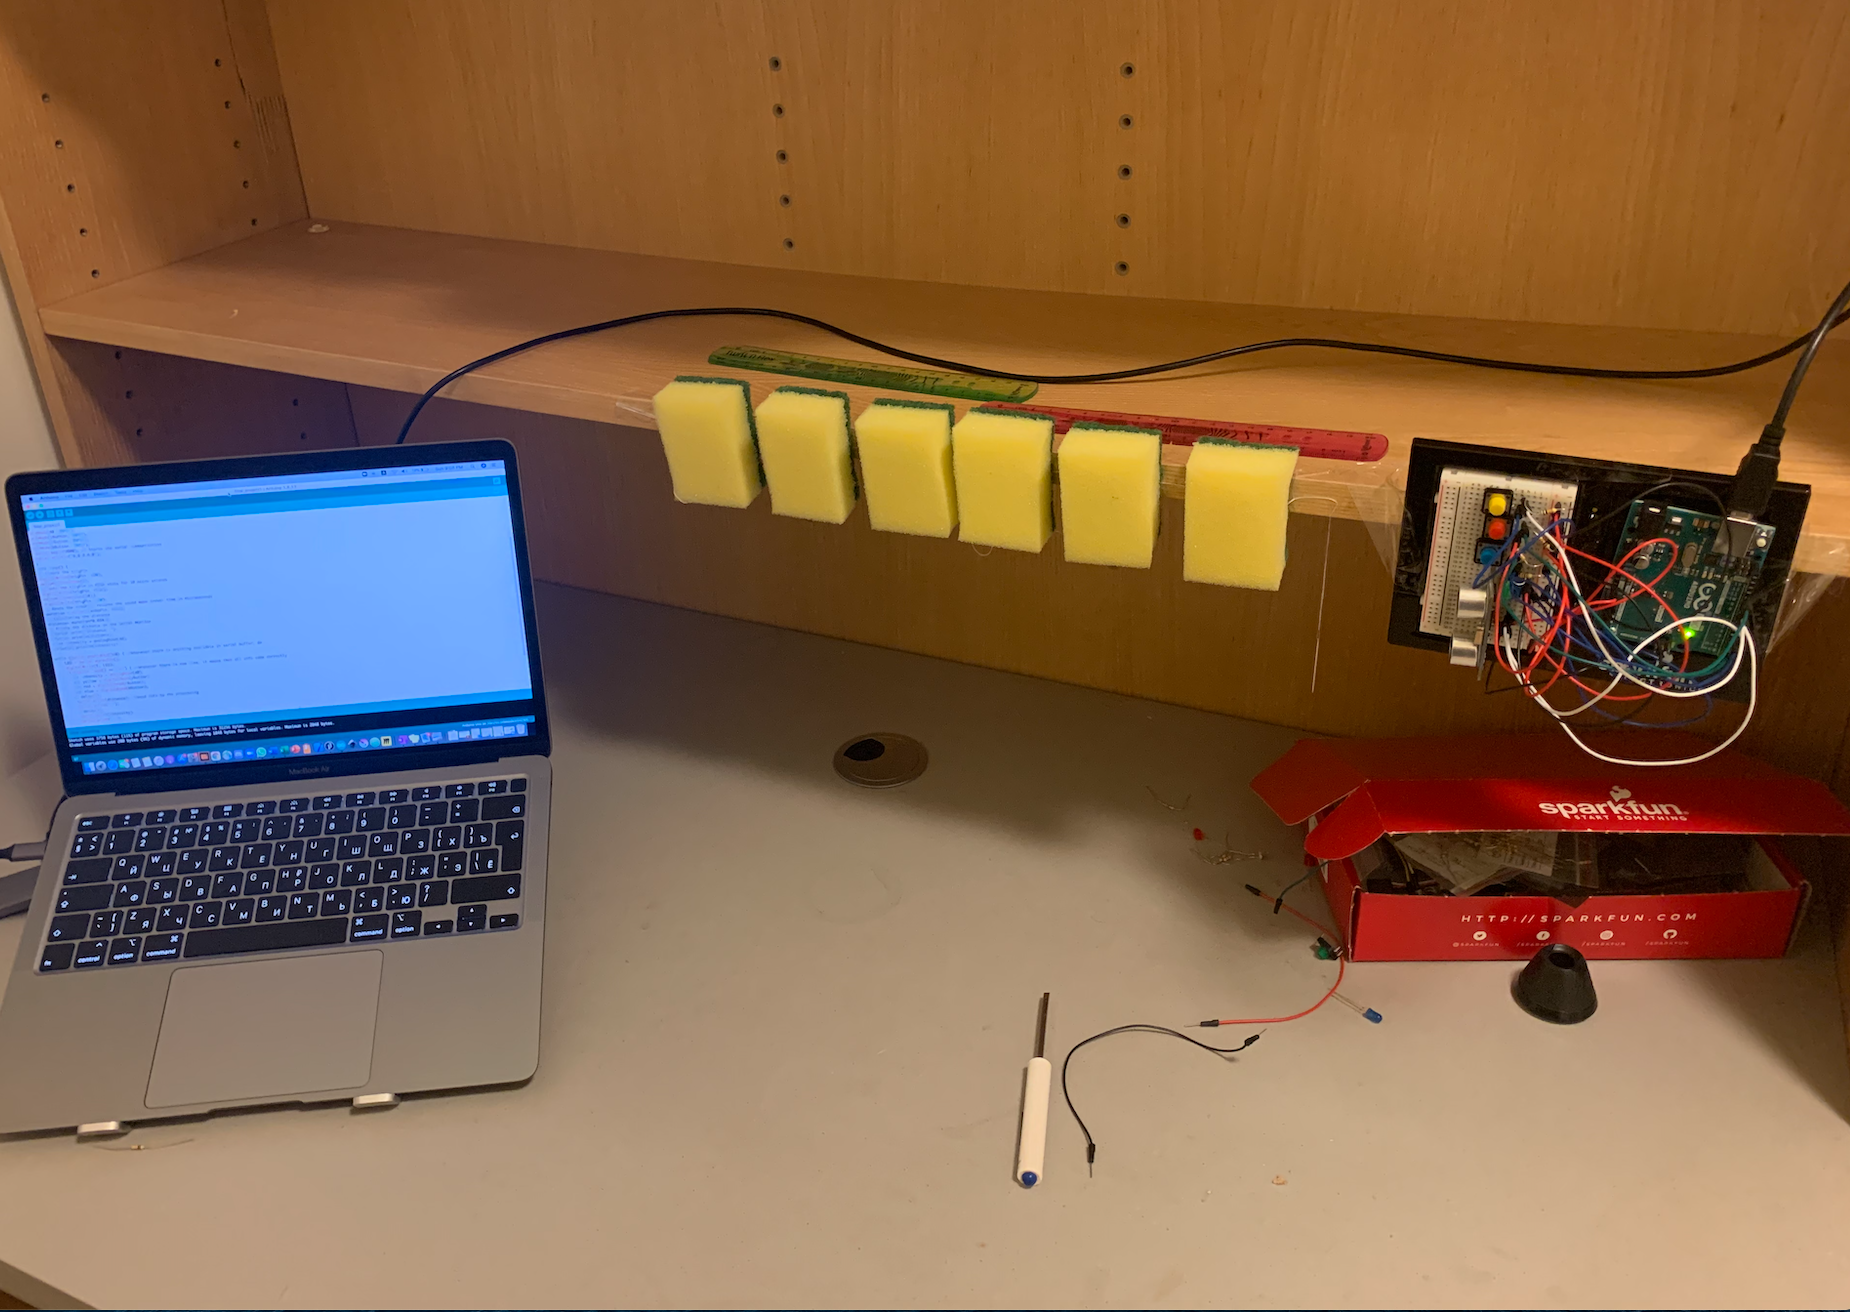
🔧Setup
I wanted to beat something soft, so I decided on sponges. The only ones in the immediate vicinity were kitchen yellow sponges, and I used them. In order to attach them to the table, I needed to thread a thread through them and attach them with tape. To make the distance sensor at the same height with them, I had to spend another sponge and a lot of tape.
✅Changes
- I moved the buttons in the Processing on the Arduino so that I wouldn’t move my hands from the top of the table while I was working. I also added an LED as an identifier of when the session started and when it ended.
- I added a song to the background, as well as a final screen that suggests starting the session again.
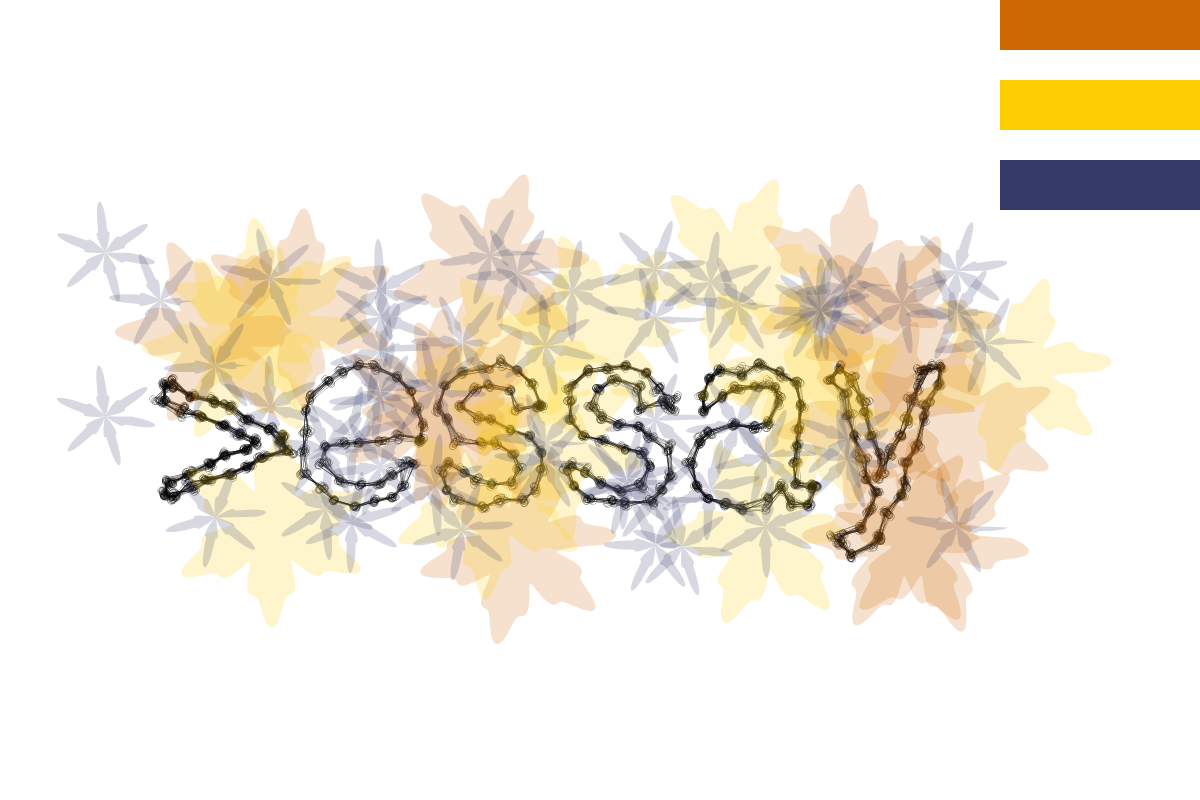
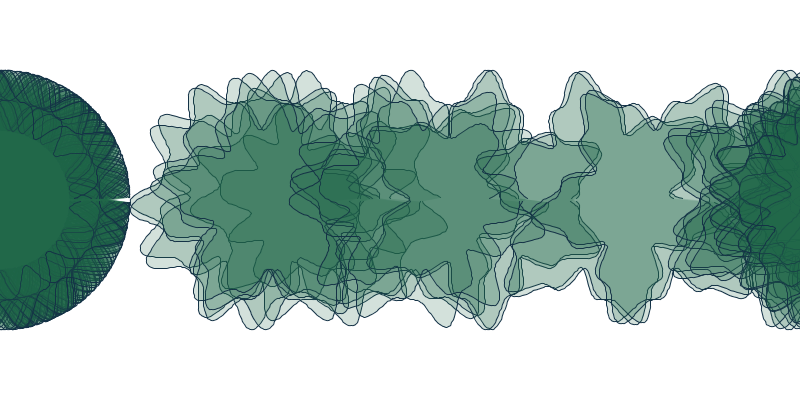
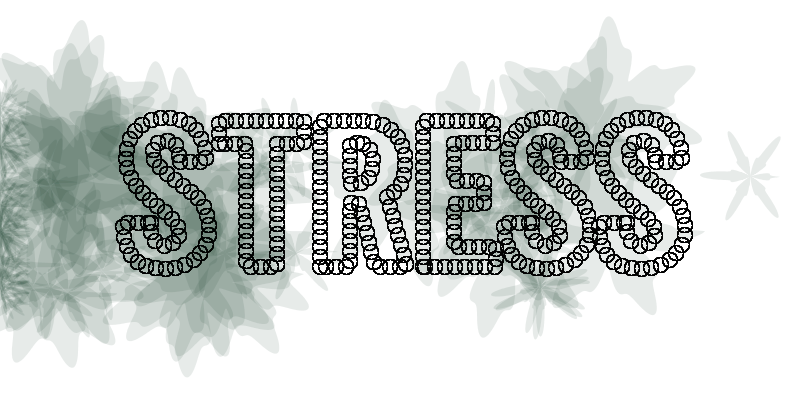
- Generative art spots don’t appear until the user selects a color, so I was able to make them transparent.
⚒ Code
Full code and all additional data are on my gitHub.
- In my handshake from Arduino side I sent 5 values and received 1
Serial.println("0,0,0,0,0"); - I added screenshot feature
void keyReleased() {
  if (keyCode == TAB) saveFrame(timestamp()+"_##.png");
}
- There is a separate class for spots
- Generative art letters code is partially taken from this website (thank you, Professor!)
💡Testing
Now my project is much more user-friendly, especially after previous week testing. During testing we were choosing the song that in our opinion suits this purpose and decided to use Linkin Park – Numb.
🐋Result
 >>>
>>> >>>
>>>