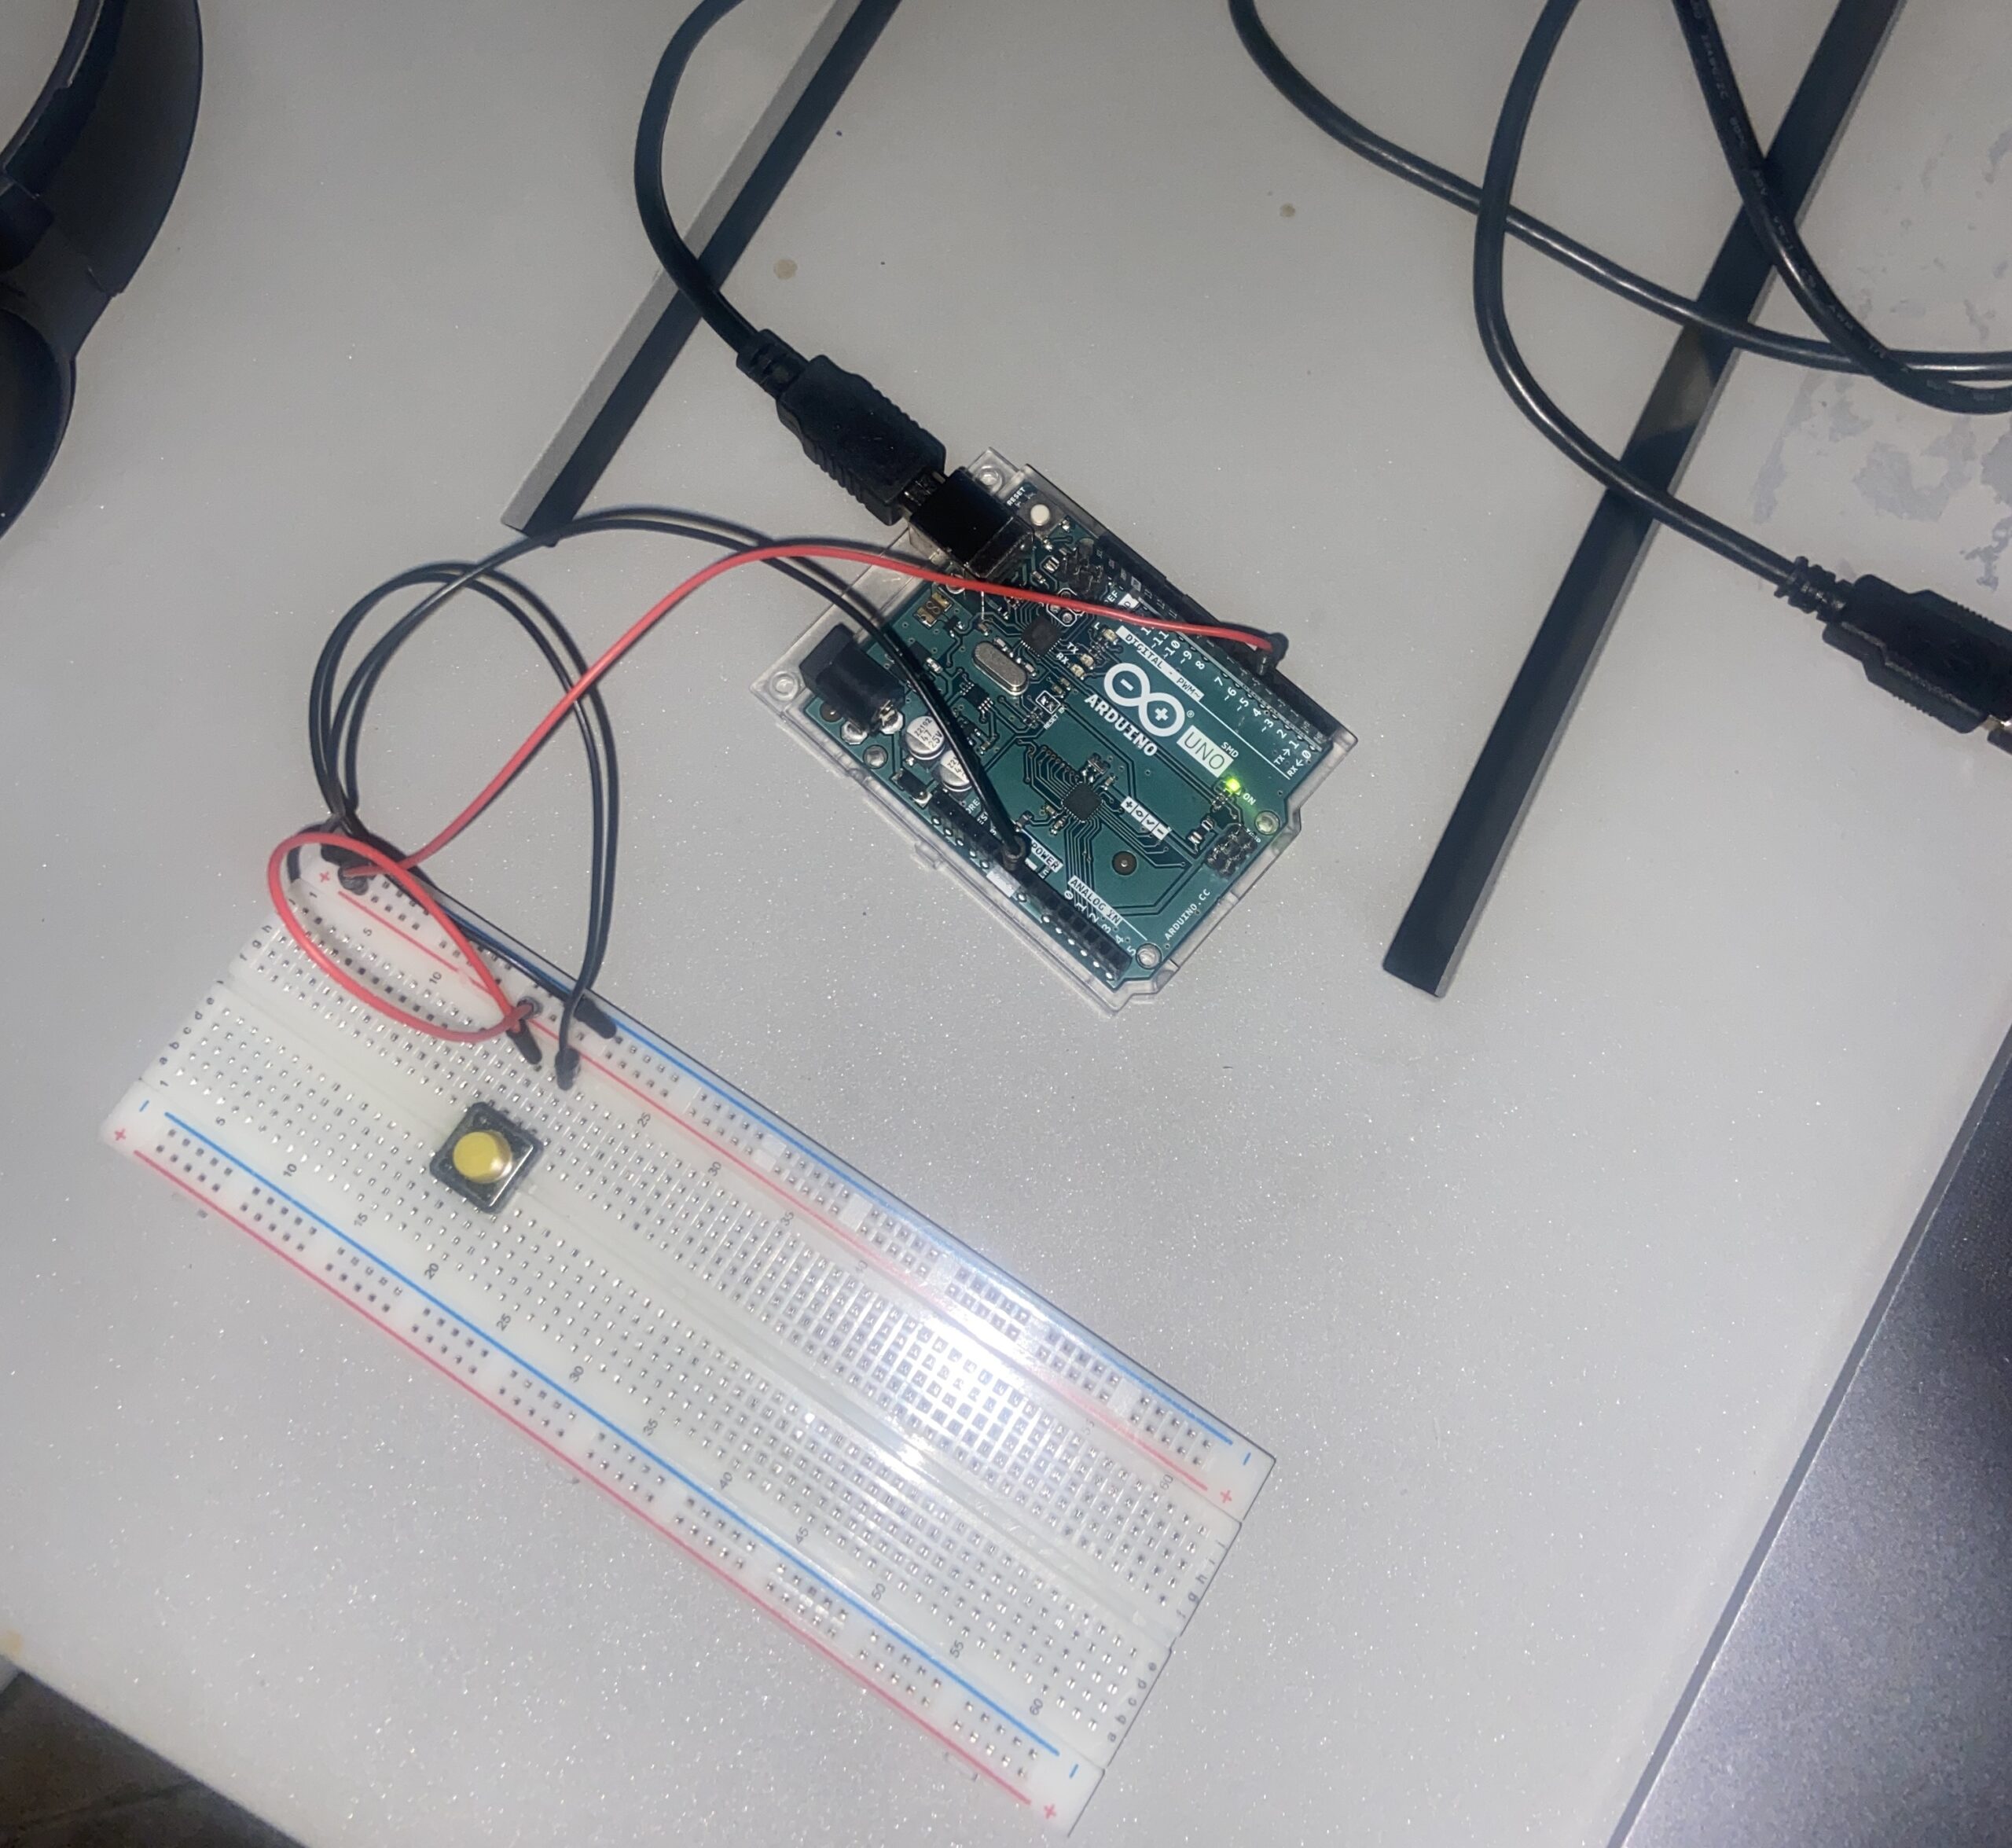
IMG_7438For my final project, I had to last minute change the concept since my midi controller idea fell through and proved to be unfit for this assignment. My project now is a musical map that lets users play music from different regions of the world. I initially wanted to create a map of the globe but decided to consolidate my map into one continent. The continent I chose was South America (SA). South America resonated with me the most because of my love of Latin American music! I initially was going to take an image of the map from off of the internet but decided to design my own map of SA. This was designed in Adobe Illustrator.
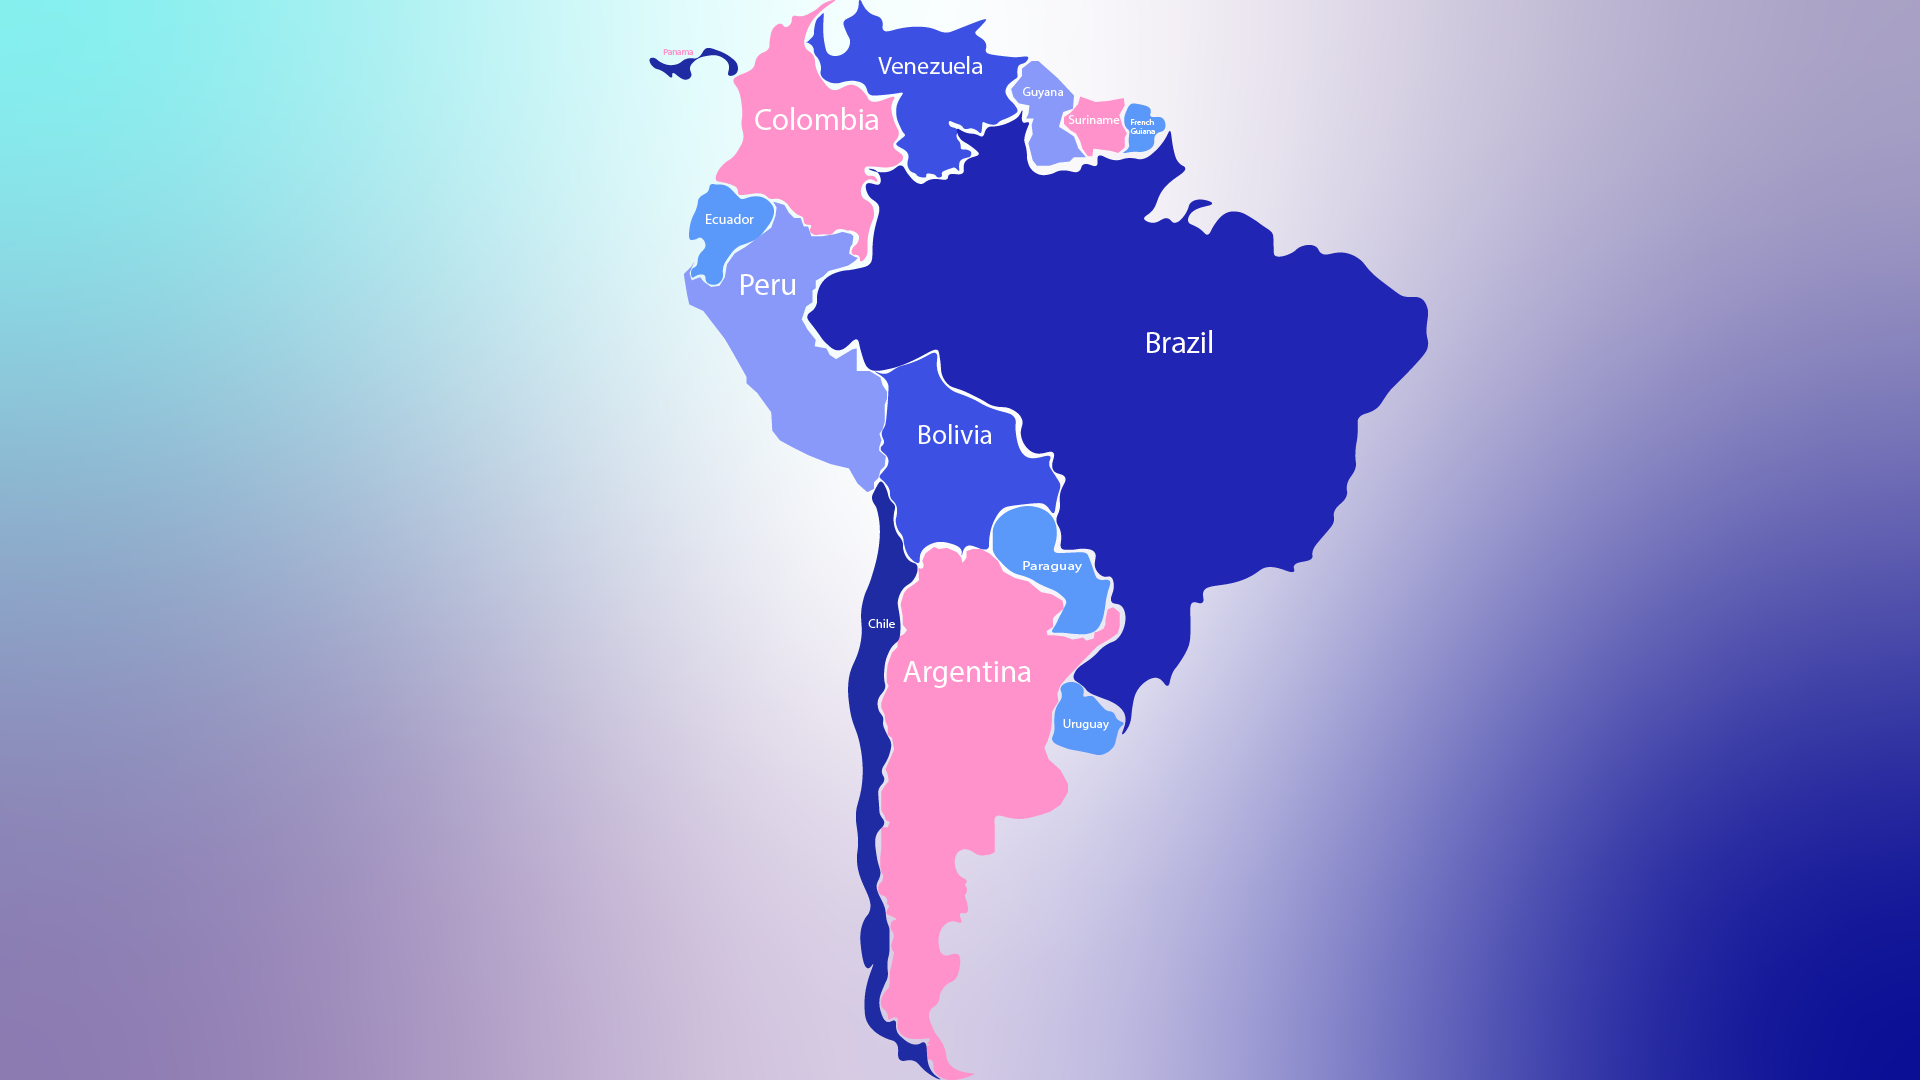
I picked a total of 13 songs all from different parts of SA:
Brazil: Dindi – Sylvia Telles
Venezuela: Mi Corazon – Los Melodicos
Colombia: Tobaco y Ron – Rodolfo y su typica ra7
Ecuador: Escribeme – Tierra Canela
Suriname: Moi Misi – Sabokoe
Guyana: Catch me Lova – JMC
French Guiana: Kraze Dj Action X Jaydieff
Peru: Peru de Valses: Y se llama Peru – Oscar Avilles
Chile: 1977 – Ana Tijoux
Argentina: Buenos Aires – Nathy Peluso
Paraguay: Inevitable – Shako El Sh
Uruguay: Cora Aislado – Bebe 21
Bolivia: Amor Segrado – Chila Jatun
USER TESTING:
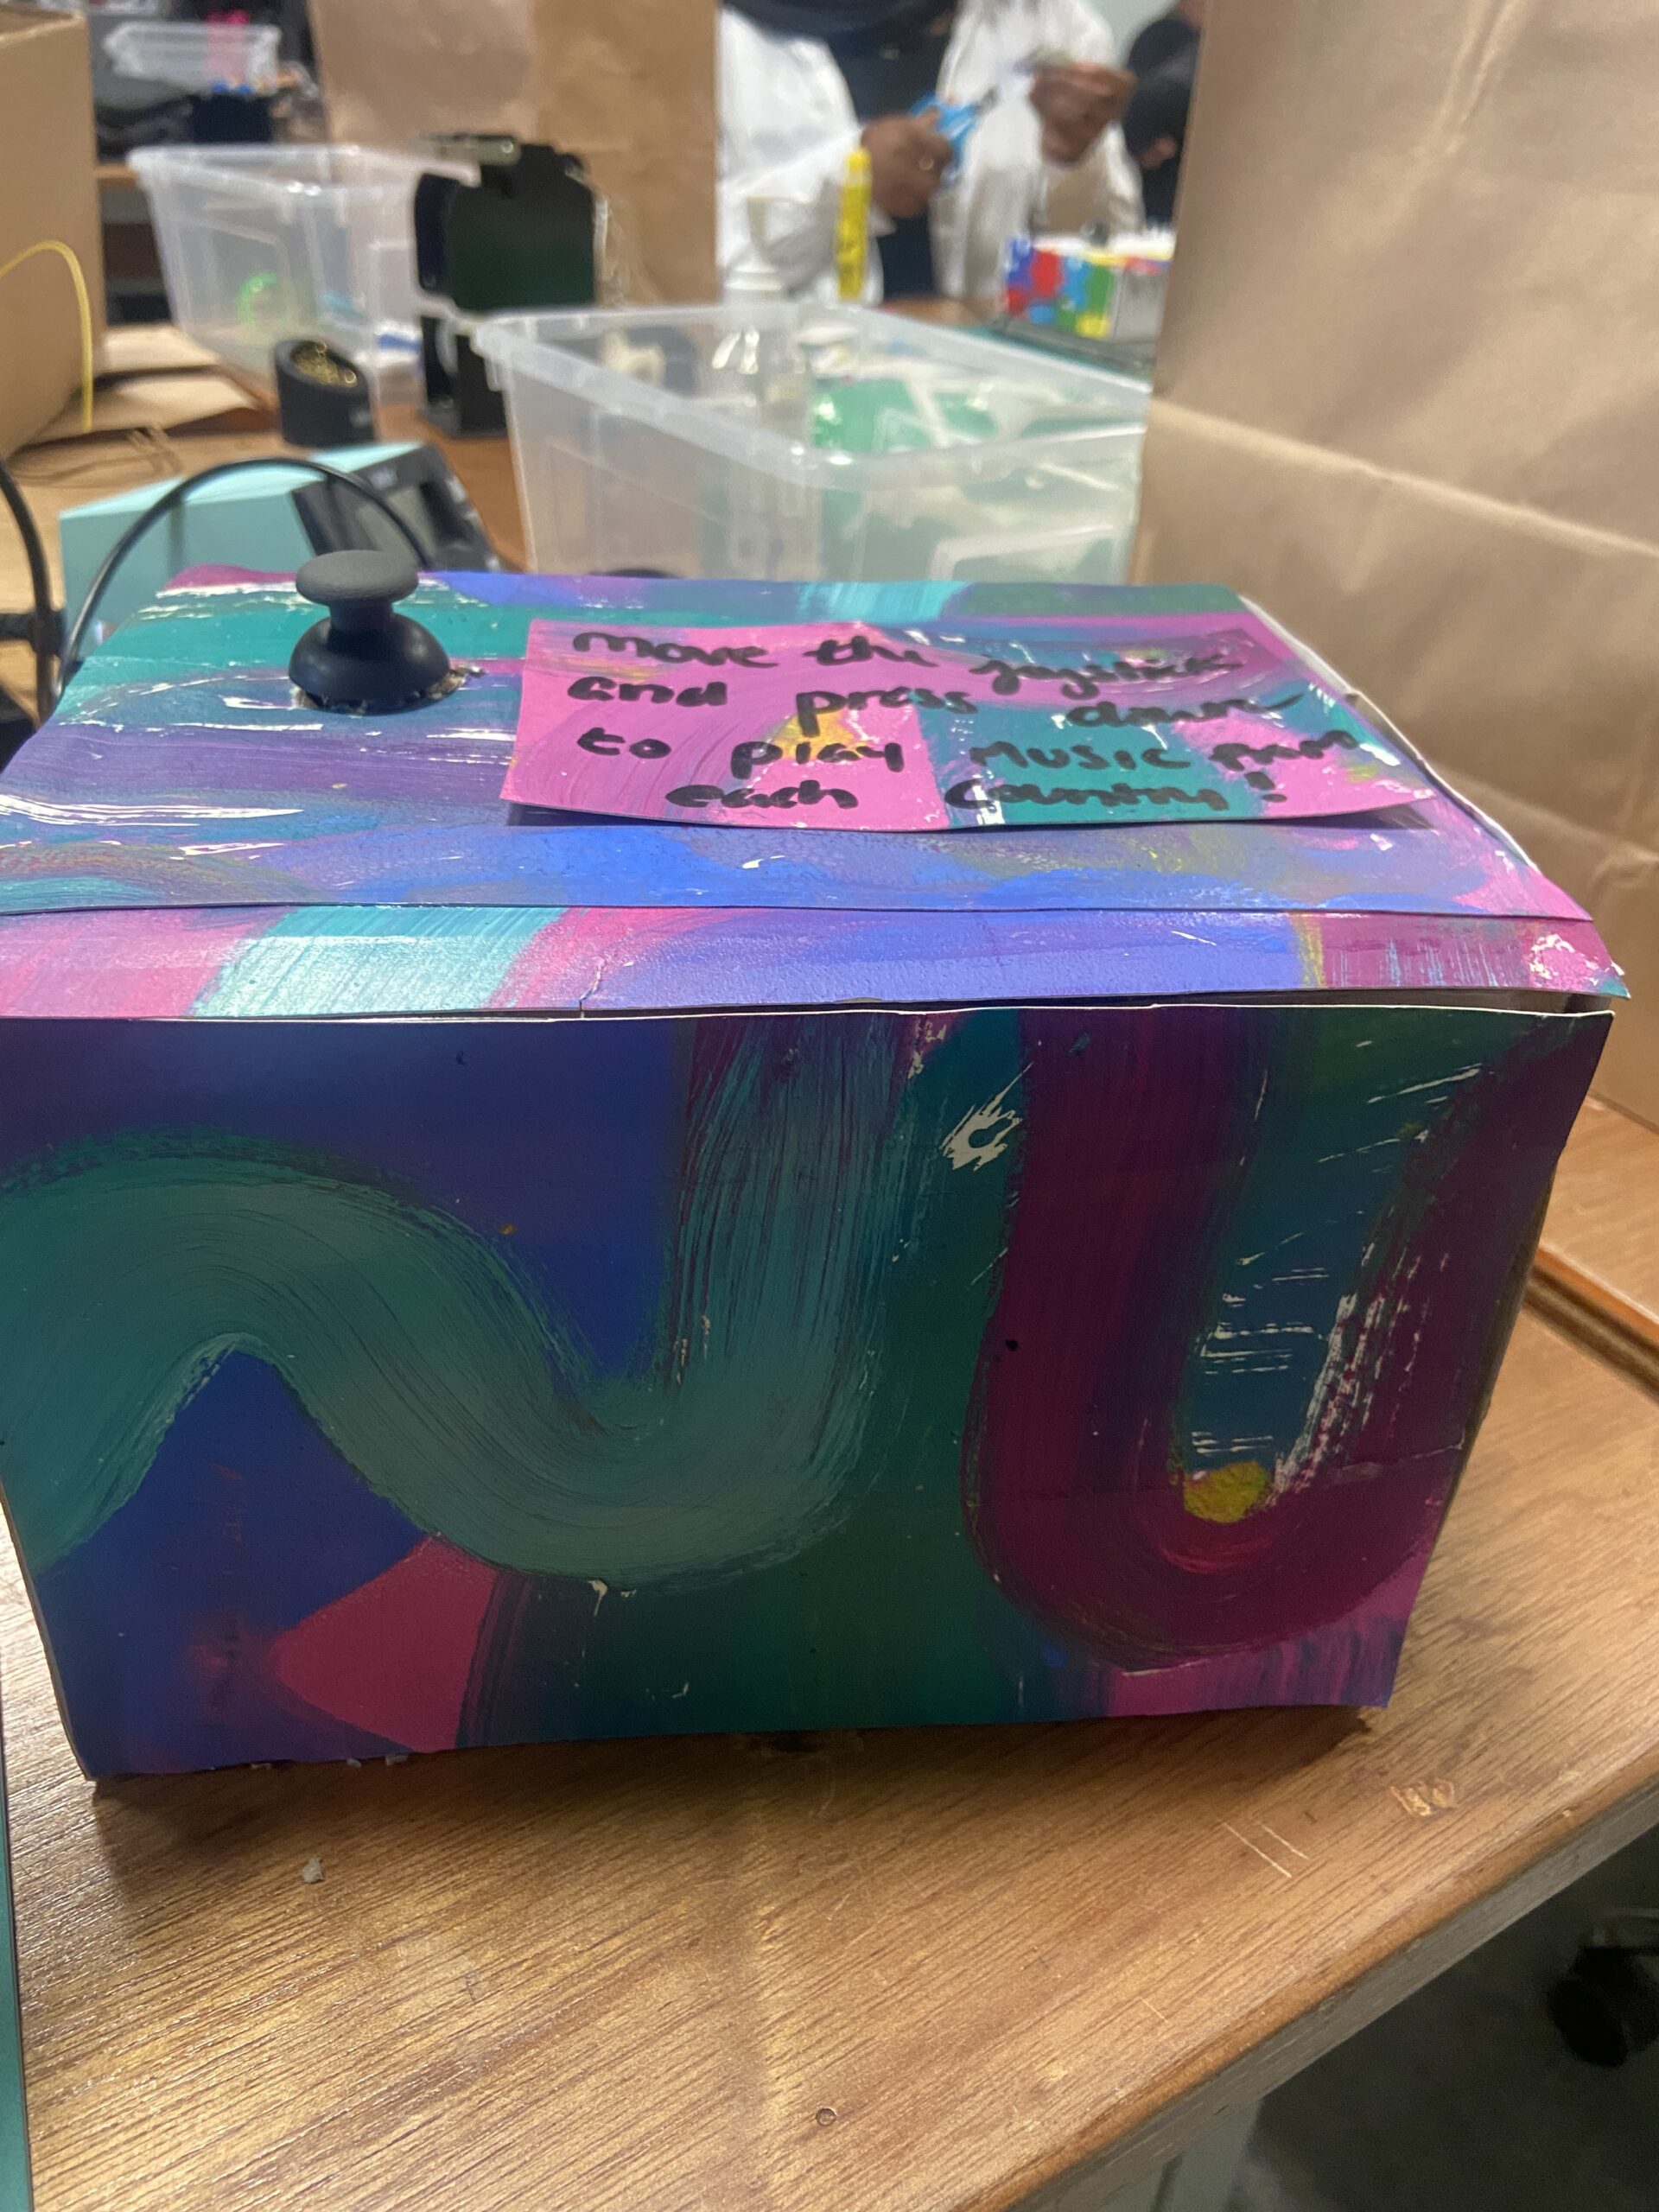
Interaction Design:
Users simply can move the joystick, which acts as a cursor on the screen and press on the squares in the p5 sketch to trigger a unique sound file from each country.
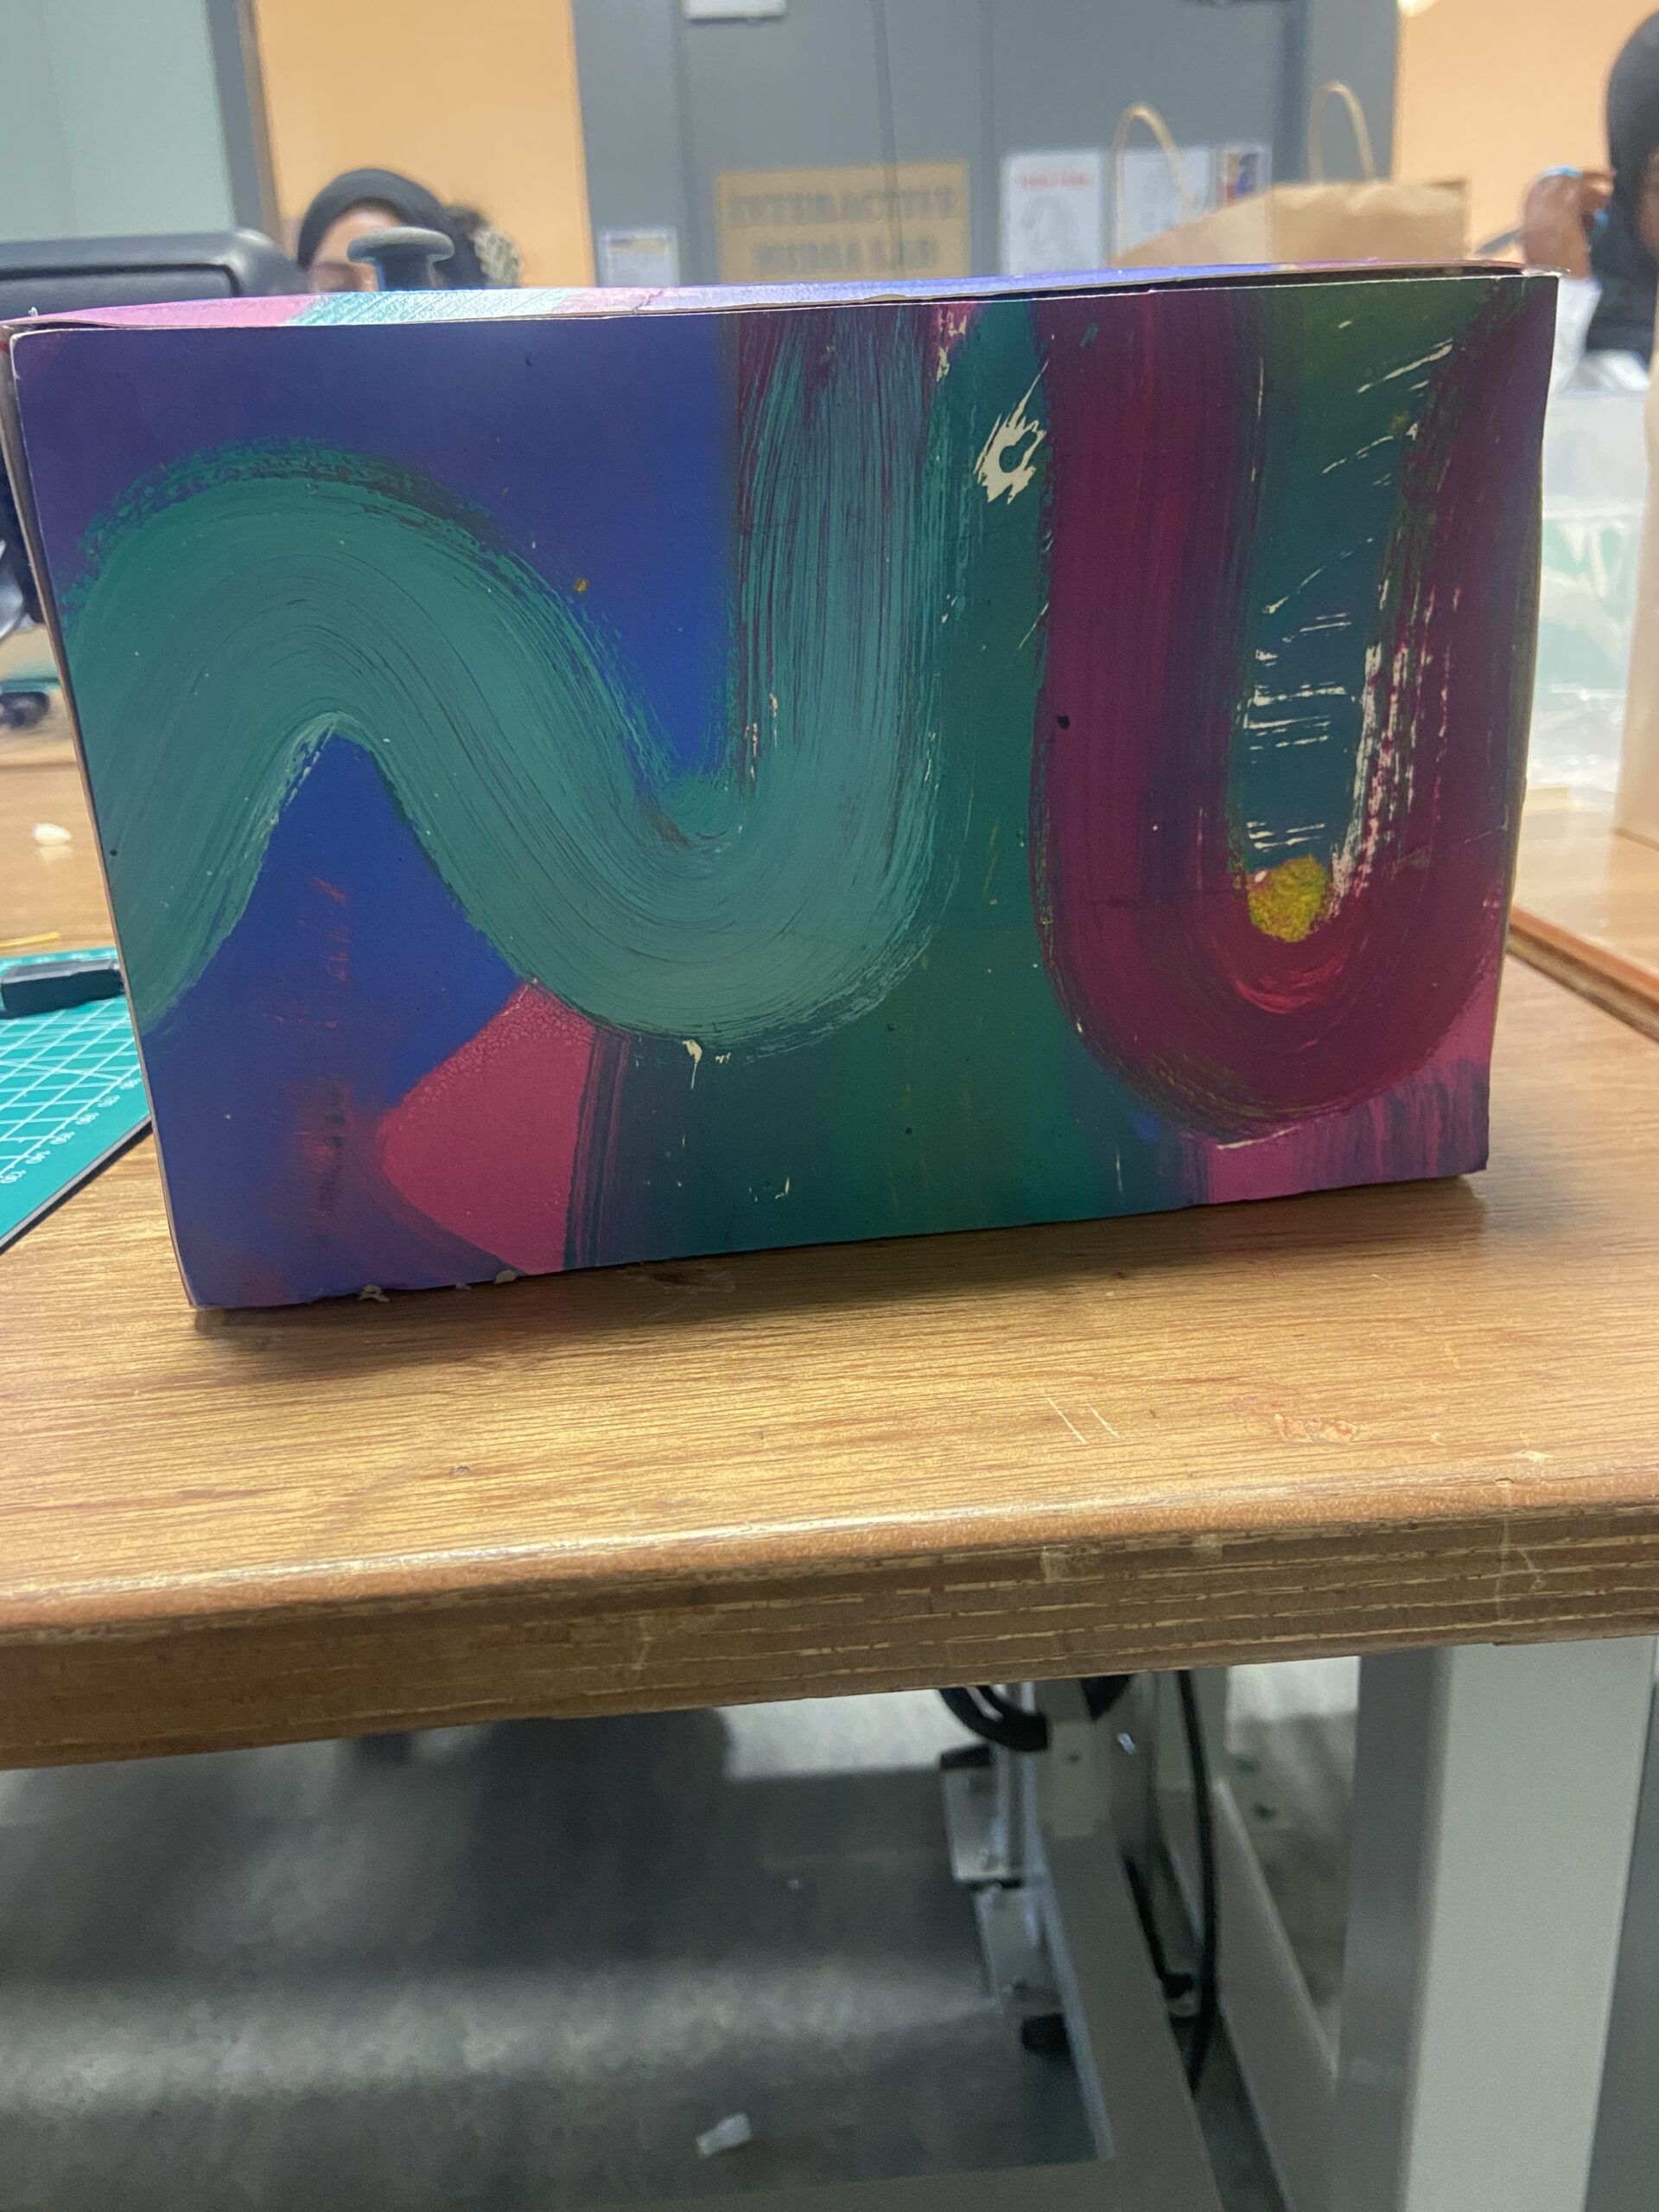
Aesthetic Design:
I made my box out of cardboard and painted on several separate sheets of paper a similar color scheme to my digital design of the map. I then glued those pieces of paper onto the box!
P5 Code Sketch:
https://editor.p5js.org/dianadonatella/sketches/NDBhUIeWI
P5 Code:
let img; //variable for image

//variables for square buttons.
let Colombia;
let Argentina;
let Peru;
let Paraguay;
let Uruguay;
let Guyana;
let Fguiana;
let Venezuela;
let Brazil;
let Bolivia;
let Ecuador;
let Chile;
let Suriname;

//colors for each country's buttons
let color_state_col;
let color_state_ven;
let color_state_arg;
let color_state_bra;
let color_state_bol;
let color_state_per;
let color_state_guy;
let color_state_par;
let color_state_uru;
let color_state_chi;
let color_state_fgu;
let color_state_sur;
let color_state_ecu;

//PLAYING AND PAUSING states
let isColombiaPlaying = false;
let isVenezuelaPlaying = false;
let isArgentinaPlaying = false;
let isBrazilPlaying = false;
let isBoliviaPlaying = false;
let isPeruPlaying = false;
let isGuyanaPlaying = false;
let isParaguayPlaying = false;
let isUruguayPlaying = false;
let isChilePlaying = false;
let isFguianaPlaying = false;
let isSurinamePlaying = false;
let isEcuadorPlaying = false;

//ORIGINAL BUTTON COLORS
let originalColorCol;
let originalColorVen;
let originalColorArg;
let originalColorBra;
let originalColorBol;
let originalColorPer;
let originalColorGuy;
let originalColorPar;
let originalColorUru;
let originalColorChi;
let originalColorFgu;
let originalColorSur;
let originalColorEcu;

//For joystick
let joystick_X;
let joystick_Y;
let joystick_button;
let circleX;
let circleY;

//Only update when Joystick is pressed, making it equal to the time that the joystick was pressed at
let LastTime = 0;
// Always updated with the latest number of Millis
let CurrentTime = 0;

function success(e) {
  console.log("works: ", e);
}

function error(e) {
  console.log("oopsie: ", e);
}

function loading(e) {
  log("loading", e);
}


function preload() {
  img = loadImage("SA_MAP.png");
  Colombia = loadSound("./COLOMBIA.mp3", success, error, loading);
  Argentina = loadSound("./ARGENTINA.mp3");
  Peru = loadSound("./PERU.mp3");
  Paraguay = loadSound("./PARAGUAY.mp3");
  Uruguay = loadSound("./URUGUAY.mp3");
  Guyana = loadSound("./GUYANA.mp3");
  Fguiana = loadSound("./FGUIANA.mp3");
  Venezuela = loadSound("./VENEZUELA.mp3");
  Brazil = loadSound("./BRAZIL.mp3");
  Bolivia = loadSound("./BOLIVIA.mp3");
  Ecuador = loadSound("./ECUADOR.mp3");
  Chile = loadSound("./CHILE.mp3");
  Suriname = loadSound("./SURINAME.mp3");
}

function setup() {
  createCanvas(1920, 1020);
  background(220);
  //   colors for each button
  color_state_col = color(32, 37, 179);
  color_state_ven = color(35, 60, 98);
  color_state_arg = color(32, 37, 179);
  color_state_bra = color(100, 57, 79);
  color_state_bol = color(35, 60, 98);
  color_state_per = color(32, 37, 179);
  color_state_guy = color(35, 60, 98);
  color_state_par = color(24, 32, 89);
  color_state_uru = color(24, 32, 89);
  color_state_chi = color(100, 57, 79);
  color_state_fgu = color(24, 32, 89);
  color_state_sur = color(32, 37, 179);
  color_state_ecu = color(24, 32, 89);

  //original state colors after pausing
  originalColorCol = color_state_col;
  originalColorVen = color_state_ven;
  originalColorArg = color_state_arg;
  originalColorBra = color_state_bra;
  originalColorBol = color_state_bol;
  originalColorPer = color_state_per;
  originalColorGuy = color_state_guy;
  originalColorPar = color_state_par;
  originalColorUru = color_state_uru;
  originalColorChi = color_state_chi;
  originalColorFgu = color_state_fgu;
  originalColorSur = color_state_sur;
  originalColorEcu = color_state_ecu;

  circleX = width / 2;
  circleY = height / 2;
}

function draw() {
  if (img) {
    image(img, 0, 0, width, height);
  }

//references colors and sets sizes for each square
  //COLOMBIA
  fill(color_state_col);
  rect(790, 135, 40, 40);

  //VENEZUELA
  fill(color_state_ven);
  rect(910, 80, 35, 35);

  //ARGENTINA
  fill(color_state_arg);
  rect(940, 700, 50, 50);

  //BRAZIL
  fill(color_state_bra);
  rect(1150, 400, 50, 50);

  //BOLIVIA
  fill(color_state_bol);
  rect(935, 435, 40, 40);

  //PERU
  fill(color_state_per);
  rect(800, 360, 40, 40);

  //GUYANA
  fill(color_state_guy);
  rect(1038, 125, 23, 23);

  //PARAGUAY
  fill(color_state_par);
  rect(1012, 490, 30, 30);

  //URUGUAY
  fill(color_state_uru);
  rect(1120, 700, 30, 30);

  //CHILE
  fill(color_state_chi);
  rect(800, 600, 40, 40);

  //FGUIANA
  fill(color_state_fgu);
  rect(1170, 90, 30, 30);

  //SURINAME
  fill(color_state_sur);
  rect(1090, 58, 25, 25);

  //ECUADOR
  fill(color_state_ecu);
  rect(650, 200, 30, 30);

  //increments joystick in the X or Y position

  if (joystick_X > 800) {
    circleX += 5;
  }
  if (joystick_X < 200) {
    circleX -= 5;
  }

  if (joystick_Y > 800) {
    circleY -= 5;
  }
  if (joystick_Y < 200) {
    circleY += 5;
  }

  //cursor shape and design

  fill(0, 0, 0, 100);
  circle(circleX, circleY, 30);
  stroke(255);
  line(circleX, circleY + 30, circleX, circleY - 30);
  line(circleX - 30, circleY, circleX + 30, circleY);
  JoyStickPressed();
  if (!serialActive) {
    text("Press Space Bar to select Serial Port", 20, 30);
  } else {
    text("Connected", 20, 30);
  }

  console.log(circleX);
}
// to check when joystick is pressed and to play or pause the song playing for a specific country

function JoyStickPressed() {


  //Updating current time
  CurrentTime = millis();
  if (joystick_button == 1 && CurrentTime > LastTime + 2000) {
    // Check if the joystick is within the Colombia button
    if (
      circleX > 790 &&
      circleX < 790 + 40 &&
      circleY > 135 &&
      circleY < 135 + 40
    ) {
      if (!isColombiaPlaying) {
        Colombia.play();
      } else {
        Colombia.pause();
      }
      isColombiaPlaying = !isColombiaPlaying;
      color_state_col = isColombiaPlaying ? color(255) : originalColorCol;
    }

    if (
      circleX > 910 &&
      circleX < 910 + 35 &&
      circleY > 80 &&
      circleY < 80 + 35
    ) {
      if (!isVenezuelaPlaying) {
        Venezuela.play();
      } else {
        Venezuela.pause();
      }
      isVenezuelaPlaying = !isVenezuelaPlaying;
      color_state_ven = isVenezuelaPlaying ? color(255) : originalColorVen;
    }

    if (
      circleX > 940 &&
      circleX < 940 + 50 &&
      circleY > 700 &&
      circleY < 700 + 50
    ) {
      if (!isArgentinaPlaying) {
        Argentina.play();
      } else {
        Argentina.pause();
      }
      isArgentinaPlaying = !isArgentinaPlaying;
      color_state_arg = isArgentinaPlaying ? color(255) : originalColorArg;
    }

    if (
      circleX > 1150 &&
      circleX < 1150 + 50 &&
      circleY > 400 &&
      circleY < 400 + 50
    ) {
      if (!isBrazilPlaying) {
        Brazil.play();
      } else {
        Brazil.pause();
      }
      isBrazilPlaying = !isBrazilPlaying;
      color_state_bra = isBrazilPlaying ? color(255) : originalColorBra;
    }

    if (
      circleX > 935 &&
      circleX < 935 + 40 &&
      circleY > 435 &&
      circleY < 435 + 40
    ) {
      if (!isBoliviaPlaying) {
        Bolivia.play();
      } else {
        Bolivia.pause();
      }
      isBoliviaPlaying = !isBoliviaPlaying;
      color_state_bol = isBoliviaPlaying ? color(255) : originalColorBol;
    }

    if (
      circleX > 800 &&
      circleX < 800 + 40 &&
      circleY > 360 &&
      circleY < 360 + 40
    ) {
      if (!isPeruPlaying) {
        Peru.play();
      } else {
        Peru.pause();
      }
      isPeruPlaying = !isPeruPlaying;
      color_state_per = isPeruPlaying ? color(255) : originalColorPer;
    }
    if (
      circleX > 1038 &&
      circleX < 1038 + 23 &&
      circleY > 125 &&
      circleY < 125 + 23
    ) {
      if (!isGuyanaPlaying) {
        Guyana.play();
      } else {
        Guyana.pause();
      }
      isGuyanaPlaying = !isGuyanaPlaying;
      color_state_guy = isGuyanaPlaying ? color(255) : originalColorGuy;
    }

    if (
      circleX > 1012 &&
      circleX < 1012 + 30 &&
      circleY > 490 &&
      circleY < 490 + 30
    ) {
      if (!isParaguayPlaying) {
        Paraguay.play();
      } else {
        Paraguay.pause();
      }
      isParaguayPlaying = !isParaguayPlaying;
      color_state_par = isParaguayPlaying ? color(255) : originalColorPar;
    }

    if (
      circleX > 1120 &&
      circleX < 1120 + 30 &&
      circleY > 700 &&
      circleY < 700 + 30
    ) {
      if (!isUruguayPlaying) {
        Uruguay.play();
      } else {
        Uruguay.pause();
      }
      isUruguayPlaying = !isUruguayPlaying;
      color_state_uru = isUruguayPlaying ? color(255) : originalColorUru;
    }

    if (
      circleX > 800 &&
      circleX < 800 + 40 &&
      circleY > 600 &&
      circleY < 600 + 40
    ) {
      if (!isChilePlaying) {
        Chile.play();
      } else {
        Chile.pause();
      }
      isChilePlaying = !isChilePlaying;
      color_state_chi = isChilePlaying ? color(255) : originalColorChi;
    }

    if (
      circleX > 1170 &&
      circleX < 1170 + 30 &&
      circleY > 90 &&
      circleY < 90 + 30
    ) {
      if (!isFguianaPlaying) {
        Fguiana.play();
      } else {
        Fguiana.pause();
      }
      isFguianaPlaying = !isFguianaPlaying;
      color_state_fgu = isFguianaPlaying ? color(255) : originalColorFgu;
    }

    if (
      circleX > 1090 &&
      circleX < 1090 + 25 &&
      circleY > 58 &&
      circleY < 58 + 25
    ) {
      if (!isSurinamePlaying) {
        Suriname.play();
      } else {
        Suriname.pause();
      }
      isSurinamePlaying = !isSurinamePlaying;
      color_state_sur = isSurinamePlaying ? color(255) : originalColorSur;
    }

    if (
      circleX > 650 &&
      circleX < 650 + 30 &&
      circleY > 200 &&
      circleY < 200 + 30
    ) {
      if (!isEcuadorPlaying) {
        Ecuador.play();
      } else {
        Ecuador.pause();
      }
      isEcuadorPlaying = !isEcuadorPlaying;
      color_state_ecu = isEcuadorPlaying ? color(255) : originalColorEcu;
    }
    LastTime = millis();
  }
}

function keyPressed() {
  if (key == " ") {
    // important to have in order to start the serial connection!!
    setUpSerial();
  }
}


//TO SET UP SERIAL CONNECTION
function readSerial(data) {
  ////////////////////////////////////
  //READ FROM ARDUINO HERE
  ////////////////////////////////////

  if (data != null) {
    // make sure there is actually a message
    // split the message
    let fromArduino = split(trim(data), ",");
    // if the right length, then proceed
    if (fromArduino.length == 3) {
      // only store values here
      // do everything with those values in the main draw loop

      // We take the string we get from Arduino and explicitly
      // convert it to a number by using int()
      // e.g. "103" becomes 103
      joystick_X = int(fromArduino[0]);
      joystick_Y = int(fromArduino[1]);
      joystick_button = int(fromArduino[2]);
    }
  }
}
Arduino Code:
int xValue = 0 ;
int yValue = 0 ;
int bValue = 0 ;

void setup()
{
    Serial.begin(9600) ;
    pinMode(8,INPUT);
    digitalWrite(8,HIGH);
}

void loop()
{
    xValue = analogRead(A2);
    yValue = analogRead(A1);
    bValue = digitalRead(8);
    Serial.print(xValue,DEC);
    Serial.print(",");
    Serial.print(yValue,DEC);
    Serial.print(",");
    Serial.println(!bValue);

    delay(10);
}
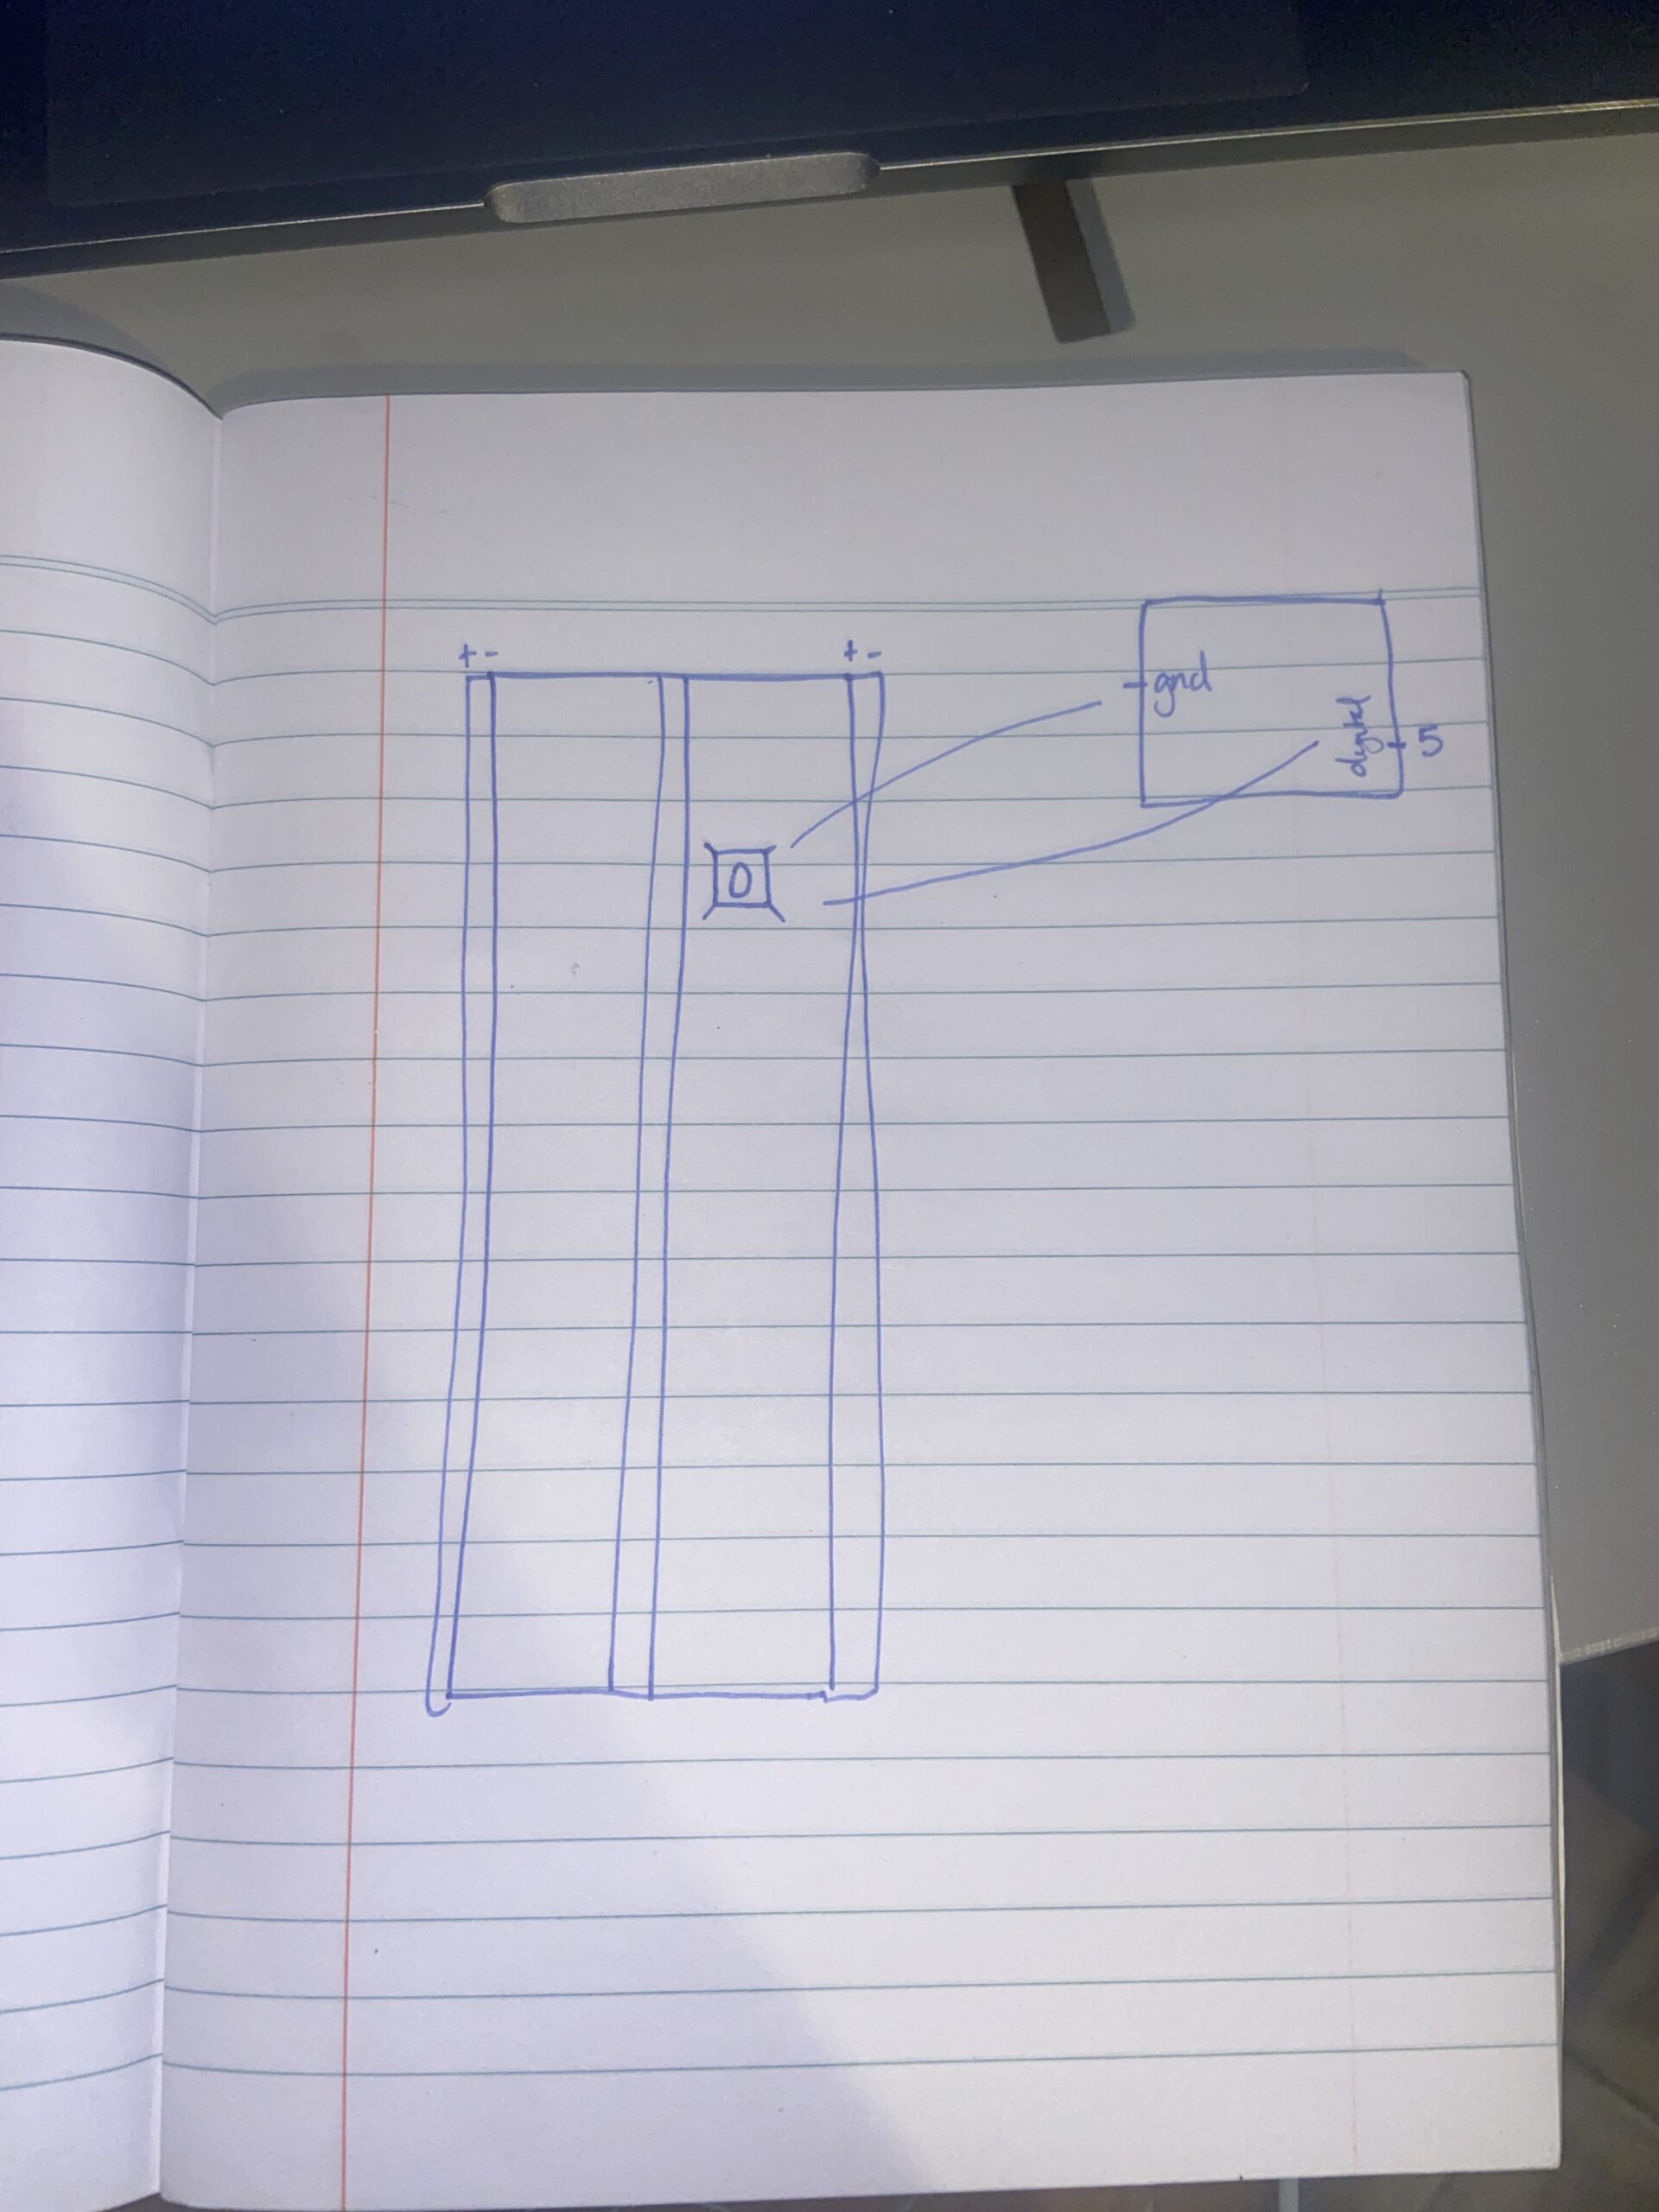
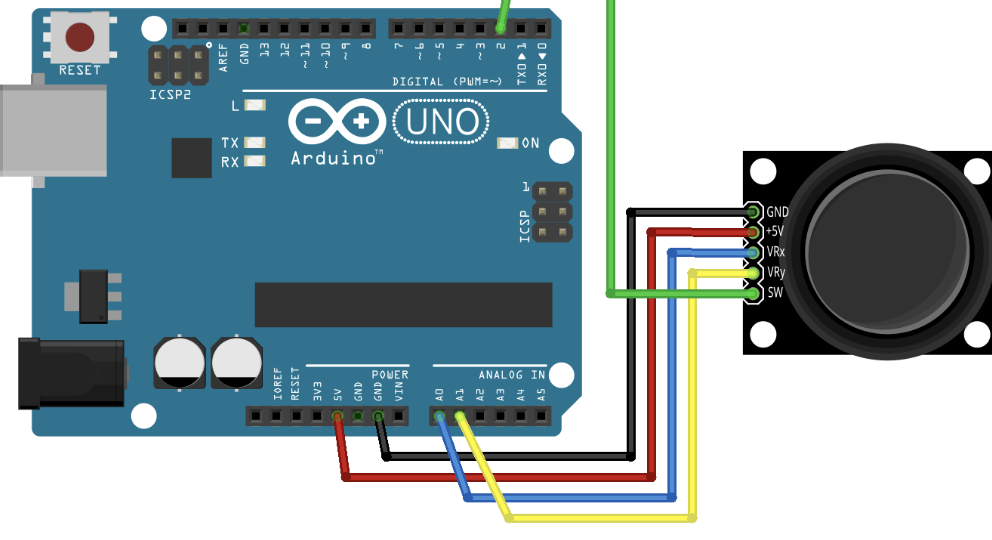
Schematic:
CHALLENGES:
I initially had quite a few issues in p5 trying to upload the song files. I realized that it was because I placed all the songs in a folder and P5 couldn’t find the path to that folder. I also had issues with organizing the square buttons on the screen, as well as cuing and pausing the music in combination with the joystick!
Improvements:
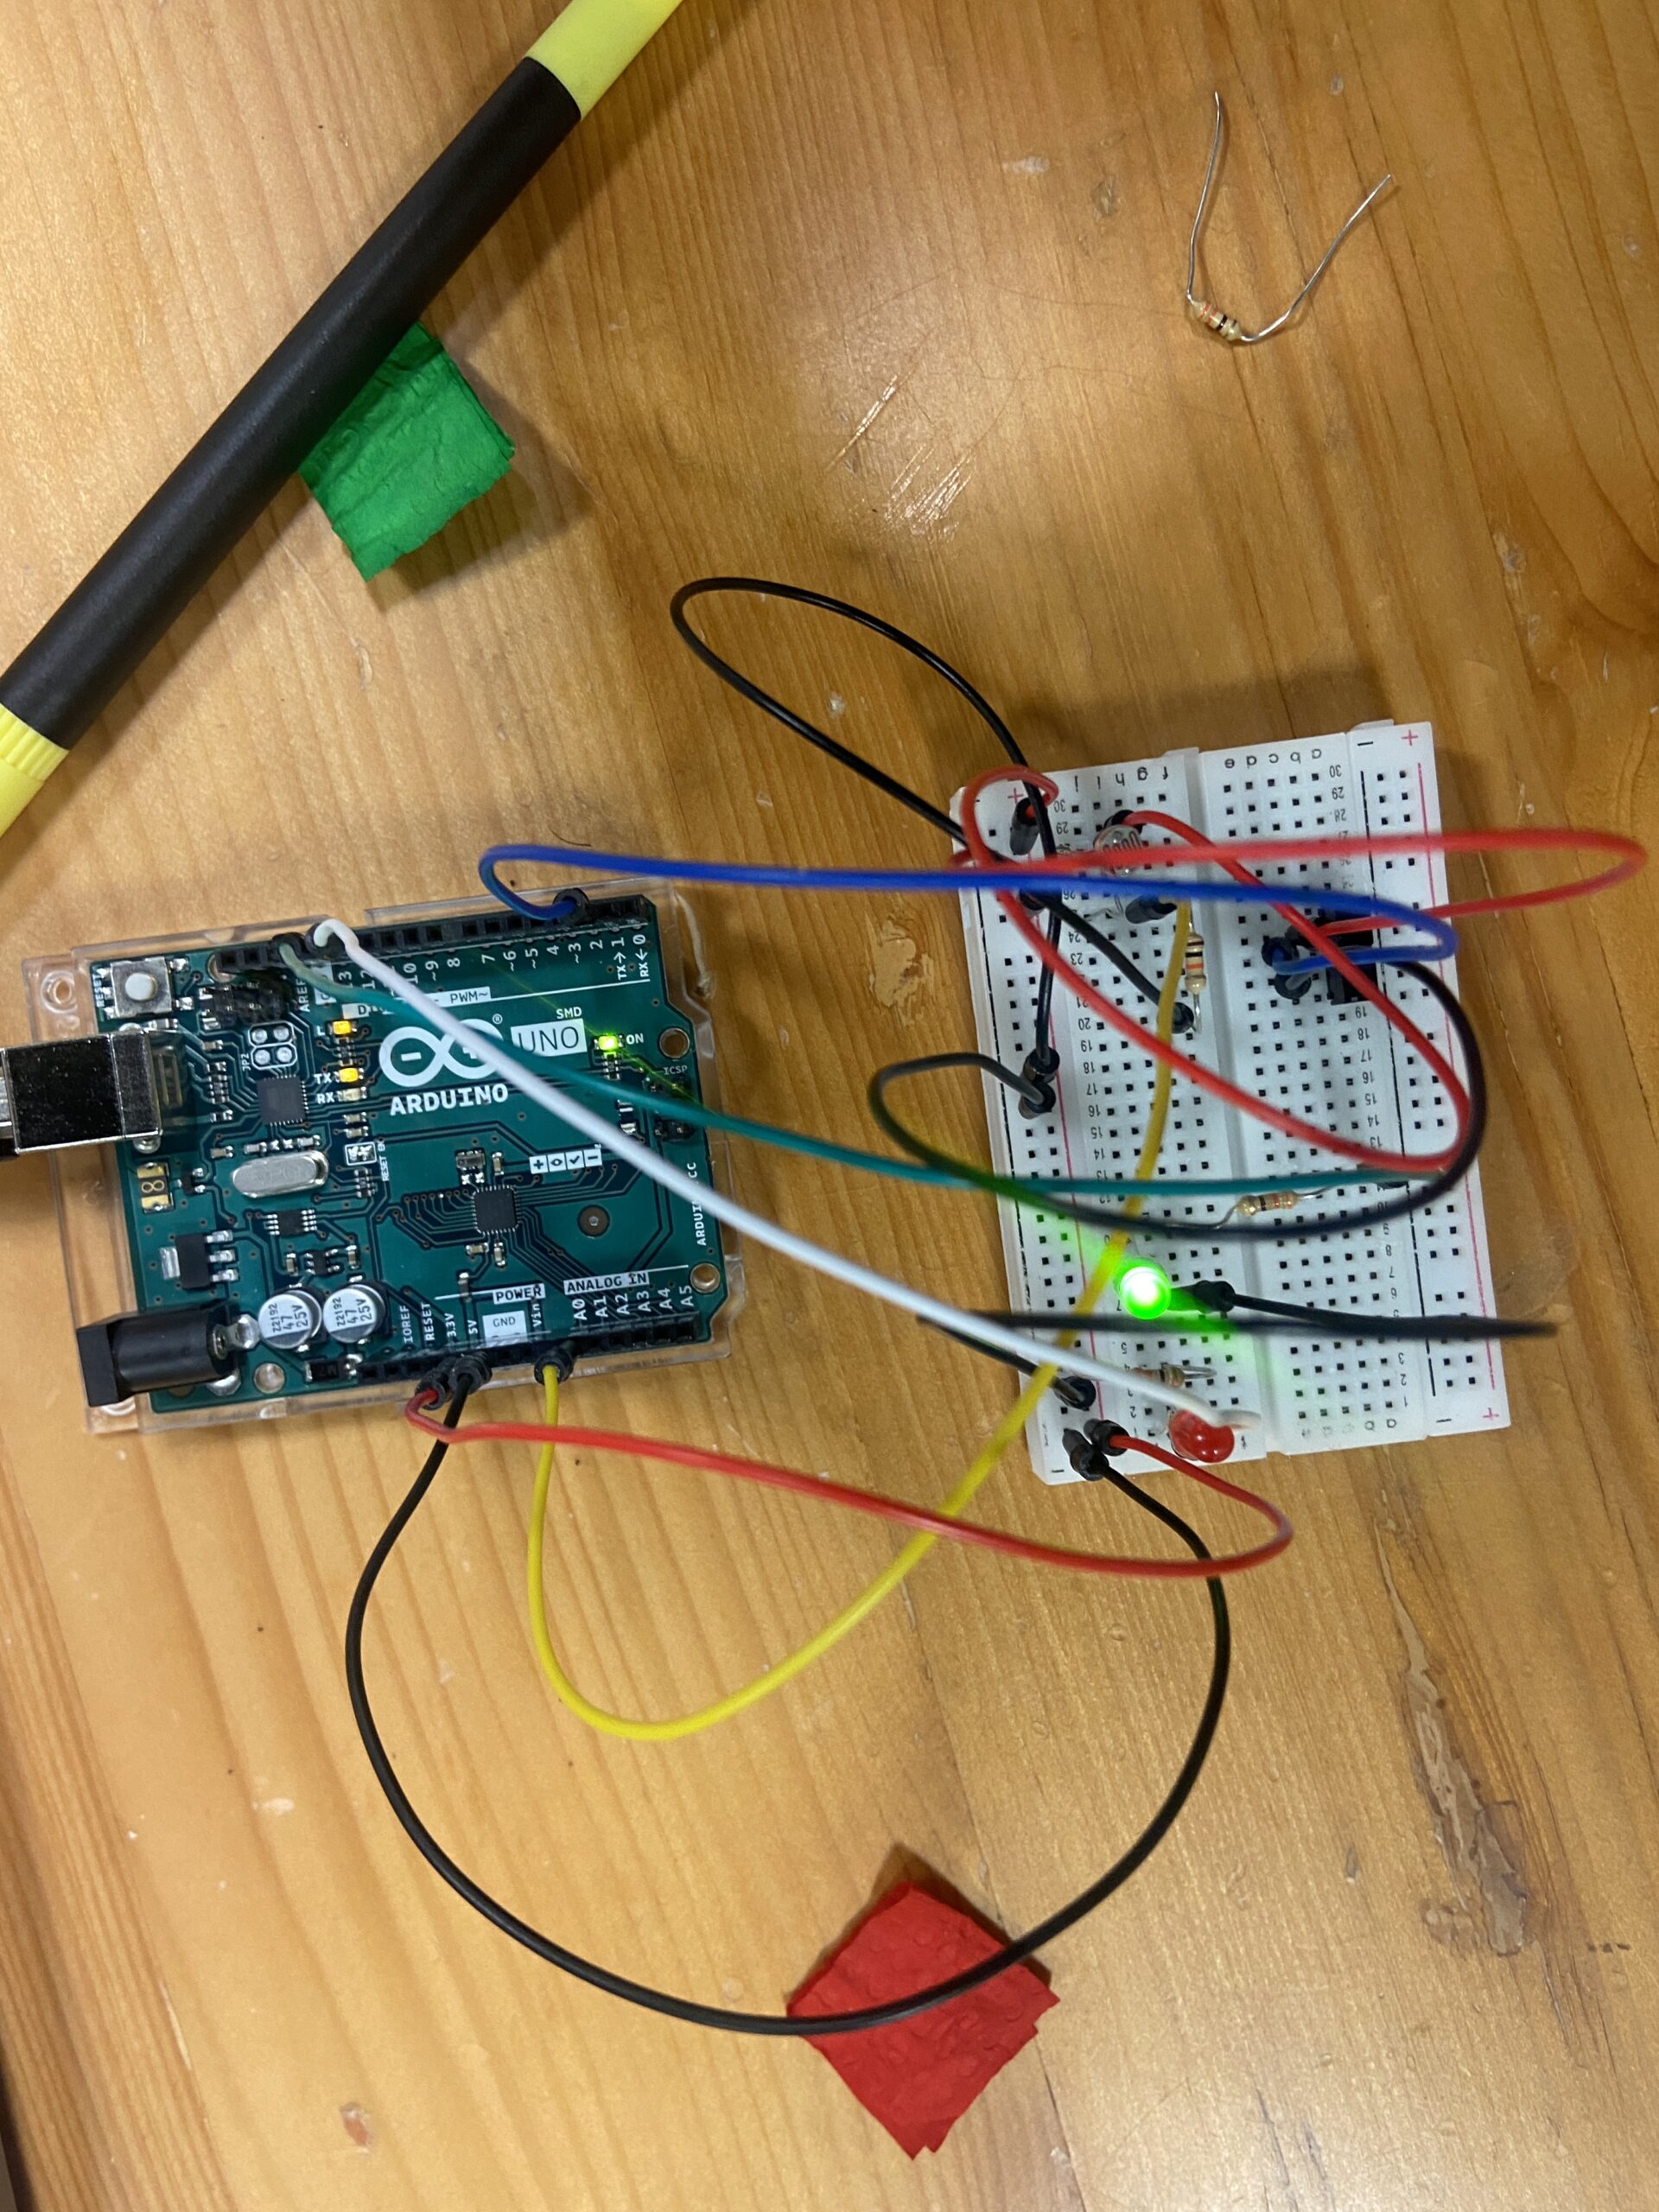
I would really like to make my p5 sketch a bit more elaborate and maybe add some sort of extra LED aspect to my arduino to make things a bit more exciting!
VIDEOS FROM THE SHOWCASE:
The showcase was incredibly fun and I really loved seeing everyone’s projects. I am very excited for building more fun projects in the future!!