Are you tired yet of Zoom? Maybe not the meetings and the people but just the ever repeating procedure of logging in? Whether your answer would be yes or no, let us propose a more engaging way to join a Zoom meeting, one that involves more than your sense of touch when typing on your keyboard:
Try our musically gamified way to enter your next Zoom meeting!
How it works
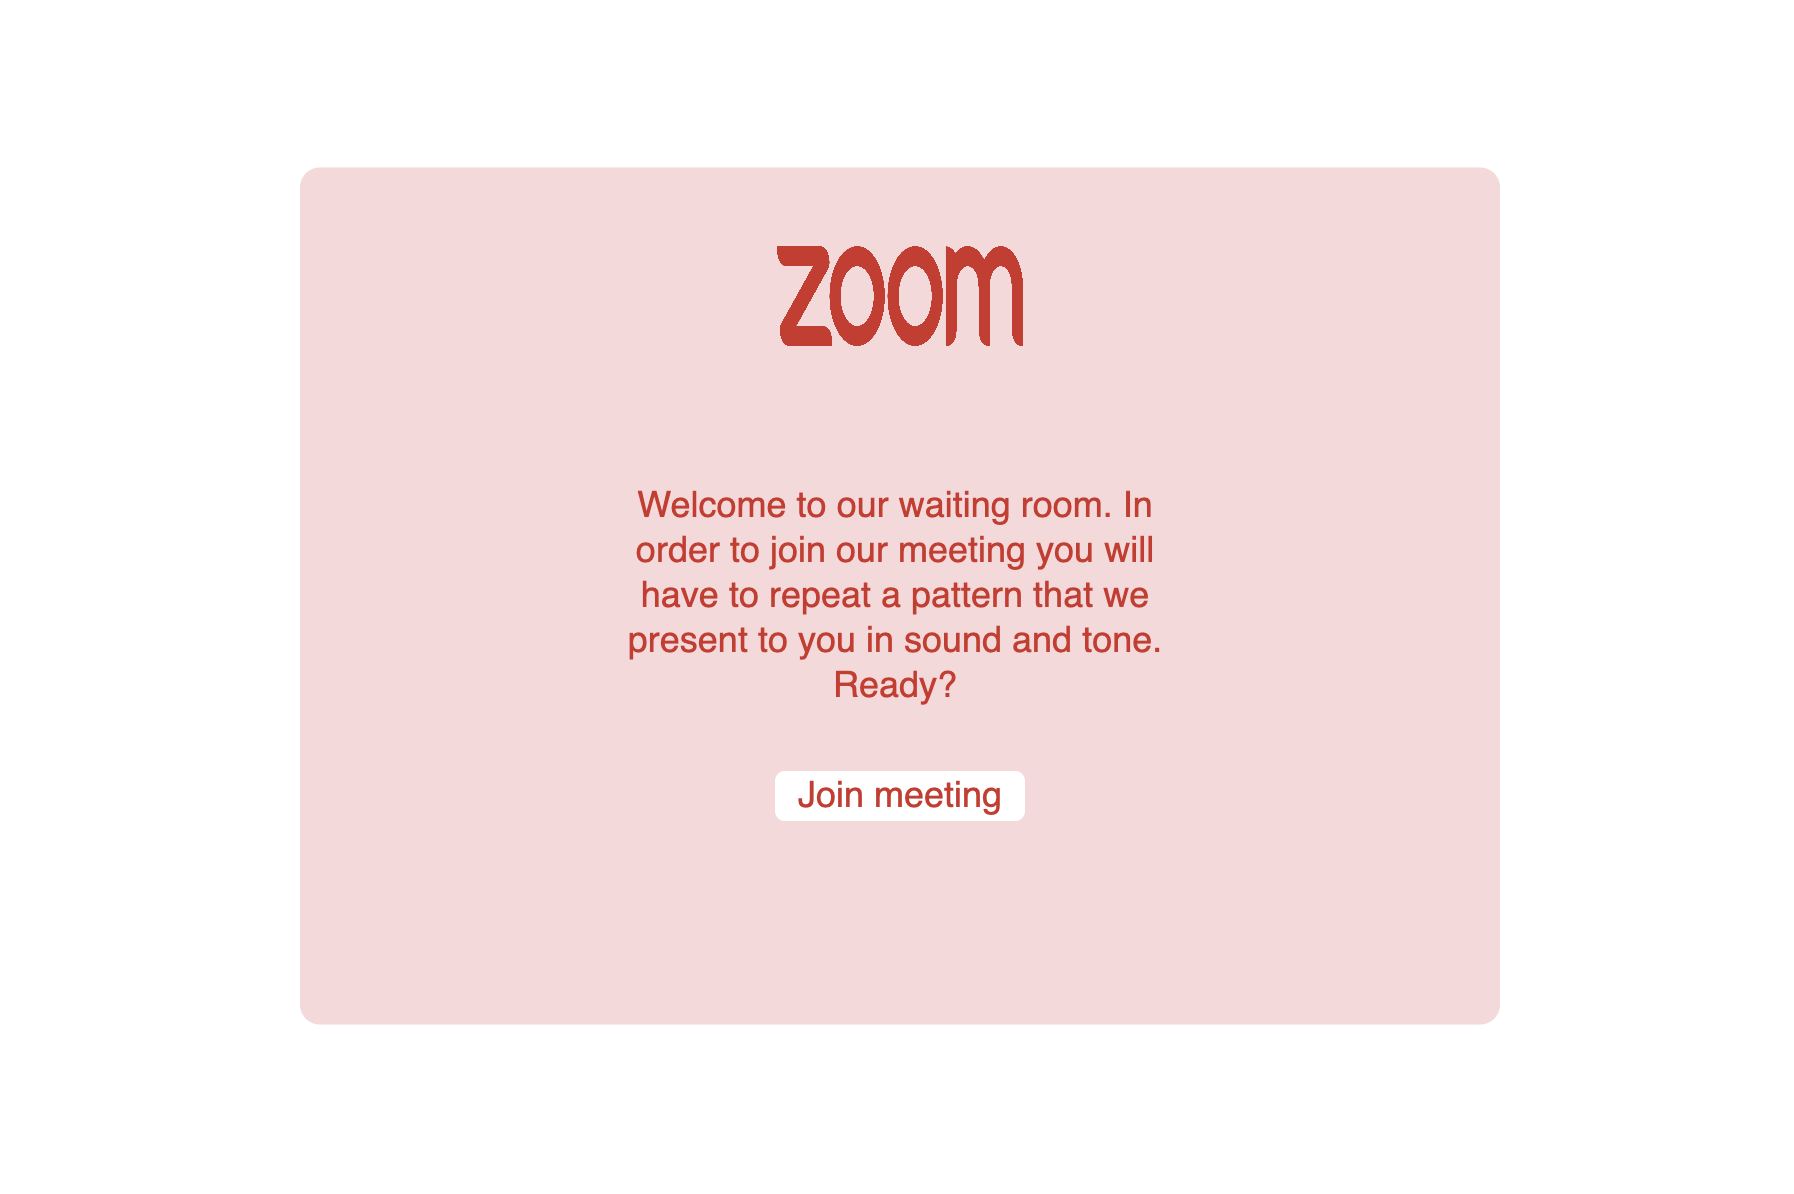
You start (our new) Zoom app (Processing).
You are prompted to observe and listen to a password pattern presented in sound and light which makes it more accessible as it offers the same information as different sensory data. The sound is played by Arduino (Arduino).
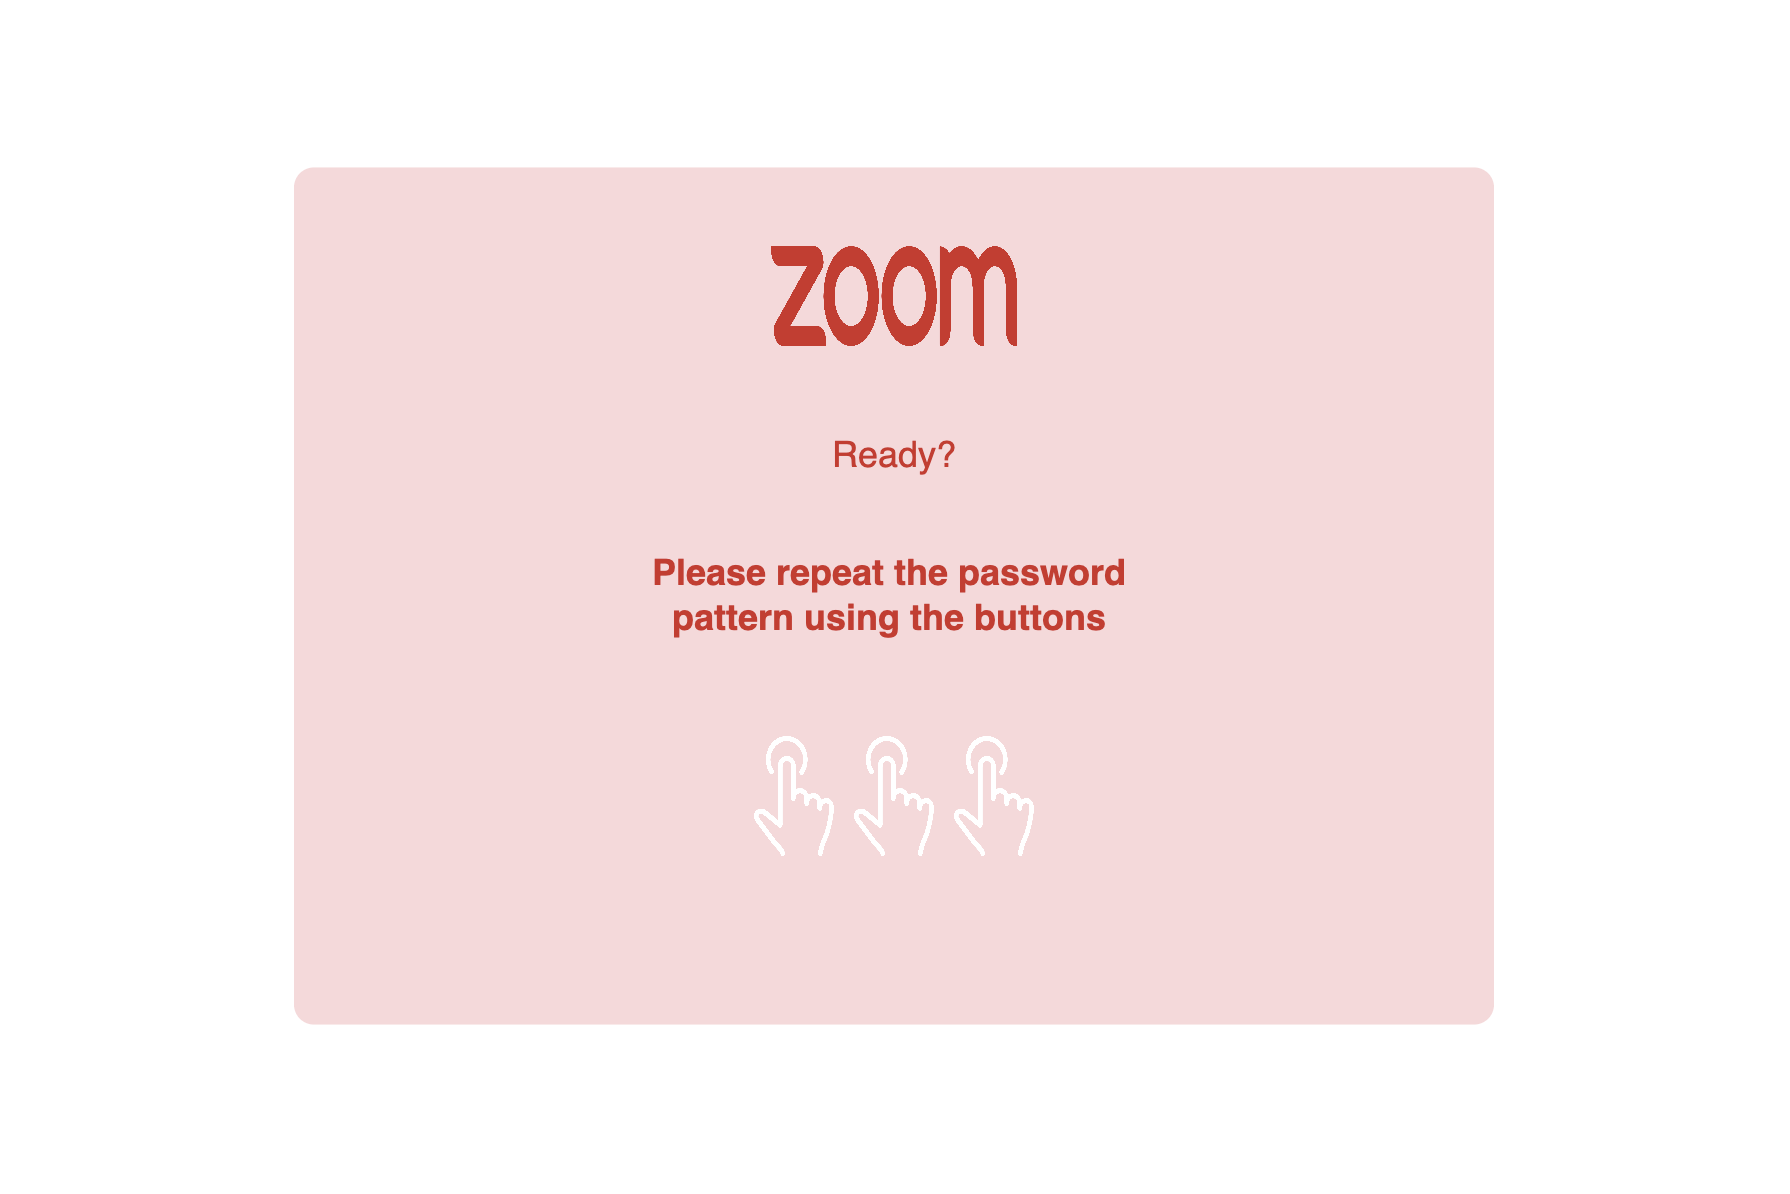
Repeat the password pattern with the Arduino buttons (Arduino).
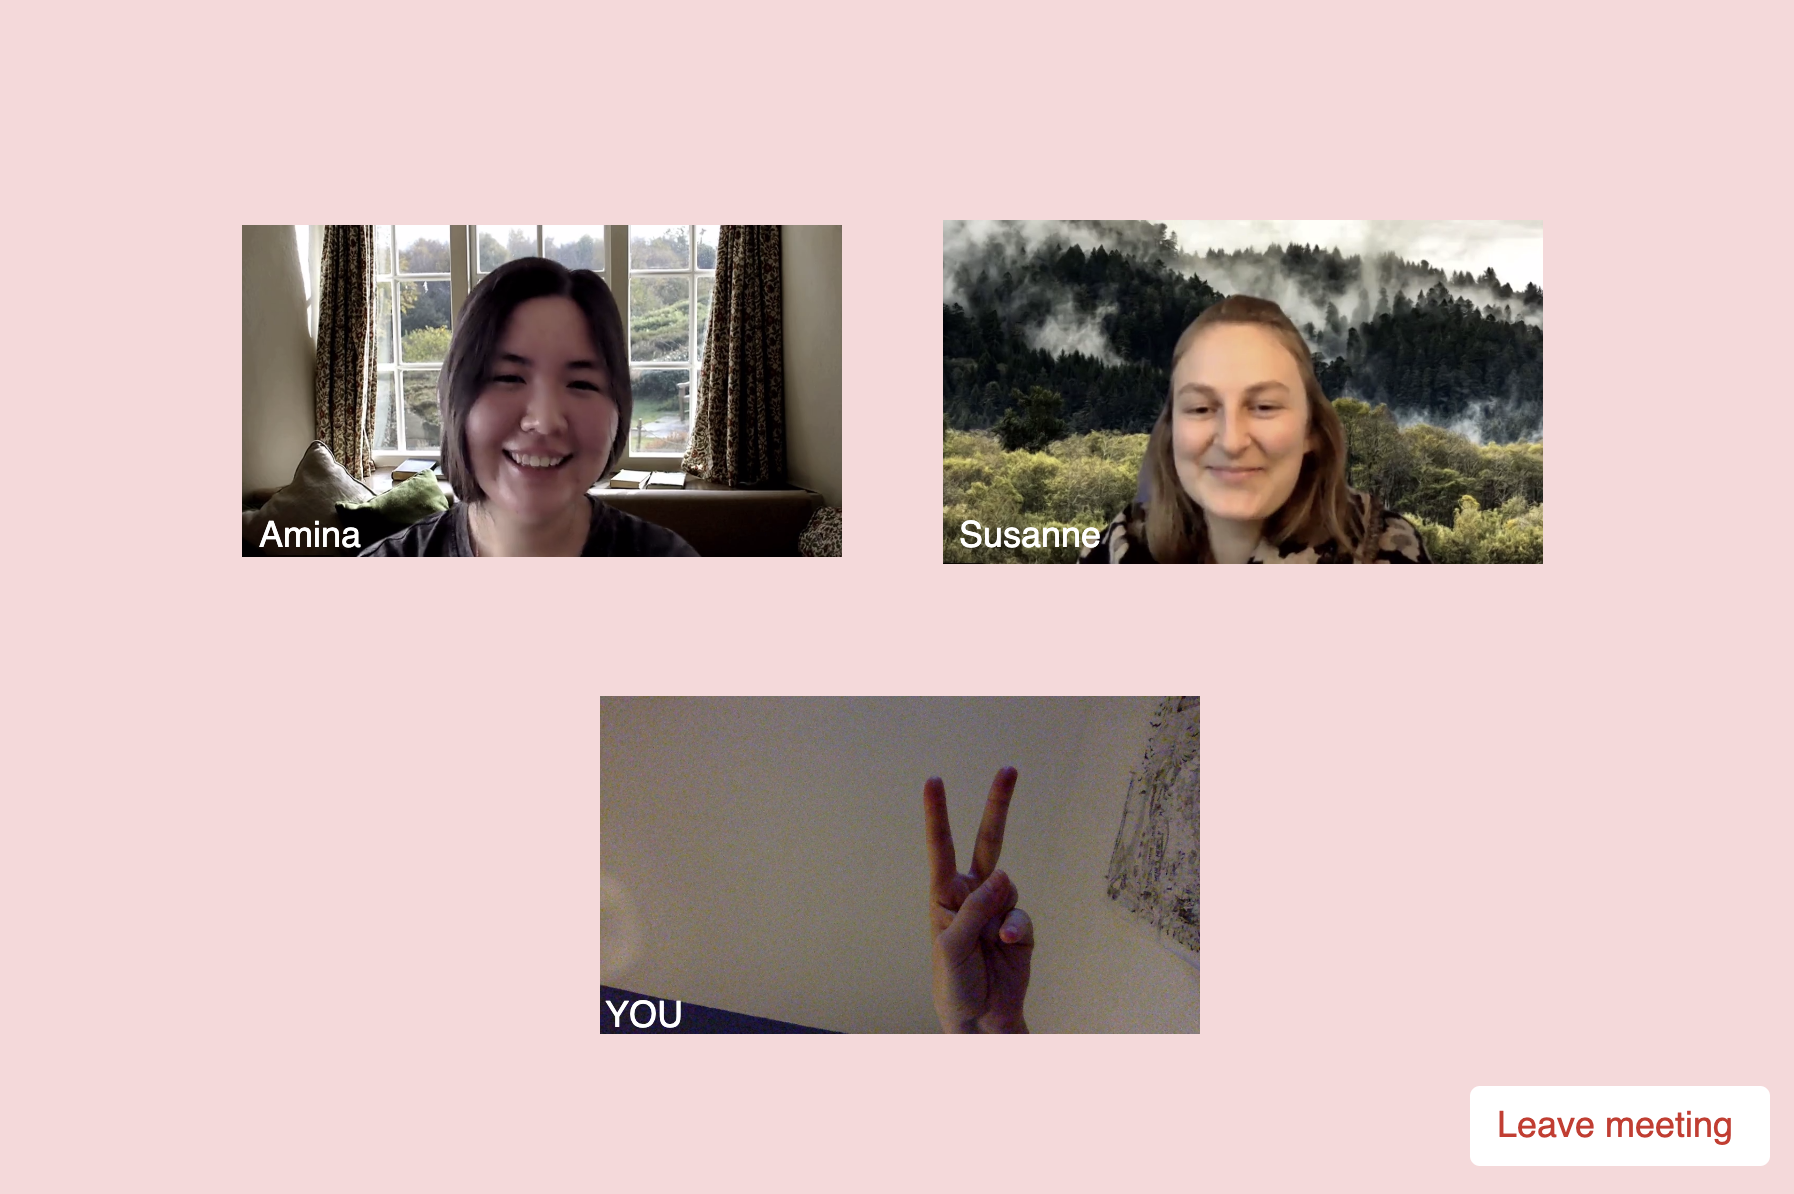
If you repeated the correct password pattern, you will now join our Zoom meeting, see yourself in your own little participant window, and receive a welcome message from us (Processing). If you entered a wrong password, you can try again.
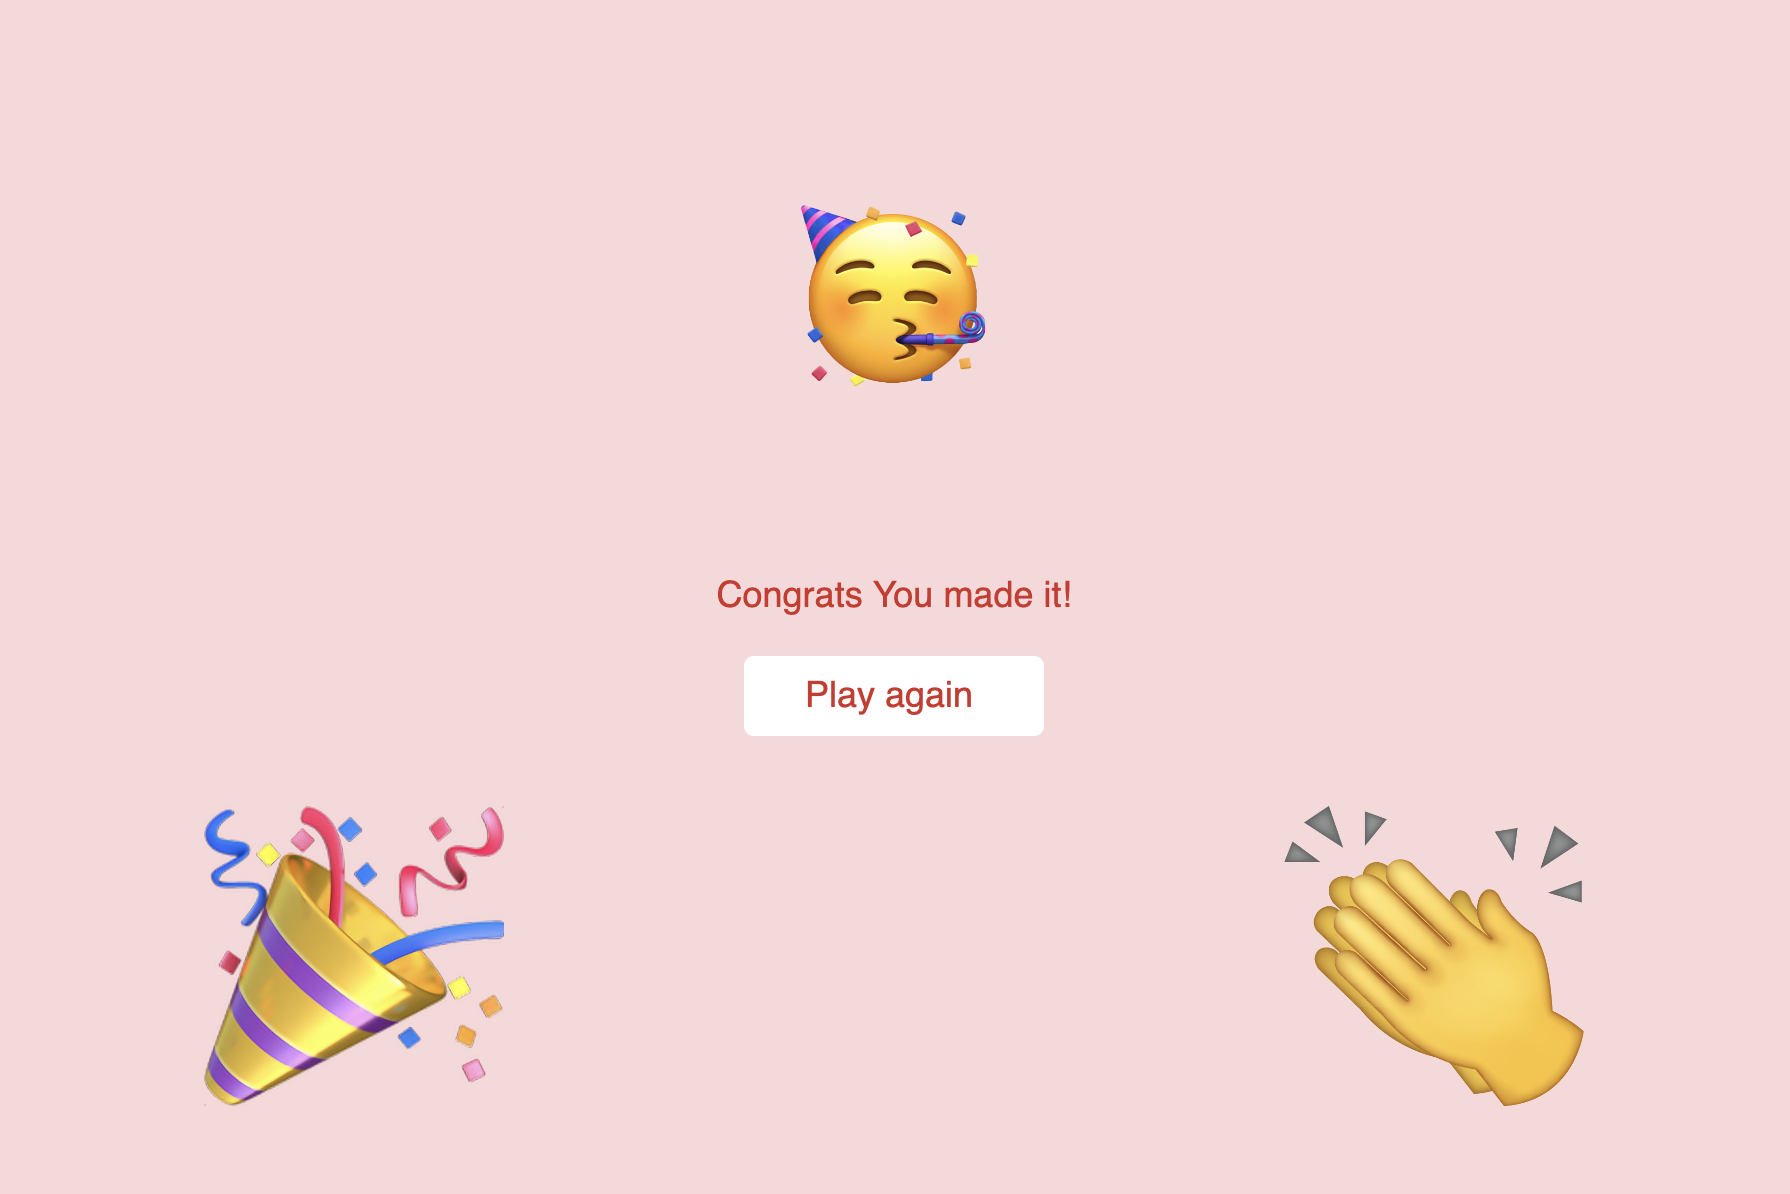
If you decide to leave the meeting, you will see a final congratulation notes and then have the possibility to play this “musically game” to join our meeting again (Processing).
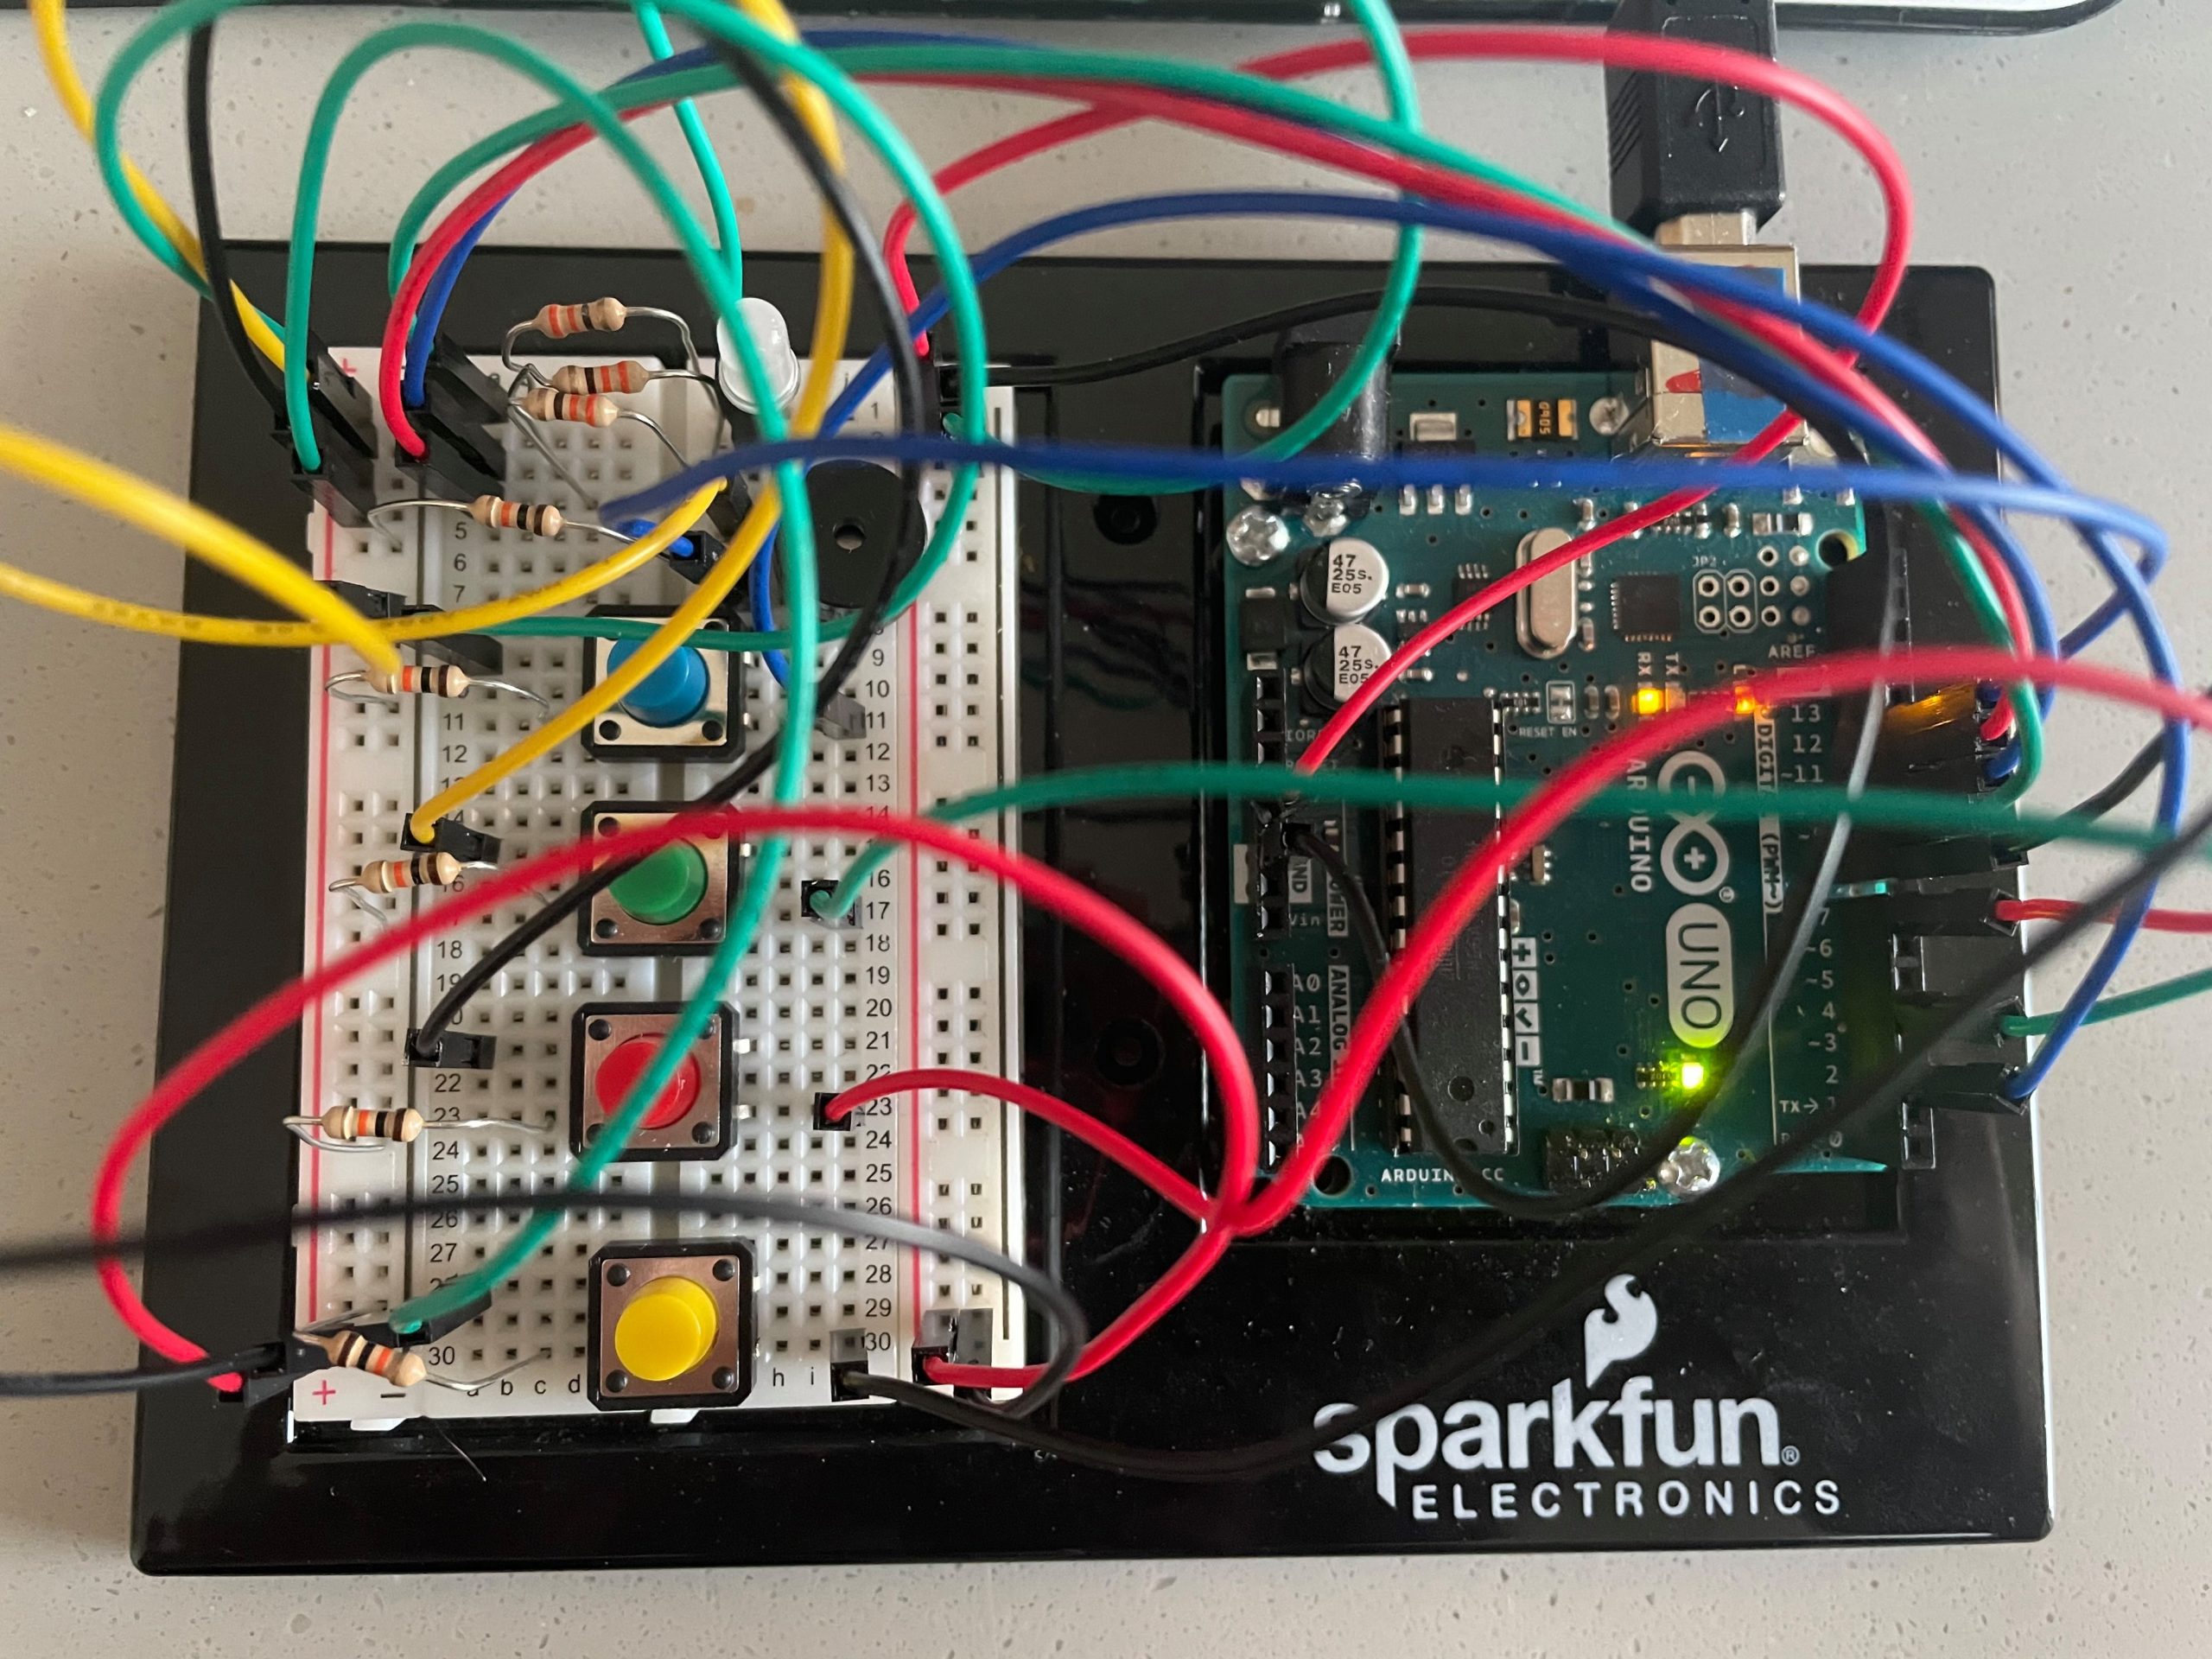
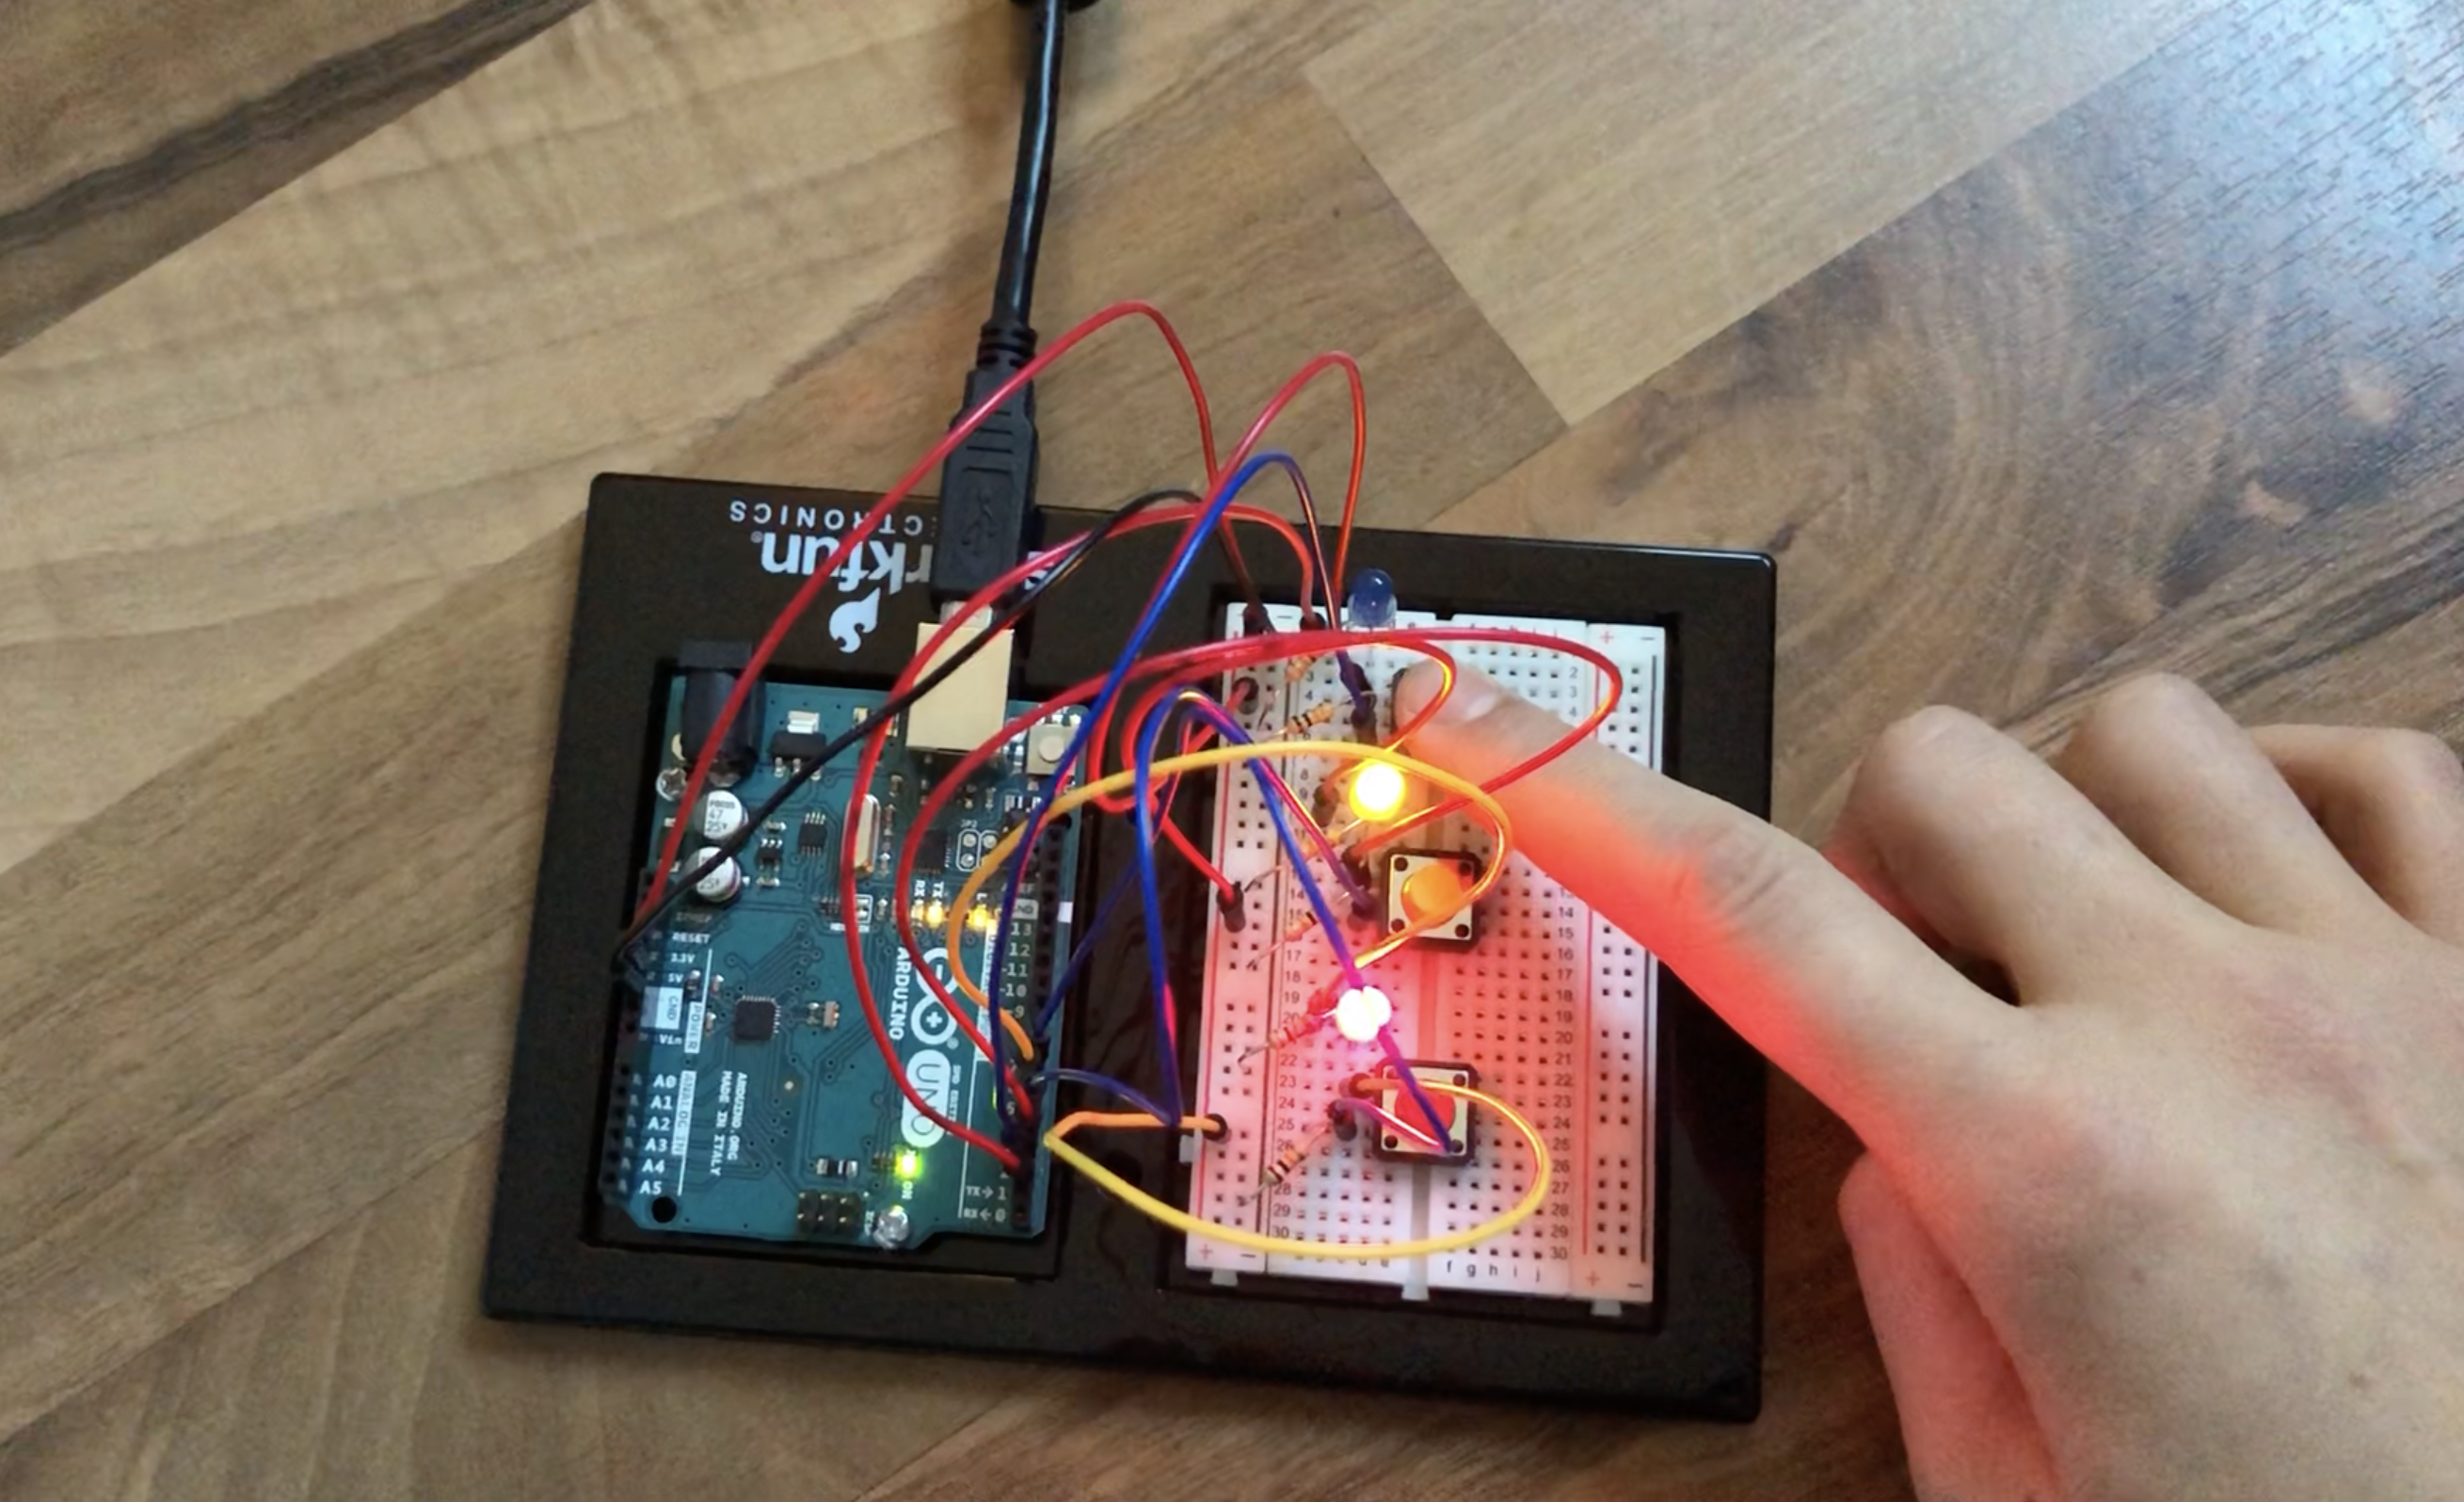
Technical Design in Arduino
Arduino circuit
Visual Design in Processing
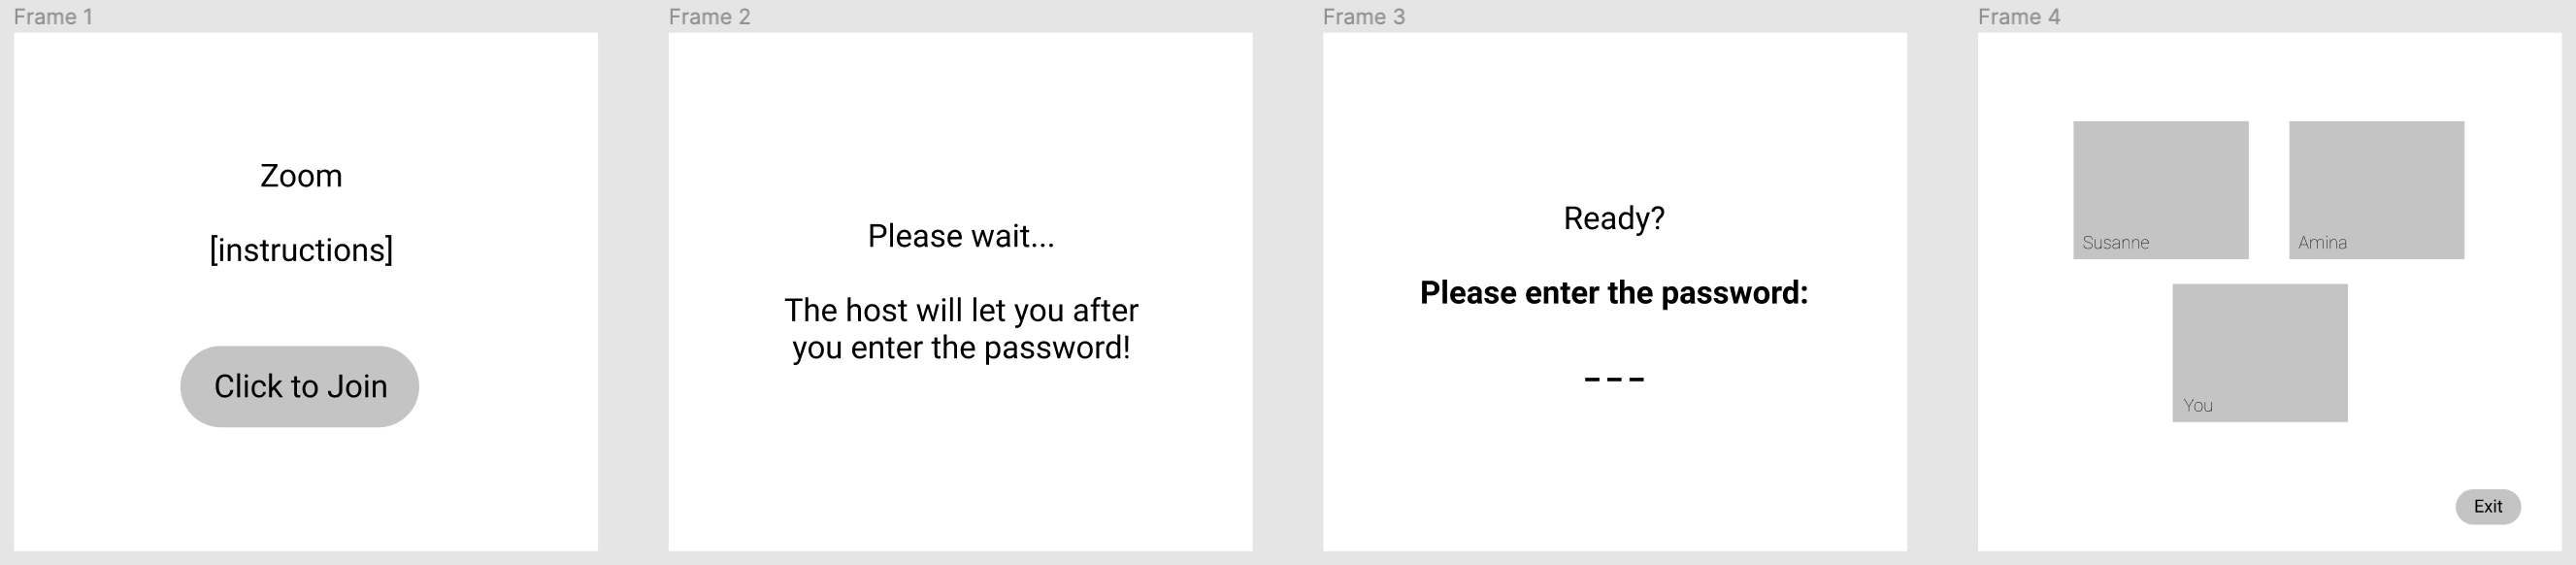
Step 1: Open our version of Zoom and click to join our meeting.Step 2: Observe and/or listen to the password pattern presented to you.
Step 3: Repeat the Password using the colored buttons on Arduino.Step 4: Welcome! You entered the correct password and made it to our meeting. You will see yourself in your own participant window.Step 5: You left the meeting, congrats for finding the password. Do you want to play again?
Challenges & Learning
In the initial development phase of this project, after agreeing on the details of the user’s journey and the functionality, we worked independently: Amina focused on Arduino while Susanne focused on P5.js. Then bringing both parts together seemed a bit more difficult at first glance as we had previously mainly worked with serial communication between Arduino and Processing but decided to use P5.js in this project as it would allow the live camera input of the user’s camera when joining our Zoom meeting. We shared our code and tried following online tutorials that involved downloading the App p5.serialcontrol for indirect serial communication. Susanne unnecessarily run into trouble because she downloaded the app for the wrong operation system. Moving on with the appropriate App for Apple OS, some individual and communal experimentation and debugging, our Arduino and P5.js sketches eventually became friends 🙂 Happy that their idea came into life, Amina and Susanne could not stop playing their own game for some time… 🙂
Considerations for future Improvements
The current version of our musically Zoom game uses only one level of difficulty as we focused less on levels but more on the whole narrative of entering Zoom for the first development. Future versions could be improved by generating new, random password patterns every time the game is played. Currently, the use can enter the password pattern again after submitting a wrong password but needs to rely on memory. For a future version, we could possibly present the password pattern again after faulty user input to assist their success.
For now we are happy to present our concept in a working game but are always happy to hear your feedback for future version!
You want to play, too?
In order to play our game follow these simple steps:
Download the P5.serialcontrol application appropriate for your operating system.
This week, Amina and Susanne worked independently on the physical and visual sides of their project. Amina built the Arduino circuit while Susanne created the visuals in P5.js. The main challenge for Amina working on getting input from Arduino in the form of entering a password was how to send the input to Processing (used for prototyping purposes before connecting to P5.js) without breaking. Susanne’s main challenge was to arrange video input in P5.js as x and y coordinates behaved unexpectedly.
Now, we need to debug the Arduino side of our project possibly sending multiple input at once and figure out the serial communication between Arduino and P5.js which needs another ‘communicator’ in between as we cannot send directly to the web.
After the independent work stretch, we now shared our code to debug together, looking at previous examples and seeking support from Aaron and the Internet.
Feedback during our class discussion and wire framing helped us finalize a clear plan for our Zoom game in which the player has to repeat a specific LED and sound pattern through button input in order to join the Zoom meeting in which prerecorded version of Amina and Susanne will be waiting.
+++Communication between Arduino & Processing🔄💻🔈🎶+++
STEP 1
Processing: Start with the “Main Menu” / “Log Into Zoom” screen. Send a message to Arduino if the game has started.
Arduino: Turn on if there is a specific message from Processing received. Play a specific tone once and blink with green LED to indicate the start of the game.
STEP 2
Processing: Player clicks game start button, sound effect for click. Then redirect to the window saying “The password pattern is playing. The meeting host wants to test your memory. You can enter the meeting after you repeat the pattern.”
Arduino: Play the right combination with tone() and corresponding LED colors. After this, send a message to Processing indicating the end of the password.
STEP 3
Processing: After receiving the end signal from arduino, redirect to the “input” window and prompt the user to enter the password using the buttons on Arduino.
Arduino: Start to take input from the user and send the combinations to Processing. Provide immediate feedback to the user by playing corresponding button sounds and turning the corresponding light color. Send input if the “enter” button was pressed.
STEP 4
Processing: Keep checking for input from Arduino until the right combination is entered. If the input is wrong, keep asking for it. If the input is right, redirect to the “Zoom Meeting”.
Arduino: If the wrong combination is entered, play a specific sound and turn the LED to red light. If the right combination is entered, play congratulating sound and turn the green light to indicate the end of the game.
+++Wire frames💻📐🎨+++
+++Next steps📝+++
We want to explore the option of bringing in real time camera input to have the players video appear in Frame 4 alongside our prerecorded videos. Daniel Shiffman seems to have a good tutorial on that topic.
Amina will start with Arduino, specifically exploring the format in which button input is read and sent when the player repeats the pattern password.
Susanne will start with Processing and design the different scenes of the game.
For the Final IM Project, Amina and I decided to work together.
Context 💻
Since we are both in different locations and Zoom is a central element of our life now, we want to incorporate the procedure of joining Zoom meetings but make it fun.
Idea 🎮
The basic idea is to create a musical game that takes input from the laptop keyboard in Processing and puts out sounds and LED signals through Arduino. In our game, the user wants to enter a Zoom meeting. For that, they have to repeat a pattern presented to them. This pattern, we thought, could be presented both through sound and LED output for greater accessibility as some might be more able or comfortable to observe either a sound or a visual pattern. If the pattern is wrong, the user gets to try again. If they repeat the correct pattern, they get to enter the Zoom meeting with congratulation sounds + LED visuals and a welcome message from us. End of game.
Ideas to be determined 🤔
What is the overall story line? Does it end when entering the Zoom meeting?
For this exercise, I wanted to play with colors (yes, I like them a lot) and use different sensory input to change the color of different elements in my Processing sketch. Just exploring different color combinations would make me happy already but I also wanted to add a simple goal to this game which is to manipulate the Arduino sensors in such a way that all objects have the same color so merge in one color blob.
✍🏼Process
I built upon the “05_receiveInArduino” examples that we looked at in class. The potentiometer would be one way of input for color manipulation and I wanted to add the Distance Sensor of our kit for another source of input. For this, I looked up how to use it in the little booklet that came with the kit and also on the Arduino website and used their code. In my Processing sketch, I defined the colors of my elements (two lines of text, ellipse, stroke of ellipse, background) in such a way that they would at some position of the potentiometer all have the same color. Aaron helped me understand the mapping of the distance sensor but I did not yet figure out who to correctly map that input and use it in the Processing sketch for my intention so for now. I will look at this again. The LED was also intended to blink up when the game is solved but for that I would need the distance sensor input so now it is is simply on for 50% of the potentiometer range, and off for the other half. For now, enjoy a very easy to solve version of my game idea 🙂
🎭Outcome
const int trigPin = 11;           //connects to the trigger pin on the distance sensor
const int echoPin = 12;           //connects to the echo pin on the distance sensor

const int redPin = 3;             //pin to control the red LED inside the RGB LED
const int greenPin = 5;           //pin to control the green LED inside the RGB LED
const int bluePin = 6;            //pin to control the blue LED inside the RGB LED

float sensor2 = 0;               //stores the distance measured by the distance sensor

void setup() {
  // put your setup code here, to run once:
  Serial.begin(9600);
  Serial.println("0,0");
  pinMode(2,OUTPUT);

  //code for Distance Sensor taken from Arduino
  pinMode(trigPin, OUTPUT);   //the trigger pin will output pulses of electricity
  pinMode(echoPin, INPUT);    //the echo pin will measure the duration of pulses coming back from the distance sensor
}

void loop() {
  sensor2 = getDistance();   //variable to store the distance measured by the sensor
  sensor2 = map(sensor2, 0, 800, 0, 255);

  if(Serial.available()>0){
    int inByte=Serial.read();
    digitalWrite(2,inByte);
    int sensor = analogRead(A0);
    delay(1);
    int sensor2 = analogRead(A1);
    delay(50);
    Serial.print(sensor);
    Serial.print(',');
    Serial.println(sensor2);
  }
}

//code for Distance Sensor taken from Arduino
//------------------FUNCTIONS-------------------------------

//RETURNS THE DISTANCE MEASURED BY THE HC-SR04 DISTANCE SENSOR
float getDistance()
{
  float echoTime;                   //variable to store the time it takes for a ping to bounce off an object
  float calculatedDistance;         //variable to store the distance calculated from the echo time

  //send out an ultrasonic pulse that's 10ms long
  digitalWrite(trigPin, HIGH);
  delayMicroseconds(10);
  digitalWrite(trigPin, LOW);

  echoTime = pulseIn(echoPin, HIGH);      //use the pulsein command to see how long it takes for the
                                          //pulse to bounce back to the sensor

  calculatedDistance = echoTime / 148.0;  //calculate the distance of the object that reflected the pulse (half the bounce time multiplied by the speed of sound)

  return calculatedDistance;              //send back the distance that was calculated
}


/* Processing Code

import processing.serial.*;
Serial myPort;
int xPos=0;
int yPos=0;
boolean onOff=false;

void setup() {
  size(255, 720);
  printArray(Serial.list());
  String portname=Serial.list()[5]; //add my port here
  println(portname);
  myPort = new Serial(this, portname, 9600);
  myPort.clear();
  myPort.bufferUntil('\n');
}

void draw() {
  background(xPos, 0, 255);
  strokeWeight(10);
  stroke(0, xPos, 255); //eventually: this uses input from sensor2
  fill(255, 0, xPos);
  ellipse(xPos, height/2, 50, 50);
  //instruction text
  textSize(32);
  text("Align the colors", 5, 30);
  fill(0, xPos, 255);
  textSize(17);
  text("& make everything disappear", 6, 60);
  fill(0, xPos*2, 255);

  if (xPos >= 126) //eventually: xPos == yPos
    onOff=true;
  else
    onOff=false;
}

void serialEvent(Serial myPort) {
  String s=myPort.readStringUntil('\n');
  s=trim(s);
  if (s!=null) {
    int values[]=int(split(s, ','));
    if (values.length==2) {
      xPos=(int)map(values[0], 0, 1023, 0, width);
      //yPos=(int)map(values[1],0,1023,0, height);
      yPos=(int)map(values[0], 0, 1023, 0, height);
    }
  }
  myPort.write(int(onOff));
}

 */
For this week I tried several thins. First, I wanted to recreate a song I played long, long time ago. Then I focused more on having a somewhat randomly generated melody which can be changed on the go through analog and digital input. I sticked with this idea and kept adding more ideas. Unfortunately, it seemed to be too much at some point and I could not find the error. I also wanted two different melodies to be triggered by two different buttons but for some reason the second button would not connect properly.
PROCESS
For the stage of ideation and prototyping that you can see in the video, holding down the blue button triggers a melody. The speed can be adjusted with the potentiometer. To the arms of the servo, two metal earrings are attached that make another sound when clinging to a glass or to each other. As they also swing a little bit, this adds a variable that is out of Arduino control.
OUTCOME
In the time I committed to this exercise, I did not quite manage to achieve the output I envisioned at the beginning but I enjoyed wandering off and adding new ideas and trying out different things on the go. At first, I also had no idea how to extend the sound making beyond Arduino into a physical level but the little holes in the plastic part that I attached to the Servo served quite well to attach earrings and I think it would be fun to have little metal bells attached to the Servo with little strings and see (rather hear) what that sounds like.
#include <Servo.h> //include servo (hardware)
#include "pitches.h" //include pitches extrta tab

Servo servo;
int servoPos = 100; //position
int whichNote = 0;
int notes[10] = {NOTE_C4, NOTE_D4, NOTE_E4, NOTE_F4, NOTE_G4, NOTE_A4, NOTE_B4, NOTE_C5, NOTE_D5, NOTE_E5};
int durations[10];
int bluebuttonPin = 6;
int redbuttonPin = 9;
//int knob = A0;

void setup() {
  servo.attach(2); //attach to Pin 2
  pinMode(8, OUTPUT); //for blue LED
  pinMode(bluebuttonPin, INPUT); //get button input
  pinMode(redbuttonPin, INPUT);
  Serial.begin(9600);

  //  // set the durations with a random coinflip
  //  for (int i = 0; i < 10; i++) {
  //    int coinFlip = random(2);
  //    if (coinFlip == 0)
  //      durations[i] = knobValue;
  //    else
  //      durations[i] = knobValue/2;
  //  }
}

void loop() {
  int knobValue = analogRead(A0); //get analog input from knob
  map(knobValue, 0, 1023, 3, 8); //mapping knowbvalue to use for durations
  Serial.println (knobValue);

  // set the durations with a random coinflip and analog input from knob
  for (int i = 0; i < 10; i++) {
    int coinFlip = random(2);
    if (coinFlip == 0)
      durations[i] = knobValue;
    else
      durations[i] = knobValue / 2;
  }


  int val = analogRead(A0); //to use knob input
  int bluebuttonState = digitalRead(bluebuttonPin);
  int redbuttonState = digitalRead(redbuttonPin);

  // the rate is 1 second divided by the duration of the note
  int rate = 1000 / durations[whichNote];

  // get the current time
  unsigned long currentTime = millis(); //unsigned long to store long number

  //two different songs for two different buttons
  if (bluebuttonState == HIGH) {
    // trigger a note
    if (currentTime % rate == 0  ) {
      tone(4, notes[whichNote], random(100, 400)); //random within range
      whichNote = random(10);
      delay(1); //seemed to help Aaron
    }

    // do the servo at half speed
    if (currentTime % (rate * 2) == 0  ) {
      servoPos = 30;
      servo.write(servoPos);
    }

    // else if not triggereing the servo, then every 10 milliseconds move the servo arm back a little bit
    // can't do it every frame as that is too fast for the servo
    else if (currentTime % 10 == 0) { //every ten millisec substract 1 from servo position
      servoPos -= 1;
      servo.write(servoPos);
    }

  } else {
    return;
  }

  if (redbuttonState == HIGH) {
    // trigger a note
    if (currentTime % rate == 0  ) {
      tone(4, notes[whichNote], random(100, 400)); //random within range
      whichNote = random(10);
      delay(1); //seemed to help Aaron
    }

    // do the servo at half speed
    if (currentTime % (rate * 2) == 0  ) {
      servoPos = 30;
      servo.write(servoPos);
    }

    // else if not triggereing the servo, then every 10 milliseconds move the servo arm back a little bit
    // can't do it every frame as that is too fast for the servo
    else if (currentTime % 10 == 0) { //every ten millisec substract 1 from servo position
      servoPos -= 1;
      servo.write(servoPos);
    }

  } else {
    return;
  }

}
My idea for this week’s exercise is to create a ‘traffic light’ for learning progress where one can track how close one is to finishing an exercise. On turning the know, first a red, then a yellow, and then a green LED lights up. Then one can press the button to mark a task as completed and some ‘light confetti’ (blinking LEDs) show up to congratulate the learner.
In the end, this was not too difficult to create but it took me some time to understand the difference between analog and digital input but now it seems more clear after using analog input as well.
int greenledPin = 5;
int yellowledPin = 4;
int redledPin = 3;
int buttonPin = 2;

void setup() {
  // put your setup code here, to run once:
  pinMode(greenledPin, OUTPUT);
  pinMode(yellowledPin, OUTPUT);
  pinMode(redledPin, OUTPUT);
  pinMode(buttonPin, INPUT);
  Serial.begin(9600); //bit mode. 9600 commuting back and forth per minute
}

void loop() {
  // put your main code here, to run repeatedly:

  int knobValue = analogRead(A0);

  if (681 < knobValue) {
    digitalWrite(greenledPin, HIGH);
  } else {
    digitalWrite(greenledPin, LOW);
  }
  if (341 < knobValue) {
    digitalWrite(yellowledPin, HIGH);
  } else {
    digitalWrite(yellowledPin, LOW);
  }
  if (100 < knobValue) {
    digitalWrite(redledPin, HIGH);
  } else {
    digitalWrite(redledPin, LOW);
  }

  int buttonState = digitalRead(buttonPin);
  if (buttonState == HIGH) {
    digitalWrite(redledPin, HIGH);
    digitalWrite(yellowledPin, HIGH);
    digitalWrite(greenledPin, HIGH);
    delay(200);
    digitalWrite(redledPin, LOW);
    digitalWrite(yellowledPin, LOW);
    digitalWrite(greenledPin, LOW);
    delay(200);
    digitalWrite(redledPin, HIGH);
    digitalWrite(yellowledPin, HIGH);
    digitalWrite(greenledPin, HIGH);
    delay(200);
    digitalWrite(redledPin, LOW);
    digitalWrite(yellowledPin, LOW);
    digitalWrite(greenledPin, LOW);
    delay(200);
    digitalWrite(redledPin, HIGH);
    digitalWrite(yellowledPin, HIGH);
    digitalWrite(greenledPin, HIGH);
    delay(200);
    digitalWrite(redledPin, LOW);
    digitalWrite(yellowledPin, LOW);
    digitalWrite(greenledPin, LOW);
    delay(200);
    digitalWrite(redledPin, HIGH);
    digitalWrite(yellowledPin, HIGH);
    digitalWrite(greenledPin, HIGH);
    delay(200);
    digitalWrite(redledPin, LOW);
    digitalWrite(yellowledPin, LOW);
    digitalWrite(greenledPin, LOW);
  }

  Serial.println(buttonState);
}
For this first Arduino exercise, I wired up three LEDs and three buttons in parallel. On my board, they are all mapped logically with the same color of button and LED next to each other. But when clicking, this mental mapping does not completely translate to the output. The red and yellow button work as we would expect them to and turn on the red and yellow LED respectively. The blue button, however, turns on both the red and yellow LEDs but not the blue one. How then can we turn on the blue LED?
int blueledPin = 2;
int bluebuttonPin = 3;
int yellowledPin = 4;
int yellowbuttonPin = 5;
int redledPin = 6;
int redbuttonPin = 7;

void setup() {
  //BLUE button + LED
  pinMode(blueledPin, OUTPUT);
  pinMode(bluebuttonPin, INPUT);
  Serial.begin(9600);

  //YELLOW button + LED
  pinMode(yellowledPin, OUTPUT);
  pinMode(yellowbuttonPin, INPUT);
  Serial.begin(9600);

  //RED button + LED
  pinMode(redledPin, OUTPUT);
  pinMode(redbuttonPin, INPUT);
  Serial.begin(9600);
}

void loop() {
  //BLUE button triggers RED and YELLOW LED
  int bluebuttonState = digitalRead(bluebuttonPin);
  Serial.println(bluebuttonPin);
  digitalWrite(redledPin, bluebuttonState);
  digitalWrite(yellowledPin, bluebuttonState);

  //YELLOW button triggers YELLOW LED
  int yellowbuttonState = digitalRead(yellowbuttonPin);
  Serial.println(yellowbuttonPin);
  digitalWrite(yellowledPin, yellowbuttonState);

  //RED button triggers RED LED
  int redbuttonState = digitalRead(redbuttonPin);
  Serial.println(redbuttonPin);
  digitalWrite(redledPin, redbuttonState);

  //if YELLOW and RED button pressed turn on BLUE LED
  if (redbuttonState == yellowbuttonState) {
    digitalWrite(blueledPin, redbuttonState);
    }
}
Solution: Pressing the red and yellow button together will turn on the blue LED.
Edit: I added a sound effect when flipping a card.
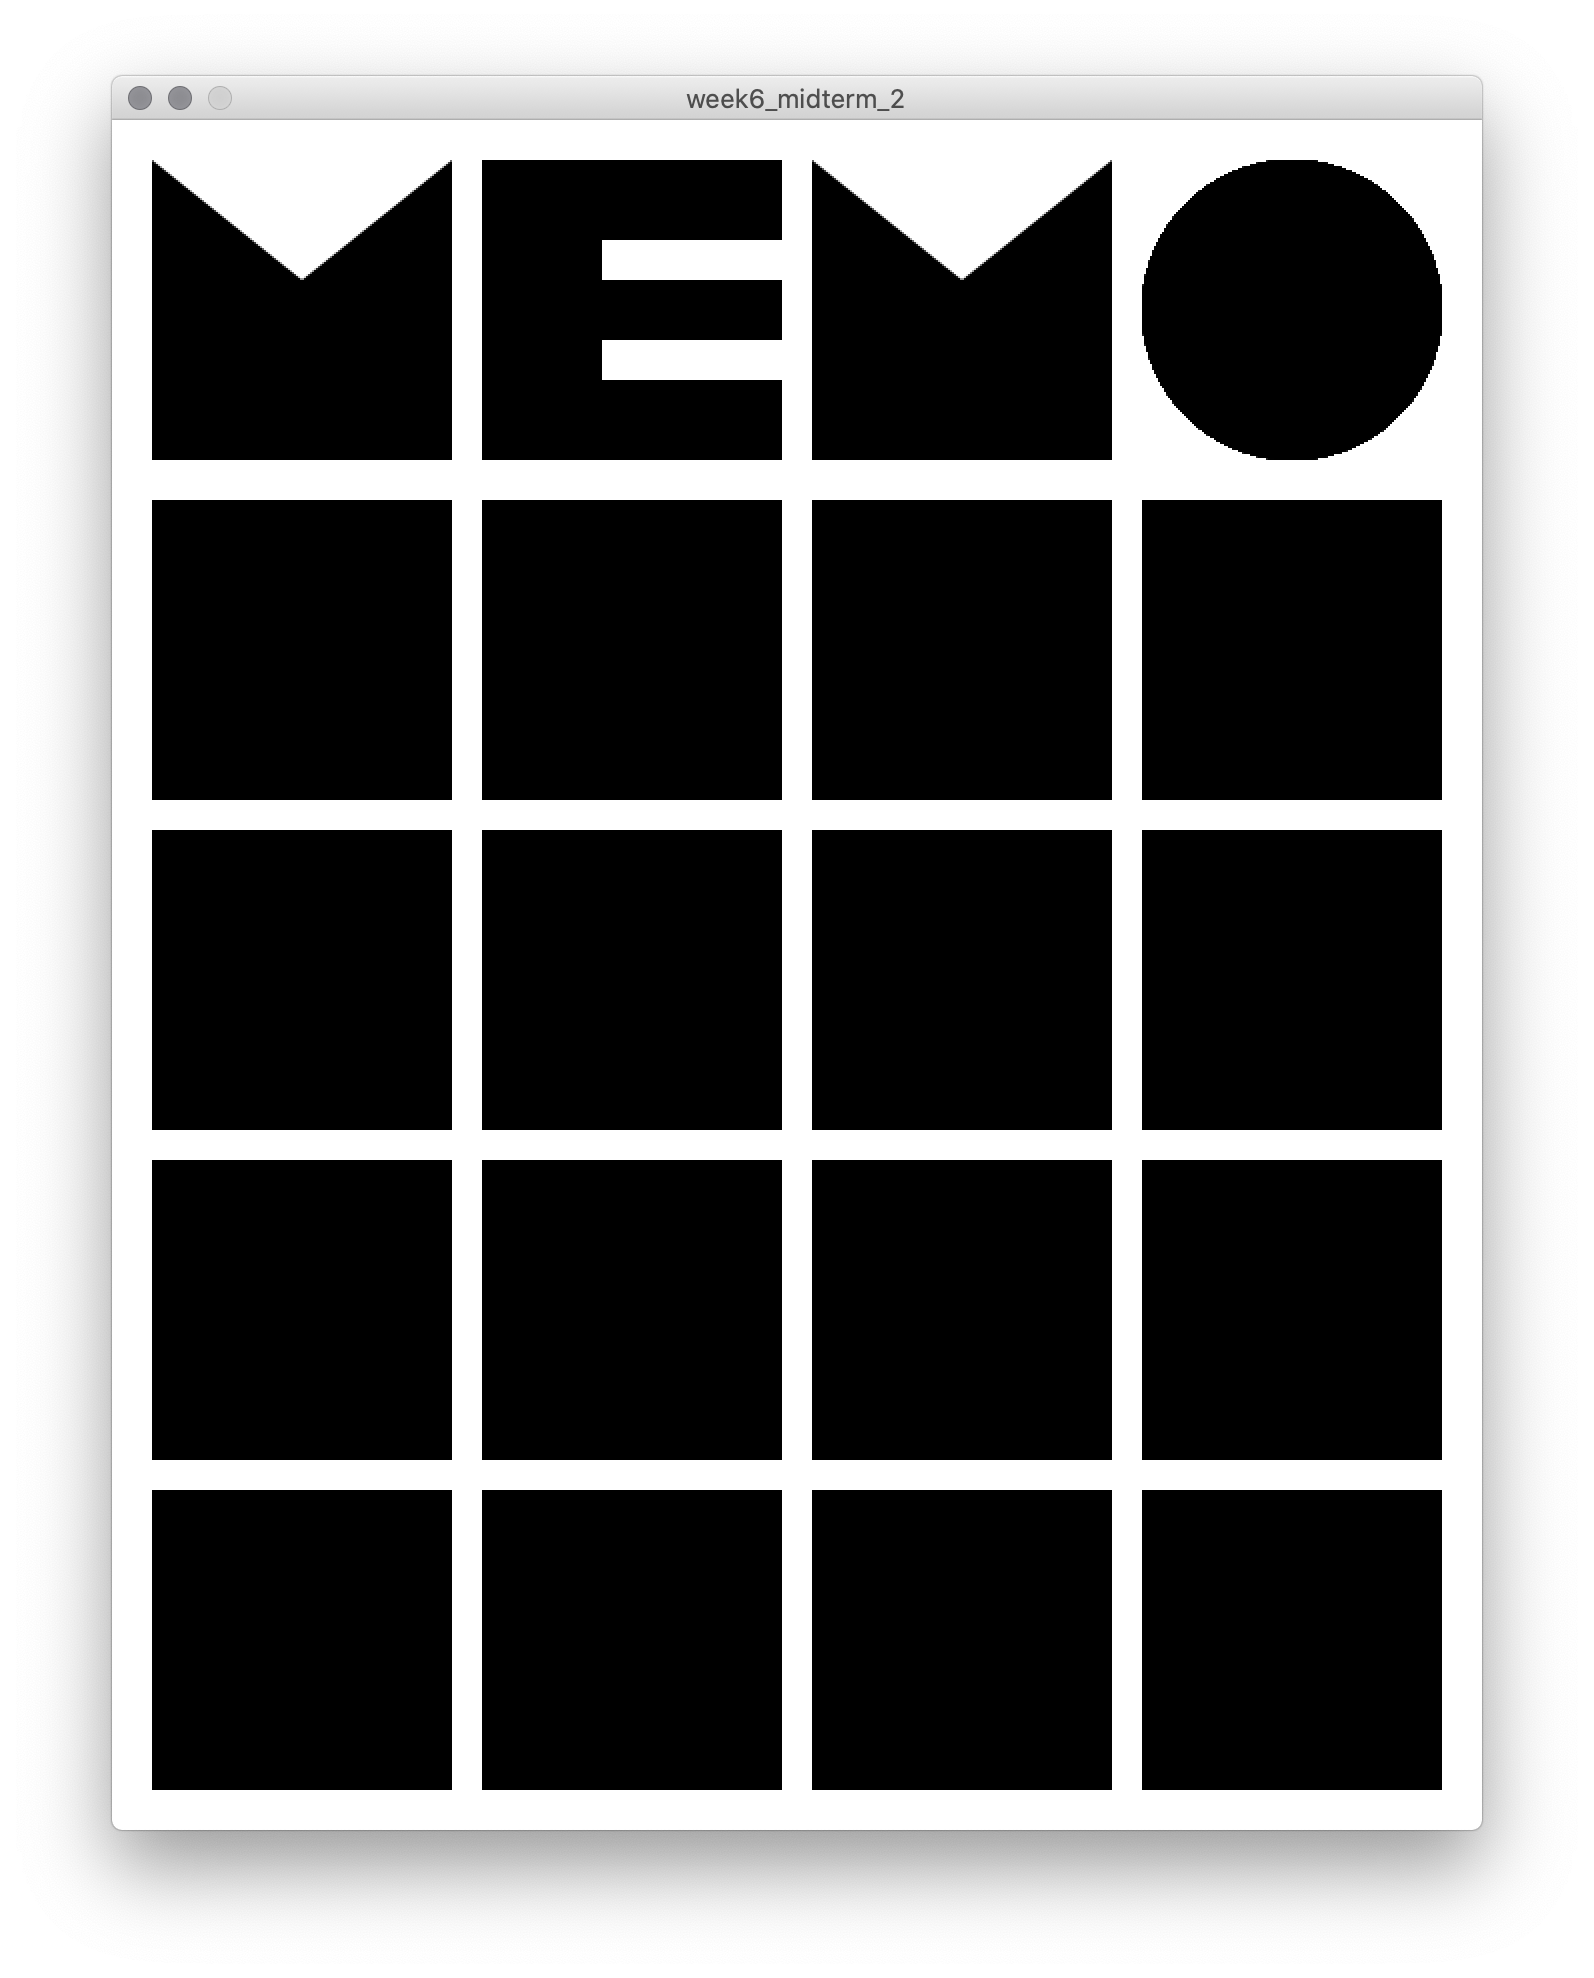
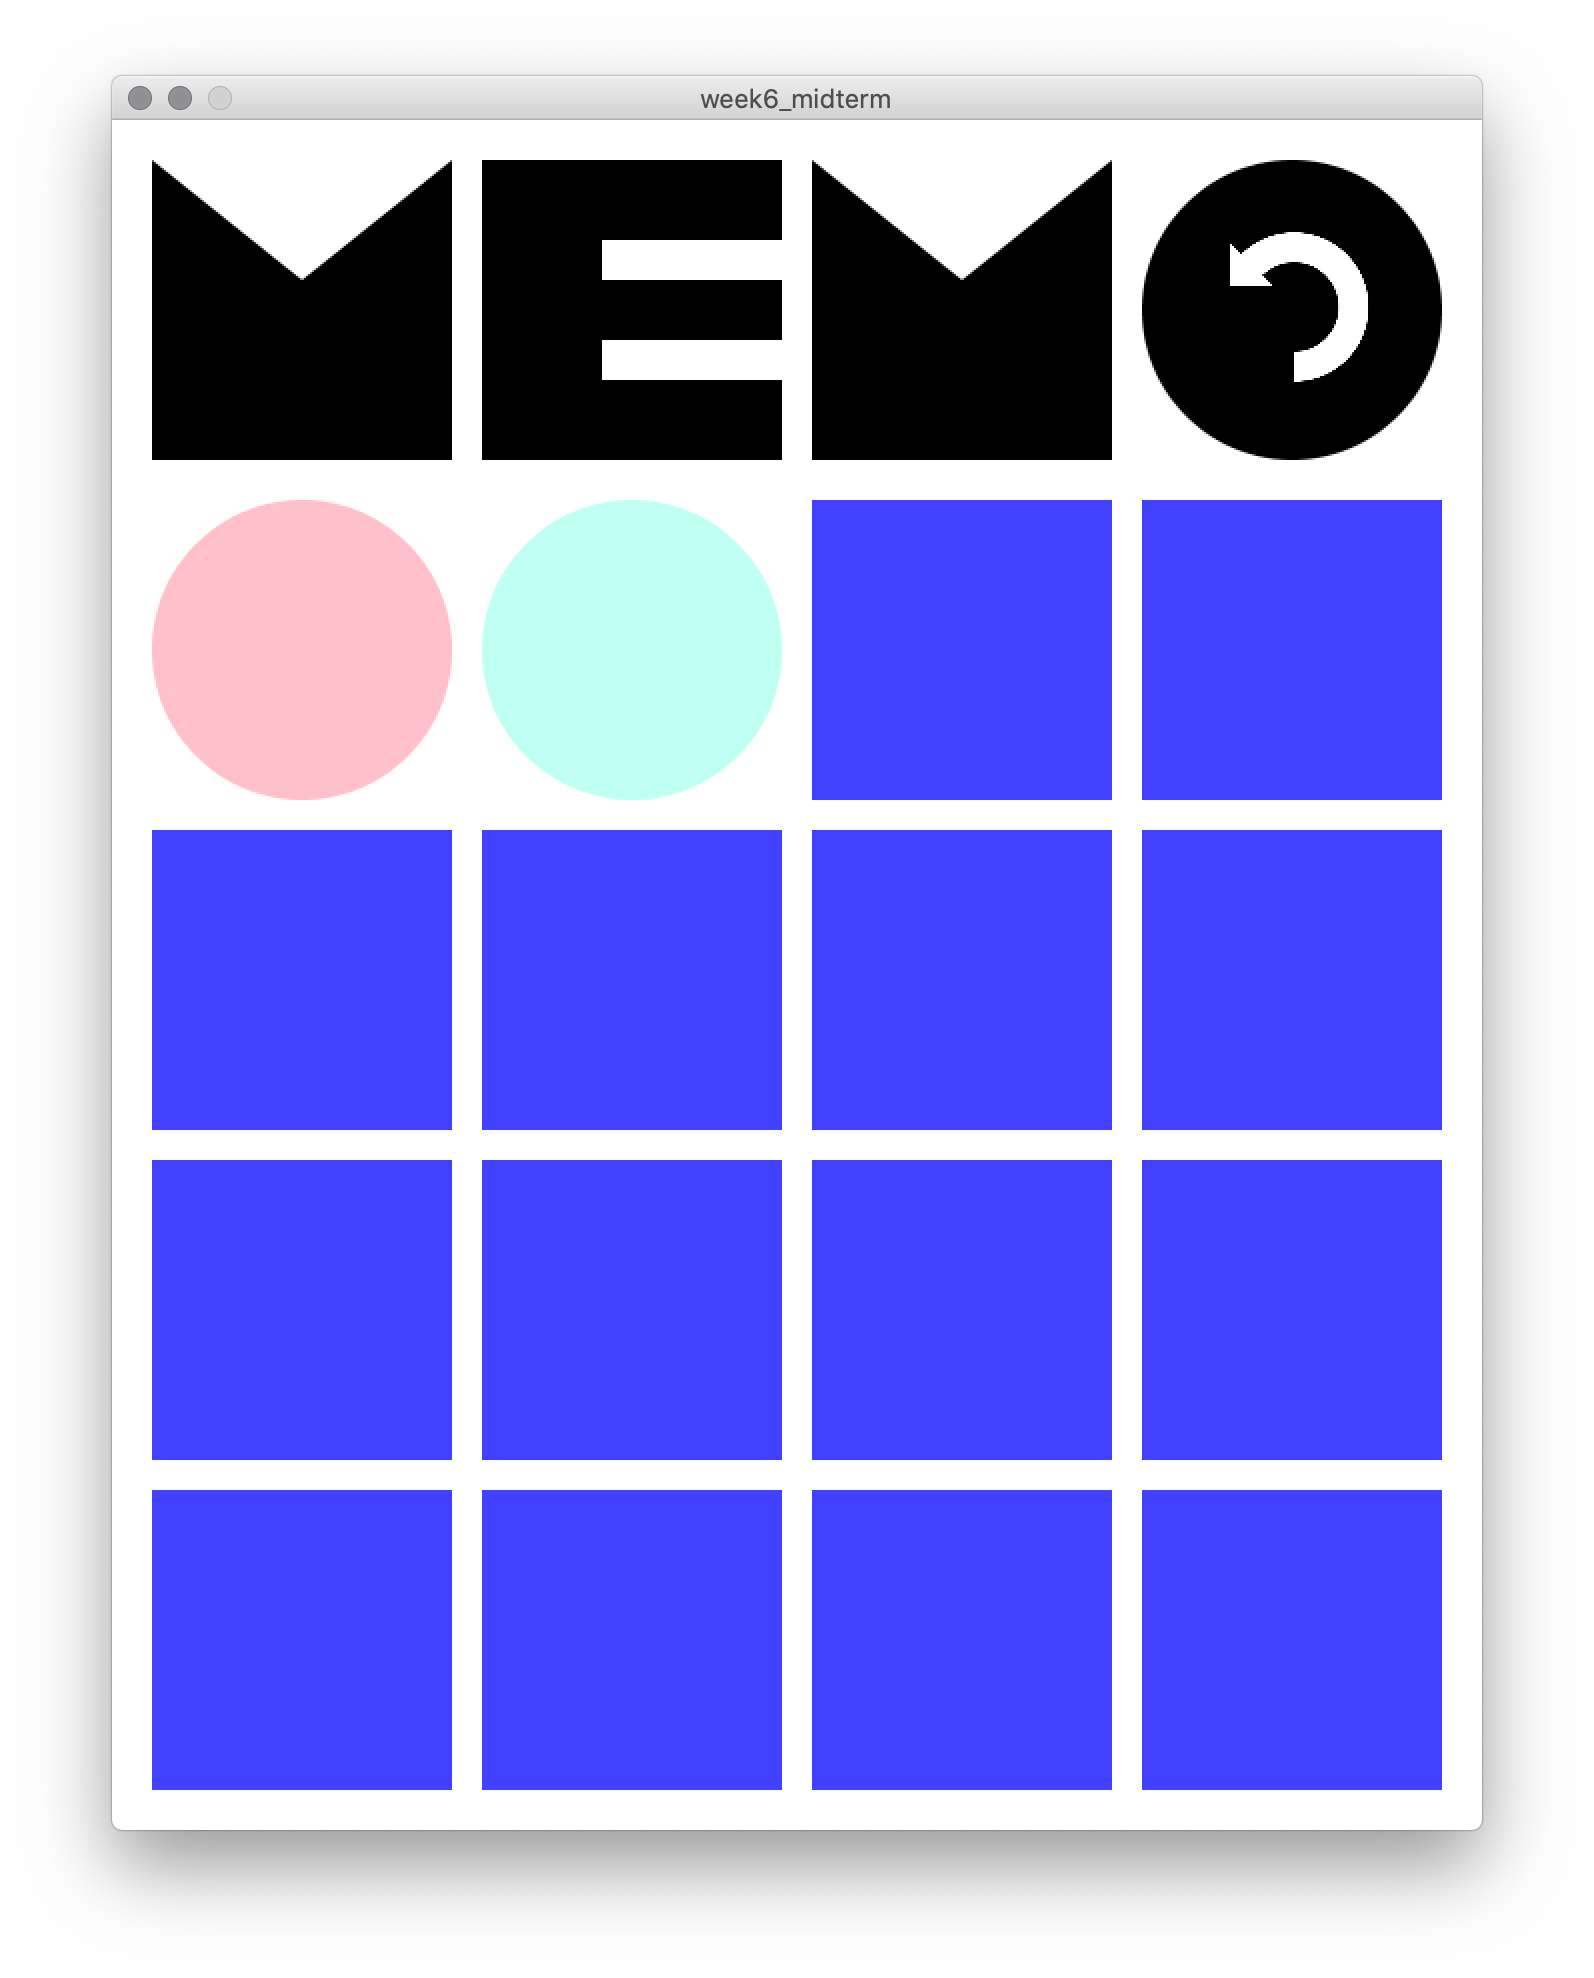
After some thinking, I decided to create a MEMO game for my midterm, a classic game with the goal to find matching pairs of cards. I though this would be a relatively easy way to incorporate different images into my project but it turned out more difficult than I expected as a lot of functionality is needed. This was challenging but thanks to support from Aaron, Jack, and various contributors to online forums, I managed to create a final product that I am happy with despite there being room for improvement and functionality I decided not to include in favor of healthy sleeping habits.
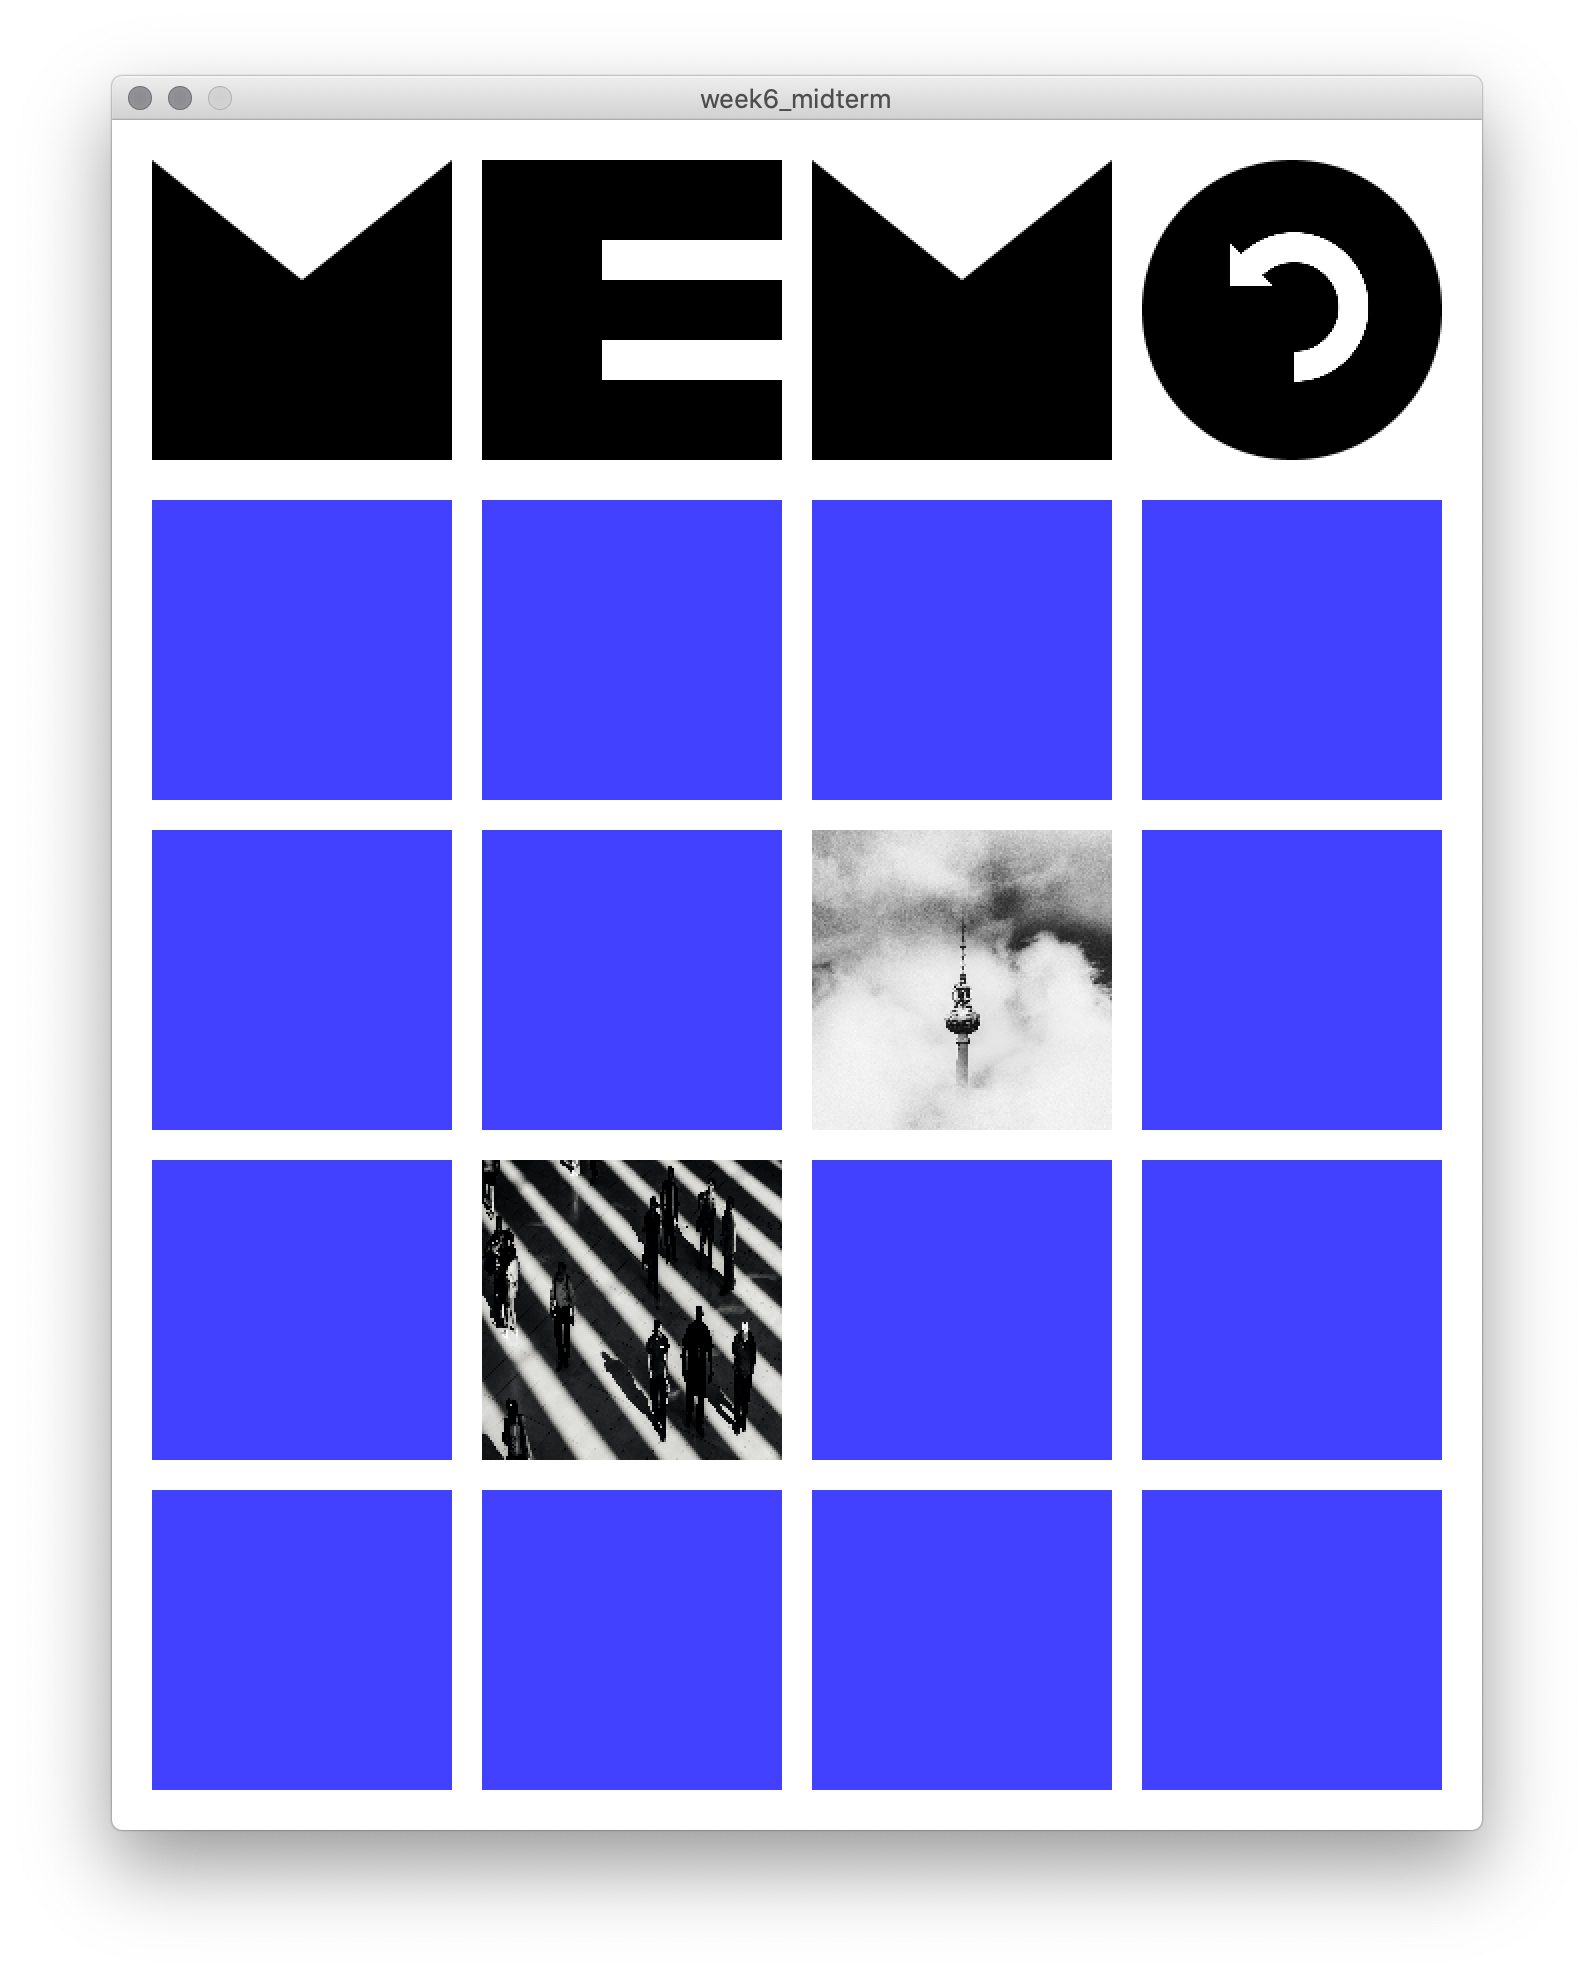
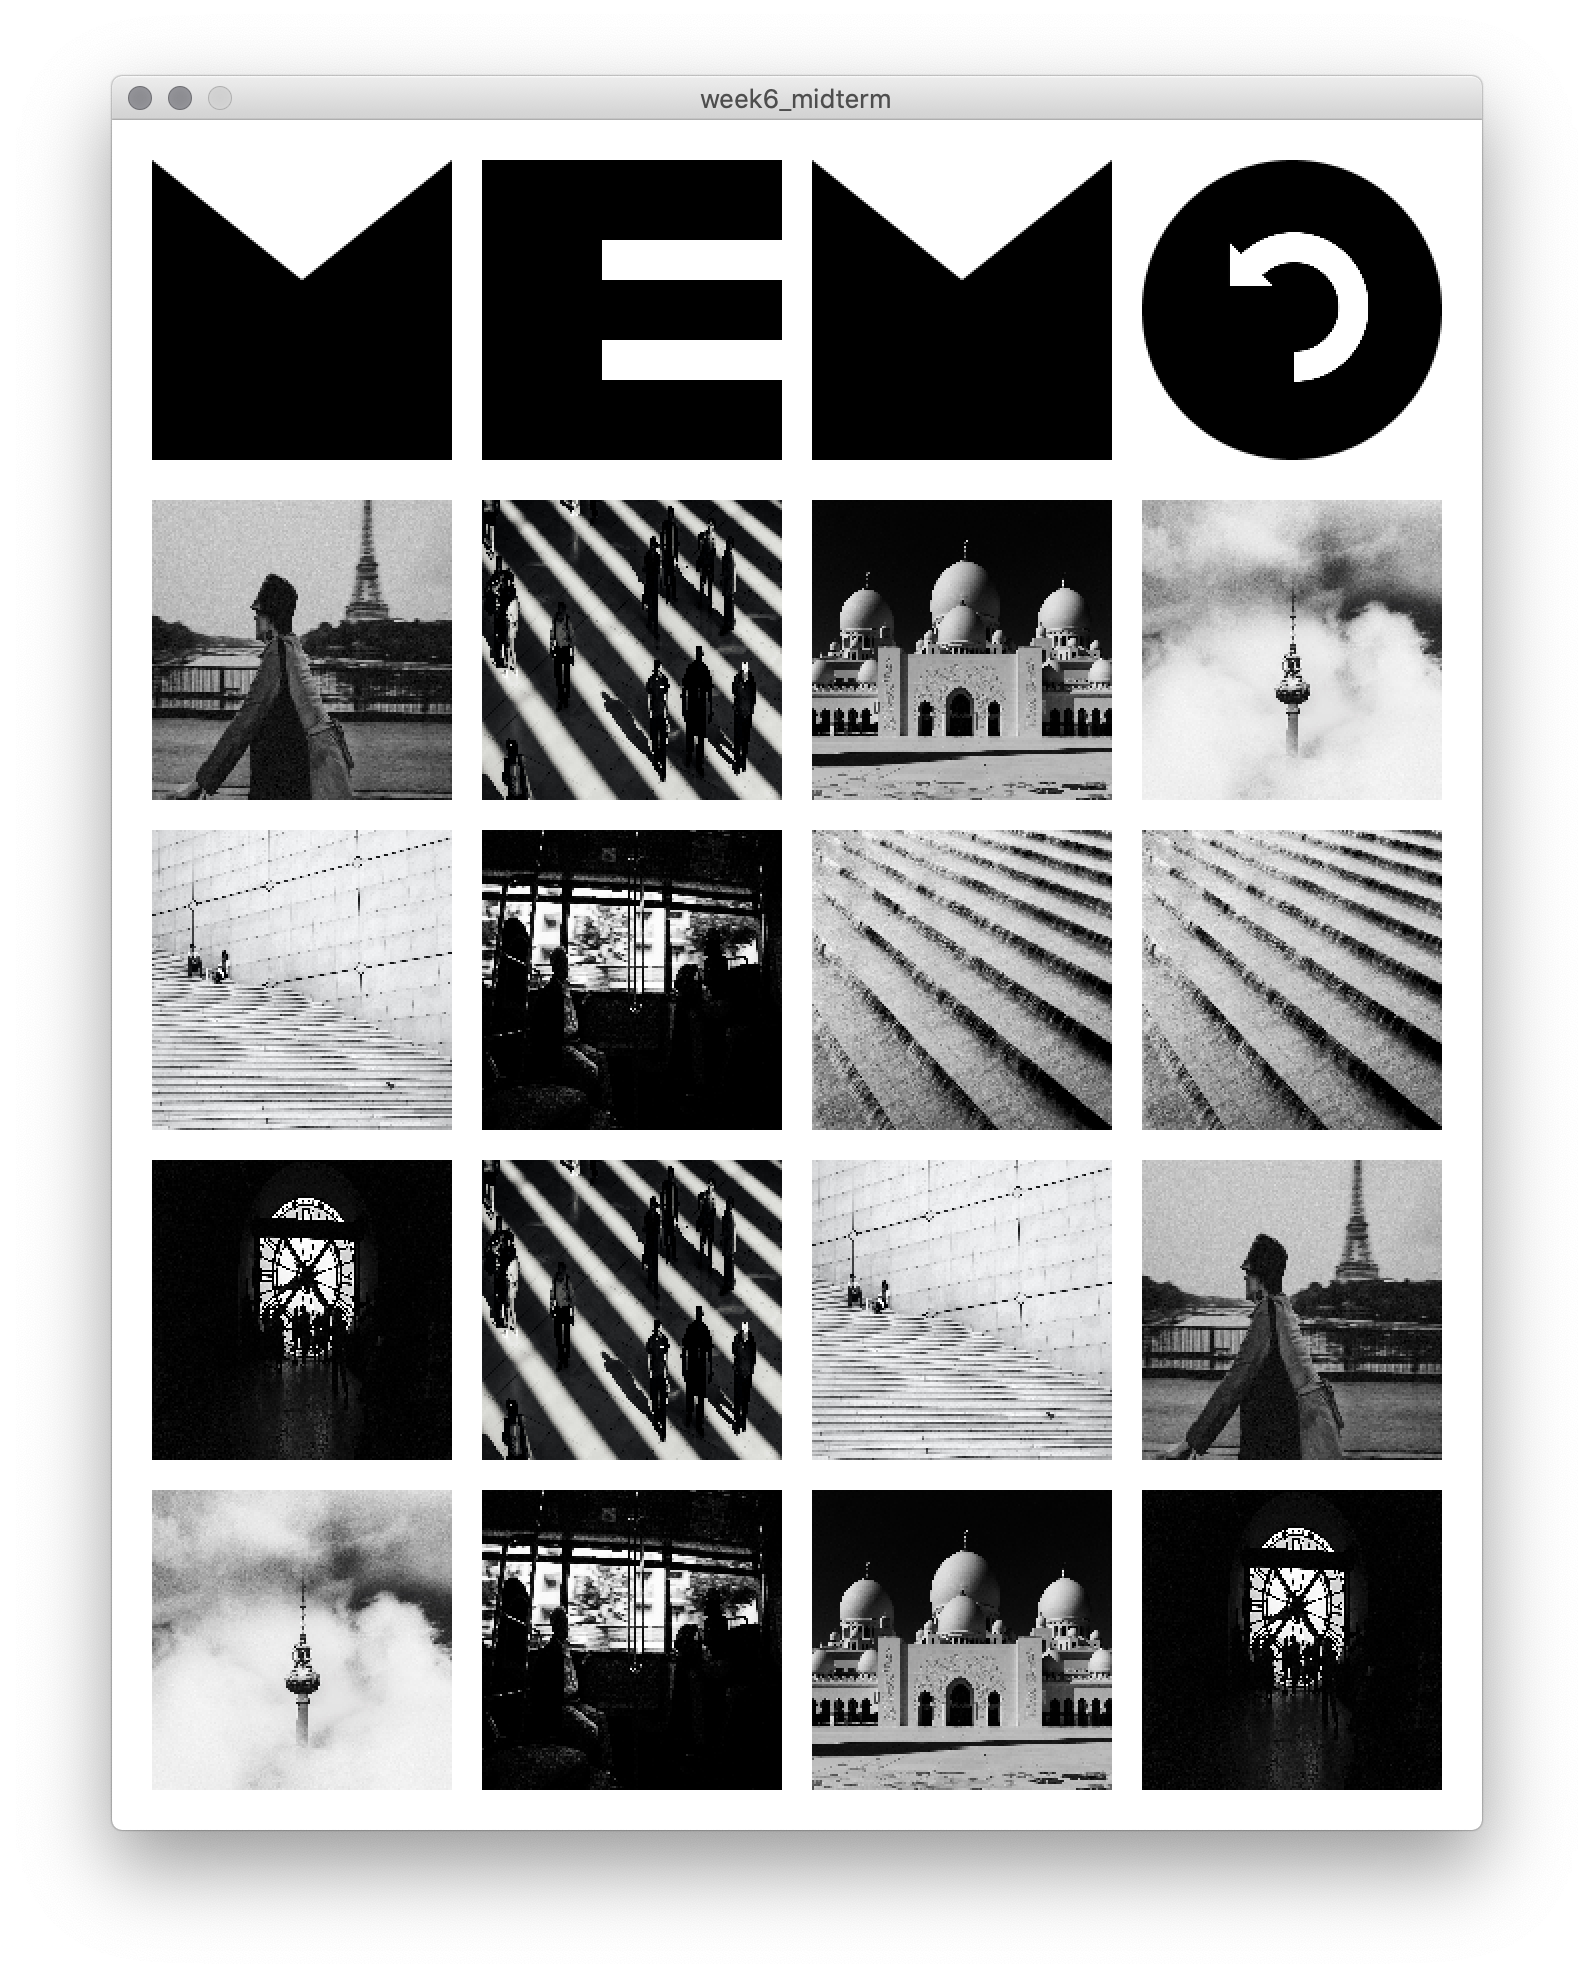
I first created a wireframe of the design I intended in Processing.During the process, there were some scary moments.I tested functionalities in different ways with print() functions and by placing simpler objects before placing colors for my cards.First success: Images placed at the right locations.All images added and placed.
When two clicked cards match, they remain face up and the player can try to find more matching pairs. They can also click the redo button which I incorporated into the title to return to the first screen and restart the game.
Intrigued? You can download the game here and play yourself.
Here is the code for the main tab:
//Game screens: 0: Initial Screen, 1: Game Screen

//for timer
int time;
int wait = 1000;

int gameScreen = 0;

PImage redo;
PImage abudhabi;
PImage berlin;
PImage clock;
PImage paris;
PImage people;
PImage stairs;
PImage tram;
PImage water;

Card[] cards;

IntList types; //to shuffle 16 cards of 8 different types
int showing; //to count how many cards are showing

int rows = 4;
int columns = 4;
int cardsize = 150;
int innerpadding = 15;
int outermargin = 20;
int cardstotal = (rows * columns);

void setup() {
  size(685, 855); //window size

  //load images
  redo = loadImage("redo.png");
  abudhabi = loadImage("abudhabi.jpg");
  berlin = loadImage("berlin.jpg");
  clock = loadImage("clock.jpg");
  paris = loadImage("paris.jpg");
  people = loadImage("people.jpg");
  stairs = loadImage("stairs.jpg");
  tram = loadImage("tram.jpg");
  water = loadImage("water.jpg");

  //add types of cards to IntList
  types = new IntList();
  types.append(0);
  types.append(0);
  types.append(1);
  types.append(1);
  types.append(2);
  types.append(2);
  types.append(3);
  types.append(3);
  types.append(4);
  types.append(4);
  types.append(5);
  types.append(5);
  types.append(6);
  types.append(6);
  types.append(7);
  types.append(7);
  types.shuffle();

  //create cards
  cards = new Card [16];

  int cardsinrow = 0;
  int cardsincolumn = 0;

  showing = 0; //keep track of how many cards are face up
  for (int i = 0; i < cards.length; i++) {
    cards[i] = new Card((outermargin + (cardsinrow * (cardsize + innerpadding))), (outermargin + (cardsincolumn * (cardsize + innerpadding))), types.get(i), i);
    cardsinrow++;
    if (cardsinrow >= columns) { // "Line break" for the cards
      cardsinrow = 0;
      cardsincolumn++;
    }
    //println(types.get(i));
  }
}

void draw() {
  if (gameScreen == 0) {
    initScreen(); //code in "initScreen" tab
  }

  if (gameScreen == 1) {
    //memoScreen(); //ideally simplify here and move code to "memoScreen" tab
    background(255);
    noStroke();
    //memo title
    pushMatrix();
    rectMode(CORNER);
    fill(0);
    rect(outermargin+innerpadding*0+cardsize*0, outermargin+innerpadding*0+cardsize*0, cardsize, cardsize);
    rect(outermargin+innerpadding*1+cardsize*1, outermargin+innerpadding*0+cardsize*0, cardsize, cardsize);
    rect(outermargin+innerpadding*2+cardsize*2, outermargin+innerpadding*0+cardsize*0, cardsize, cardsize);
    fill(255);
    triangle(20, 20, 170, 20, 95, 80);
    rect(outermargin+innerpadding+cardsize+60, outermargin+40, 150-60, 20);
    rect(outermargin+innerpadding+cardsize+60, outermargin+cardsize-40-20, 150-60, 20);
    triangle(20+cardsize*2+innerpadding*2, 20, 170+cardsize*2+innerpadding*2, 20, 95+cardsize*2+innerpadding*2, 80);
    ellipseMode(CORNER);
    fill(0);
    ellipse(width-outermargin-cardsize, 20, cardsize, cardsize);
    popMatrix();

    //memo cards
    pushMatrix();
    imageMode(CORNER);
    translate(0, outermargin+cardsize); //to place cards below title
    //to store type and id of card that is flipped
    int[] type = {-1, -1};
    int[] ids = {-1, -1};
    int index = 0;

    for (int i=0; i < cards.length; i++) {
      cards[i].display();

      if (cards[i].show && !cards[i].matched) {
        type[index] = cards[i].type;
        ids[index] = cards[i].id;
        index++;
        //println(cards[i].id+": "+cards[i].type); //functionality testing
      }
    }
    if (type[0] != -1 && type[1] != -1) {
      if (type[0]==type[1]) {
        cards[ids[0]].matched = true;
        cards[ids[1]].matched = true;
        showing = 0;
      } else {
        if (millis() - time >= wait) {
          println("time passed");//functionality testing
          cards[ids[0]].show = false;
          cards[ids[1]].show = false;
          time = millis();//update the stored time
        }
        showing = 0;
      }
    }
    popMatrix();

    //redo symbol up right. when clicked on memoScreen return to initScreen.
    imageMode(CENTER);
    image(redo, 594, 94, 75, 75);
    //when redo image clicked, return to initScreen and reset
    if (mouseX >= width-outermargin-cardsize && mouseX <= width-outermargin && mouseY >= outermargin && mouseY <= outermargin+cardsize) {
      ellipseMode(CORNER);
      fill(0, 0, 0, 50);
      ellipse(width-outermargin-cardsize, 20, cardsize, cardsize);
      if (mousePressed == true) {
        gameScreen = 0;
        types.shuffle();
        for (int i=0; i<cards.length; i++) {
          cards[i].type = types.get(i);
          cards[i].matched = false;
          cards[i].show = false;
        }
      } else {
        return;
      }
    }
  }
}

void mousePressed() {
  if (gameScreen == 1) {
    for ( int t=0; t < cards.length; t++) {
      cards[t].mouseClick();
      time = millis();
    }
  }
}
Card class:
public class Card {

  int card1id, card2id, card1type, card2type;

  int cardposx;
  int cardposy;
  int type; //
  int id;
  boolean show;
  boolean pickCard;
  boolean matched;

  Card(int cardposx_, int cardposy_, int type_, int id_) { //add images
    cardposx = cardposx_;
    cardposy = cardposy_;
    type = type_; //to later assign images to different types
    id = id_; //will use t for now
    show = false; //meaning card does not show the image
    pickCard = true; //meaning card is able to be picked
    matched = false; //meaning card has not matched with another card yet
  }

  void display() {
    // ln(cardposx, cardposy, type, id); //testing
    if (!pickCard) { //card cannot be picked
      return;
    }
    if (!show) { //display blue rect as backside if cards do not show
      fill(0, 0, 255, 190); //card color slightly transparent to become fully blue when mouse hovers over
      if ( mouseOverCard() && showing < 2) {
        fill(0, 0, 255, 255); //stronger blue w/o transparency when mouse hovers over card
      }
      rect(cardposx, cardposy, cardsize, cardsize);
    } else {
      if (type == 0) { //change id to type after testing
        image(abudhabi, cardposx, cardposy, cardsize, cardsize);
      } else if (type == 1) {
        image(berlin, cardposx, cardposy, cardsize, cardsize);
      } else if (type == 2) {
        image(clock, cardposx, cardposy, cardsize, cardsize);
      } else if (type == 3) {
        image(paris, cardposx, cardposy, cardsize, cardsize);
      } else if (type == 4) {
        image(people, cardposx, cardposy, cardsize, cardsize);
      } else if (type == 5) {
        image(stairs, cardposx, cardposy, cardsize, cardsize);
      } else if (type == 6) {
        image(tram, cardposx, cardposy, cardsize, cardsize);
      } else if (type == 7) {
        image(water, cardposx, cardposy, cardsize, cardsize);
      }
    }
  }

  boolean mouseOverCard() { //to determine when mouse hovers over a card
    //println(cardposx, cardposy, type, id); //testing
    if ( !pickCard ) {
      return( false );
    }
    return( mouseX >= cardposx && mouseX < cardposx+cardsize && mouseY >= cardposy+outermargin+cardsize && mouseY < cardposy+cardsize+outermargin+cardsize ); //need to add +outermargin+cardsize to Y location to account for translation of location under title
  }
  void mouseClick() {
    //time = millis();//store the current time
    //println(time);
    if ( !pickCard ) {
      return;
    } //nothing happens if card cannot be clicked
    if ( mouseOverCard() && !show && showing < 2) { // no more than two cards can be picked. only cards that do not show image already can be clicked //add && showing < 2
      show = !show;
      showing++;
      //println(showing); //functionality testing
    }
    if ( showing == 16) { //change this code
      gameScreen = 2;
    }
  }
  boolean sameType() { //check whether picked cards match meaning they have the same type
    return true; //just for testing
  }
}
For my midterm, I am planning to create a memo game that lets players find matching colors, images and sounds and maybe also shapes. I am thinking about incorporating synesthetic associations of sounds to certain colors or similar but will need to do more thinking about this. Currently I am drafting the final visual design and exploring ways of writing efficient and clean code for this assignment.