CONCEPT:
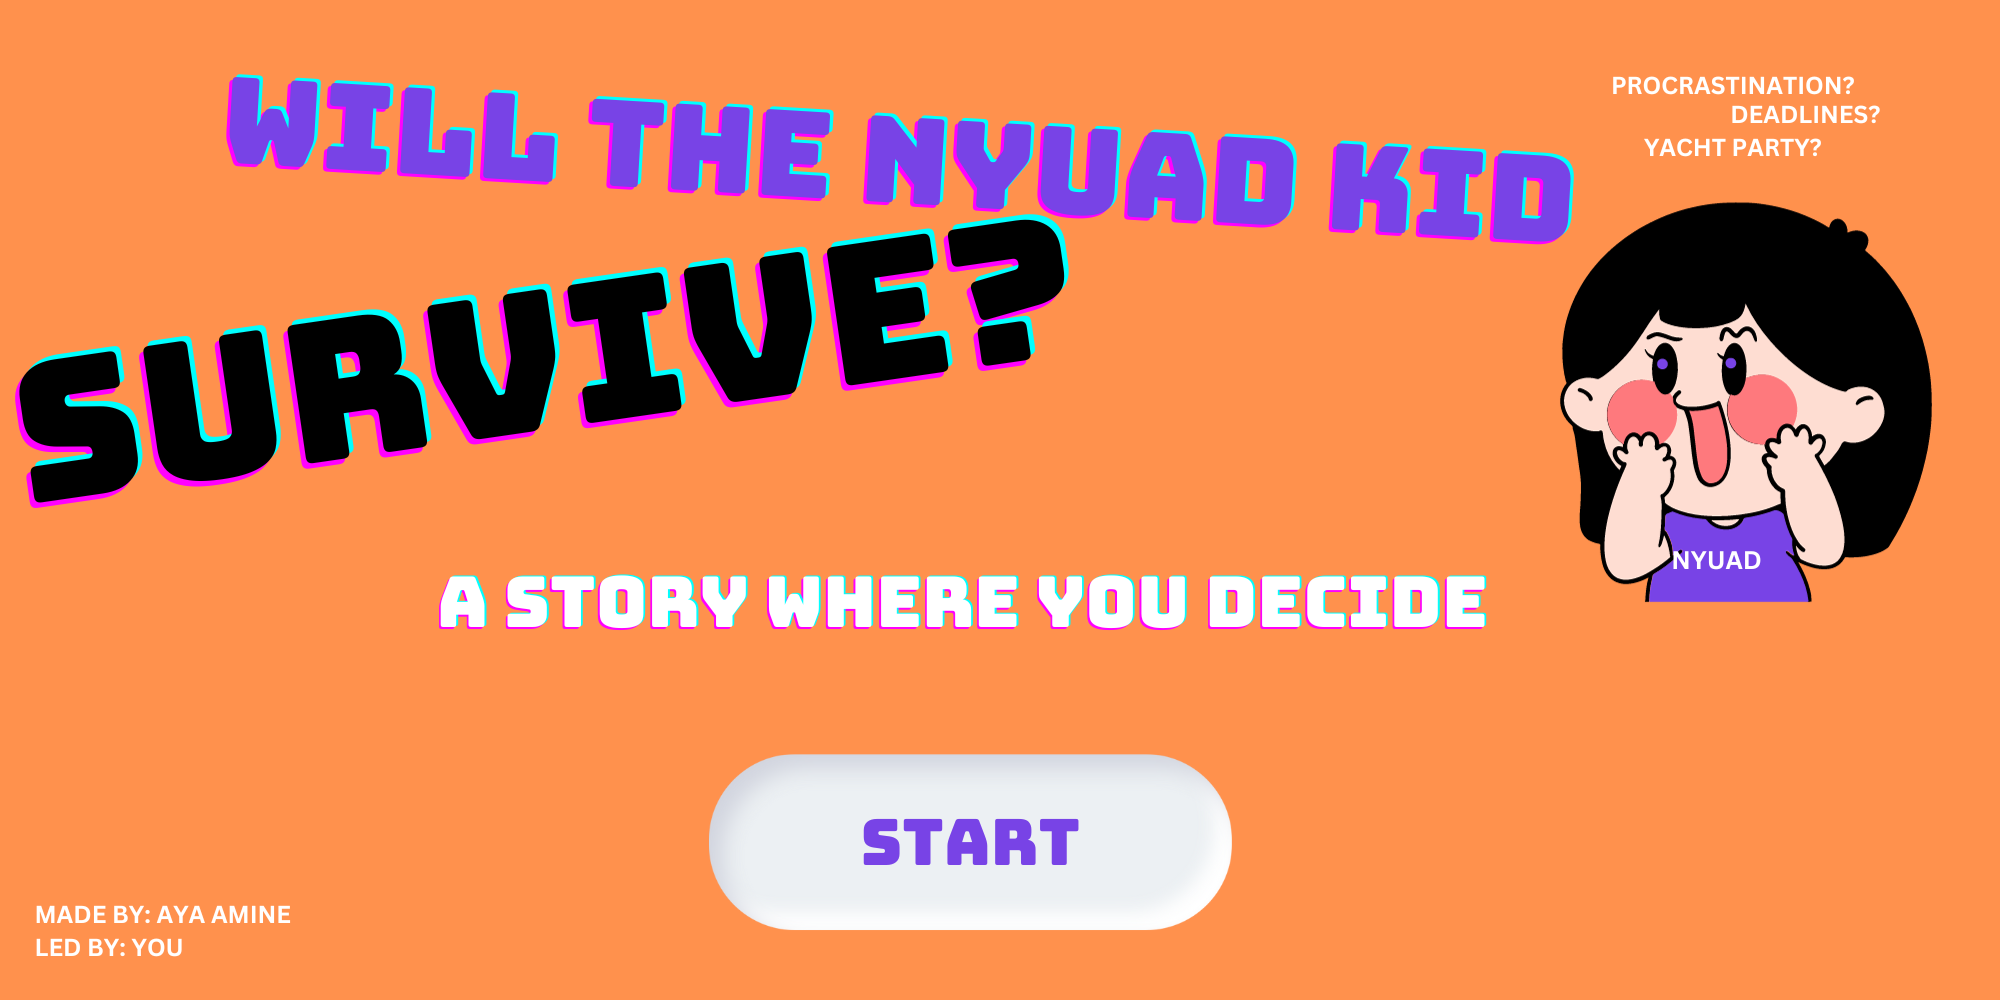
“WILL THE NYUAD KID SURVIVE”, an interactive story where YOU decide!!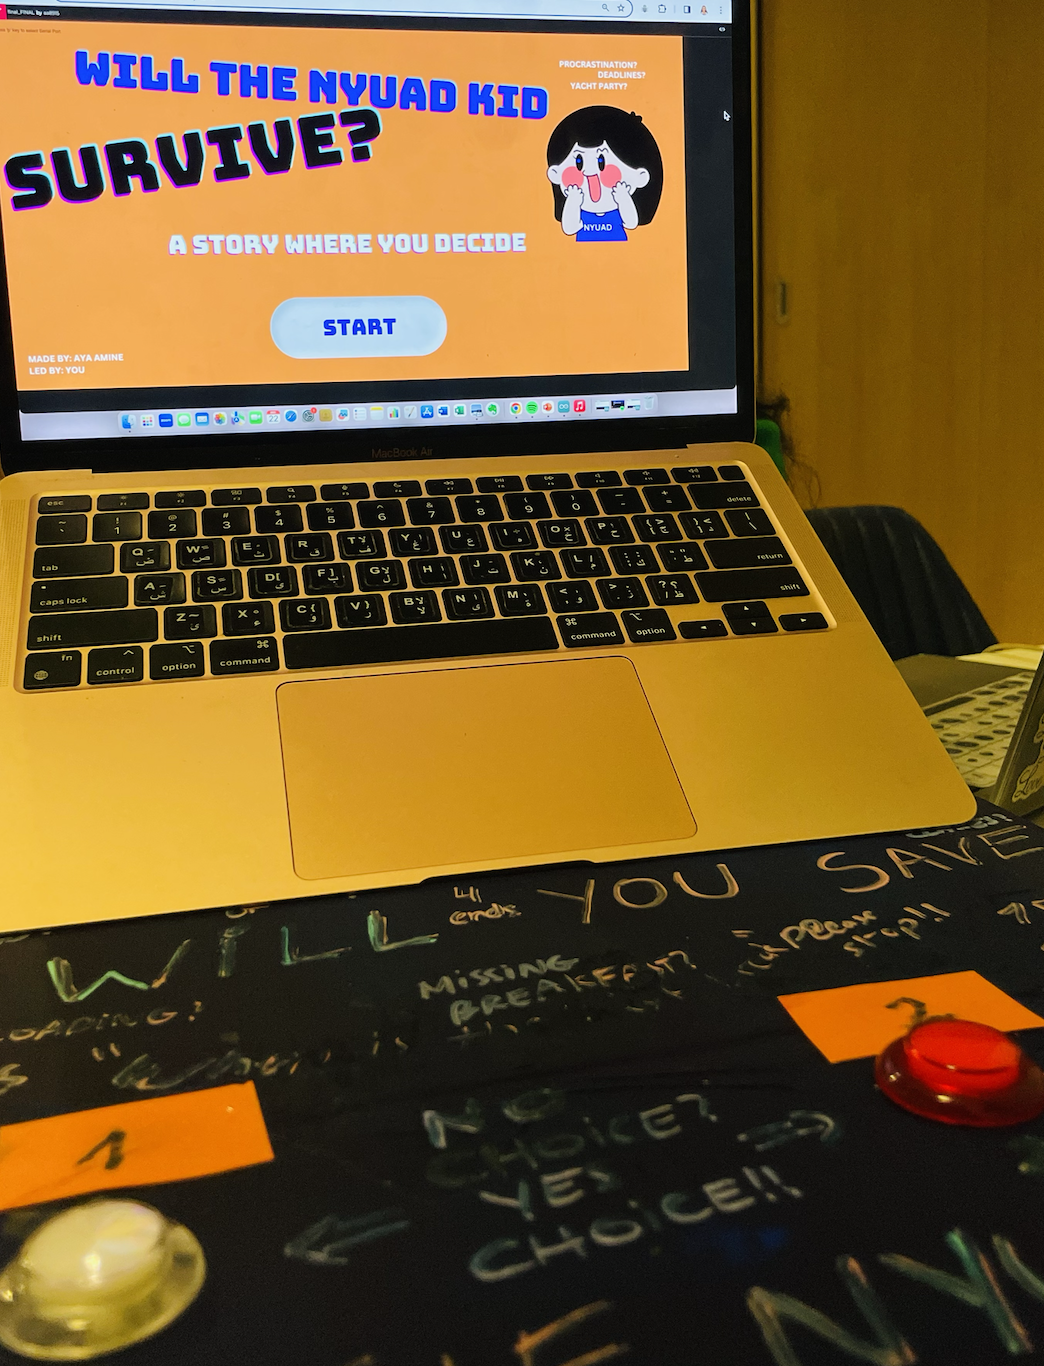
It’s complicated to be a university student, but even more to be in your twenties. But… when you’re both.. IT’S FIRE! Do I want to be this or that? Do I want to do this or that? Do I even have time to do that? TWENTIES CRISIS LADIES AND GENTLEMAN.
When finals week hits, I start wondering if I still exist. It just feels like everything is out of control. When I realized that my original idea for the final project can’t be further implemented and I was stuck with nothing, I felt that I lost control. Then, the concept for this project came last minute. I thought of an experience where the users may relate and make their own choices: an interactive story that narrates a typical day in the life of a student. A total of 10 scenes with different short scripts; each scene prompts the user to choose one choice out of two. Each choice leads to a different ending, so the story is not linear.
INSPIRATION:
Few months ago, I became really fond of Interactive movies. Interactive movies prompt the viewer to choose the path of the movie and affect the ending. I love the fact that the viewer gets to be a part of the movie itself, especially because viewers base their choices on personal opinions/beliefs. What I admire more about interactive movies is the flexibility of the story. Just look at the story flowchart of “Bandersnatch” one of the interactive movies I watched and loved recently. 8 different endings!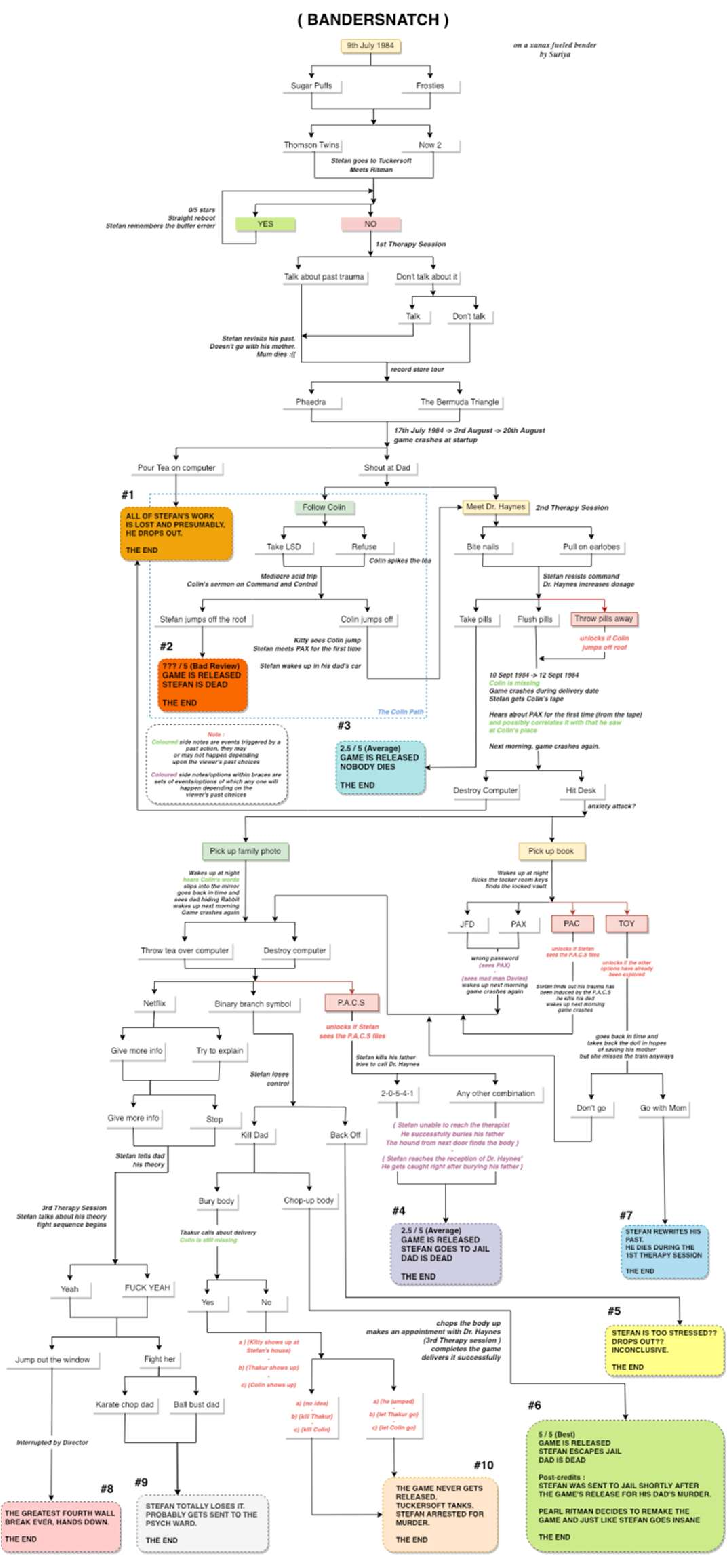
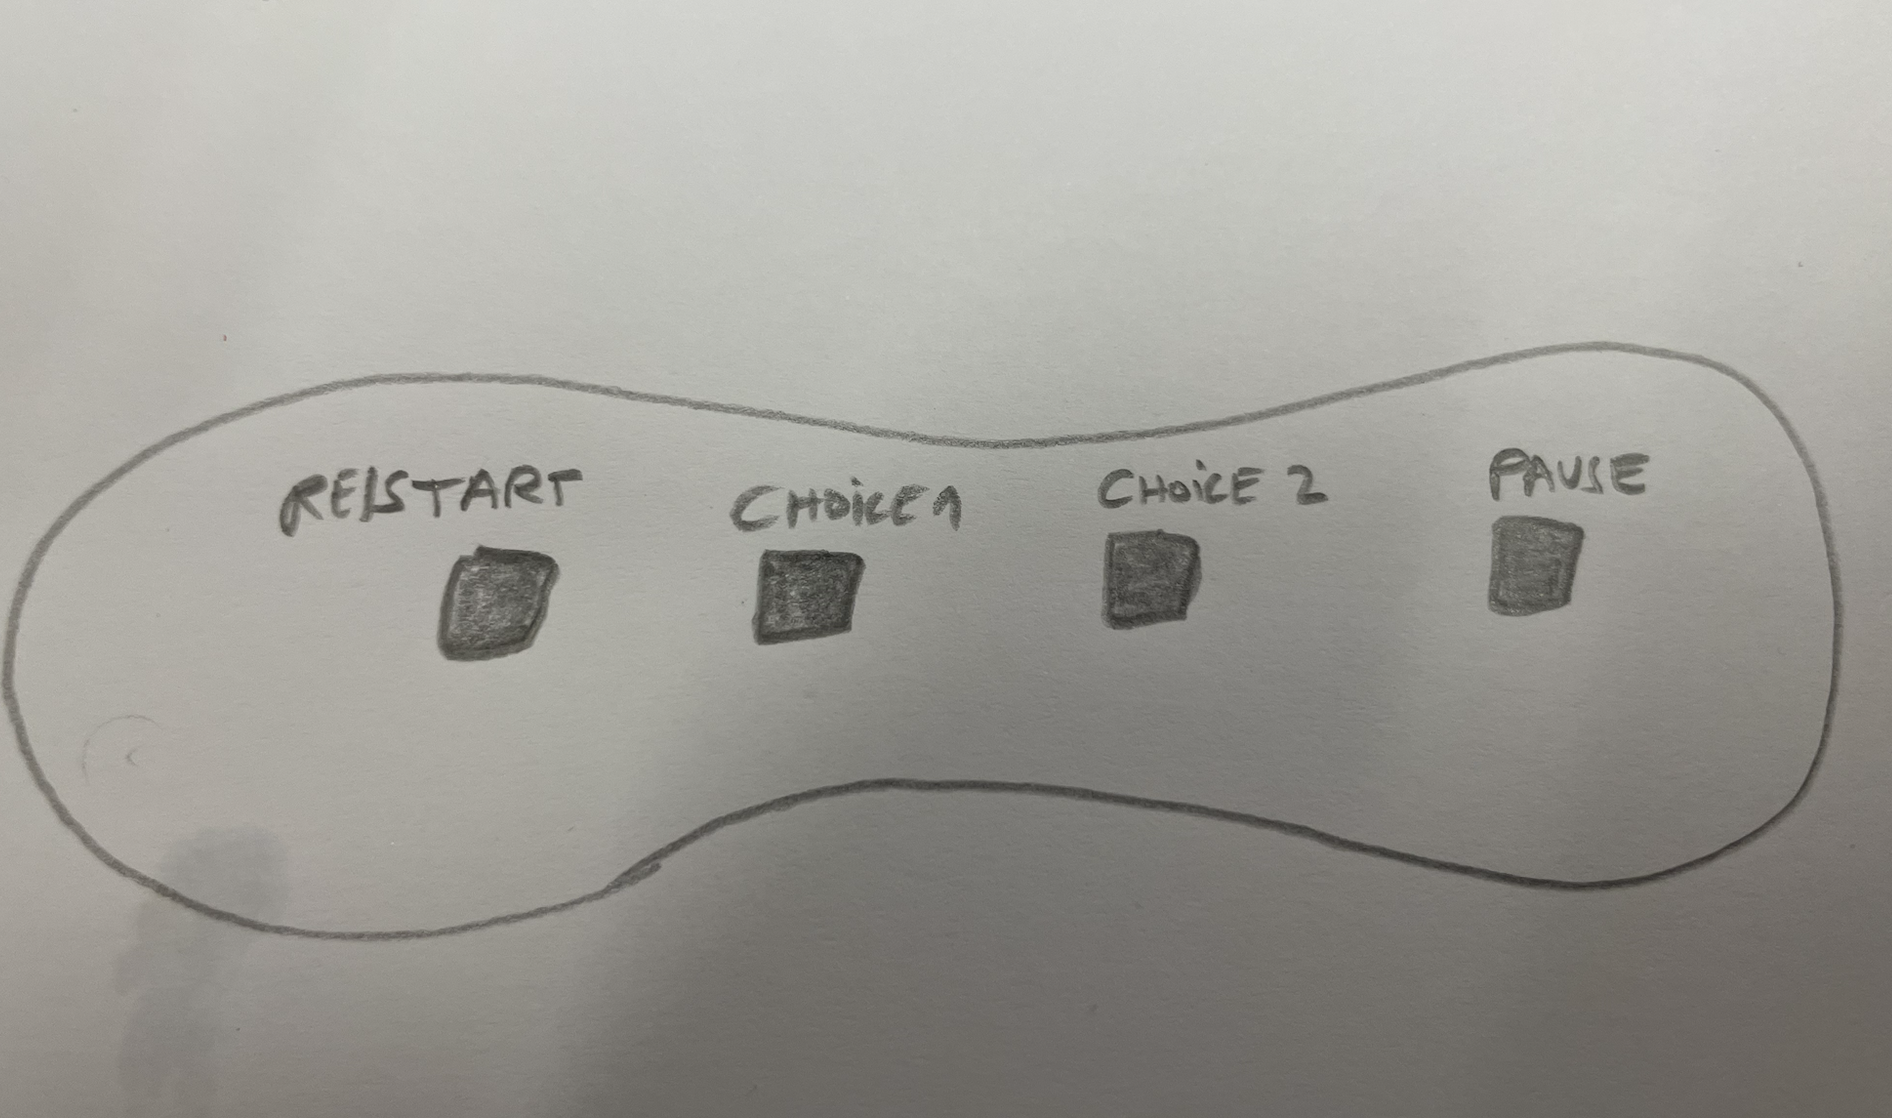
Going back to my project, I thought of making a mini version of this, but the twist here is the physical computing part (+the NYUAD theme). The user keeps up with the story while making choices using a physical platform; constituted of 3 push buttons; a re/play button, a button to choose choice 1 and button to choose choice 2. Before I move to the implementation part, I will share the synopsis, flowchart and sample scenes from my story.
Synopsis: A day in the life of a sleep deprived university student in their finals week. The story unfolds at 6am when the alarm goes on. From waking up or snoozing the alarm to the last setting of the story, YOU have to make decisions that you think are the best for your character’s development. Keep in mind that some choices are fatal, you will cause the story to end!! Make sure to restart and try all different flows of the story and please, make good choices..
Flowchart:
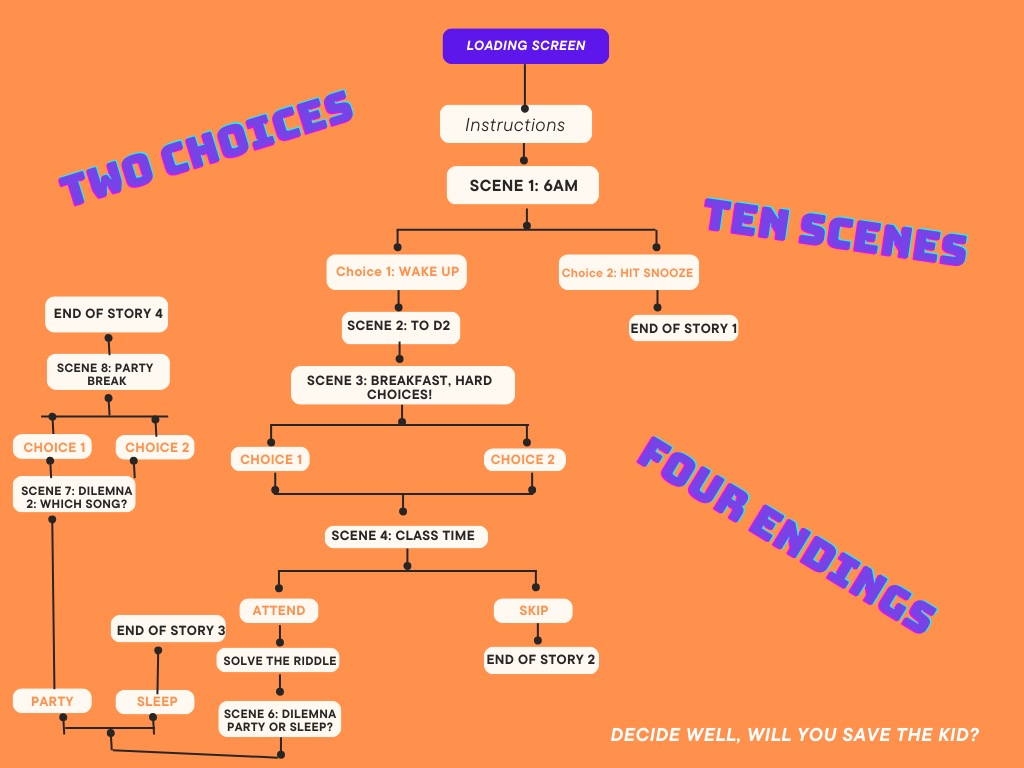 As you can see, the story is pretty short since it’s a mashup (but also because of time constraints!). I counted 10 scenes with 4 endings.
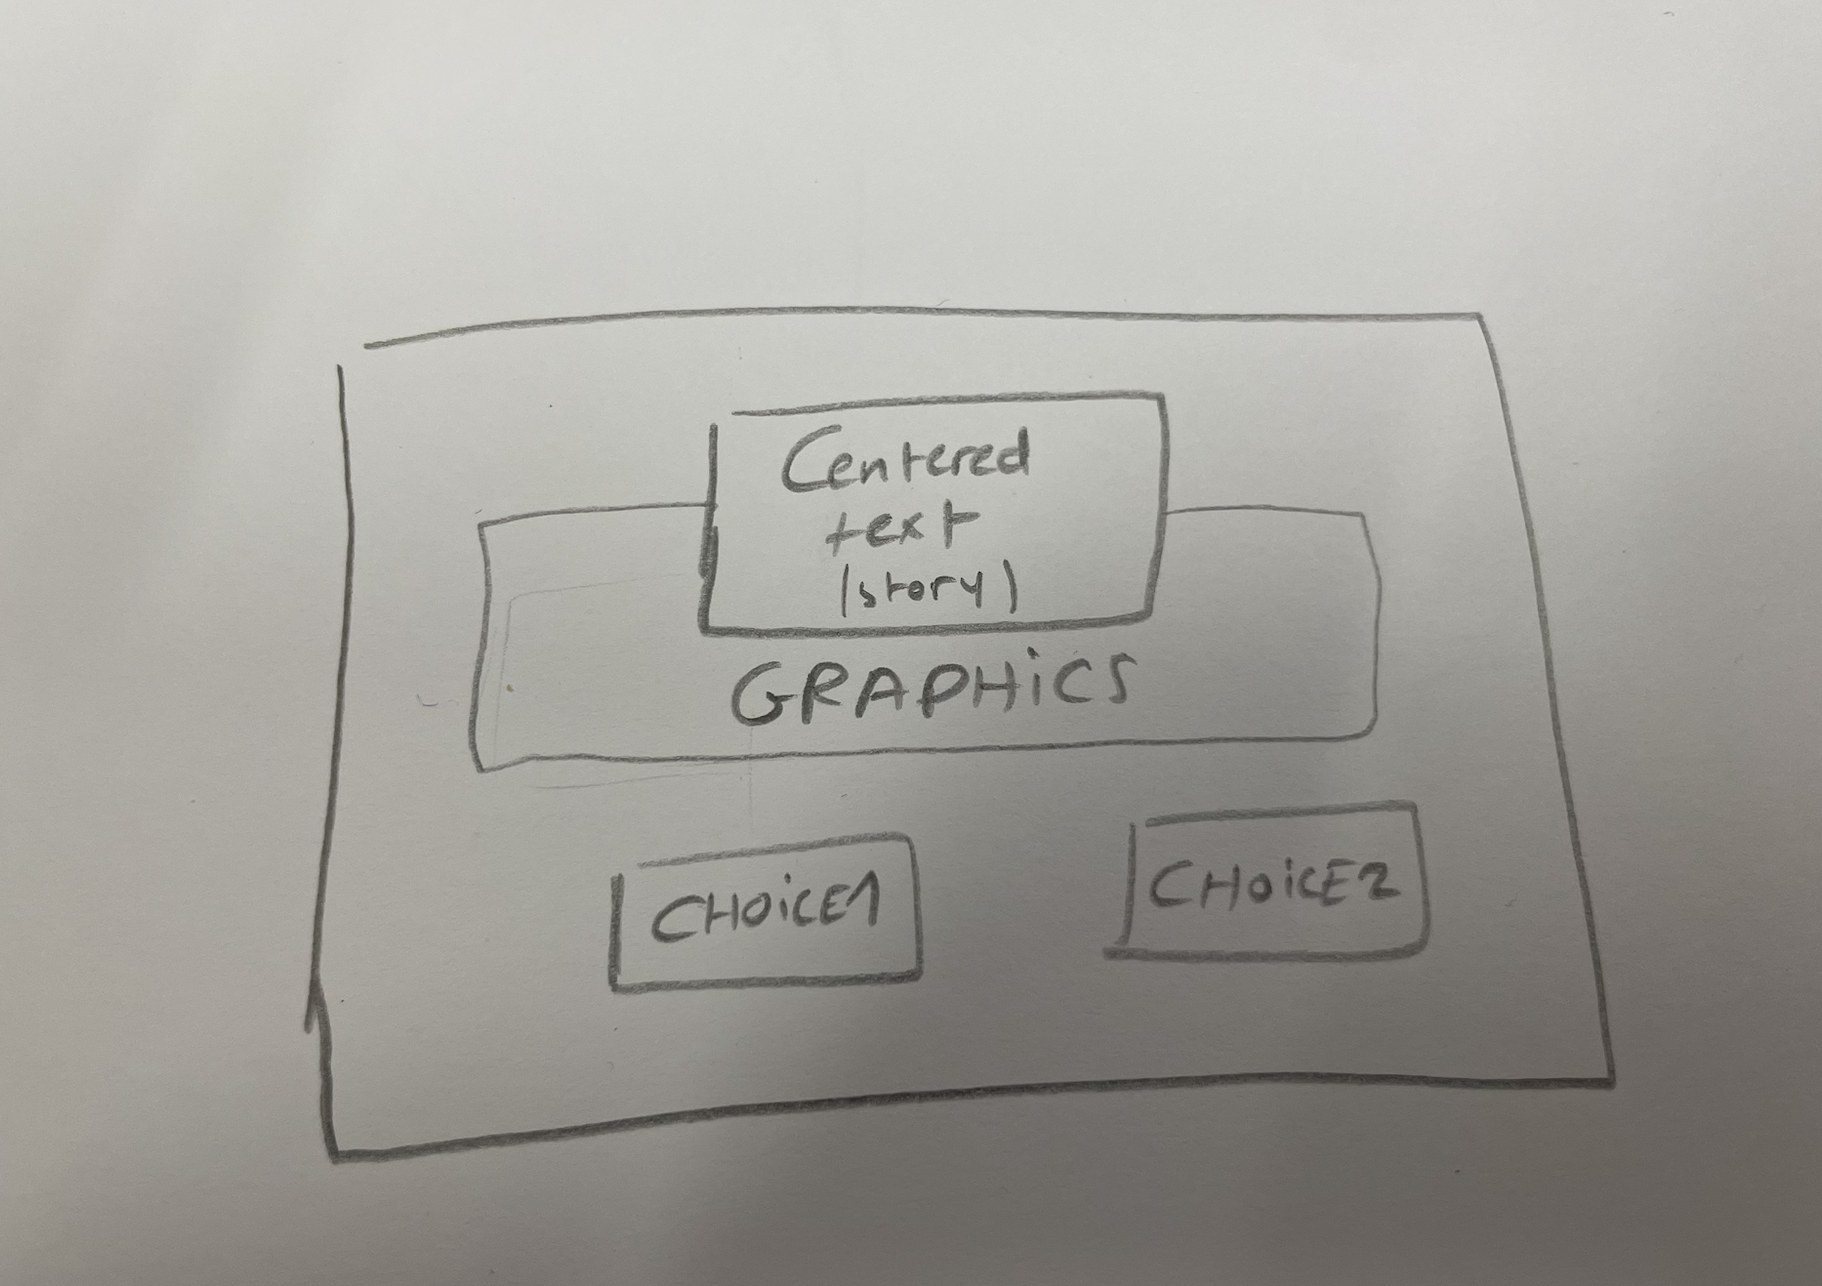
Sample scenes:
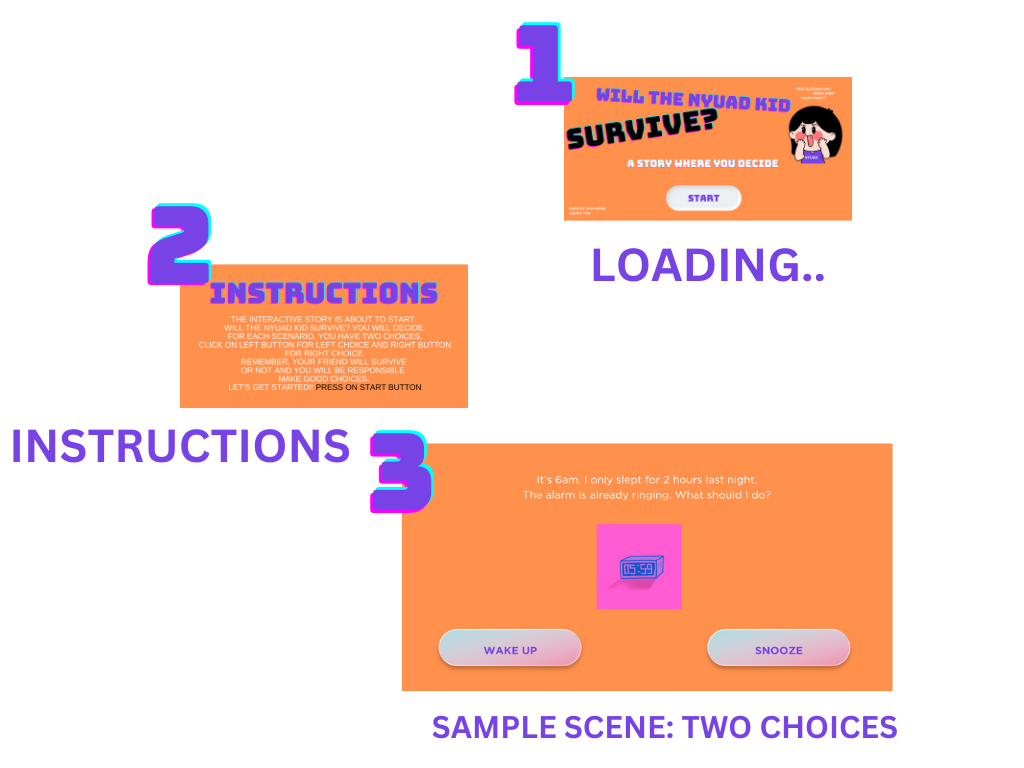
I tried to invest more time in the design aspect of this experience unlike my previous projects, because due to the nature of the project, I knew it would be a hassle for users to read a lot of distorted text, or keep up with dull graphics and color palettes. All 10 scenes have the same layout and elements: short descriptive, centered and readable text, graphics and of course sound for more immersion. Now let’s be more technical:
IMPLEMENTATION:
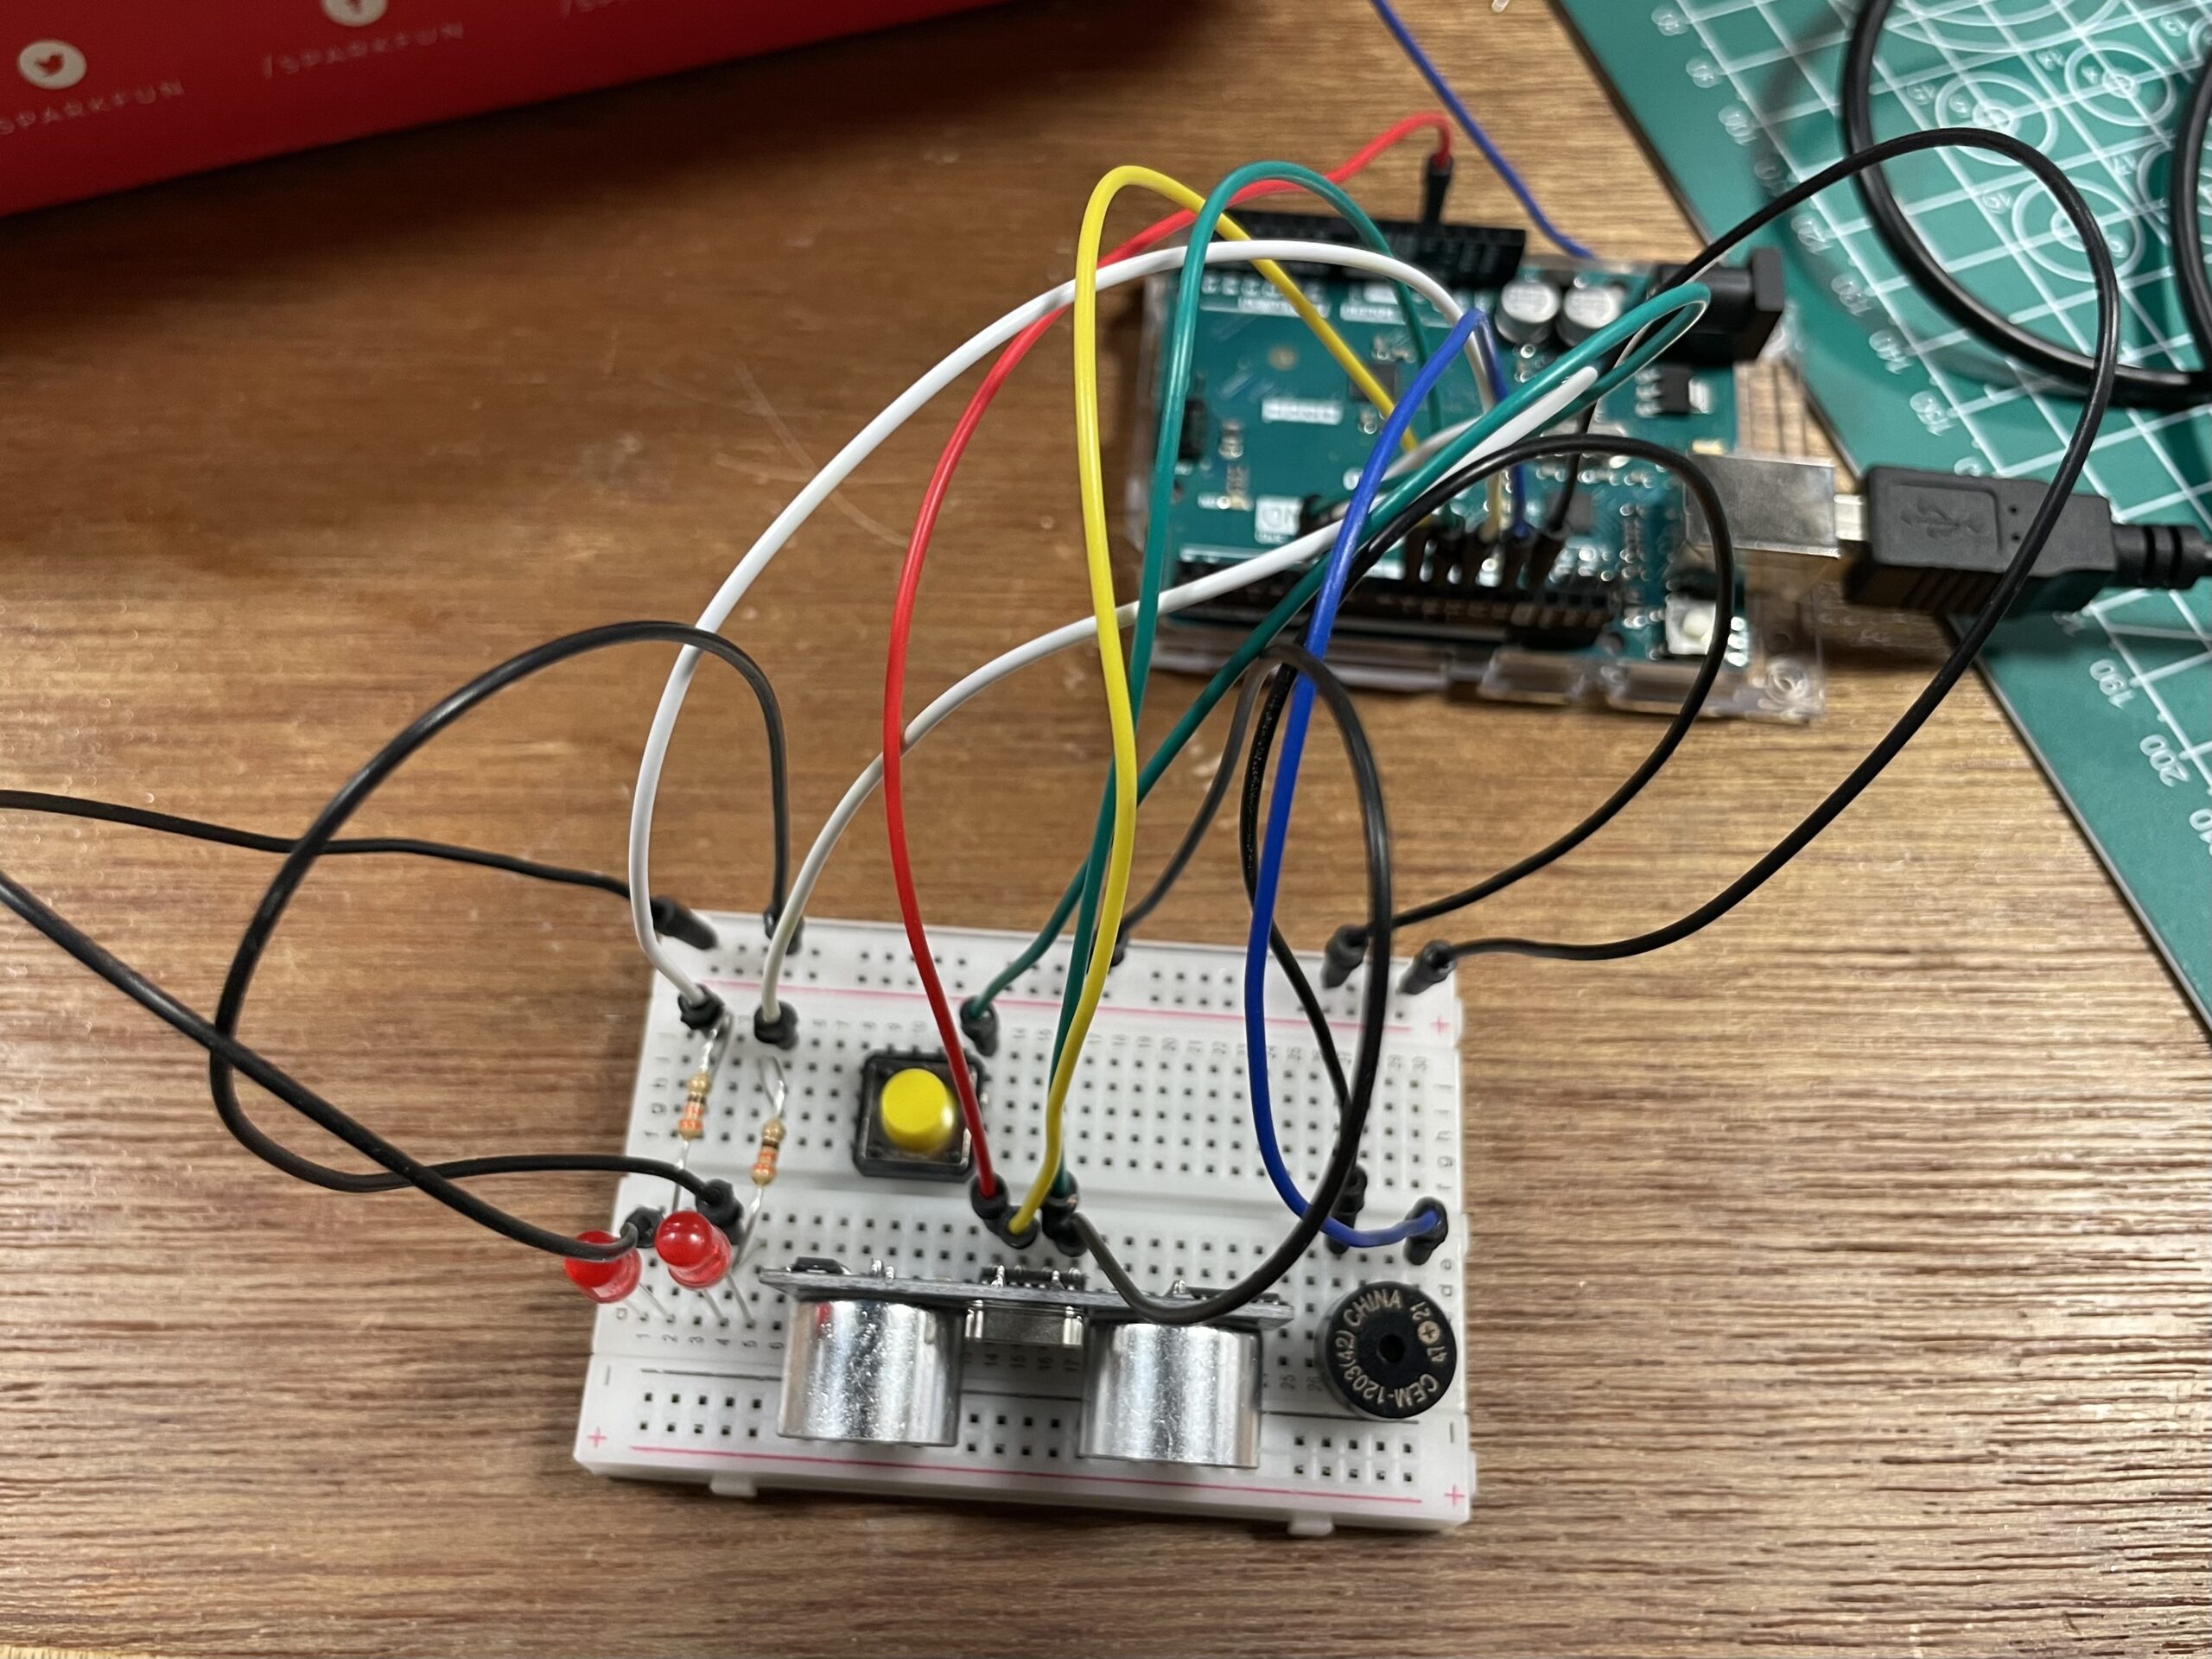
- CIRCUIT:
A simple circuit made of 2 arcade buttons + one regular switch allowing an easy and straightforward user interaction, here’s the schematic:
2. CODE:
Full commented p5js code + Arduino code commented out
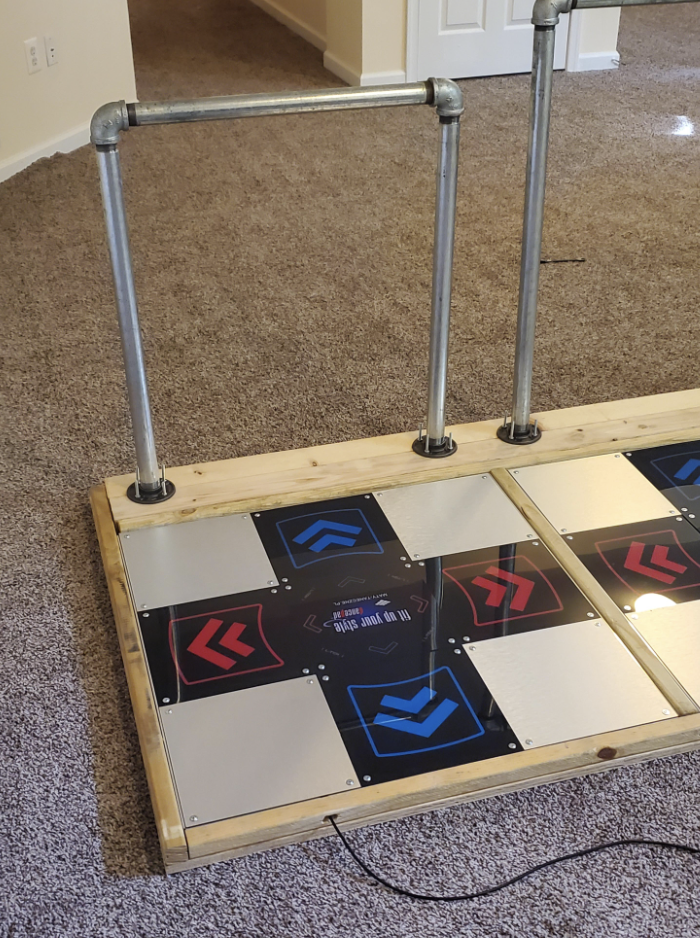
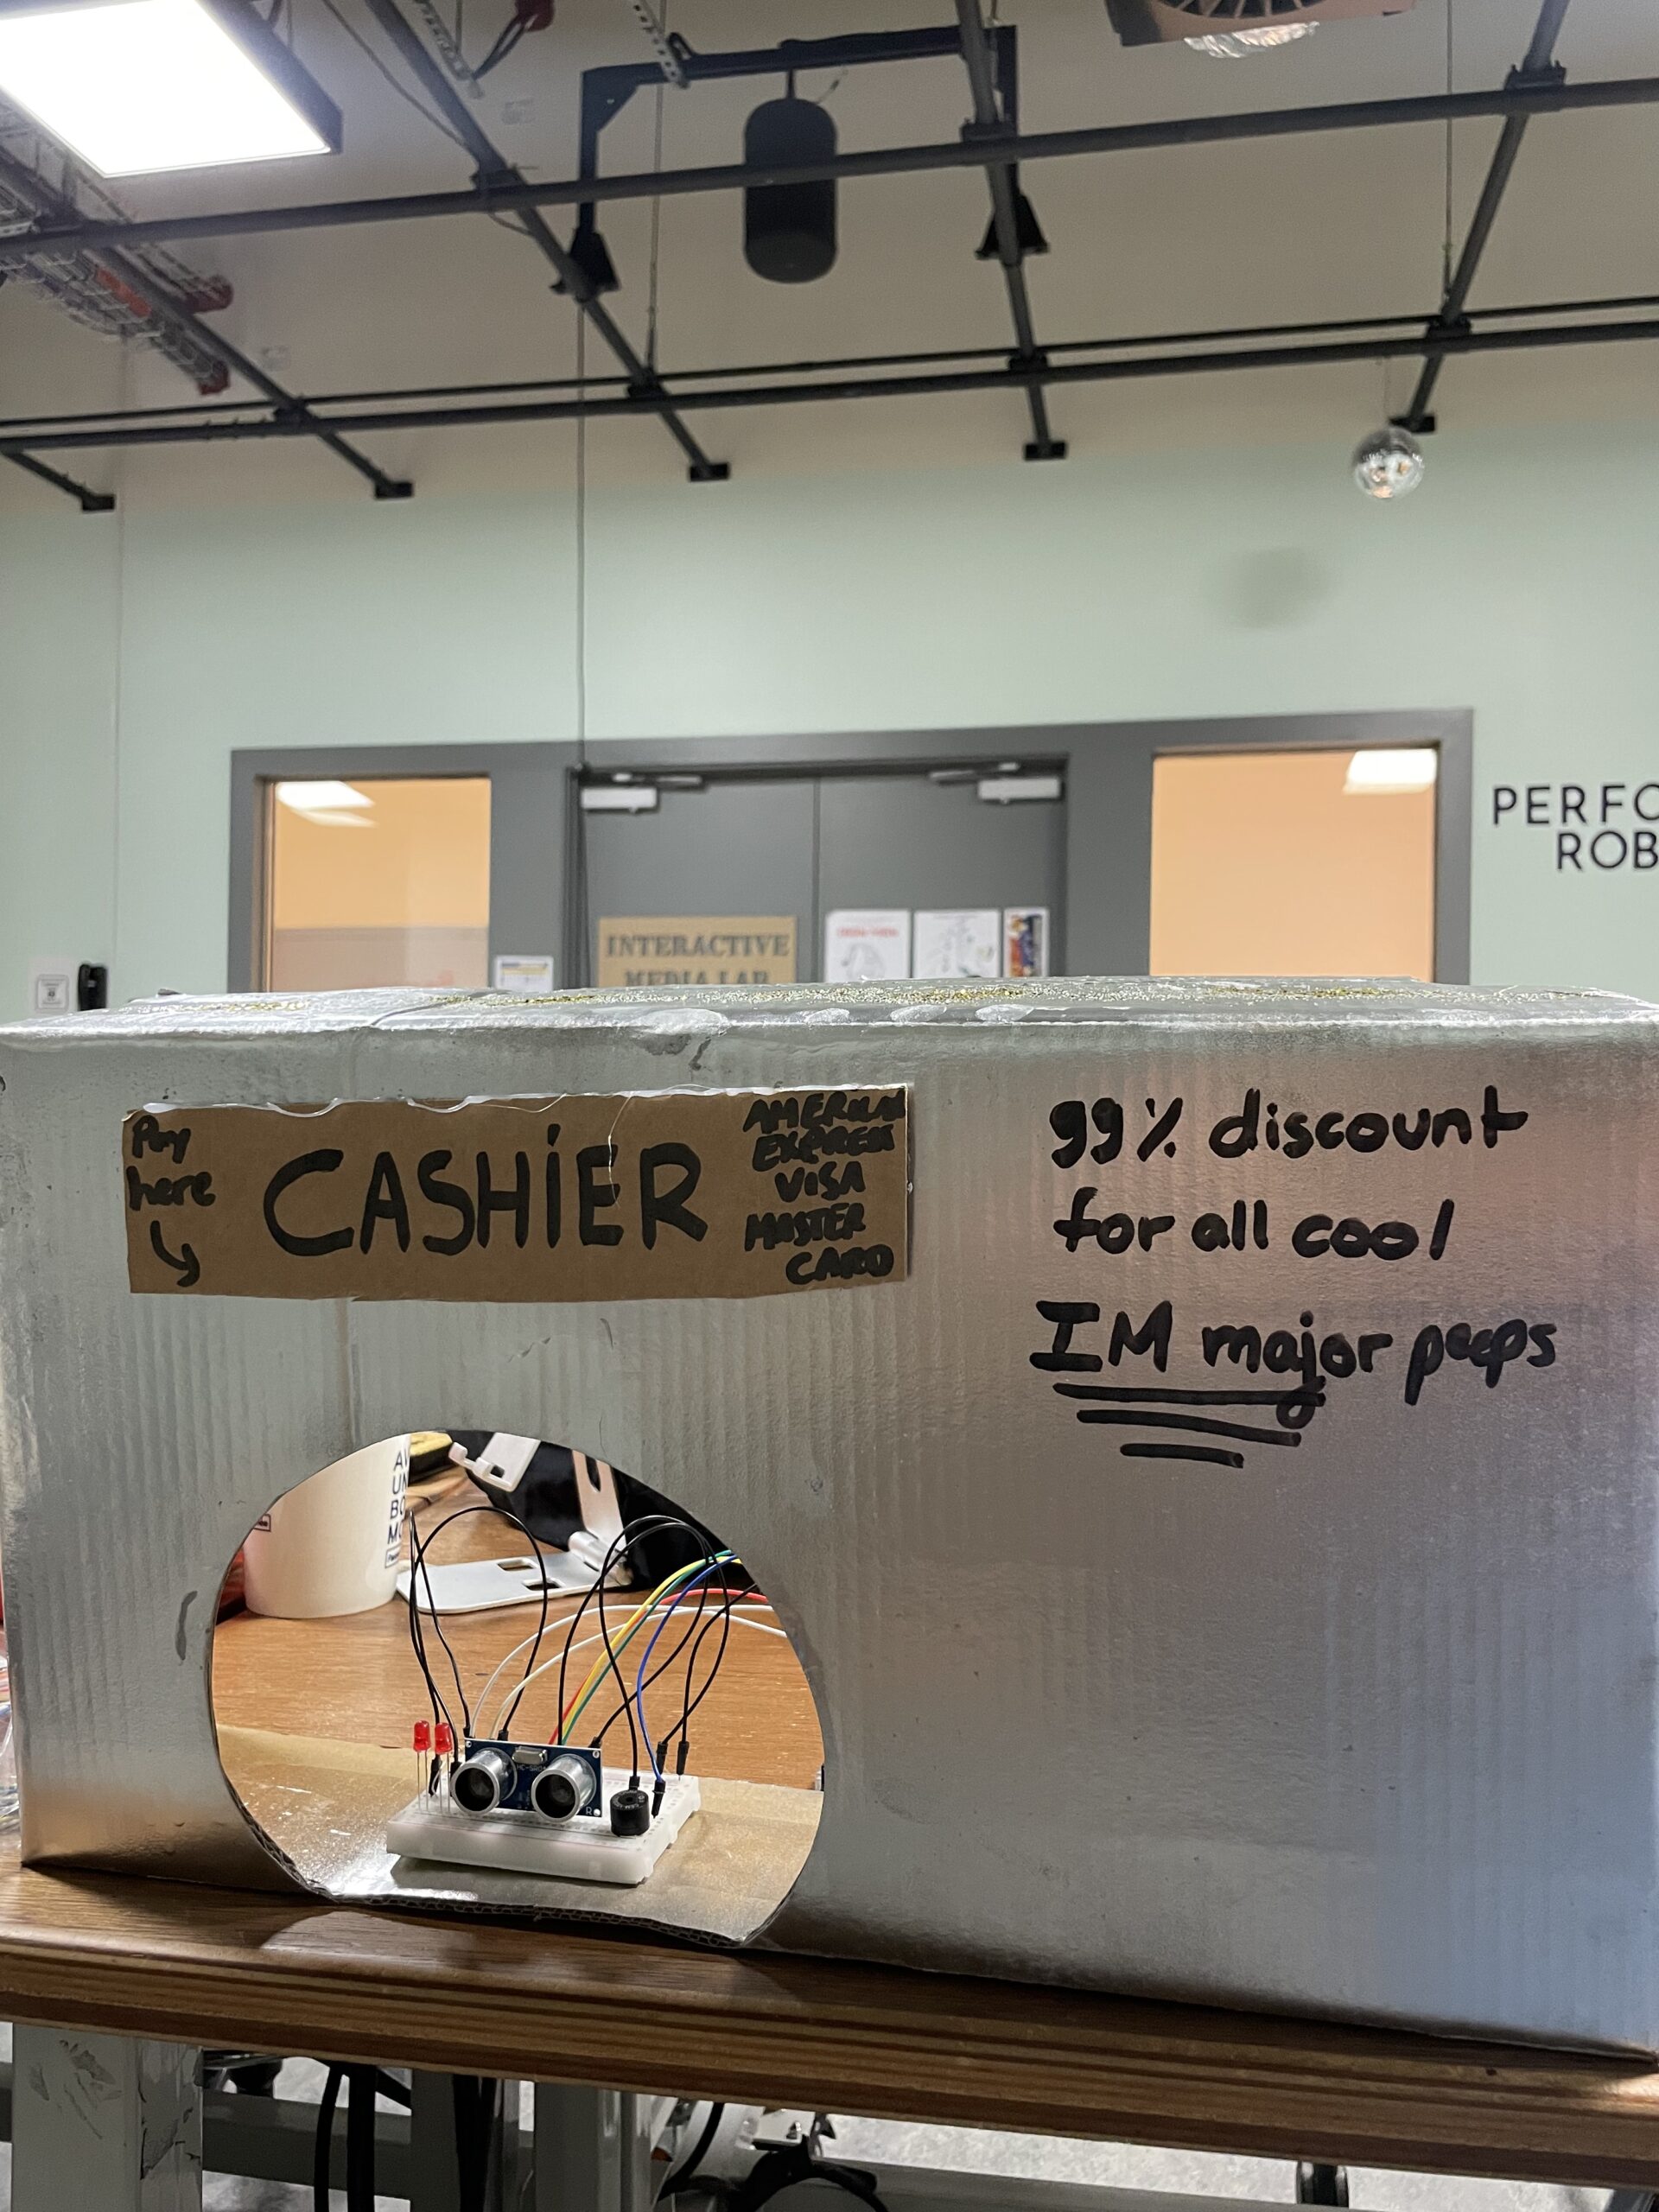
3. INTERACTION DESIGN:
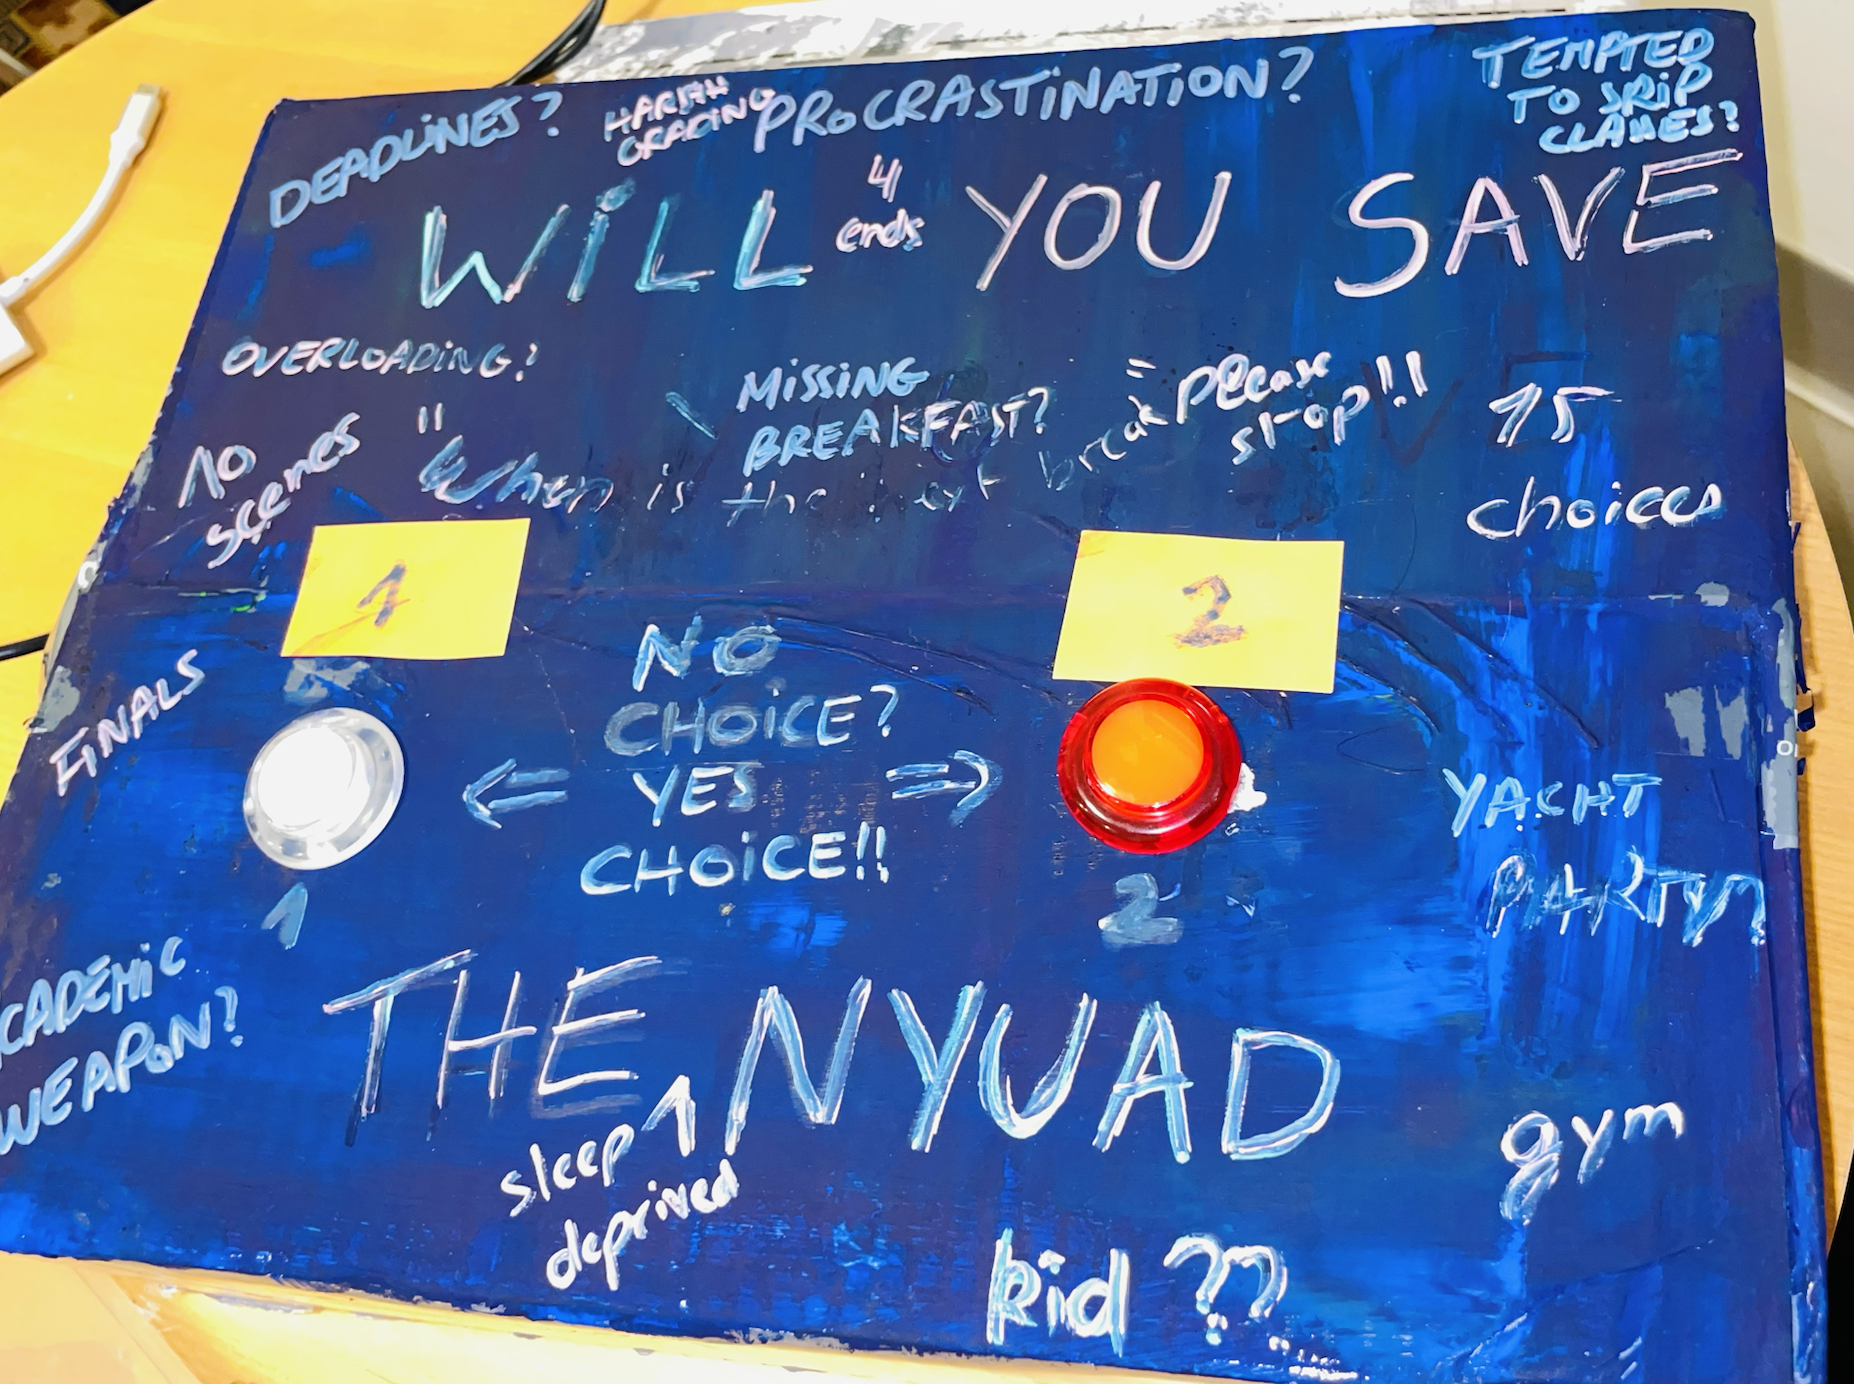
I designed a not-so-fancy box out of cardboard with the two choices button as the pictures show. The circuit is under it and it also contains the third switch (small switch so way to add it on the box). I was planning to use 3 arcade buttons but ended up with only two available at the time of implementation, which was a bit inconvenient.
The writings on the box are inspired from Graffiti but also align with the vision I had in mind. Messy and blurred words just like my brain during this finals week, expressing a lot of thoughts. The headline is “WILL YOU SAVE THE NYUAD KID? – NO CHOICE? YES CHOICE! CHOOSE 1 -2”
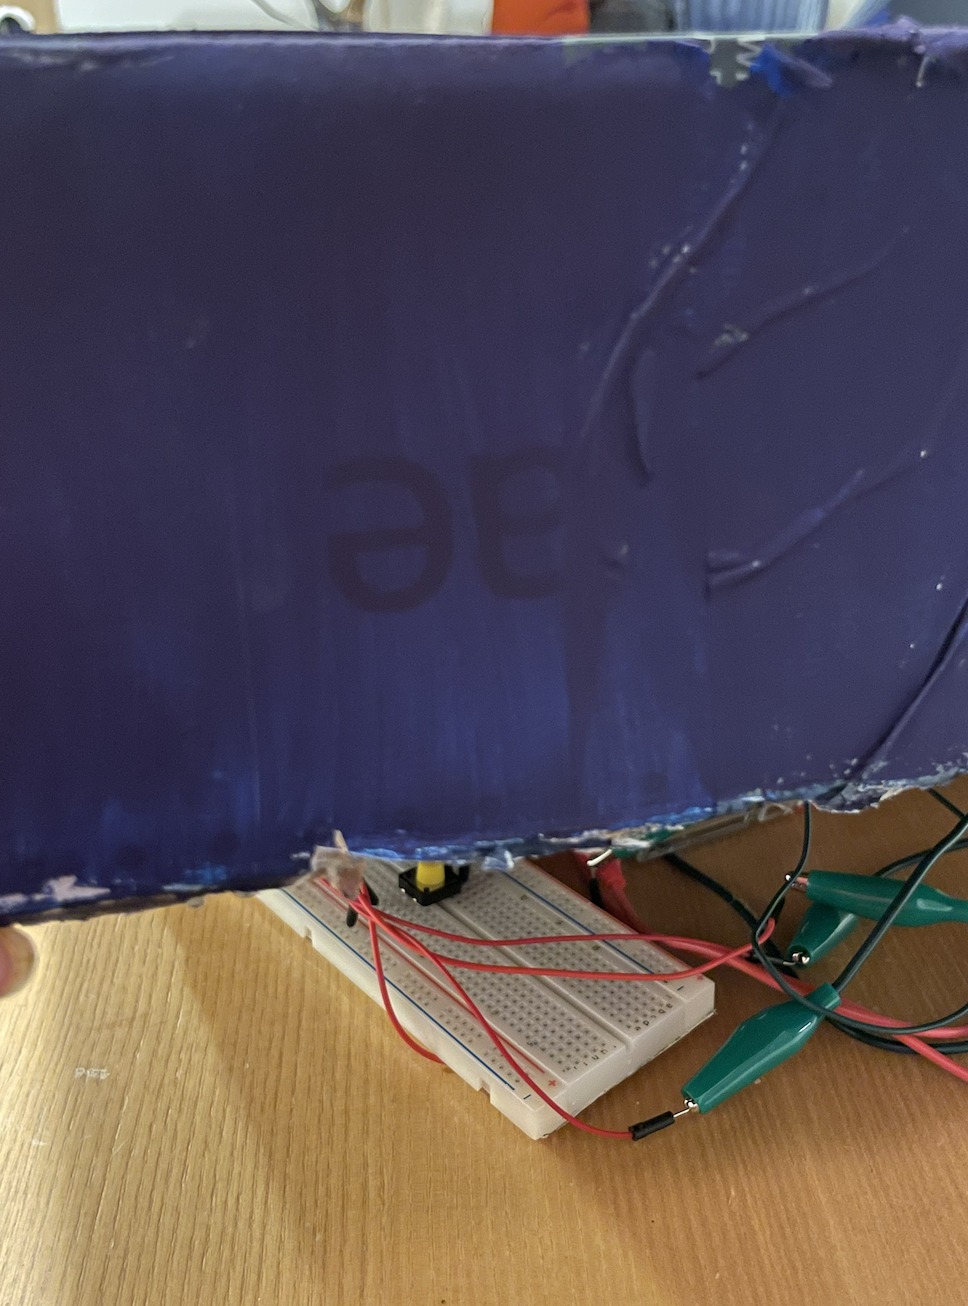
UNDER THE BOX (regular switch showing):
CHALLENGES:
I had a lot of challenges with this project. First of all, I lost my previous project few days before the showcase which means I only started this one a few days before the showcase. I unfortunately ended up not presenting it for other reasons as well. Hence, I would say my main issue in this project was time as I did not have time to do everything I had in mind. When looking at the outcome, I wished I chose this idea from the beginning and took time to implement it well with a better storyline, more interactivity and a more challenging physical computing. I would have also gotten great suggestions from my professor and peers on how to make this idea better. Yet, I’m glad for the lessons I learned along the implementation of this project, many of them are life lessons (ie. better time management!)
IMPROVEMENTS:
-A better storyline: If I had more time, I would have written a more eventful storyline, probably with more scenes, choices and endings. It would have made the story more engaging and longer (I calculated the time my users took trying this project and it was about >10mins, which is pretty quick for such an experience).
-More interactivity: I thought a lot about implementing few games between the scenes (find the place, puzzle games, quiz..) but I didn’t implement any because of rushing. Another better version of this project would have games and stuff to engage the users more.
-A better use of hardware: I went with buttons (which were straightforward to implement) again because of the time I had, but I know there are other ways that could have made my physical computing part more challenging and interesting (ie. I thought of using the potentiometer to turn the pages of the story or a similar effect, but I had no idea how to implement this..).
ALL IN ALL, I CAN’T BELIEVE THIS IS THE END OF AN AMAZING ERA. I’M VERY PROUD OF THE WORK I PUT IN THIS PROJECT DESPITE THE SETBACKS, JUST LIKE ALL MY PREVIOUS PROJECTS. WE’VE COME A LONG WAY!!
Thank you to Professor Shiloh for being the greatest support, to my friend Nourhane for testing all my projects, to my classmates for always suggesting great ideas for all my other projects.
REFERENCES:
Checked this blog to figure out the arcade buttons; http://forum.arcadecontrols.com/index.php?topic=154794.0
Not very helpful but found this project interesting (also had arcade buttons): https://www.youtube.com/watch?v=DYVHlhglcaI
All graphics used were made with Canva, and sound effects/music files are royalty-free except:
The Weeknd – Blinding Lights; https://youtu.be/fHI8X4OXluQ?si=rCqanU4iM-RCnWno
Tyla – Water; https://youtu.be/XoiOOiuH8iI?si=RK34z90o0yX3Xa3h