My final project involved incorporating something that I love with p5js and Arduino. I took skating, one of my hobbies, and transformed it into a game. But not just any skating game, with this game, your controller is the skateboard itself!
Game
The game is straightforward. You have a player on a skateboard with the ability to move left and right. You have to dodge incoming fences by moving left and right. If you get hit more than 3 times, you lose the game and your score is recorded. The highest score is also shown at the end. You have the ability to play the game again or return to the home screen.
For the sprites in this game, I used resources from itch.io mostly.
The trees can be found here; the music can be found here ; the heart icons can be here; the fence image is from google; the tileset can be found here; the player sprites were made by me in Photoshop using original reference pictures that I took.
Arduino
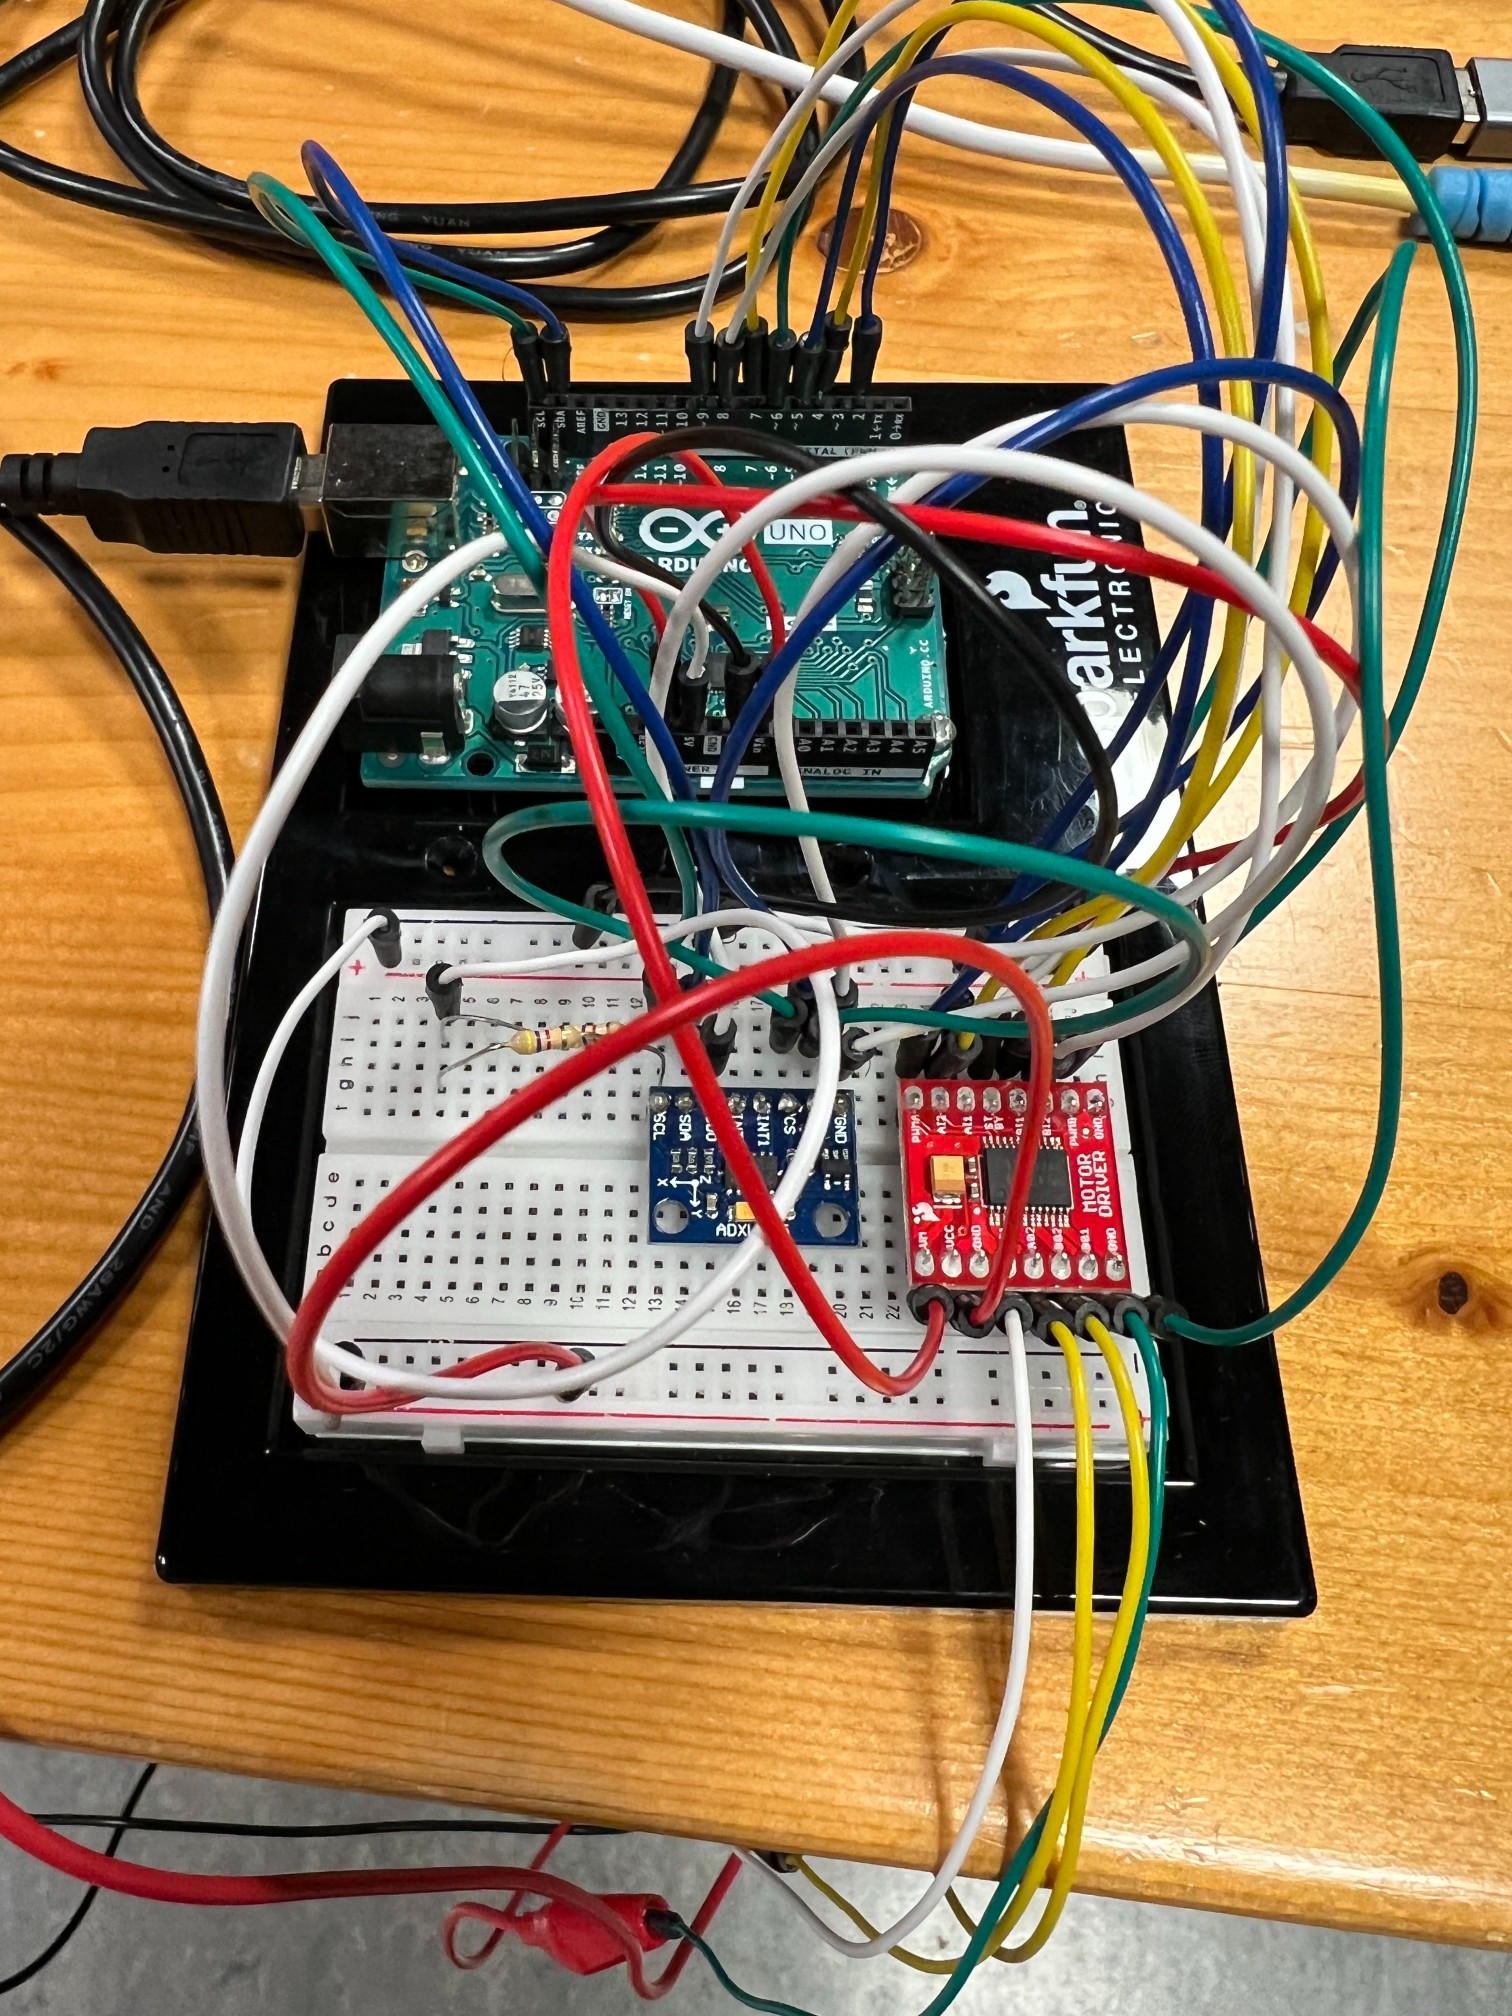
My Arduino setup is mounted underneath my skateboard using velcro and consists of an accelerometer/gyroscope, a motor driver and 2 motors. I 3D printed wheel stoppers so that the skateboard does not move around when the player stands on it.
The accelerometer detects the tilt of the skateboard and moves the player accordingly. The motor driver vibrates when the player hits a fence or the sides of the road. The vibration is caused by some hot glue that I have applied to the gear of the motor.
The Arduino uses serial communication to talk to p5js in a chrome browser.
Code
All of the code is on Github. The final_project.ino file is for Arduino, and the rest is for p5js.
Video
Here are some videos of my final project in action.
My final project is finally taking shape. I was able to test out the first complete prototype with a few people that were in the IM lab while I was working on it.
Key Takeaways:
The motors for the vibration feedback kept disconnecting due to 2 sets of alligator clips being used to hold them together. I have decided to go ahead and solder these connections and see if that makes a difference.
The game was easy to understand but seemingly too easy, I have not yet implemented some of the gameplay logic (speeding up with time and dying if you hit the boundaries too much) so I believe it will get much harder once that is done.
The 3D printed wheel stoppers worked pretty well so I had no accidents during testing of the game.
Overall, I had some pretty good feedback and the experience of the initial prototype was quite enjoyable.
I have started working on the p5js game. This game will involve a view similar to that of temple run or subway surfers, and obstacles will be on your path and the player/skater will have to move side to side (and eventually) jump over them. This week, I have managed to set up the basic stage design as well as some scaling properties for the background to make it appear like the player is moving.
I have not yet been able to create the sprites for the player so a placeholder circle is being used.
Arduino
I managed to also set up the serial communication from the accelerometer to the p5js and get some basic movement going. When I have the prototype for the game ready to go, I will attach the Arduino with the sensor to my penny board and calibrate it for the controls.
let serial; // variable to hold an instance of the serialport library
let portName = "/dev/cu.usbmodem1412201"; // fill in your serial port name here
let xPos=0;
let onOff=0;

function setup() {
  createCanvas(640, 480);
  serial = new p5.SerialPort(); // make a new instance of the serialport library
  serial.on("list", printList); // set a callback function for the serialport list event
  serial.on("connected", serverConnected); // callback for connecting to the server
  serial.on("open", portOpen); // callback for the port opening
  serial.on("data", serialEvent); // callback for when new data arrives
  serial.on("error", serialError); // callback for errors
  serial.on("close", portClose); // callback for the port closing

  serial.list(); // list the serial ports
  serial.open(portName); // open a serial port
}

function draw() {
  background(255);
  ellipse(xPos, width/2, 50, 50); // draw the circle
}

// get the list of ports:
function printList(portList) {
  // portList is an array of serial port names
  for (let i = 0; i < portList.length; i++) {
    // Display the list the console:
    print(i + " " + portList[i]);
  }
}

function serverConnected() {
  print("connected to server.");
}

function portOpen() {
  print("the serial port opened.");
}

function serialEvent() {
  // read a string from the serial port
  // until you get carriage return and newline:
  let inString = serial.readLine();

  //check to see that there's actually a string there:
  if (inString.length > 0) {
    let sensorVal = inString;
    xPos = map(sensorVal, 0, 1023, 0, width);
  }

  serial.write(onOff);
}

function serialError(err) {
  print("Something went wrong with the serial port. " + err);
}

function portClose() {
  print("The serial port closed.");
}
Arduino Code
void setup() {
  Serial.begin(9600);
  while (Serial.available() <= 0) {
    Serial.println("0"); // send a starting message
    delay(300);              // wait 1/3 second
  }
}

void loop() {
  while (Serial.available() > 0) {
    // read the incoming byte:
   int inByte = Serial.read();
    int sensorValue = analogRead(A0);
    Serial.println(sensorValue);
  }
}
Exercise 2
Control brightness with MouseX position
p5JS Code
let serial; // variable to hold an instance of the serialport library
let portName = "/dev/cu.usbmodem1412201"; // fill in your serial port name here
let brightness = 0;

function setup() {
  createCanvas(640, 480);
  serial = new p5.SerialPort(); // make a new instance of the serialport library
  serial.on("list", printList); // set a callback function for the serialport list event
  serial.on("connected", serverConnected); // callback for connecting to the server
  serial.on("open", portOpen); // callback for the port opening
  serial.on("data", serialEvent); // callback for when new data arrives
  serial.on("error", serialError); // callback for errors
  serial.on("close", portClose); // callback for the port closing

  serial.list(); // list the serial ports
  serial.open(portName); // open a serial port
}

function draw() {
  background(220);
}

// get the list of ports:
function printList(portList) {
  // portList is an array of serial port names
  for (let i = 0; i < portList.length; i++) {
    // Display the list the console:
    print(i + " " + portList[i]);
  }
}

function serverConnected() {
  print("connected to server.");
}

function portOpen() {
  print("the serial port opened.");
}

function serialEvent() {
  // read a string from the serial port
  // until you get carriage return and newline:
  let inString = serial.readLine();

  brightness = mouseX;
  let mapped = map(brightness, 0, 640, 0, 255);

  serial.write(mapped);
}

function serialError(err) {
  print("Something went wrong with the serial port. " + err);
}

function portClose() {
  print("The serial port closed.");
}
Arduino Code
int ledPin = 5;

void setup() {
  Serial.begin(9600);
  pinMode(ledPin, OUTPUT);
  while (Serial.available() <= 0) {
    Serial.println("0"); // send a starting message
    delay(300);              // wait 1/3 second
  }
}

void loop() {
  while (Serial.available() > 0) {
    // read the incoming byte:
   int inByte = Serial.read();
    analogWrite(ledPin, inByte);
    Serial.println("0");
  }
}
Exercise 3
The light turns on and off with the ball bouncing
Control wind with a potentiometer
p5JS Code
let serial; // variable to hold an instance of the serialport library
let portName = "/dev/cu.usbmodem1412201"; // fill in your serial port name here

let velocity;
let gravity;
let position;
let acceleration;
let wind = 0;
let drag = 0.99;
let mass = 50;
let hDampening;
let onOff = 0;

function setup() {
  serial = new p5.SerialPort(); // make a new instance of the serialport library
  serial.on("list", printList); // set a callback function for the serialport list event
  serial.on("connected", serverConnected); // callback for connecting to the server
  serial.on("open", portOpen); // callback for the port opening
  serial.on("data", serialEvent); // callback for when new data arrives
  serial.on("error", serialError); // callback for errors
  serial.on("close", portClose); // callback for the port closing

  serial.list(); // list the serial ports
  serial.open(portName); // open a serial port

  createCanvas(640, 360);
  noFill();
  position = createVector(width / 2, 0);
  velocity = createVector(0, 0);
  acceleration = createVector(0, 0);
  gravity = createVector(0, 0.5 * mass);
  wind = createVector(0, 0);
  hDampening = map(mass, 15, 80, 0.98, 0.96);
}

function draw() {
  background(255);

  applyForce(wind);
  applyForce(gravity);
  velocity.add(acceleration);
  velocity.mult(drag);
  position.add(velocity);
  acceleration.mult(0);
  ellipse(position.x, position.y, mass, mass);
  if (position.y > height - mass / 2) {
    velocity.y *= -0.9; // A little dampening when hitting the bottom

    //     // turning on/off led
    if (onOff) {
      onOff = 0;
    } else {
      onOff = 1;
    }
    position.y = height - mass / 2;
  }
}

function applyForce(force) {
  // Newton's 2nd law: F = M * A
  // or A = F / M
  let f = p5.Vector.div(force, mass);
  acceleration.add(f);
}

// get the list of ports:
function printList(portList) {
  // portList is an array of serial port names
  for (let i = 0; i < portList.length; i++) {
    // Display the list the console:
    print(i + " " + portList[i]);
  }
}

function keyPressed() {
  if (key == " ") {
    mass = random(15, 80);
    position.y = -mass;
    velocity.mult(0);
  }
}

function serverConnected() {
  print("connected to server.");
}

function portOpen() {
  print("the serial port opened.");
}

function serialEvent() {
  // read a string from the serial port
  // until you get carriage return and newline:
  let inString = serial.readLine();
  if (inString != "") {
    if (inString > 8 && inString < 12) {
      wind.x = 0;
    } else if (inString >= 12) {
      wind.x = 1;
    } else if (inString >= 0 && inString < 12) {
      wind.x = -1;
    }
  }

  serial.write(onOff);
}

function serialError(err) {
  print("Something went wrong with the serial port. " + err);
}

function portClose() {
  print("The serial port closed.");
}
Arduino Code
int ledPin = 5;

void setup() {
  Serial.begin(9600);
  pinMode(ledPin, OUTPUT);
  while (Serial.available() <= 0) {
    Serial.println("0"); // send a starting message
    delay(300);              // wait 1/3 second
  }
}

void loop() {
  while (Serial.available() > 0) {
    // read the incoming byte:
   int inByte = Serial.read();

   int pmValue = analogRead(A0);
   int wind = map(pmValue, 0, 1023, 0, 20);

   digitalWrite(ledPin, inByte);
   Serial.println(wind);
  }
}
For my final project, I wanted to incorporate one of my hobbies, which is skating. I want to make a game where the player has to balance a character on a skateboard. The goal will be to obtain a high score while balancing the character. The pace of the game and balance will get more difficult as the player progresses.
The game will be made with p5js and the controls will be relayed from the Arduino. Currently, I am thinking of using touch sensors for input and motors for vibration feedback. I would like to discuss this further to see what would be the best components to use for input and if it is possible to include my penny board as a component.
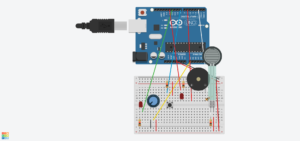
For this week, I wanted to use digital and analog sensors to create a home security setup. The idea is very simple, and it consists of four key components.
Components
The switch: this is what allows the person to turn on the security alarm
The red LED: this blinks when the alarm is triggered
The buzzer: this beeps when the alarm is triggered
The pressure pad: this detects if anyone is attempting to enter the house
In addition, there is a lamp controlled via the potentiometer. You can think of this as a bedside lamp that the person turns off before going to bed.
It is good to stand up once in a while especially since I spend so much of my time, sitting in front of the computer. The switch turns on when I stand up and my leg makes contact with the table.
I have taped aluminum foil to the table and to my thigh and they are connected with alligator clips.
If I could program it, I would add a timer that caused the LED to start blinking after a certain time period and only stop blinking after the LED has been on for another period of time.
Hope you like it!
This is the schema but instead of using a switch, I used aluminum foil and connected them with alligator clips.
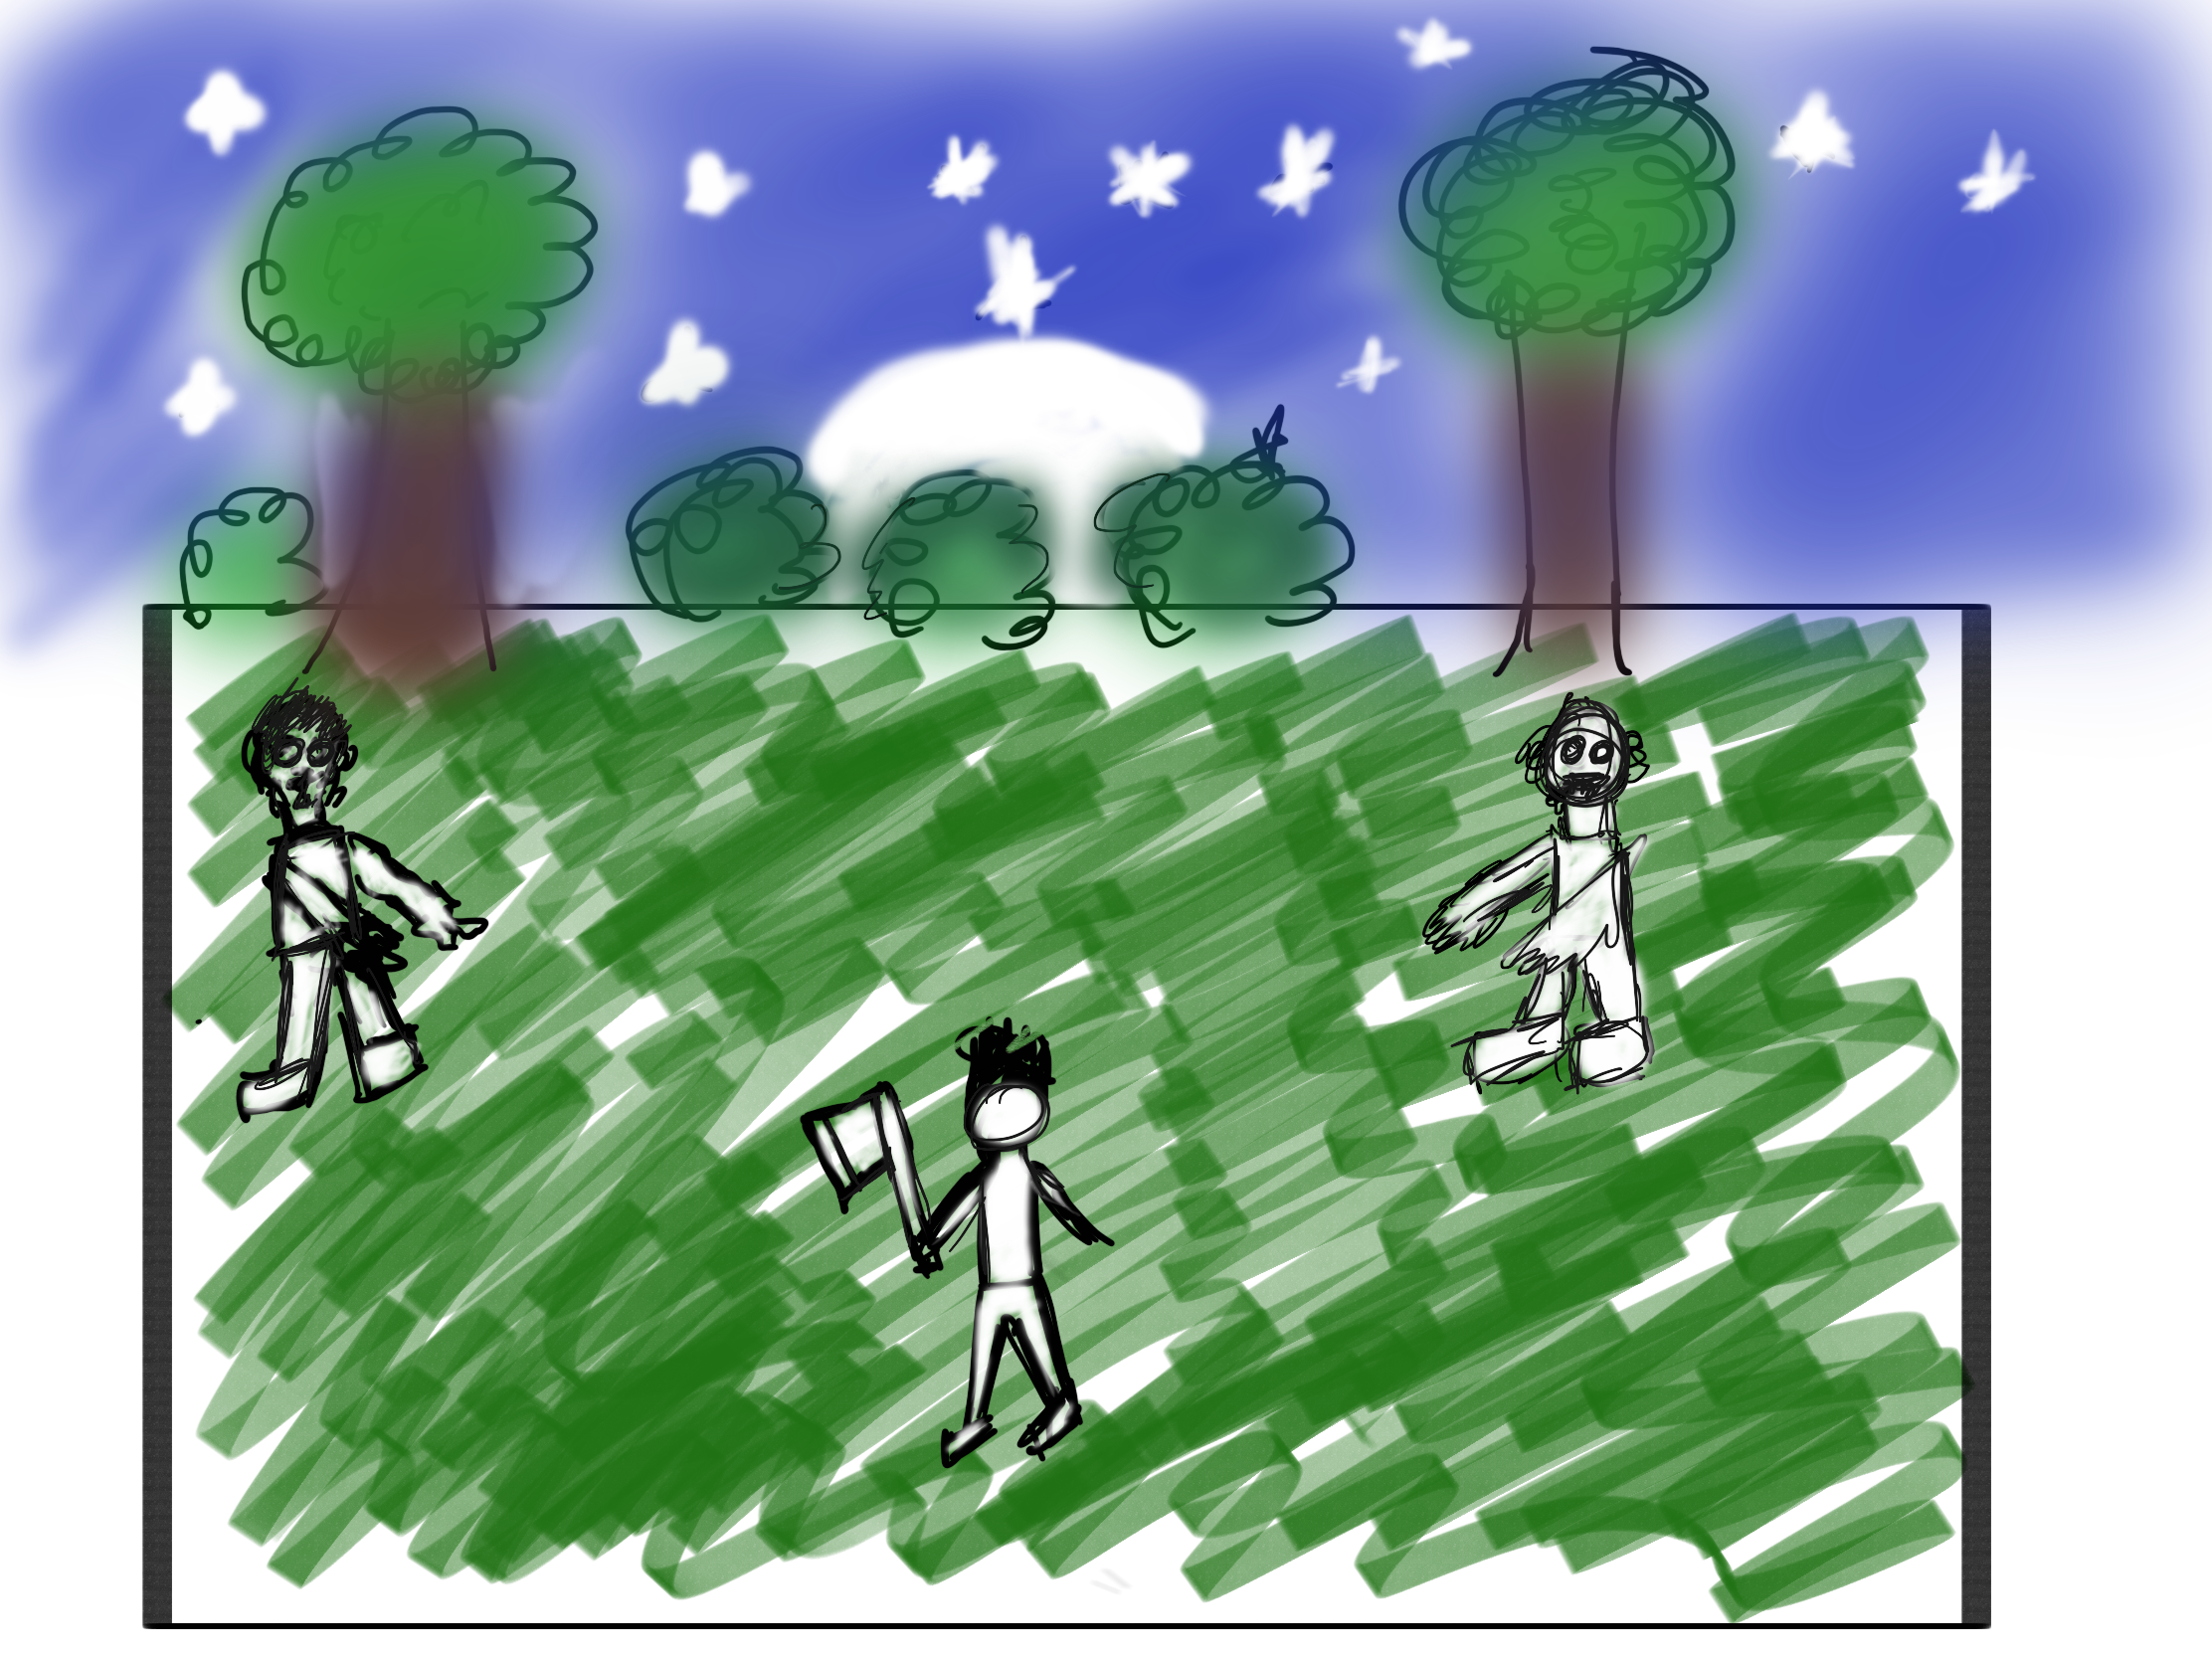
For my midterm, I wanted to make some form of pixel art-type monster fighting game in a 2D world. My inspiration for this comes from games like pokemon that I played on my Gameboy as well as newer Nintendo Switch games like Towerfall. I drew up a sketch of what I wanted my game to look like but I was open to making changes so that the gameplay is smooth.
I know this is going to be challenging and quite time-consuming but I want to see how far I can push myself and create a fun game that I and others can enjoy.
Assets
I was thinking of making my own pixel art assets but soon found that I do not have the skills nor the time to learn the skills to make them myself right now. I would like to explore this further in the future but for now, I used assets from Itch.io. I found some player and object and skeleton sprite sheets that are free for non-commercial use. I got sounds from Freesound.org and mixkit.co for all the game feedback sounds and the soundtrack from here. P.S the player dying sound was recorded by me (Professor Aaron thought it would be a nice touch and I agree)
I found this Desdemona font that matched the look I was going for so I used this custom font in my game.
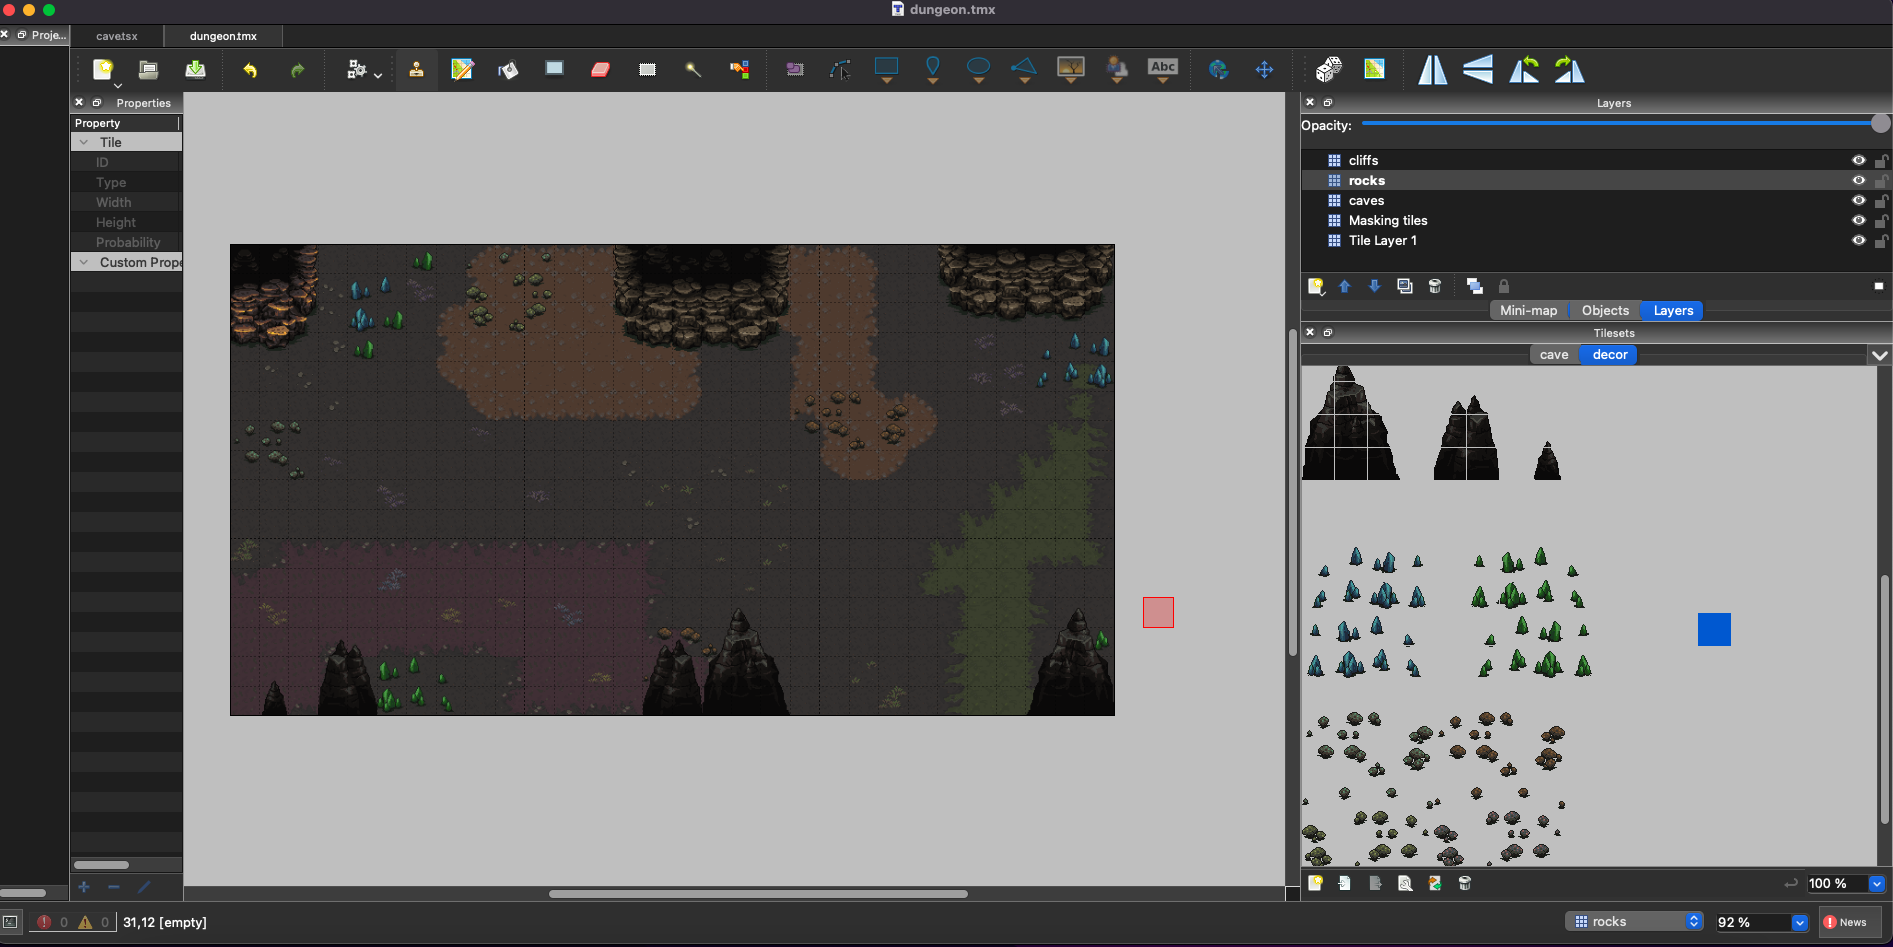
Stage
I was hoping to find a stage online that I could use for my game but I didn’t really find anything that I liked. I did some googling and found something called tilesets which is similar to sprite sheets but for building 2D levels. I use this dungeon tileset that was free to download along with Tiled to create my own basic level.
Movement
I flipped the sprite sheet to obtain movement in the left and right directions with Preview on my laptop. Using the boilerplate code from class that Professor Aaron provided, I was able to get my player up and running.
Attack
This was a bit tricky as I wanted all the attack sprites to loop with a mouse click. I couldn’t figure it out at first because I was using a while loop which made my program freeze. With some help from the class Discord, I implemented it using an attack boolean. Although this increased the amount of code I had, the attack was working fine now. I added a sword slash sound to make it more realistic. If the skeleton is within the range of the player and the player attacks, then the skeleton would collapse into a pile of bones, and bones falling soundtrack would be played.
Enemies
For my enemies, I used the skeleton sprites from Assets and gave it movement. To attack, I created a range where if they detected the player, the attack motion would play and if it lands on the player they would die. The corresponding sound effects are also played when the player dies.
To follow the player, I would simply use their x and y position and move the enemies accordingly. You can see that after a while the enemies will start to pile up, but that is because they are not solid body objects so there is no collision detection. This seemed quite tricky to implement so instead, I added a random change to their speed to make sure they didn’t bunch up into one all at once.
In order to prevent the player from killing all the enemies at once, I added a break after each enemy dies so that only one skeleton can be killed with one mouse click.
The enemies also spawn once every 50 frames, with each new skeleton speeding up, and the game ends once you kill 50 skeletons.
OOP
I created classes for the Player, Skeletons, and the Stage. The stage object is where the whole game plays out. It controls the loading of the player and the enemies and handles the game logic such as showing the start, end, and playing screen. It also allows the player to restart the game when they die or lose.
Controls
w – move up
s – move down
a – move left
d – move right
For my midterm, I wanted to make some form of pixel art-type monster fighting game in a 2D world. My inspiration for this comes from games like pokemon that I played on my Gameboy as well as newer Nintendo Switch games like Towerfall. I drew up a sketch of what I wanted my game to look like but I was open to making changes so that the gameplay is smooth.
I know this is going to be challenging and quite time-consuming but I want to see how far I can push myself and create a fun game that I and others can enjoy.
Assets
I was thinking of making my own pixel art assets but soon found that I do not have the skills nor the time to learn the skills to make them myself right now. I would like to explore this further in the coming weeks but for now, I used assets from Itch.io. I found some player and object sprite sheets that are free for non-commercial use.
Movement
I flipped the sprite sheet to obtain movement in the left and right directions with Preview on my laptop. Using the boilerplate code from class that Professor Aaron provided, I was able to get my player up and running.
Attack
This was a bit tricky as I wanted all the attack sprites to loop with a mouse click. I couldn’t figure it out at first because I was using a while loop which made my program freeze. With some help from discord, I implemented it using an attack boolean. Although this increased the amount of code I had, the attack was working fine now.
Stage
I was hoping to find a stage online that I could use for my game but I didn’t really find anything that I liked. I did some googling and found something called tilesets which is similar to sprite sheets but for building 2D levels. I use this dungeon tileset that was free to download along with Tiled to create my own basic level.
Controls
w – move up
s – move down
a – move left
d – move right
I wanted to do something with falling letters, like those movie openings where they have 3D letter blocks falling from the sky but I quickly found that doing 3D stuff can get really complicated especially with letters so I decided to implement the 2D version of it.
First iteration
Initially, I wanted to mimic a pull of the letters with my mouse, so I recreated some of the code that we saw in class (seekHome) to have the letters seek the mouse pointer if it got close enough. (With some help from professor Aaron, I was able to figure out how to make the pull smoother, thanks!) This was working fine and so I decided to move on to the next part which is the falling letters.
Falling!
For this part, I had to dig up some high school physics and figure out how I would simulate gravity! I decided to give each letter a random mass (each letter is an object) and a random resistance to mimic air resistance. I also kept a time counter once gravity is turned on so that the falling speed increases with time.
I think it turned out pretty okay but I would like to figure out how to make the falling smoother as it seems quite jittery at the start.