creative switch

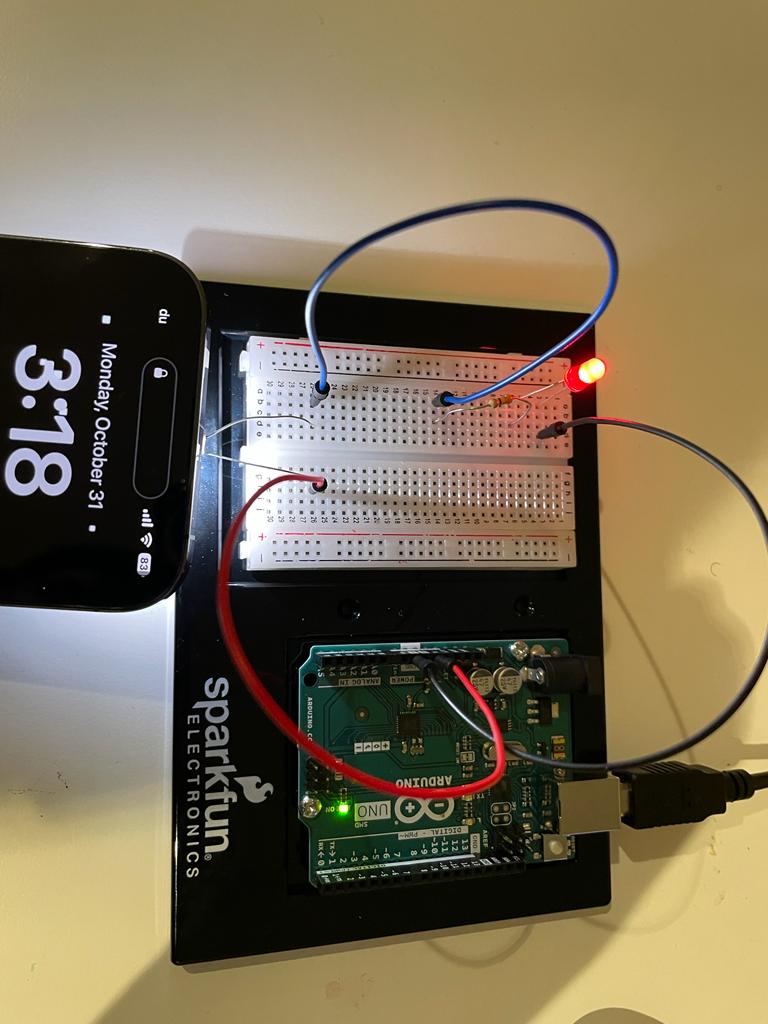
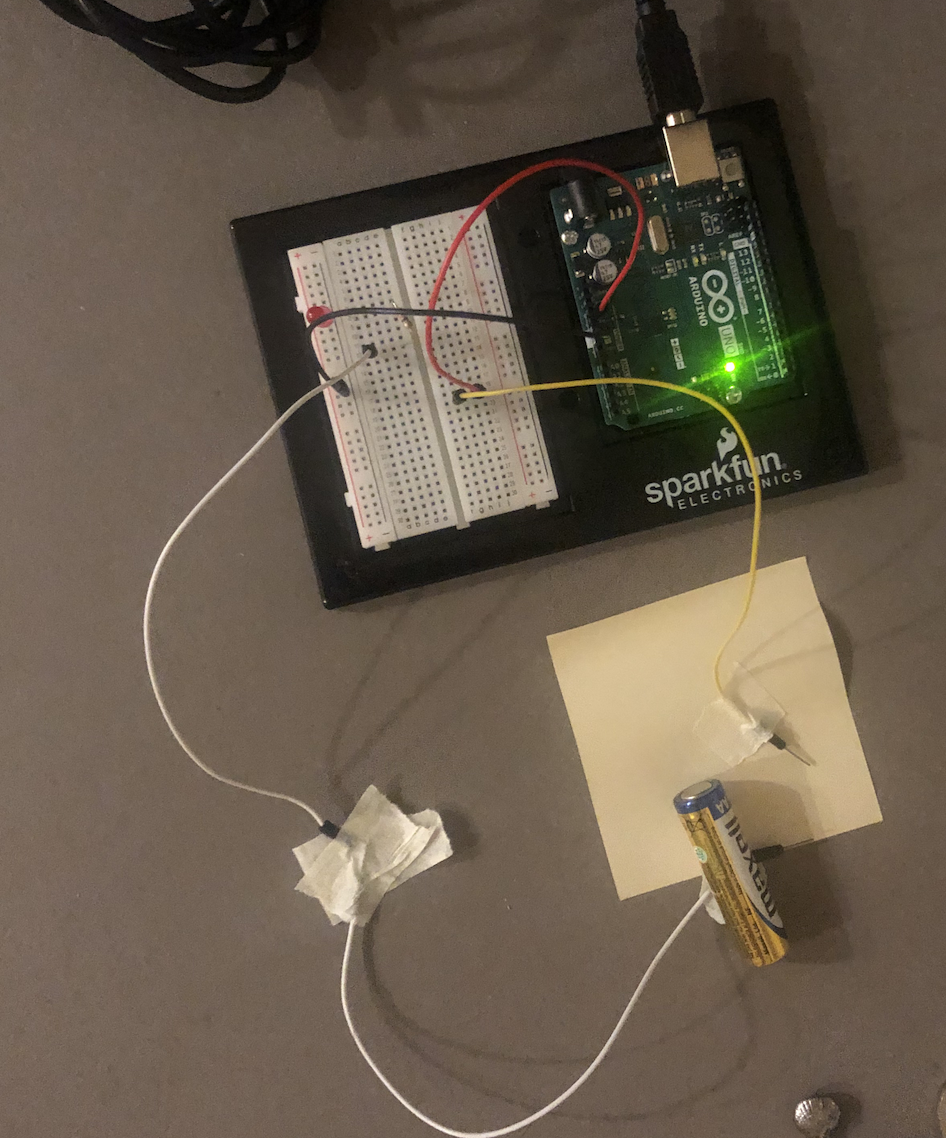
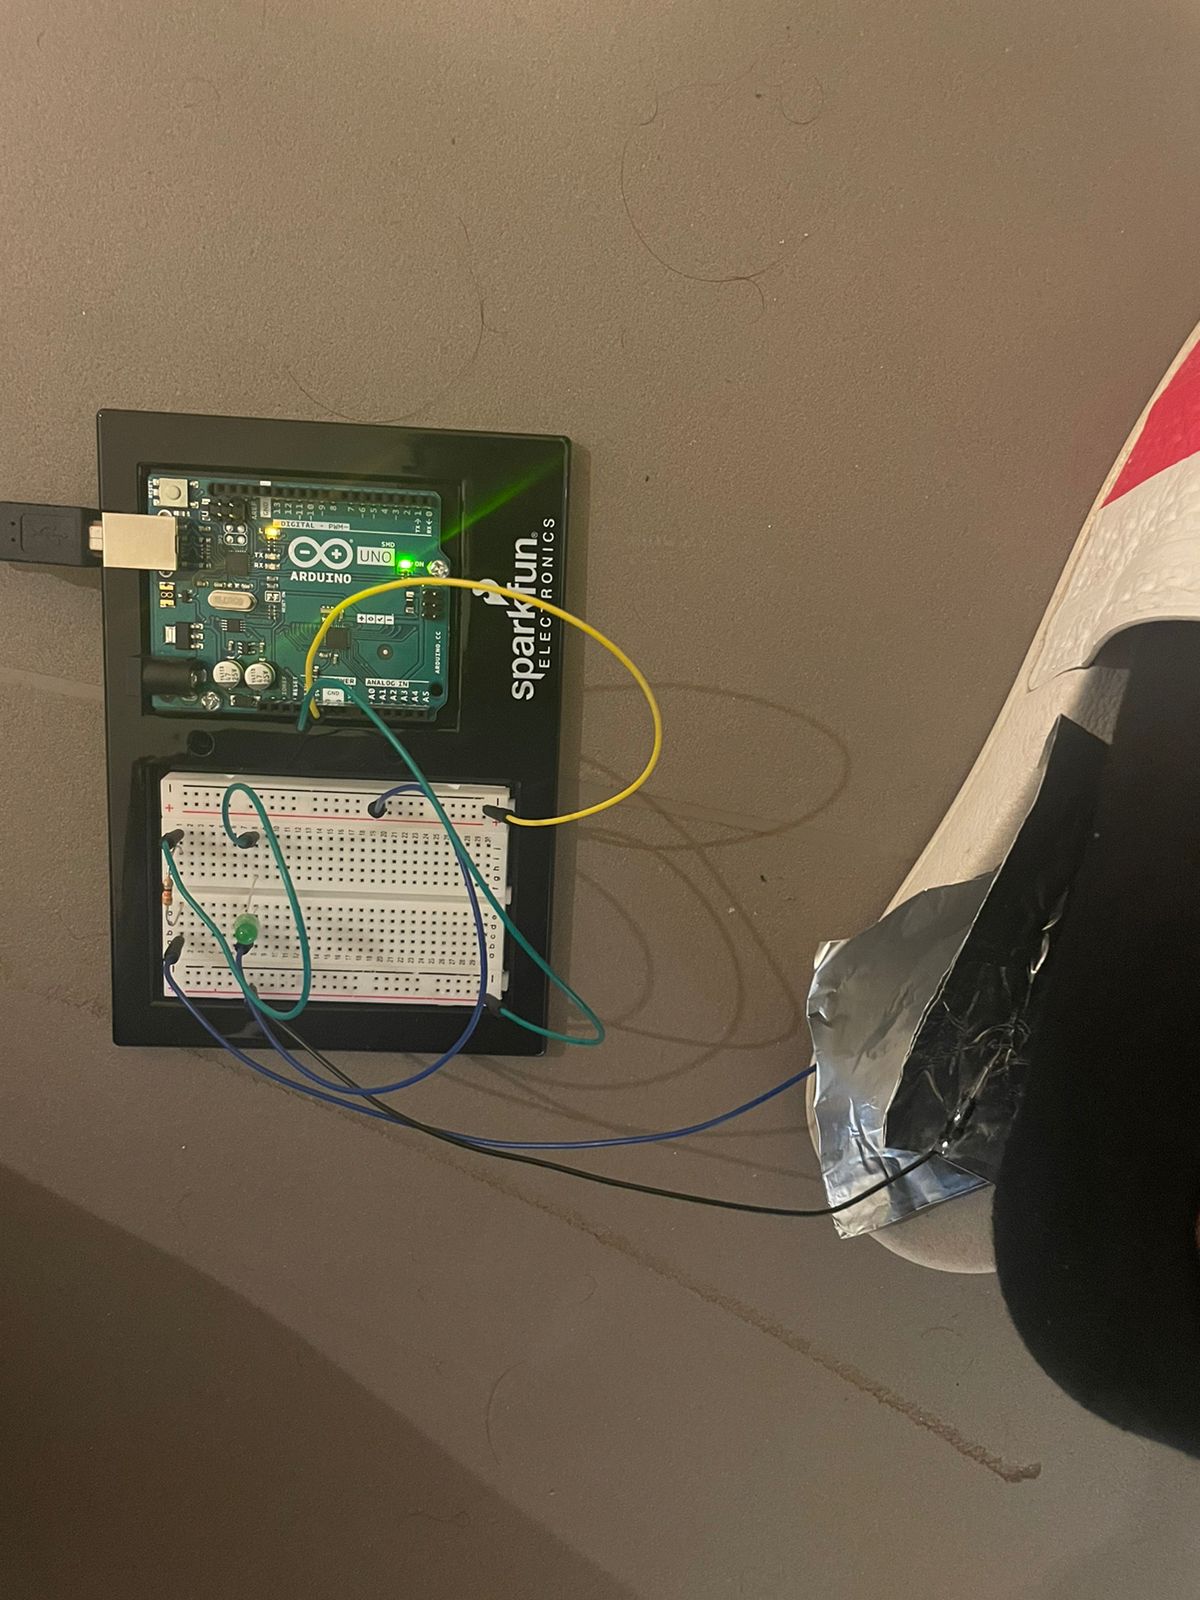
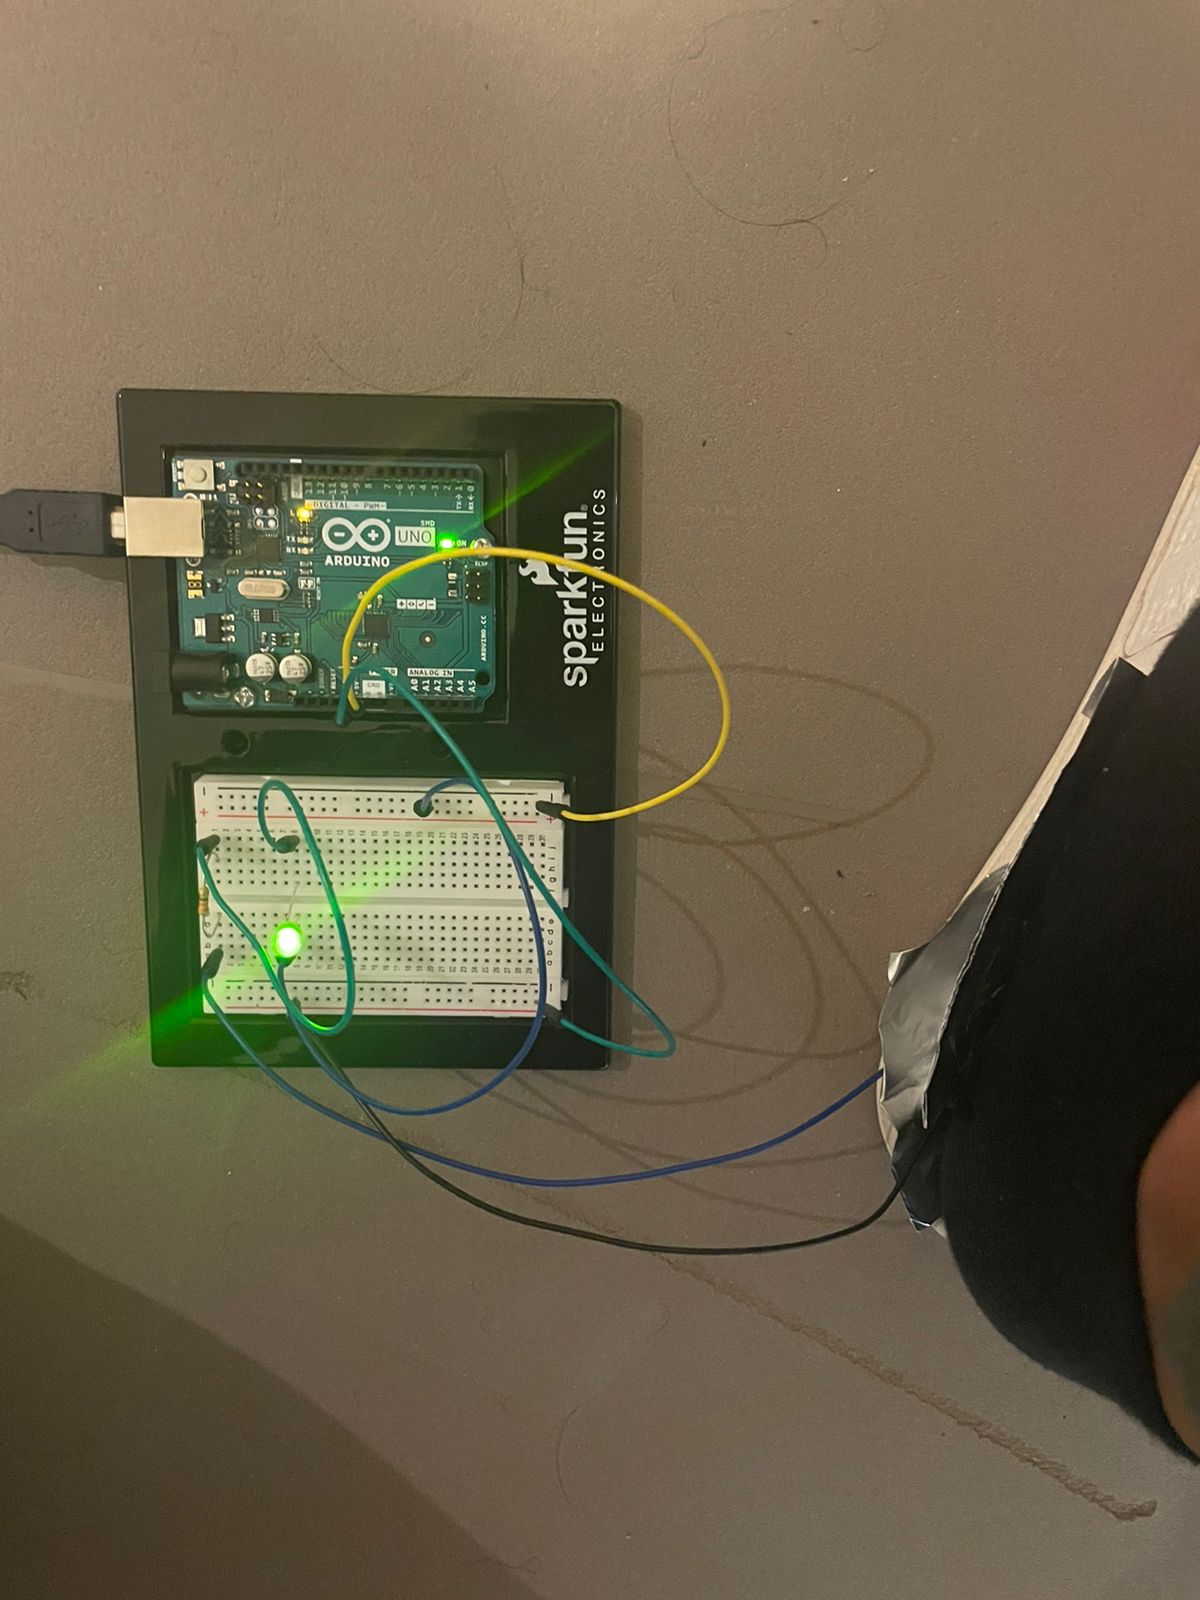
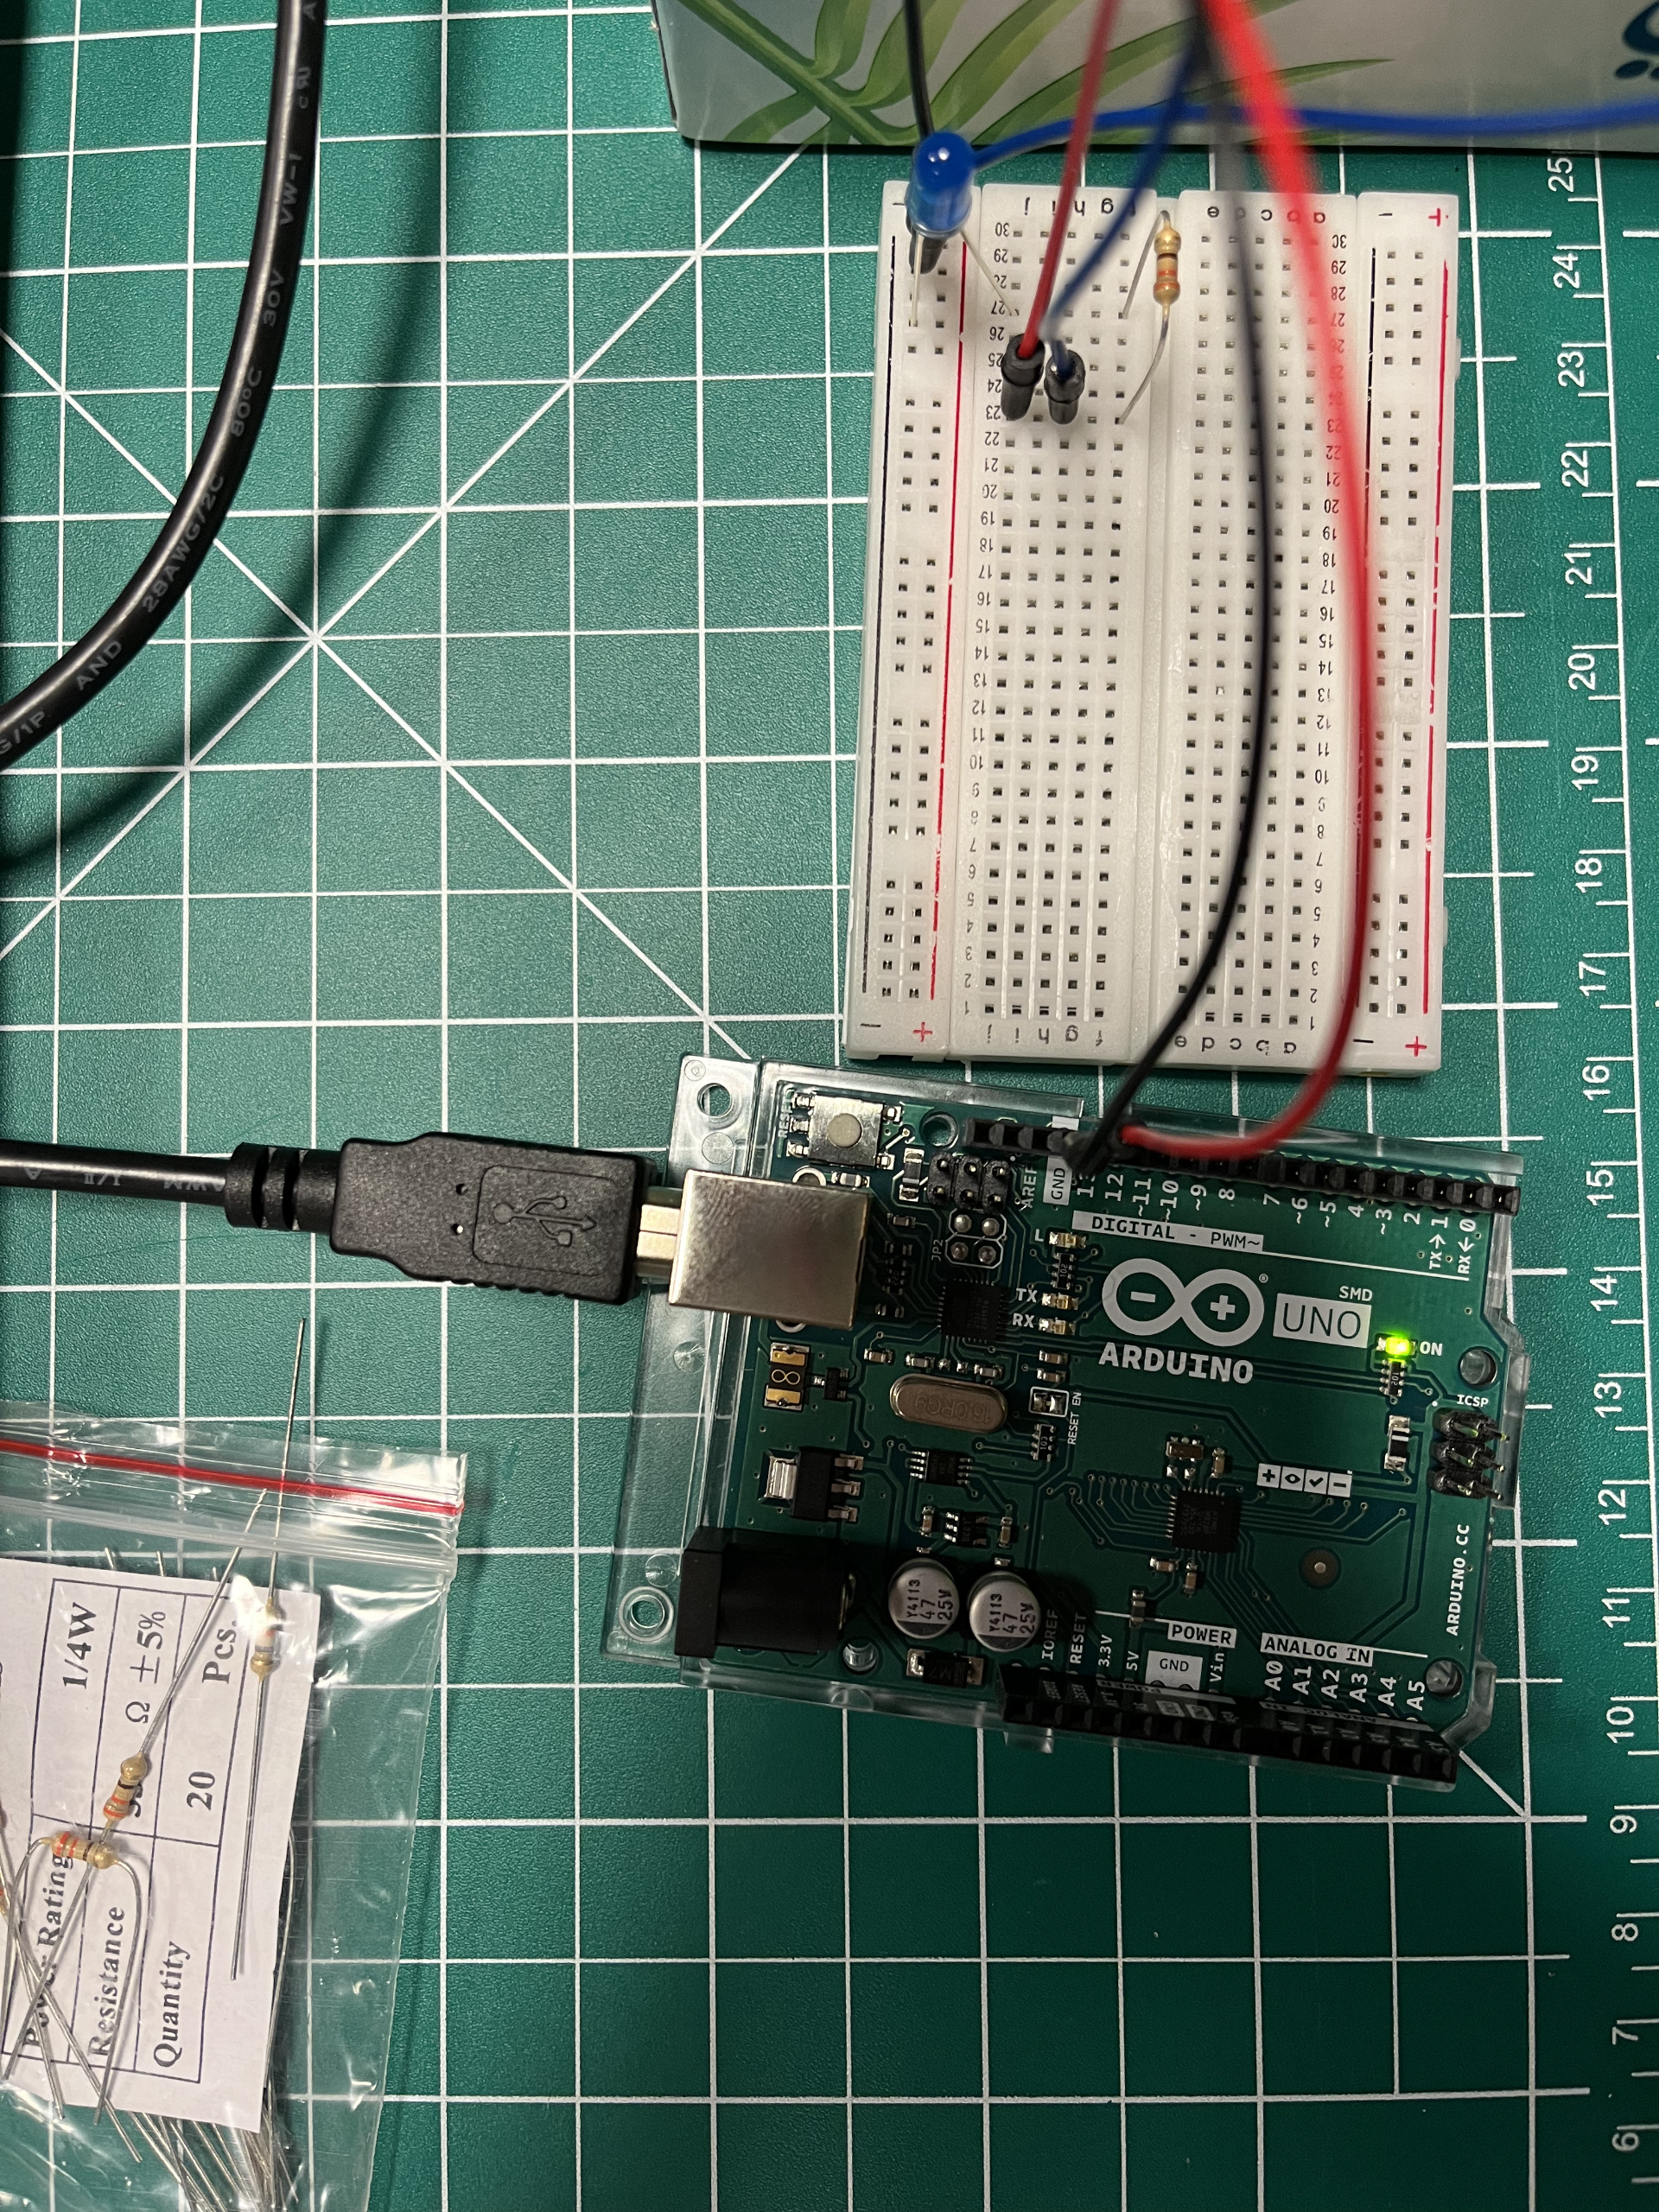
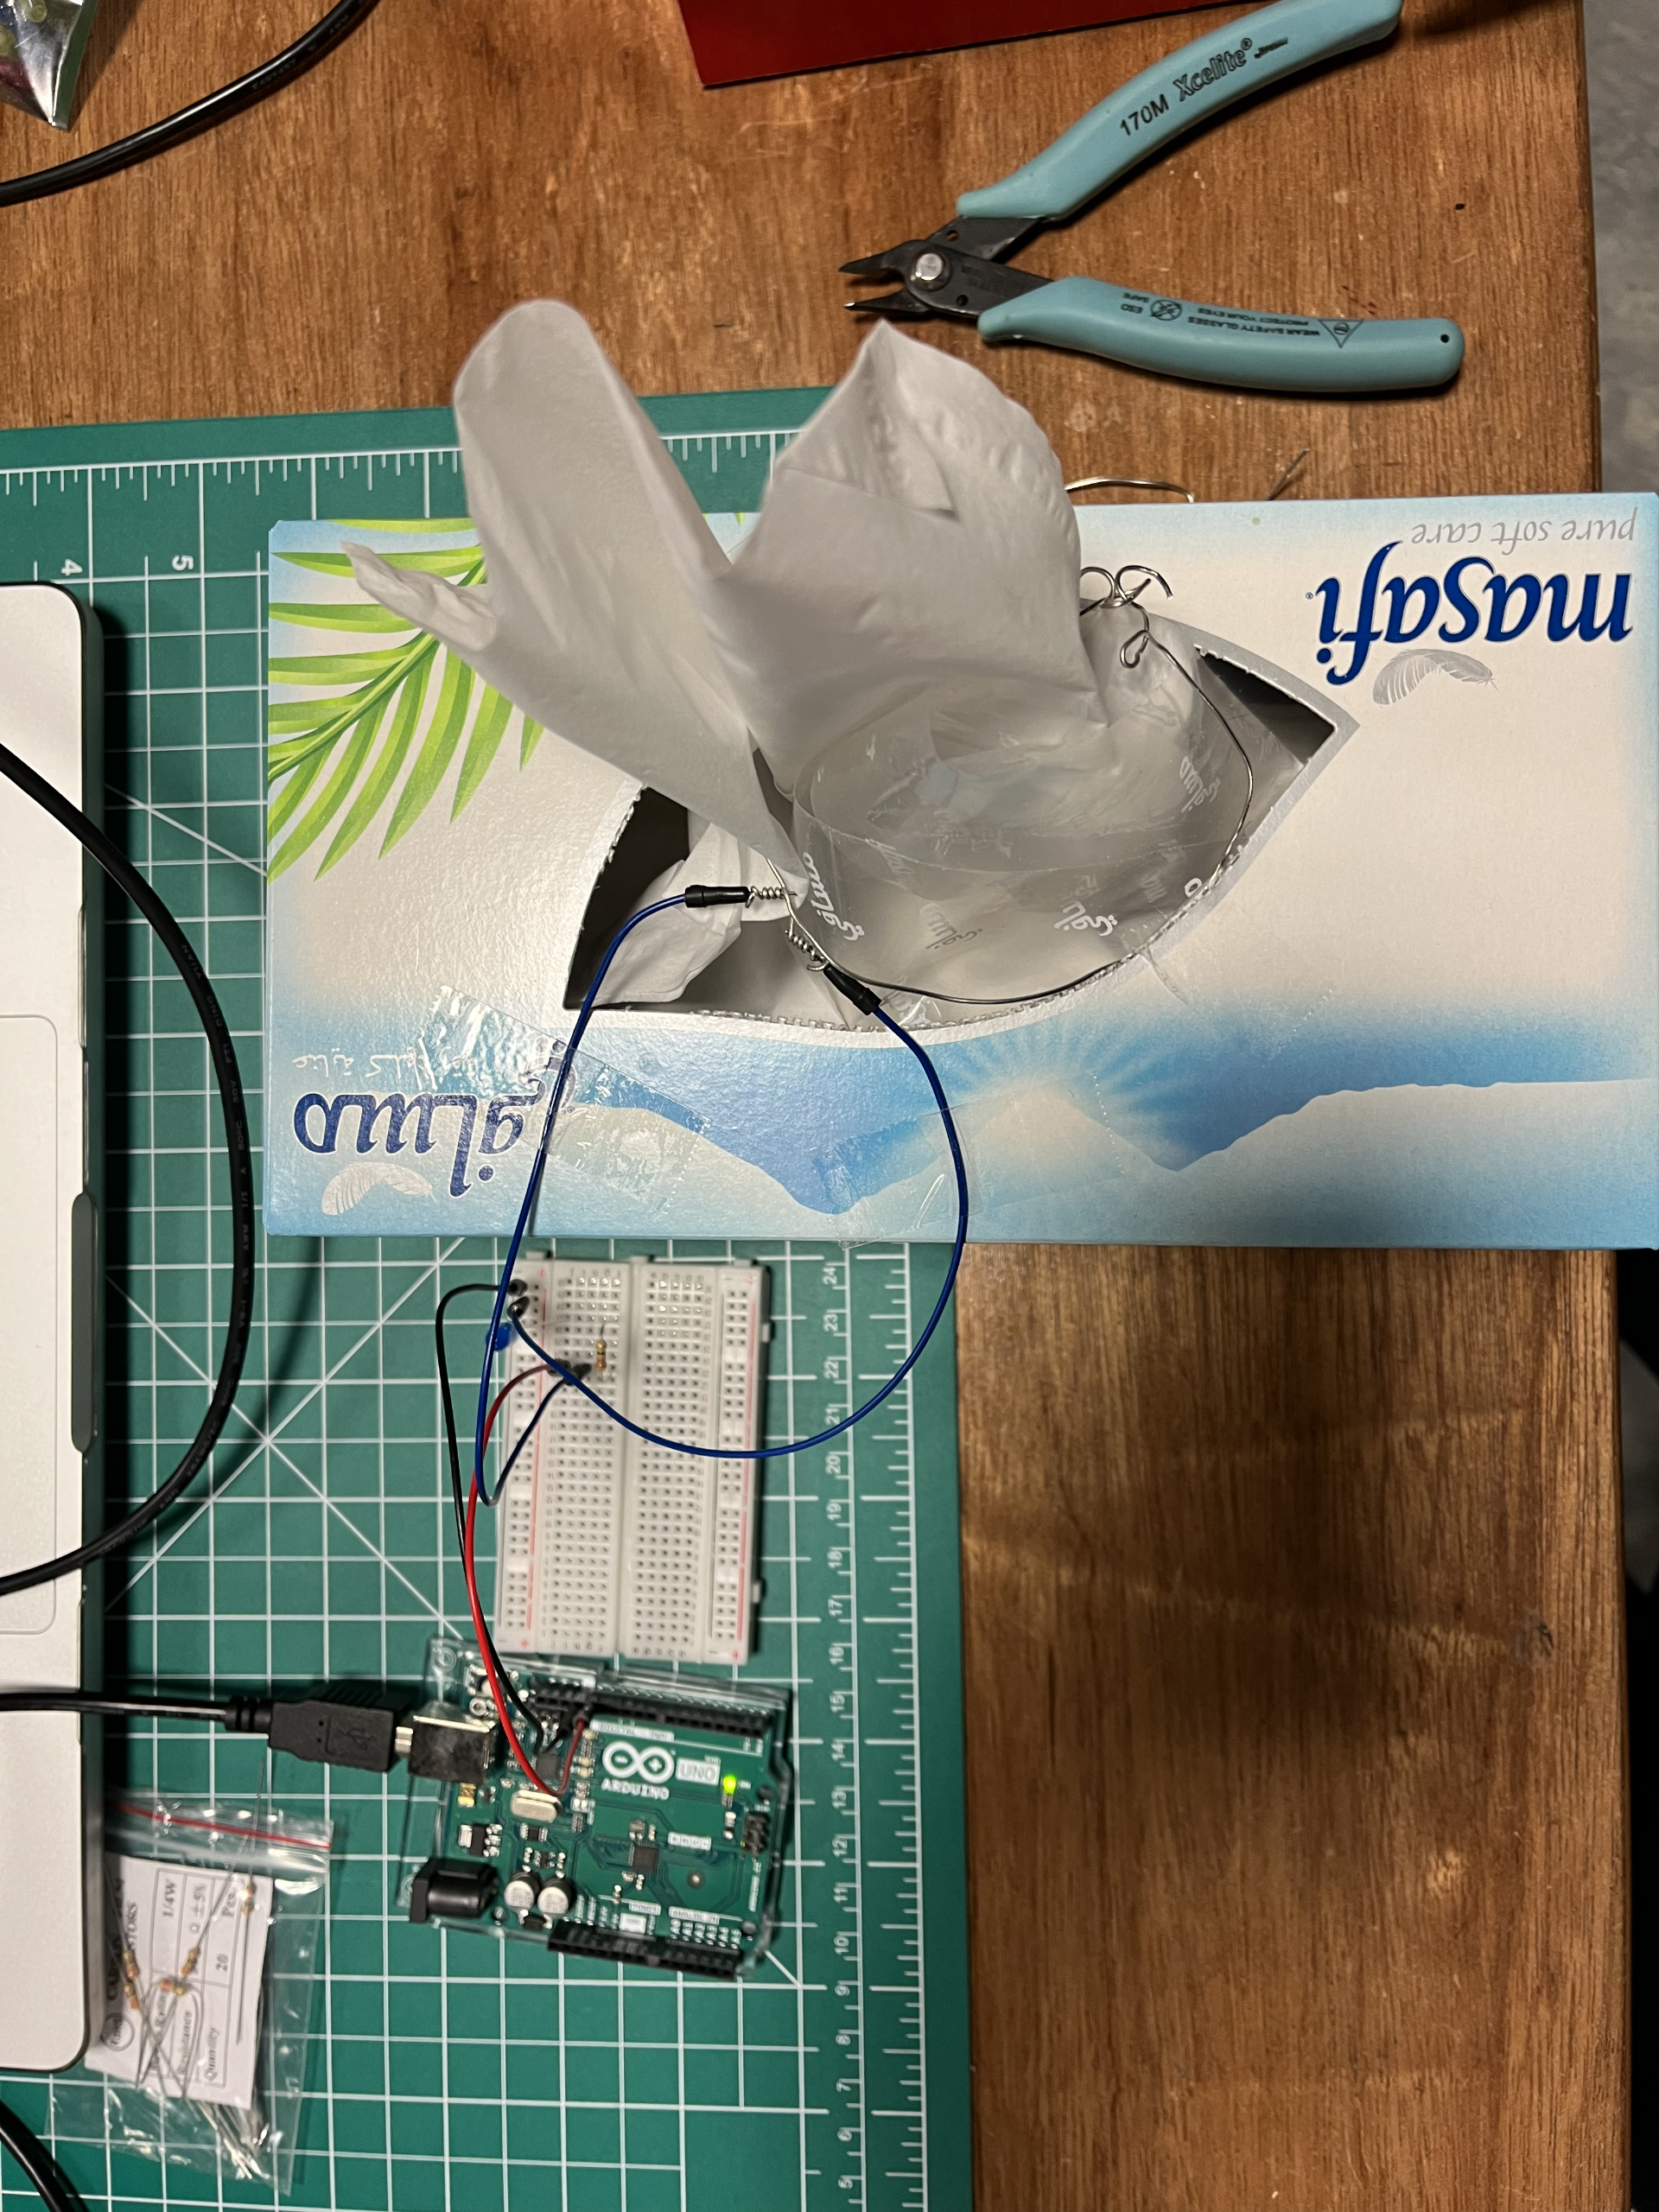
I wanted to experiment with conductive substances and I remembered that I’ve seen that graphite is a conductive substance. Once the internet confirmed that I began testing and creating the switch. This is the first simple circuit I created. I used the arduino connected to some batters as an energy source. I also didn’t use a resistance because graphite is a poor conductor(apparently graphite is used in resistors(this is based on a quick google search, this information could be wrong))


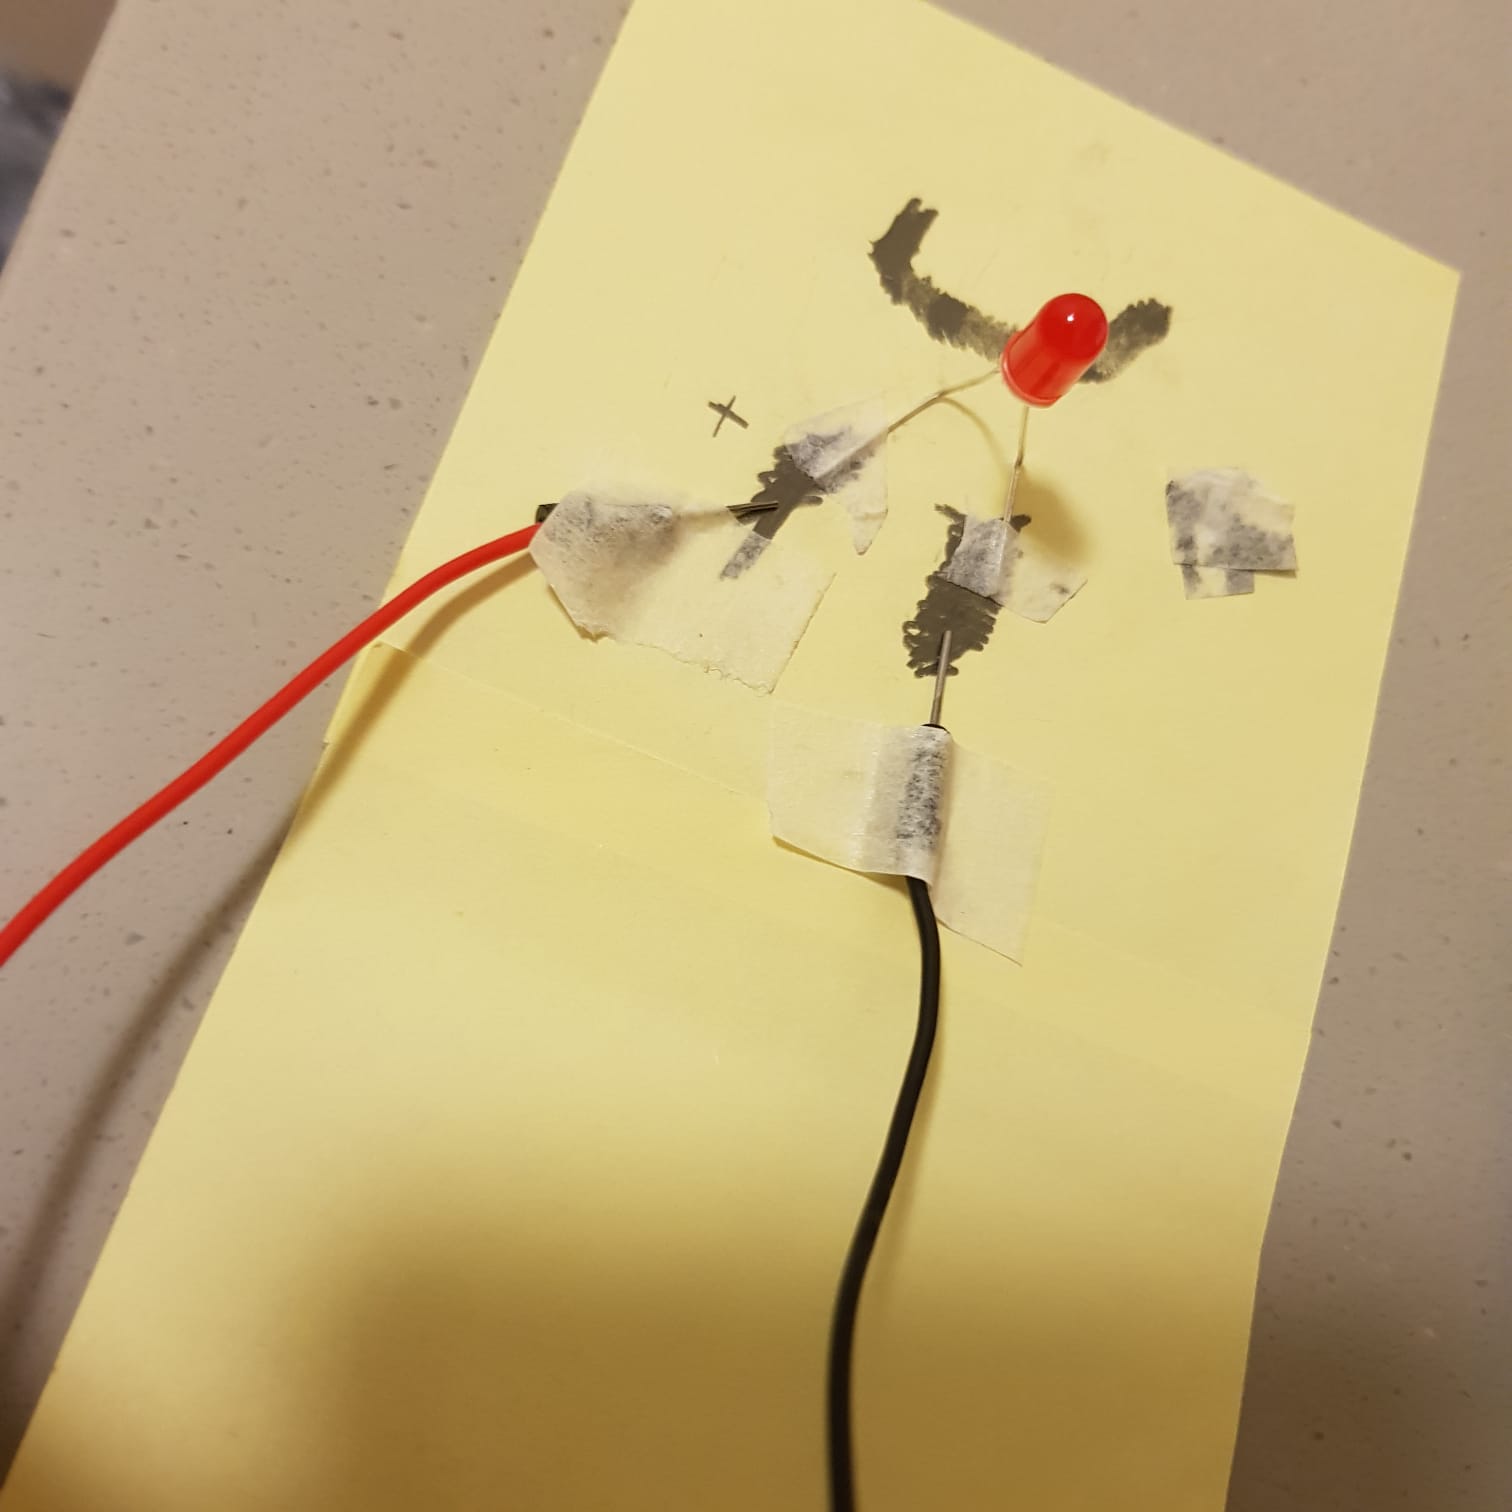
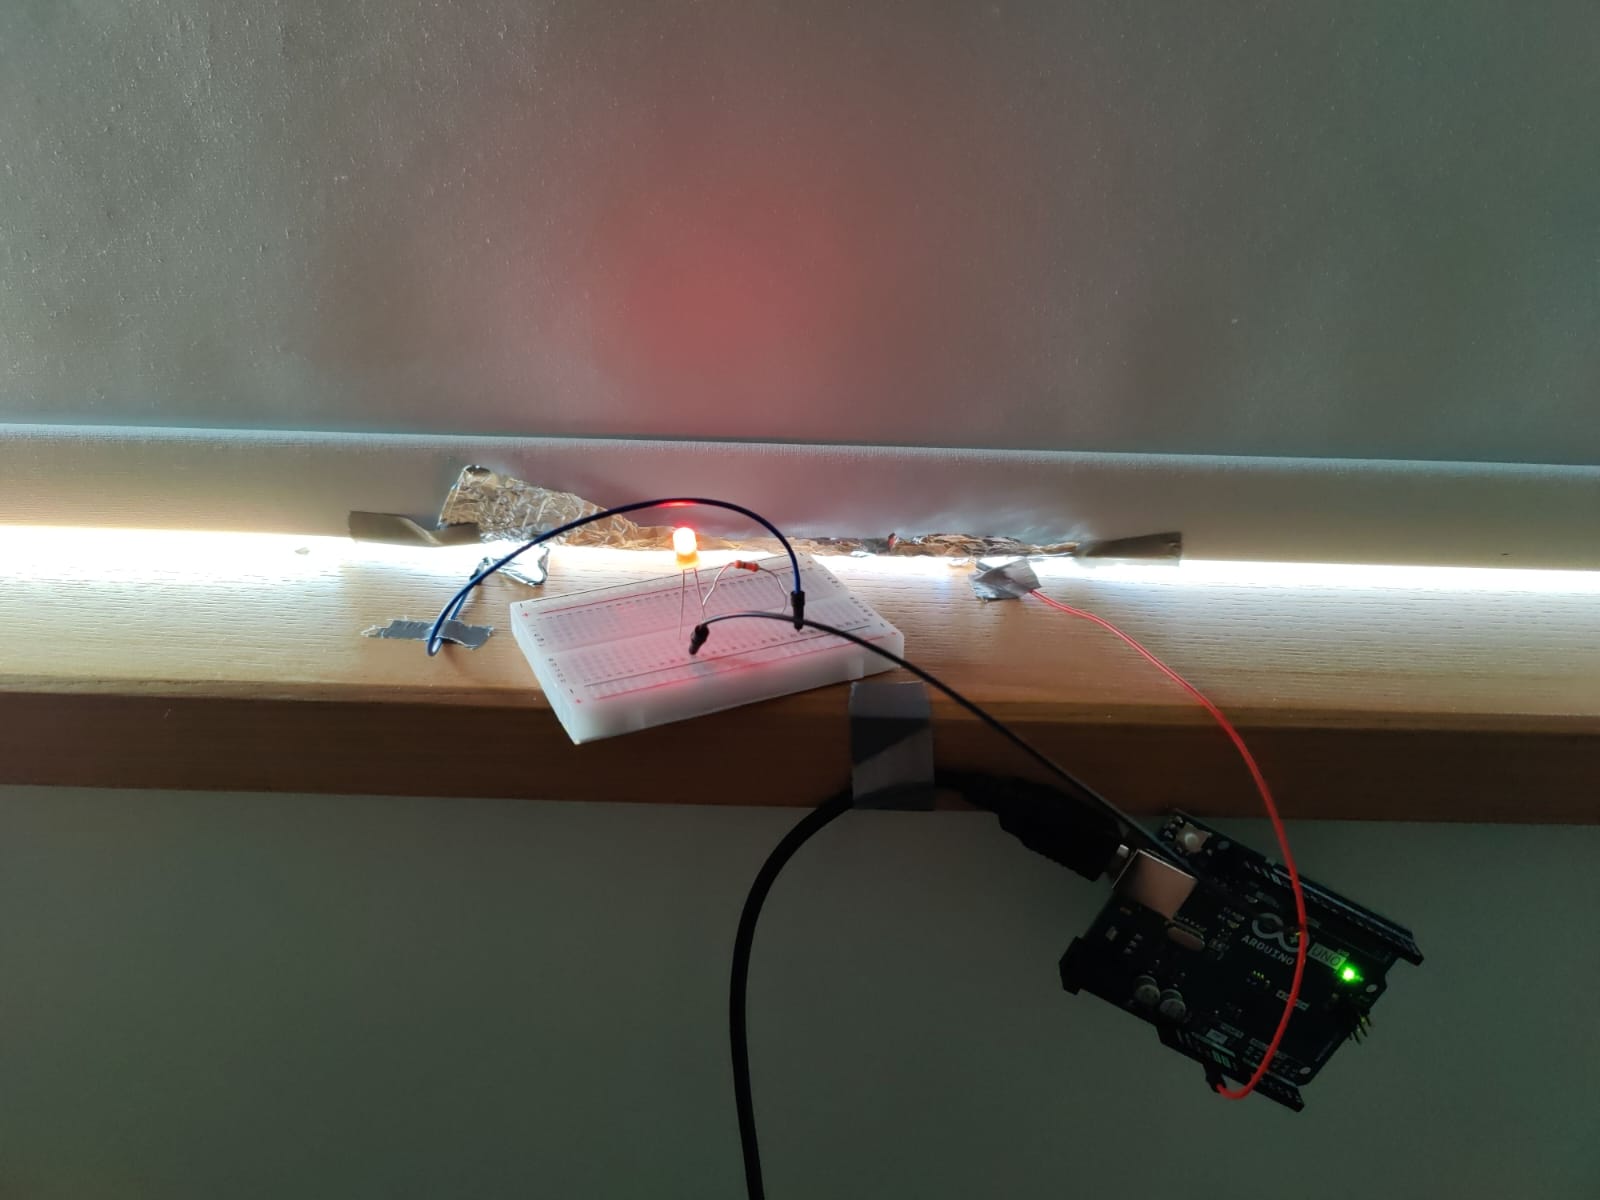
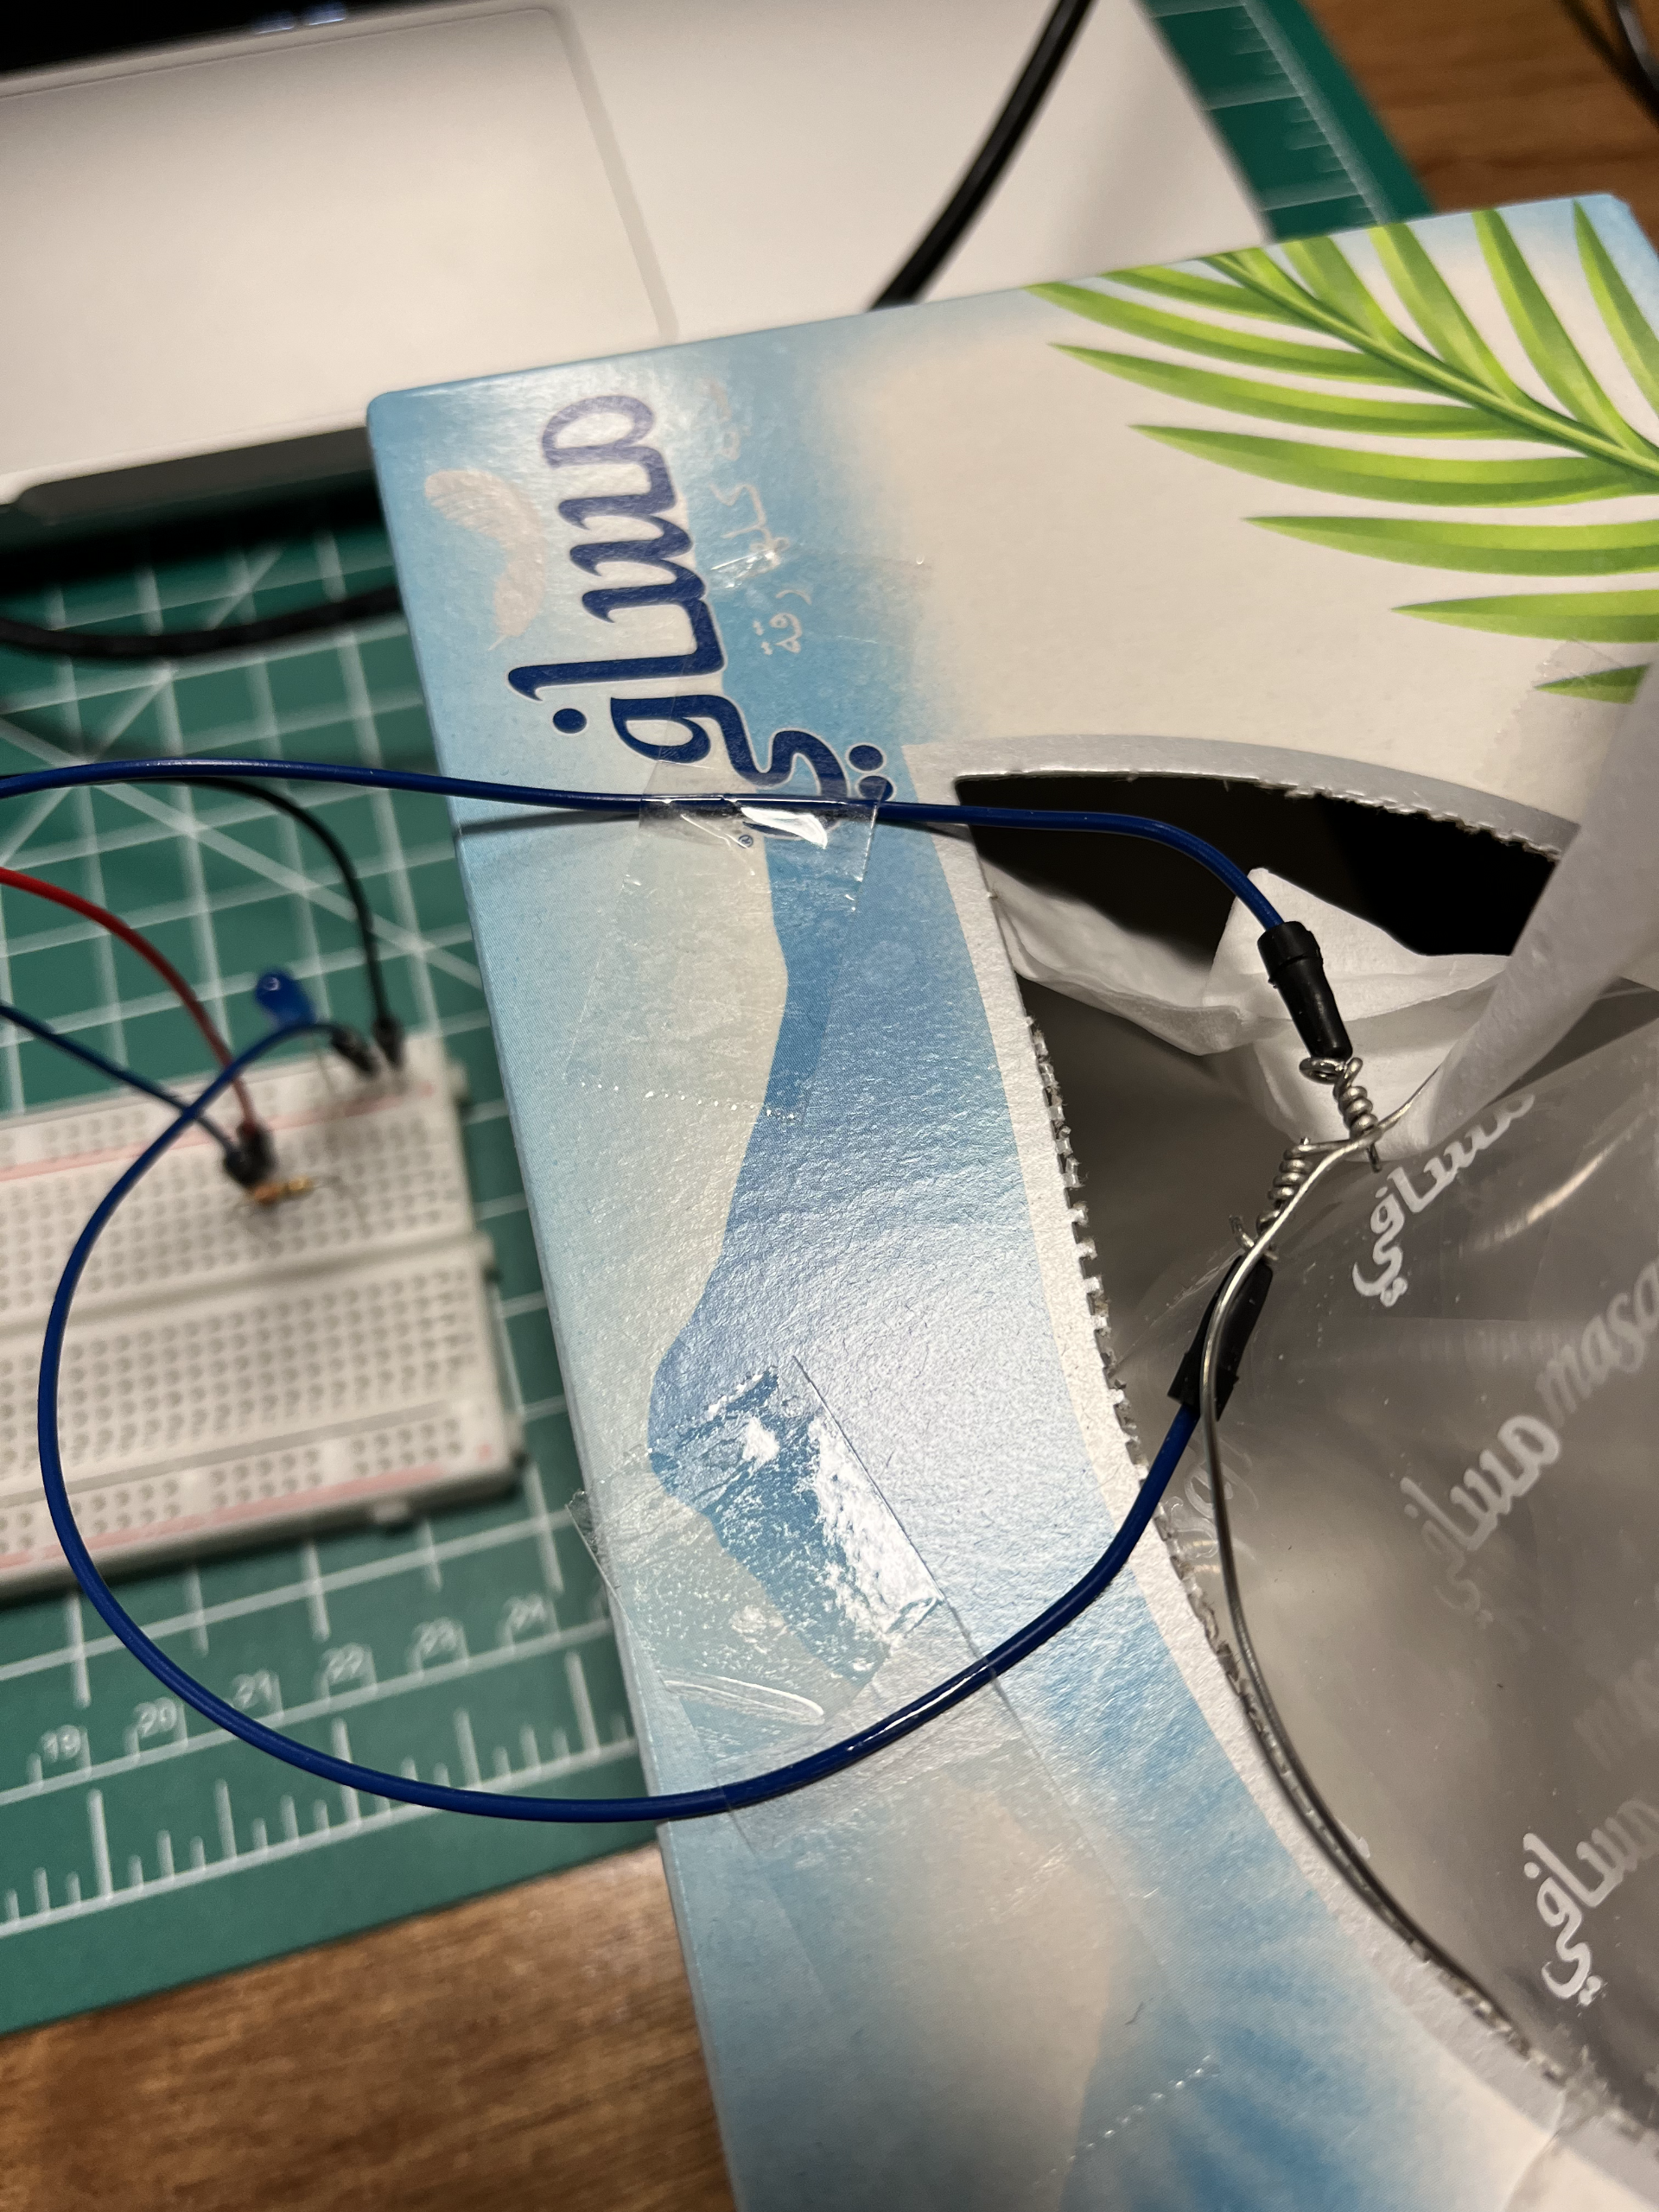
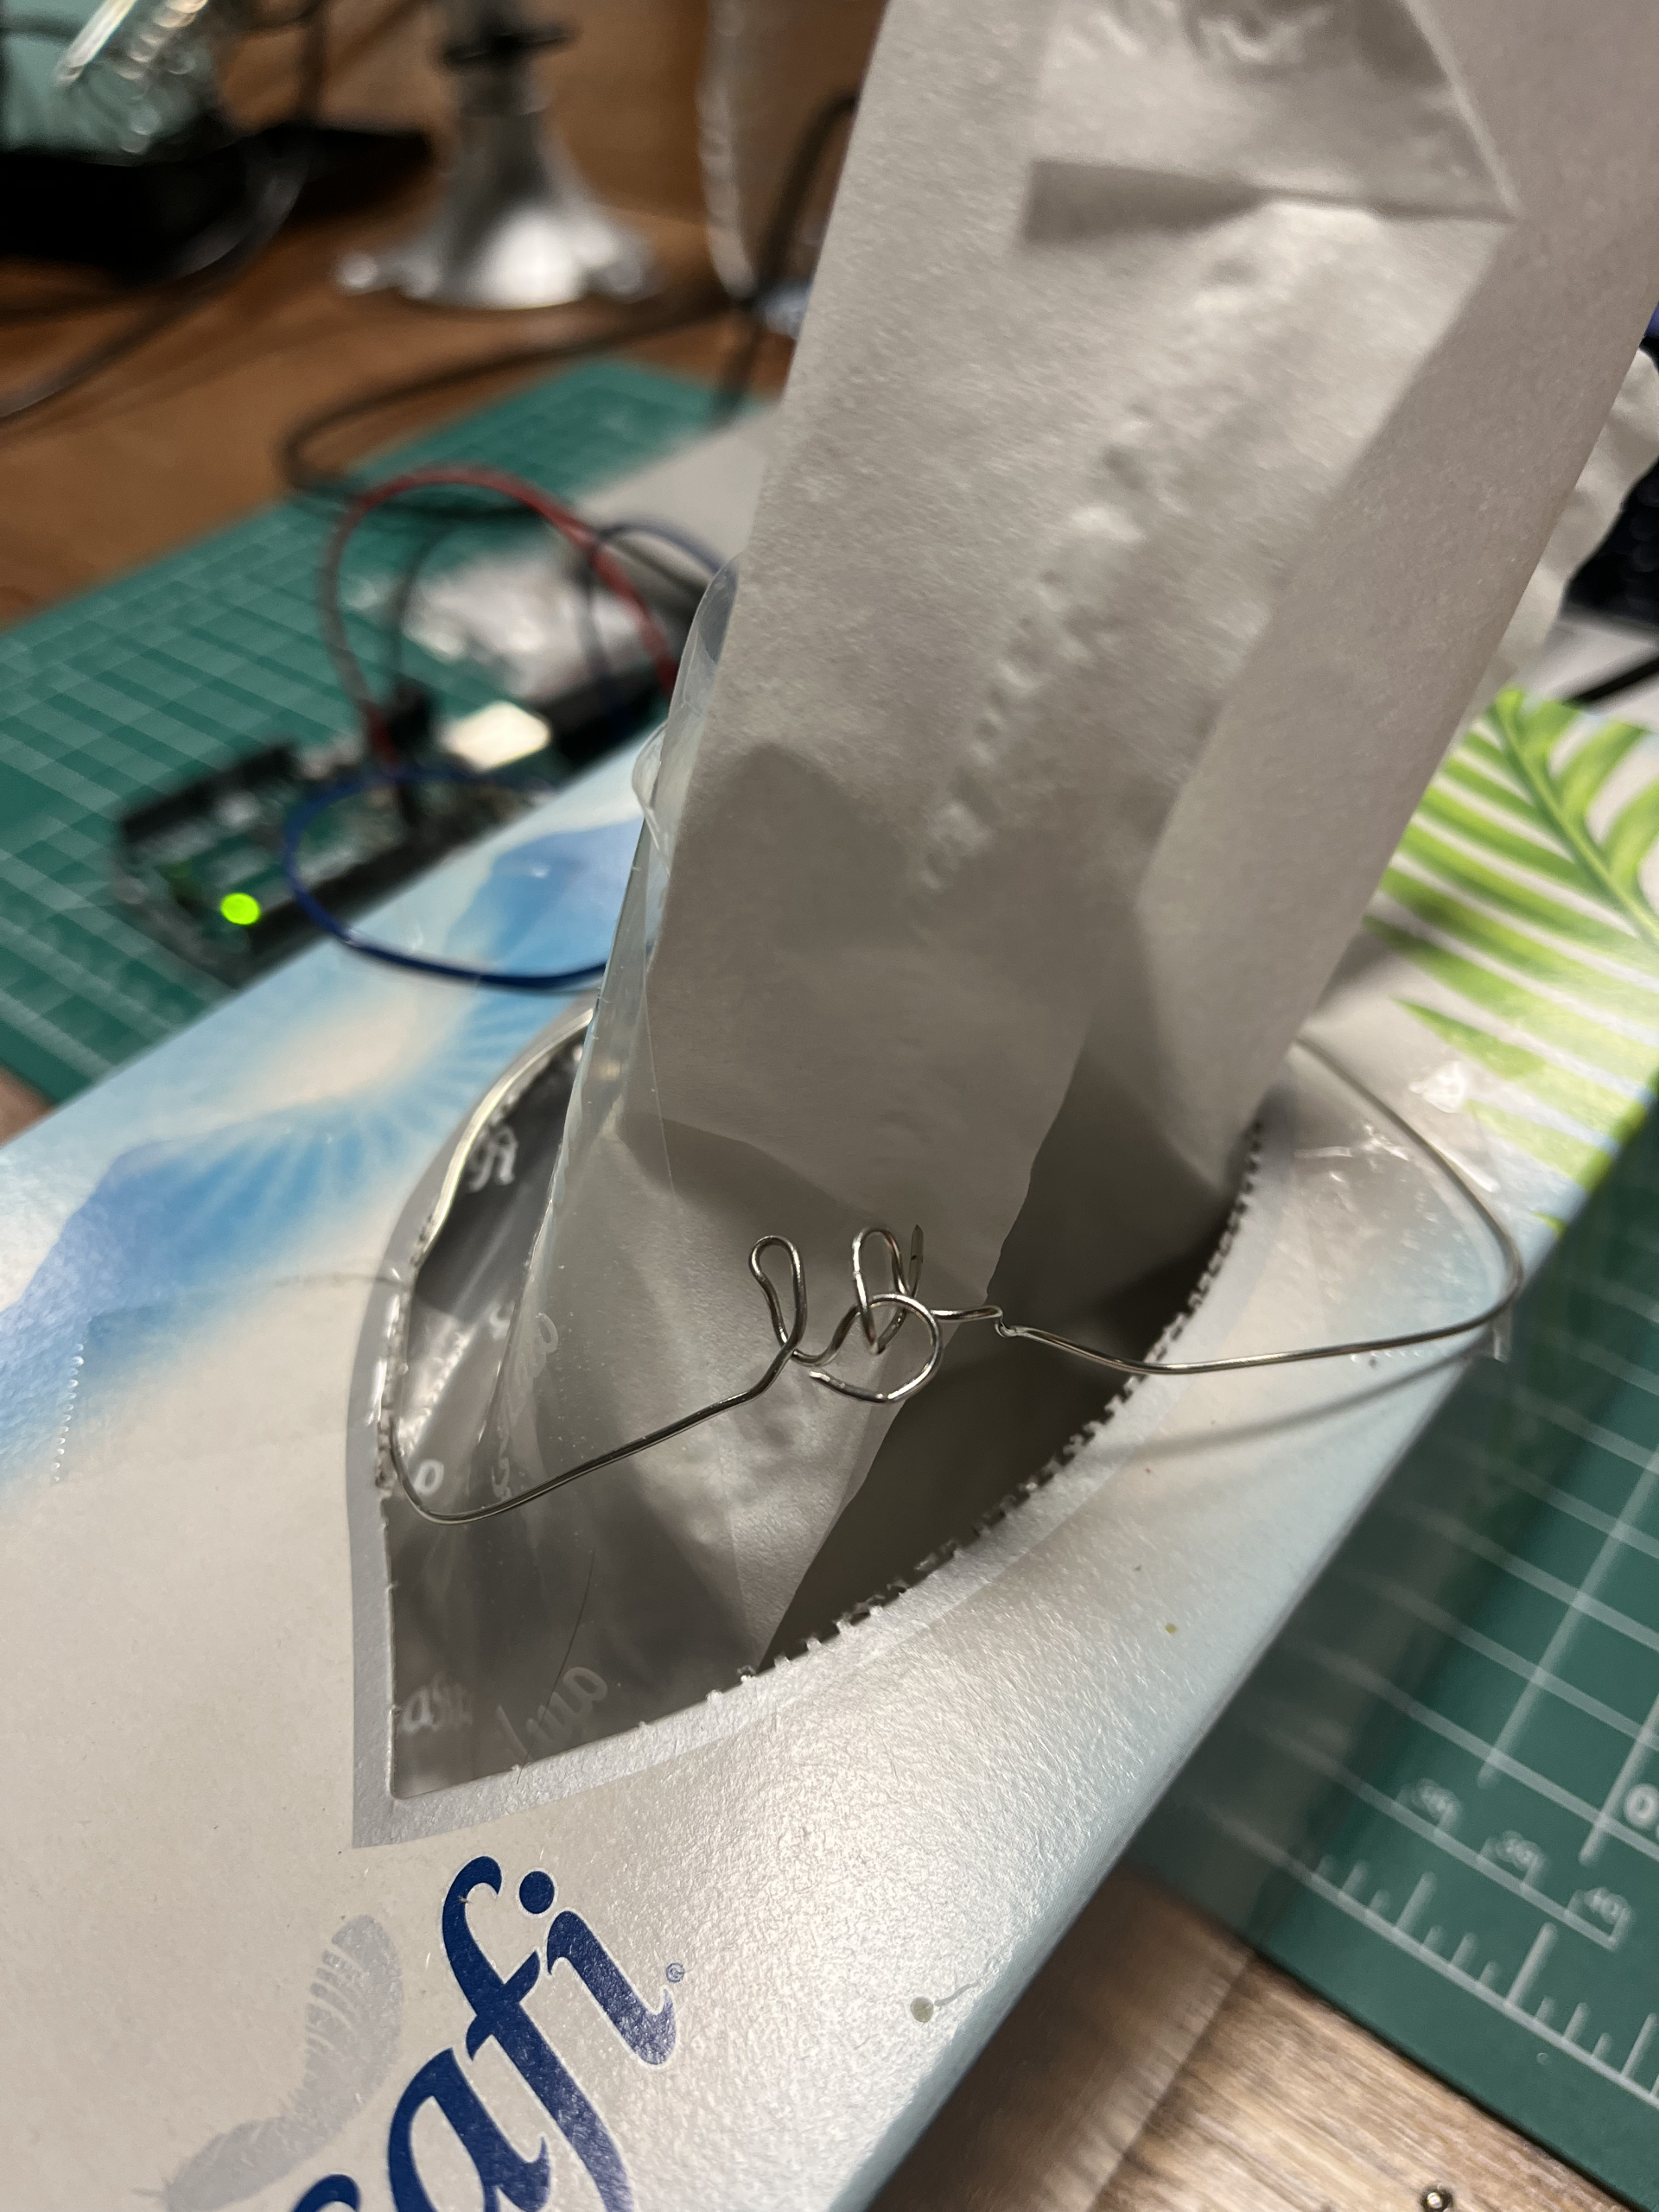
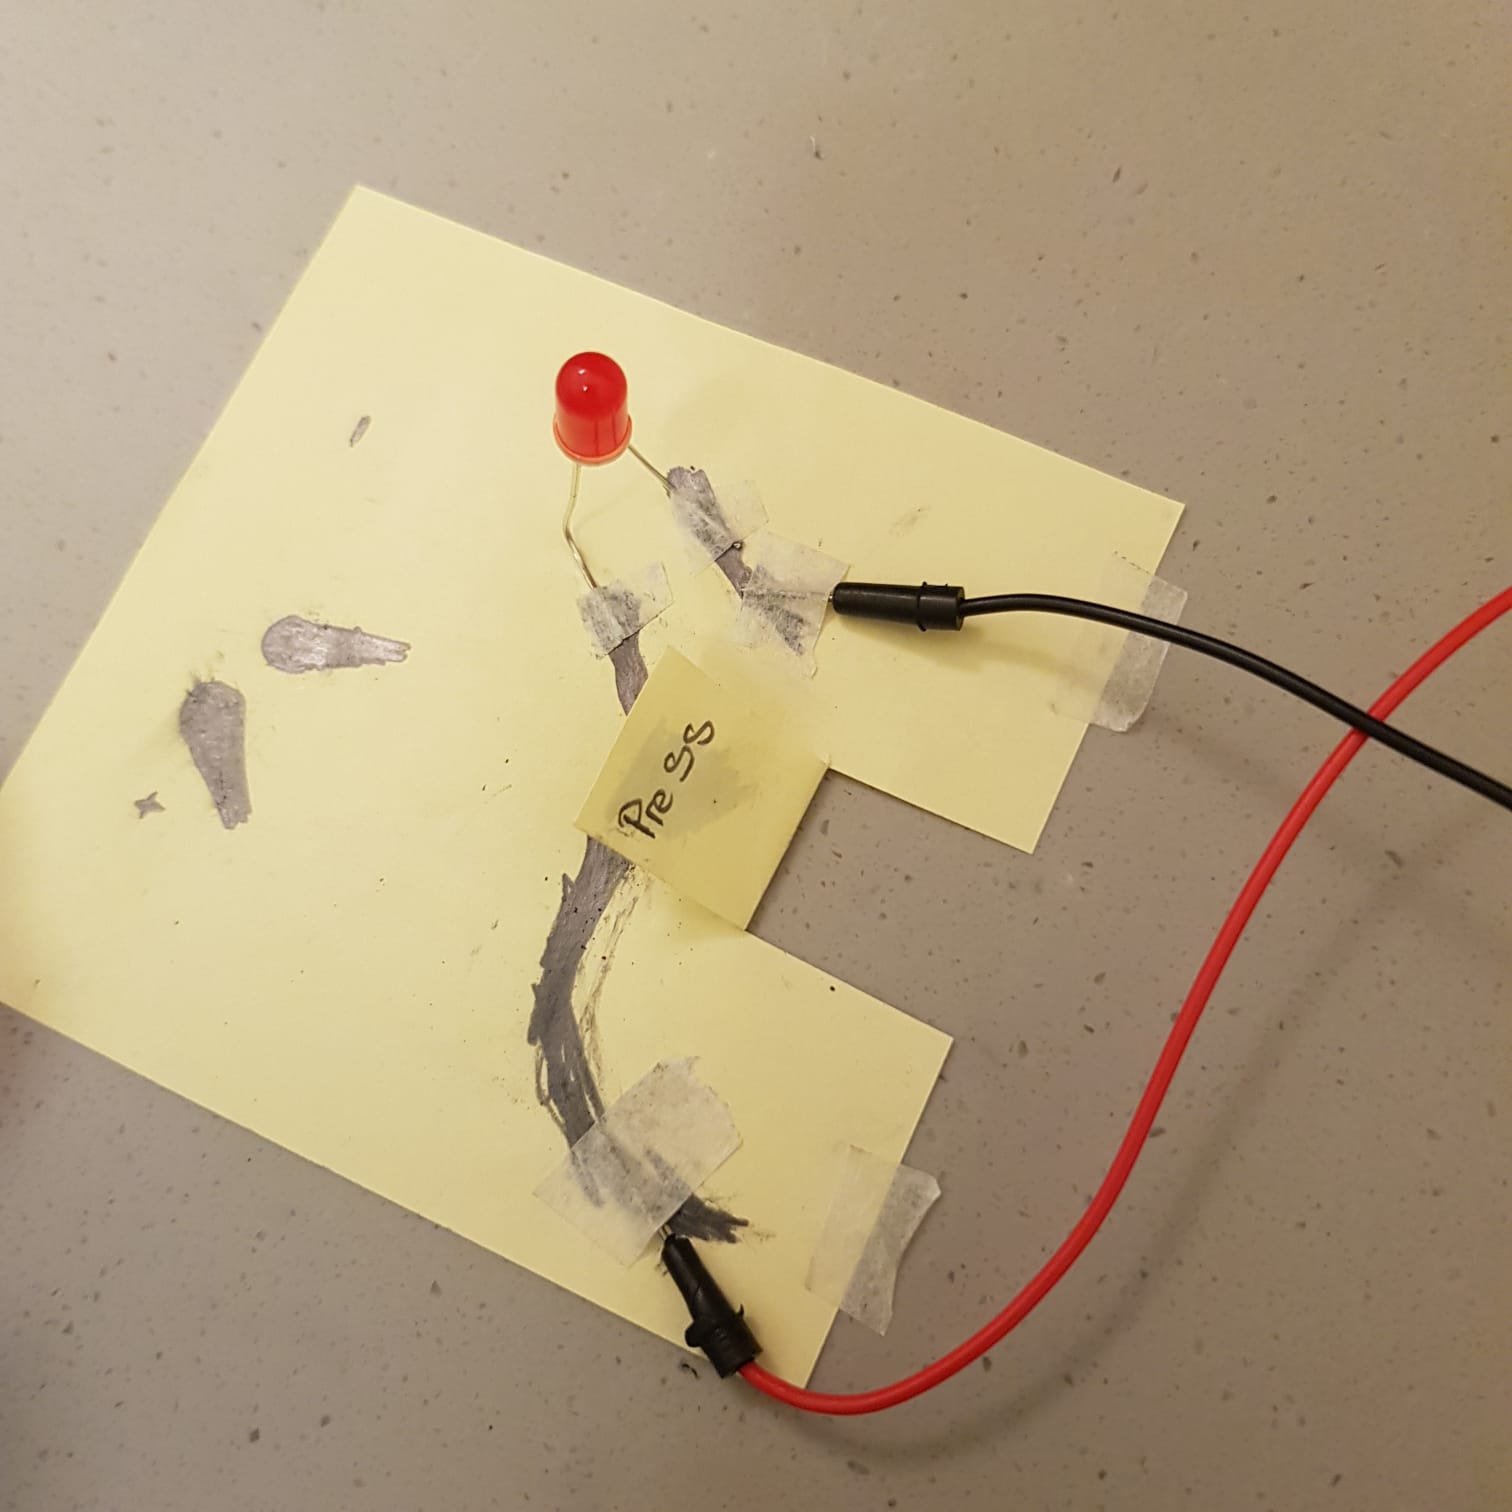
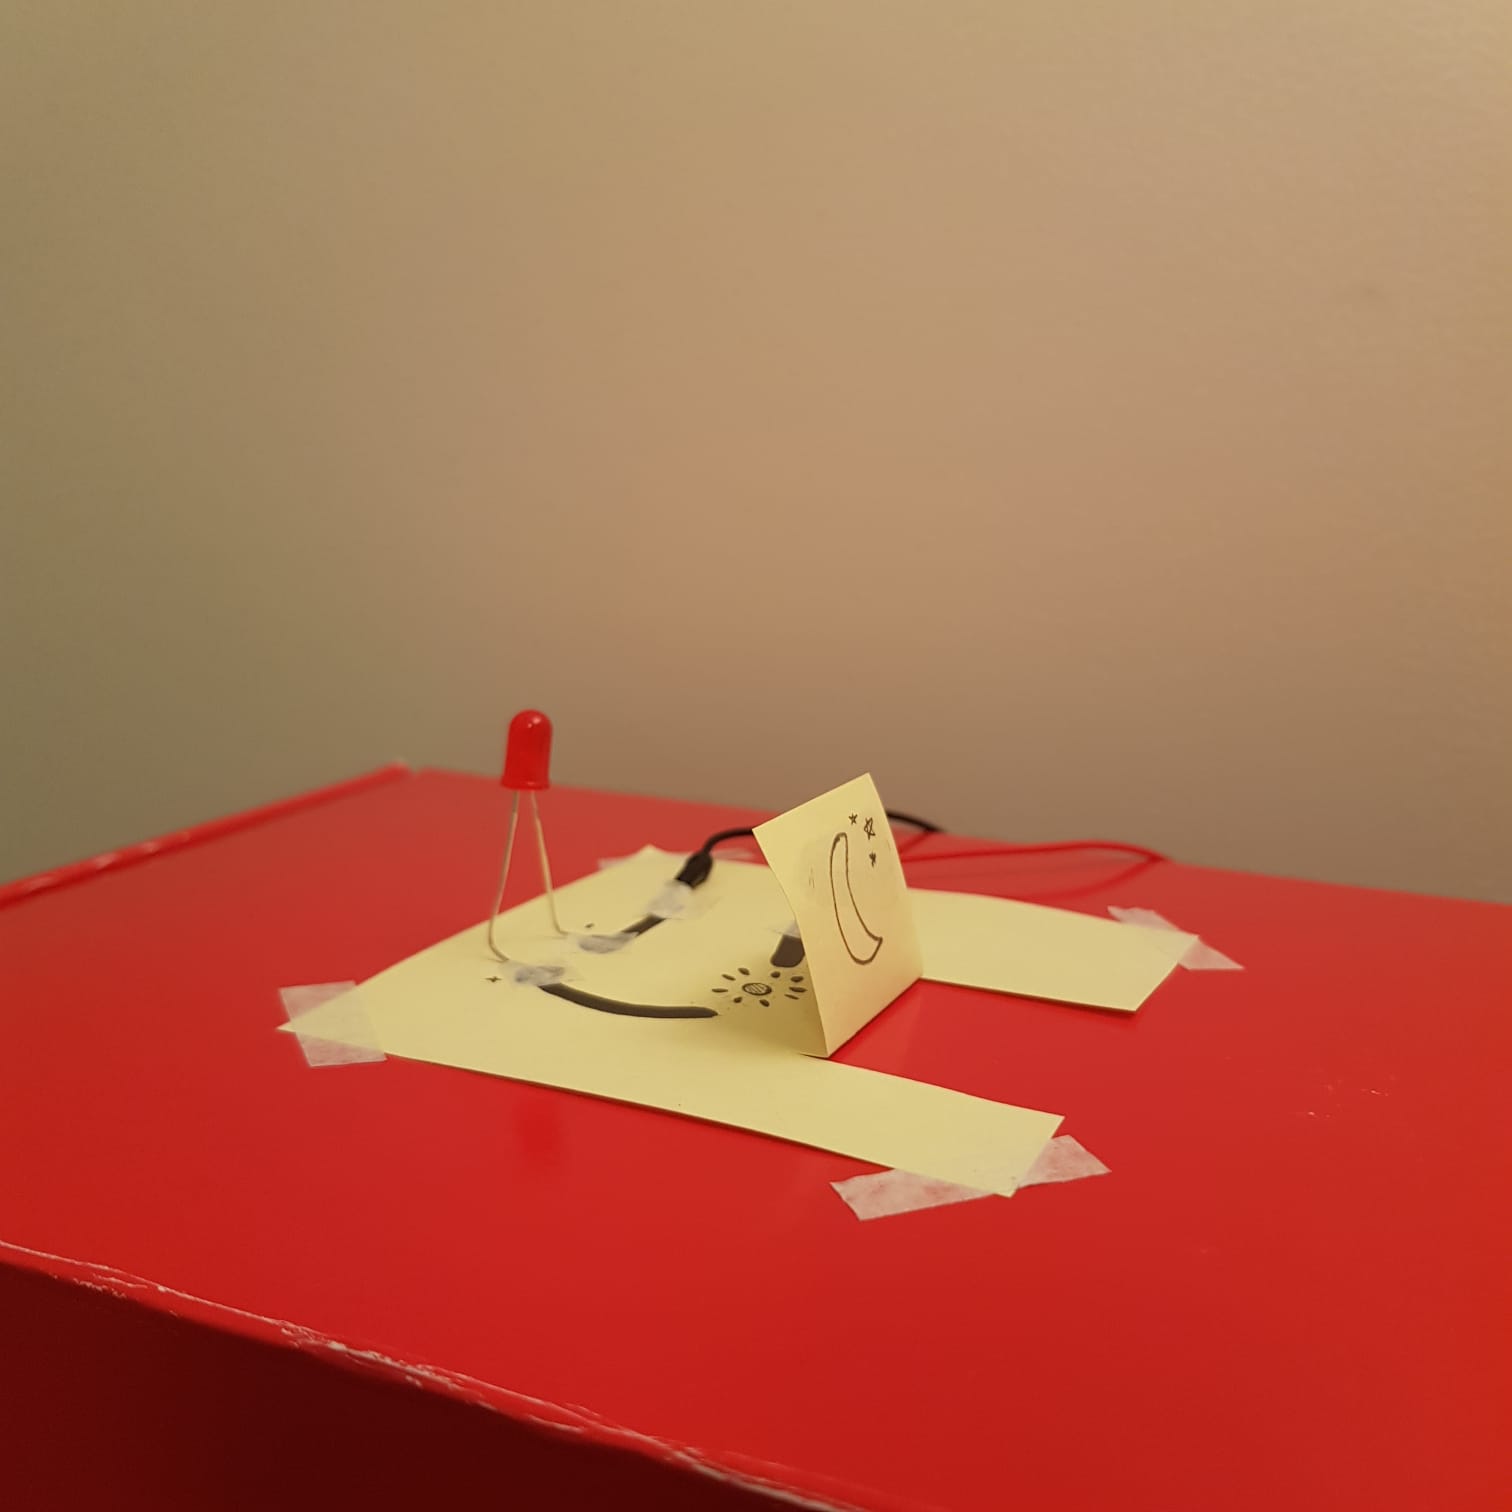
Once I made sure that the graphite lines on the paper were acting as conductors and that the LED does light up I tested out the switch. I drew the circuit with a disconnect. I folded a paper and drew a circle that connects the two lines when the flap is pressed down.

I also realized that the LED legs are wires, hence if you keep twisting and folding the legs they will eventually break off.

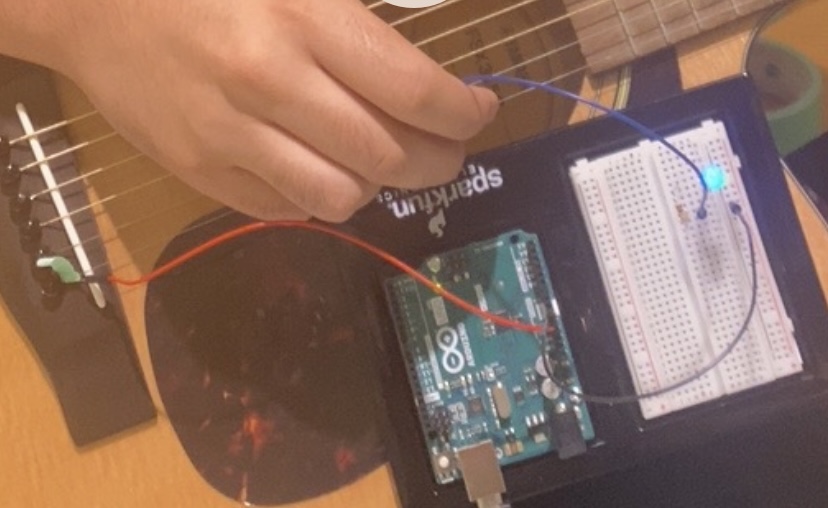
Here is a video of the final switch.


I drew a moon and sun so that the light turns on when it’s night(and the moon is on the circuit) and off when it’s morning(when the sun is on the circuit).

Improvement

I think it would be interesting to test how long the circuit could be and still light up the LED. it would also be cool to build a more interesting circuit like an interactive story or something!!

Light Sensitive Switch

This switch uses the photodiode to create a circuit that lights the LED. When the photodiode receives enough photons, it allows current to flow and vice versa.

The switch:

A picture of the closed circuit:

Reflections:

It was fun to play with the various ways to construct a circuit for current to flow. I had a lot of options but using light to close the circuit was my favorite.

Muscle flexing switch

Concept:

For this project, I took brainstorming to another level. I actually did multiple projects but since I like gyming (although results not showing) so I decided to do the flexing the way our fathers and grandfathers did it: bicep flexing. Something that bothered me in this is that while connecting the circuit it burned my skin so much that my hands began shaking. However, I liked the project so I just went on with it.

Circuit:

a simple circuit and attach two pieces of aluminum foil on both ends of the wire where the switch would normally go. Attach one piece of foil on the bicep and the other on the forearm. When I begin flexing – the circuit is completed.

Result:


Reflection:

It felt really good engaging gyming in any way in an academic course. Looking forward to engaging more with circuits and Arduino.

Hands-free switch:Mini-football

Concept:

When the task stated that we can’t use hands, I immediately though about legs and thought it would fun to recreate the soccer game. The led-light goes on when the person strikes a goal(battery) with a small ball. Then the battery falls and  connects two cables, which turns on the switch. This kinda resembles the football game where you have to kick the ball on the field.

Process:

First, I made a basic circuit to turn on my led-light with a resistor 0hm 330. Then, I prolonged the circuit and added more cables and taped two cables to allow myself broader area to work. I spent a lot of time figuring out how to make the switch stay on, not light it once when the ball and cable have a collision, because ball bounces back. That’s why I added a battery as a target, which will fall and stay in the same place, so the two cables could be connected and stay on.

Reflection

It was really fun and super brain-stormin process to figure out how to make the switch on without hands, as connecting cables with hands seemed so easy and most efficient. I wish I had flat surface like domino cards, because I had a lot of trouble of the battery’s round surface, as it would roll around and won’t stay on the cables. However, this also added difficulty level to my soccer game, as scoring a goal is never easy in the real life too.

Unusual Switch

Concept

The main functionality of this unusual switch is to create a night lamp of sorts which goes into action as soon as the window blinds are closed.

Method

The method is simple: create a simple circuit and attach two pieces of aluminium foil on both ends of wire where the switch would normally go. Attach foil on the window blind. When the blinds go down – the circuit is completed.

Result

Reflections

Although there is little functionality, the design is really flimsy and it looks very unappealing. This is my first time working with Arduino and I am enjoying it so far.

Unusual Switch – Daniel Basurto

concept

For this project I was lost as to what to do until I remembered my guitar having metal strings. I gave it a test to see if the signal would go through and it did. Something that bothered me when learning guitar was how seemingly play many notes at once and not pluck the strings, my circuit makes it so that when the string is plucked the LED will light up.

circuit

My circuit is based on this one we did in class to demonstrate how switches work:

The difference being that where the button would be the 5V cable is connected to my guitar, specifically positioned to not affect the sound. And the blue cable is serving as a pick to pluck the string.  It ended up looking like this:

Circuit in action

(I couldn’t get the video to upload on the media tab, there were errors when I tried, here is a google drive link to it)

https://drive.google.com/file/d/1YEtHQ7wPWW2iyJYIZq_hYwD8EEd6IBIJ/view?usp=sharing

As you can see by the video, whenever I touch the string, the LED lights up, and when I pluck it it turns off. Due to where I put the 5V cable the sound is not altered and it can sound fully.

My only difficulty was working with the short length of the cables and the size 0f the guitar.

further improvements

Personally this is the best I can make with my limited knowledge of Arduino, however, I’d like to make another circuit like this where each string is connected to a different LED light. This could be very useful for beginner guitarists if they’d like to see what string is being plucked.

Data Visualization

Concept

For this task I decided to generate some sort of imagery based upon the music being played. There isn’t a particular reason why  wanted to implement this other than the fact that it seems pretty cool and fun to make.

Implementation

let song, buttton, fft;


function toggleSong() {
  if(song.isPlaying()) {
    song.pause();
  } else {
    song.play();
  }
}

function preload() {
  song = loadSound('bgmusic.mp3'); 
}

function setup() {
  createCanvas(600, 600);
  colorMode(HSB);
  angleMode(DEGREES); // Change the mode to DEGREES
  

  song.play();  
  fft = new p5.FFT(0.9, 128);
}

function draw() {
  background(0);
  space = width / 128;
  
  let spectrum = fft.analyze();
  //console.log(spectrum);
  for (let i = 0; i < (spectrum.length/2)+1; i++) {
    stroke(255);
    let amp = spectrum[i];
    let y = map(amp, 0, 256, height, 0);
    fill(i,125,125); //remove stroke(255);
    noStroke();
    rect(i * space, y, space, height - y);
    rect(width - (i * space), y, space, height);
    //rect(space, height ,width - (i * space), y);
  }
}


function touchStarted() {
  getAudioContext().resume();
}

Sketch (you might have to click the canvas to start)


Reflections

I would love to explore creating 3d visuals for the background and improving the aesthetics in general for this sketch. However, this was a lot of fun to make and I enjoyed the process.


Week 7 – Unusual Switch

Calf Extension Switch
Idea

I realized that I cannot make my claves bigger regardless of how much I trained them. There were three probable reasons for this: inefficient training, insufficient training, or bad genetics. Hence, I came up with a solution that lets me overcome all three obstacles by efficiently training my calves all day efficiently.

Implementation

As seen above the switch if formed by connecting a 330 ohm resistor and bulb in series configuration, and then using two pieces of aluminum foil (one attached to my heel and the other to my shoes inner sole). Resting the foot completes the circuit by making the sheets of foil come in contact and thus lighting the bulb to indicate that you have failed in flexing your calf muscle.

Reflections and improvements

Something I would improve in the design is definitely the mobility of the switch. I have to be able to move with the switch to further activate my calves. Also the look of the switch is very unappealing, it is something I would like to make much more visually appealing.

Week 6- Data visualisation

Concept

I wanted to visualize data from important and relevant statistics such as global climate statistics and data. I also realized that representing these statics can also pave way for an art form where the statistics come together graphically to convey an abstract artistic motif.

Implementation
var data_stored = [];
var data_in;
var colors=[];

function preload (){
  data_in = loadTable ("global_csv.csv", "csv","header"); 
}

function setup() {
  randomSeed();
  createCanvas(400, 400);
  noStroke();
  background(0,0,0);
  //Hard code the selection of data required
  for (var i = 0; i<260; i++){
    for (var j = 0; j<2; j++){
      //push into data stored array
      data_stored.push(data_in.getNum(i,j));
          
    }
  }
  //random colour generator
  for (var c_=0; c_<244; c_++){
      colors[c_]=c_+1;
    }
//drawing the shape
  var base= 30;
  for (var k =0; k<data_stored.length; k++){
    var data_points= data_stored[k];
    var x = width/2;
    var y = height/2;
    //fixing data to correct proportions
    var h = map(data_points, 0, max(data_stored), 0 , (height/2-base)*1.3);
    var r = map(k, 0, data_stored.length, 0 , 2*PI); 
    fill (random(colors), 100, 100);
    push ();
    translate(x,y);
    rotate(r);
    rect(0, -base, 1, h)
    pop(); 
  }
}

The code implemented simply loads a csv file containing raw data, then takes the data on to an array. Then it uses the values from the array to produce heights of the bars that will be visualized. Then these heights are mapped onto a suitable scale and displayed.

Design

Reflections and Improvements

I would definitely like to make the application take in any arbitrary data set and visualize it. Here I had to hard code some of the properties. Some of the functions to manipulate the array did not seem to work. Also, I would like to add a bit more meaningful color to the presentation of data to give it an extra dimension.

Unusual Switch Assignment #5 – Pull the Tissue

Concept: 

The idea of using tissue box as a part of my assignment came absolutely out of the blue while I was sitting in the IM lab in the dark, staring at the screen and having no clue where I should begin. Then I saw a tissue box in front of me, so I thought, ‘why not?’ and decided to make the LED turn on when I pull out a tissue paper from the box.

Process:

I first created a basic LED circuit, which I based off from one of the examples that professor Shiloh gave during this Tuesday’s lecture. Then, I played around with the wires’ positions and figured out which placements allowed the LED light to turn on. Once I had that down, I added two blue wires to the circuit that connected the LED light, to which I added two more pieces of wire that I cut from a thin wire coil. I wasn’t really sure whether wrapping the wire pieces around the end of each blue wire would work, but thankfully when I tested it by making the ends of wire pieces touch each other, it turned off the LED light that was previously on, which was what I was aiming for. Here’s how I wrapped the wire pieces around the ends of blue wires:

Then I just twisted the ends of the two wire pieces in a way so that they will be connected to each other but still loose enough so that they will be able to turn off and on based on the movement of the tissue being pulled out as the wires’ contact will be disrupted by it, like this:

Final Product: 

Here’s the final overview of the project:

…and final videos of it running!

IMG_9541

IMG_9546

Reflection: 

This was surprisingly simple and less time-consuming compared to all the other projects that I’ve done in this class so far; I think it’s because it didn’t involve any coding, which is what I usually struggle with! As a person who loves hands-on projects, I definitely enjoyed getting a tangible result at the end of the process. 🙂