Concept:
For my final project, I created an interactive tool that helps to visualize stress levels during finals seasons. It allows college students to relieve stress through squeezing and screaming and produce a unique visual mapping of their stress. The tool incorporates a microphone and a stress ball on a board. The pressure and sound input are used to determine stress levels based on duration and intensity, and the results are displayed on the screen as moving color dots. The more stressed you are, the bigger and redder your circles are and the faster they move.
Implementation:
The interaction is straightforward – the nature of a stress ball makes it obvious that one needs to squeeze it and to guide the users to use the microphone, I put a little “Talk to me :)” label on top of it. The users interact with the project by either squeezing the stress ball or screaming (or talking, but preferably screaming) into the microphone.
The arduino part of the code is very straightforward as well – arduino simply takes the input values, averages over 10 consecutive values to smooth out the readings, and sends the values to P5JS.
Without interaction with Arduino, the P5JS code creates circles on the screen with randomized but bounded positions and radii and makes them move up the screen again, with randomized but bounded speed. The circles out of the frame are removed and every 100 frames there is a new circle generated.
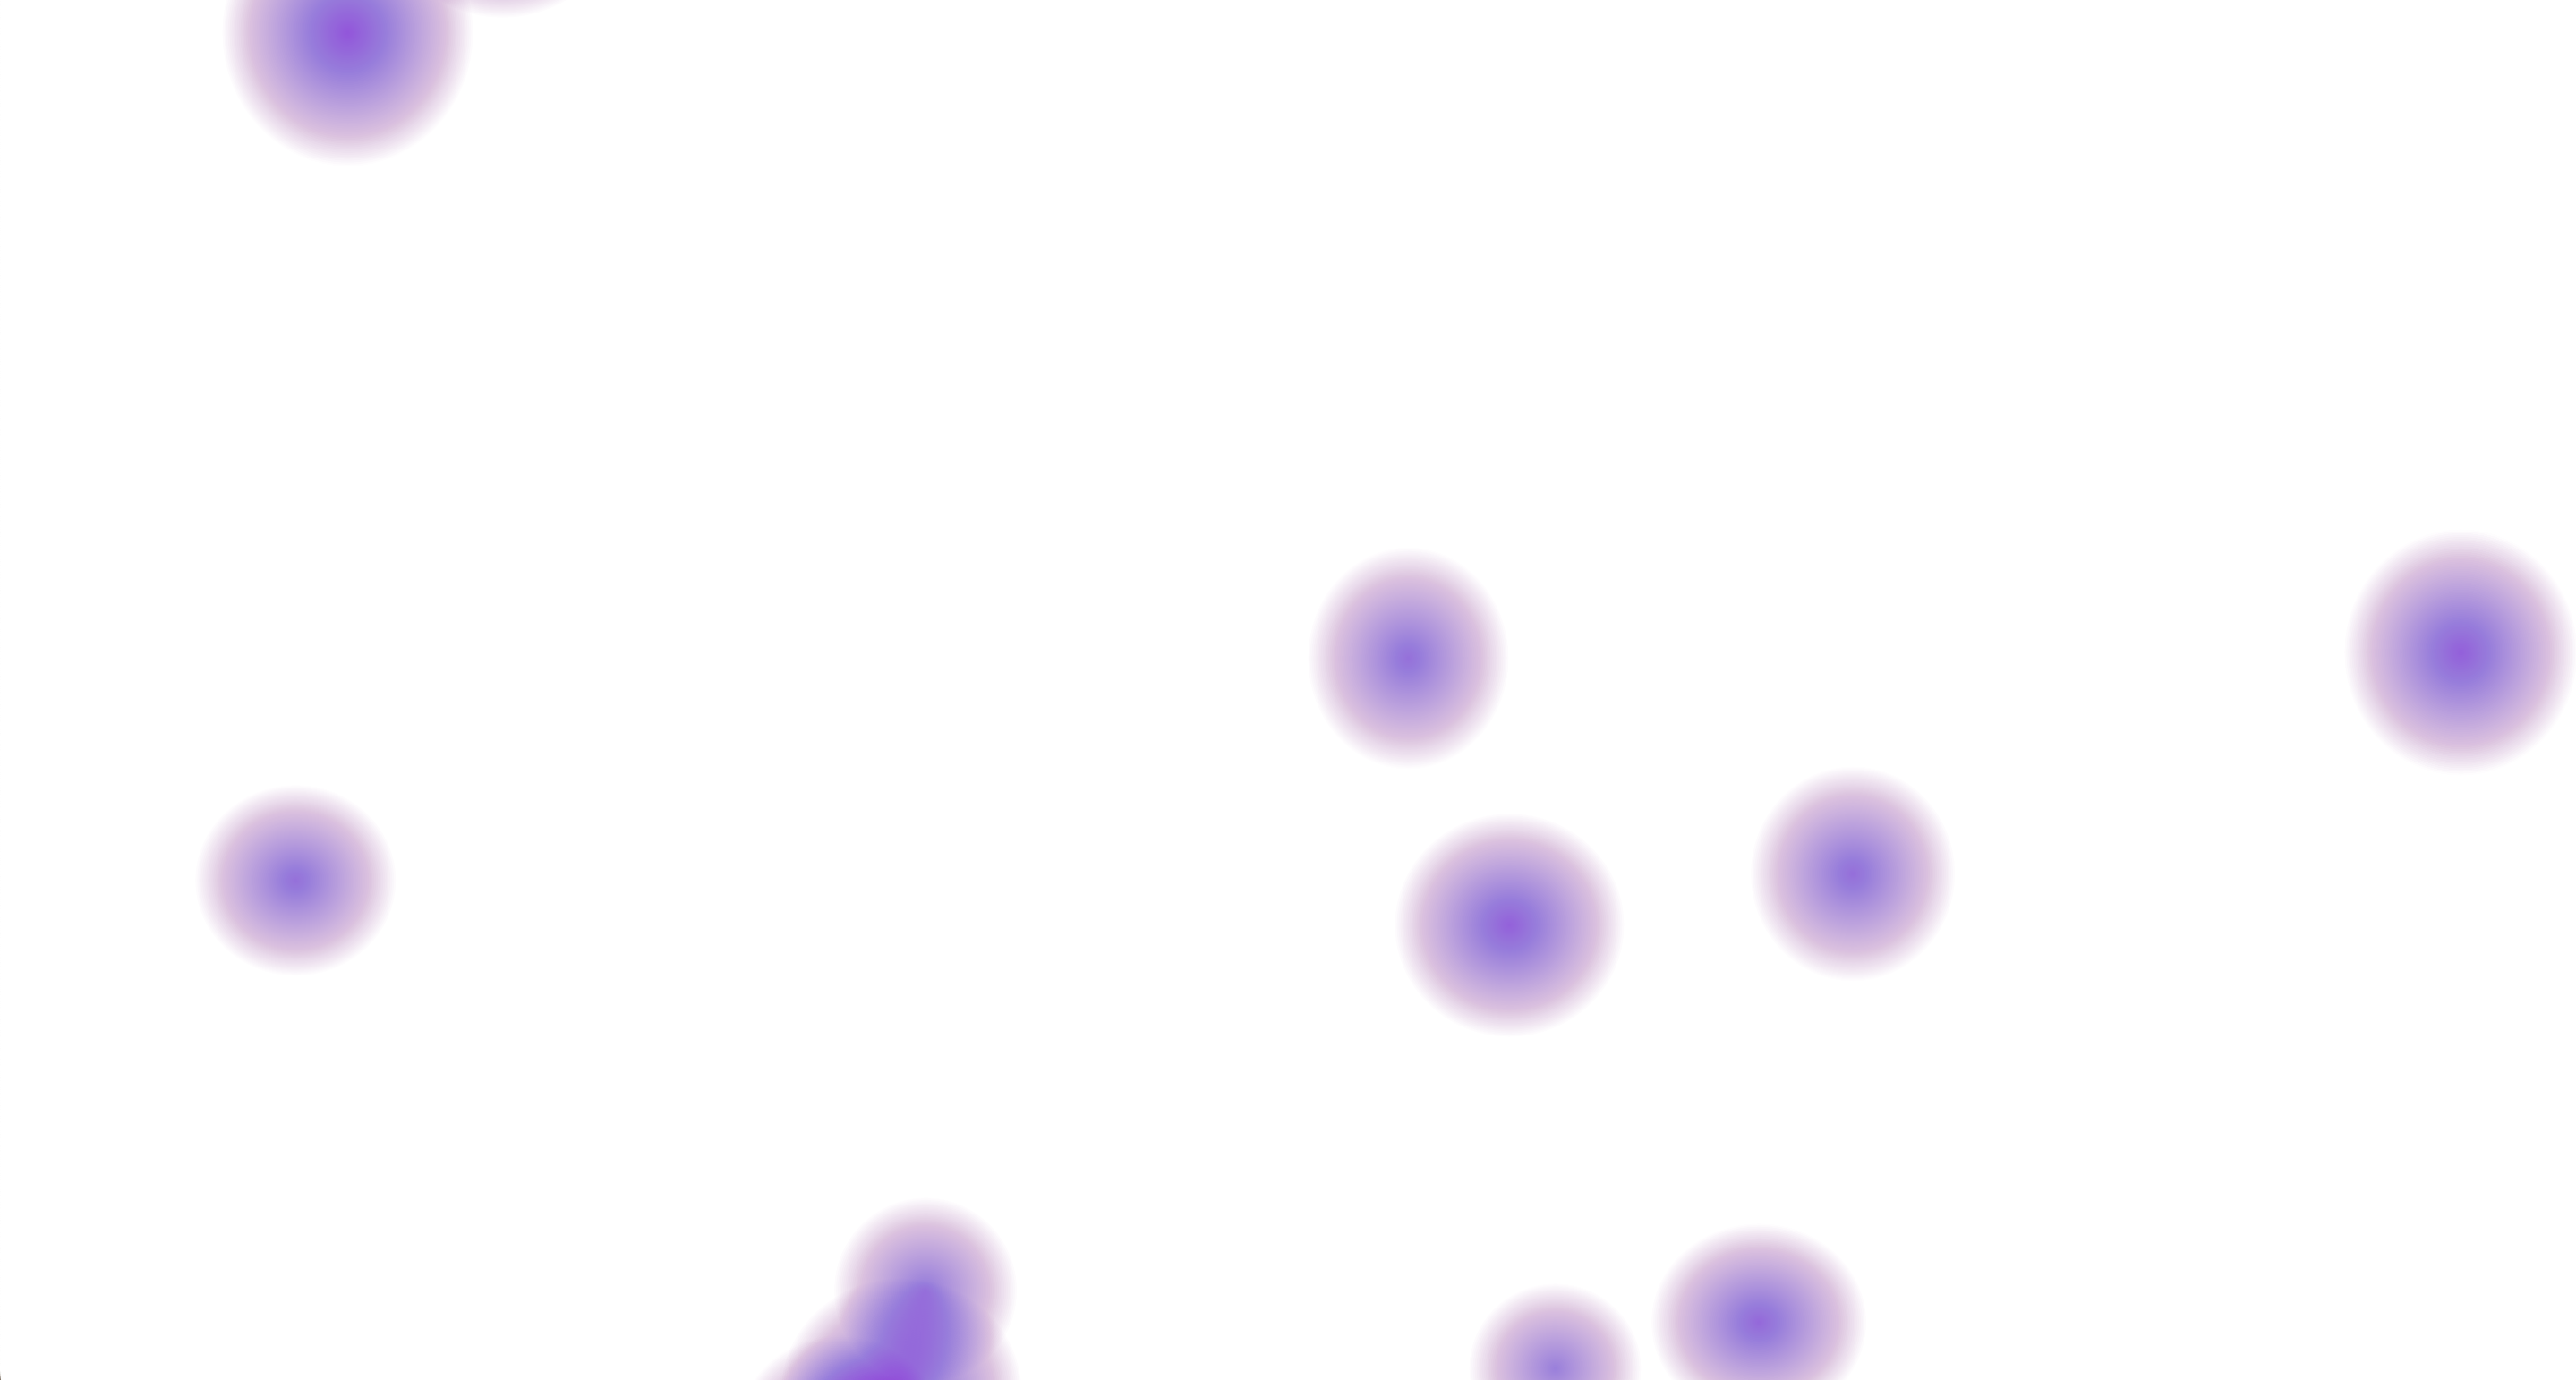 Color circles when the user is not squeezing the stress ball
P5JS takes the input values and maps them onto 3 variables: the radius, color, and speed of all the circles present on the screen. The color and size of the circles are dependent on the force sensor’s readings. When the stress ball is squeezed, the dots get enlarged and change their color to red.
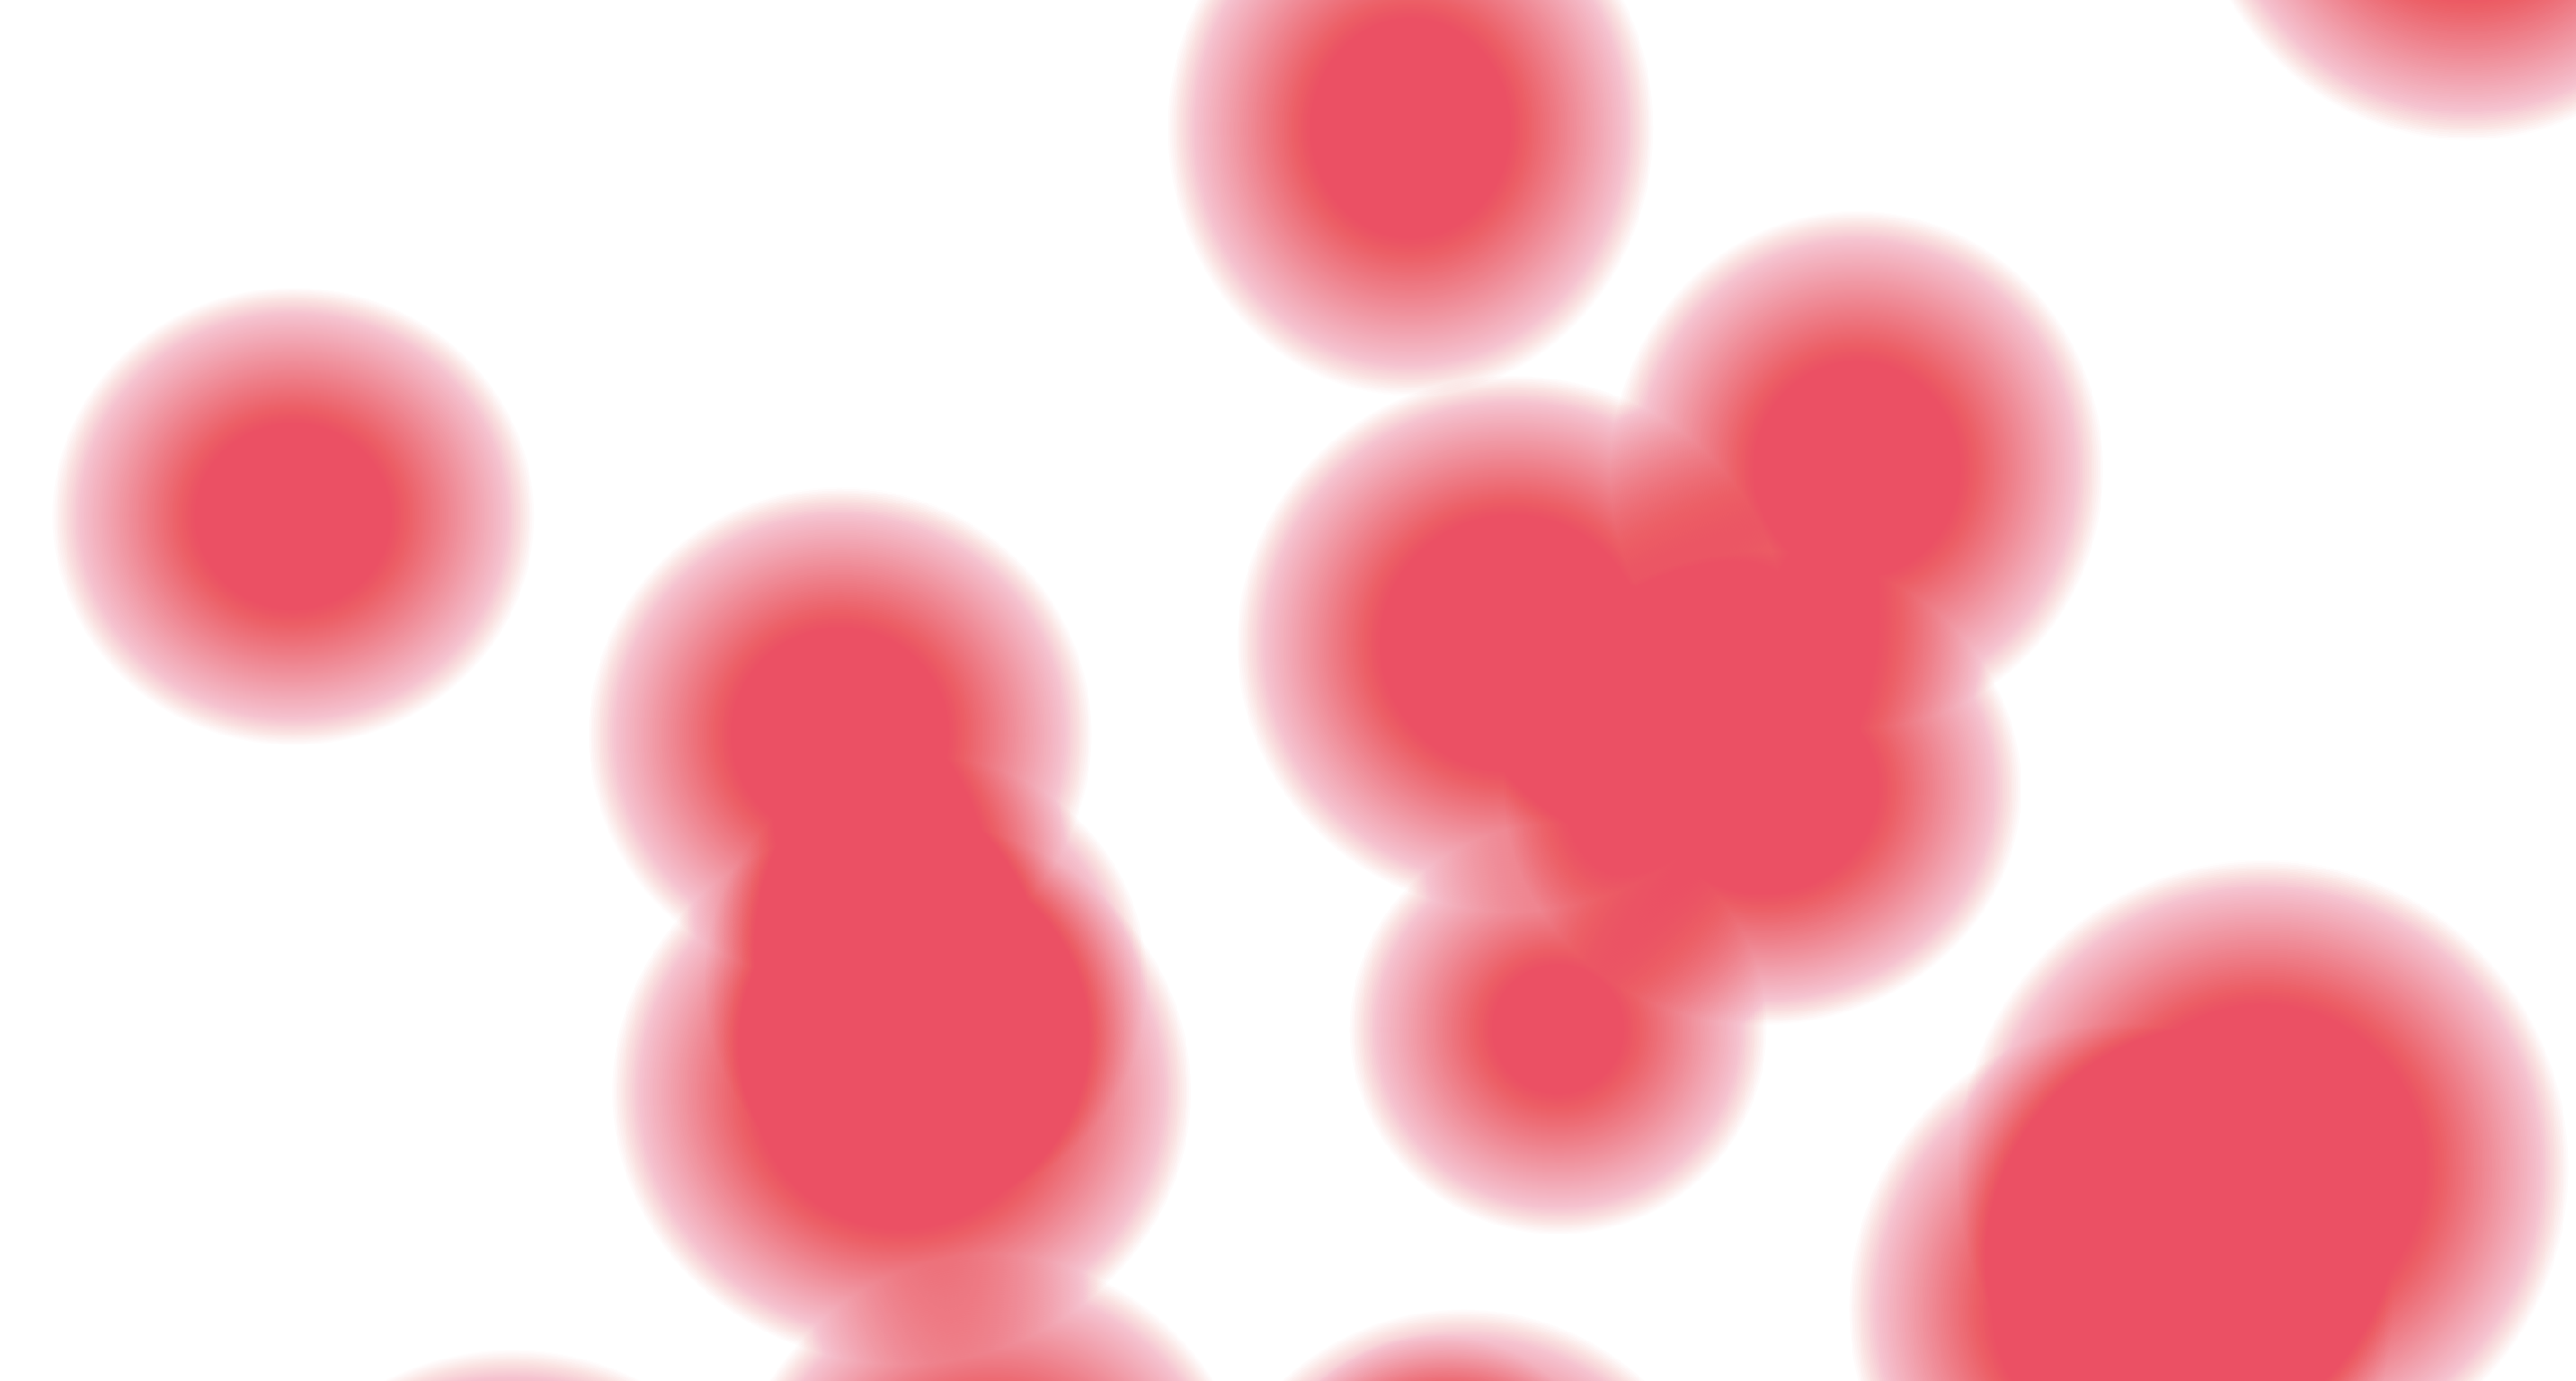 Color circles when the user squeezes the ball
The code for displaying a single circle is as follows:
display() {
    let radius = map(fVal, 0, 1023, 0, this.size);
    let colorR = map(fVal, 0, 1023, 0, 255);
    let colorB = map(fVal, 0, 1023, 255, 0);
    let colorG = 0;
    for (let i = 0; i <= radius; i=i+2) {
      noStroke();
      fill(color(colorR, colorG, colorB, 2));
      ellipse(this.x, this.y, i, i*this.f);
      }
  }
The speed of the color circles depends on the value of the microphone. I found the base rate of a room is under 600 on the microphone reading, so I set the detection threshold to 600. To control the randomized but bounded speed of the circles, I added a variable speedFactor that I use when changing the speed.
//Defining global variables related to speed
let minSpeed = 1;
let maxSpeed = 5;
let speedFactor = 1;

//randomizing the speed for each circle
let s = random(minSpeed, maxSpeed)/4;

//update function in the Circle class that updates based on the speedfactor
update() {
this.y -= this.speed*speedFactor;
}

//changing the speedfactor according to the microphone reading (and by using speedfactor changing all of the randomized speeds by a constant scale)
if(micVal>600){
    speedFactor = micVal/600;
}else{
    speedFactor = 1;
}
//NOTE these are snippets from different parts of the code
Challenges
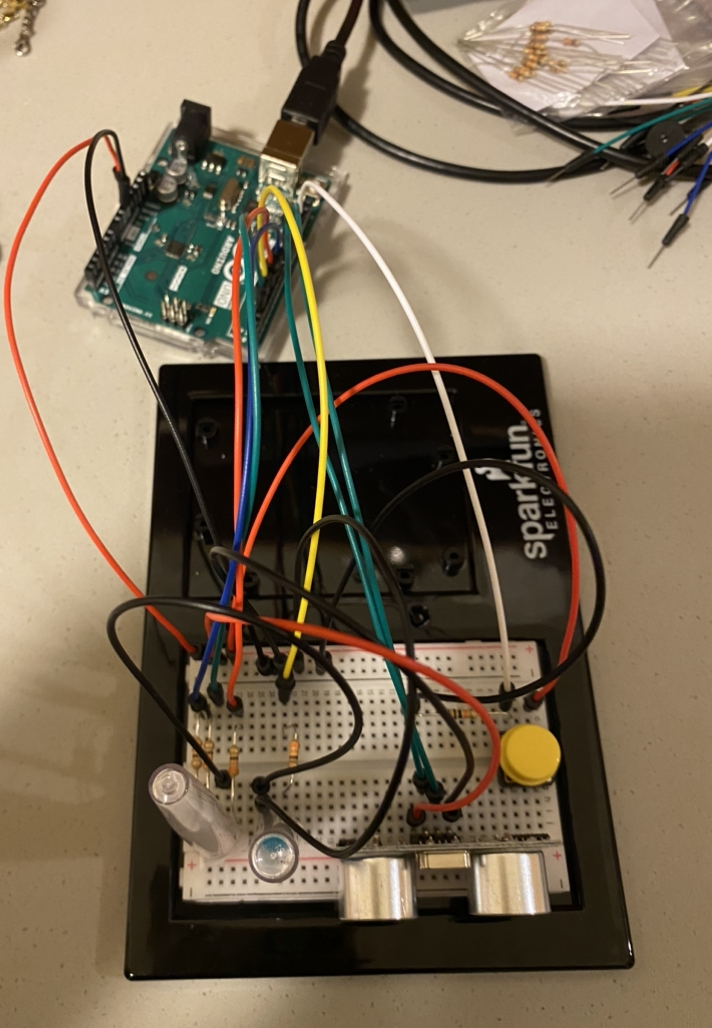
I had 2 big challenges in this project. First, it was connecting the hardware as it was my first time soldering or building a shell for my circuit. I ended up messing up some sensors and wires, and in the end not using them but sticking to a very simplistic design of my sensors on abox.
Another big challenge was making the gradient circle in P5JS that fades toward the edges. I tried 4-5 different methods, including drawing just the outline of a circle, using the HSB color mode, lerp function, and the one that I stuck with – drawing a lot of circles of the same color and very small alpha value so that the layering of many circles creates the saturated color in the middle. I am still not fully satisfied with this method though as when there are more than 15 circles on the screen, it gets very laggy and there are way too many objects on the screen (from a computational perspective, not a visual). I would love to find a better, more efficient way to do this without having to draw 4000 (number of circle groups, 10 in my case)*(maxRadius, 400 in my case) circles in each frame.
However, I am still proud of my final project and really like the idea of using squeezable objects (like the stress ball I used) to be part of computer controlling (I also created a very small version of a flappy bird game that uses the squeezer as a controller, which is simplistic but really fun).
User Testing
Without instructions, users were able to figure out that they are supposed to squeeze the stress ball and speak into the mic. The connection between the stress ball and the color circles on the screen was pretty obvious, but the positioning of the microphone made it a little awkward to both watch and interact with the tool, which could be an area for improvement.

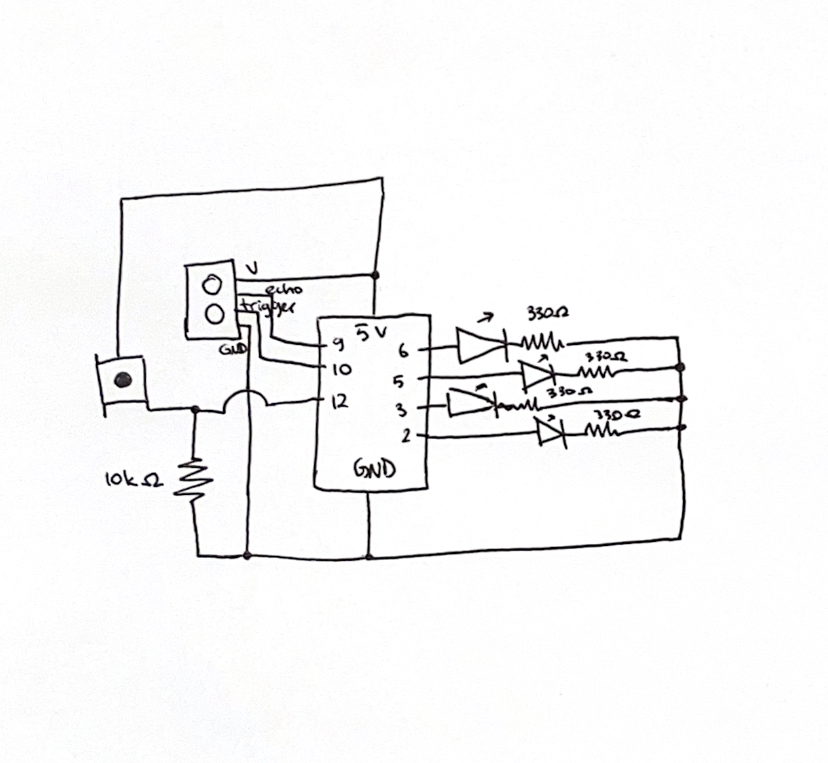
 The circuit
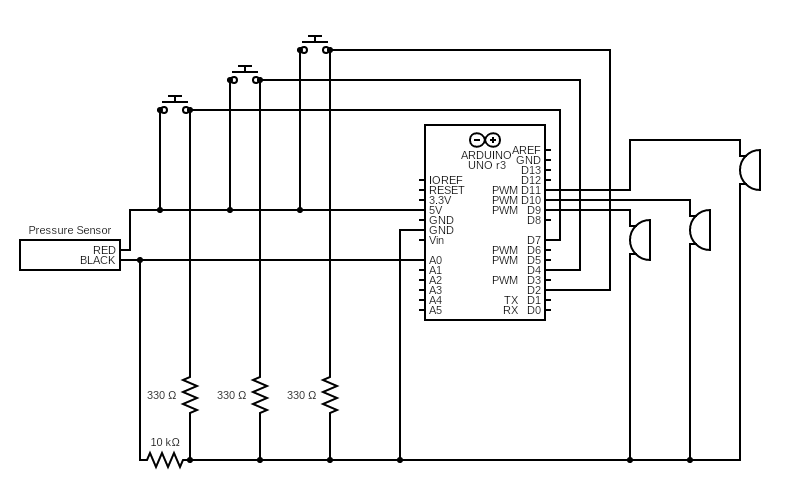 Circuit Diagram
 Step 1
 Step 2
 Step 3
 Circuit Diagram
 Background Terrain with the grid