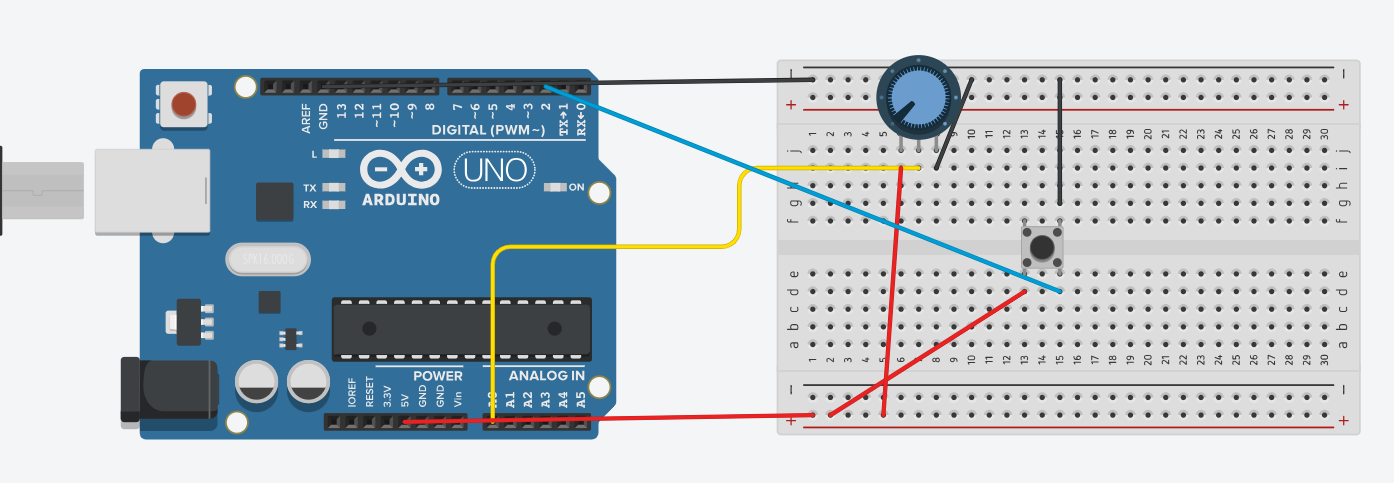
Assignment 1: ARDUINO TO P5 COMMUNICATION
While controlling the potentiometer the ellipse would move across the screen while changing the opacity of it.
P5.js Sketch:
// variable to control x-coordinate
let x = 0;

function setup() {
  createCanvas(640, 480);
  textSize(18);
}

function draw() {
  // sets background
  background(255);
  stroke(0);

  // draws ellipse on canvas
  fill(0,255,0,map(x, 0, 1023, 0, 255))
  ellipse(map(x, 0, 1023, 0, width), height / 2, 100, 100);

  // checks if serial communication has been established
  fill(0)
  if (!serialActive) {
    text("Press Space Bar to select Serial Port", 20, 30);
  } else {
    text("Connected", 20, 30);
  }

}

// sets up serial connection
function keyPressed() {
  if (key == " ") {
    // important to have in order to start the serial connection!!
    setUpSerial();
  }
}

// This function will be called by the web-serial library
// with each new *line* of data. The serial library reads
// the data until the newline and then gives it to us through
// this callback function
function readSerial(data) {
  ////////////////////////////////////
  //READ FROM ARDUINO HERE
  ////////////////////////////////////
  if (data != null) {
    x = int(trim(data));
  }

}
Edit: https://editor.p5js.org/mariamalkhoori/sketches/f-MgfWbwx
Arduino Sketch:
void setup() {
  // Start serial communication so we can send data
  // over the USB connection to our p5js sketch
  Serial.begin(9600);

  // We'll use the builtin LED as a status output..
  pinMode(LED_BUILTIN, OUTPUT);

}

void loop() {

  // gets sensor reading
  int sensor = analogRead(A0);
  delay(5);

  // indicates data transfer
  digitalWrite(LED_BUILTIN, HIGH);

  // sends data to p5
  Serial.println(sensor);

  // indicates data transfer
  digitalWrite(LED_BUILTIN, LOW);


}
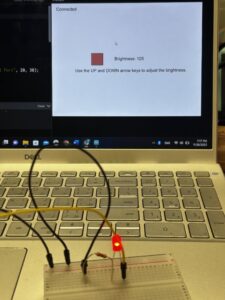
Results:
assignment1
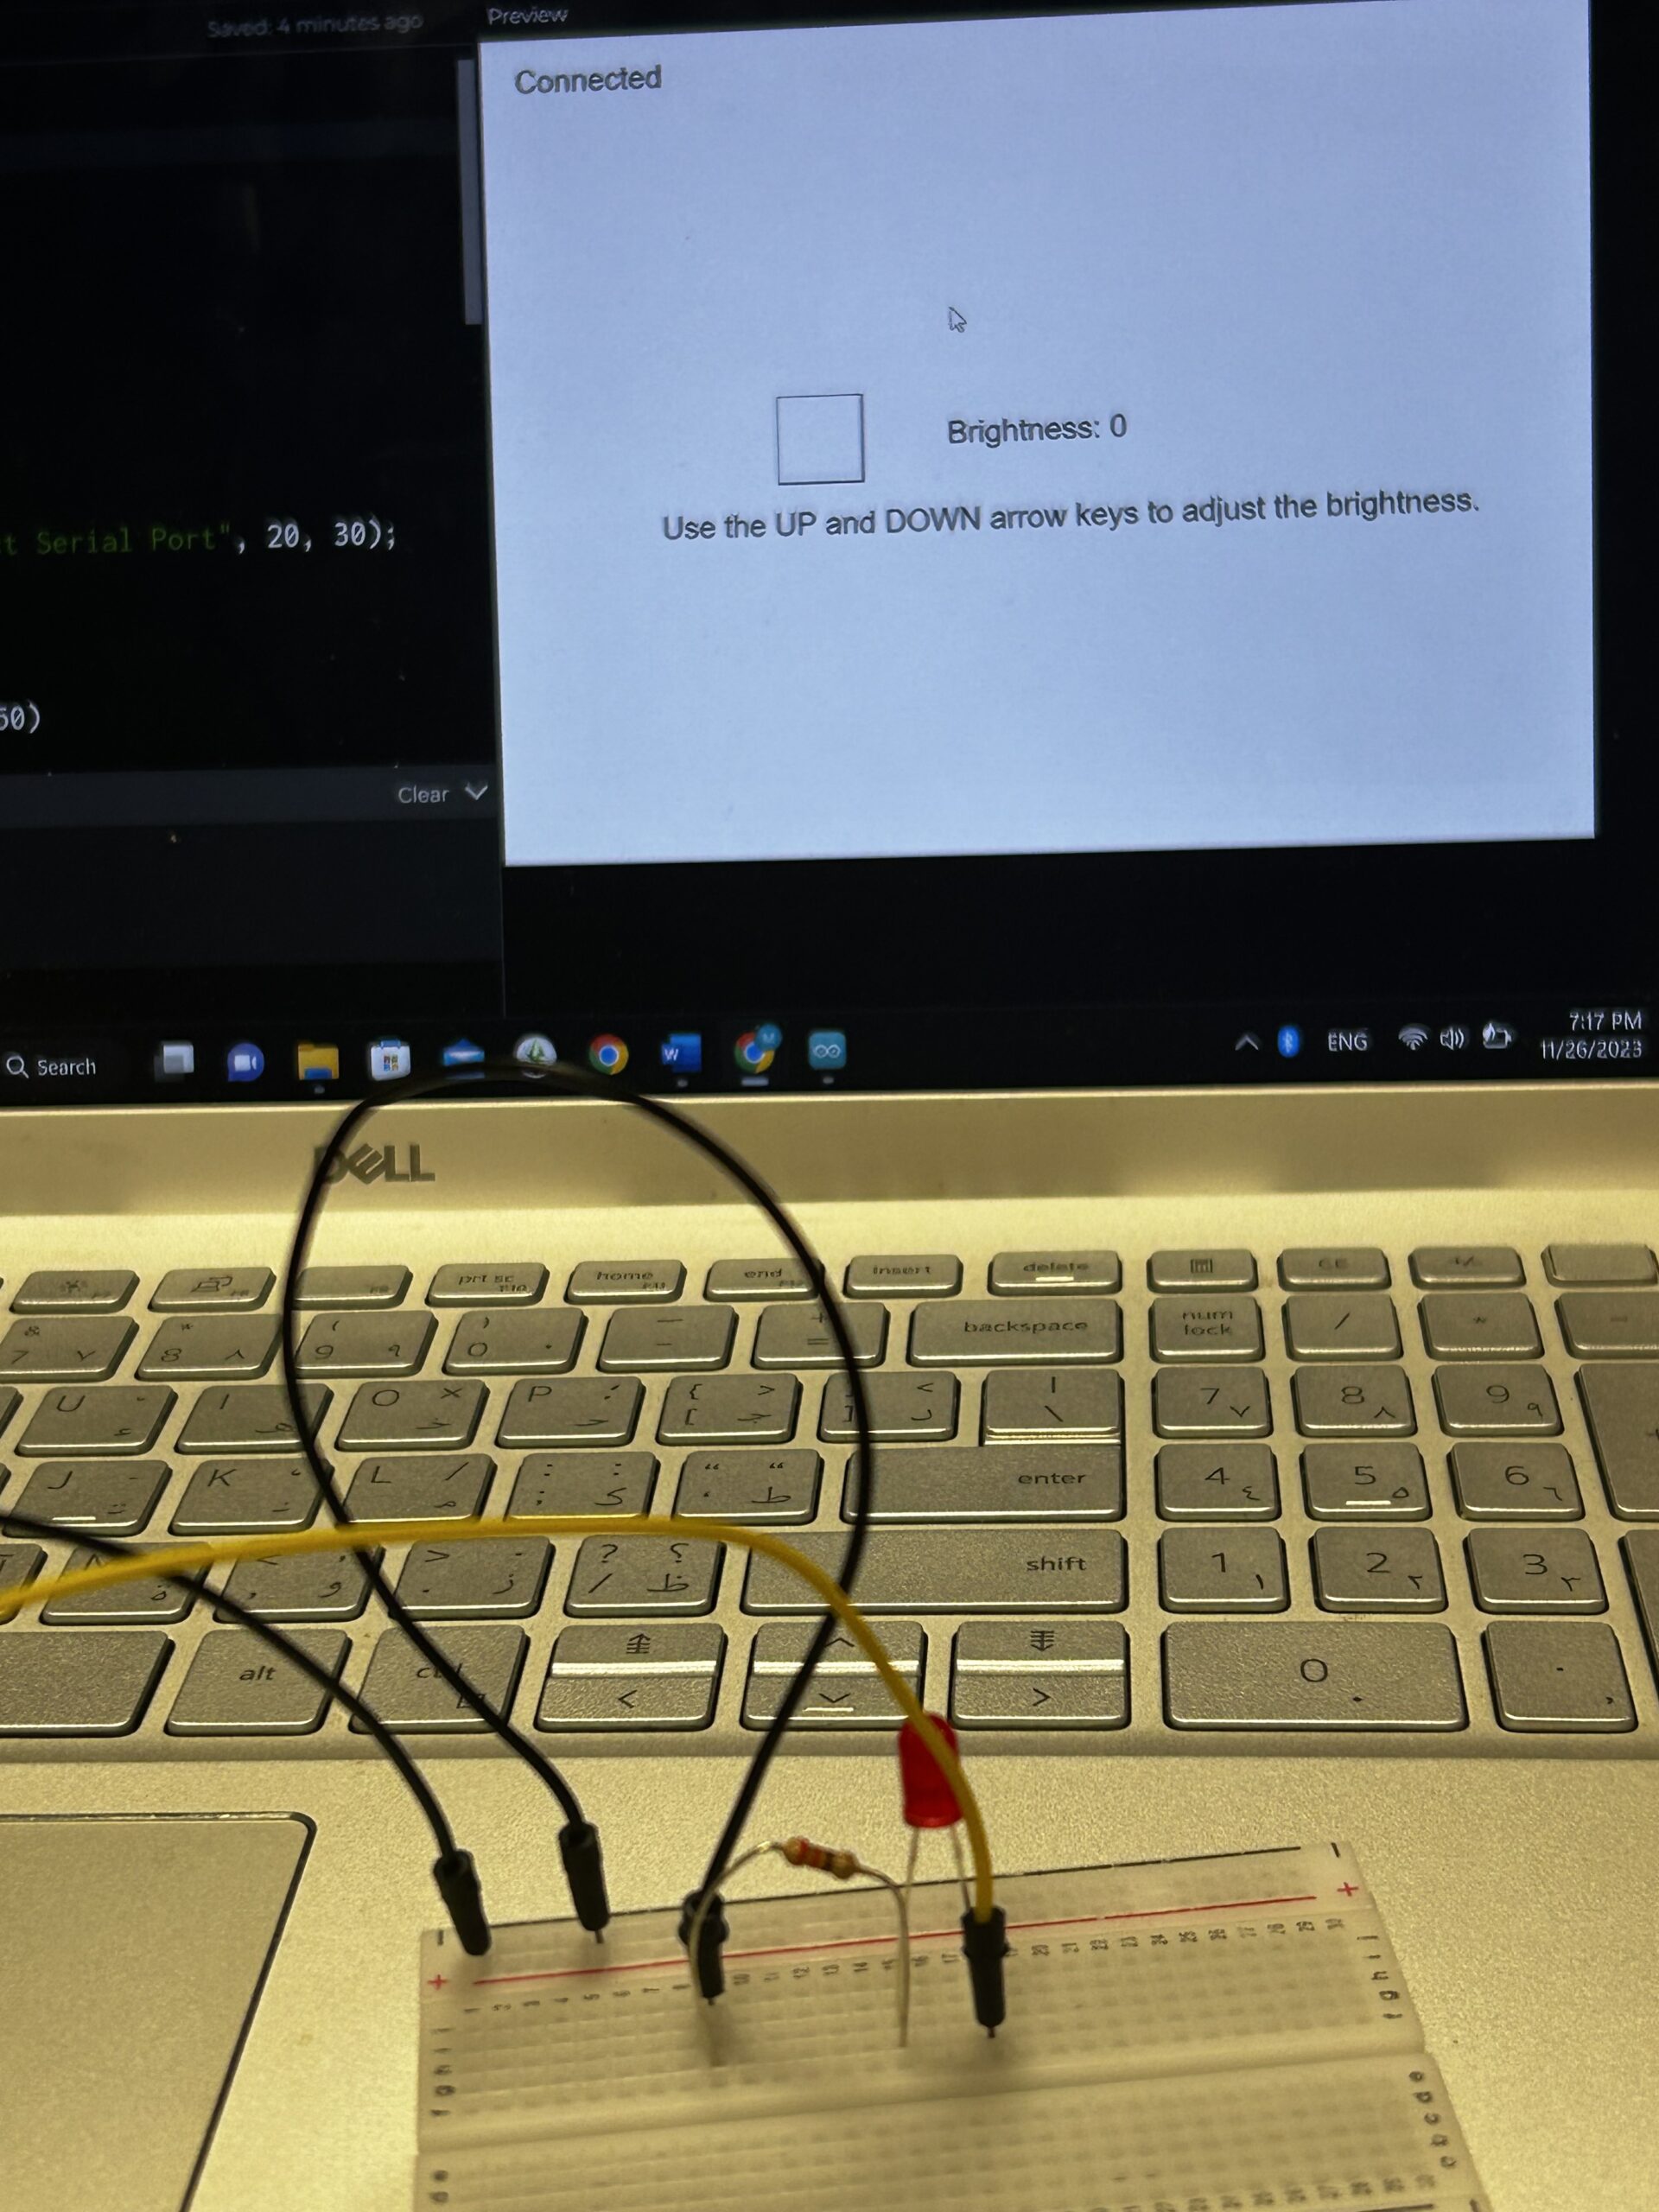
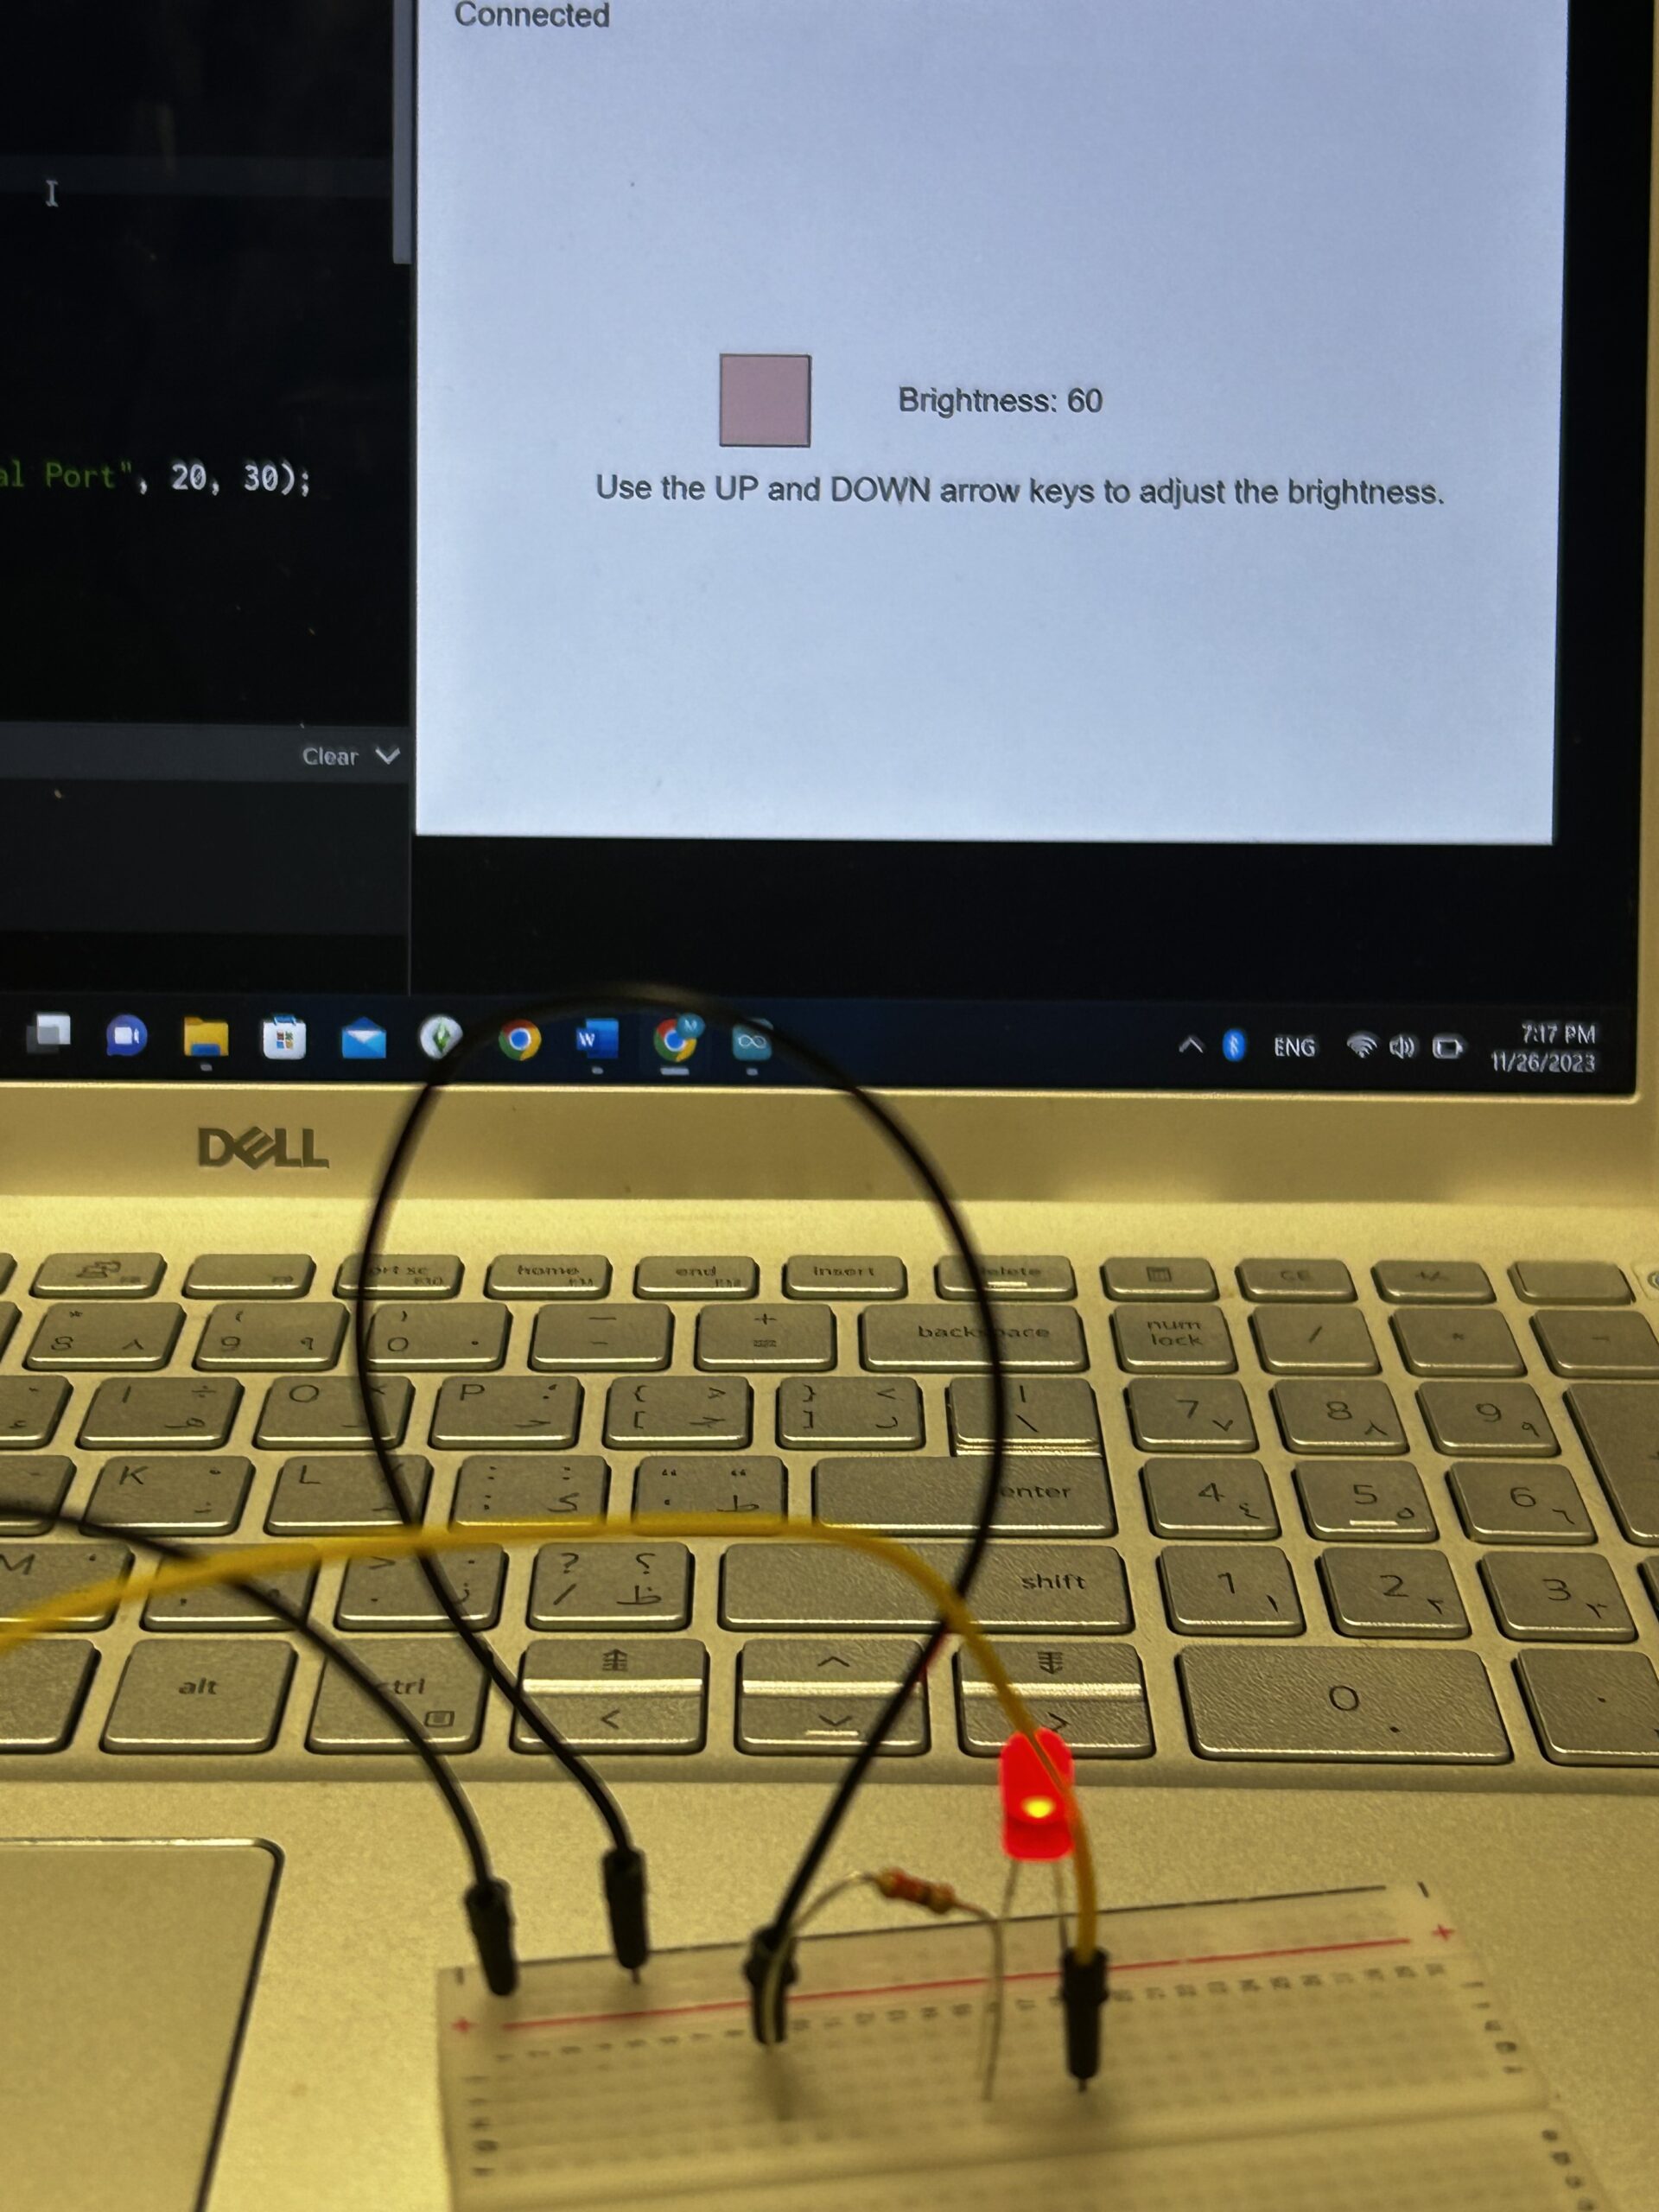
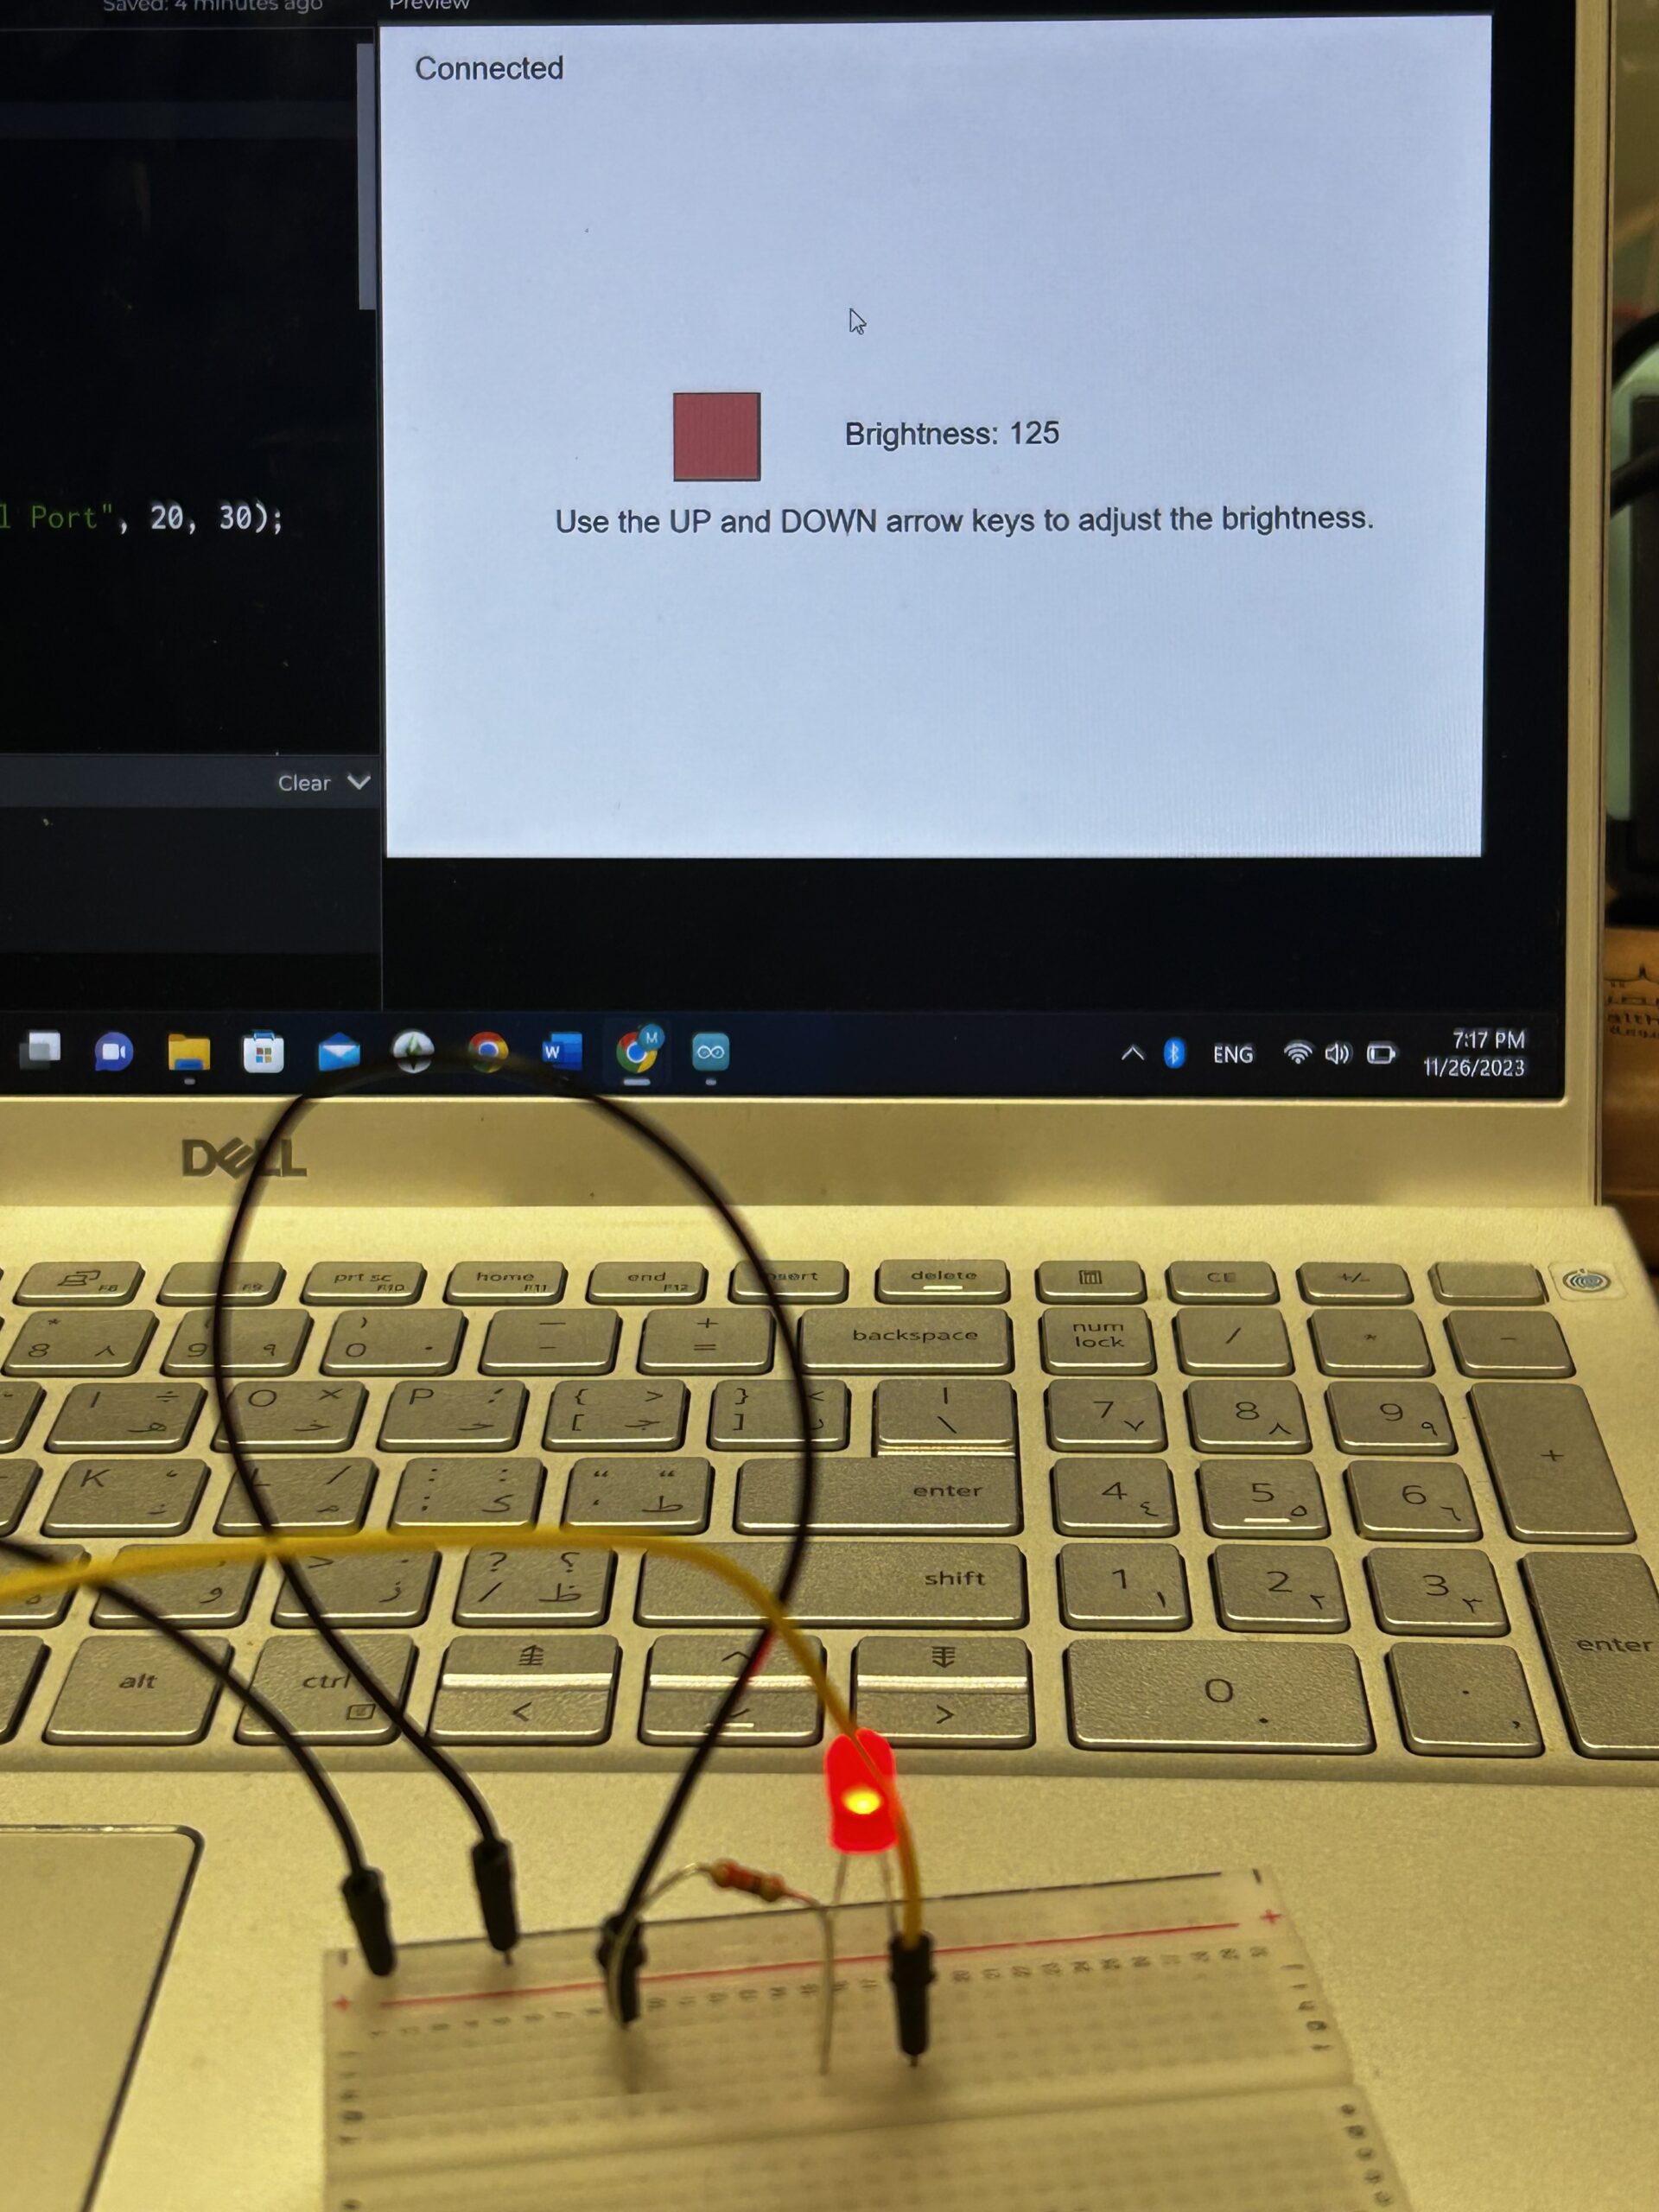
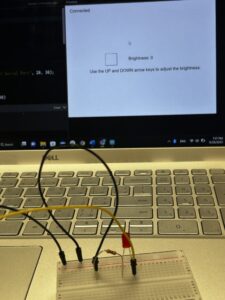
Assignment 2: P5 TO ARDUINO COMMUNICATION
Brightness of the LED changes when pressing the UP and DOWN key buttons
P5.js Sketch:
let brightness=0;

function setup() {
  createCanvas(640, 480);
  textSize(18);
}

function draw() {
  background(255);
  fill(0);

  if (!serialActive) {
    text("Press Space Bar to select Serial Port", 20, 30);
  } else {
    text("Connected", 20, 30);
  }
  fill(255,0,0,brightness)
  square(width/2-150,height/2-30,50)
  fill(0)
  text("Brightness: "+str(brightness),width/2-50,height/2)
  text("Use the UP and DOWN arrow keys to adjust the brightness. ",width/2-220,height/2+50)

  if (keyIsPressed) {
    if (keyCode==UP_ARROW) {
      if (brightness<255){
        brightness+=5;
      }
    } else if (keyCode==DOWN_ARROW) {
      if (brightness>0){
        brightness-=5;
      }

    }
  }
}

function keyPressed() {
  if (key == " ") {
    // important to have in order to start the serial connection!!
    setUpSerial();
  }
}

function readSerial(data) {
  if (data != null) {
    writeSerial(brightness+"\n");
  }
}
Edit: https://editor.p5js.org/mariamalkhoori/sketches/f7vn6lagB
Arduino Sketch:
int LedPin = 5;

void setup() {
  // Start serial communication so we can send data
  // over the USB connection to our p5js sketch
  Serial.begin(9600);

  // We'll use the builtin LED as a status output..
  pinMode(LED_BUILTIN, OUTPUT);

  // Outputs on this pin
  pinMode(LedPin, OUTPUT);

  // Blink them so we can check the wiring
  digitalWrite(LedPin, HIGH);
  delay(200);
  digitalWrite(LedPin, LOW);

  // start the handshake
  while (Serial.available() <= 0) {
    digitalWrite(LED_BUILTIN, HIGH); // on/blink while waiting for serial data
    Serial.println("0"); // send a starting message
    delay(300);            // wait 1/3 second
    digitalWrite(LED_BUILTIN, LOW);
    delay(50);
  }
}

void loop() {
  // wait for data from p5 before doing something
  while (Serial.available()) {
    Serial.println("0");
    digitalWrite(LED_BUILTIN, HIGH); // led on while receiving data

    int brightness = Serial.parseInt();
    if (Serial.read() == '\n') {
      analogWrite(LedPin, brightness);
    }
  }
  digitalWrite(LED_BUILTIN, LOW);
}
Results:
assignment2

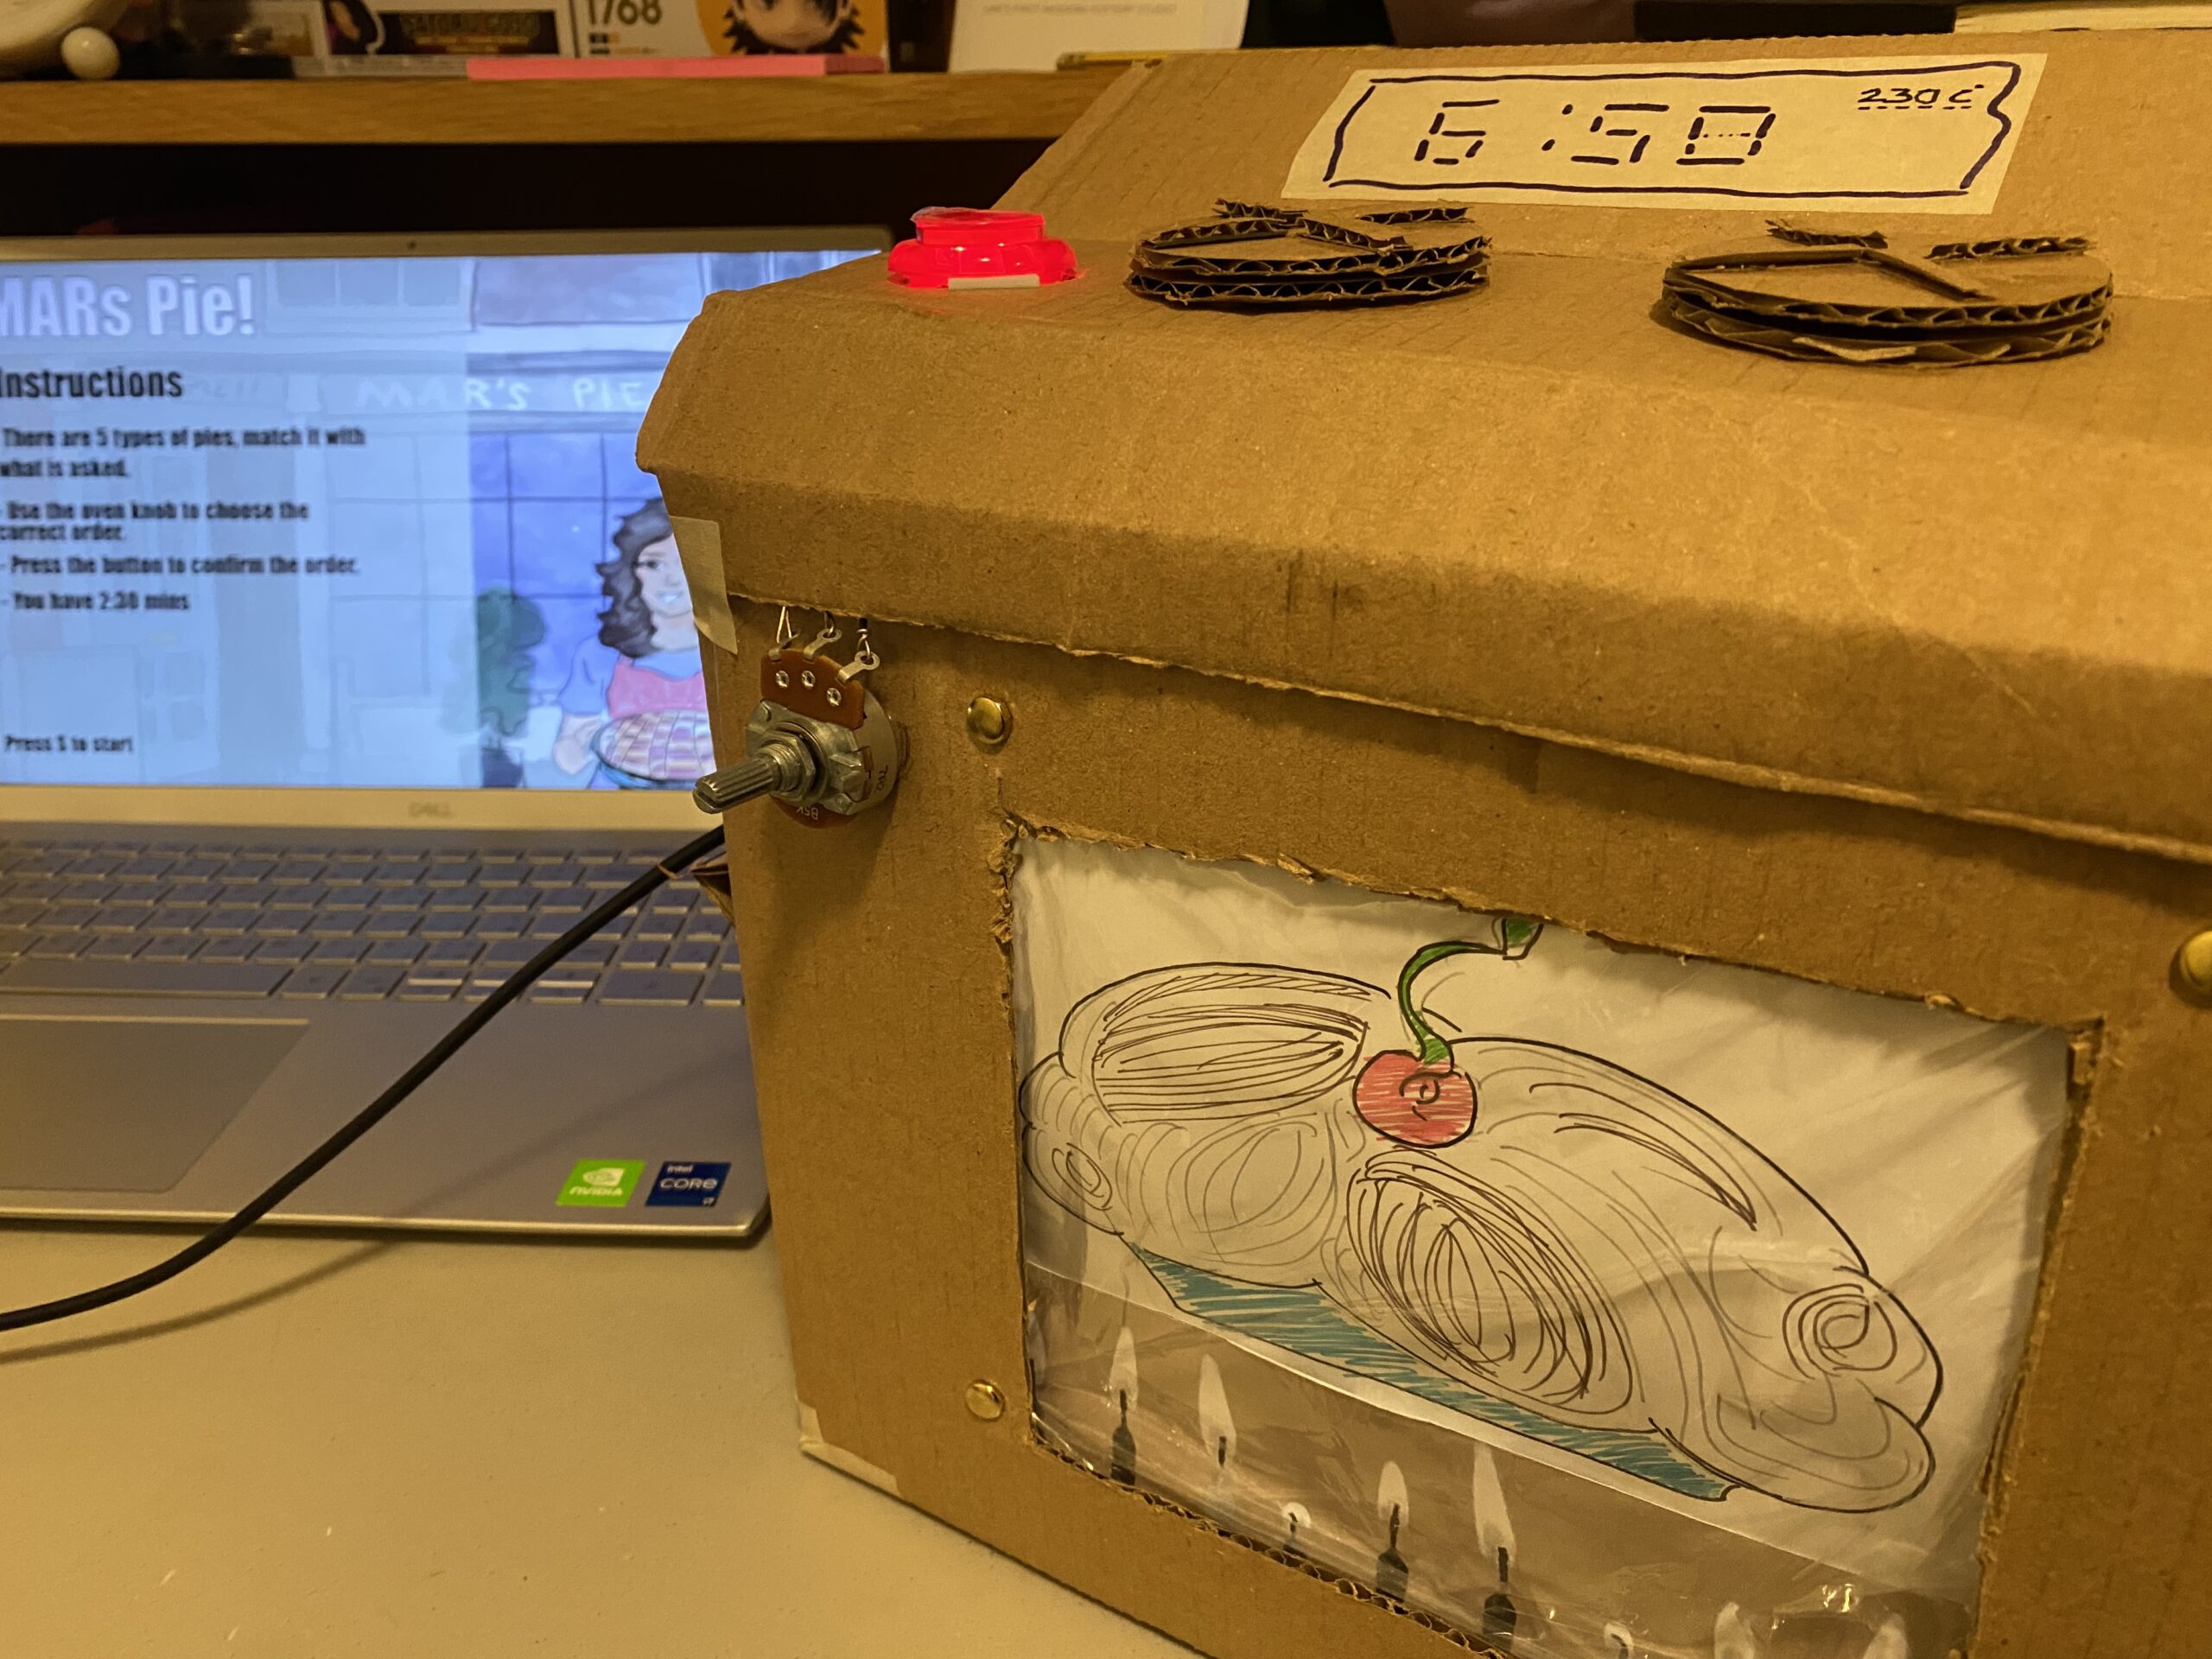
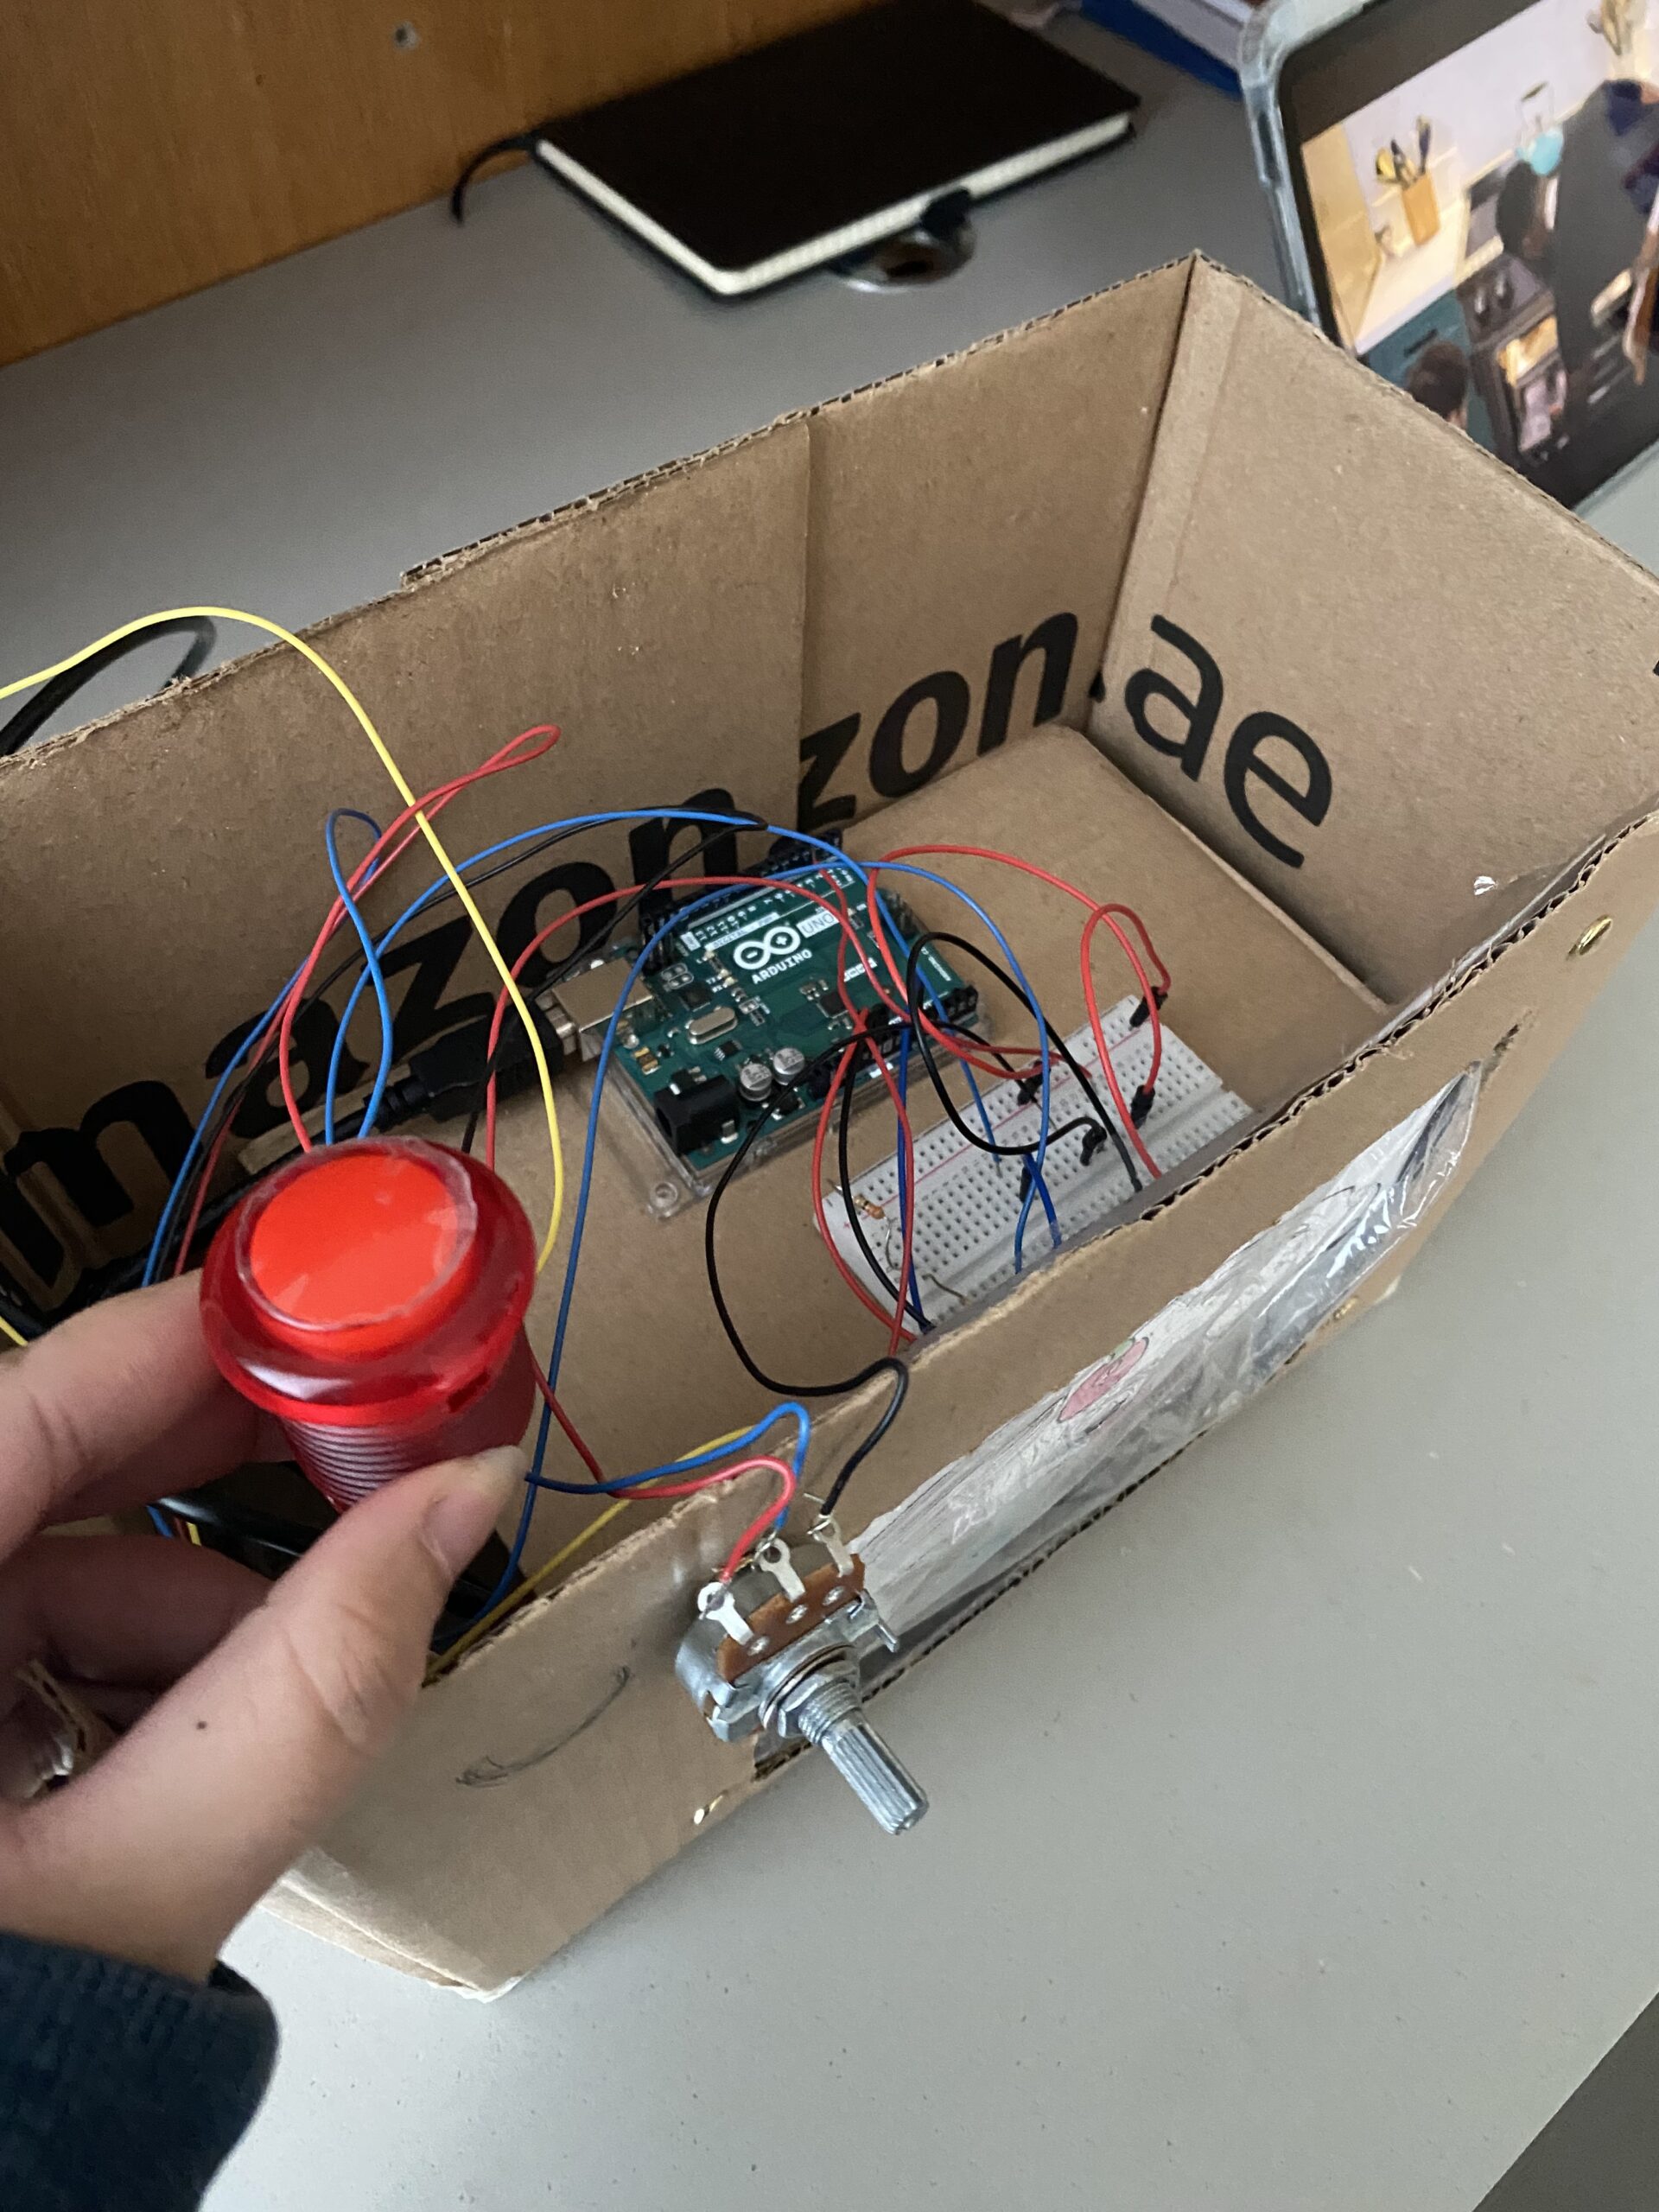
Assignment 3: BI-DIRECTIONAL COMMUNICATION
The LED glows up when the ball touches the ground. The ultrasonic sensor is used to change the direction of the wind.
P5.js Sketch
let velocity;
let gravity;
let posit5
let acceleration;
let wind;
let drag = 0.99;
let mass = 50;
let LED=0;
let wind_speed=0;

function setup() {
  createCanvas(640, 360);
  noFill();
  position = createVector(width/2, 0);
  velocity = createVector(0,0);
  acceleration = createVector(0,0);
  gravity = createVector(0, 0.5*mass);
  wind = createVector(0,0);
}

function draw() {
  background(255);
  fill(0)
  if (!serialActive) {
    text("Press RIGHT key to select Serial Port", 20, 30);
  } else {
    text("Connected", 20, 30);
  }
  applyForce(wind);
  applyForce(gravity);
  velocity.add(acceleration);
  velocity.mult(drag);
  position.add(velocity);
  acceleration.mult(0);
  fill(205,104,219);
  ellipse(position.x,position.y,mass,mass);
  if (position.y > height-mass/2) {
      velocity.y *= -0.9;  // A little dampening when hitting the bottom
      position.y = height-mass/2;
    }

  if (position.y==height-mass/2){
    LED=1
  }
  else{
    LED=0
  }

  if (position.x>=width || position.x<=0){
    position.x=width/2
  }


}

function applyForce(force){
  // Newton's 2nd law: F = M * A
  // or A = F / M
  let f = p5.Vector.div(force, mass);
  acceleration.add(f);
}

function keyPressed(){
  if (key==' '){

    mass=random(15,80);
    position.y=-mass;
    velocity.mult(0);
  }
  if (keyCode==RIGHT_ARROW){
    setUpSerial();
  }
}

function readSerial(data) {
  ////////////////////////////////////
  //READ FROM ARDUINO HERE
  ////////////////////////////////////

  if (data != null) {
    let fromArduino = trim(data);
    distance= int(fromArduino);
    if (distance>10){
      wind.x=2
    }
    else{
      wind.x=-2
    }

    let sendToArduino = LED+"\n";
    writeSerial(sendToArduino);
  }
}
EDIT: https://editor.p5js.org/mariamalkhoori/sketches/MvolZDB7W
Arduino Sketch:
int LedPin = 2;
int trigPin = 9;
int echoPin = 10;
long duration;
int distance;

void setup() {
  // Start serial communication so we can send data
  // over the USB connection to our p5js sketch
  pinMode(trigPin, OUTPUT);
  pinMode(echoPin, INPUT);
  Serial.begin(9600);
  pinMode(LED_BUILTIN, OUTPUT);

  // Outputs on these pins
  pinMode(LedPin, OUTPUT);

  // Blink them so we can check the wiring
  digitalWrite(LedPin, HIGH);
  delay(200);
  digitalWrite(LedPin, LOW);


  // start the handshake
  while (Serial.available() <= 0) {
    digitalWrite(LED_BUILTIN, HIGH); // on/blink while waiting for serial data
    Serial.println("0,0"); // send a starting message
    delay(300);            // wait 1/3 second
    digitalWrite(LED_BUILTIN, LOW);
    delay(50);
  }
}

void loop() {
  // wait for data from p5 before doing something
  while (Serial.available()) {
    digitalWrite(LED_BUILTIN, HIGH); // led on while receiving data

    int LED = Serial.parseInt();
    if (Serial.read() == '\n') {
      digitalWrite(LedPin, LED);
      digitalWrite(trigPin, LOW);
      delayMicroseconds(2);
      digitalWrite(trigPin, HIGH);
      delayMicroseconds(10);
      digitalWrite(trigPin, LOW);
      // Reads the echoPin, returns the sound wave travel time in microseconds
      duration = pulseIn(echoPin, HIGH);
      // Calculating the distance
      distance = duration * 0.034 / 2;
      Serial.println(distance);
    }
  }
  digitalWrite(LED_BUILTIN, LOW);
}
Results:
assignment3LED
assignment3WIND