Concept:
The Fruit Ninja project recreates the classic fruit-slicing game using hand tracking and an accelerometer. Players slice virtual fruits displayed on the screen by moving their hands, which are tracked by a camera and the ml5 handpose model. The vertical movement of the virtual knife is controlled by an accelerometer connected to an Arduino.
Implementation
-
-
- Hand Tracking: The p5.js sketch utilizes the ml5 handpose model to track the user’s hand movements through the camera. By calculating the average position of hand landmarks, it determines the x-axis position of the virtual knife.
- Accelerometer Input: The Arduino reads the y-axis values from the accelerometer and transmits them to the p5.js sketch via serial communication. This data controls the vertical movement of the virtual knife on the screen.
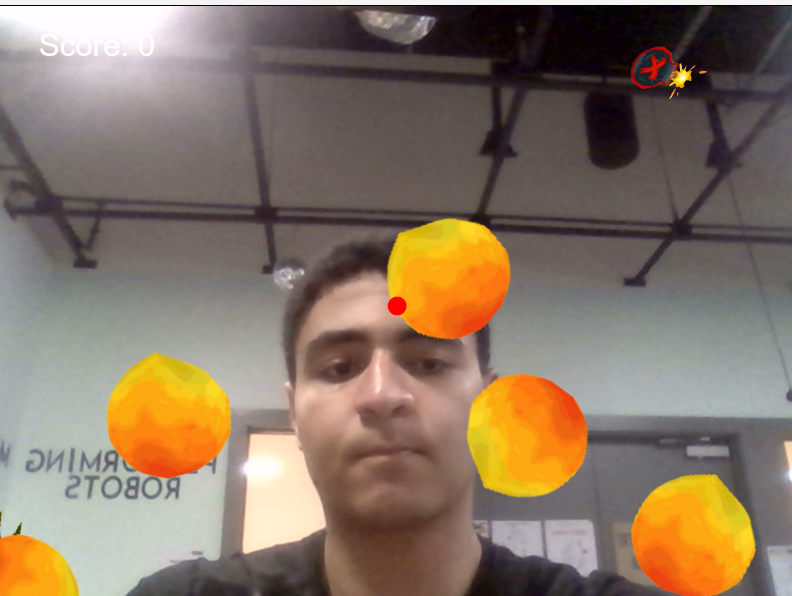
- Fruit and Bomb Generation: The p5.js sketch generates fruits and bombs at the bottom of the screen, propelling them upwards in a projectile motion.
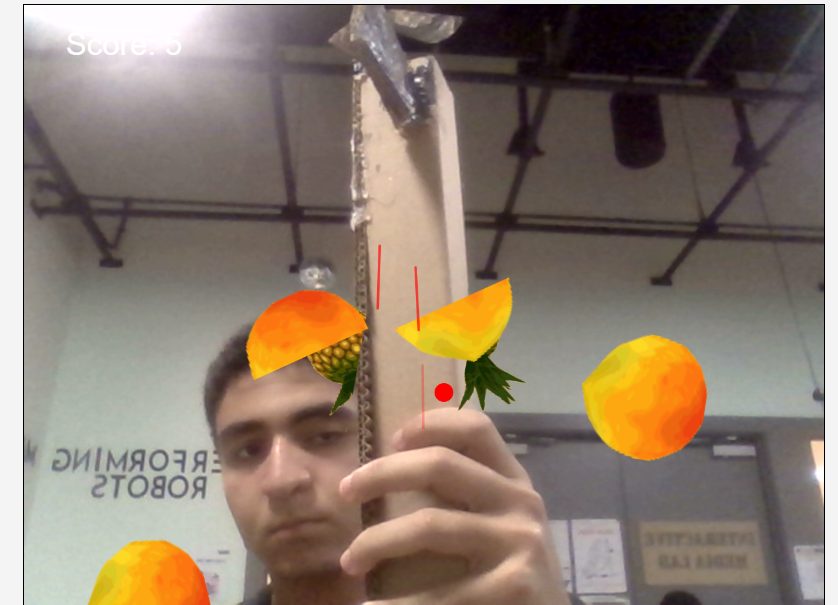
- Collision/slicing Detection: The sketch detects collisions between the virtual knife and the fruits/bombs. When a fruit is sliced successfully, it splits in two, the player’s score increases, and a slicing line appears. Hitting a bomb results in a penalty, a visual effect (like a flashbang), and the loss of a life.
-
Interaction Design
-
-
-
Hand Movements: Players use slicing motions with their hands to control the virtual knife and slice the fruits.
-
Visual Feedback: The game provides visual cues like slicing lines, explosion effects, and score updates to enhance player feedback.
-
Score and Lives: The score increases with each fruit sliced, and players have a limited number of lives, represented by hearts.
-
Game Over: The game ends when the player loses all lives by hitting bombs. The final score is displayed, and a restart option is offered.
-
-
User testing
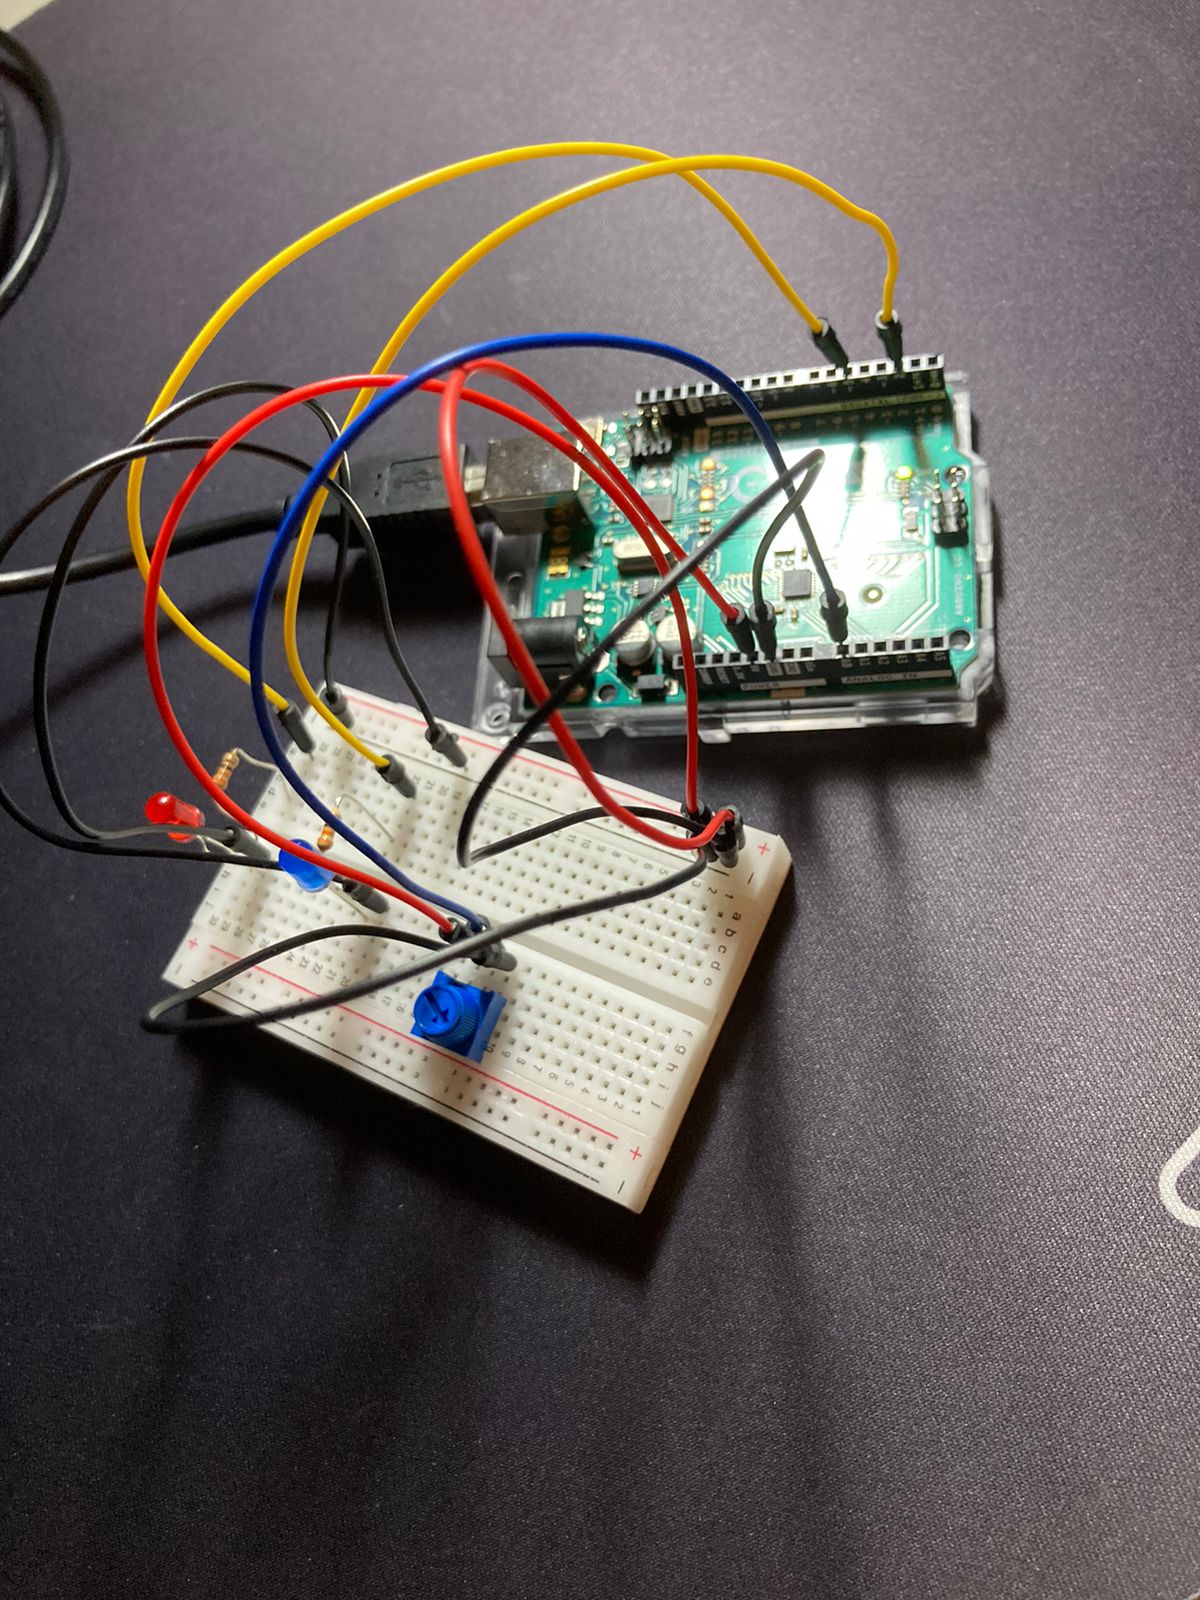
Schematic
Arduino Code
The Arduino code reads the accelerometer‘s y–axis values and transmits them to the p5.js sketch through serial communication. It also includes a button to reset the base position of the accelerometer for calibration (if needed for debugging reasons if the user was too far away from the screen).
const int buttonPin = 2;    // Button pin
const int xPin = A0;        // X-axis analog pin (unused)
const int yPin = A1;        // Y-axis analog pin connected to ADXL335

// Calibration values
const float xZero = 512.0;  // Raw ADC value at 0g for X (unused)
const float yZero = 512.0;  // Raw ADC value at 0g for Y

// Variables
float baseX = 0, baseY = 0;

void setup() {
  Serial.begin(9600);
  pinMode(buttonPin, INPUT_PULLUP);  // internal pull-up resistor

  // Read initial values
  baseX = analogRead(xPin);
  baseY = analogRead(yPin);
}

void loop() {
  // Read the button state
  static bool lastButtonState = HIGH;
  bool currentButtonState = digitalRead(buttonPin);

  // Check for button press to reset the base position
  if (lastButtonState == HIGH && currentButtonState == LOW) {
    baseX = analogRead(xPin);  // Unused
    baseY = analogRead(yPin);
  }
  lastButtonState = currentButtonState;

  // Read current accelerometer value for Y-axis
  float yVal = analogRead(yPin);

  float yG = (yVal - baseY);

  // Send data to p5 through serial
  Serial.println(yG, 3);  // Using 3 decimal places for precision

  delay(100);  // Reduce data rate
}
p5.js Code
Communication between Arduino and p5.js
The Arduino sends the accelerometer‘s y–axis data to the p5.js sketch via serial communication, which is then used to control the vertical movement of the virtual knife in the game.
Areas of Pride
-
-
-
Integration of Hand Tracking and Accelerometer: The project successfully combines hand tracking for horizontal movement and accelerometer data for vertical movement, creating a more interactive and engaging gameplay experience.
-
Visual Effects and Gameplay: The visual elements, including fruit slicing, and bomb explosions, enhance the gameplay experience and provide satisfying feedback to the player.
-
-
Future Improvements
-
-
-
Variety of Fruits and Challenges: Introduce more fruit types, obstacles, and challenges to increase gameplay complexity and engagement.
-
Calibration and Optimization: Improve the calibration process for the accelerometer and optimize the code for smoother performance.
-
Sound Effects and Music: Implement sound effects for slicing, and explosions.
-
-
IM SHOWCASE