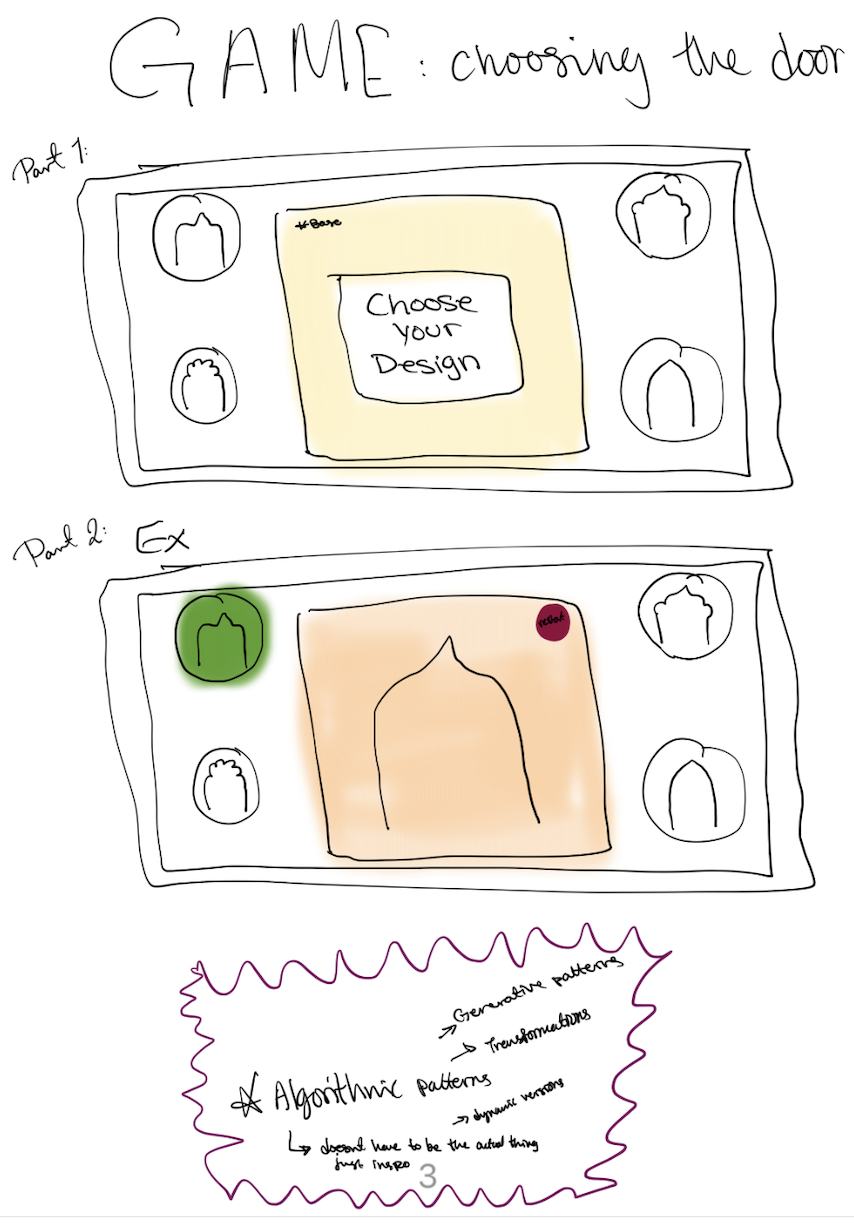
Concept:
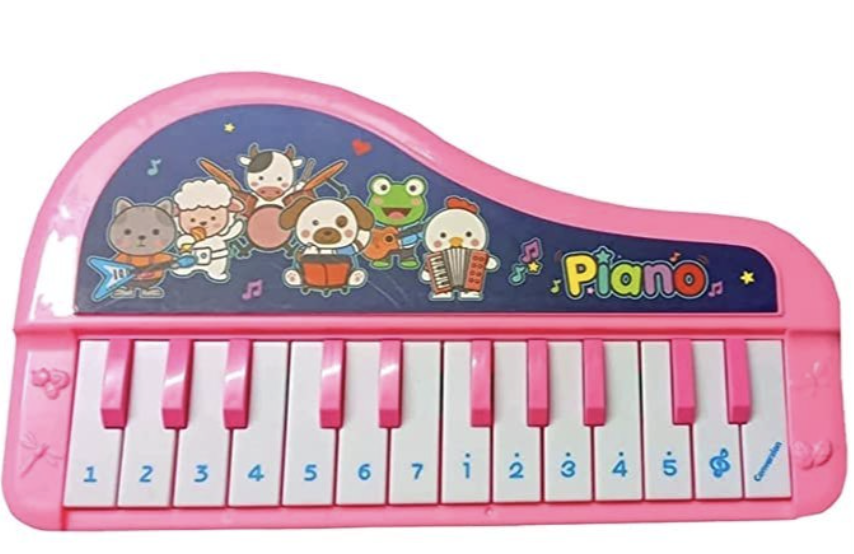
Create Your 4 Keys is an interactive music experience that allows participants to create their own rhythms and sound patterns using only four buttons. Each button acts like a musical key that plays a different note when pressed. The potentiometer allows the user to control and change the pitch of the sounds, making the notes lower or higher. I wanted to explore the idea of creating a simple music instrument for example Pianos usually have (from what I’ve seen) a lot of keys and sometimes it feels overwhelming, especially for people who are not musicians -like me and just want to learn!
So I started asking myself what can someone create with only four keys? Instead of focusing on every key and sound, I wanted to focus on only 4 keys for this project for experiments, rhythm, repetition, and just playing and having fun overall! Even with a limited number of buttons, the participant can still create many different patterns depending on the order, timing, and pitch of the notes they create.
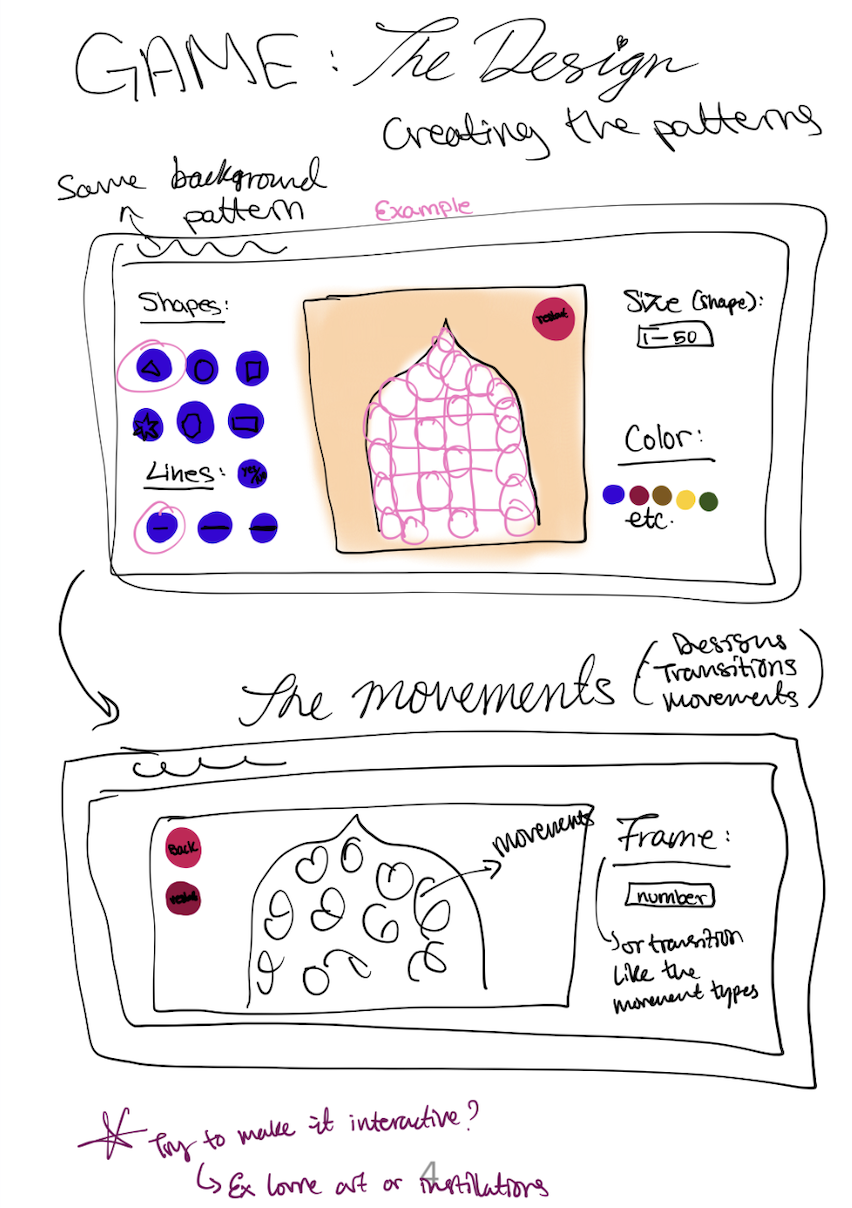
The project of course is designed for anyone, even people with no musical background, because the interaction is meant to feel fun. Once the participant presses a button, the system responds instantly with sound which shows the action and feedback. The potentiometer also shows the interaction because it changes how the notes sound in real time, participants can change it and make it sound different.
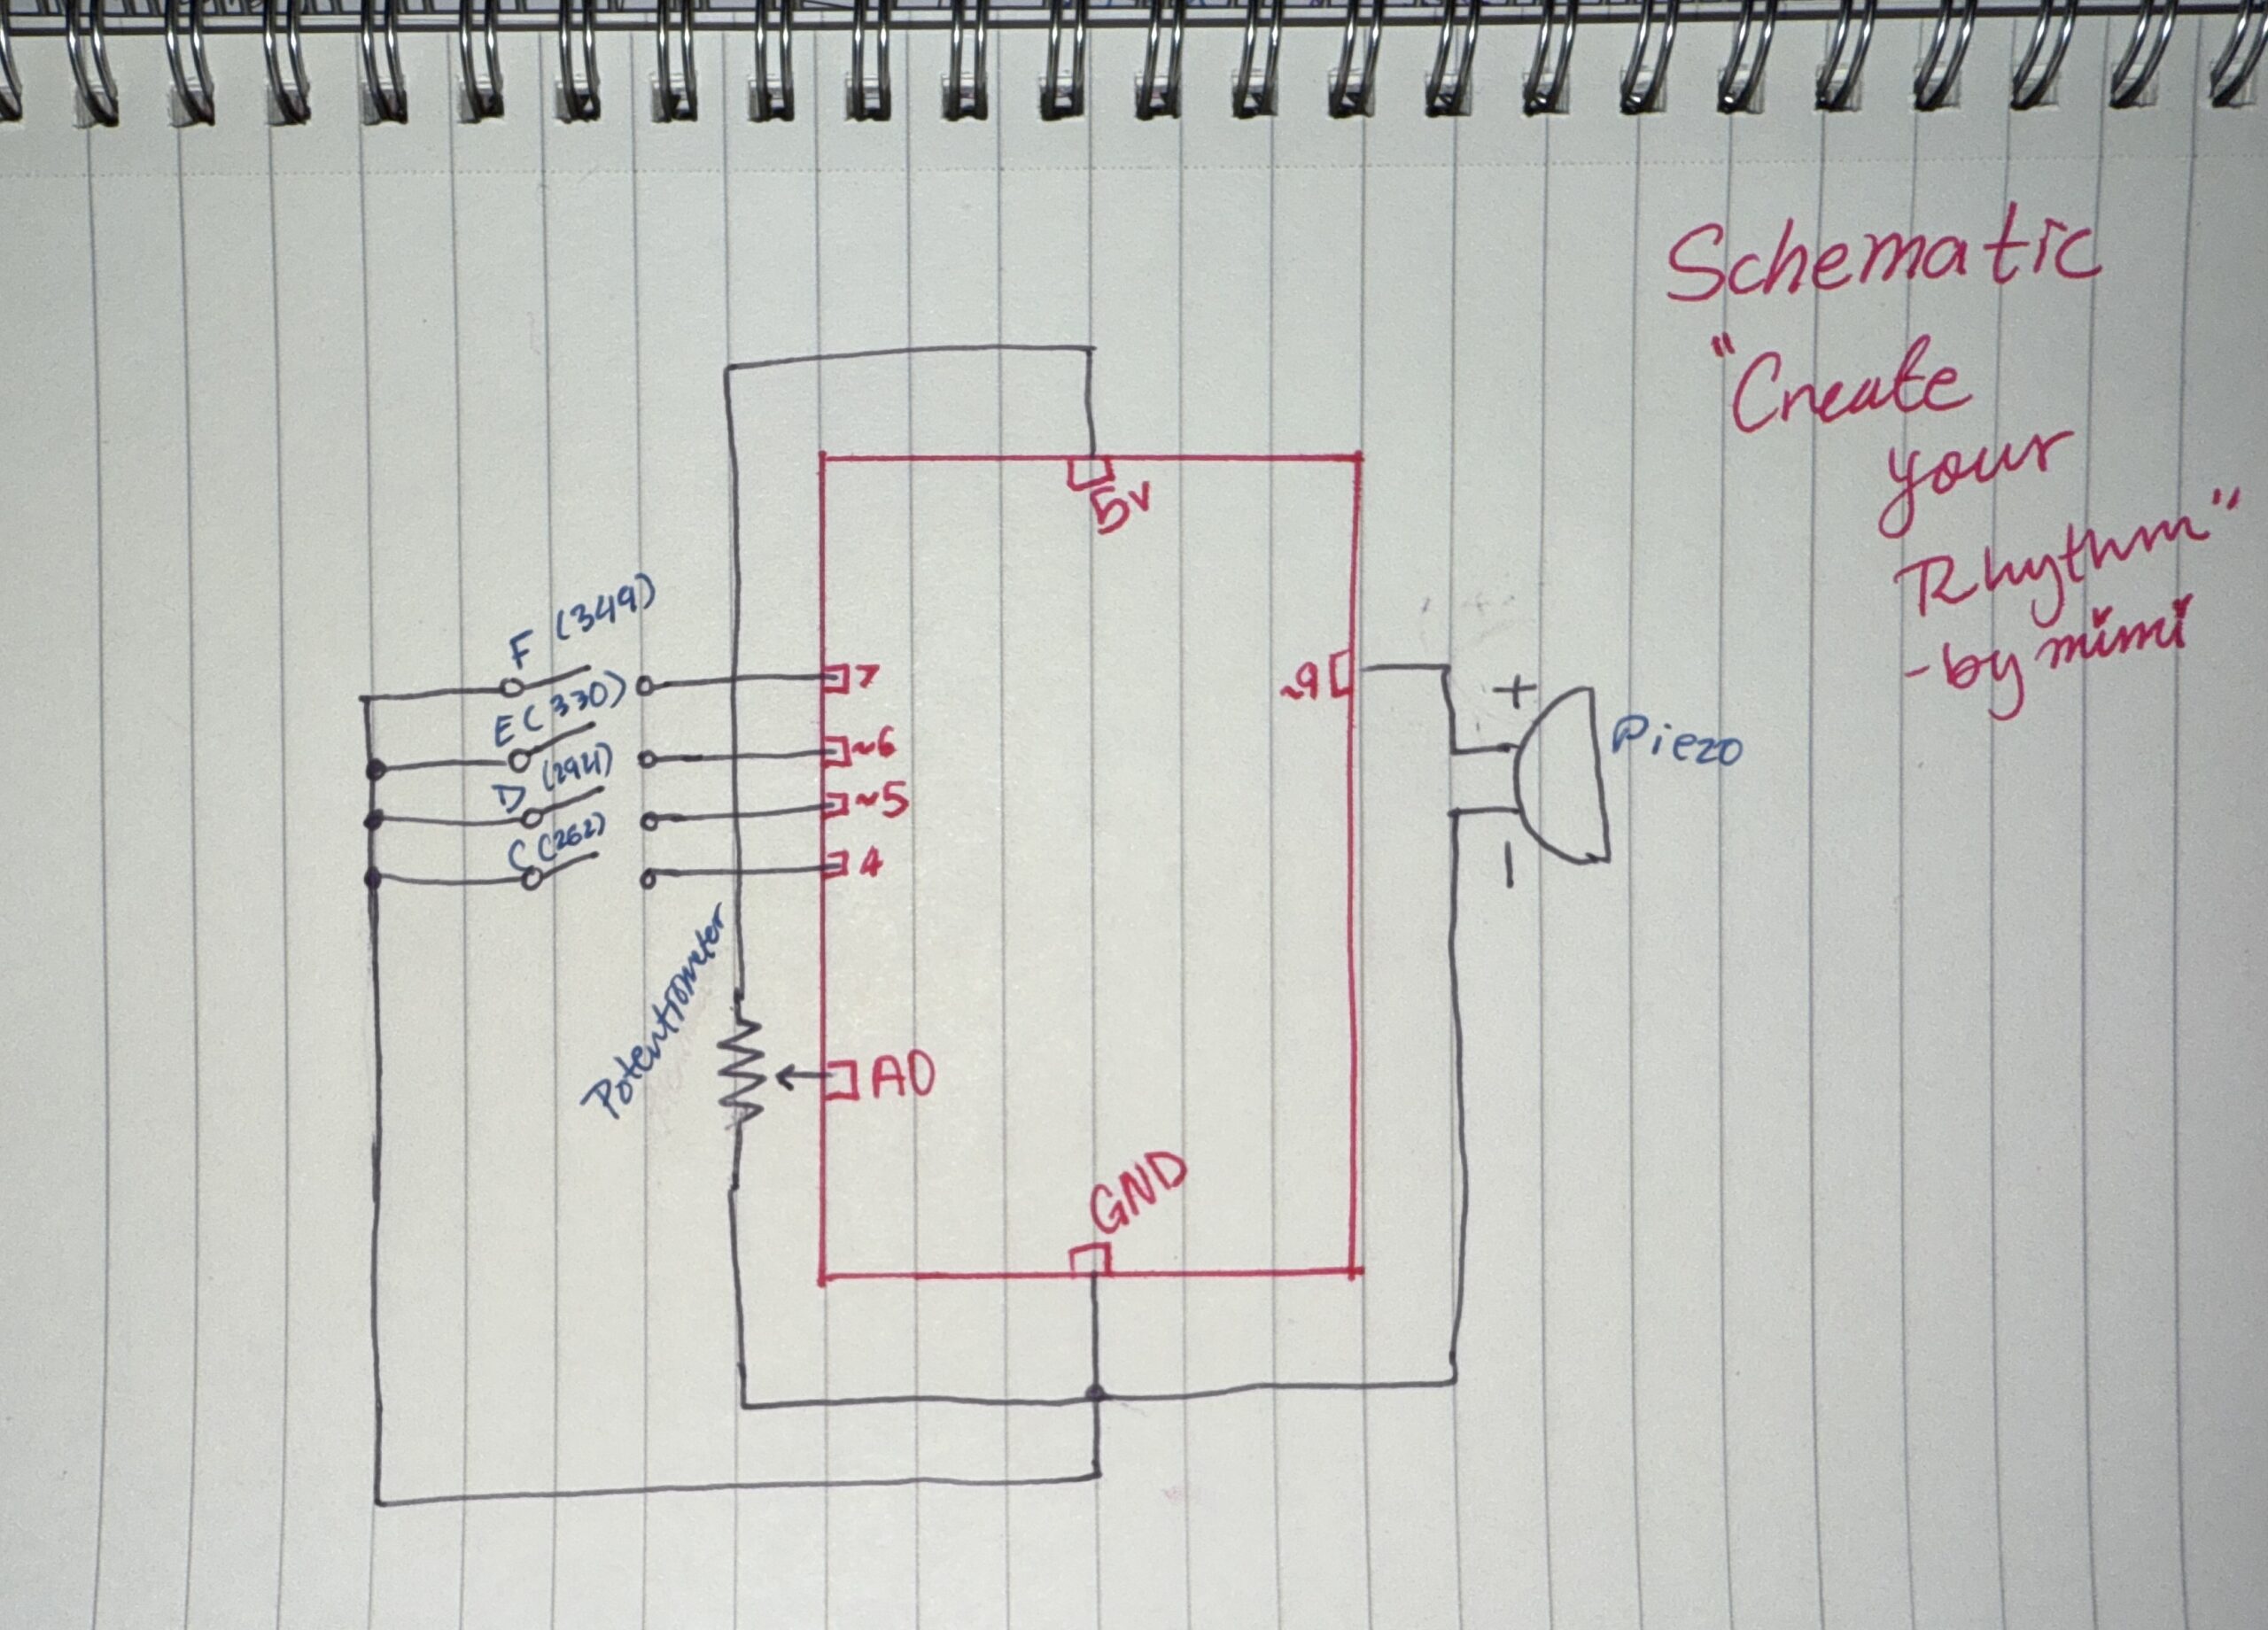
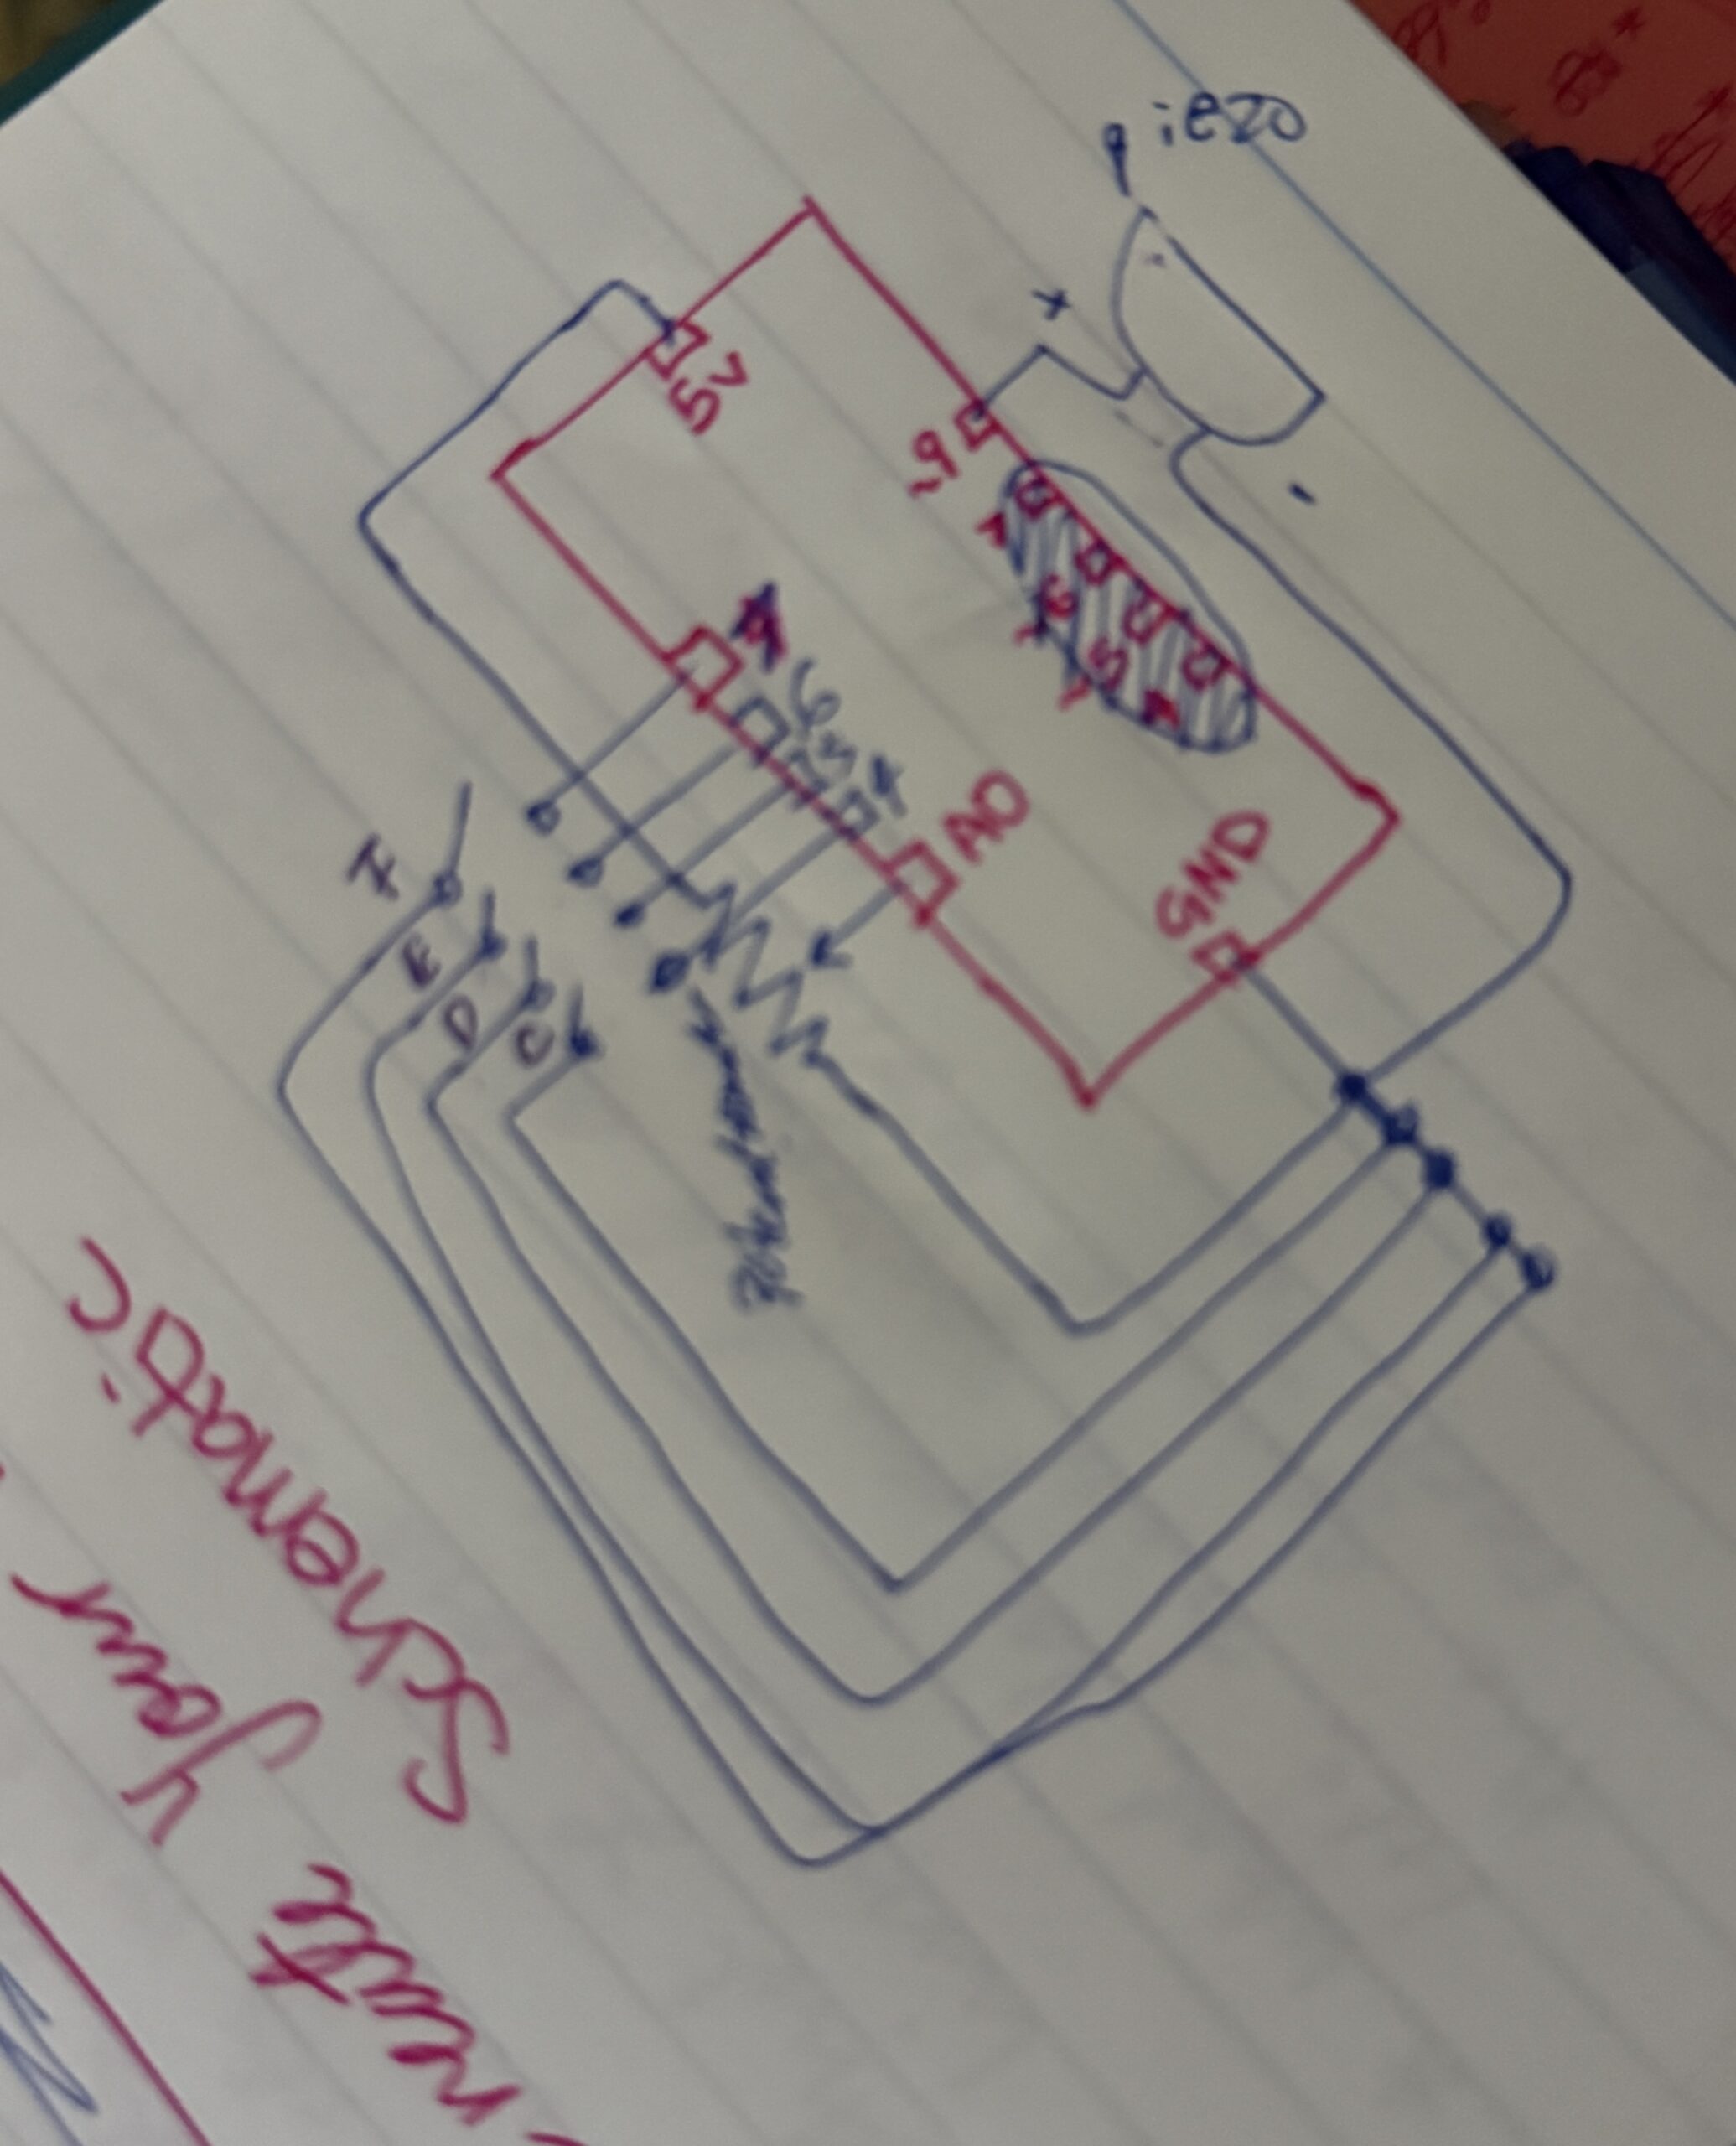
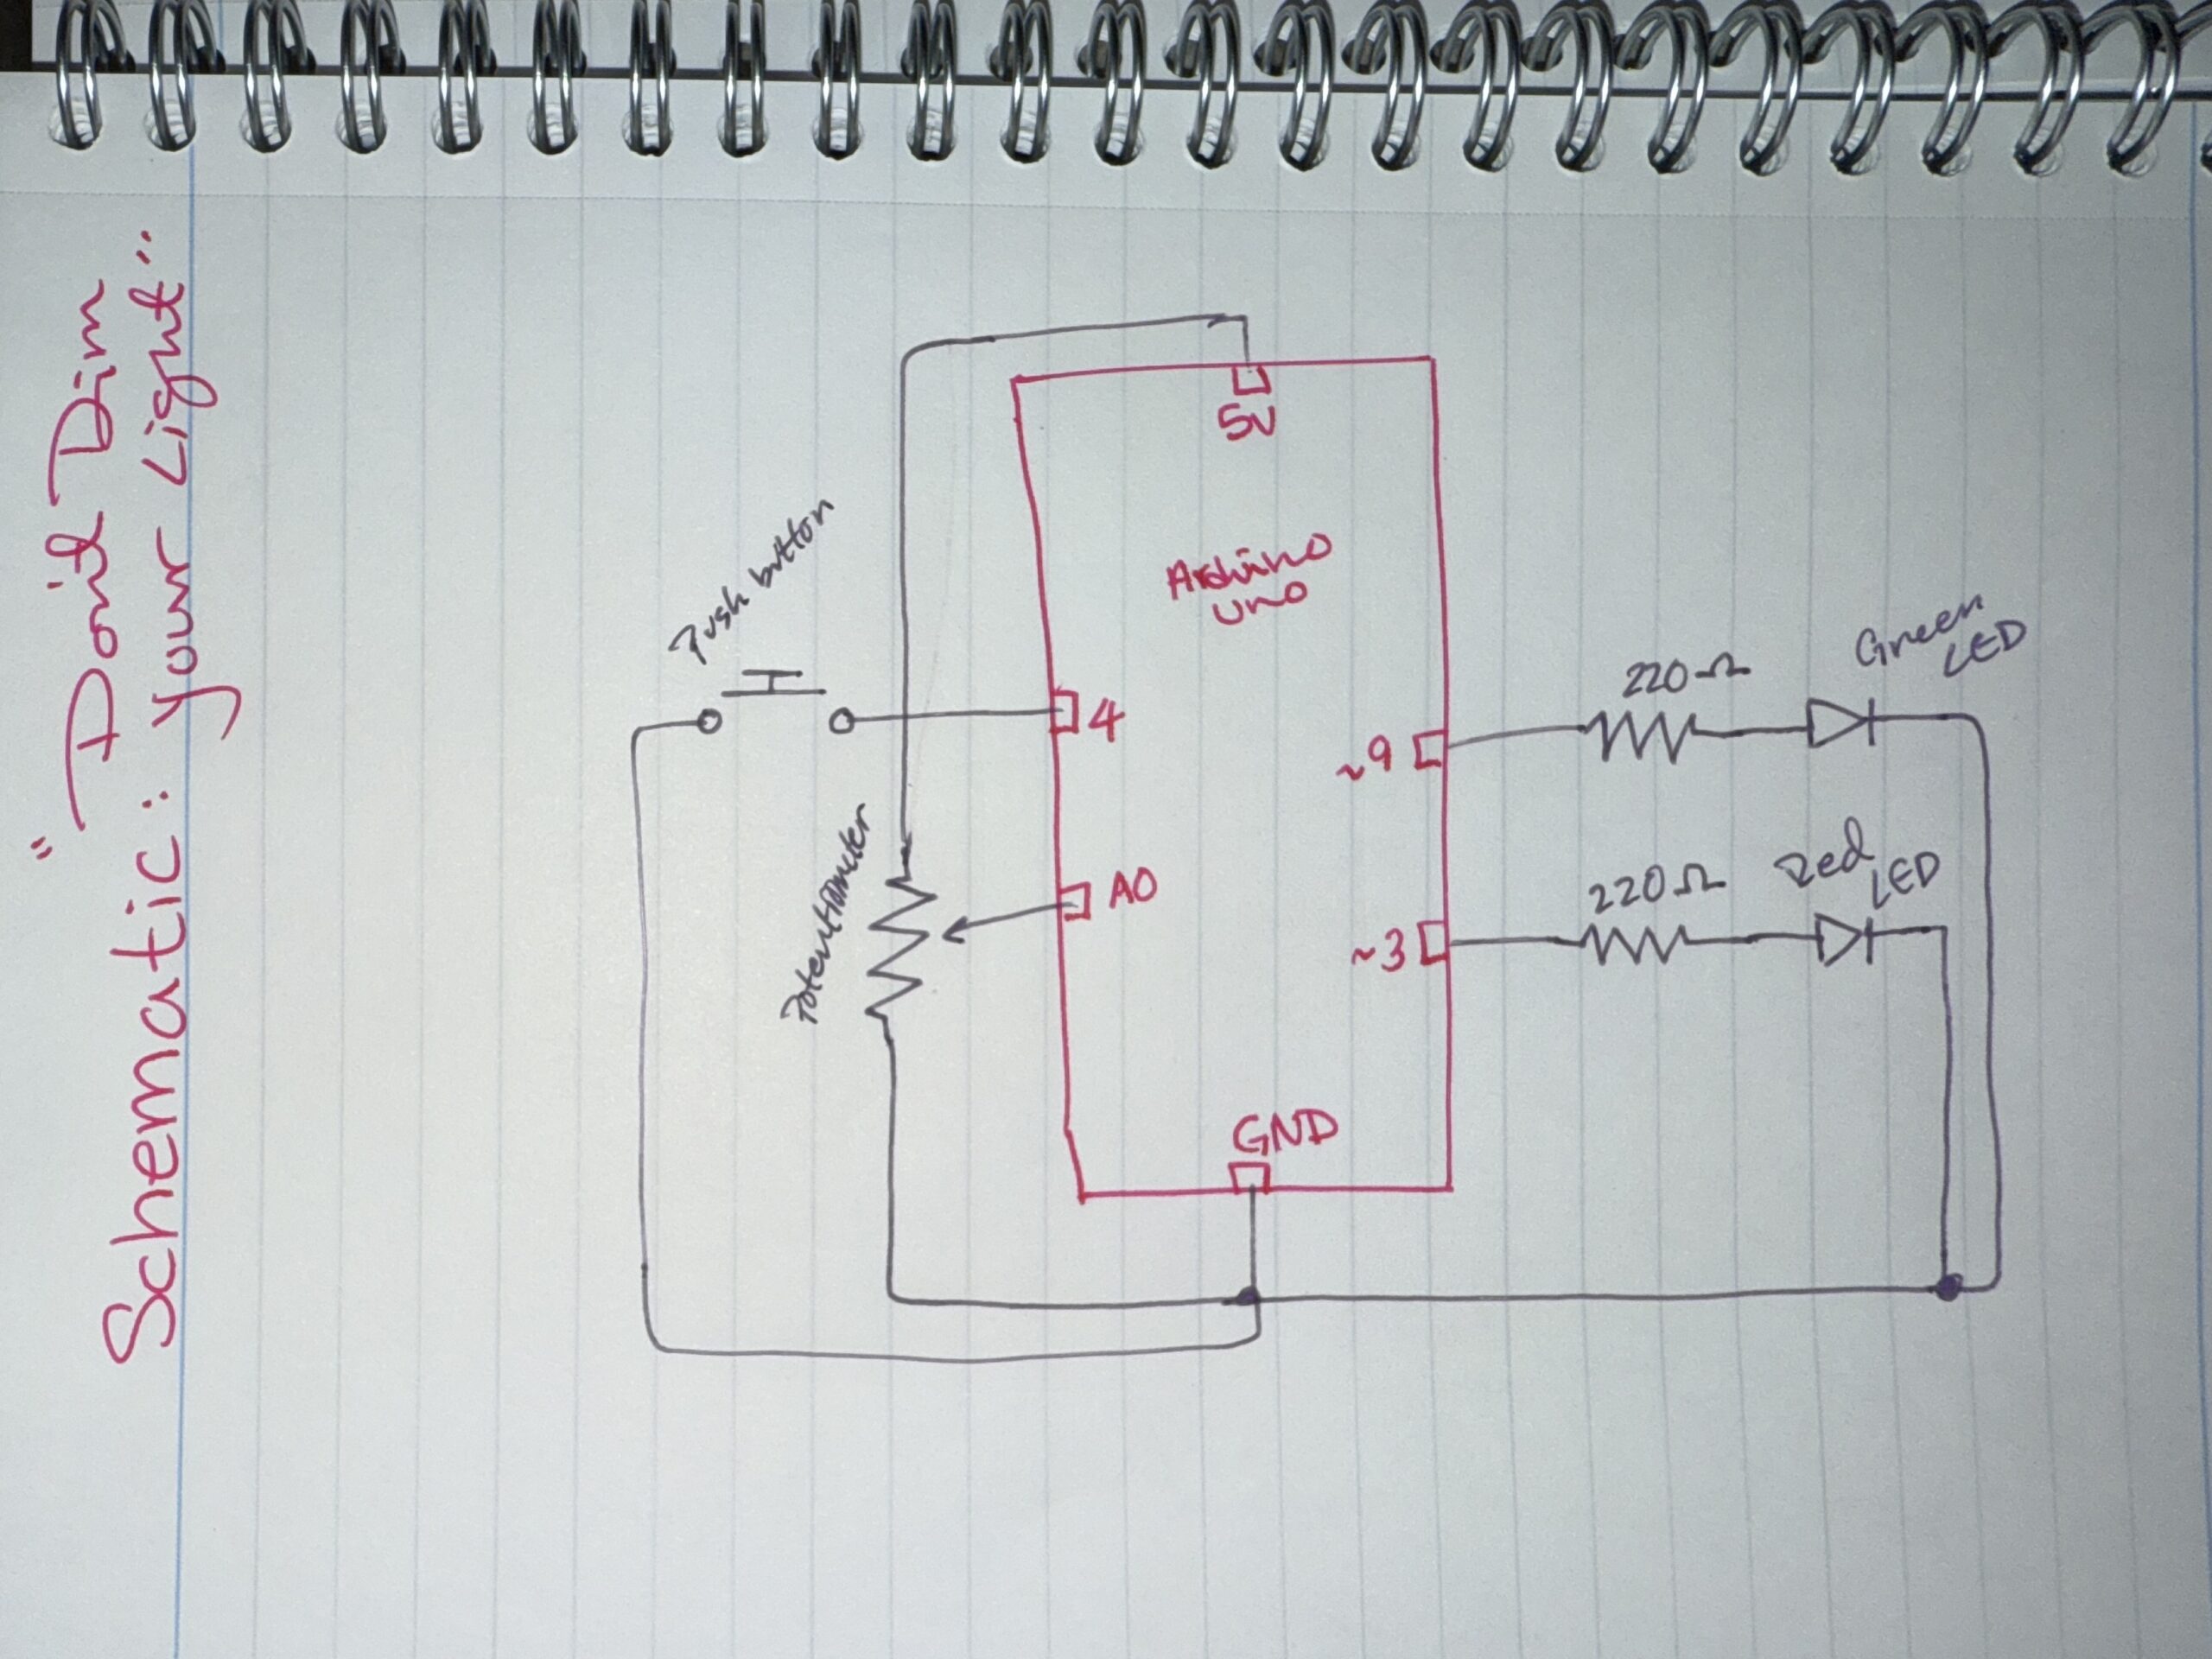
Hand-drawn schematic:
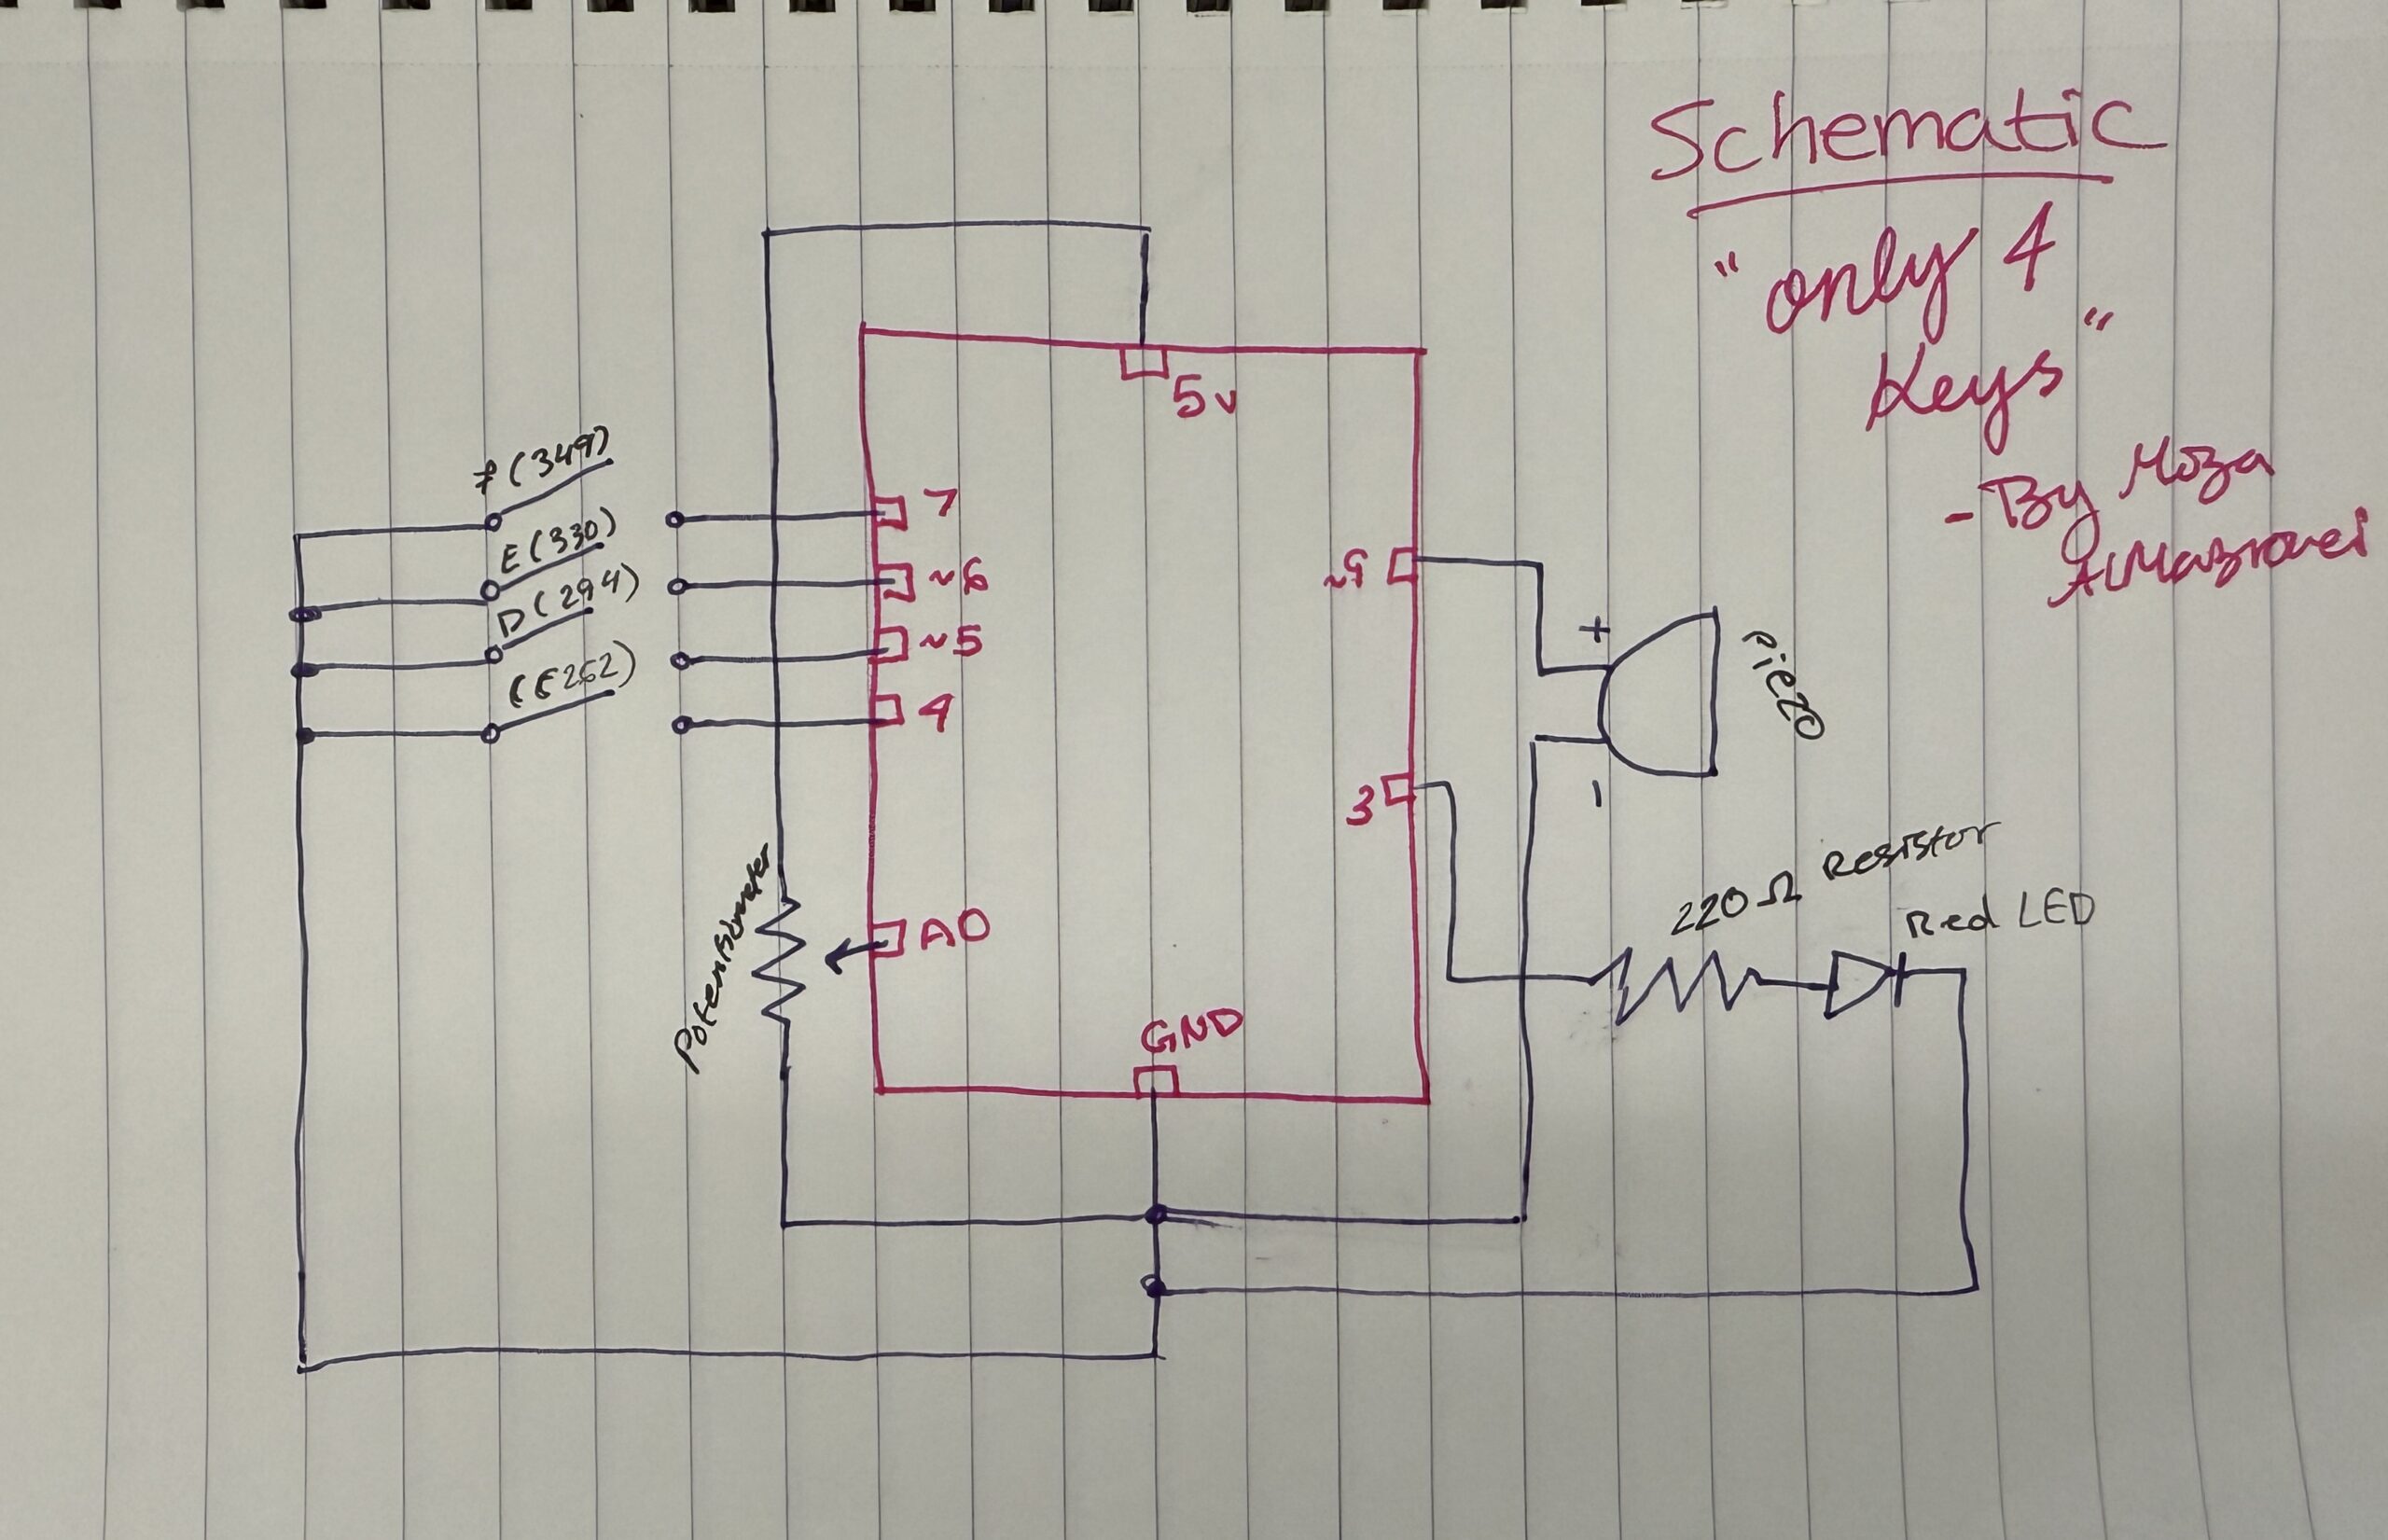
How this was made:
Schematics became easy for me to draw now after so many tries and practices in the old projects we created!!!
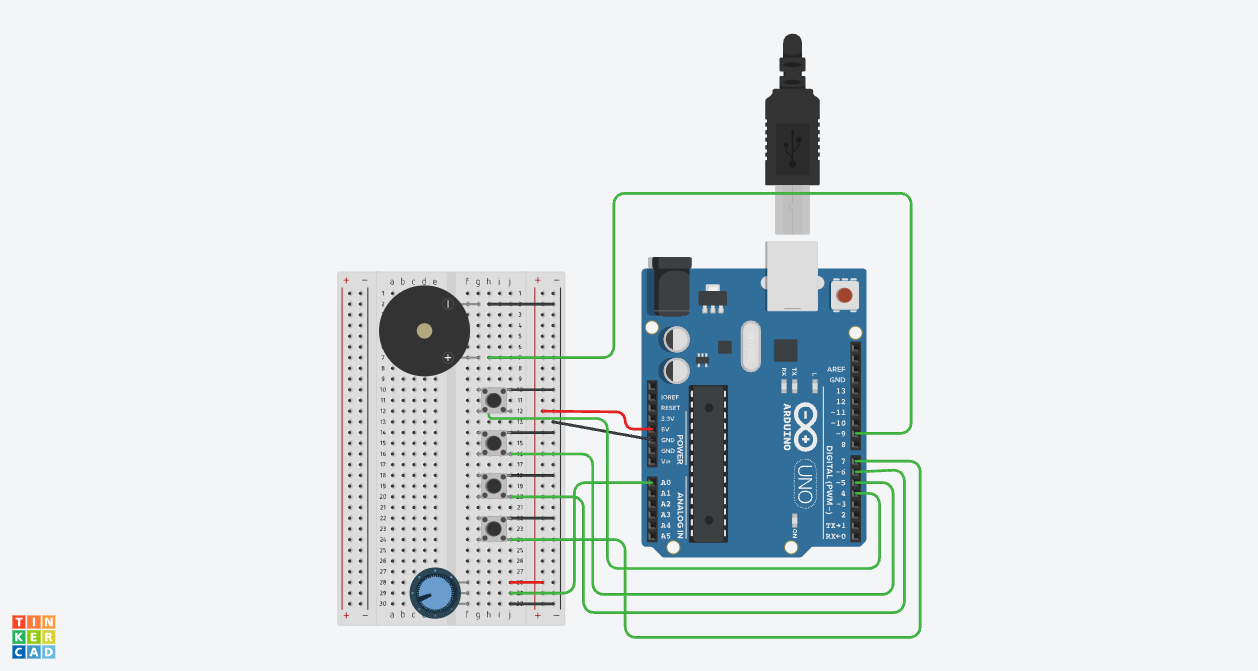
Image: Link to TC and Link to the video demo
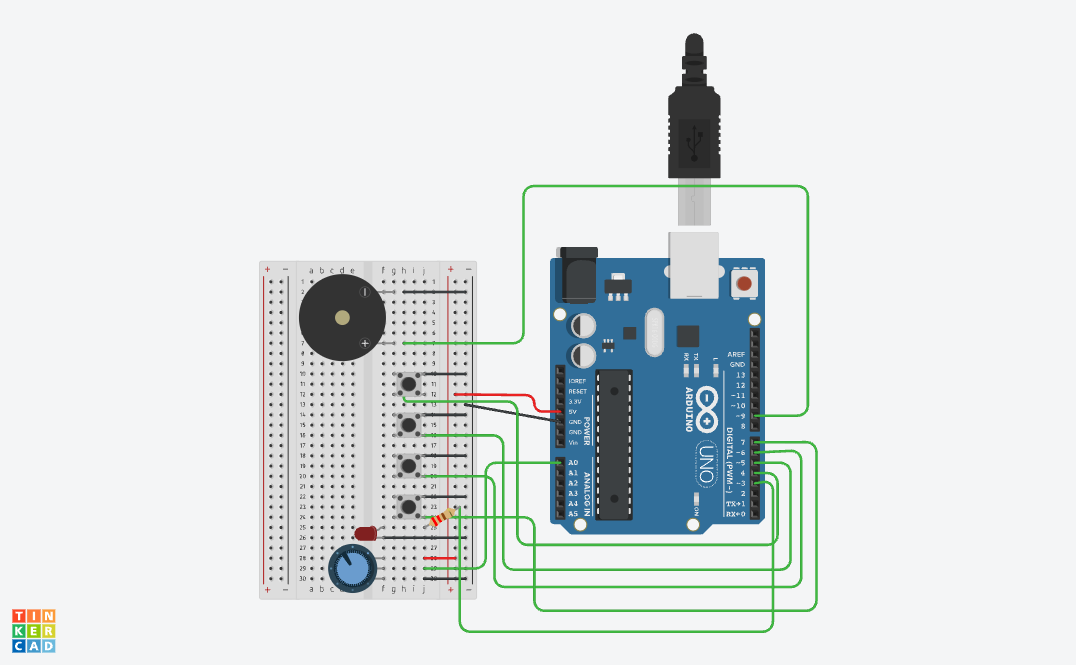
How this was made:
I really wanted to create something on tinkercad using sound! and I did! I really love how it turned out because not only can I personally explore and try different things but also I can create different music, sounds, etc.
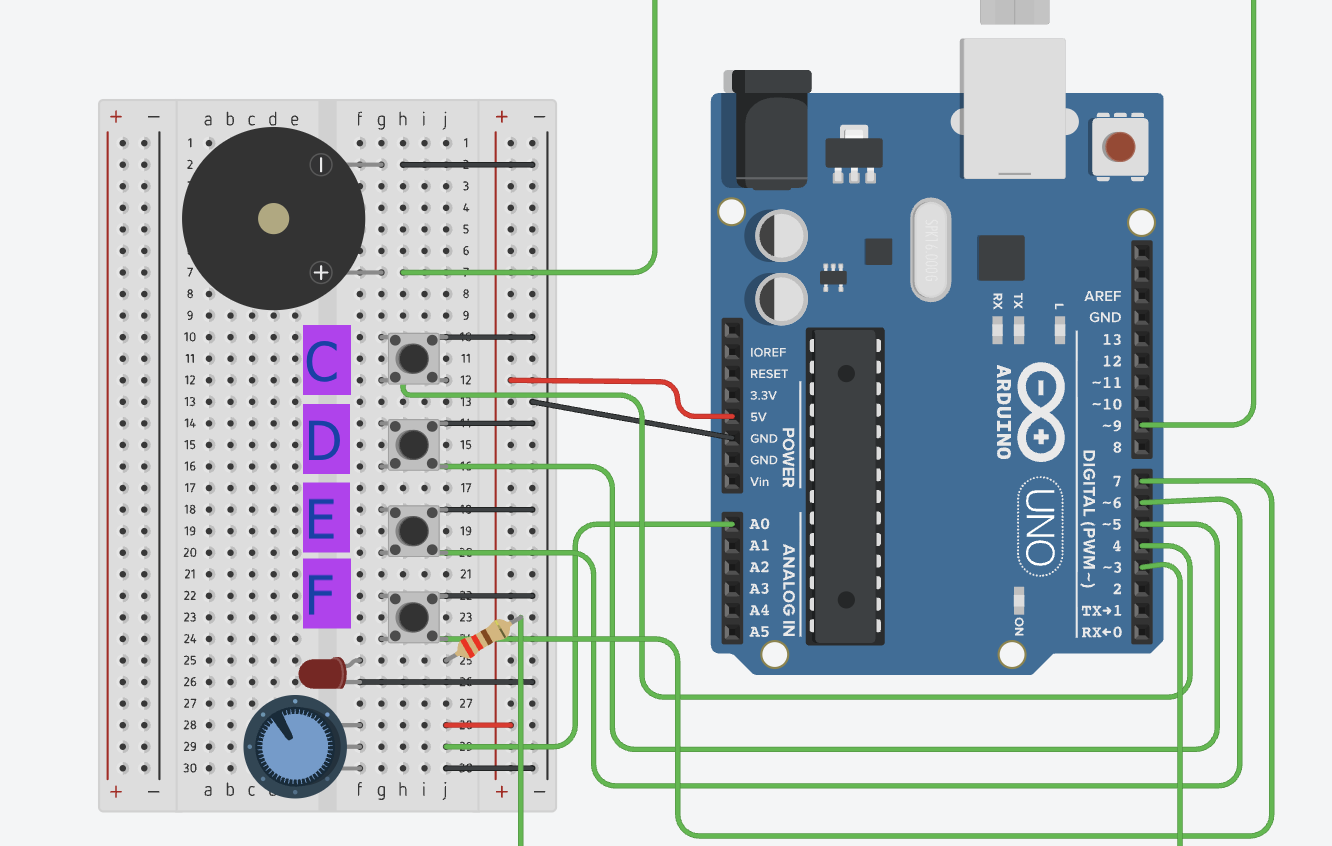
I started by building my project based on the the past projects I created and everything I learned. I wanted to improve and create something conceptually stronger and fun! I added the Piezo by connecting the positive side (h7) to pin ~9 using a green wire. I specifically used pin ~9 because it’s a PWM pin, which we learned in class is important for creating different sound frequencies and tones overall. Then I connected the negative side of the piezo (h2) to the negative side using a black wire. After making sure the GND was connected to the negative side and the 5V was connected to the positive rail, I moved on to the buttons. I added 4 buttons across the middle of the breadboard to act like mini piano keys. Each button plays a different note: Button 1 plays Note C, Button 2 plays Note D, Button 3 plays Note E, and Button 4 plays Note F. I connected one side of each button to the negative rail with black wires, while the other side connected to digital pins 4, 5, 6, and 7 using green wires. I also lined them up because I wanted the interaction to feel similar to pressing keys on a real keyboard or piano and also because of my actual design plan. For my final touch, I added a red LED as a visual indicator so that the interaction feels more alive instead of only relying on sound. I also placed the anode in f25 and the cathode in f26 then I connected a 220Ω resistor from the same row as the anode to Pin 3, and connected the cathode row to the negative rail with a black wire. THEN I shifted the potentiometer a little to the side so there would be enough space for the buttons while still keeping it close enough to work as the “tuning” dial for the notes. (overall the hardest part is always the placement because when we learn in class everything looks small but on the tinkercad it looks way bigger!)
Code:
// C++ code
//

void setup() {
  pinMode(9, OUTPUT); //the piezo speaker
  pinMode(3, OUTPUT); //red light

  //all the buttons
  pinMode(4, INPUT_PULLUP); //button 1=Note C
  pinMode(5, INPUT_PULLUP); //button 2=Note D
  pinMode(6, INPUT_PULLUP); //button 3=Note E
  pinMode(7, INPUT_PULLUP); //button 4=Note F
}

void loop() {
  int sensor = analogRead(A0);
  //changing the dial to a small number for the pitch
  int multi = map(sensor, 0, 1023, 1, 4);

  //checking each button
  if (digitalRead(4) == LOW) {
    tone(9, 262 * multi); //play C
    digitalWrite(3, HIGH); //light turns on
  }
  else if (digitalRead(5) == LOW) {
    tone(9, 294 * multi); //play D
    digitalWrite(3, HIGH);
  }
  else if (digitalRead(6) == LOW) {
    tone(9, 330 * multi); //play E
    digitalWrite(3, HIGH);
  }
  else if (digitalRead(7) == LOW) {
    tone(9, 349 * multi); //play F
    digitalWrite(3, HIGH);
  }
  else {
    noTone(9); //silence when nothing is pressed
    digitalWrite(3, LOW); //light off
  }

  delay(10); //slow 10ms delay
}
How this was made:
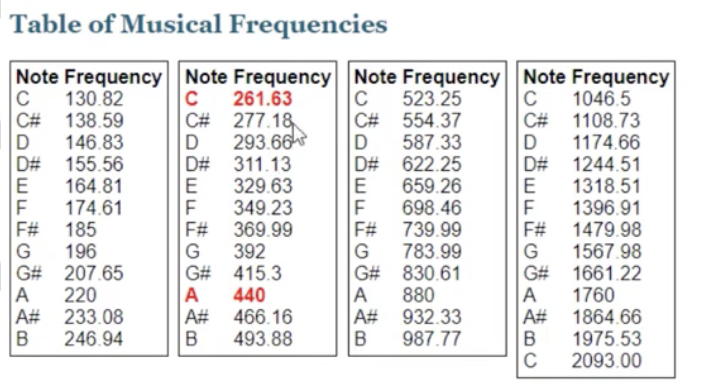
For my code, in the setup first I highlighted pin 9 because that’s for the Piezo, my speaker which is the most important part of the project. I also set up pin 3 as an output for my Red LED, which is for the visual signal whenever a note is played and it becomes lighter and darker based on the button pressed. Then I set up pins 4, 5, 6, and 7 for my buttons while using INPUT_PULLUP so I wouldn’t have to add any extra resistors or wires on the breadboard since I can easily use Tinkercad’s built-in resistors. Then I created a loop and used analogRead(A0) to first check the sensor and then inside, because the dial gives a number from 0 to 1023, I used the map function (which I learned from ARDUINODOCS) to change that number into a small number that goes from 1 to 4. I called this multi (short for multiply) which allows me to change the pitch higher just by turning the dial. For the music, I used the if/else because again its familiar -p5.js. Because I wanted to create keys, I followed the musical notes of button 1 = 262 (a C note) and it goes on (of course I checked the music notes to do this). Inside each if statement, I also added digitalWrite(3, HIGH) so that the Red LED (connected with a 220Ω resistor to protect it) lights up at the exact same time the sound plays. I basically ended the code with else { noTone(9); digitalWrite(3, LOW); } so when no button is pressed, the sound stops and the light turns off. Like always, I added a 10ms delay at the bottom just to keep the loop from running too fast and making the sound glitchy.
Resources:
I just took tips from class, from youtube, from Professor Mang and Professor Aya’s notes!!
- Always Professor Mang and Ayas lecture notes!
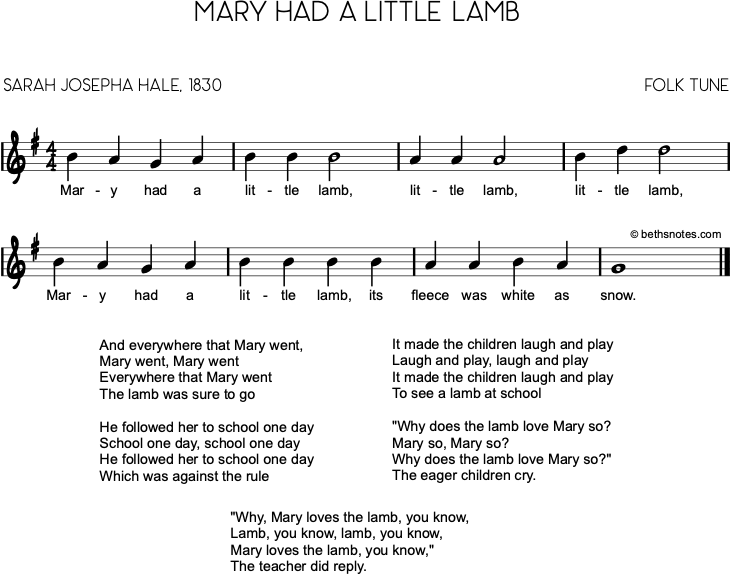
- https://www.youtube.com/watch?v=uYgp3lAfolo [song Mary had a little lamb]
- https://www.youtube.com/watch?v=eCbP7EHaTFk [to look at how to make music in tinkercad]
- https://www.youtube.com/watch?v=np757xxsI0o
- https://www.youtube.com/watch?v=fM2xseupKlY [keys]
- https://www.youtube.com/watch?v=Bby2xAzFVGQ [looking at how to use buttons specifically and the piezo]
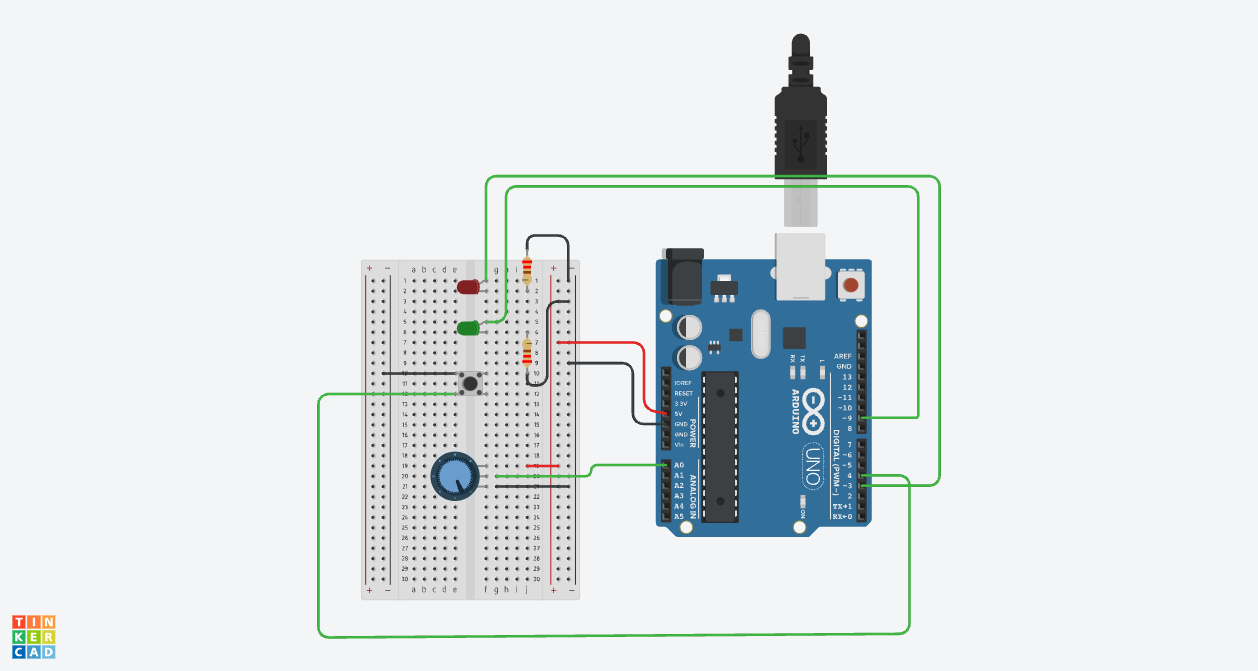
My creativity! Link to TC and Link to video
How this was made:
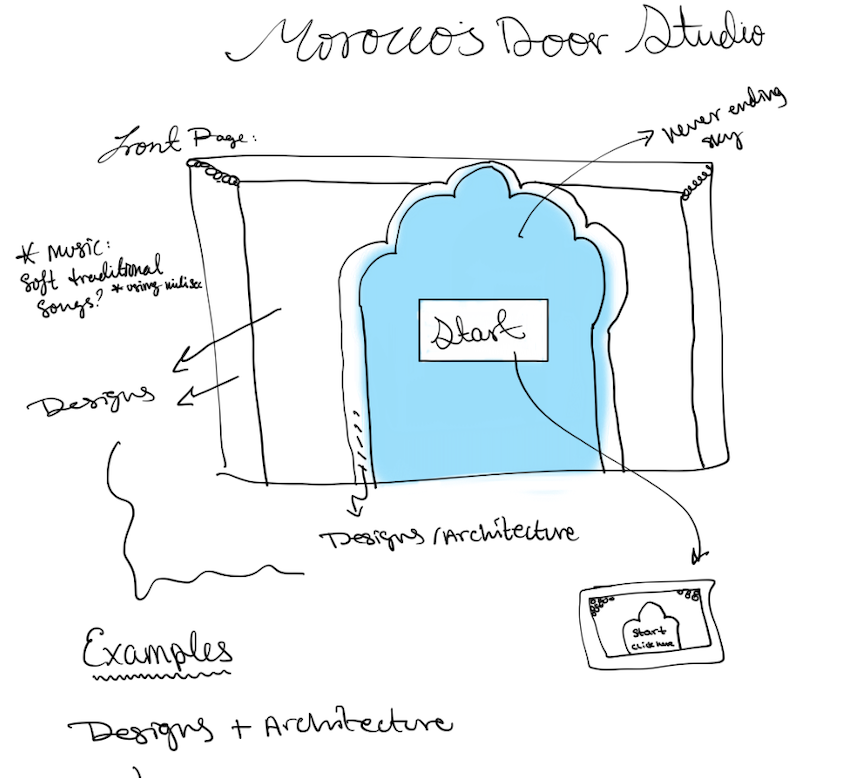
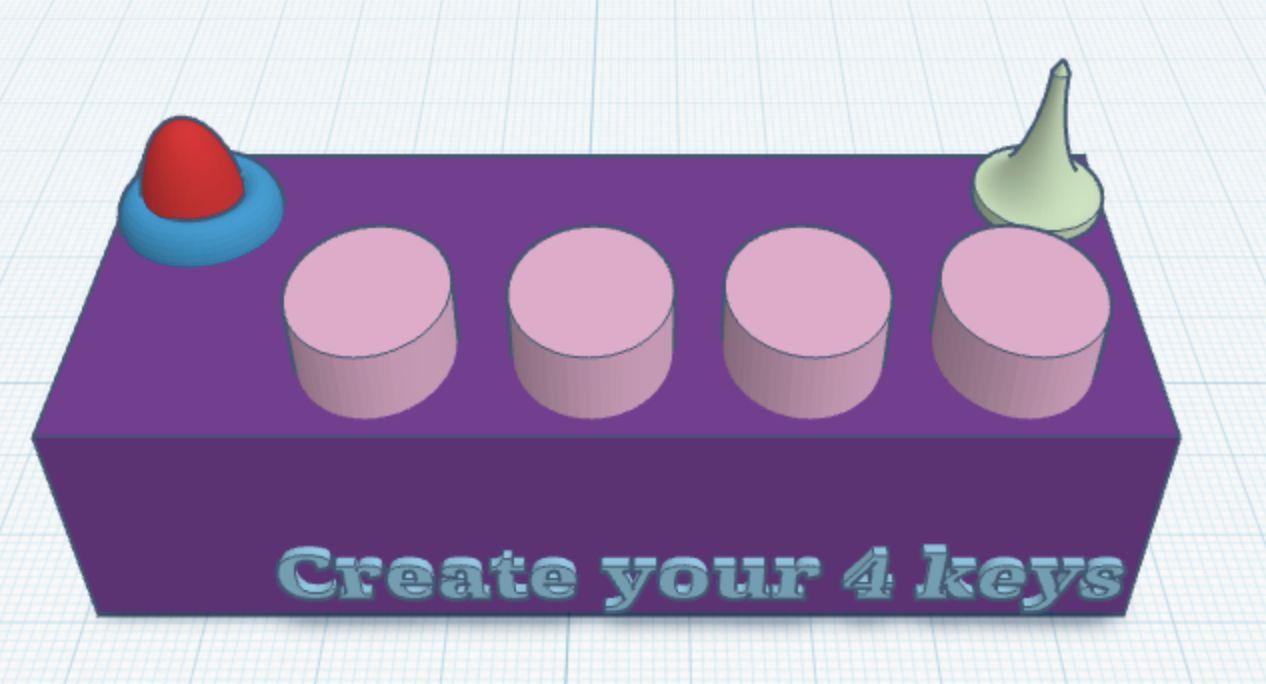
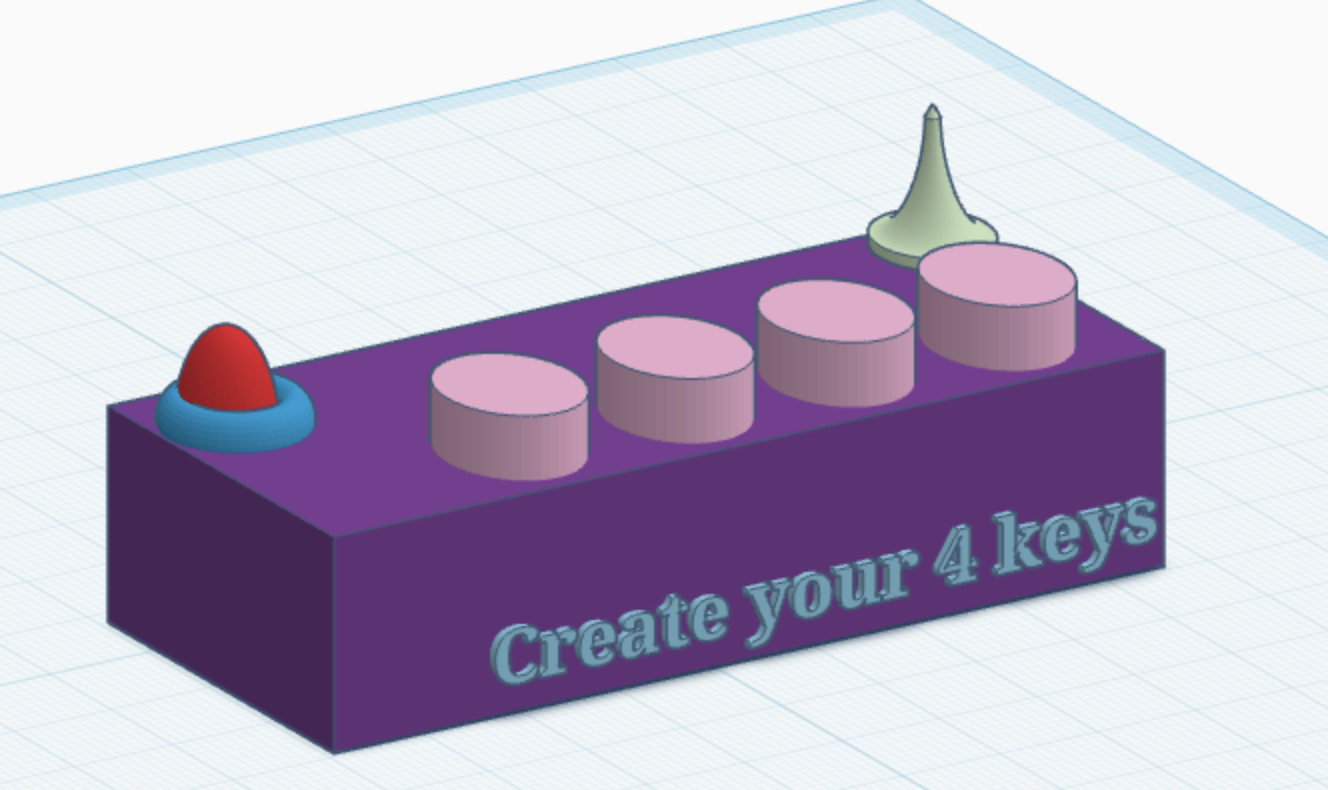
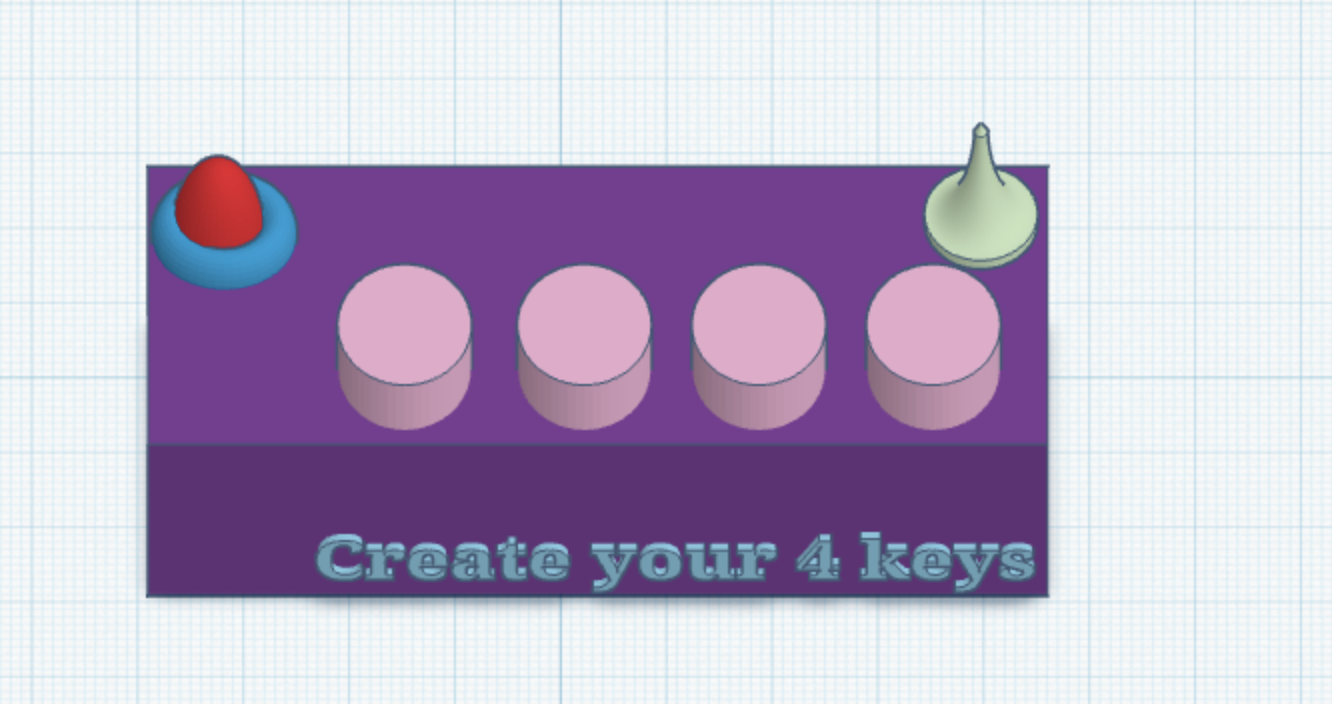
So of course, because I don’t have the actual kit 🙁 I had to use Tinkercad, and at first I was honestly sad because I felt limited when it came to creativity and design. But after Professor Mang told us that we could actually design the setup ourselves, I started exploring more inside Tinkercad and tried creating what I imagined the project would look like. Of course it’s still a bit different from how I would make it physically, but honestly that’s okay.
Overall what can you play -my experiment:
Mary Had a Little Lamb: E-D-C-D-E-E-E then D-D-D then E-E-E
Hot Cross Buns: E-D-C then E-D-C then C-C-C-C, D-D-D-D
Ode to Joy: E-E-F-F-E-D-C-C-D-E-E-D-D
Final reflection:
Honestly, I’m really proud of how this project turned out. At the beginning, everything felt confusing and overwhelming, especially because I didn’t have the physical Arduino kit and had to use Tinkercad -also with everything happening in the country 🙁 so overall the process wasn’t easy at all!
At first, I felt limited and thought it would make the experience less creative, but then I realized I could still experiment, design, and create something personal even in a simulation. Comparing myself from when I first started struggling through simple tutorials to now building an interactive project with buttons, sound, LEDs, and pitch control, I can honestly see how much I improved throughout the semester. What makes me happy is that this project feels connected to me personally. I’ve always loved music, so creating my own mini “instrument” with only four keys was actually really fun. I also want to start finding a new hobby and learn piano! I also like that the project is simple but still allows people to experiment and create different patterns depending on how they interact with it. Even though it only has four buttons, it still allows people to show their creativity and curiosity.
I think one of the biggest things I learned from this project is that interaction design is not just about making something work technically, it’s about making the experience feel clear, engaging, and enjoyable for the person using it. I first did my project draft but after my sister played around with it she gave me feedback that allowed me to focus on specific user designs for my final. For future improvements, I would definitely want to expand the project by adding more notes, different sound effects, stronger visual feedback. Overall, I’m really happy I pushed myself further with this final instead of staying with something too simple, and I honestly want to keep experimenting more with Arduino and interactive design in the future.