Final Project

Concept:

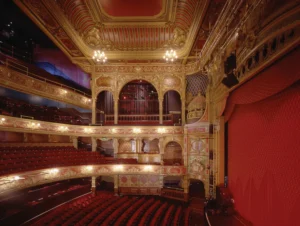
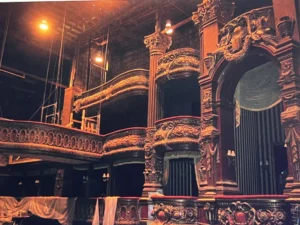
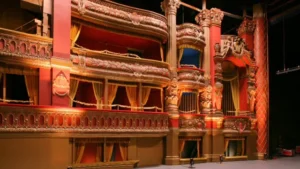
The concept of my game is a ballet opera simulation where the user controls the ballerina’s movements. Using padding on their finger tips, whenever the user presses their fingers together, the ballerina changes positions. If the user is idle or as they call it AFK for too long, the ballerina will fall and the buzzer connected with make a noise

Sketch:

https://editor.p5js.org/da3755/sketches/Za6gDoYXq


Arduino Code:

https://github.com/da3755-ui/intro-to-im/blob/da20ed409cd10566c8e7bb00e641c957f72e08c1/IntrotoImfinalproject_.ino

User Testing:

User Testing 2:

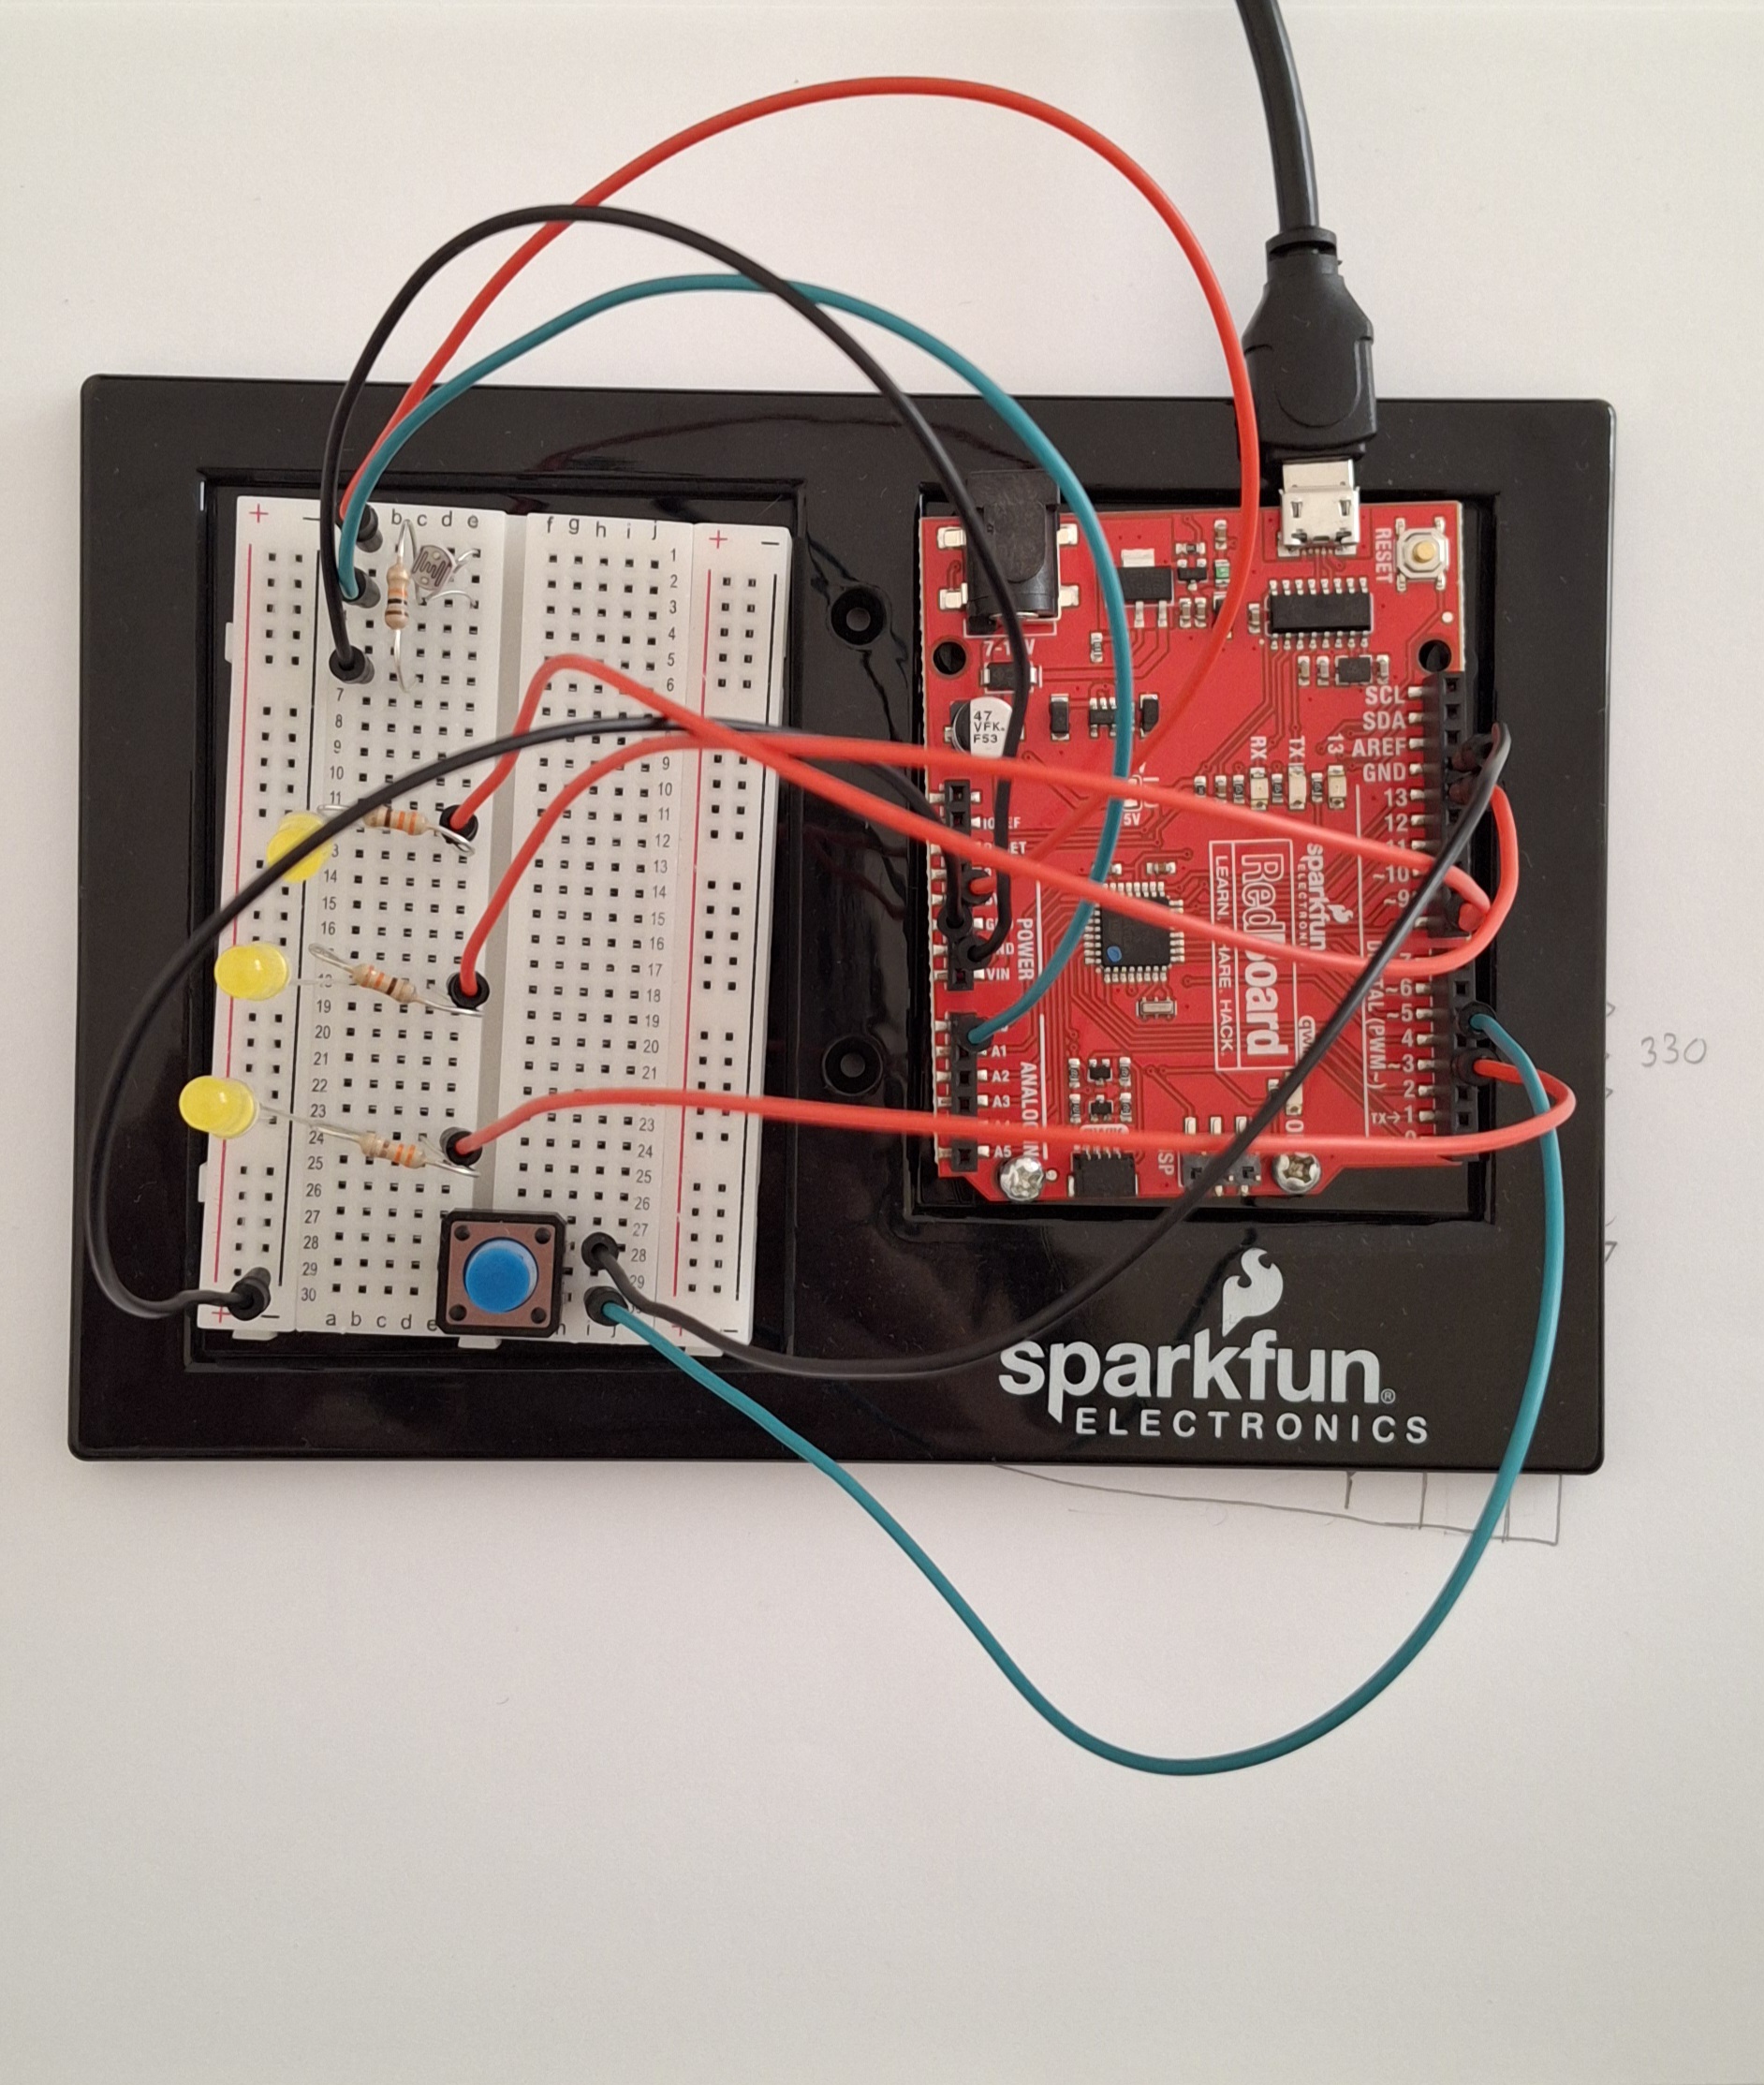
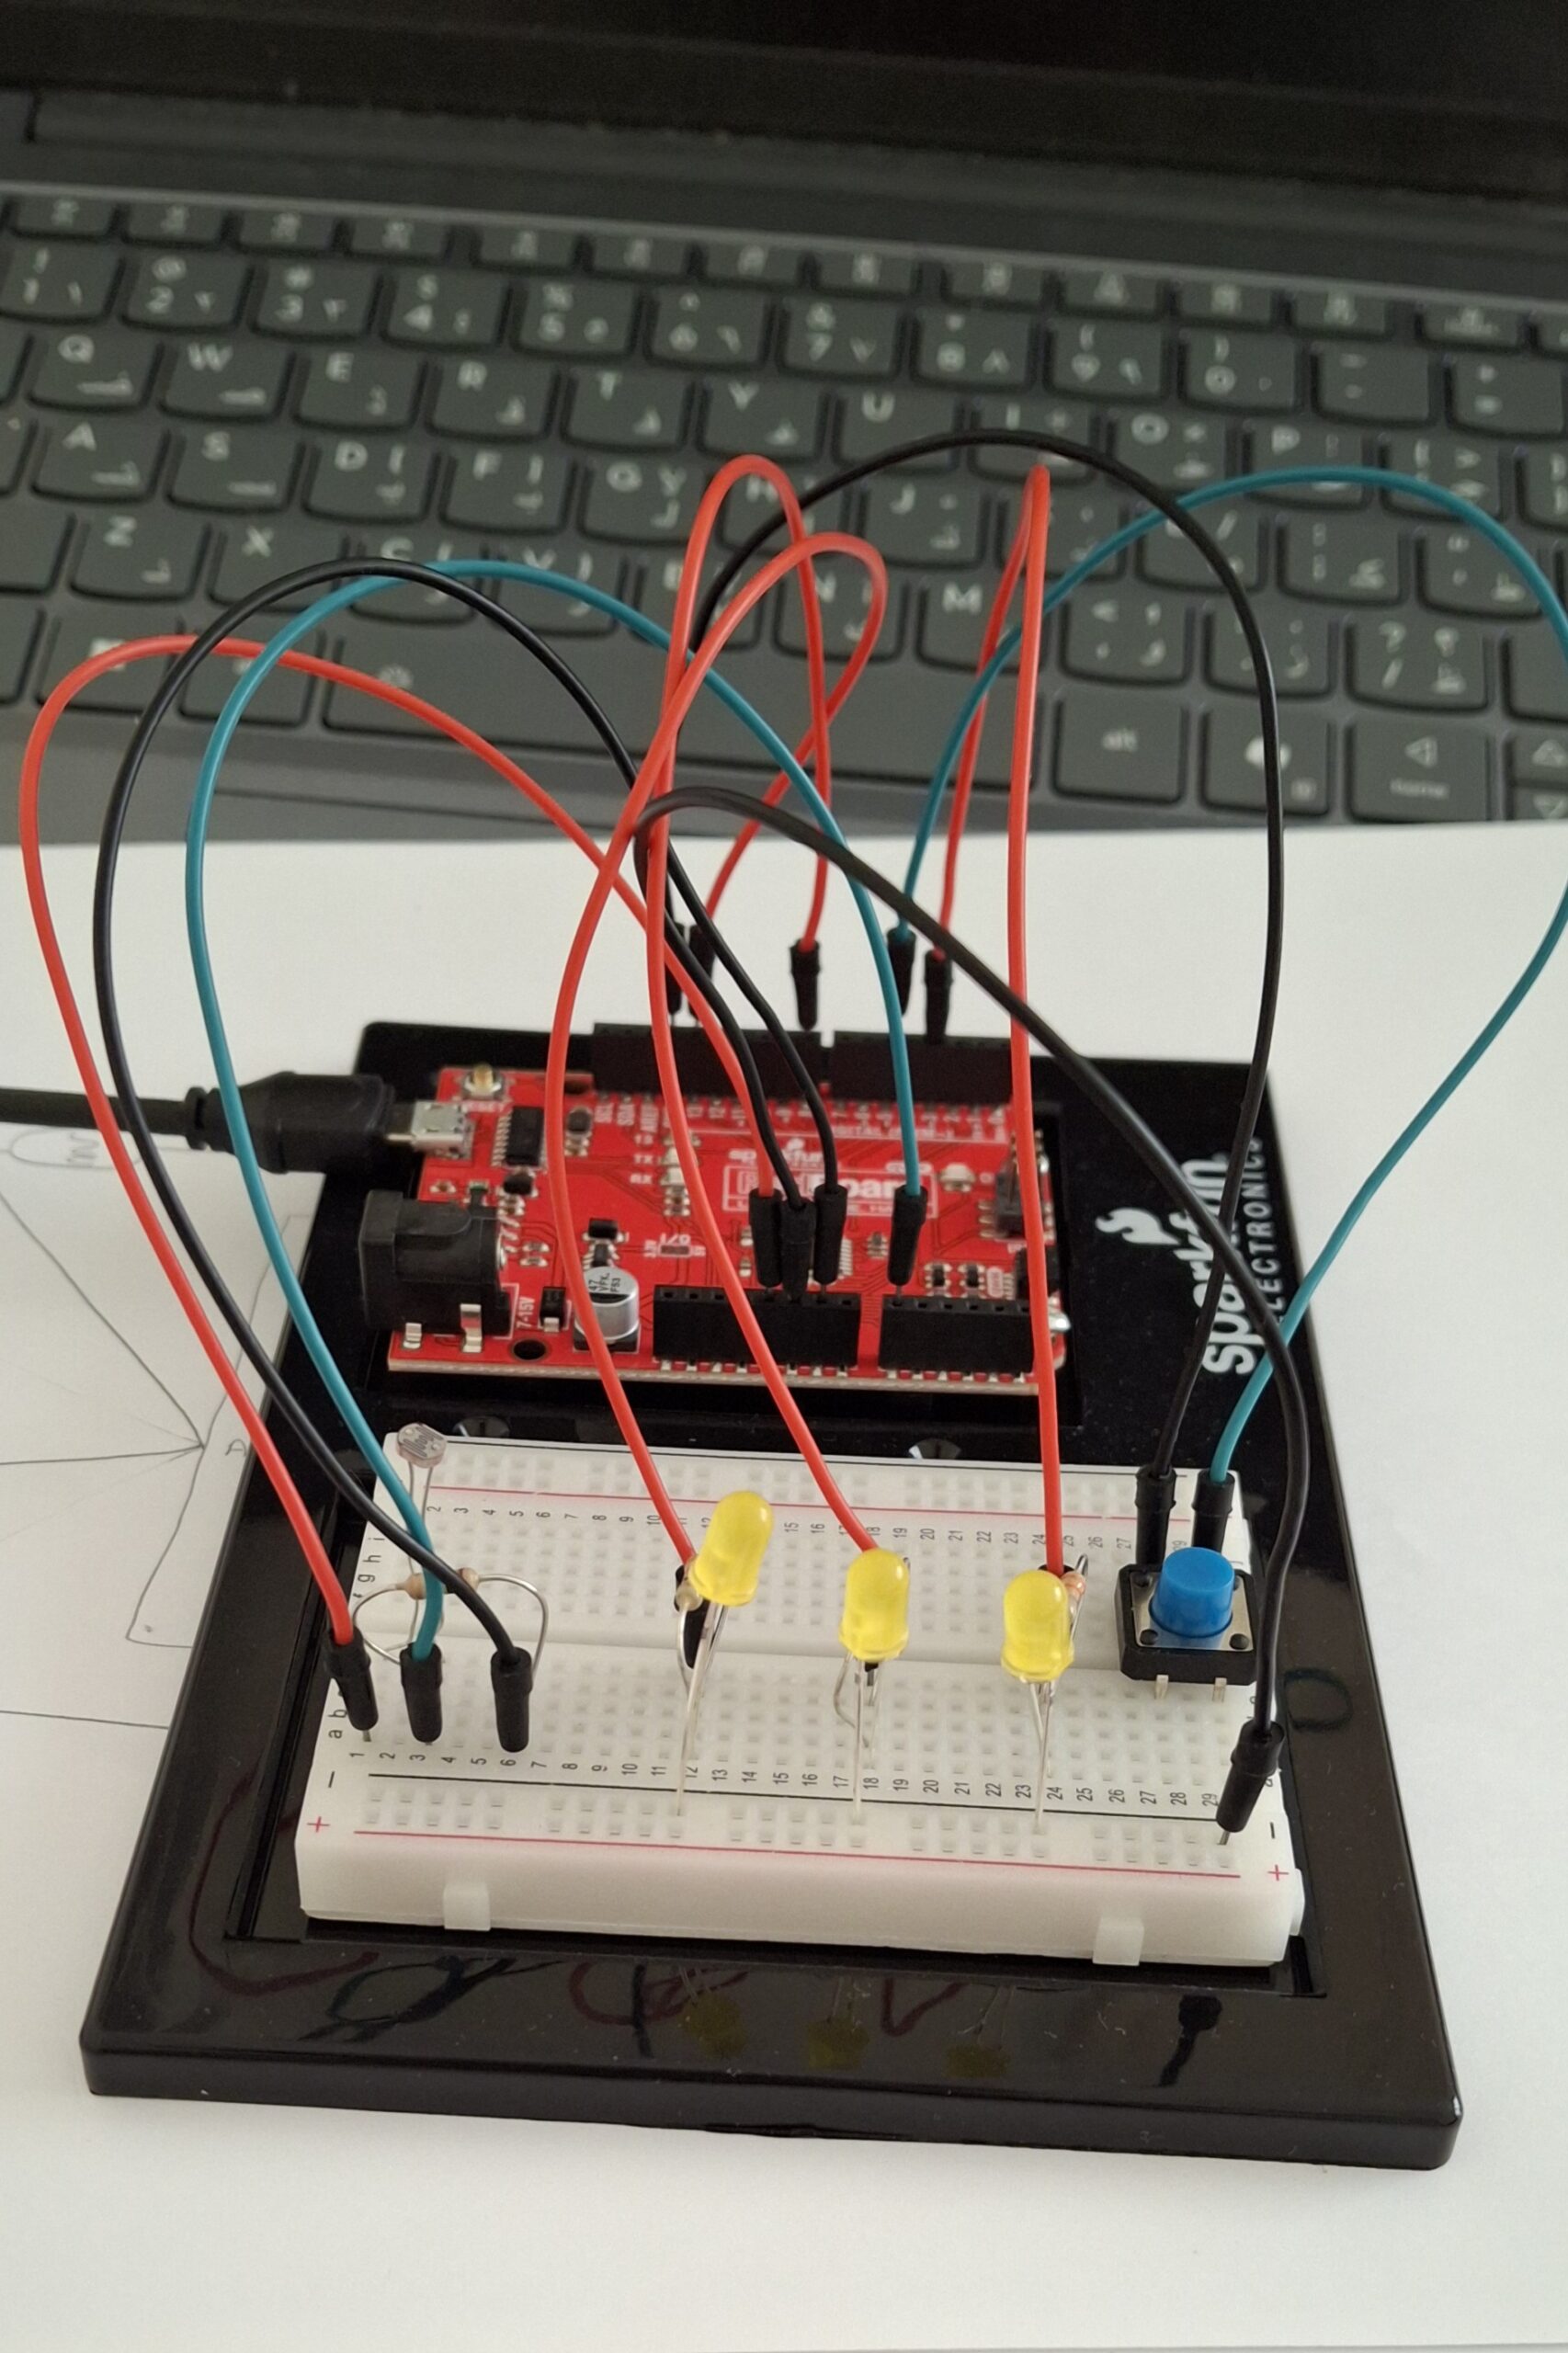
Visuals and More User Testing and Circuit Set Up:

https://drive.google.com/drive/folders/1mwulAEwvxRT4E3LnXxp-2LjqP0v3otrT?usp=drive_link
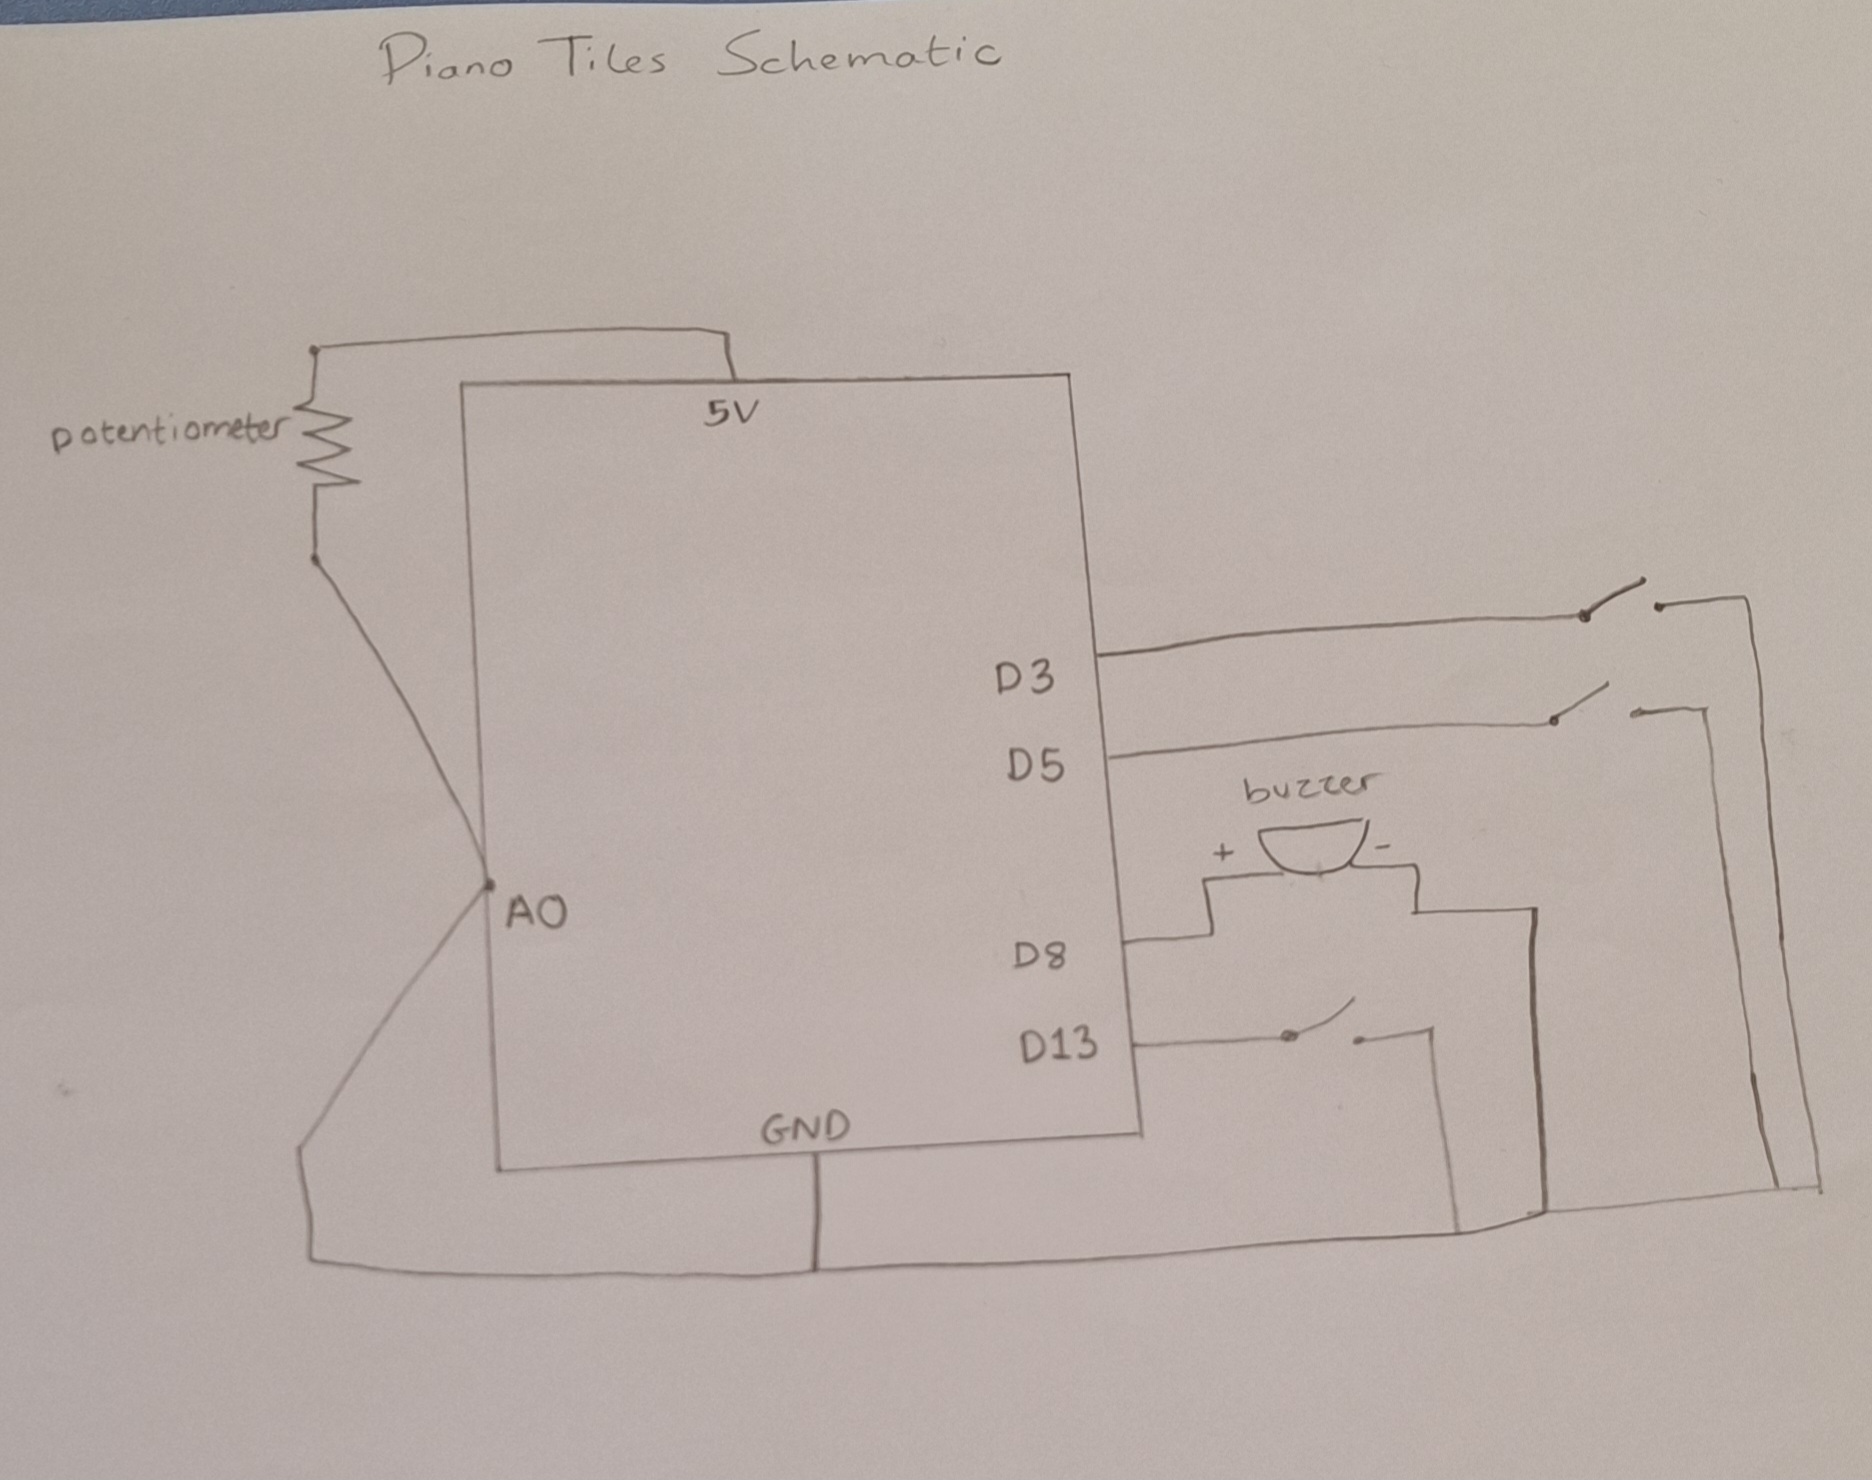
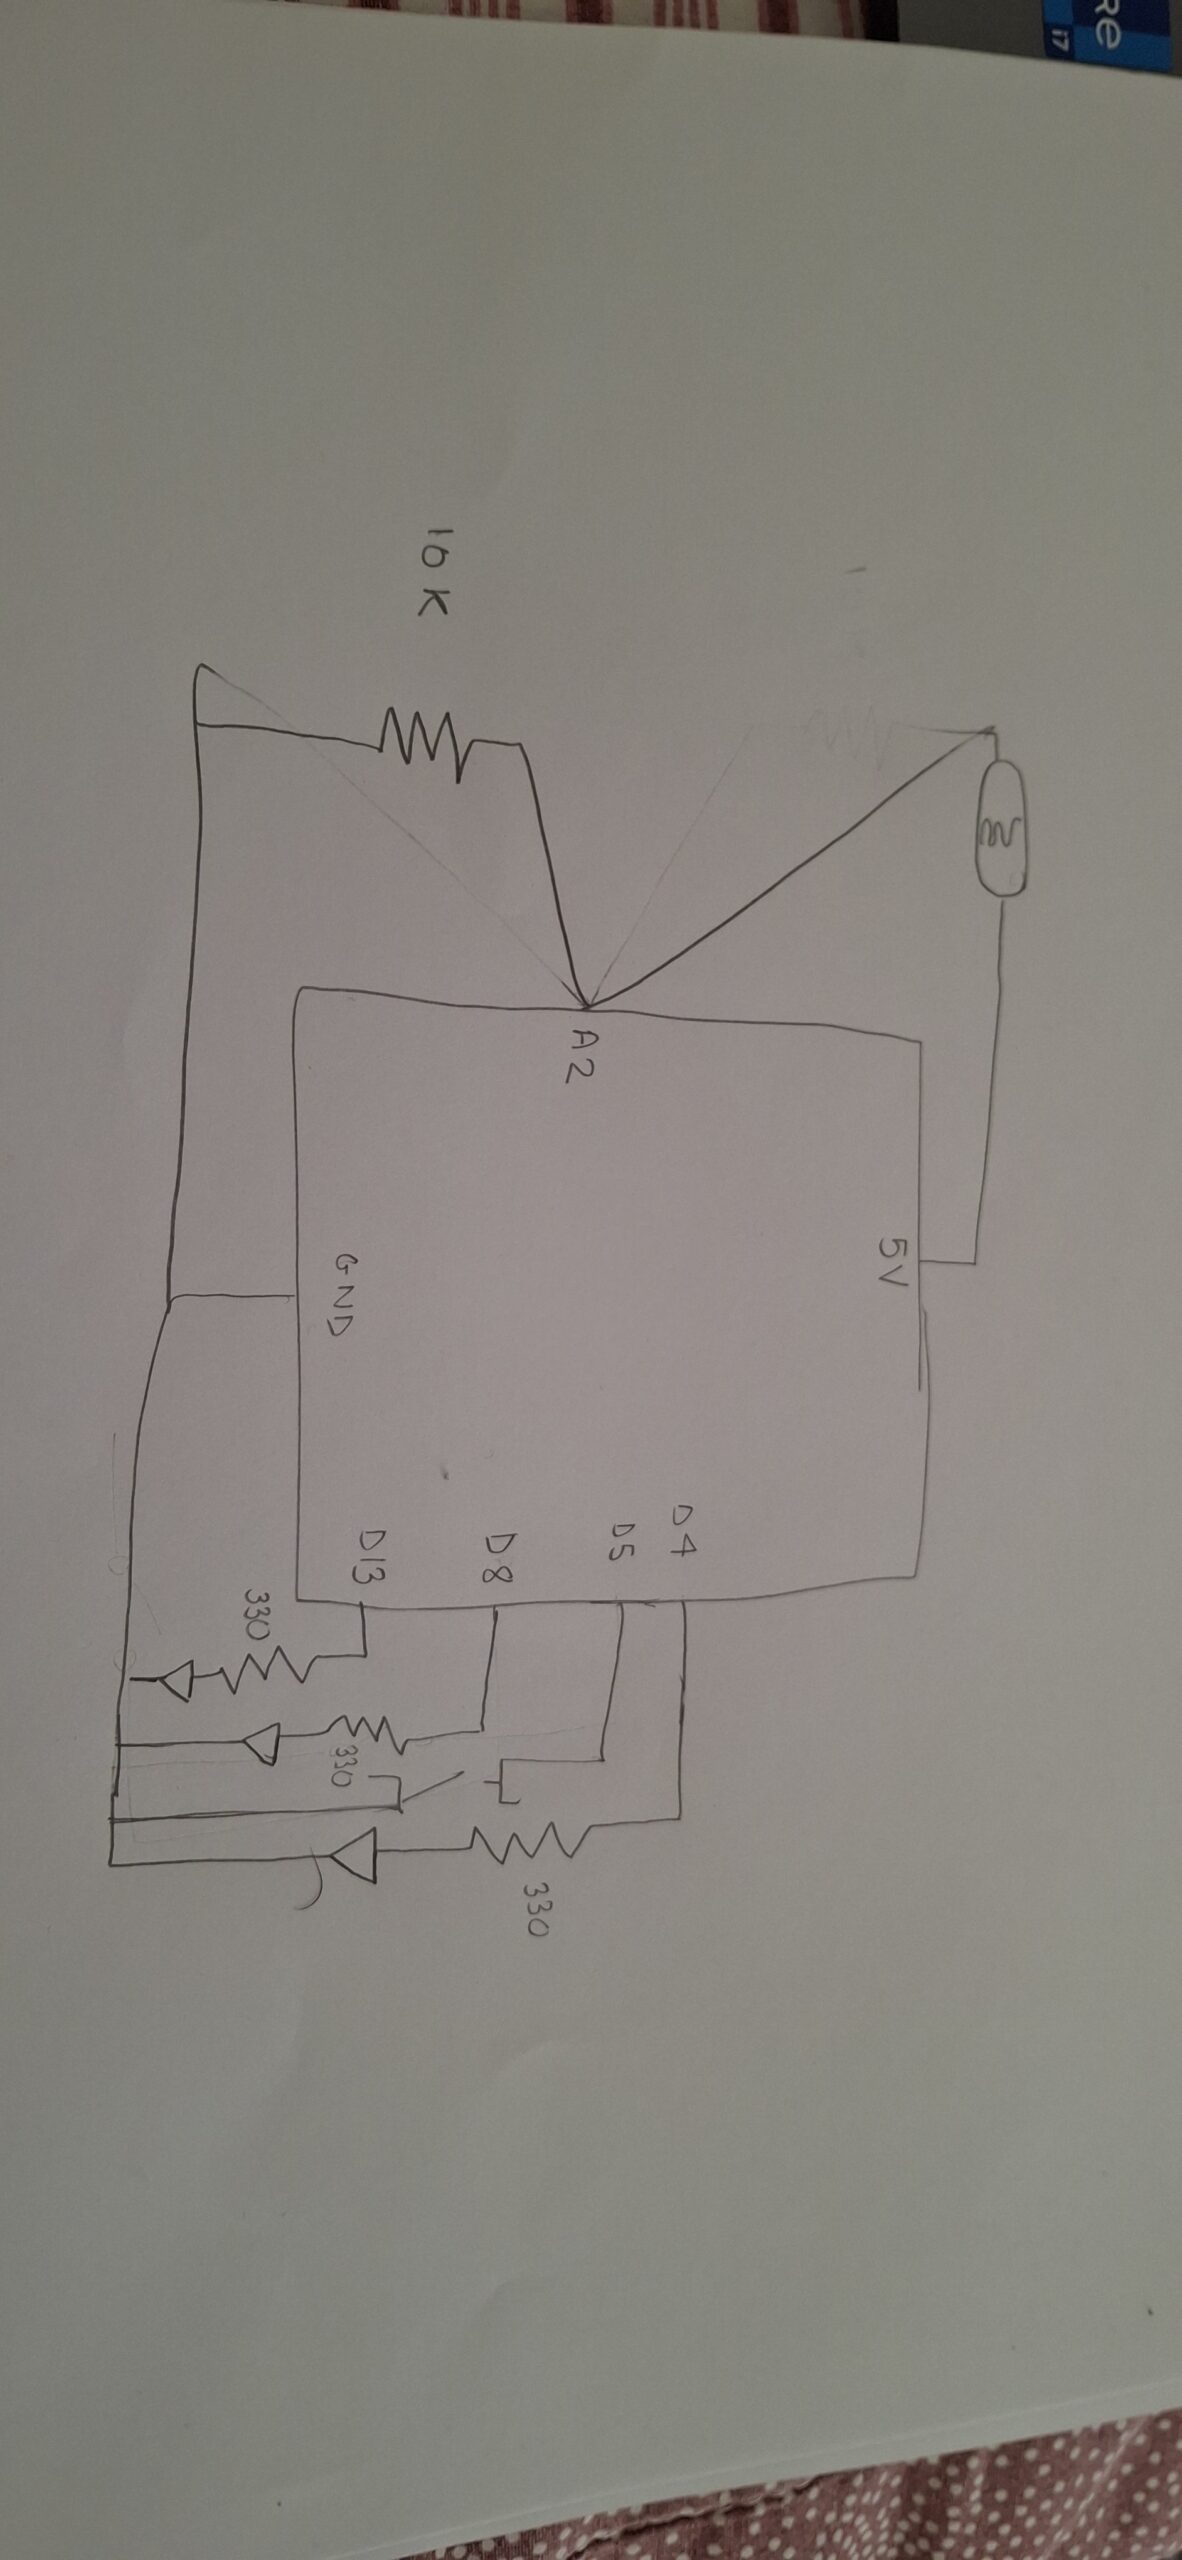
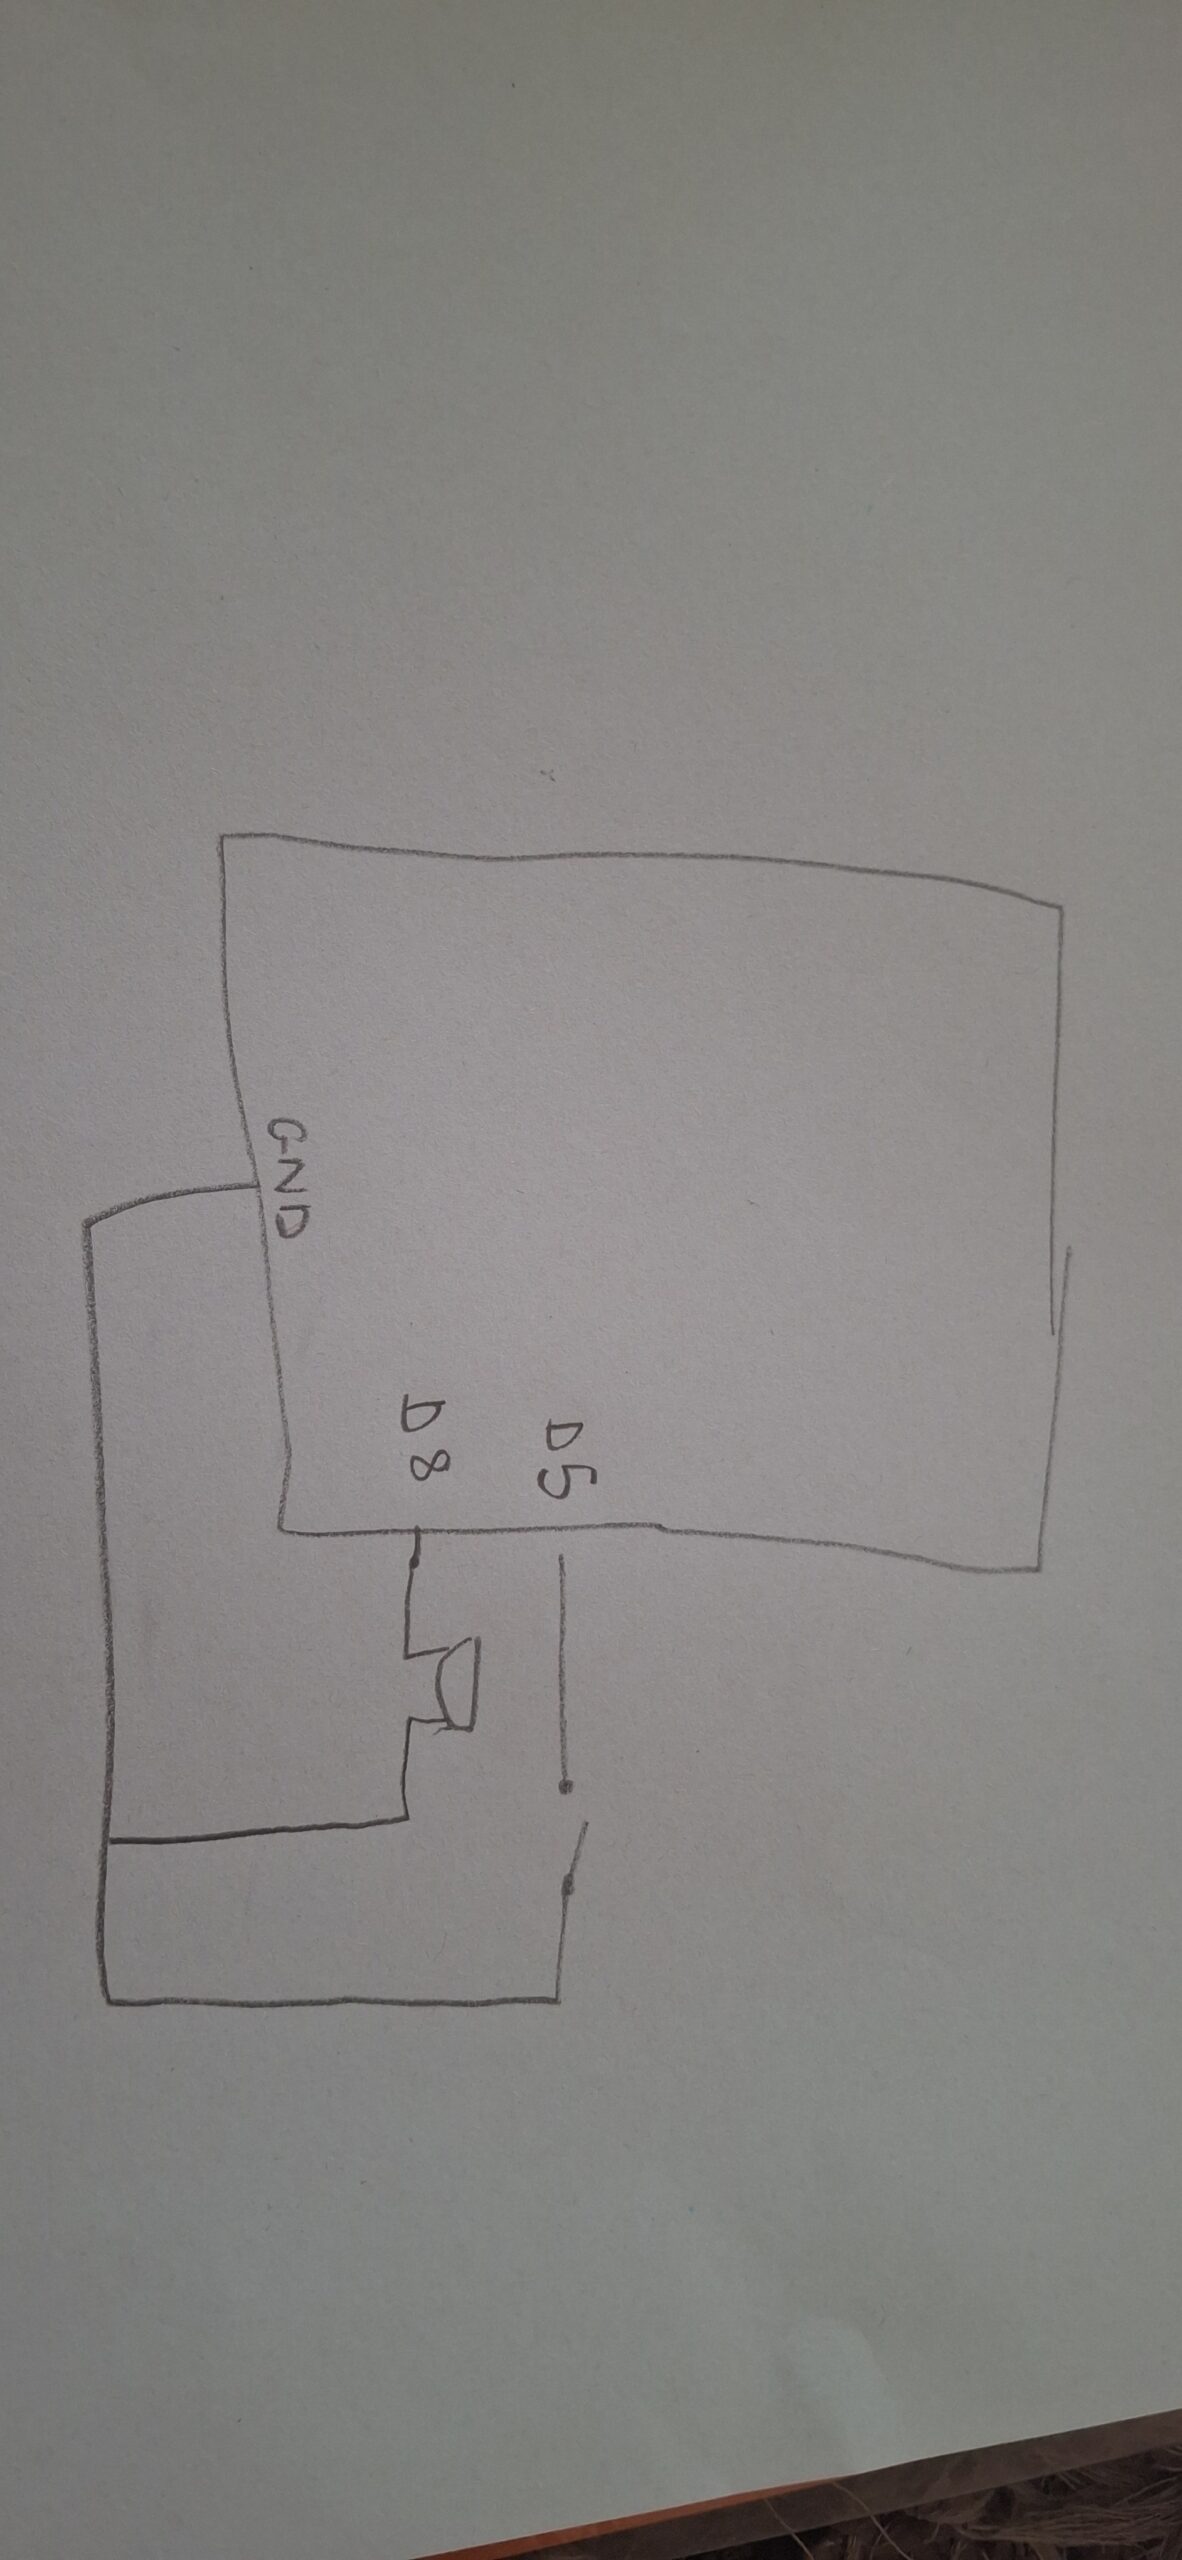
Schematic

Description of interaction design

The game follows a typical bi-directional sequence. The pads of the fingertips are wires connected to aluminum foils that act as a switch when in contact. Once they make contact, for each contact, the spritesheet iterates through itself and plays the next sprite in order.

From p5’s side, I have designed it so that if you go idle for 10 seconds or more, a new spritesheet plays where the ballerina falls, and I send a signal to Arduino to play the buzzer as a “warning”

My p5 code relies on the same game state functions we had in our midterm project, where I move from start –> instructions –> game —> end. I did not use OOP in my project, which I realized a bit too late that it would have been better if I had. I used many, many if statements, which were confusing at times because of their frequency. For my first dancing spritesheet I used the typical nested loop structure we took in class, however for my second falling spritesheet I used a technique I found on YouTube that almost rapidly swipes through the sprites creating the seamless motion.

let data = port.readUntil("\n");

if (data.length > 0) {
  fromArduino = Number(trim(data));

  // Glove touched (movement detected)
  if (fromArduino === 0 && lastGloveState === 1) {
    lastTime = millis();       // reset inactivity timer
    step = (step + 1) % 6;     // advance animation
    gloveCount++;

    if (step === 0) {
      direction = (direction + 1) % 3;
    }
  }

  lastGloveState = fromArduino;
}

From Arduino, I actually faced a lot of problems with my buzzer, it was just constantly ringing the whole time, regardless of me uploading my code onto it or not. I was also initially using the tone() that we took in class but it was honestly just ringing throughout the entire house. I used ChatGPT to ask what the issue was, and it told me I have an active piezo buzzer. So I went on YouTube to understand how to use it and watched a tutorial I used.  I found out that active buzzers use digital readings.

int songStatus = digitalRead(changePoses);

Serial.println(songStatus);

delay(100);

if (Serial.available()) {
  digitalWrite(LED_BUILTIN, HIGH); // led on while receiving data

  int warning = Serial.parseInt();

  if (Serial.read() == '\n') {
    digitalWrite(buzzer, warning);
 
}

The most challenging part was getting both spritesheets to work. I watched several tutorials on how to iterate smoothly between the sprites but it was either they were using p5.play or something called canvas. I kept going through trial and error until I found the right video tutorial. Also sometimes the sprites would not have equal distance between them, so splitting up the spritesheet was difficulty and I had to manually do it using Canva and a spritesheet maker online. Another difficult aspect was the p5 to arduino connection that made the ballerina fall and the buzzer ring. I had the right logic but it was not working correctly until several trial and error and research.

I think I’m most proud of the finger touch detection because it took a lot of trial and error to figure out how to get the detection and I remembered the lastXstate we used in our musical instrument assignment.

An early challenge I had was that the page would not load ever. I tried switching to VS Code to test out if the problem is with p5 or the code. After switching over to VS it still didn’t work. I tried Googling what I could do but it didn’t work. I then played another audio instead to check if the issue is with p5 or with the file, and the other audio played. I then asked ChatGPT and it told its because my audio file’s name is too big.

I also watched a video about how to animate on JavaScript and tried implementing it but it did not work. That’s when I found out it’s because the user was using an application called Canvas which uses certain functions p5 does not have. The code is available on my sketch under index.js but it’s commented out.

Also my buzzer was just constantly constantly ringing without me doing anything, but I was messing around with the wiring before I fixed my code and realized that the buzzer activates itself with just wiring even if I don’t put in code. After I uploaded my code it stopped making a noise.

AND my ballerina refused to fall. After asking CoPilot it told me to incorporate a modulo which is similiar to my time elapsed feature. This way the frames don’t move too fast to see (approx changing in 0.08 seconds).

Future Reflection:

For the future I would love to implement a way to actually be able to assign beats to the finger presses, so the buzzer and falling is more linked to missing or adding a beat than just being idle.

I also wonder if there’s a way to wirelessly connect something to my Arduino, it would have made using the finger pads much easier without having to carry the breadboard and Arduino with me the whole time.

Also I will be fixing certain aesthetic elements such as the font.

References:

AI DISCLOSURE:

AI was used for the following:

  1. generating images, sprites, and backgrounds. It honestly didn’t do the best job with spritesheets. Every sprite was super stuck to the other and the spacing between the sprites were iconsistent, which I had to fix myself.
  2. detecting issues with buzzer. ChatGPT told me its an active piezo buzzer, and gave me ways to troubleshoot and figure out if my buzzer is broken, if there’s a wiring problem, or a problem with the code. It was none of them
  3. debugging code such as declaring booleans i forgot to declared before
  4. fixing animation timing (the ballerina would either never fall or fall then disappear or fall quickly)
  5. I tried using frameRate because that’s what I used when testing out my animation on another sketch, but AI (not sure whether it was ChatGPT or CoPilot) told me that I can’t use frameRate in my code because it resets it for everything in the sketch.
  6. My logic was correct, but not ordered correctly I’m assuming. Honestly, I’m not really sure, I used pretty much the same logic as CoPilot I had more things included but mine didn’t work. I think it’s because the CoPilot added a modulo feature in order to time the animation of falling correctly. This is because when I was adding and removing elements from my code and CoPilot’s, the modulo component was the one that made the difference.
  7. From my observations CoPilot helps better than ChatGPT

https://projecthub.arduino.cc/SURYATEJA/use-a-buzzer-module-piezo-speaker-using-arduino-uno-cf4191

https://forum.processing.org/two/discussion/12119/removing-an-image-once-it-s-drawn.html

https://stackoverflow.com/questions/52133058/how-to-make-my-countdown-timer-dont-start-from-the-beginning-when-refreshing-th

https://p5js.org/reference/p5/background/

https://p5js.org/reference/p5/frameRate/

https://p5js.org/reference/p5/image/

https://github.com/fahadhaidari/game-code-bites/blob/master/spritesheet-animation/index.html

https://forum.processing.org/two/discussion/23003/how-to-use-millis-to-display-images-every-x-seconds.html

https://forum.arduino.cc/t/counting-incoming-signal/663387

https://spritesheetgenerator.online/editor

https://docs.arduino.cc/built-in-examples/digital/toneMelody/

User Testing Final Project

I think it was pretty easy for my user to figure out how to use/play the game but I believe that’s mainly because I gave them a glove with foils attached to the fingers, so it was quick to understand what to do. By that, I mean that they understood that touching fingers in the glove would trigger the ballerina to dance.

But they did get confused about the rules of the game. And the idea of losing points and the ballerina falling were not fully working yet, so they were confused on how to win or lose. I didn’t create an instructions page yet so that is part of the reason.

One particular feedback I got was that it was difficult for them to use the glove. Some presses would not work, or they would have to press harder. For that, I will need to find a way to stick my aluminum foils to the glove in a neater more seamless way.


User Testing

Final Project Blog Post

Will be using this blog post to gradually write the blog post instead of all at once:

PROGRESS:

  1. Arduino wiring: DONE
  2. Arduino code: DONE
  3. UI
  4. p5 code communication

30/04/26

I tried connecting my accelerometer to my breadboard without soldering. I placed my headers into the breadboard, placed the accelerometer on top, and connected the female end of a jumper wire on top. I downloaded the relevant libraries and wrote the code from this page. Unfortunately, the Arduino showed no connection whatsoever (the code I had was designed to write in the serial “No ADXL345 sensor detected.” And indeed that was what my serial displayed for me. Now, I will be moving on to a different connectivity, building on the unusual switch and musical instrument assignments we made. This idea will still follow the same concept of composing music in an opera; if you compose incorrectly, a buzzer will sound, and the ballet dancers will fall. Instead of using an accelerometer to measure the x-y positions of the user’s hand, I will attach foils and wires to each finger on a glove. The connection between all the wire combinations will control a relevant aspect of the music, such as pitch, speed, note, and beats. This wiring idea was also heavily inspired by the emerging usage of TouchDesigner.

01/05/26

I decided to go on with my glove idea. I originally wanted to involve all 5 fingers, but then I realized that would complicate things. I stuck to using three. One would be in charge of playing the song, the second is in charge of speeding it up, the third is in charge of slowing it down. I tested out my wiring by also connecting an LED to the breadboard to ensure correct wiring, and it worked. I didn’t connect my buzzer today. And honestly, I don’t think I will until the very end because I got a new buzzer and the legs look extremely delicate and if I’m being honest I’m not the most patient or gentle with any electronic device so I don’t want to risk breaking yet another buzzer from the get go.


STIPEND USAGE:

  1. Accelerometer: 40 AED: https://www.amazon.ae/AOICRIE-GY-291-ADXL345-Acceleration-Transmission/dp/B09S633YTW/ref=sr_1_1?crid=15F0J7UIXQK35&dib=eyJ2IjoiMSJ9.gDQl-_42Yd4esBPagpxPgPQ1K0jRtEl1-iW409PI-IfKNZ2RDA0hRICe1Ca5CQO83N_NFecaKnxd0M0wb-MUX1e1_oV4-HaxCe8KarHRjisgkRf5YXzLzubvBosNxFh3jF1fxCOIuON14P6KvVqARPChru9DCNpV5LlMncvQg8Ro-_7YjQ8SDpSgTryUpC0bzRT_iYJgE7TdhPJPFwpEfobjkqCHFv6UofjnQWaQvz2MidmSXbQrPRS50HEMsv52y0cumuy0z_MNJD41on7dsMC64UjQqNZ6qDc8AXm-5ME.Jzj2a_U_k_AoU6BZxRHVxhwAFpV0Zcu0PJnDUZjpUM0&dib_tag=se&keywords=GY-291+3-Axis+Accelerometer+ADXL345&qid=1777274584&sprefix=gy-2913-axis+accelerometer+adxl345%2Caps%2C261&sr=8-1
  2. Jumper wires: 18 AED: https://amzn.eu/d/03P5tjOx

AI USAGE:

I used AI for this project thus far to discuss my ideas and discuss any problems which I may face while building the project.

Final Project Process

Finalized Concept

My concept will still follow the opera idea I initially had with a few tweaks. The user will be a composer trying to compose the music needed, if the user composes the wrong pitch, an LED would flicker and the buzzer would make a sound.

I originally had the idea of having the composer’s batons but then I realized that would be extremely difficult to map out for me, so I decided to settle with one glove. the user would move the glove and thats how the music is composed

Arduino:

I will be mapping the glove’s x and y positions for octave and note, and p5 will receive this data from an accelerometer and translate it to audible music.

p5

p5 will be used to run the UI and will send information to the arduino on whether the right note is being played which will then cause the LED light to flicker, I was also thinking of adding ballet dancers in there which will fall from their dance if the music is composed incorrectly.

STIPEND USAGE:

I will be using the stipend to buy this MPU6050 accelerator from amazon

https://www.amazon.ae/AOICRIE-GY-291-ADXL345-Acceleration-Transmission/dp/B09S633YTW/ref=sr_1_1?crid=15F0J7UIXQK35&dib=eyJ2IjoiMSJ9.gDQl-_42Yd4esBPagpxPgPQ1K0jRtEl1-iW409PI-IfKNZ2RDA0hRICe1Ca5CQO83N_NFecaKnxd0M0wb-MUX1e1_oV4-HaxCe8KarHRjisgkRf5YXzLzubvBosNxFh3jF1fxCOIuON14P6KvVqARPChru9DCNpV5LlMncvQg8Ro-_7YjQ8SDpSgTryUpC0bzRT_iYJgE7TdhPJPFwpEfobjkqCHFv6UofjnQWaQvz2MidmSXbQrPRS50HEMsv52y0cumuy0z_MNJD41on7dsMC64UjQqNZ6qDc8AXm-5ME.Jzj2a_U_k_AoU6BZxRHVxhwAFpV0Zcu0PJnDUZjpUM0&dib_tag=se&keywords=GY-291+3-Axis+Accelerometer+ADXL345&qid=1777274584&sprefix=gy-2913-axis+accelerometer+adxl345%2Caps%2C261&sr=8-1 

I also consulted ChatGPT to assess the difficulty of building my project, and it told me its possible but will be a bit tricky. I’ve also used a previous student’s model to understand how to use the accelerometer and map it to my p5. (Shota Matsumoto)

Arduino/P5 Exercises

https://drive.google.com/drive/folders/17BOPjKsdqArQirTPjNIaXM87Vg7DWi_E?usp=sharing

Exercise 1: change horizontal position of ellipse

https://github.com/da3755-ui/intro-to-im/blob/4715fd118fa2091c8d727f6e3131c1cfebcfeccd/p5_to_ardunio_example1.ino

references:

https://stackoverflow.com/questions/1133770/how-can-i-convert-a-string-to-an-integer-in-javascript

Exercise 2: control led brightness from p5

https://github.com/da3755-ui/intro-to-im/blob/4274788ff7e0d80f2de29f5b4b86e653817c0fcc/P5_arduino_exercise2.ino

Exercise 3: bidirectional

https://github.com/da3755-ui/intro-to-im/blob/b749d30cee9ae91995d3ad61607f140d6e2135fd/P5_AND_ARDUINO_EX3.ino


COMPOSER OF THE OPERA – Final Project Proposal

Concept

For my final project I had an idea inspired by the musical/film The Phantom of the Opera minus the obviously really weird creepy part. The idea is that you are a composer at an opera, and you have to be able to compose at least a good amount of the music while jump scares happen in the game.

I will be using my Arduino to create and connect the composer’s batons to my code and will connect the batons’ position to certain notes or volume or pitches or tempo (still unsure about what I want to do with this since its very complex) so when you try to move the sticks the position will translate to musical notes.

I will use p5 to code the design and the UI of the game and translate motion of the batons to actual events in the game.

I’m still unsure if I want to keep the jump scare component or if I want to keep it so that you just try to compose the music,  but for now this is the main concept I have in mind.

Visuals


Week 11 Reading Reflection

Design Meets Disability

The first thing I thought of when reading the text is when Chinese jewelry brand YVMIN designed prosthetics for the Chinese model Xiao Yang. They were honestly like no other prosthetic I had ever seen attached below are only some of the designs:

This text coupled with my memory of the model made me think about how inclusivity, design, and functionality should be combined in a product. A lot of the times people with disabilities face problems with self-esteem and self-image, so incorporating incredible designs to me feels like an important aspect of building any product. Especially when looking at how glasses are seen as fashionable items; I even remember hearing people tell me about how they would fake not being able to read letters at the doctor’s office to get glasses.

Nonetheless, I feel that a product without all three elements is incomplete. A lot of the times you see certain elements incorporated into a product for the sake of aesthetics that just end up making using the product much more difficult. Or sometimes the design just looks ugly altogether.

This reading was really eye-opening and made me reflect on how I should incorporate all three elements into my designs to make them most effiicient and accessible.

Also yes I forgot to mention, including fashion with products made for disabilities is brilliant whether its in glasses, hearing aids, prosthetics, or bionics.

Week 10 Musical Instrument – Deema & Dina

Github Link

https://github.com/da3755-ui/intro-to-im/blob/c068b1ccbdb5f327243be9640104c9f9cde83fe1/IntroToIM_MusicalInstrumentAssignment.ino 

Demo on Deema’s page

Concept

For this week’s assignment, we had to create a musical instrument that incorporates both digital and analog input. The concept we came up with was inspired by the floor piano tiles that play notes when you step on them. So, we built a similar concept where we created tiles that produce musical notes when stepped/pressed on AND we incorporated a potentiometer that changes the pitch of the note depending on how you twist and turn it. 

We created three tiles in total. We built it so that no specific tile is linked to a specific note. Just that when you press any tile, a note plays; and if you step again on any other tile, the next note in the sequence plays.

Schematic 

The Process

First, for the piano tiles, we decided to follow the same logic we used in the invisible switch assignment: foils attached to wires that generate power when they make contact, once that was complete, we moved on to incorporating the analog component. We placed the potentiometer and connected it to an analog pin, a 5V pin, and a GND pin. 

For the code:

In order for the arduino to not translate every single LOW reading from a single step into multiple notes, we included a lastTileState component, where the buzzer will only translate the LOW reading to a note if the previous state of the tile was HIGH. This would prevent the tiles from playing multiple notes in one single press.

We had to figure out a way to change the pitch of the notes without completely changing what the note was. Since there is a trend among the notes where if you want to move from a note from higher pitch to a lower or vice versa, the note’s pitch value/frequency would need to either be divided by 2 or multiplied by 2. 

For example: standard Do sound = C4; a lower pitch would be C3. The difference between the pitch of the two is that C4 is double C3

For that we mapped the potentiometer’s input values (0, 1023) to (50, 200) and divided by 100, this allows us to shift between notes and their pitches smoothly using the potentiometer. 

We multiplied this factor to the original note that would have been played and set the tone to include the multiplied value as the frequency in the tone statement.

Originally I had the pitch and factor as just mapping the potentiometer values to the values of all the notes (31, 4978) so the note that is played would correspond to the values of the potentiometer. But then I realized this would change the notes altogether instead of just changing the pitches of the specific notes I chose, that’s when I used chatgpt and it suggested creating a factor component which is where I got the idea from.

I also initially tried keeping the analog and potentiometer section separate from the digital section of the code, adding a separate tone statement for the pitch and another one for the regular notes, but it caused an error, so I had to resort to figuring out a way to incorporate the pitch and analog section in the same section as the digital input.

I also tried incorporating a step counter within the if statement, but it practically added nothing and was not communicating anything to the code so I just removed it entirely.

Code Snippet

I’m personally proud of this if statement snippet because it helped me solve the problem of when to detect if the tiles were JUST pressed instead of if it’s pressed in general, which helped me avoid many problems. It also helped me to get rid of many variables I tried to include to keep track of the steps and presses.

if (
  (tileOneState==LOW && lastTileOneState==HIGH) ||
  (tileTwoState==LOW && lastTileTwoState==HIGH) ||
  (tileThreeState==LOW && lastTileThreeState==HIGH)
)


Week 10 – Reading Report

A Brief Rant On The Future Of Interaction Design

I enjoyed this reading because what he described is something I have actually experienced first-hand with my younger brother, who had to start KG (kindergarten) online due to COVID. Multiple of children who started their developmental learning stage online lack certain motor skills  which definitely could have been better had they experienced their early learning stage physically.

Although I am not fully against the idea of technology, I do believe it can alter and impact development, especially for younger people; it inhibits your body and brain’s full capabilities. Which is something we can see happening more commonly nowadays, especially with the rise of AI, where people are becoming less capable of doing certain tasks in one sitting without reliance on AI models or taking interval breaks in between 15 minutes. To some extent this text made me reflect on my own usage of certain technologies and media platforms; they should be a supplement and influence and not a replacement to my own capabilities. The text allowed me to reflect on how I should be using the technologies at hand.

I think I particularly enjoyed the reading more because it was more casual than academic. I think when someone speaks from more experience, it becomes more relatable and understandable.

Responses: A Brief Rant on the Future of Interaction Design

I think the people who gave such responses to the post took it to heart a little too much. I’ve heard too many people nowadays who are given a pen and paper say that they haven’t written something by hand in so long. It would be too repetitive if the author gave solutions because then again, the author cannot control how the users use technologies; that’s up to them to decide.  The author should not have to answer every single detail and spoon-feed the readers how to act, which, come to think of it, is what the previous reading was discussing: giving users hints instead of direct instruction.

I don’t honestly believe the questions posed were even meaningful.

WEEK 9 HAPPY BIRTHDAY CONCEPT

https://github.com/da3755-ui/intro-to-im/blob/904200aaa8c70e0606c6851ffc5c46abe5d63b96/BirthdayConcept_IntroToIM_Week9.ino


The Concept

For this week’s assignment, I decided to incorporate the concept of birthday candles (lighting them up and blowing them out). My LEDs act as my candles, my button acts as a lighter, and the LDR/photocell senses my blowing (will explain).

I used a button (digital input) to be able to control my 3 LEDs. Once I hit the button, the LEDs turn on one after the other. The blowing concept works through my photocell. When you put your face closer to the photocell and the LEDs to blow, the light from the LEDs reflects on your face; this light reflection is further read by the photocell, and the reading increases. Once my photocell takes in that higher reading, the candles/LEDs turn off one after the other as well.

Process and Challenges

To do my led set-up, I followed a diagram I found online, but I altered some of it to how I wanted it to fit my set-up.

I first started by setting up my LED system before adding in my photocell, just to make sure the base part is working. I built the system successfully and moved on to add my photocell.

Adding in the photocell and getting its readings was the most challenging part of the process. I set up my photocell and connected it to a 10k resistor and an analog pin. However, the readings were not accurate at all. For example, covering the photocell would not decrease the reading. At that point, I decided that maybe because I’m testing it during the day, there is no dramatic shift in lighting for the photocell to read (that was wrong).

After a while had passed, I was thinking about my project, and I realized I had forgotten to attach a 5V pin to my photocell, and I forgot to attach my photocell to ground. That explained a lot of why the readings were inaccurate.

Once I plugged in the wires correctly, the readings were still inconsistent and inaccurate. Thats when I decided to fully take down the entire system and start with the photocell first.

I watched a YouTube video to ensure I have the right connectivity and rebuilt my voltage distributor and photocell system. The readings then became accurate. I added in my LED system that I removed and it worked.

I originally wanted each LED to light up after each singular clip so it would be:

  • first button press = turn on first led
  • second button press = keep first led on and turn on second led
  • third button press = keep first and second leds on and turn on the third

but that would have required me to use specific array functions which were difficult for me to implement.

Code Highlight:

I’m happy with the way I let the led lights light up one after the other after hitting the button

if (state == LOW) {   // if the button is pressed, the leds/candles will light up one after the other
  digitalWrite(led1Pin, HIGH);
  delay(2000);
  digitalWrite(led2Pin, HIGH);
  delay(2000);
  digitalWrite(led3Pin, HIGH);
  delay(2000);
}


Circuit Schematic

Circuit look

References

Because my photocell readings would only keep decreasing no matter what, I used Gemini AI to explain to me whether the reading from my photocell should increase or decrease when the area gets brighter. It also told me to check my connectivity, because if my photocell’s resistor was connected to one of the wires, the readings would be flipped, but that was not the case for me.

Arduino Push Button with Multiple LEDs [Tutorial]