Class Duel
Concept and Inspiration
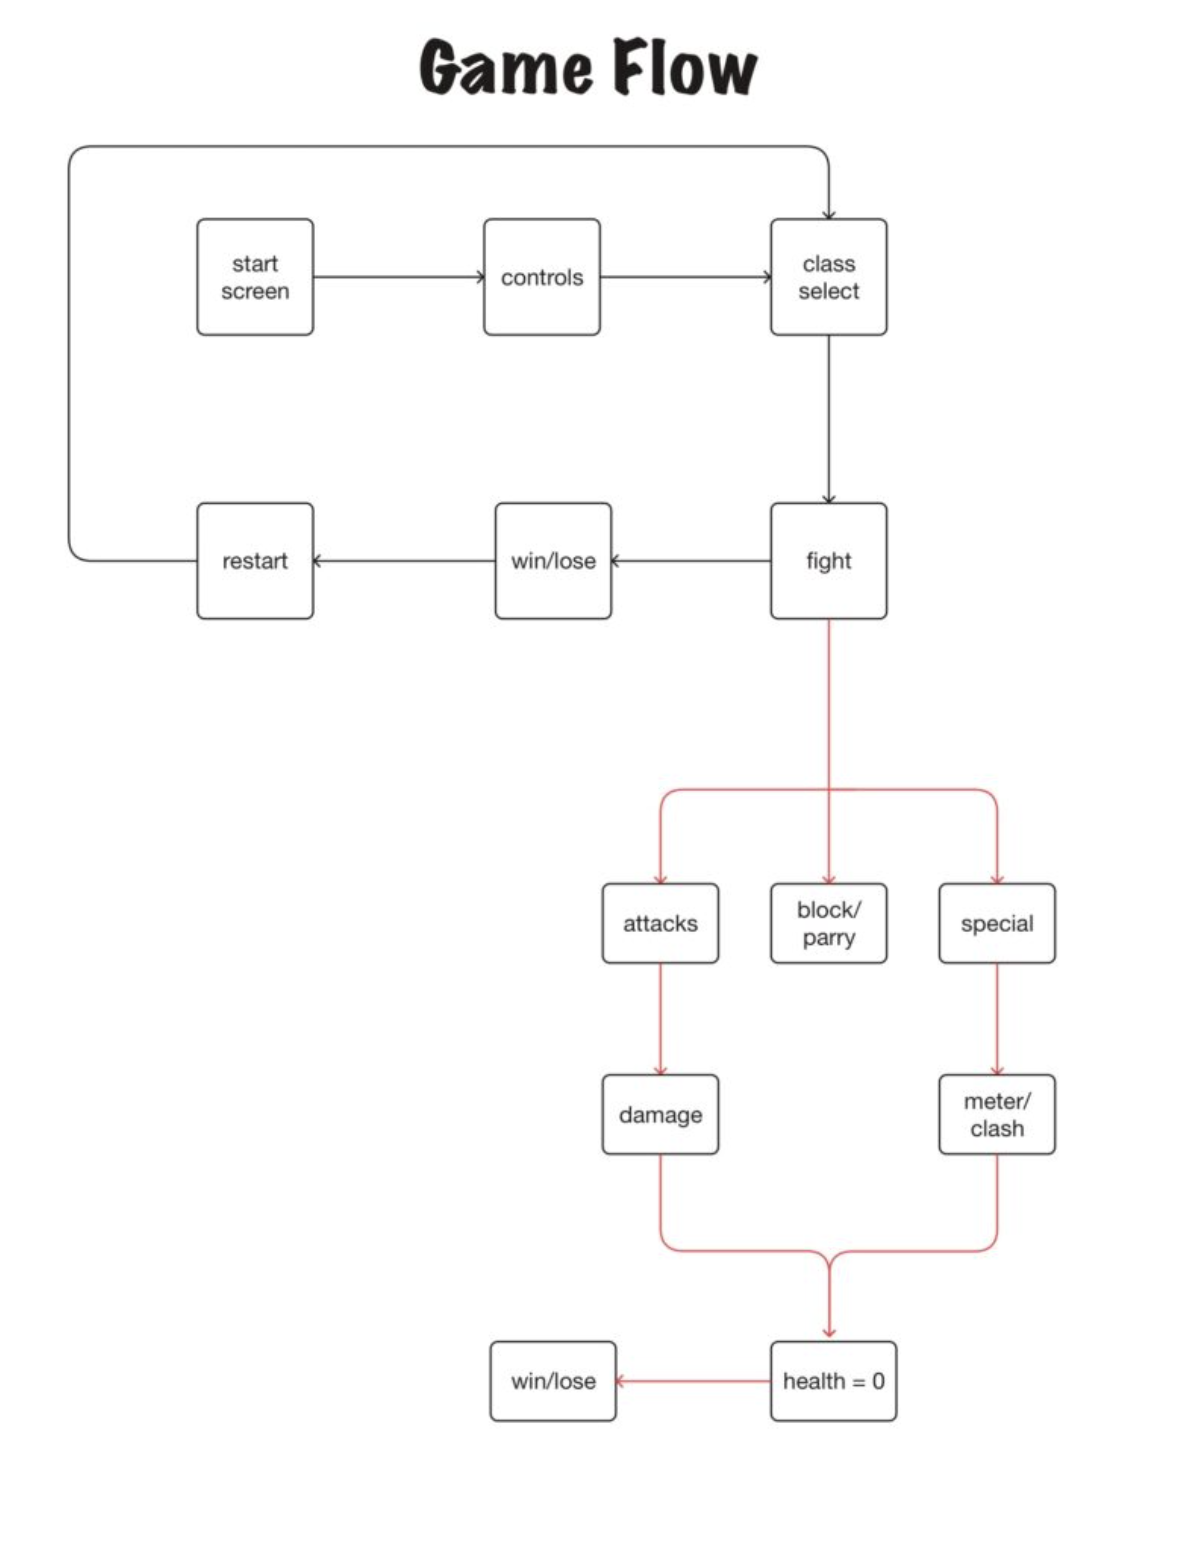
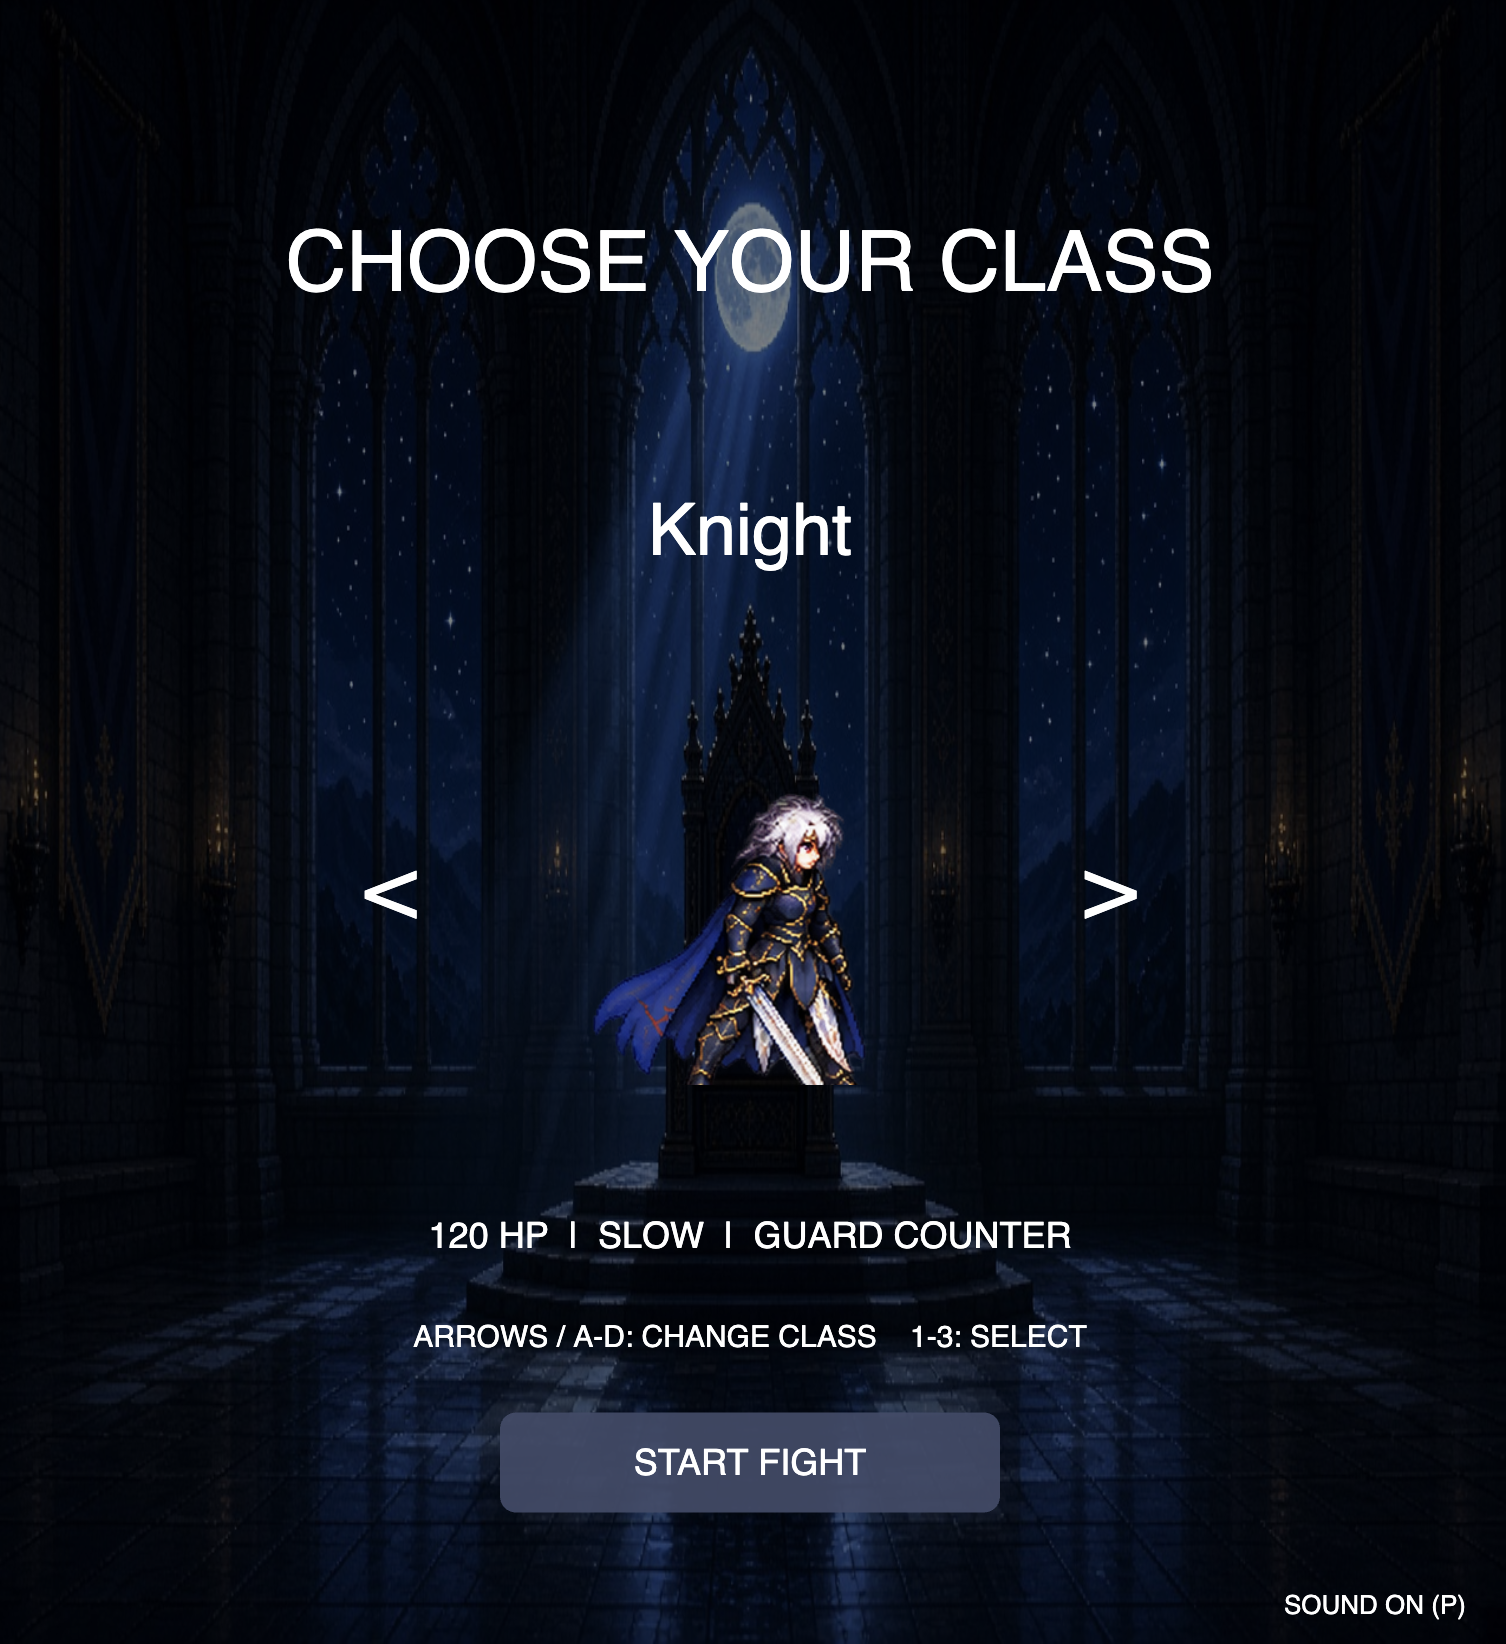
For my midterm project, I decided to create a 2D fighting game called Class Duel. I wanted to make something related to my interest in RPGs, particularly games where players can choose different classes with their own strengths and weaknesses. I also drew some inspiration from Dark Souls III, mainly when thinking about the different classes and the fantasy setting. I didn’t want to recreate its combat system, since that would be far too complicated. Instead, I decided to make something simpler, combining RPG-style classes with a 2D fighting game. The player can choose between three classes: Knight, Rogue, and Mage. Each has different health, speed, attack damage, and abilities.
I also wanted to include something unexpected beyond the normal fight. After defeating the first enemy, there’s a 20% chance of encountering a secret boss called the Holy Knight. I thought this would make the game a little more interesting and give players another reason to replay it. There’s also a short dialogue sequence before the encounter, which changes depending on the player’s selected class. For the visual style, I went with fantasy backgrounds and character sprites to make everything feel more consistent.
How the Project Works and What I’m Proud Of
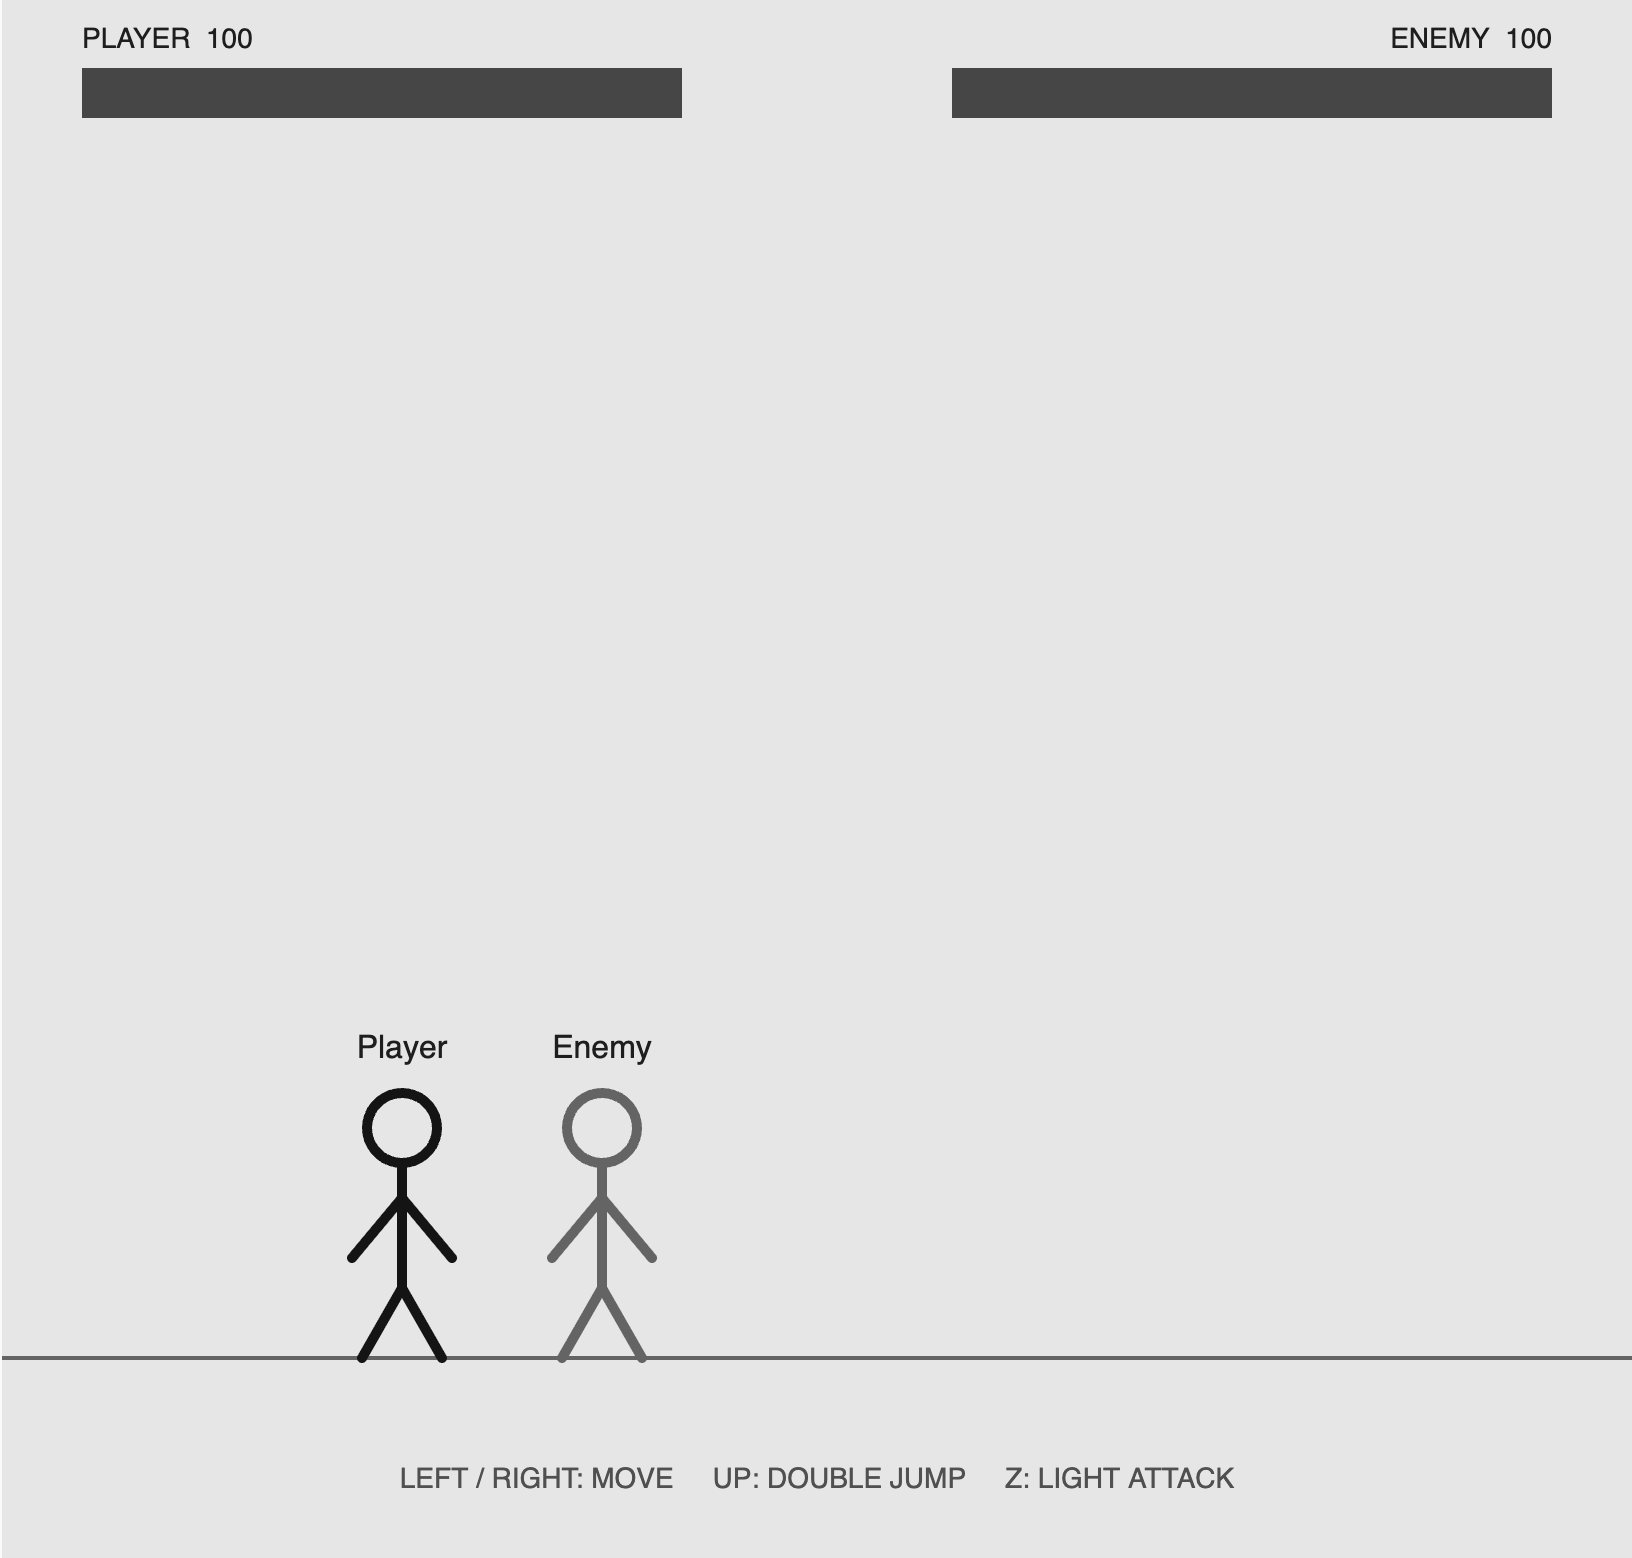
I started by experimenting with a much simpler version of the game, mainly to figure out how the basic interactions would work. At that stage, I was more concerned with testing the concept than with making everything look complete. I gradually added the combat mechanics, character classes, and different game states. The final game uses a Fighter class to manage movement, health, damage, and cooldowns. I thought this was a better approach than creating separate code for every character, especially since they share most of the same mechanics. I used conditionals to give the classes different stats and abilities. For the enemy, I kept things relatively simple. It moves closer to the player and has a random chance of attacking when it’s within range. Initially, the enemy was too difficult, so I reduced its movement speed and attack chance to make the fight more manageable.
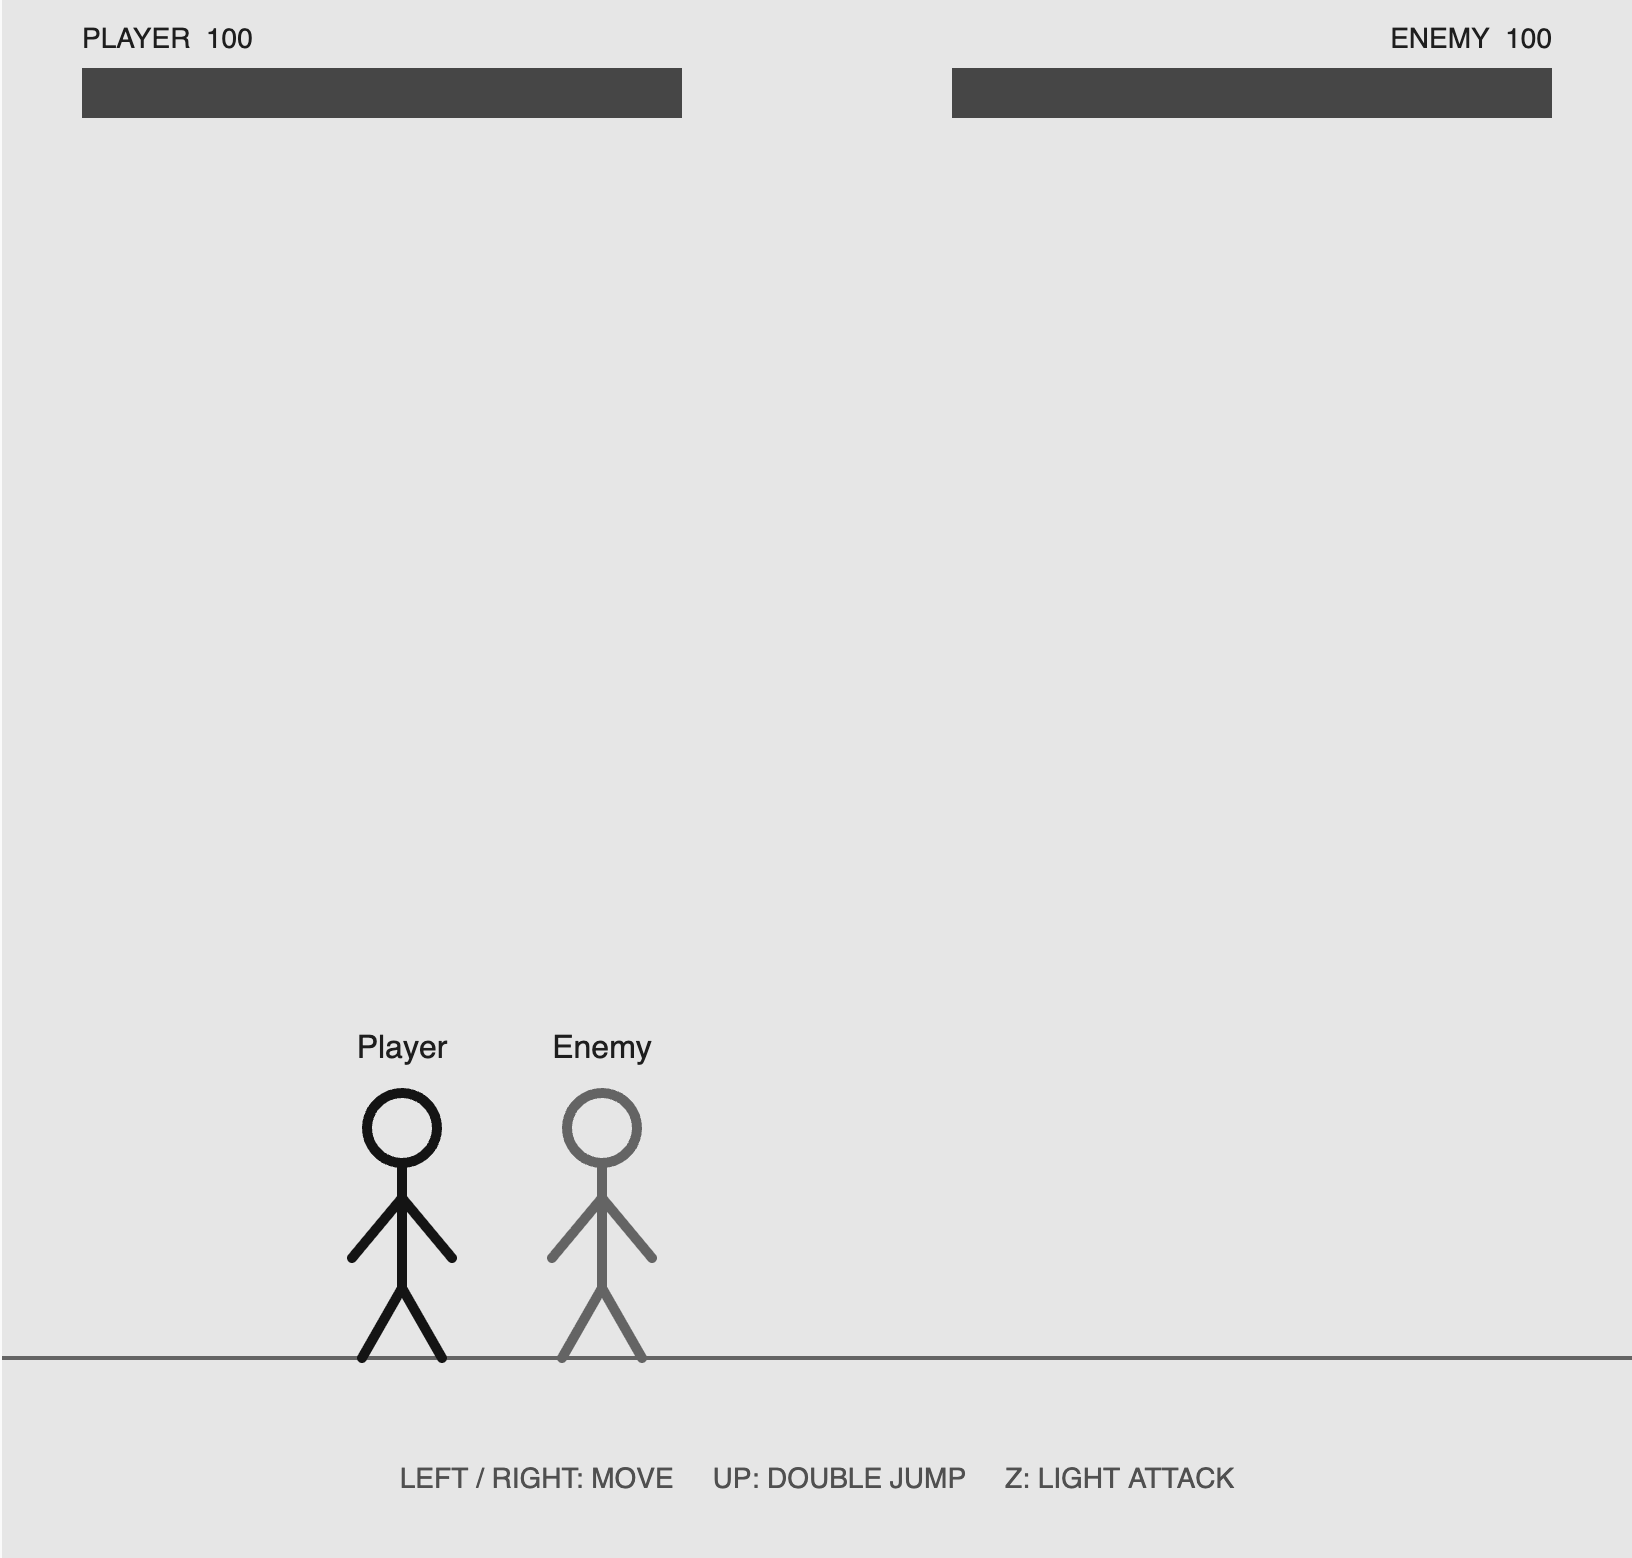
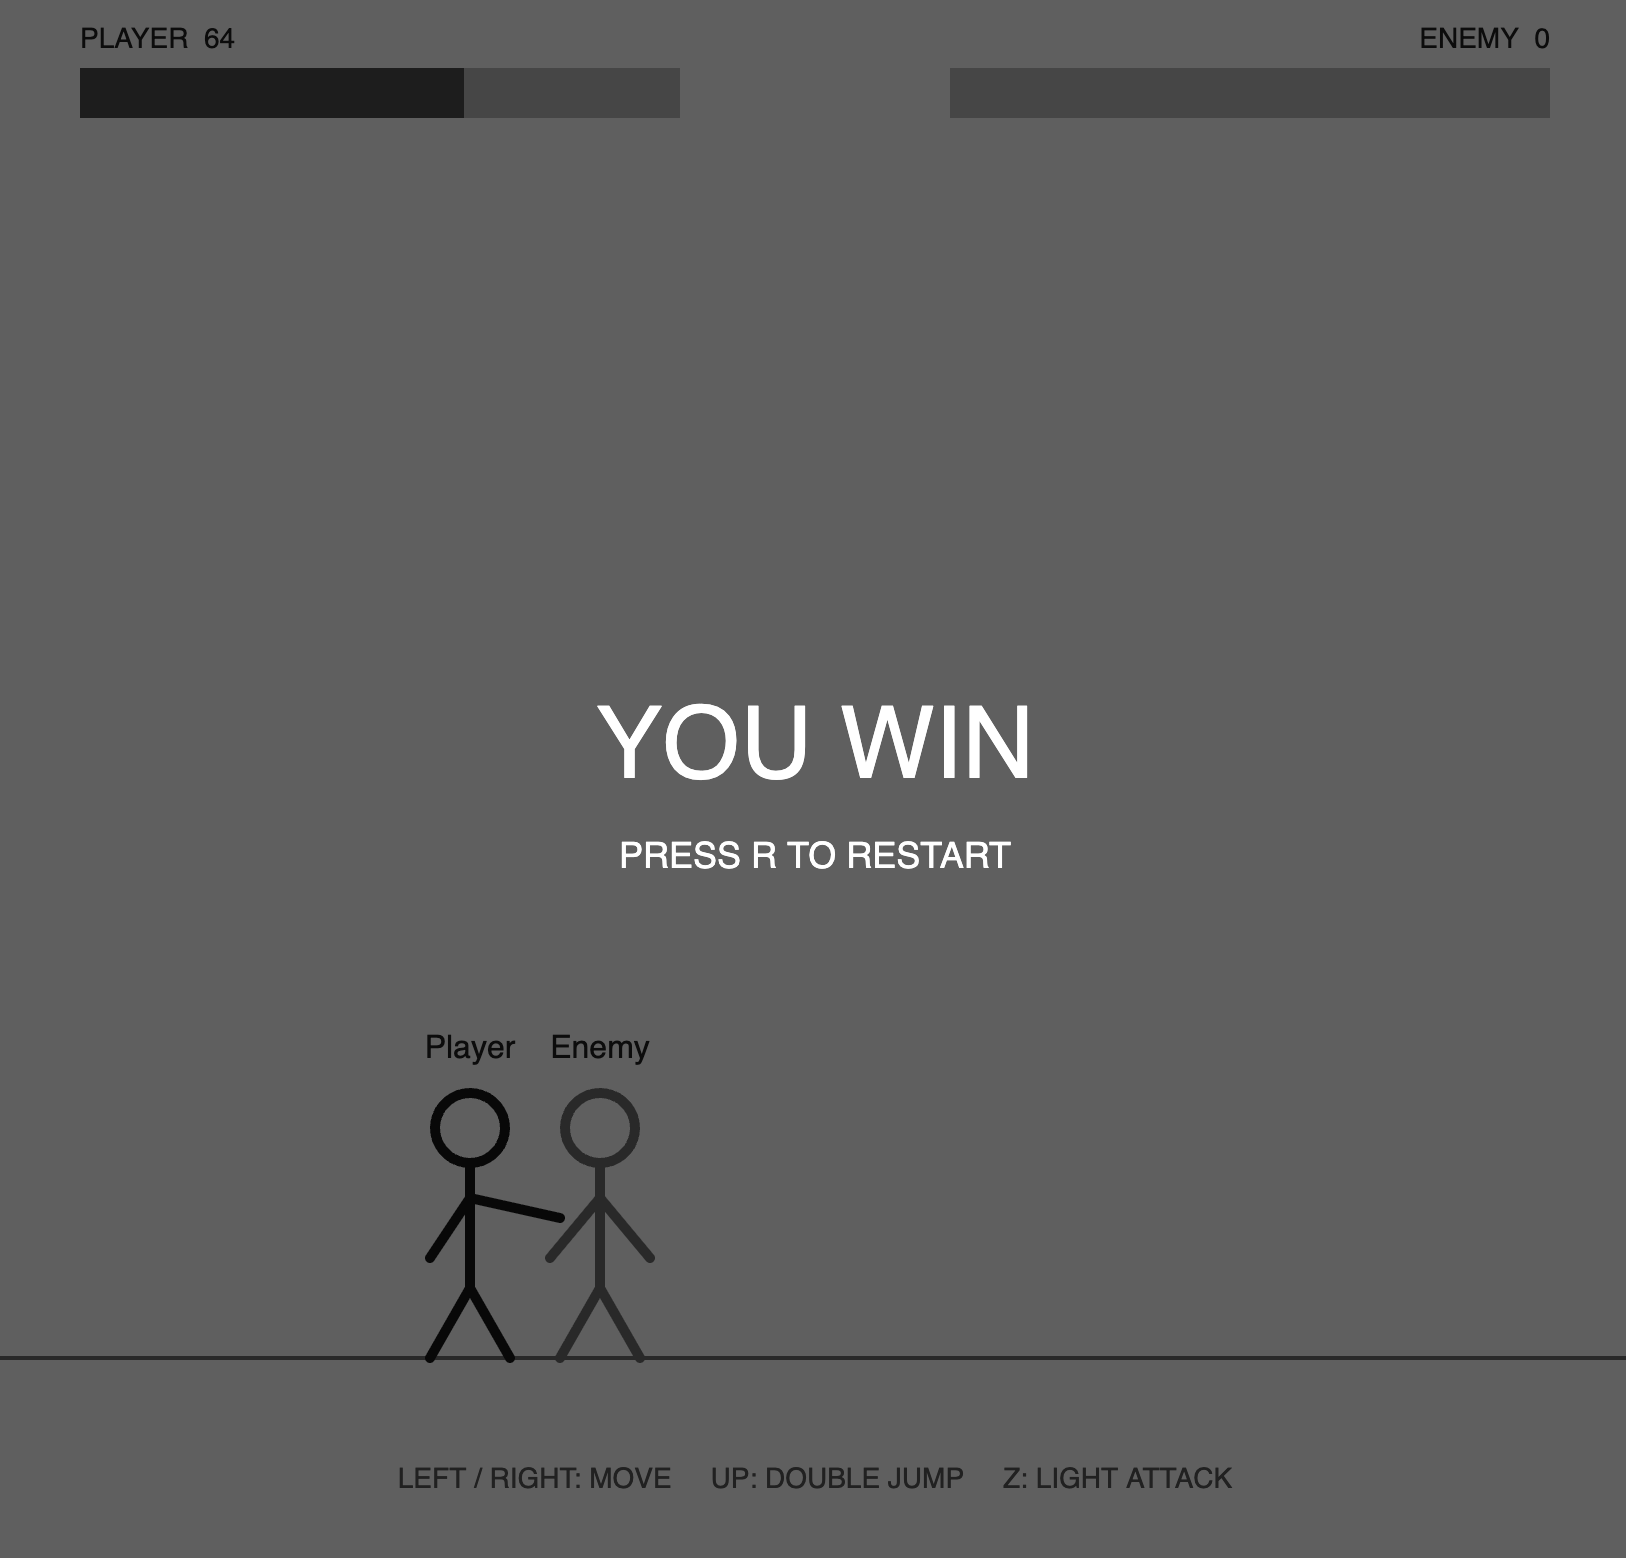
Figure 2. An early version of Class Duel from my progress report, before the final character designs, animations, backgrounds and combat presentation were added.
After getting the basic mechanics working, I started working on the characters’ appearance and animations. This was one of the things I was particularly interested in trying because we covered sprite-sheet animation in class. I used nested loops to divide each sprite sheet into individual frames and stored them in a 2D array. Each row represents an animation, like walking, jumping, attacking, or blocking, and the columns contain the different frames. Then I used conditional statements to decide which animation should play depending on what the character is doing. I also decided to keep the normal enemy as a character drawn using p5.js shapes rather than another sprite sheet. I think this helped make the game look more complete compared to the earlier prototype.
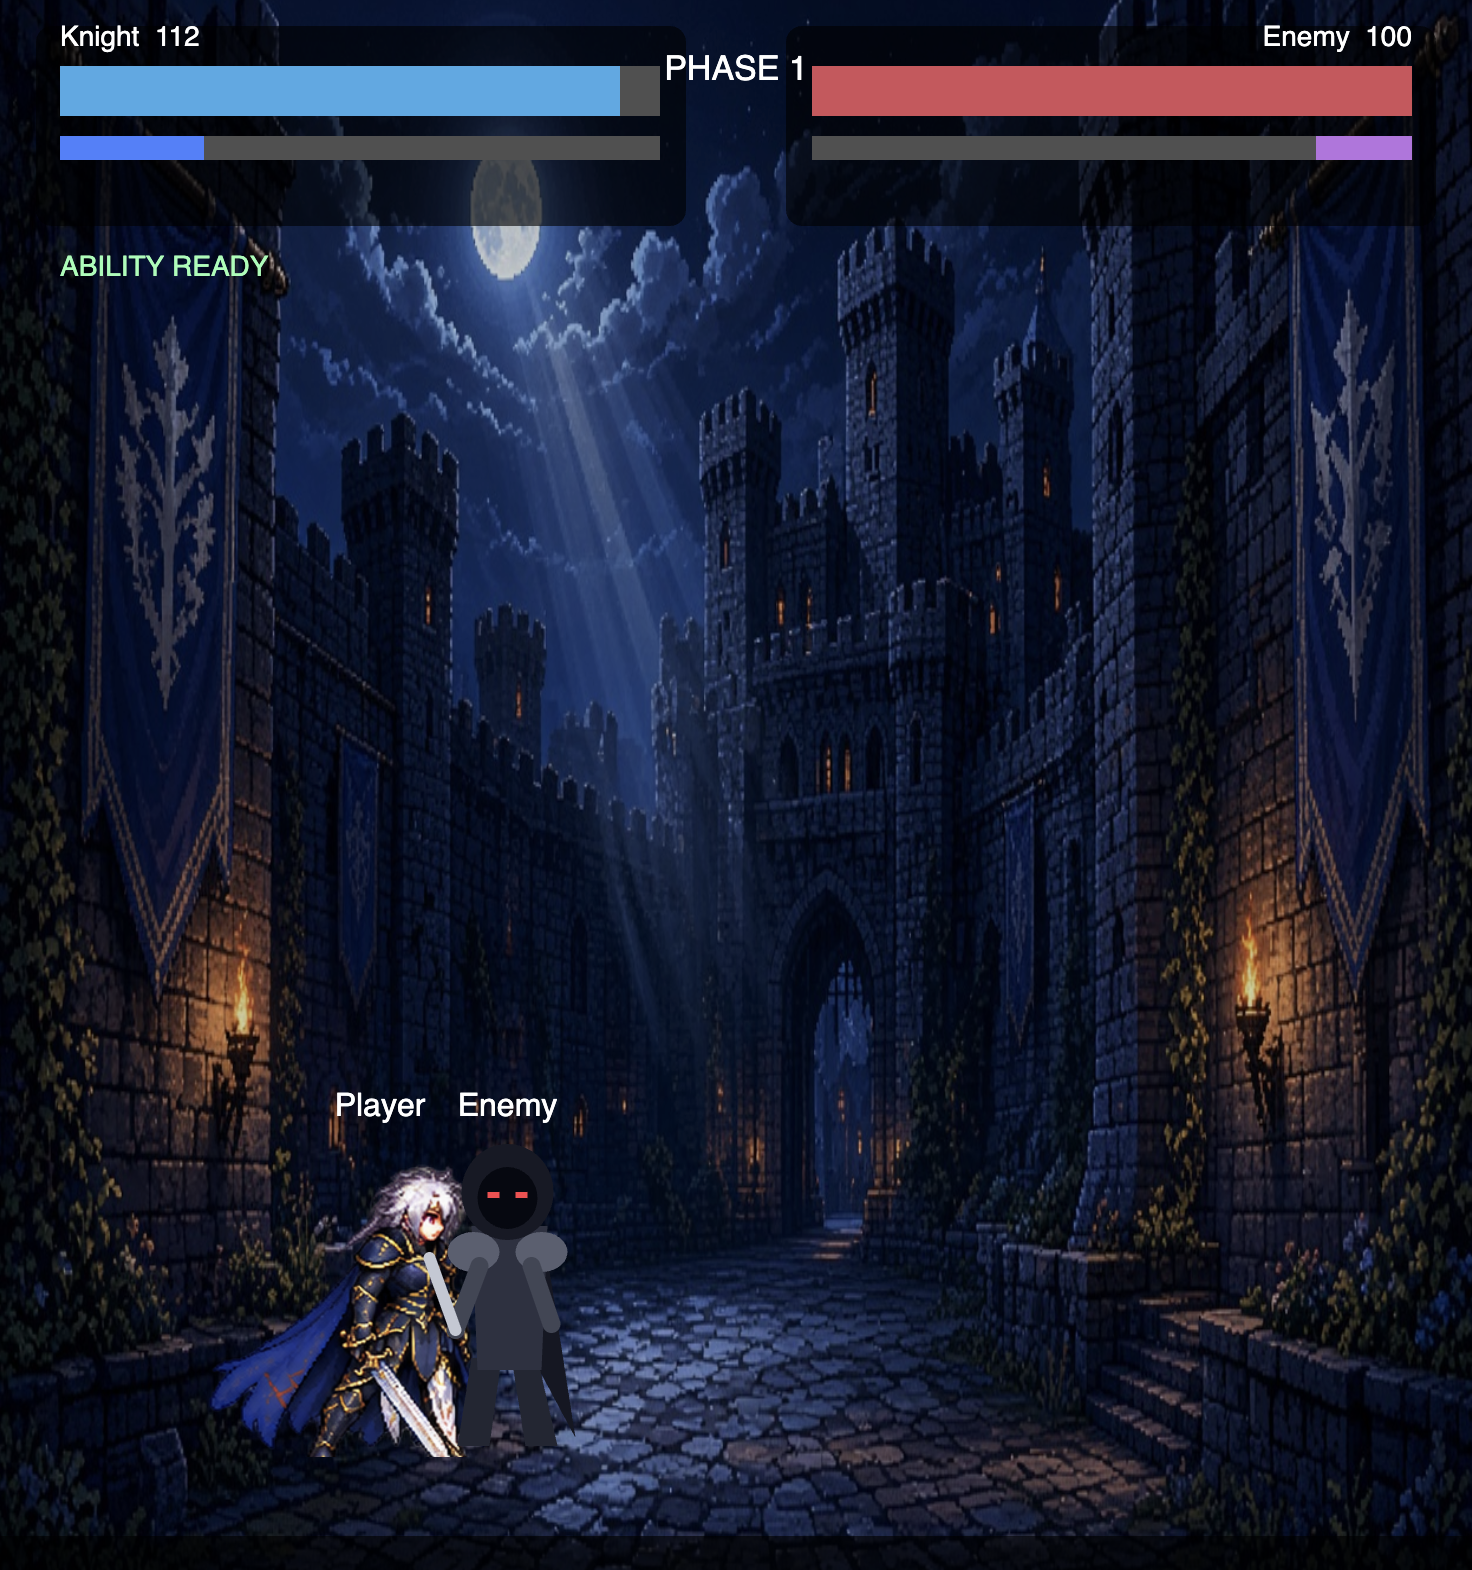
Figure 3. The final version of game, showing the updated characters, fantasy background, and combat interface.
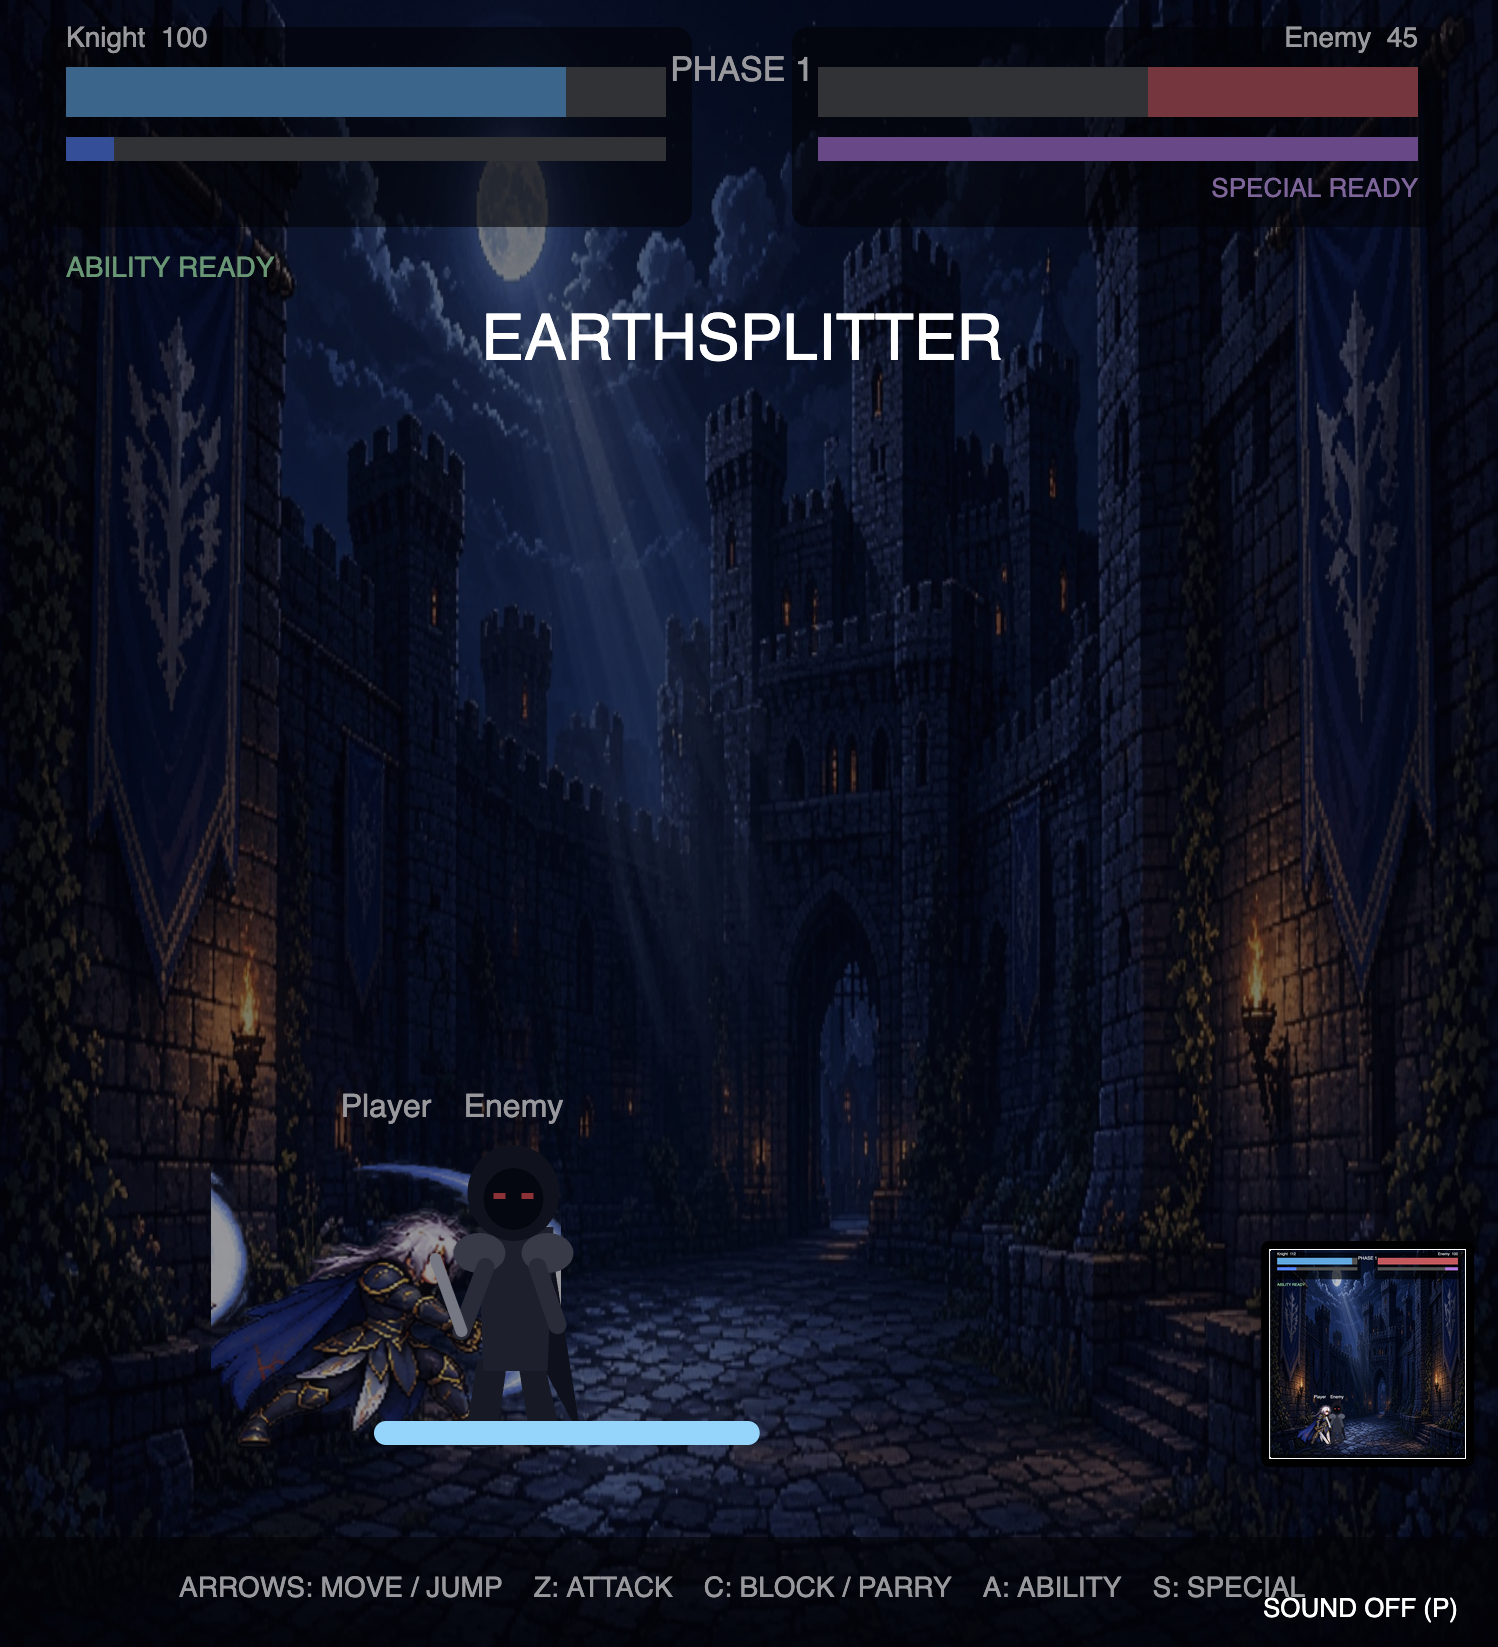
Another part I’m happy with is the combat system. I wanted the player to have more options than just repeatedly pressing the attack button, so I included blocking, parrying, class abilities, and special attacks. The Knight can use Guard Counter, the Rogue can throw a knife, and the Mage can create a barrier. Each class also has a special attack that becomes available once the special meter is full: Earthsplitter, Shadow Step, and Meteor. I used timers and conditions to manage things like blocking, stunning, and cooldowns. I also tried to make each ability visually different using simple shapes and animations. Adding background music and sound effects made a noticeable difference, since the combat felt fairly empty without them.
Code Highlights
One of the main techniques I used was sprite-sheet animation, which was based on an example we covered in class. The nested loops go through each row and column of the sprite sheet, while get() extracts individual frames and stores them in a 2D array.
for (let j = 0; j < rows; j++) {
  this.frames[j] = [];

  for (let i = 0; i < columns; i++) {
    this.frames[j][i] = sheet.get(i * w, j * h, w, h);
  }
}
For the enemy AI, I used the distance between the player and enemy, along with random(), to control movement and attacks. I chose a relatively low attack chance for the normal enemy so it wouldn’t become too difficult.
if (distance > 65) {
  this.x += this.speed * 0.35 * this.facing;
  this.isMoving = true;
}

if (distance <= 85 && random(1) < 0.03) {
  this.lightAttack();
}
The secret encounter also uses randomness. After winning the first battle, the game checks whether the player should encounter the Holy Knight. If the condition is met, it moves to the cutscene before starting the boss fight.
if (phase === 1 && enemy.health <= 0 && random(1) < encounterChance) {
  cutsceneTimer = 0;
  clearHeldKeys();
  gameState = "cutscene";
  playMusic(bossMusic);
}
Problems and Areas for Improvement
One of the biggest challenges was getting the different mechanics to work together. Making a character move wasn’t too difficult on its own, but things became more complicated once I added jumping, attacking, blocking, abilities, and different game states. I also ran into problems with keyboard input and sound playback, especially when trying to switch between different background tracks. I experimented with different approaches before settling on keyPressed() for individual actions and keyIsDown() for movement and blocking. The sprites were another challenge because the individual frames didn’t always align properly, making some animations look inconsistent.
If I had more time, I would improve the animations and make the special attacks feel more impactful. I originally wanted to include more detailed cutscenes, especially for the Holy Knight encounter, but ended up keeping that part relatively simple. I would also like to improve the enemy AI because its current behavior is mostly based on distance and randomness. Honestly, I’m happy that I managed to create a playable fighting game with different classes, combat mechanics, animations, sound, and a secret encounter. Although it was difficult and required a lot of trial and error, I was still able to make it work.
Inspirations
My main inspirations were Super Smash Bros. and Dark Souls III, although I drew different ideas from each game. Super Smash Bros. influenced the general fighting-game format, particularly the side-view combat, movement, and the idea of having different characters with their own abilities. On the other hand, Dark Souls III partly inspired the fantasy setting and the character classes, especially how different classes can have their own strengths and weaknesses. I didn’t intend to recreate either game, but rather combine some of the things I liked about them into something simpler that I could make using p5.js.

Inspiration for the side-view combat and character abilities.

Inspiration for the fantasy setting and class-based character design.
Visual and Audio Assets
- Backgrounds: Fantasy Backgrounds – Out of Tokens Studio
- Character sprites: Generated with ChatGPT and arranged into sprite sheets.
- Menu music: Natural Forest Fantasy Music – Thalon
- Battle music: JRPG Epic Rock Battle Theme #1 – HydroGene
- Boss music: Boss Battle (Loop) – Pro Sensory / Alex McCulloch
- Sword sound effects: Mixkit – Sword
- Magic sound effects: Mixkit – Magic and Spell
Use of AI
I wrote the code for Class Duel myself, but I used AI as a tutor for a few concepts that went beyond what we covered in class or caused bugs I couldn’t solve. I would describe the problem, ask the AI to explain the idea behind it, and then write or fix the code myself. I also used ChatGPT to generate the character sprite sheets.
Gravity and double jump (update(), jump()): In class we moved objects by a fixed speed each frame, but a jump should slow down at the top and speed up on the way down. ChaTGPT explained that gravity changes velocity and velocity changes position: velocityY += gravity makes the fighter fall faster each frame, and a jump sets velocityY to a negative jumpStrength so gravity slows them down until they fall. I also had a bug where holding UP used both jumps at once. It also explained that keyIsDown() is true every frame, unlike keyPressed(), so I added jumpKeyDown, which forces the player to release UP before the second jump.
Parry system (update(), receiveAttack()): I wanted blocking and parrying on the same key but didn’t know how to tell them apart. After asking ChatGPT, it suggested counting how many frames C has been held with blockTimer. If an attack lands within the first 10 frames (blockTimer <= parryWindow), it’s a parry, which blocks all damage and stuns the attacker. After that it’s a normal block that reduces damage to 60%. To stop players from holding block forever, blockLimit ends the block after 3 seconds and starts a 5-second blockCooldown.
Sprites: The Knight, Rogue, Mage and Holy Knight sprite sheets were generated with ChatGPT. I wrote the SpriteAnimator class to cut each sheet into frames (5 animation rows for idle, walk, jump, attack and block, with 4 frames each) using the 2D-array method from the Week 5 example, and updateAnimation() chooses the row based on what the fighter is doing.