Week 4 – Generative Text

Concept:

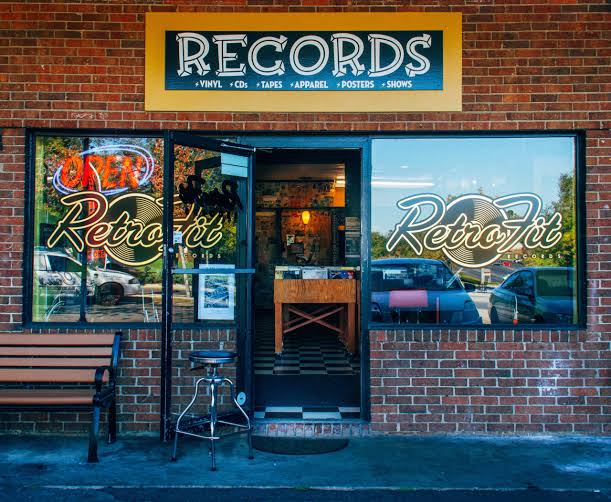
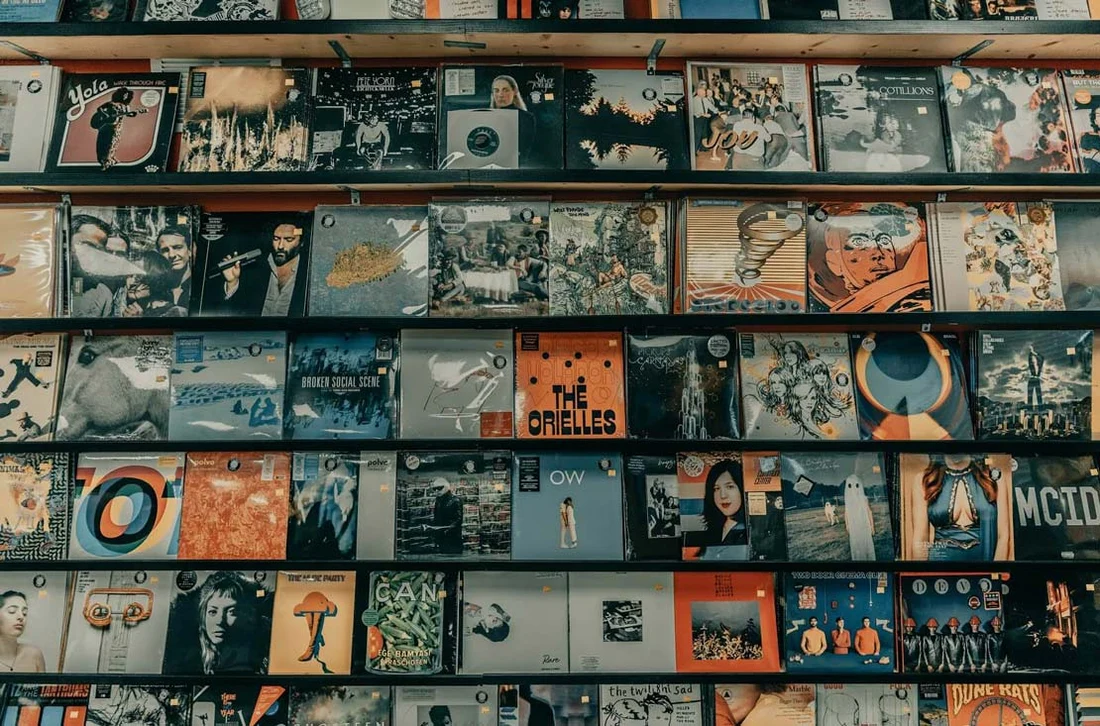
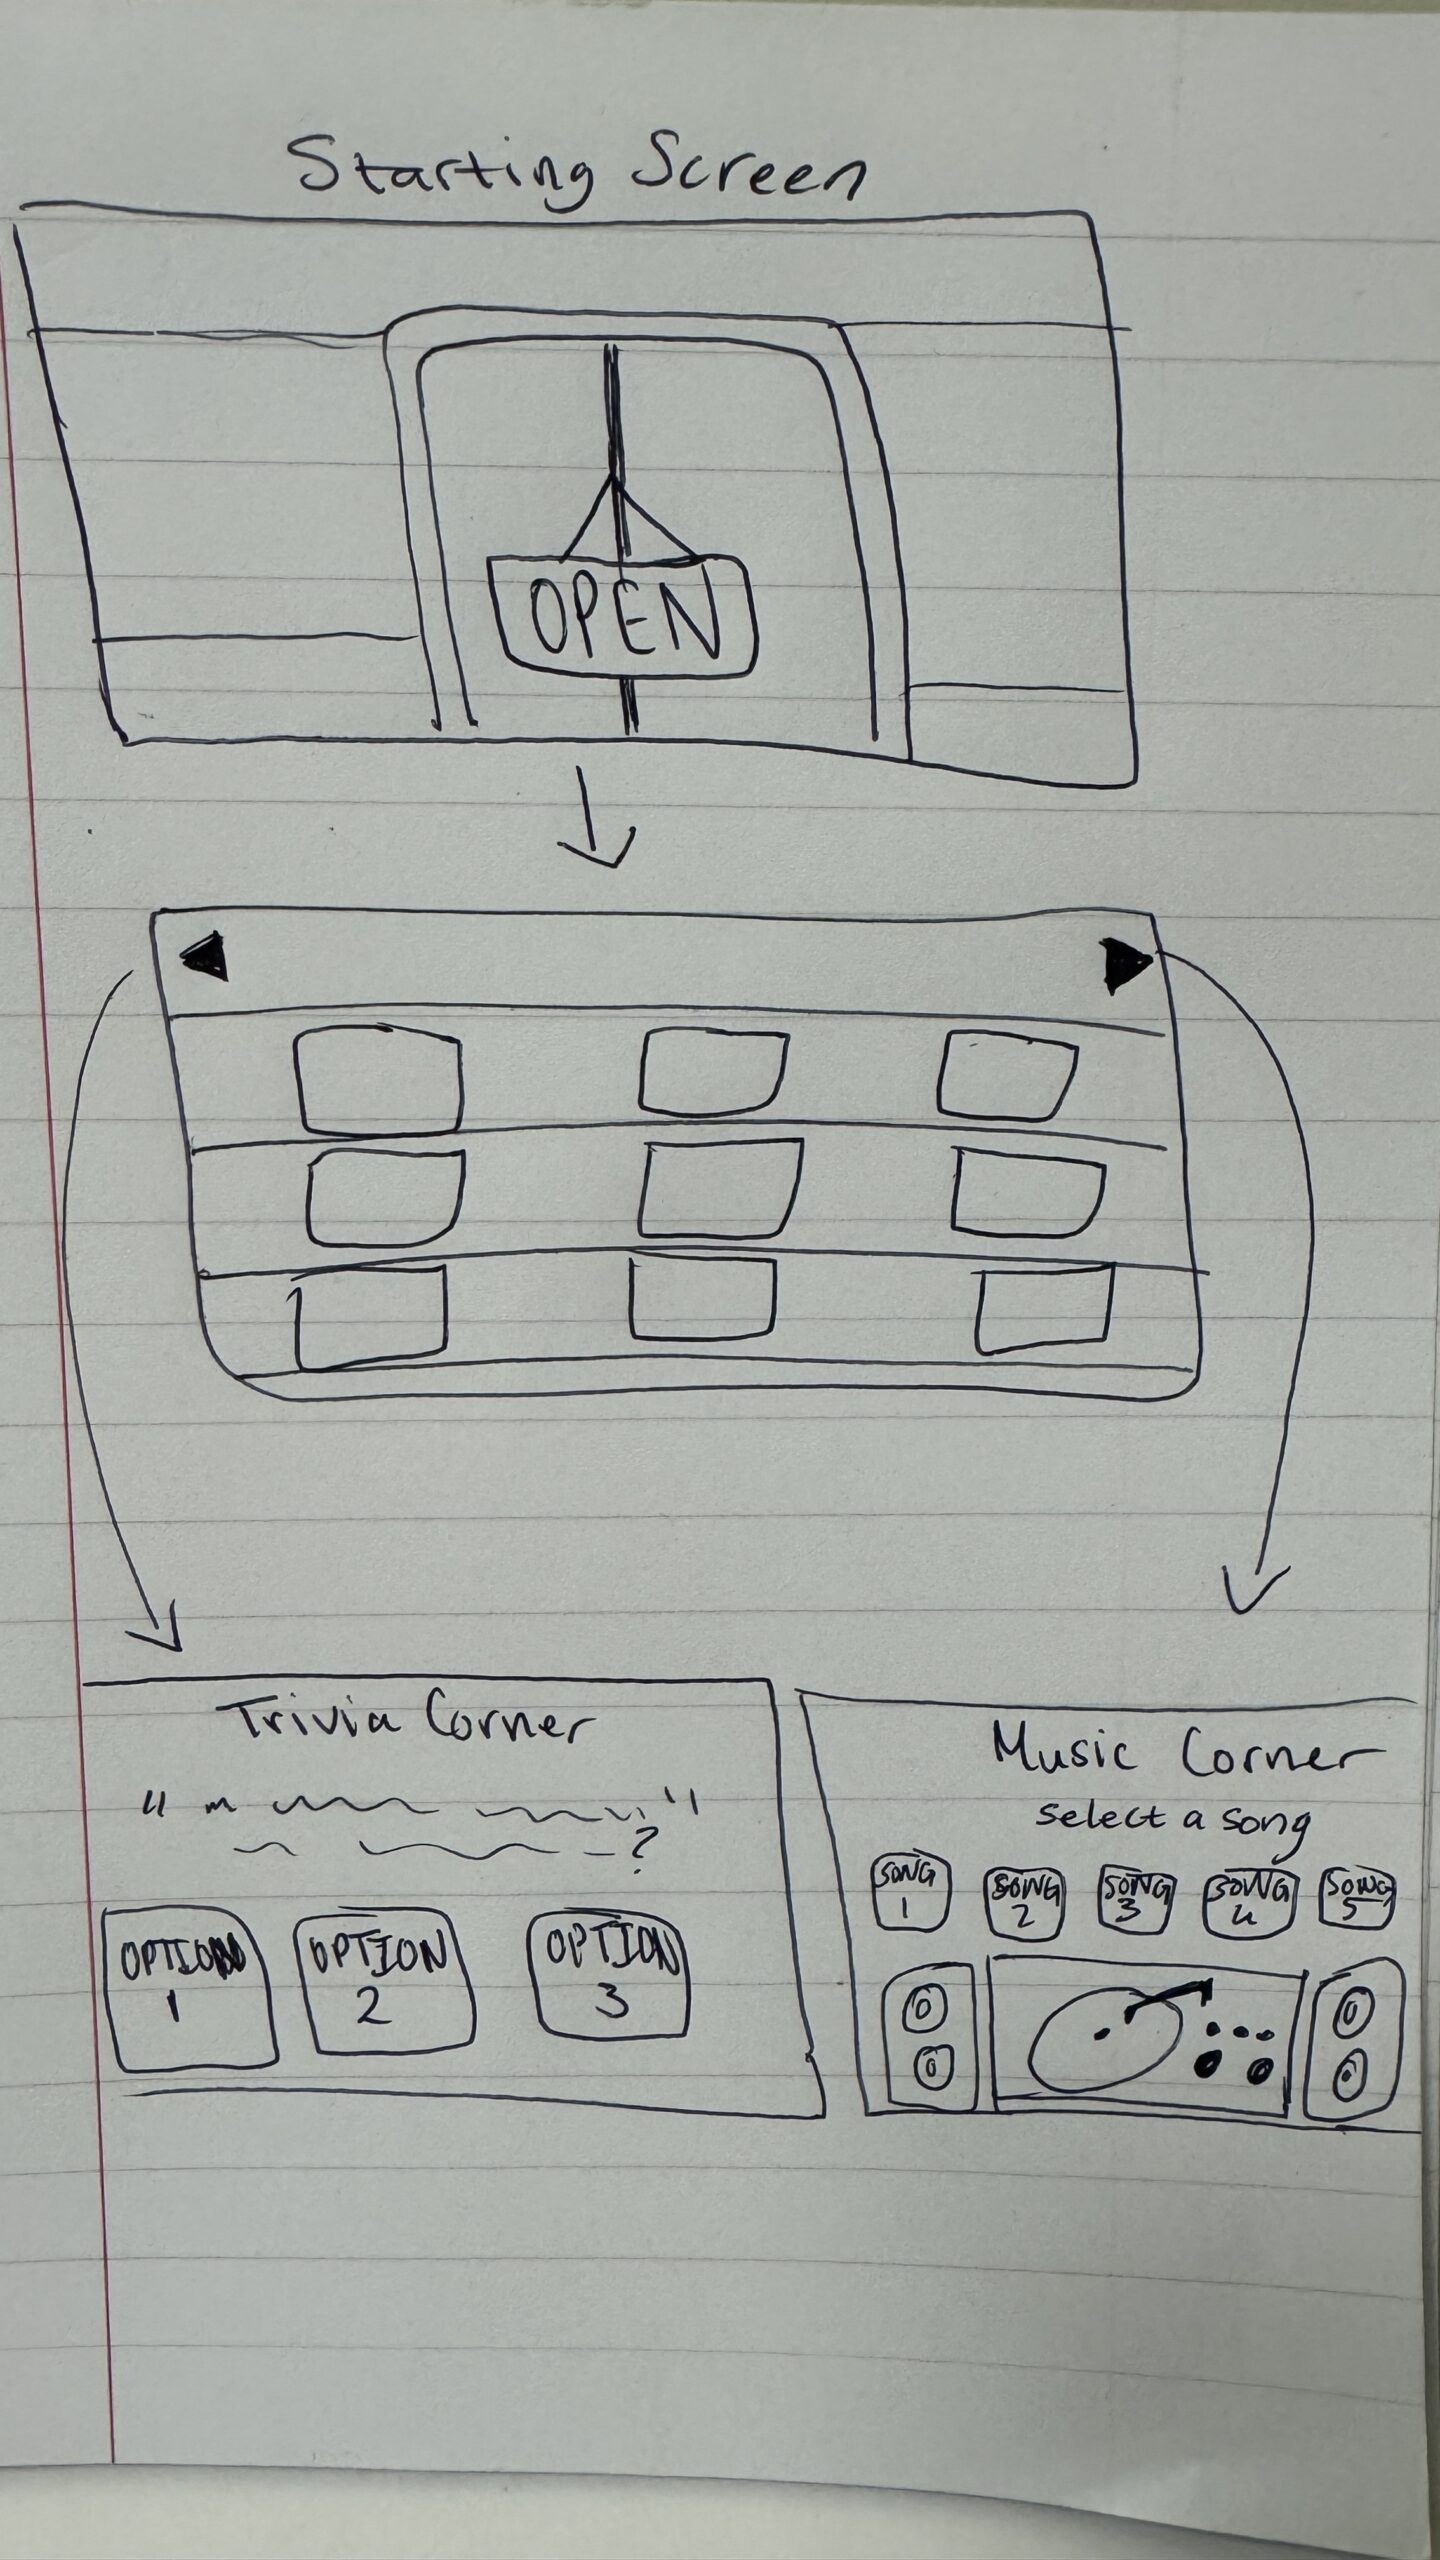
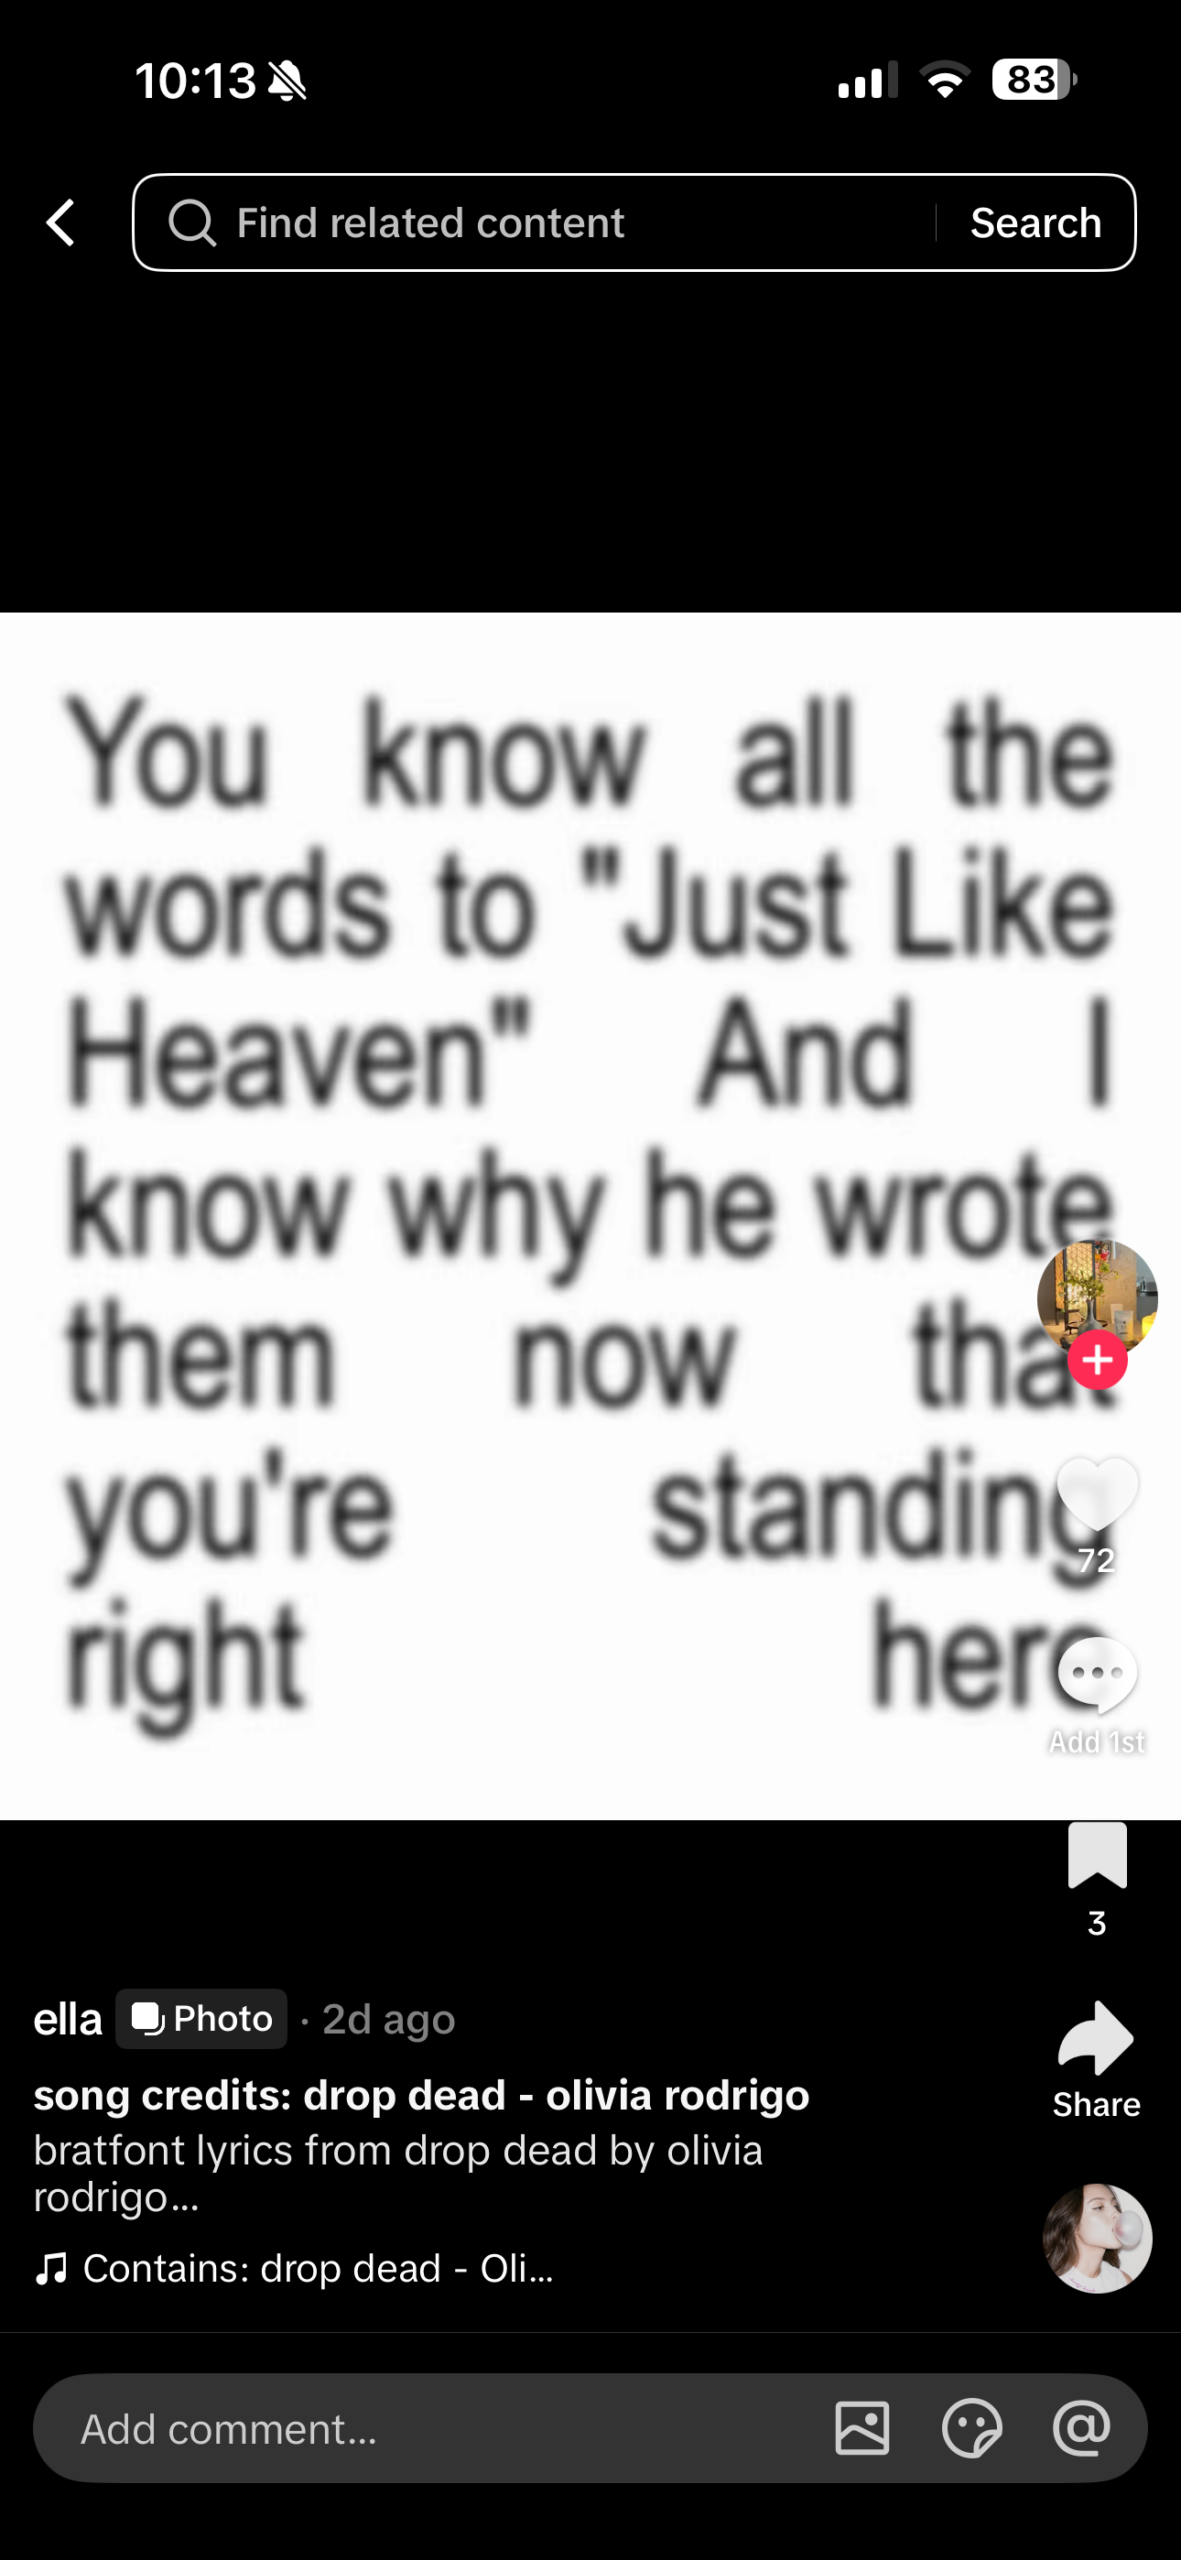
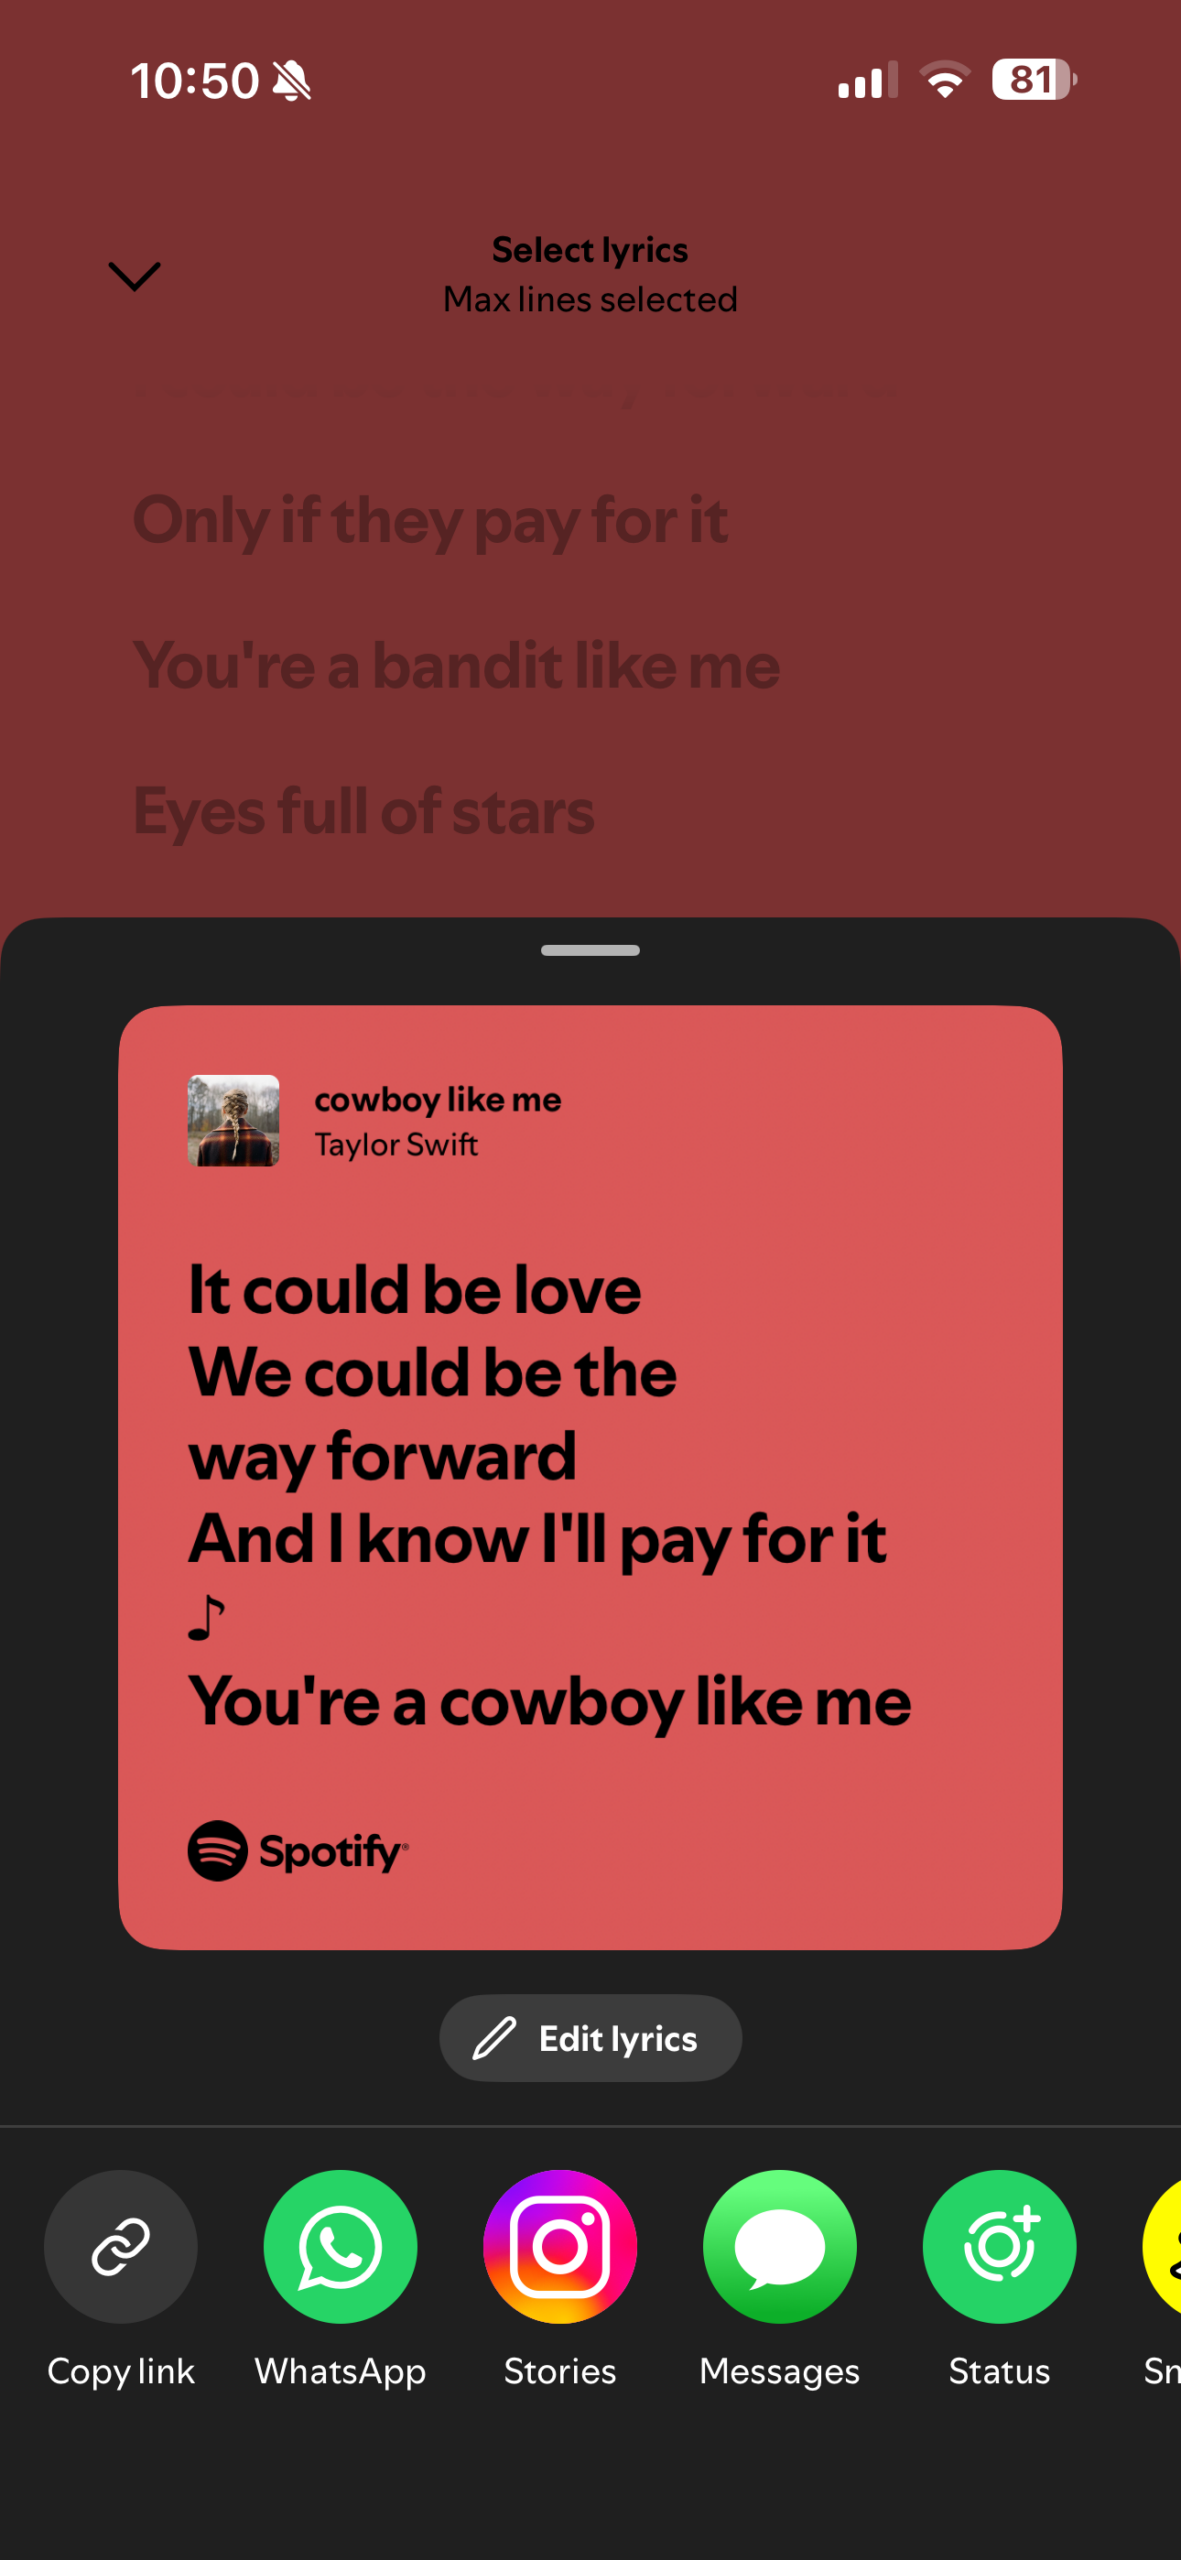
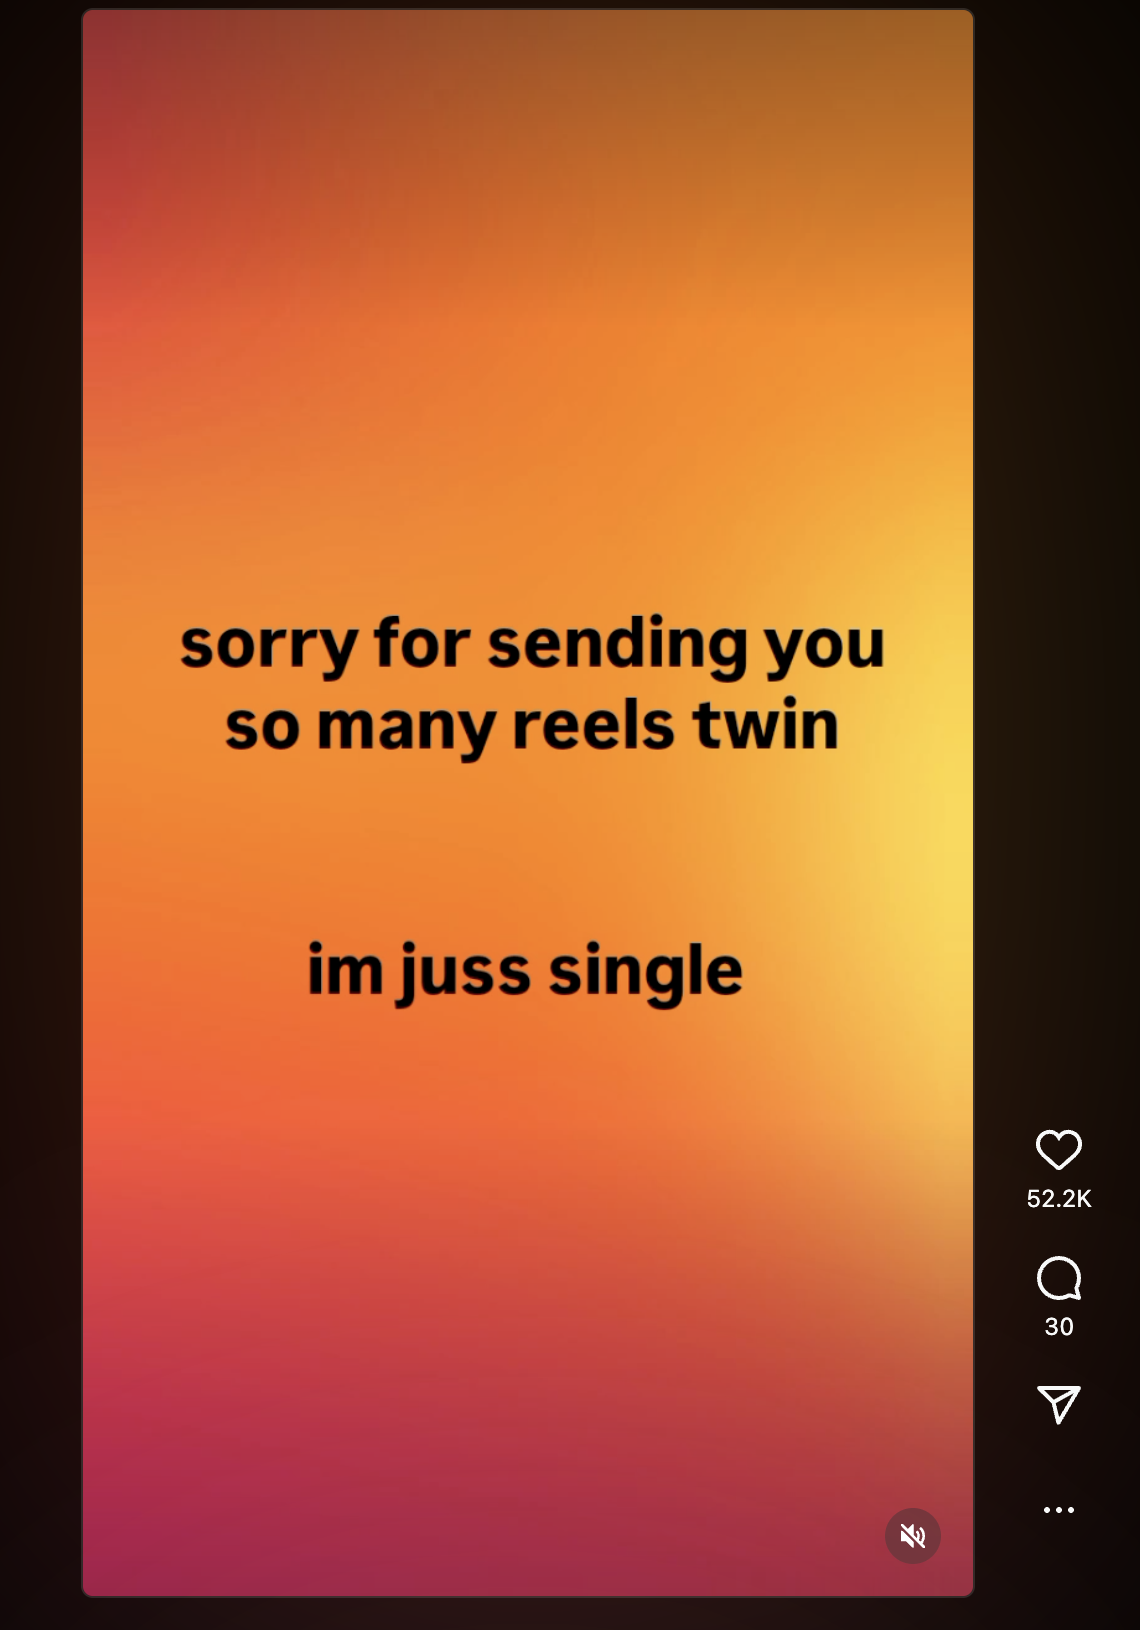
For this assignment, I had absolutely no idea what to do. I tried looking around for inspiration when the idea of incorporating song lyrics came to mind because I listened to music all the time. Once I had the idea of using song lyrics, I decided I could make the project more personal and specifically make use of song lyrics that I really enjoy. When figuring out how to design the project, a few references came to mind: the first being the lyric videos I sometimes see on TikTok (Image 1), the second being the Instagram reels that just have text on a color background (Image 2), and the third being the shared lyrics from Spotify (Image 3).

Image 1
Image 3
Image 2


How this was made:

For this assignment, I wanted to try and use a csv file to store the lyrics so I began by reviewing a video I found titled “p5 js Working with Basic Data + CSV Files” by Jacob Rivkin and the p5 references on csv, in order to get a better understanding of it works. Originally, I planned to only add the lyrics, but once I watched the video and followed along, I decided to add additional information to the CSV file, such as the song title and artists. Once I was able to get the connection to the CSV file working, I added the mouseClicked function so that users can go between the song lyrics. 

After the functionality of the assignment was done, I began working on the visualization of the text. I started with the position of the lyrics, song name, and artist, trying to find a font size and position that would keep each section of text from overlapping because at first when I added alternative fonts some of the longer lyric segments would go a bit off screen due to the font size. In terms of other visual aspects, I tried to keep it a bit simplistic, in a manner similar to the references I had while still having some kind of unexectedness to it, which is where the changing fonts, and text and background color come in. 

Code I’m Proud Of:

async function setup() {
  createCanvas(500, 500);
  
  data= await loadTable('lyrics.csv',',','header' );

  numRows = data.getRowCount();
  songLyrics = data.getColumn('Lyrics');
  songName = data.getColumn('Song');
  songArtists = data.getColumn('Artists');

When I started working on the assignment, I was unsure about how to navigate the CSV files that I almost ended up just using an array to store the lyrics, and at that point I wasn’t even planning to add the other song information. When I found the YouTube video explaining the concept, I found it much easier than I initially thought and was able to incorporate it into my assignment.

Reflection:

Even though I think this is one of the more simple assignments, I think the fact I got to incorporate something I love into it, that being music I personally enjoy, I had more fun throughout the entire process. For future improvements, I would want to add a feature for users to add their own lyrics to be displayed, which I could use to add a more personal touch for the person experiencing the work. Additionally, one thing I wanted to add but wasn’t able to was a gradient-style background, much like the Instagram video reference. As we continue going through the semester, I’d like to come back to this assignment and hopefully add those improvements. 

Week 4 – Reading Response

  • What’s something (not mentioned in the reading) that drives you crazy and how could it be improved?

One thing not mentioned in the reading that could be improved is the car dashboard. Nowadays, many car manufacturers are leaning towards a fully digital car dashboard, moving away from physical control switches, nobs and buttons. I’d like to call this the ‘iPadification’ of cars, a term that may or may not have been used somewhere before, as the dashboards of many modern cars have just become a giant iPad. Many people may think it’s just easier to have everything digitized, but I think when it comes to driving that may not always be a good thing. Focus is very important when you’re on the road, and having the physical buttons and nobs made it easier to tell if you were able to do what you wanted, such as changing the temperature. Additionally, the static nature of physical buttons made it easier to remember where certain features were, allowing drivers to build muscle memory, meaning less focus would need to be given to those tasks. Meanwhile, with a touchscreen, it may be more distracting for drivers, as there are many menus that need to be navigated for different controls, and the overall process may be longer, leading to the driver having to multitask for longer, increasing the chance of them losing focus on the road.

  • How can you apply some of the author’s principles of design to interactive media?

When applying these principles to Interactive Media, since the focus is interaction, I think keeping human-centered design at the forefront is really important. Putting a priority on clearly indicating to users the intention, the means of interaction a project could have, and some kind of indication that something happened represents the affordances, signifiers, and feedback principles, which, for interactive media, may be some of the most important. If a project fails to communicate how it works, what it does, or that something happened, people would likely lose interest in interacting with said project. User attention is also very limited, so for an interactive media project, whether it’s a website, installation, or game, if users are unable to figure out how to use it or if it’s actually working, they will naturally move on, especially if there is another project a few steps away capturing their attention because it has some kind of audio or visual response to the user’s interaction. 

Reading Response – Week 3


This book chapter really opened my eyes in terms of how deep the idea of interactivity can really go. Before reading it, I think my definition of interactivity would simply include anything that reacts or changes based on an input from a user. However, now I think looking at interactivity through a scale makes much more sense. Aside from properly incorporating the listening, thinking, and speaking principles addressed by Chris Crawford, I think a strongly interactive system should respond to the different inputs provided by the user and be able to take them into consideration for future interactions, making the interactivity less of a ‘call and response’ and more of a continuous ‘conversation’. This changes the user’s role to an active participant in the interaction rather than just a passive presence giving commands. Ultimately, making it more of a live feedback loop.

For improving the degree of interaction for future p5 sketches, I think I’d want to focus on moving past merely having mouse-clicked interaction or having the sketch change with each interaction. I’d want to incorporate different ways for the user to interact with the sketch, like moving the mouse around the screen to change the color or speed of something. Additionally,  I’ve seen a video of a ball that has some kind of gravity on it, so when the user clicks, the ball drops and bounces under the effect of gravity, eventually stopping. I’m not sure how advanced that would be to create or if it’s something we’ll cover eventually in class, but I think having a work where maybe the user can kind of physics system that allows the ball to react differently depending on how it was tossed. Overall, making the work more interactive.
 

Week 3 – Functions, Arrays, and Object-Oriented Programming

Concept

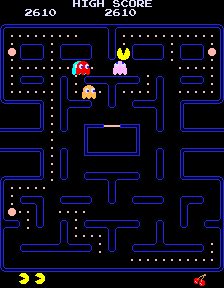
While I was reviewing The Coding Train videos on the topics we took in class this week, I was thinking about what to do for my assignment and how to implement OOP. I was specifically trying to figure out an object I could create multiple of. Then suddenly, the ghosts from the game Pac-Man popped into my head. I’m a huge fan of video games, so I immediately decided to use Pac-Man as inspiration for the assignment. I based my project on the design elements of the game, like the way the ghosts look, and had it so that when they’re moving around, they create a dotted line along their path, with the design being inspired by the dots Pac-Man eats around the map.


My Code


Process

I started my code by creating the ‘Ghost’ class, as that would be the main part of the project. Before starting any of the code, I watched ‘6.2: Classes in JavaScript with ES6 – p5.js Tutorial’ from The Coding Train as a refresher, and worked through creating the class myself.

Next, I began working on randomly spawning in the Ghosts when the program is run. To do this, I used a combination of the p5 reference site, searching on Google, and again the video ‘6.2: Classes in JavaScript with ES6 – p5.js Tutorial’ from The Coding Train.

Once I was able to get the ghost to spawn in properly, I began to work on getting them to move. I wasn’t sure where to start with this, so I looked for help on YouTube and came across a video titled “p5.js Coding Tutorial | Array of Bouncing Balls (OOP / mousePressed)” by Patt Vira. With the help of the video, I implemented the ‘moveGhost’ function and ‘checkBoundaries’ function, allowing the ghosts to move around the screen without going off of it. Additionally, I changed the dx and dy speed variable in the constructor allowing for variation in the speed between different ghosts.

Next, I decided to work on adding color to the ghosts, so I added an array holding a few colors for the ghosts. To give them a color, I added an argument to the constructor that would select a random color from the array when the ghost is created.

The next section of code ended up taking the longest to figure out. At first I tried to implement it by myself, but it wasn’t working out, so I looked through some of The Coding Train’s videos and found ‘9.7: Drawing Object Trails – p5.js Tutorial’. I used their help to implement an array that holds the vector location of each ghost and creates a point for each one.

Code I’m Proud Of

//creates vectors of the ghost position
    let v = createVector(this.x,this.y);
    this.history.push(v);   

    if (this.history.length > 500) {
      this.history.splice(0,1);
trail(){
  stroke(this.color);
  
  for (var i = 0; i<this.history.length; i=i+1) {
    var pos = this.history[i];
    ellipse(pos.x,pos.y,1,1)

The part of the code that allowed the ghosts to draw a path while they were moving was a completely new concept to me, so being able to learn how to do it was really exciting, and therefore it is also the code I am most proud of. I definitely plan to implement this in future projects as well.

Problems I Ran Into

The biggest problem I had during this assignment was definitely getting the ghosts to draw a path as they moved. Before, I looked for a video to help me; I ended up making it so that there were just lines connecting each of the ghosts, rather than them creating a line as they moved.

Additionally, when I added the colors to the ghosts, my first attempt resulted in them flickering between the color options rather than having one. This was because I put the color randomization in the ‘Show’ function, so every time the ghost was drawn, the color changed. I was able to fix this tho by moving the color selection into the constructor.

Reflection

Overall, I’m happy with what I was able to create for the assignment, and it helped me a lot with practicing the latest concepts we’ve learned during class. I was especially happy, I could inccorparte my love for videos games to some extent. Although figuring out how to get the ghosts to draw a trail along their path was a bit challenging at first, learning to implement the array capturing the positions of the ghosts was a really interesting and I hope to explore it’s capabilities further in future assignments and projects. In terms of improvements, I think adding a way for the eyes of the ghosts to change direction based on which way they’re moving would add another fun element to the work and make their behaviours more similar to the actual game.

Week 2 – Generative Art

Concept

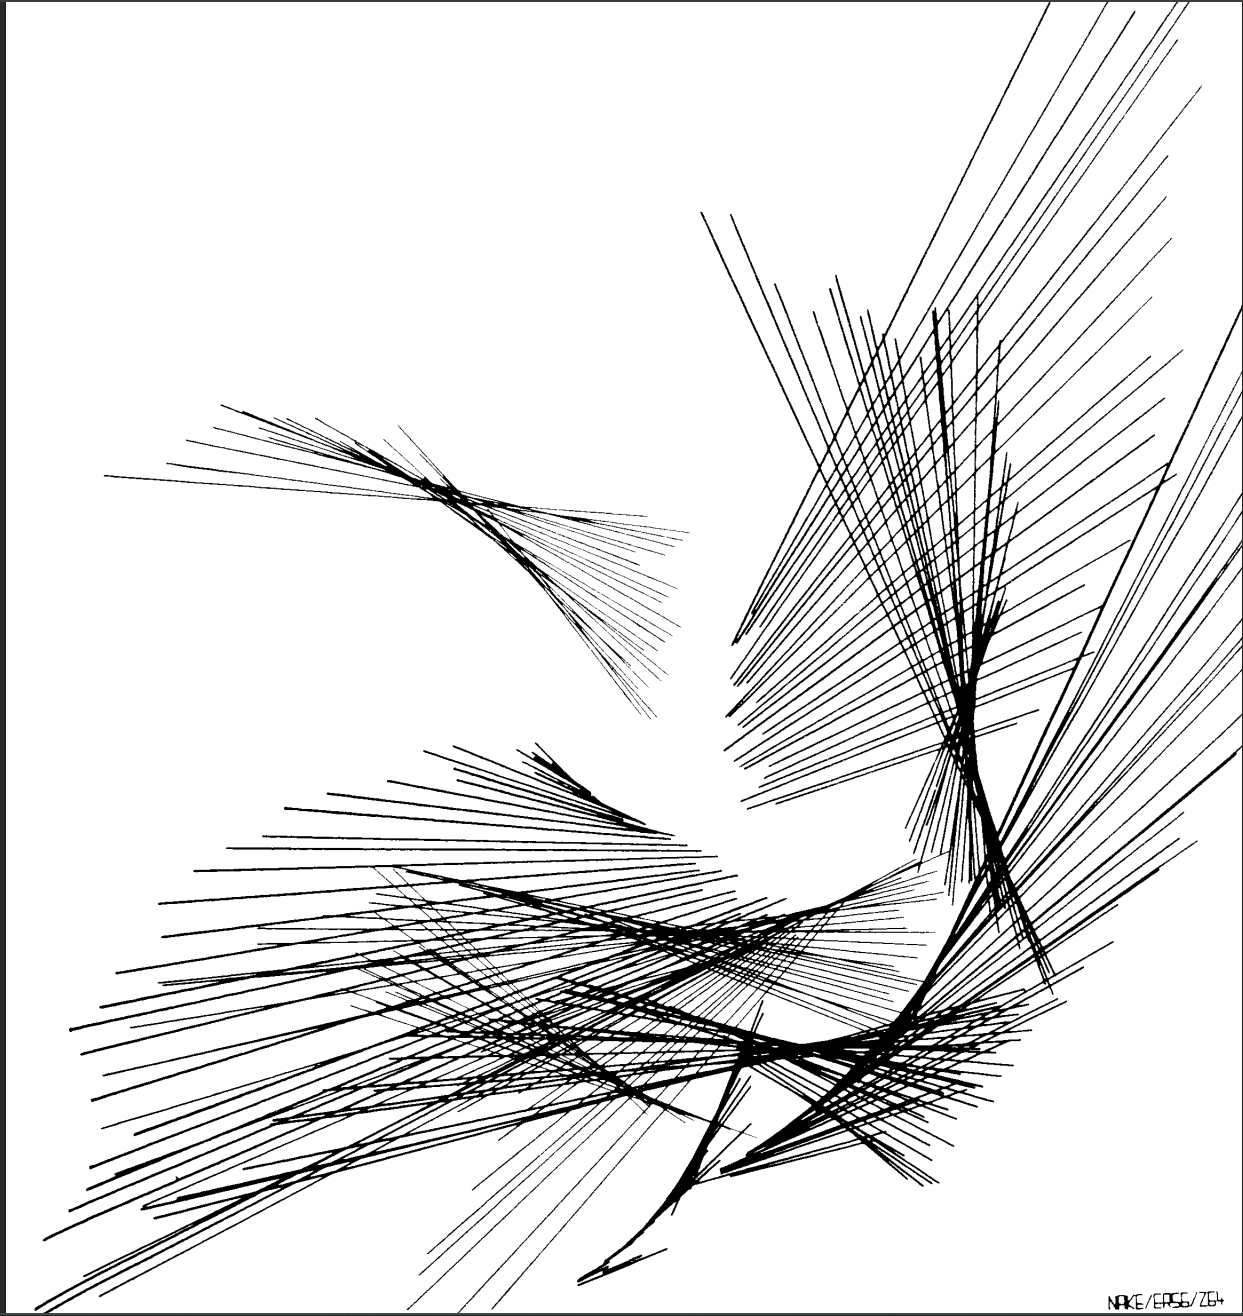
Before I started any part of this weeks homework, I already had a small idea for what I wanted to create. As I began going through the work, I still intented to go through with my original design. While going through the examples provided with the assignment instructions, I came across a work that was similar to what I had in mind, this ended up being my source of inspiration for the assignment.

I ended up creating a code where a random number of lines with varying colors and sizes would extend from the center of the screan, creating a kind of splatter effect. However, when I was about done with the code, I wanted to try making it so that the origin of the splatter would change with each itteration. This ended up resulting in me making it so that the code just put all the lines randomly on the screen. At first, I was annoyed but as I kept looking at it, the design began to grow on me. Additionally, it reminded me of some of the work I saw while watching the Casey Reas talk. At this point, I decided to change my porject and embrace the happy accident that occured.

Code I’m Proud Of

A section of code I’m really proud of is the while loop I created which is responsible for generating the lines. It takes the randomly selected number of lines when the code is run and for each line a eight random featues of that line are generated. These inclide two random x and y coordinates to create the line and where its positioned, three random r,g,b values allowing each line to be a different color,  and a random stoke weight from one to ten changing the thickness of each line.

while (lineCount > 0) {
  let randX = random(width);
  let randY = random(height);
  let randX2 = random(width);
  let randY2 = random(height);
  //randomize the r,g,b values, thickness, and position of each line
  let r=random(0,255);
  let g=random(0,255);
  let b=random(0,255);
  strokeWeight(random(1,15))
  stroke (r,g,b);
  line(randX, randY, randX2, randY2);
  line(randX, randY, randX2, randY2);
  lineCount = lineCount - 1;//decrease the lineCount till it hitsw zero to control the while loop
}


Sketch

  • ‘How Was This Made’ section including references

I started by creating the while loop which would create the randomly chosen number of lines. To do this I watched The Coding Train’s video titled “4.1: while and for Loops – p5.js tutorial” to review how the while loops functioned in p5. When I began, I had some issues with the line count variable I added to control the loop, as I kept getting errors about it. To solve this I tried moving the variable to a few different locations, as I had a similar issue in the previous homework and moving the code was what helped resolved it then and also helped with this issue. I later changed this to randmoize both the start and end postions. Once I was able to get the lines generating properly, I started adding in the elements of the lines that I wanted to be randomizes. I started by impletening randomized colors for each line and then randomized stroke weights. After I did this, I had the idea to randomize the origin position of the lines which accidently resulted in the line positons being completely randomized, which I decided to keep in the end.

Reflection and ideas for future work or improvements

I think working on this assignment taught me to embrace the unexpected because my final project ended up being very different from what I had in mind when starting. Not this but I think my final project reflected my intention for this assignment in a clearer manner than what I had created at first. Those intention were to kind of find the right balance between the randomness and control. The way I wanted to do that was by making it so that each different interation of the generated work had elements that allowed you to tell they were connected while also having each design look unique and distict from the others.

In terms of future work, I would like to get more practice using the loops to fully grasp the capabilies they have for creating art. When it comes to improvements to this assignment, I think I would add more elements thay could change such as addition shapes as well as a implementing a feature to let users change the design by clicking.


Week 2 – Reading Response

In his Eyeo talk, Casey Reas argues that code needs a bit of “noise” for it to stay visually interesting and prevent it from becoming homgoneous.  From that part of his talk, I understood that he meant adding some kind of elements or means to differentiate different iteration of the code/art work. Reas outlook on this is similar to my plans for how I’ll make use of randomness withing my art. I intent top incorporate a few different elements within my work that will be randomized each time the code is rerun. My goal in doing this is to achieve some sort of similarity between each unique iteration while also having it so each one a some kind of distinction from the rest. 

I think there may not be one definitive answer for the optimum balance between total randomnens and complete control. Rather, it depends on each individual case and the type of art the artists is trying to make, as well as what their goals for that artwork is. However If an artist leans too heavily into either direction they could risk their art being too random to the point where there is no clear idea behind the art and the “noise”, as Reas would call it has no real meaning, or it could be too controlled where the result may be too predicable. However, this does raise a question for me, how would we as viewers be able to distinguish between these? For example, at what point does the randomness or noise become too much or lose its meaning?

Week 1 – Self Portrait


Concept

Before starting this class, I had no prior experience using p5js. However, I have some previous coding experience, which made the learning experience a bit smoother. Given this and the fact that I’m not that much of an artists, I decided to focus on getting my basic features onto the portrait. Before even beganing to type anything, I started planning what shapes, I would use to recreate my features through code and once I had finished that I began coding.

Process

Before starting, I decided that I wanted my interactivity to be the background colors changing with every click. To do so, I began to work on the background and decided to divide it into three parts with the help of triangles. Once the background was done, I started working on the portrait of myself. I originally used circles to make up the shape of the head and body; however, I later switched them to ellipses, as I found those looked better. Next, I worked on the facial features, starting with the hair, which I made using a lot of small circles overlapping each other. Once I was happy with that, I added a few more circles to make the eyes and pupils, and created a mouth by using an arc, then I added some smaller details, such as a triangle for the nosem lines for the eyebrows and more ellipses as the ears. Additionally, I used the p5js reference website as a guide for working with the shapes.

After finishing the portrait, I started working on the interactivity. My basic idea to achieve the changing background colors was to randomise the RGB values, but at first I was unsure where to start, so I looked to The Code Train videos as a reference, specifically the video on random functions. From there, I was able to implement the random function in my code and add in the interactivity.

Code I’m proud of

My favorite part of the code is the interactivity section. After I wrote all the code for it, instead of changing color when I clicked the mouse, the background was rapidly changing non-stop. Again, I made some adjustments to it and managed to make it so the base colors were showing; however, the interactivity was still not working. I kept looking through the video and trying to change things in my code, but I was not able to make it work. After 20 minutes, I decided to ask AI for help, and it immediately pointed out to me that I had accidentally put the mouse click function inside my draw function. Immediately after fixing that mistake, the feature was working as intended.

function mouseClicked() {
    r=random(0,255);
    g=random(0,255);
    b=random(0,255);
    r1=random(0,255);
    g1=random(0,255);
    b1=random(0,255);
    r2=random(0,255);
    g2=random(0,255);
    b2=random(0,255);
  }

Reflection

As I continue this class, I hope to further my mastery of the website by learning more about it’s capabilites and create even better projects. In terms of improving this first project, I think I’d want to look into adding more kinds of interactivity, possibly some kind of animation. In addition, I’d want to learn more techniques that could have helped. Overall, I’m happy with what I was able to achieve during my first assignment using p5js.