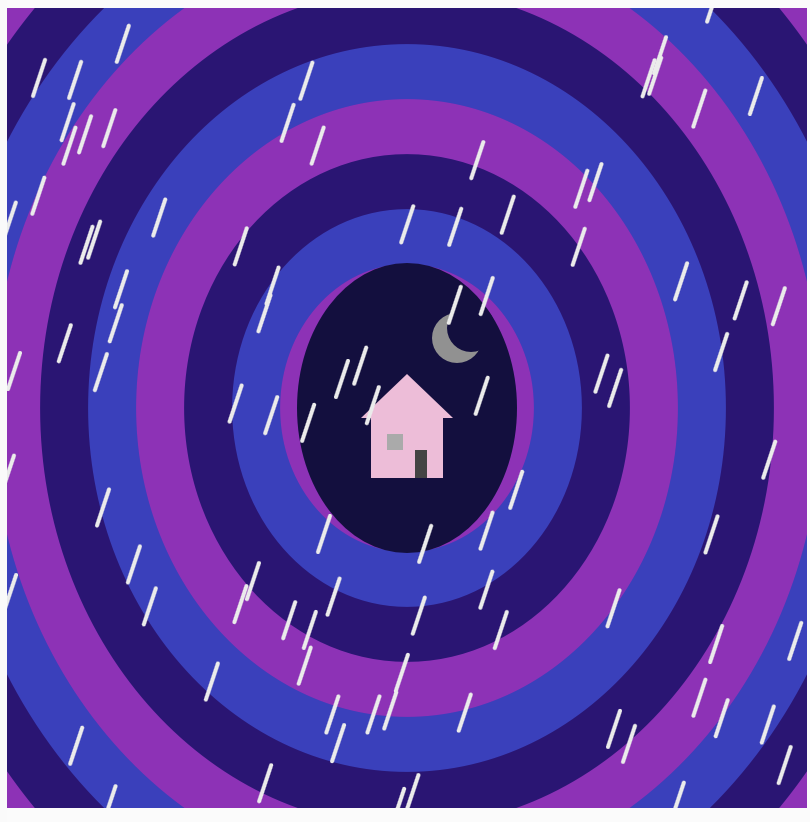
Final sketch:
Play my game here: Sketch
Concept
For my midterm project, I created a game where the player has to repair a broken control system by completing five different challenges. The system’s memory and navigation are corrupted, so the player has to solve number patterns, use arrow keys to locate hidden signals, and complete a final challenge with moving colored balls to find the bug. I also added a battery system that starts at 100%, where every wrong answer lowers it by 20%. If the battery reaches 0%, the system shuts down and the player has to restart.
My inspiration came from the game “Among Us”, and specifically from the missions which included repairing various systems of the ship such as wires. The game had many interactive small tasks that had a connection to one common purpose. But I did not want to create a similar type of challenge and preferred to concentrate more on the logical tasks, patterns and observation. For example, my game has puzzles with numbers, detecting hidden signals by pressing arrow keys and noticing a ball which is moving differently compared to others. There is also a battery system to penalize the player in case of an error. In order to make it seem like repairing one system rather than playing mini-games, there is the same control-panel background used all through the gameplay.
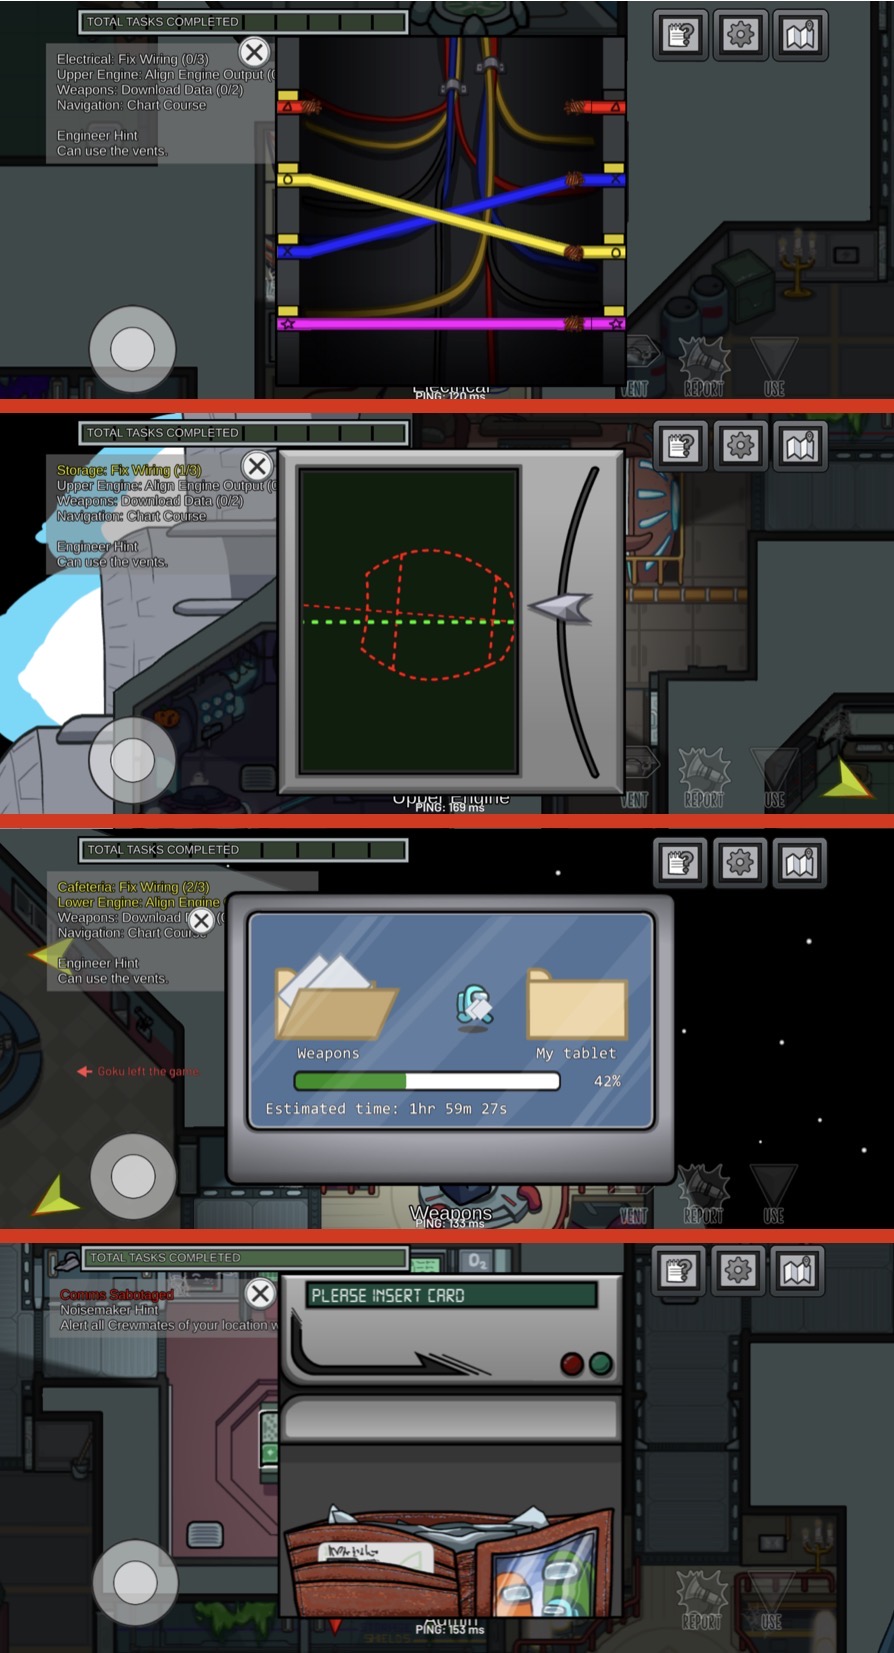
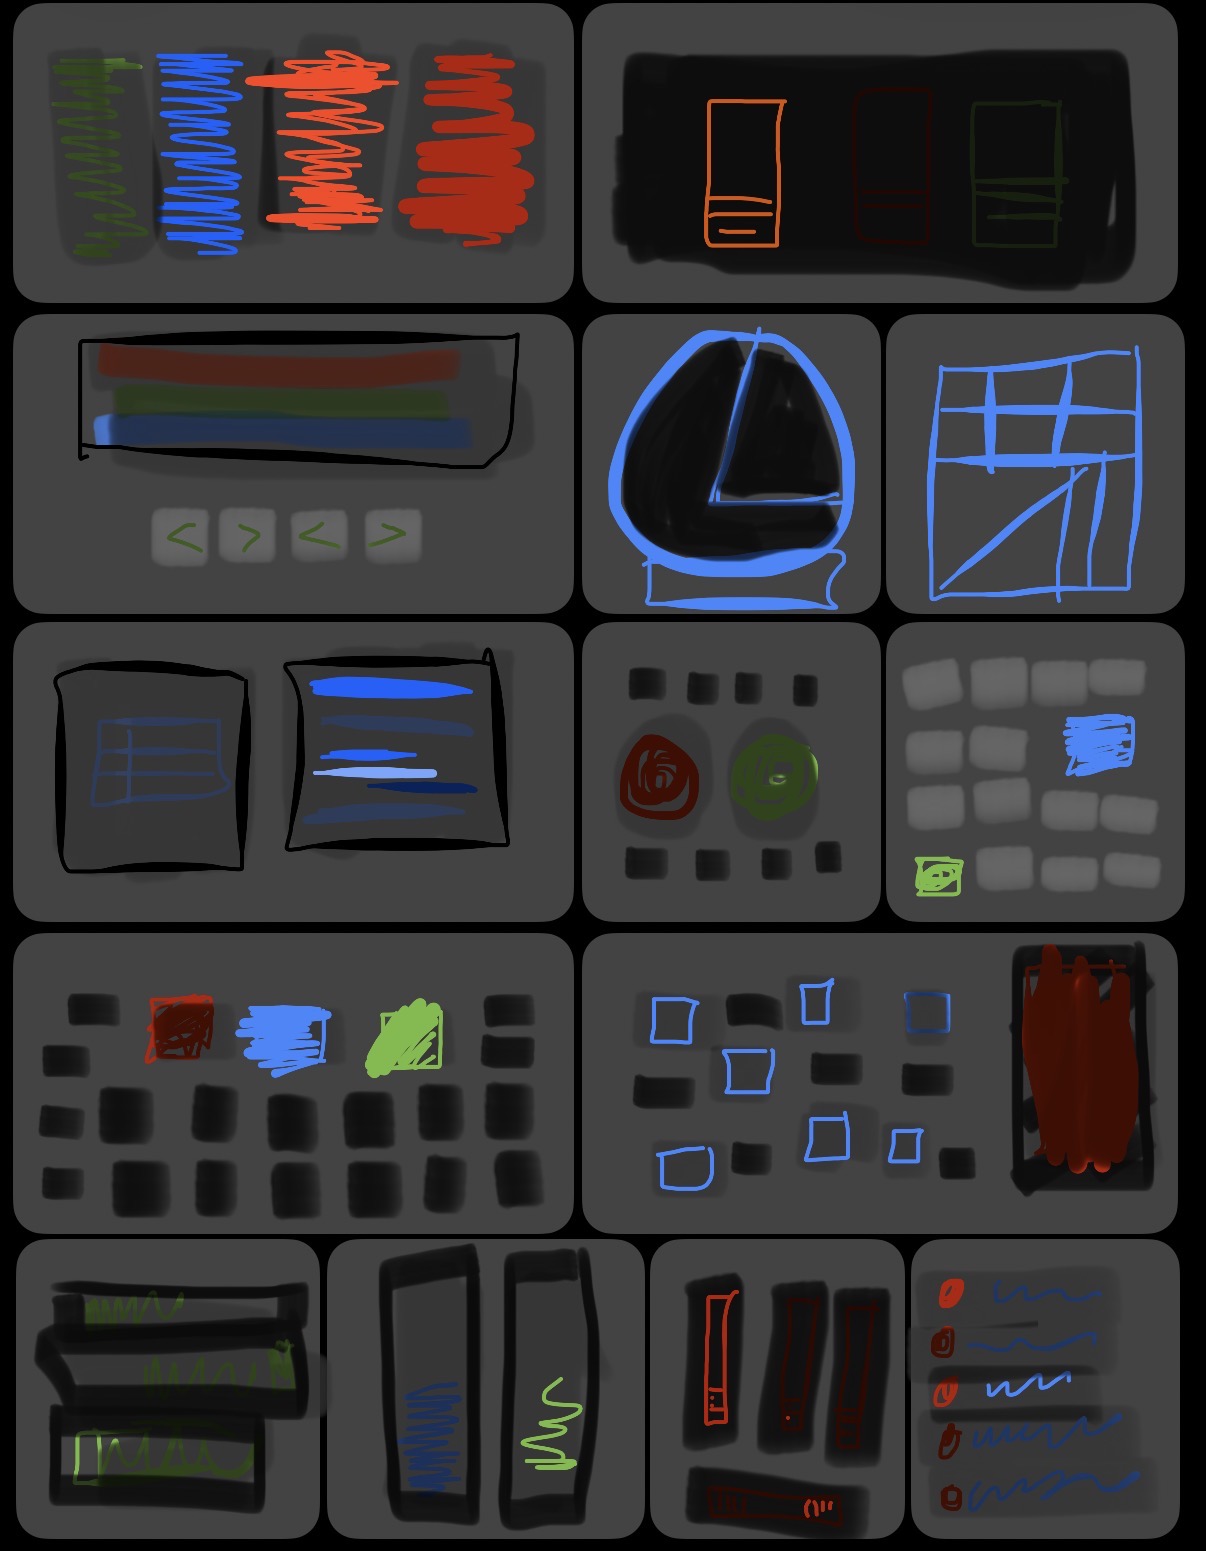
On the left are some tasks I screenshotted from Among Us. As you can see, they are quite simple, like connecting colored wires to their matching colors or clicking a button to download files. I liked the idea of fixing something through different tasks, but I wanted my own game to be a little more challenging.
Visual improvements:
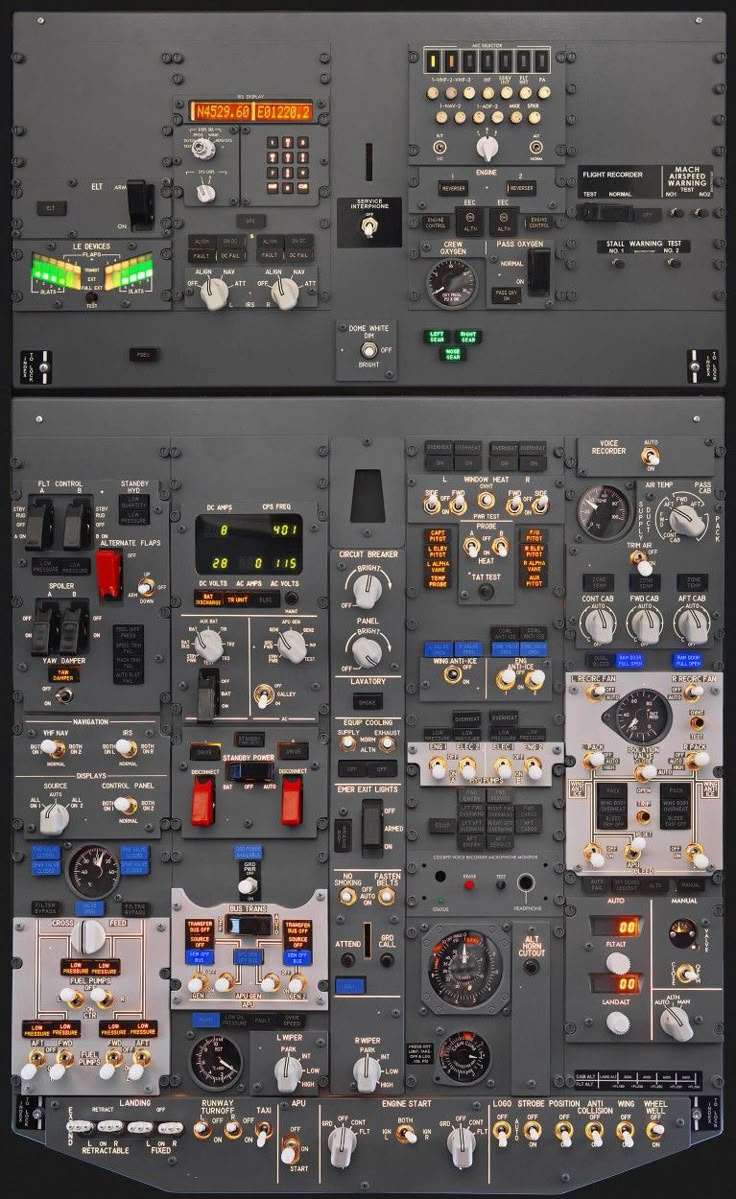
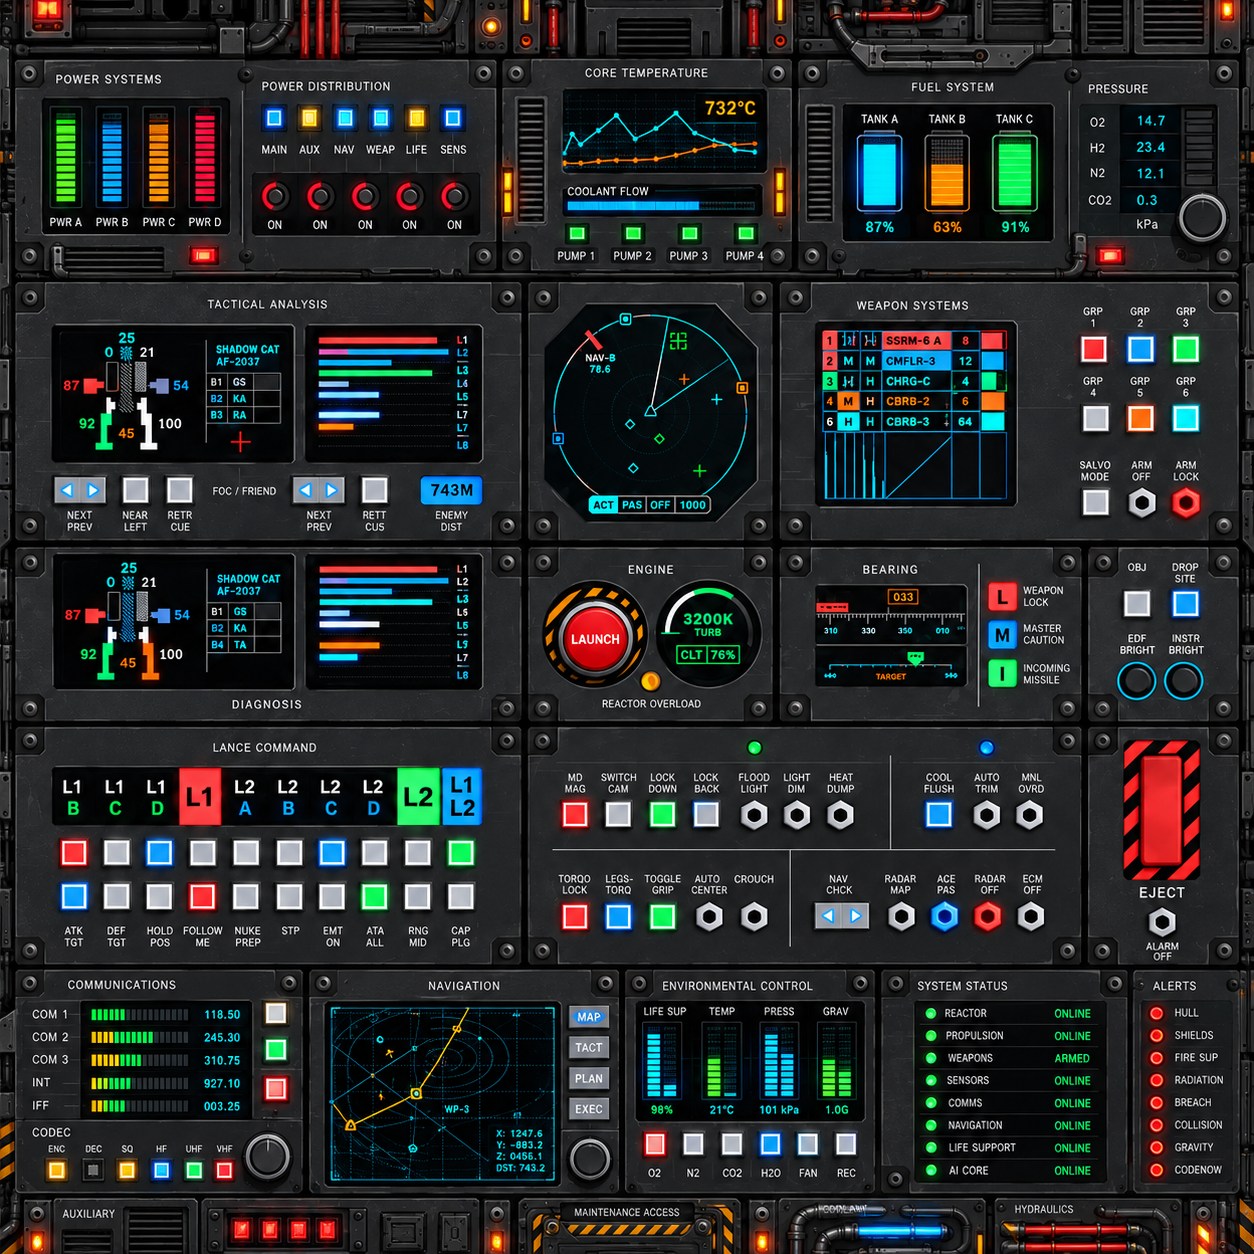
I added a transparent black layer over the background so the colors wouldn’t be too bright and the text would be easier to read.
Before:
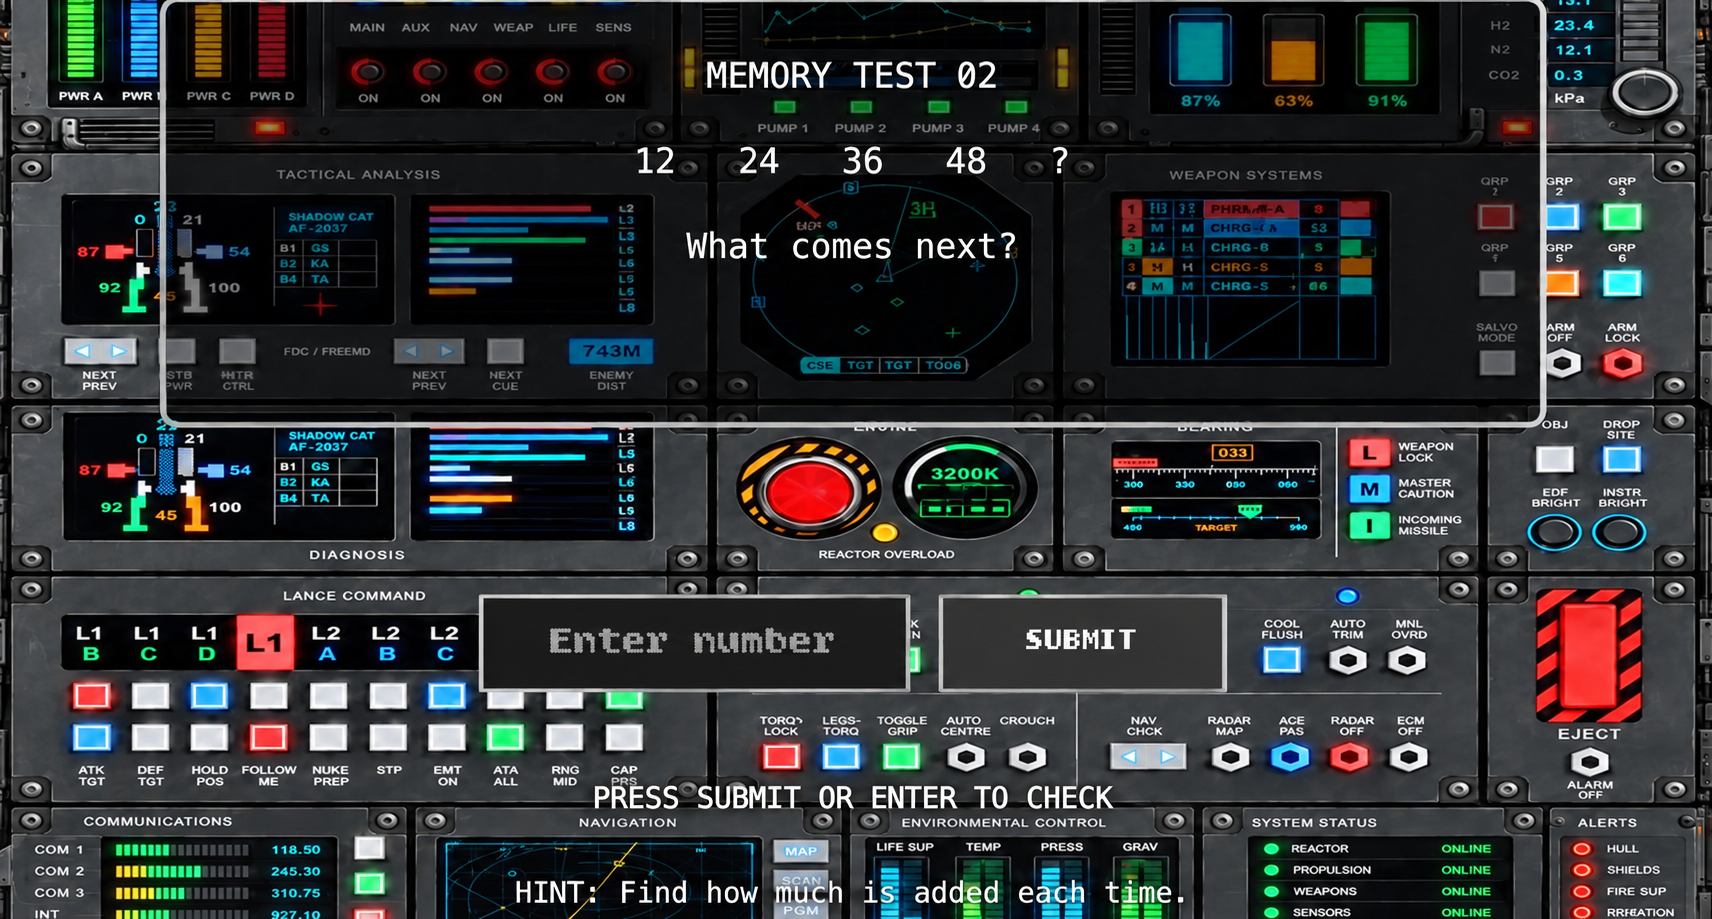
After:
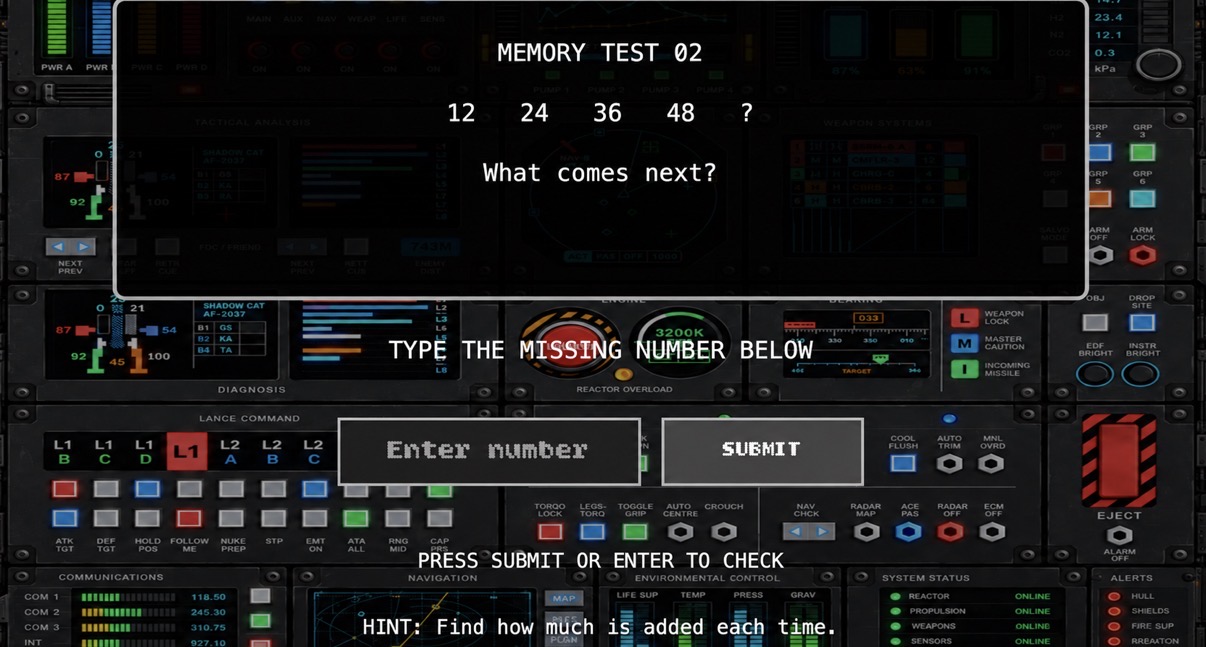
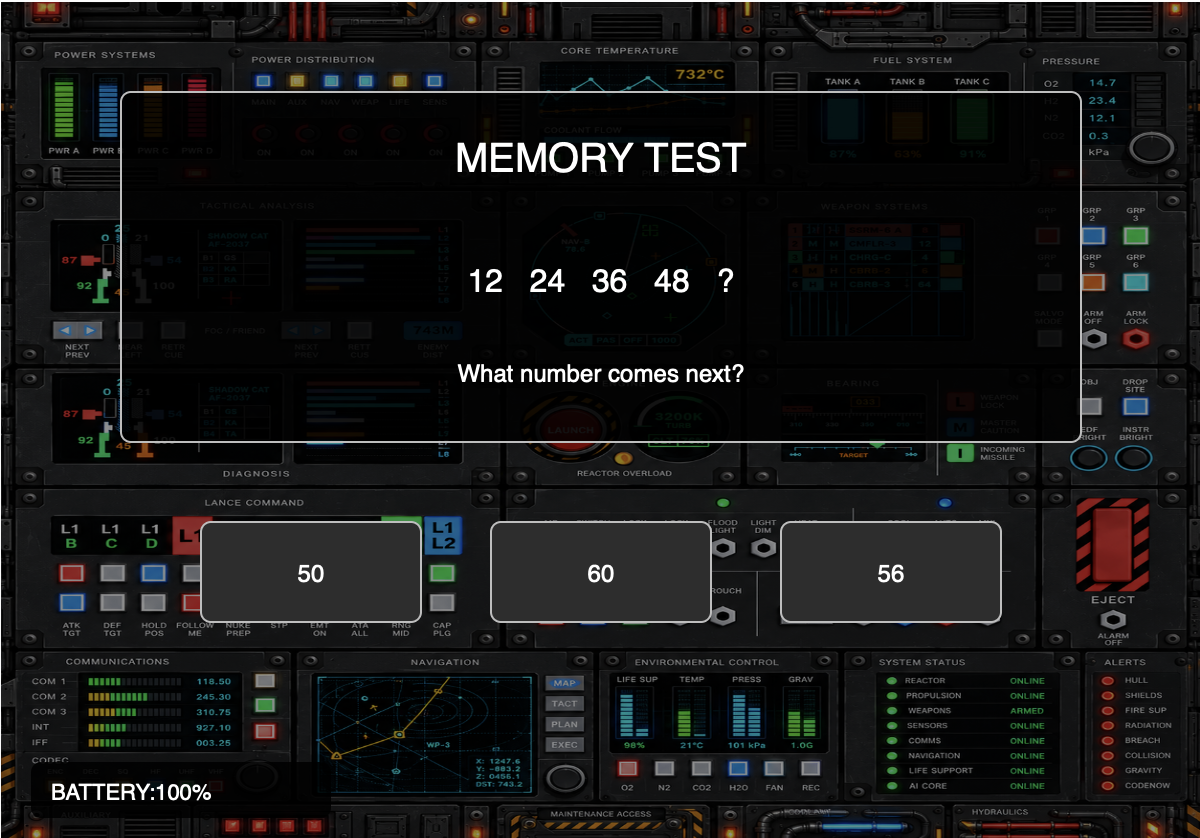
I also added a black box behind the hints so that they can be more visible:
Before:

After:
How it works
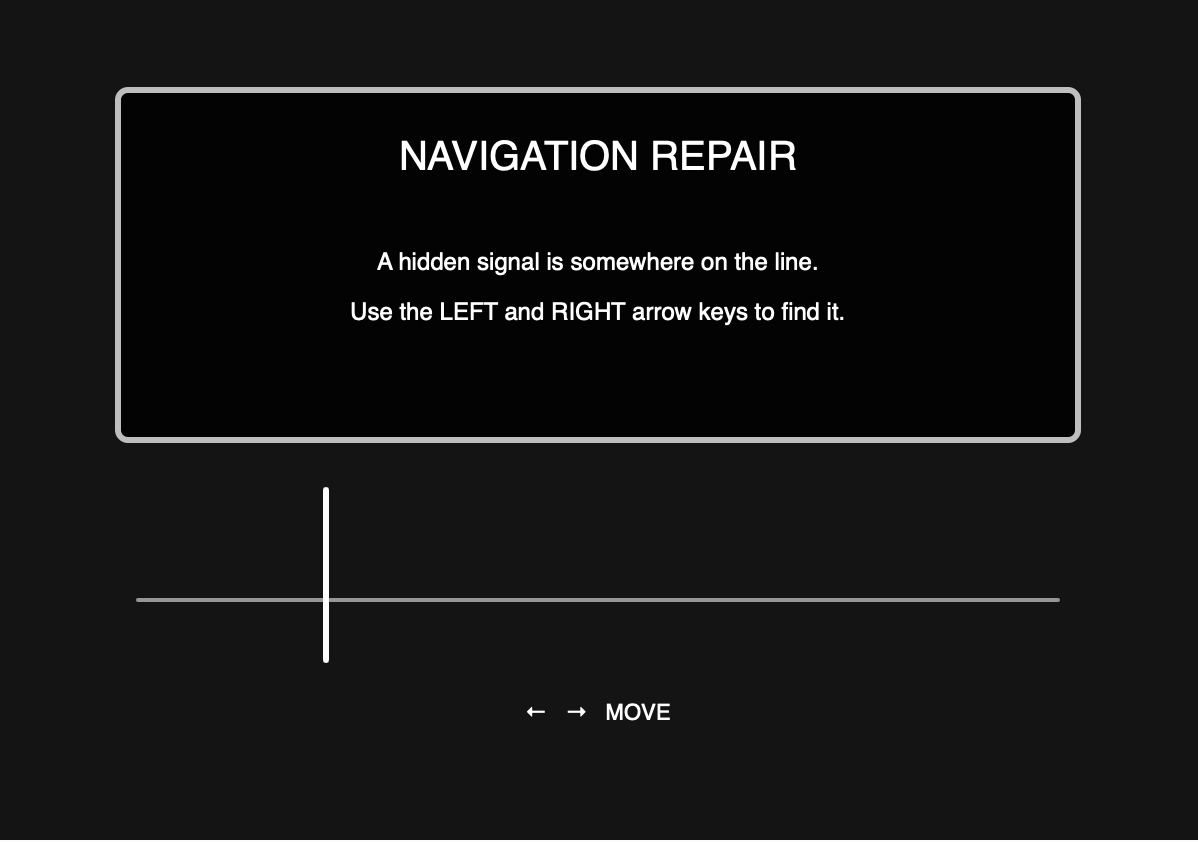
The game starts with a system failure screen that explains what happened to the machine and what the player needs to do. Once they press Start System, they begin completing the challenges one by one. The first two challenges focus on number patterns, where the player either chooses the correct answer or types it into an input box. The next two challenges use the arrow keys to locate hidden signals by following the signal strength and proximity percentages. I wanted the final challenge to be a little harder than the others because it requires more observation and patience. There are many moving colored balls, but only one is different. The player has to pay close attention to notice this difference and click the correct ball, which is basically the “bug” causing the system to fail. I also added a hint button to help players if they get stuck, but every three hints reduce the battery by 20%, so they have to decide whether they want help or try to figure it out themselves.
The game begins with a system failure message explaining what has happened to the machine and what the user should do to fix the problem. After the player clicks Start System, they will start to work on the problems, one after another. The first two problems are based on number patterns, where the user can either select the right answer from a few choices, or simply type in the solution on the provided input area. The following two challenges are solved using the arrow keys to find hidden signals based on the percentage of strength and proximity of the signals. So for the final challenge I thought that the it should be slightly more difficult than the rest since it demands greater attention and observation. There are many colorful moving balls, and only one of them is different. The user has to find this difference and click on it, which is actually the bug causing the system to crash. Also, there is a hint button for those who need help. Every third use lowers the battery by 20% to make it more challenging.
What I am proud of:
One part of my project that I’m especially proud of is the final challenge with the moving colored balls. I wanted this challenge to be a little harder than the others because the player has to pay attention instead of just answering a question. To create this, I used a class called Ball to give each ball its own position, size, color, and movement. I then used a for loop to create 40 balls and stored them in an array. What I liked most was using random() to select one ball as the bug and sin() to make it slowly grow and shrink. This made the final challenge more interesting because the player has to observe the balls carefully to find the one that behaves differently.
Code I used to create the 40 balls and randomly select the bug:
//creates the balls
function createBalls() {
  balls = [];//empties the array before creating new balls

  let colors = ["#ff595e", "#ffca3a", "#8ac926", "#1982c4", "#6a4c93", "#f28482", "#84a59d", "#f6bd60"];

  for (let i = 0; i < 40; i++) {//loops 40 times to create 40 balls
    balls.push(new Ball(//creates a new ball and adds it to the array
      random(40, 560),//gives the ball a random horizontal position
      random(210, 345),//gives the ball a random vertical position
      random(14, 22),//gives the ball a random size
      random(colors)//chooses a random color from the colors array
    ));
  }

  bugBall = random(balls);//randomly chooses one ball to be the bug
  bugBall.isBug = true;//marks the chosen ball as the bug
}
Code I used to make the bug ball grow and shrink:
display() { //method that draws the ball on the screen
  let currentSize = this.size; //sets the ball's normal size

  //only the bug grows and shrinks
  if (this.isBug) {//checks if this ball is the bug
    currentSize = this.size + sin(frameCount * 0.05) * 3.5;//makes the bug slowly grow and shrink
  }

  noStroke();//removes the outline
  fill(this.c);//fills the ball with its assigned color
  circle(this.x, this.y, currentSize);//draws the ball at its position and size
}
This is a method inside my Ball class. I used this.isBug to check whether the ball is the special one, and sin() to make its size change smoothly. I’m proud of this because I was able to use different programming concepts together to create a challenge that fits the story of my game.
Another part I’m proud of is the sound ON/OFF switch that I added to the top-right corner of the game. I wanted players to have the choice of listening to the audio or turning it off while playing. I used a Boolean variable called soundOn to keep track of whether the sound is enabled, and an if statement to change the button’s text and color. When sound is on, the text appears green, and when it’s off, it appears red. I also created a separate function called toggleSound() to control when the audio plays or stops. I like this feature because it gives the player more control over their experience.
Code I used to turn the sounds on and off:
//turns the sounds on or off
function toggleSound() {//controls the audio in the game
  soundOn = !soundOn;//switches sound from on to off or off to on

  if (!soundOn) {//checks if the sound is turned off

    //stops the intro sound
    if (introSound && introSound.isPlaying()) {//checks if the intro audio exists and is playing
      introSound.stop();//stops the intro audio
    }

    //stops the game music
    if (gameSound && gameSound.isPlaying()) {//checks if the game music exists and is playing
      gameSound.stop();//stops the game music
    }

  } else {//if the sound is turned on

    //plays the game music again
    if (stage >= 1 && stage <= 5 && battery > 0) {//checks if the player is in a challenge and still has battery
      if (gameSound && !gameSound.isPlaying()) { /checks if the game music exists and is not already playing
        gameSound.play();//plays the game music
      }
    }
  }
}
I used soundOn = !soundOn to switch the Boolean value between true and false. I also used conditions to check whether an audio file was already playing before stopping or starting it.
Problems I ran into:
A problem I had was to make sure that the typing box in the second memory challenge would work properly. Initially, the problem was that nothing could be typed since my keyPressed() method prevented any keyboard inputs from being registered. However, I solved it by making sure that if the player is currently at the second challenge and chose to input something, they will be able to do so without affecting other keyboard inputs such as the arrow keys.
Before – My original keyPressed() function ended with return false;, which interfered with typing in the input box.
//keyboard interactions
function keyPressed() {

  //press q to enter or exit fullscreen
  if (key == "f" || key == "F") {//checks if the player pressed q or Q
    toggleFullscreen();//switches fullscreen on or off
    return false;//prevents the key's normal browser action
  }

  if (battery <= 0 || showCorrect) return false;//ignores keyboard actions if the game is over or showing CORRECT

  //navigation 1
  if (stage == 3 && key == " ") {//checks if the player pressed Space during navigation 1
    let signalDistance = abs(scannerX - targetX);//calculates the distance between the scanner and hidden signal

    if (signalDistance < 20) {//checks if the scanner is close enough to the hidden signal
      correctAnswer(4);//shows CORRECT and prepares navigation 2
    } else {
      wrongAnswer();//reduces the battery if the scanner is in the wrong position
    }
    return false;//prevents Space from doing its normal browser action
  }

  return false;//prevents default keyboard actions for other keys
}
I added this condition at the beginning of keyPressed():
//lets the user type in the second challenge

if (stage == 2 && input && document.activeElement == input.elt) {//checks if the player is typing in the input box

  return;//allows normal typing and stops checking other keyboard actions

}
This allows the player to type normally when the input box is selected, while the other keyboard controls still work.
Another problem I faced was ensuring the game could transition properly from one challenge to another. Initially, transitioning from one stage to another would instantly take the player to the next challenge without giving any kind of feedback on the completion of the challenge. To fix this issue, I used showCorrect, nextStage, and millis() so that a message reading “CORRECT” would appear for a second before moving to the next challenge.
This saves which challenge comes next and starts the timer:
//correct answer
function correctAnswer(newStage) {//controls what happens after a correct answer
  showCorrect = true;//shows the CORRECT message
  correctStart = millis();//stores the time when the player answered correctly
  nextStage = newStage;//stores which challenge comes next
}
This shows the correct answer screen for 1.2 seconds before moving to the next challenge:
if (showCorrect) { //if showCorrect is true
  drawCorrectScreen(); //shows the CORRECT message

  //waits 1.2 seconds before moving to the next challenge
  if (millis() - correctStart > 1200) {
    showCorrect = false; //stops showing the CORRECT message
    stage = nextStage; //moves the player to the next challenge
  }

  drawBattery(); //shows the battery percentage
  drawSoundButton(); //shows the sound on and off button
  pop(); //restores the original drawing settings
  return; //stops the rest of draw() from running this frame
}
What I have done is introduced a correctAnswer() function which uses the showCorrect() function to output a notification when the user gets the answer right. Also, I have made use of the millis() function to determine how long it takes and nextStage which contains the next stage of the challenge. In the draw() function, I added a condition which allows the stage to change after 1.2 seconds.
Areas for improvement:
One area I would like to improve is the feedback and sounds within the game. I would like to add the sound effect for both right and wrong answers, as well as some special effect for transitioning from one challenge to another. As well as making the puzzles more diverse if the user will try to play this game several times. As far as I see the game is quite effective, so just these minor adjustments and improvements would make the game better and more enjoyable. Overall, I am really pleased with the results of my project because I am proud of the idea that I have developed. It is unique and interesting to me, and I also like the fact that all the challenges are related to the theme of system repair.
References
Changing between game screens:
https://editor.p5js.org/Aya_Riad/sketches/bXwvUEEpz
Creating the typing box and Submit button:
https://editor.p5js.org/Aya_Riad/sketches/bSPV3s-UD
https://p5js.org/reference/p5/createInput/
https://p5js.org/reference/p5/createButton/
Changing the screen size:
https://editor.p5js.org/Aya_Riad/sketches/vgp-dlvea
Timing the CORRECT message:
https://editor.p5js.org/Aya_Riad/sketches/qZsp9Qete
https://p5js.org/reference/p5/millis/
Loading and playing sounds:
https://editor.p5js.org/Aya_Riad/sketches/dXHs6td4Y
https://editor.p5js.org/Aya_Riad/sketches/XyXDfPmE4
https://p5js.org/reference/p5/loadSound/
Random movement and keyboard interactions:
https://editor.p5js.org/Aya_Riad/sketches/h1DlwZwph
https://p5js.org/reference/p5/random/
https://p5js.org/reference/p5/keyIsDown/
Font:
https://fonts.google.com/specimen/Bitcount+Ink?preview.layout=sample&preview.script=Latn
Audios:
https://pixabay.com/music/search/system%20startup/
https://pixabay.com/music/search/electrical%20short%20circuit/
Videos:
https://thecodingtrain.com/tracks/code-programming-with-p5-js/code/2-variables/5-map
https://thecodingtrain.com/tracks/code-programming-with-p5-js/code/7-arrays/4-mouse-interaction
https://thecodingtrain.com/tracks/sound
https://thecodingtrain.com/tracks/p5js-2.0/p5js-2.0/async-await
https://thecodingtrain.com/tracks/code-programming-with-p5-js/code/5-functions/2-arguments
https://thecodingtrain.com/tracks/code-programming-with-p5-js/code/6-objects/3-constructor
Use of AI:
I used ChatGPT to understand why the typing box in my second memory challenge wasn’t working. At first, I couldn’t type anything into the box, even after clicking on it. I tried checking the input box settings, but the problem continued. I asked ChatGPT to explain what might be causing this, and it helped me understand that the return false; at the end of my keyPressed() function was blocking normal keyboard input. It explained that I could add a condition to check whether the player was on stage 2 and had selected the input box. I then added this condition at the beginning of keyPressed() so the player could type normally while keeping the other keyboard controls working.
I also used it to understand why my second audio file wasn’t working. At first, I had two audio files, StartAudio.mp3for the introduction and AllGame.mp3 for the challenges. The first audio worked, but the second one wouldn’t play when I pressed START SYSTEM. I first tried checking whether the audio file was uploaded correctly and whether it had finished loading, I even uploaded it more than once but it still didn’t work. I also tried reducing the file size because I thought it might be taking too long to load. When that didn’t solve the problem, I asked ChatGPT what else could be wrong. It explained the difference between .loop()and .play(), where .loop() repeats the audio and .play() plays it once. I then tried changing gameSound.loop() to gameSound.play() in both my mousePressed() and toggleSound() functions to see if that would help and it did, so yeah it was a really simple fix that took way too long.