Reading reflection – Week #4

After completing the reading, I now have a better understanding of the factors that go into making an everyday product. I will admit, the more I read, the more overwhelmed I got as the requirements needed to make a useful and understandable product became more extensive. I never thought about all the different components that go into design and how different perspectives and cultures can also have an impact. One thing that personally drives me crazy is my oven back at home. It is a newer model and therefore has many features that are not directly visible. Me and my mom only know how to change the temperature and where the heat comes from (up, down, up and down, etc). However, there is a QR code on the side of the oven with a manual that is 30 pages long with all the different settings you can turn on. Some of these involve holding different buttons, rotating a wheel, etc. It is very confusing! Every time I wanna use it I end up scanning the QR code to read the manual.

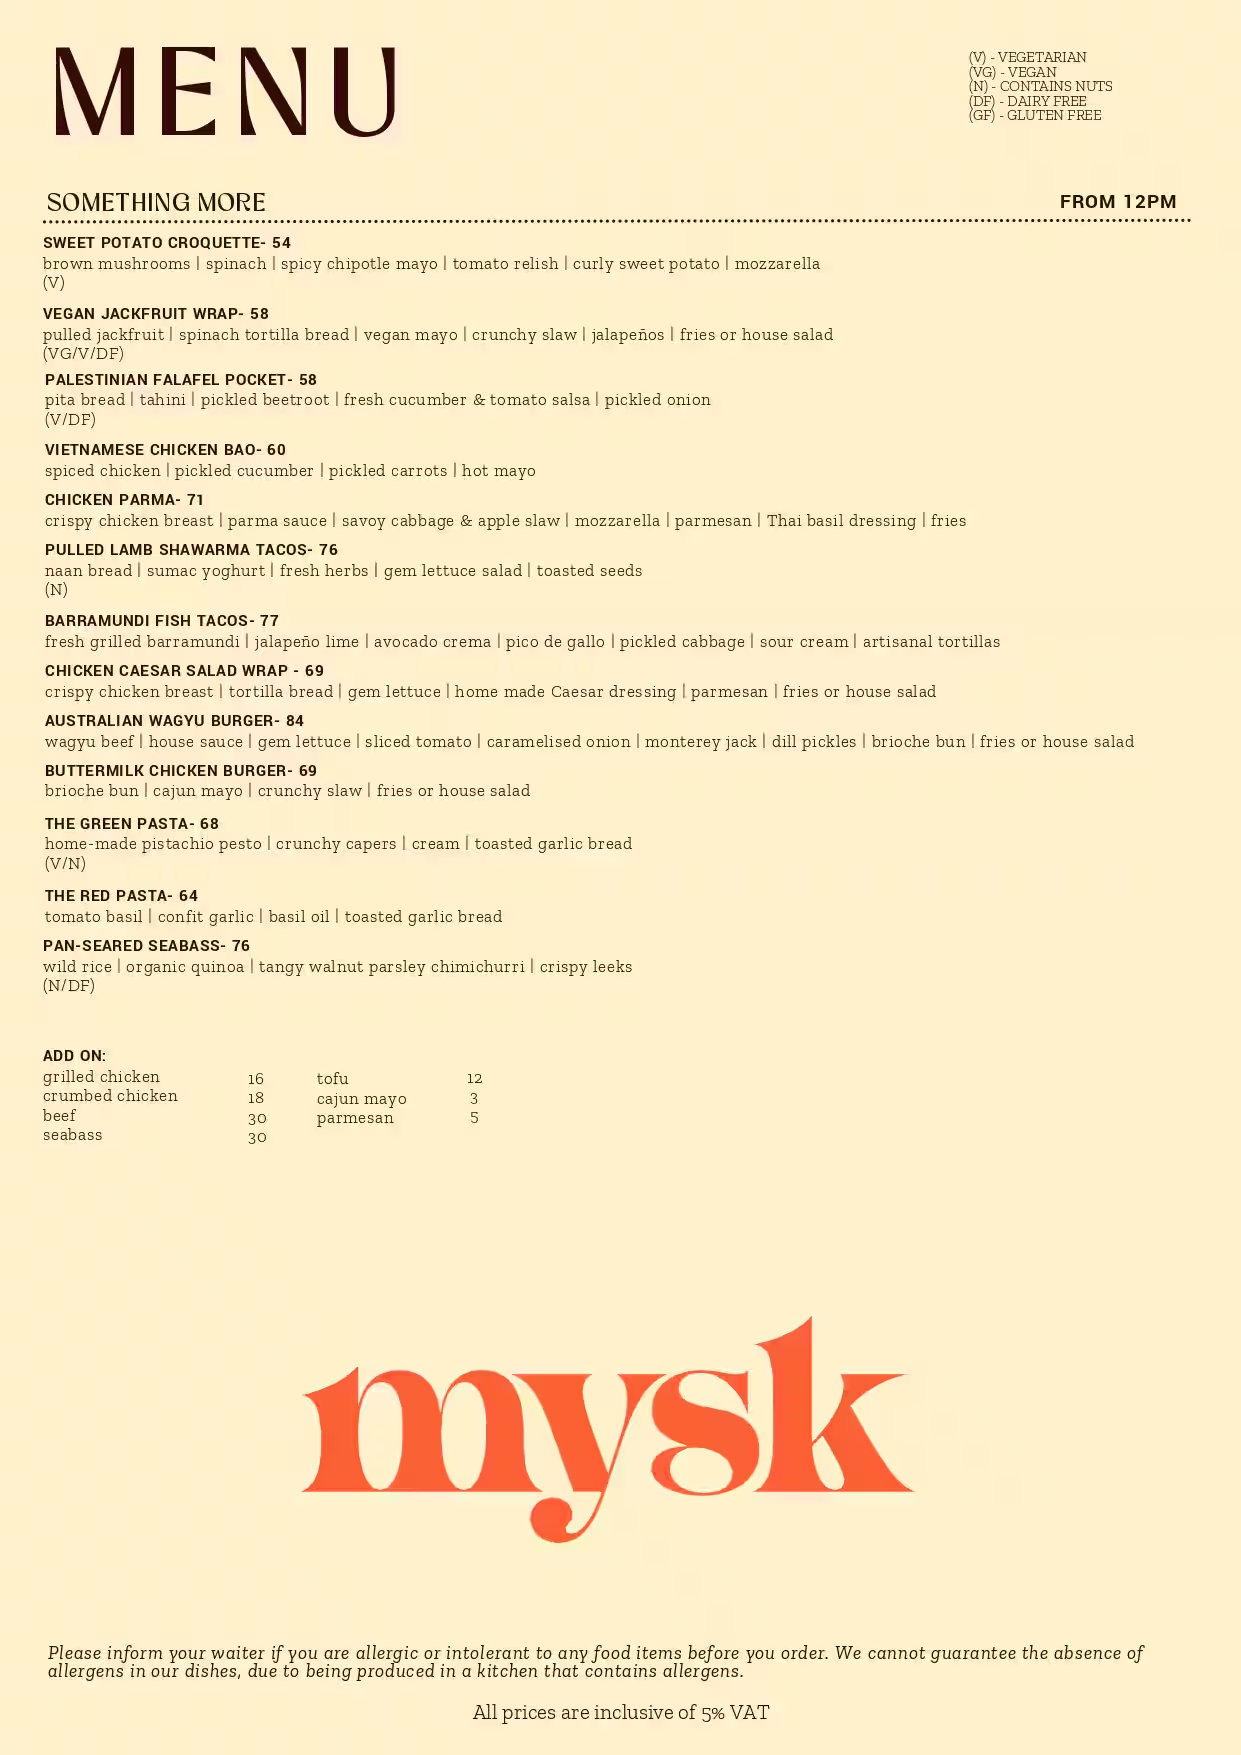
Consequently, this has got me thinking about how whether or not my assignments are easy to understand and interact with. For this weeks assignment, I recreated mysk’s menu. It is displayed on the screen where the user can hover over different menu items. If they click on it, the menu will slide down revealing food on the table. If they click on the menu again (in the bottom left corner of the screen) it will slide back up. I will admit, unless you read my blog post or this reading response, you may not know how to navigate through the artwork. However, I think my work allows for ‘discoverability’ like Norman mentions. If the user simply moves the mouse across the screen, they will see that the menu items enlarge (signifier for the affordance) when hovered over. Hence, they would then try clicking on it which results in the sliding menu. What I think is less intuitive is how to display the menu on the screen again. This is a discoverability failure because there is no signifier indicating that the menu can be reopened by clicking it. Unlike the hover-enlarge cue for individual items, there is no visible signal that the closed menu remains interactive. However, I think after multiple tries, the user would eventually think to click on the menu again which reveals it. But this has definitely got me thinking as to how I can develop my future work.

Assignment 4 – Loading Data, Displaying text

Concept

This week, we were told to create an artwork containing text. I initially struggled to think of something that would include text, then I thought, why not recreate the mysk menu! I really enjoy going there so this was fun to recreate. I wanted to create an artwork that displays the menu, lets the user click on an item, then the menu slides down and displays the food item (in this case I had a burger for all items but in the future I would expand this). For the menu, I have a table with multiple menu items that are randomly selected on execution. When the user clicks an item and the menu slides down, new ones appear when the menu is clicked again.
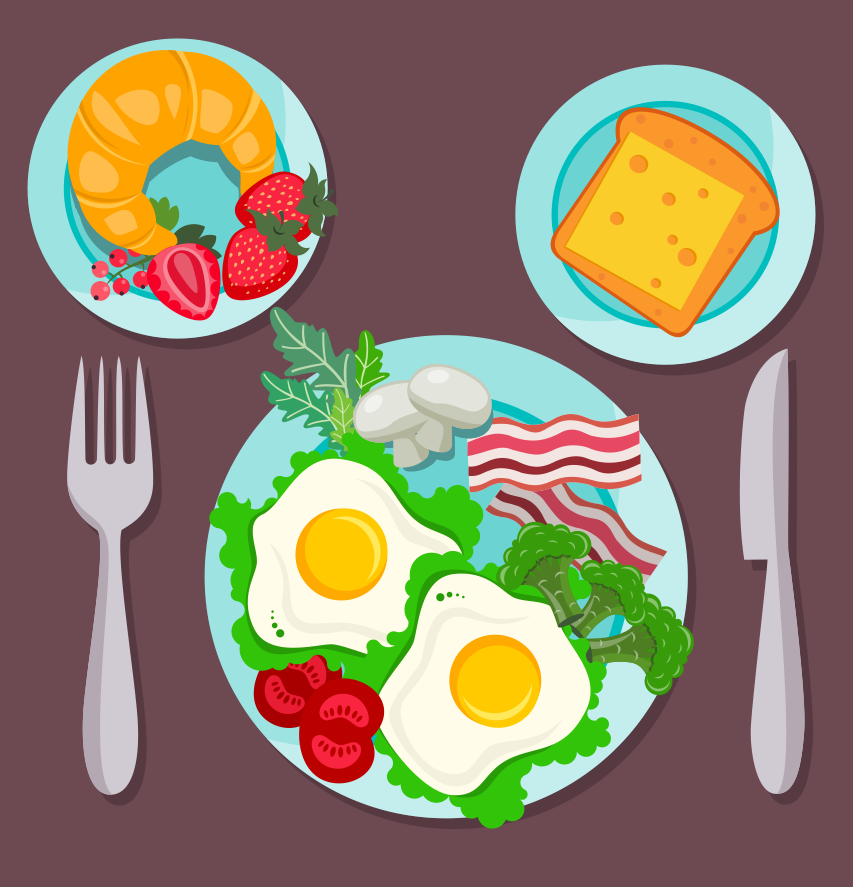
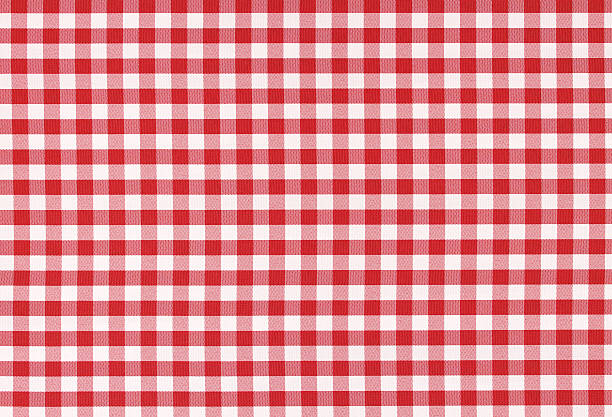
Here are some reference pictures:


Red and white classic checked tablecloth texture with copy space

How this was made

I first started by recreating the menu. This was done using rectangles (for the base) and text. I then realized that in order for me to be able to do the animations, I will need to store each menu item as an object. So I created a class called MenuItem and used it to store each items’ name, description, tags (if any) as well as x and y positions. I then created a Menu class that stores a list of these items, x and y positions, and other variables. Within the MenuItem class, I have a function that draws the item on the menu. Certain values such as text size will vary depending on whether or not the mouse is hovering over the item. Another function exists called checkHover(), which takes x and y positions and checks to see if it is within the range of the menu item, if so hover = true.
I had a table with each menu item and their type (breakfast, greens, main) I loaded these value into an array then created an object for each item and stored it into an array called allItems. I then call a method called refreshItems() which shuffles the array and selects the first 11 items. Then I added them to the Menu class.
Within the Menu class, there is a function called checkMouseInMenu(), this was created because initially when I was testing the hover the coordinates were not matching onto the menu. This is due to the menu being displayed at an angle, so I asked Claude to help with writing a function that takes mouseX and mouseY and maps it onto the menu. The display function draws the menu on the screen and translates and rotates the menu depending on varying x,y and angle parameters.
In the update function, it checks to see if the menu is being displayed (this is a variable called state) and checks if the user is hovering over any item. In addition, it checks if the menu is currently hidden, if so it will check if the user is hovering over the menu at the bottom of the screen (this is to allow for the user to click on the menu so it reappears). The menu can also have 2 states, “sliding” or “returning”. If the user clicks on a menu item, the angle and y position of the menu will go from 330 -> 360 degrees and 70->290 respectively. I initially had it so that these values were incremented by a constant value, however I didn’t like how that looked, so I asked Claude if there was a way to increase by a percentage of the remaining distance each frame, so it naturally slows down as it approaches the target. Claude showed me the Lerp function. So in the code below you can see that Lerp() takes 3 values, this is the start position, end position and the increment. So in each frame the angle and y position increase by that percentage. This created a smoother animation. Once the angle of the menu is approximately 360, the angle and y value will be locked to the final positions and the state will be moved to “hidden”. The menu items will also be refreshed/randomly selected again.

Code:
// if sliding, moves the angle and y position of the menu
// to create a sliding effect down , once done, menu is now in
// the hidden state
if (this.state === "sliding") {
    this.angle = lerp(this.angle, 360, 0.08);
    this.y = lerp(this.y, this.startY + 220, 0.08);
    if (abs(this.angle - 360) < 0.05) {
        this.angle = 360;
        this.y = this.startY + 220;
        this.state = "hidden";
        this.refreshItems();
    }
}

For the returning state, this is the exact same, except instead of moving down, it moves up.
I also had functions for when the mouse was pressed, this checked that if the mouse was pressed, the menu was display, and it was over a menu item, then the menu would be moved to the sliding state. Otherwise, if the mouse was clicked, the menu was hidden, and the mouse was within the menu range, it would be moved to the returning state.

I then drew the background using nested for loops to created a checkered tablecloth.
I also drew the plate using circles and the fork and knife using beginShape(), vertex(), and endShape().

Final result

Reflection

Overall, I am really happy with how this turned out! I feel like the menu looks very similar to the real thing, and after the help of Claude, I am also satisfied with the sliding animation. In the future, I would add that when the user clicks on a menu item, it would then display that item on the plate instead of the same burger emoji for each item. This would obviously take some time, but I believe it would make the result more statisfying.

Assignment 3 – Week 3 Functions, Arrays, and Object-Oriented Programming

Concept

For my concept, I wanted to make an interactive artwork using objects and functions. I decided to make a simple game where the user has to catch apples that randomly fall into a basket that they control using their mouse.

I wanted the artwork to have a simple, colorful, and playful appearance because I wanted it to feel more like an interactive cartoon than a realistic scene. I used a light blue sky and different shades of green for the trees and grass to create a bright outdoor environment. I also used multiple layers of leaves on the trees to give them more depth instead of making them a single flat shape.

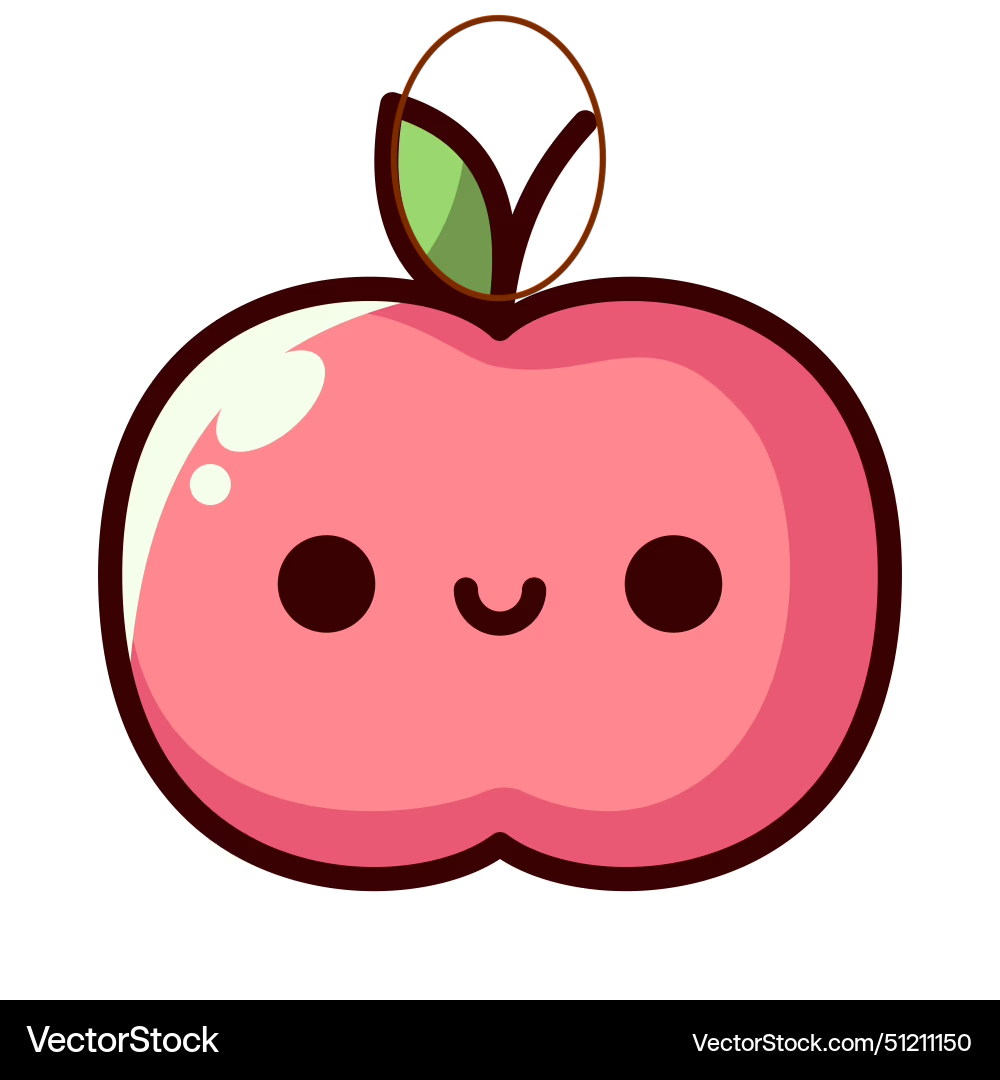
I chose to give the apples faces because I wanted the objects the user interacts with to feel more playful and expressive. I also placed the trees toward the sides of the canvas, leaving an open area in the middle where the apples can fall and where the basket can move. This makes the gameplay easier to see while also creating a clear visual composition.

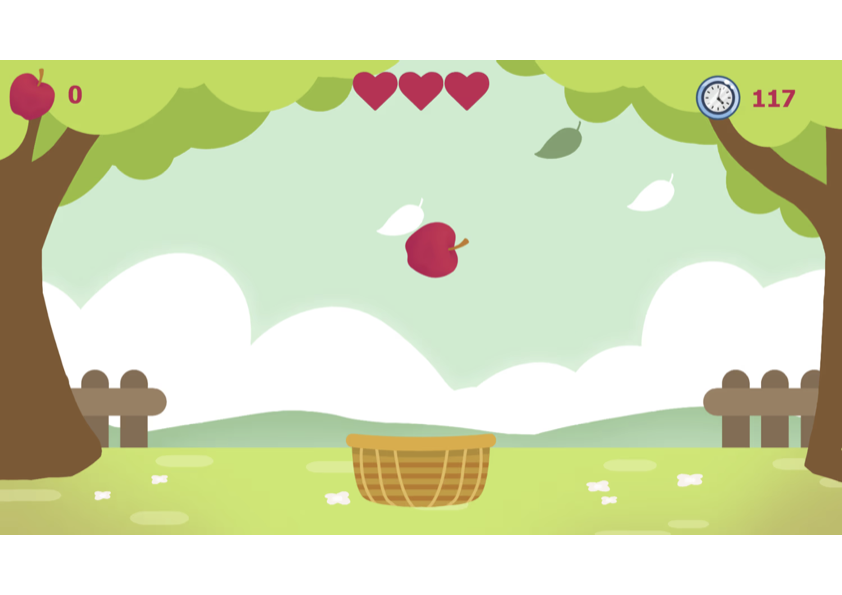
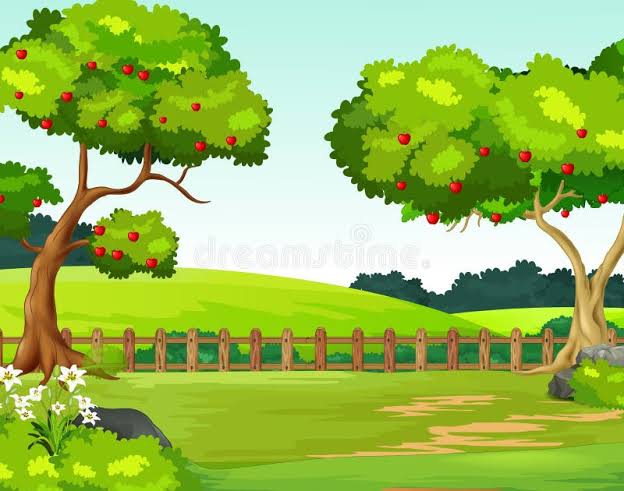
Here are my inspiration and references pictures

How this was made

I first started by creating the sky and grass (this was very simple, just rectangles and background). Next, I made the two trees, I made the trunks and branches using beginShape(), vertex(), and endShape(). For the leaves, I used ellipses of varying shapes and sizes. In order to add more dimension, I had a set of leaves behind and in front of the trees. This code was initially in my draw function, but once I had my desired trees, I moved both trees into separate functions treeL() and treeR().  Next I used loops to create the fences out of rectangles and lines. This was also moved to their own function fence() that was later called in the draw function.

Now that the backdrop was complete, I started with creating the apples. First in the draw function I drew the apple using primitive shapes. Once I was happy with that, I made a separate file called apple.js. I made the class with the constructor that contained the following variables: this.x, this.y and this.speed. For the x and y positions, these are random and the apple will appear anywhere along the x axis and as for the y, it will appear above the upper bound of the diagram.  I then moved the apple drawing to a function and allowed for varying positions. I also created a fall() function which increases the apple’s y position downwards unless it hits the floor or the user catches it with their basket. In both cases, the apple’s x and y coordinates are back to the random starting points.

For the basket it was quite simple, I created a basket() function which takes the user’s mouse positions and draws a basket in that area.

I also created another class for the clouds, this follows the same logic as the Apple class. It has the same variables and functions. The only difference is that the clouds spawn on the leftmost side and move to the right, hence instead of the y position changing, it is the x position which is decreasing. The cloud disappears once it reaches the leftmost side and will respawn back on the right.

For both the apples and clouds, I made arrays to be able to store and display multiple objects from each class. I had 4 apples and 3 clouds.

Code I am proud of

I am most proud of the trees and apples. Here is the function for the tree on the left that use the vertices and ellipses:

function treeL(){
  // leaves behind tree L
  noStroke()
  fill('#91bd42');
  ellipse(30, 55, 150);
  ellipse(275, 25, 70);
  ellipse(120, 40, 140, 100);
  ellipse(130, 80, 60, 50);
  ellipse(190, 40, 80, 70);

  // trunk L
  stroke();
  fill('#865830');
 beginShape();
 vertex(0, 90);
 vertex(48, 90);
 vertex(58, 98);
 vertex(38, 180);
 vertex(38, 220);
 vertex(45, 250);
 vertex(55, 285);
 vertex(65, 315);
 vertex(72, 327);
 vertex(78, 345);
 vertex(0, 345);
 vertex(0, 90);
 endShape();
 arc(0, 345, 156, 40, 0, PI);

 //branches
 beginShape();
 vertex(0, 35);
 vertex(35, 35);
 vertex(25, 90);
 vertex(0, 90);
 vertex(0, 35);
 endShape();

 beginShape();
 vertex(25, 90);
 vertex(30, 86);
 vertex(35, 81);
 vertex(40, 74);
 vertex(45, 68);
 vertex(50, 60);
 vertex(55, 58);
 vertex(60, 58);
 vertex(80, 58);
 vertex(58, 98);
 vertex(25, 90);
 endShape();

 //leaves in front of tree L
 fill('#b8dc58');
 ellipse(0,0, 48, 175);
 ellipse(80, 25, 130, 90);
 ellipse(145, 13, 50, 33);
 ellipse(210, 10, 100, 80);
 ellipse(290, 0, 90, 60);
 }

Here is the apple class as explained above:

class Apple{
constructor(){
 this.x = random(50, 650);
 this.y = random(-400, 0);
 this.speed = random(1, 1.2);
}
 draw(){
 // apple base
  strokeWeight(3);
  stroke('#390102');
  noFill();
  arc(this.x + 20.5, this.y - 25, 15, 40, PI, PI + 1.55);
  fill("#ea5973");
  arc(this.x, this.y, 50, 60, HALF_PI - 0.5, HALF_PI + PI + 0.5);
  arc(this.x + 27, this.y, 50, 60, HALF_PI + PI - 0.5, HALF_PI + 0.5);
  noStroke();
  quad(this.x + 13.5, this.y - 25, this.x + 28, this.y, this.x + 13.5, this.y + 25,   this.x - 2, this.y);
  stroke('#390102');
  fill('#9ad76e');
  arc(this.x + 10.5, this.y - 44, 23, 28, HALF_PI - 0.05, HALF_PI + 2);
  arc(this.x + 0.5, this.y - 36, 23, 28, -HALF_PI + 0.05, -HALF_PI + 2);

  // apple face
  fill('#390102');
  ellipse(this.x - 2, this.y, 10);
  ellipse(this.x + 29, this.y, 10);
  noFill();
  arc(this.x + 13.5, this.y + 3, 8, 7, 0, PI);
  }

  fall() {
  this.y += this.speed;
  this.x += random(-0.5,0.5);
  let centerX = this.x + 63.5;
  let centerY = this.y + 50;
  //checking to see if it reached the ground
  if (this.y > 420) {
    this.y = random(-400, 0);
    this.x = random(30, 650);
  }
  //checking to see if user has caught an apple
  if (dist(centerX, centerY, mouseX, mouseY) <= 40){
   this.y = random(-400, 0);
   this.x = random(30, 650);
   }
 }
}

Problems I ran into

One problem I ran into was the collision detection between the apples and the basket. This was because I passed  the wrong apple coordinates to the dist() function, therefore the apples were either not being “caught” or were only sometimes being caught. I realized that the x positions of the apple was not from the center but from the left side. I had to add a constant factor (used in drawing the apple) to the x position in order to fix the problem.

Another challenge was creating the trees using beginshape(), vertex(), and endshape(). I had to experiment with the coordinates and proportions several times to get the trees to look the way I wanted them to.

Final result:

Reflection

Overall, I am quite happy with how it turned out. I believe I am getting better at executing my concepts as well as honing my creativity. In the future I would maybe add more complexity to the game. For example, the user would only have 3 lives and would lose a life for each apple missed, as well as a tally in the corner which counts how many apples the user has caught.

Reading reflection – #3

After completing the reading I have realized that I too have been misusing the word “interactivity”. I only ever saw it from the user’s side, eg: how can the user interact with the webpage/game/interface, but not how the computer/system responds to the user’s actions. Upon reading some of Crawford’s examples of interactivity being used incorrectly, I initially found myself disagreeing with his points. This is especially the case with the refrigerator, since I believed that the refrigerator is interacting since it is responding to your actions by turning the light on or off. However, as I continued reading I understood that interactivity is not a discrete thing, but is more continuous. A system can be highly interactive, not as interactive (like with the refrigerator), in the middle, etc.

This has got me thinking about what a highly interactive system would entail. I think it would be something that allows many actions from the user, hence responses from the system after analyzing said actions. For example, in this week’s assignment I made a simple apple catching game. The game consists of falling apples where the user can catch them in a basket. I think there is a medium level of interaction. This comes from the fact that the system has to check if the user has caught/collided with an apple using their basket, if so, the system will remove the apple and spawn it again. I think to further improve interactivity, I could add a lives system. So if the user fails to catch the apple, their lack of action will result in the system reducing a life. However, I believe that interactivity doesn’t just mean more possible actions from the user and system, but more meaningful and complex actions. This makes me think that simply adding more features to my game would not necessarily make it more interactive. Instead, the way the game responds to the user’s actions should also become more meaningful and complex.

Reading Reflection – Week#2

Before watching Casey Reas’ talk, I only ever recognized randomness in things like code (random() function), dice, throwing a coin, etc. Even when looking at abstract art, I always felt there was still some form of structure and order despite attempting to look random. However, after watching the video, I was surprised to see that not only can code be used to create random art, but how simple it can be.  The pieces that particularly stood out to me were Process 18 and the “Tissue” work. Process 18 describes a set of instructions related to an element. This element consisted of a couple lines resulting in random movement. As for Tissue, it was made up of many different types of vehicles that also had random movement. However after watching both artworks, we notice that both elements eventually tend towards a certain pattern or behavior. As a result, I started to question how truly “random” these artworks were as Reas still defined a set of rules and instructions. Although the outcome is unpredictable, the boundaries of what can happen are still controlled by the artist. I believe this reflects how no matter how “random” we try to be, we subconsciously always try to find order even in the chaos.  

This is something I will particularly struggle with in the assignment as I tend to enjoy things that have more structure and control. I believe that in order for me to create a bit of chaos in my work, I must find a middle ground between randomness and control. I believe the best way to do this is by having a strong concept or set of rules for my work, while allowing the random elements to influence the final outcome rather than controlling every detail. Reas’ talk has made me realize that randomness does not necessarily mean giving up all control, but instead it can mean controlling the rules while allowing the outcome to develop on its own.

Assignment 2 – Animation, Conditionals, Loops

Concept:

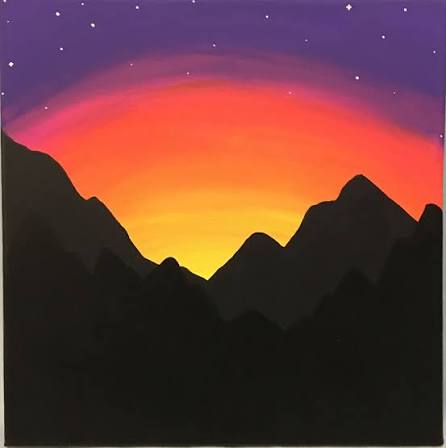
For my concept, I wanted to create a backdrop of a sunset whilst also incorporating animations and loops. For this, I started by looking for inspiration pictures and landed on this. I used this image as my reference.

How this was made:

I initially started with finding colors for the sunset. I created an array of 15 colors – these colors were found by searching: hex colors for sunset gradient 15 colors. I then used these colors in a for loop to draw 15 circles that slightly overlap and have varying opacities to create a gradient. I will be honest, I was not happy with the result as you can see below.


So, I looked on p5 reference and found a function called ‘paletteLerp’ which blends multiple colors to find a color between them. So i created another array called palette with each index containing an array with two elements. The first is the color, and the second is position of that color along the gradient -> usually in a gradient the positions are equal, however I wanted certain colors to take up more of the gradient compared to the others (in the end I had 10 colors). Next in my loop, instead of drawing 15 circles, I drew 100 and used paletteLerp to blend the colors.

Here is the resultAs you can see, the gradient is much more seamless.

As for the code:

//colors for sunset
let colors = [ '#4d2667', '#742e6f', '#9c366f', '#c44265', '#e25852', '#f2733f', '#f89535', '#fdb338', '#fccf43', '#fee464'];

//palette to blend colors
let palette = [[colors[0],0.06],[colors[1],0.10],[colors[2],0.17],[colors[3],0.30],[colors[4],0.50],[colors[5],0.65],[colors[6],0.75],[colors[7],0.80],[colors[8],0.87],[colors[9],1]];

 //drawing sunset

let diameter = 500;
let y = 190;
for (let i = 0; i < 100; i++){
noStroke()
fill(paletteLerp(palette, i / 100));
ellipse(200, y, diameter, 250);
y += random(4);
diameter -= 2;
}

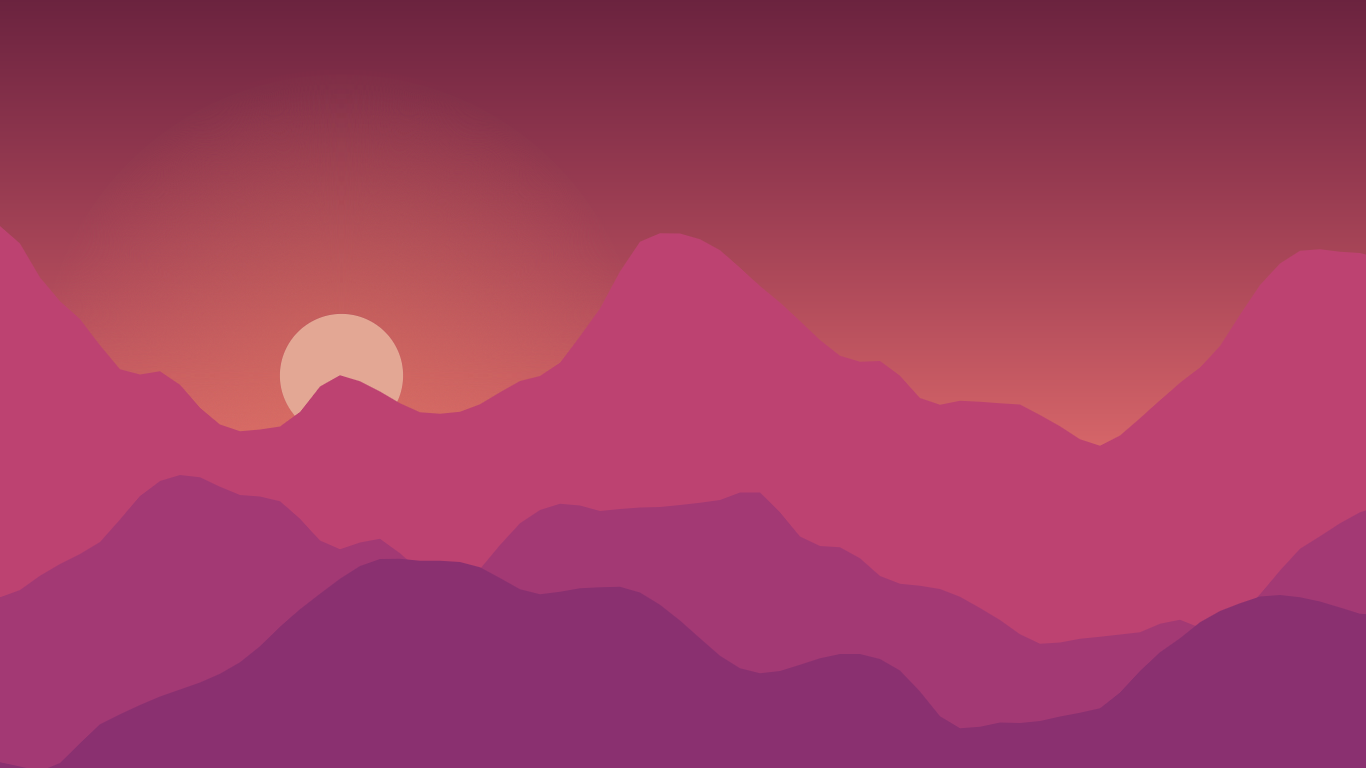
Next, I moved onto the mountains. This also took some trial and error. At first, I tried using the primitive shapes discussed in class (lines, arcs, triangles, etc) however I was very unhappy with the result, and filling it in would be difficult this way. So I searched online ‘mountains p5.js’ to see how other people made mountains and I came across this.


Since I was unsure of how this was made, I pasted the image into ChatGPT and was told that they used: beginShape(), vertex(), endShape(). So thats what I did. This was very time consuming since I had to dictate every vertex, the mouseX and mouseY made this easier, but I would say the end result was worth it!

I then made the stars, I did this by creating a similar for loop to the sunset to draw each star and used random() for the x position, y position and size, as well as for opacity to mimic twinkling (this was only feasible since I had reduced the frameRate to 4, otherwise the twinkling would be too quick).

Finally, I wanted more movement in the diagram, so I also varied the movement of the circles to create the illusion that the sunset is moving (this is why frameRate is 4, so that the movement is slower and more animated).

Randomness was used in two places: the stars were assigned random positions, sizes, and opacities to create twinkling, while the sunset circles used random vertical offsets to create subtle movement.

Final result

Reflection

Overall, I am quite happy with the result, much more so than the first assignment. Although it took a lot of trial and error as well as extra research, I now have a stronger foundation and appreciation for p5. In the future I would want to add more animations like shooting stars for example as well as interactivity for the user. In addition, although I added my own features and animations to the reference image, I would want to challenge myself in the future to create something completely from scratch, rather than basing it on a specific reference image. I would still use other artwork as inspiration, however.

References:

https://p5js.org/reference/p5/paletteLerp/

https://www.google.com/search?q=hex+colors+for+sunset+gradient+15+colors&sca_esv=424538866ee42d06&sxsrf=APpeQnssm4SWbFMRWSRBGqA4Tr2fGDoWYA%3A1788940216991&ei=uA-haq-APN3k7_UPi-_y8QE&biw=1512&bih=857&ved=2ahUKEwivvKHRgeGWAxVd8rsIHYu3PB4Q4dUDegQIBhAM&uact=5&oq=hex+colors+for+sunset+gradient+15+colors&gs_lp=Egxnd3Mtd2l6LXNlcnAiKGhleCBjb2xvcnMgZm9yIHN1bnNldCBncmFkaWVudCAxNSBjb2xvcnMyBRAhGKABMgUQIRigATIFECEYoAFIzyFQqApY0CBwAXgBkAEAmAGoAqAB4hKqAQMyLTm4AQPIAQD4AQGYAgagAoIKwgIKEAAYRxjWBBiwA8ICBxAhGAoYoAGYAwCIBgGQBgiSBwUxLjAuNaAHrxGyBwMyLTW4B_sJwgcFMS40LjHIBwyACAE&sclient=gws-wiz-serp


Assignment 1 – Self Portrait

Concept

My goal for this assignment was to create a semi-realistic portrait of myself using the primitive shapes we explored in class such as: circles, ellipses, rectangles, quads, etc.

How this was made

I first started by mapping out where the face would be, then I added the hair underneath. Next I mapped out the shoulders and torso. Once that was done I started mapping out the facial features and adding my desired colors. For the colors, I searched up an rgb color picker that allowed me to easily customize my colors and extract the rgb components. In order to make sure that I wasn’t getting confused throughout the process, I added comments separating different parts of the drawing.

Other than the rgb picker and the p5js reference, no other tools were used.

Highlight of some code

After mapping out certain areas I began with filling in with color. I found the bangs and neck area especially difficult for different reasons. For the bangs, I noticed that using multiples of PI for the start and stop would result in awkward gaps across the forehead or would extend past the hair, so I experimented by incrementing different values of PI to see what looked best. As for the neck, it was made by two arcs facing outwards which I quickly realized meant that I couldn’t simply fill the space in between. To fix this, I incorporated the use of triangles and quadrilaterals in between which took some trial and error to find the exact coordinates needed to fill in the area.

Code for bangs:

//bangs
fill(79, 55, 32);
arc(395,155, 200, 140, HALF_PI-0.1, PI+0.3);
arc(220,135, 200, 140, 0-0.1, HALF_PI+0.2);

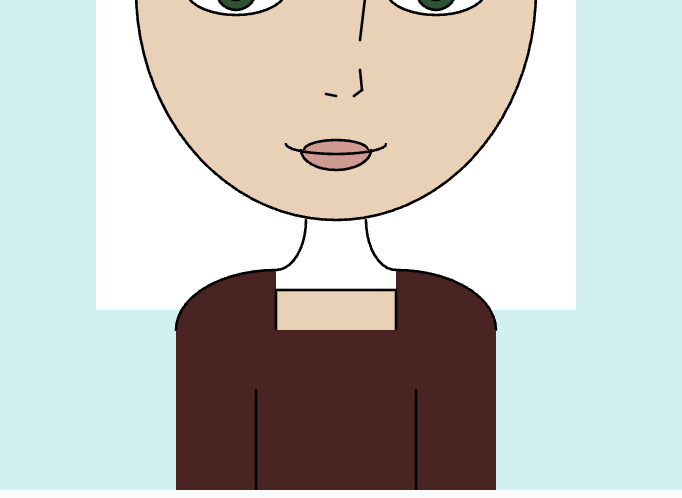
Below is an image before I filled the neck:

Code for neck:

//neck
stroke(0);
noFill();
arc(270,365, 30, 50, 0, HALF_PI);
arc(330,365, 30, 50, HALF_PI, PI);
noStroke();
fill(237, 208, 180);
quad(291, 365, 309, 365, 331, 400, 269, 400);
triangle(285, 364, 291, 365, 283, 378);
triangle(309, 365, 315, 364, 317, 378);

Reflection

I am proud of my attempt at drawing myself using p5.js. I now have a better understanding of the syntax used and the possibilities that can be achieved using p5.js. In the future I aspire to improve my code by changing certain aspects that would make it cleaner and easier to understand. For example, I would store the rgb components for each color in different variables so that its easier to use throughout. I would also create functions that draw repeating features, mainly the eyes, eyebrows, shoulders, and neck. Furthermore, I would also want to challenge myself by adding animations and more detail to certain parts of the drawing.

References: