
Concept
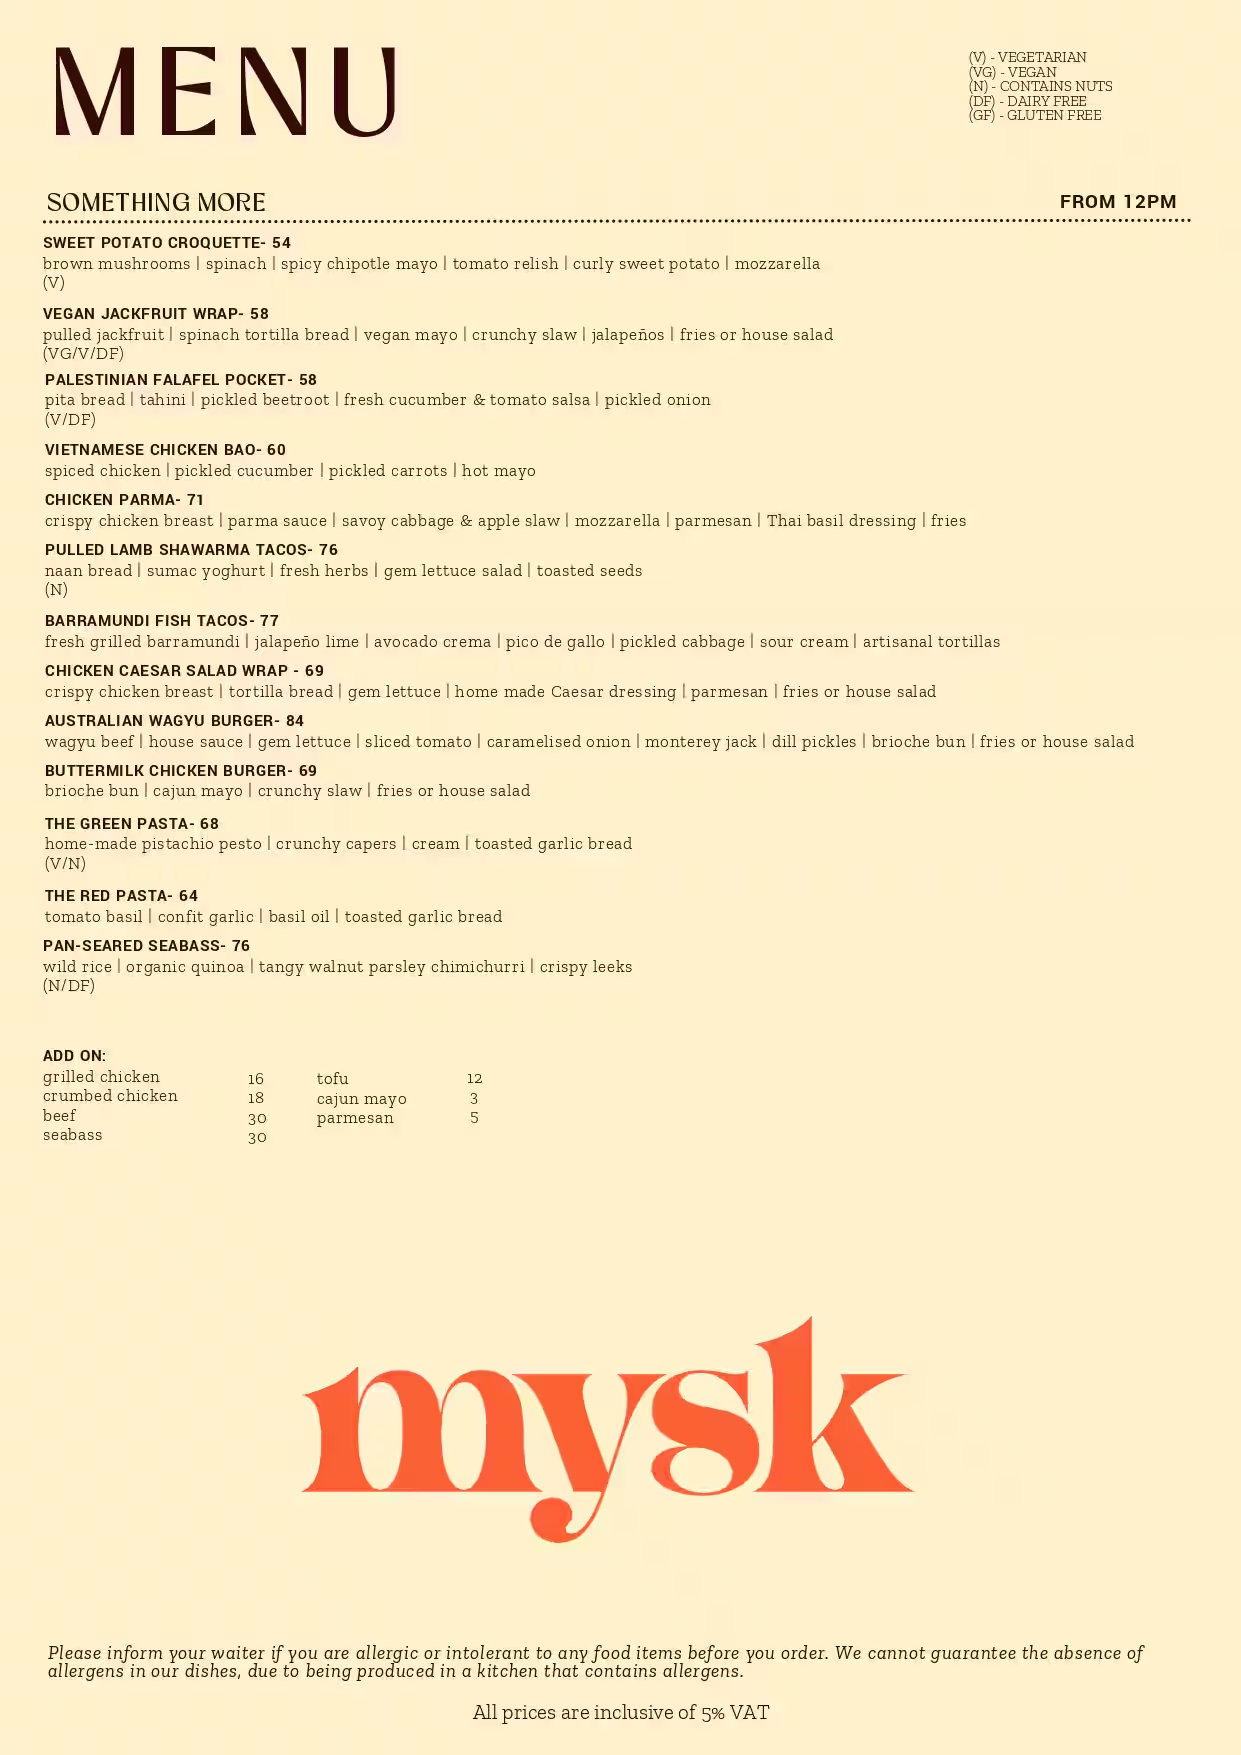
This week, we were told to create an artwork containing text. I initially struggled to think of something that would include text, then I thought, why not recreate the mysk menu! I really enjoy going there so this was fun to recreate. I wanted to create an artwork that displays the menu, lets the user click on an item, then the menu slides down and displays the food item (in this case I had a burger for all items but in the future I would expand this). For the menu, I have a table with multiple menu items that are randomly selected on execution. When the user clicks an item and the menu slides down, new ones appear when the menu is clicked again.
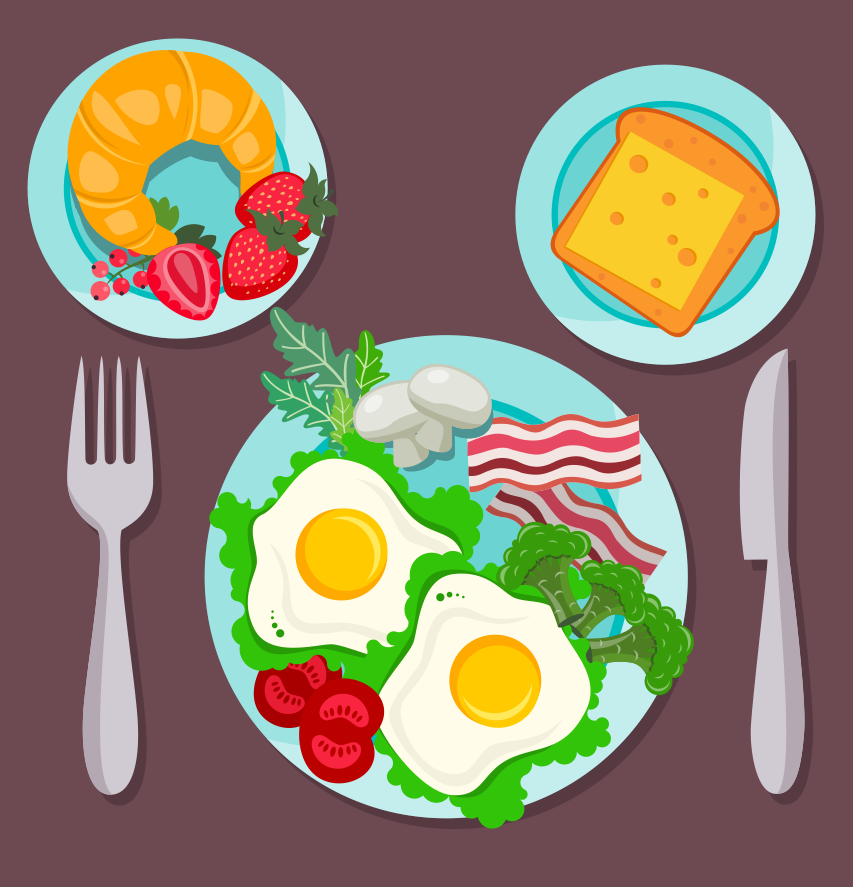
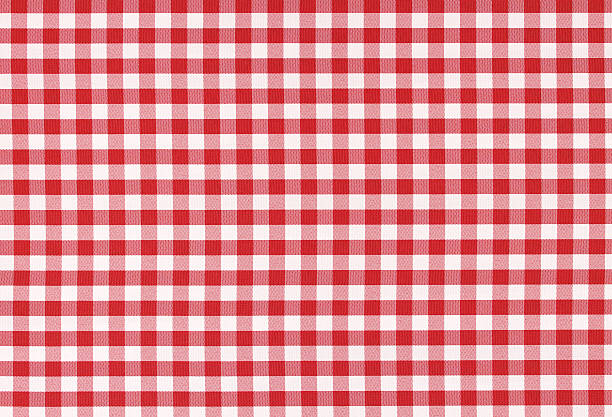
Here are some reference pictures:
How this was made
I first started by recreating the menu. This was done using rectangles (for the base) and text. I then realized that in order for me to be able to do the animations, I will need to store each menu item as an object. So I created a class called MenuItem and used it to store each items’ name, description, tags (if any) as well as x and y positions. I then created a Menu class that stores a list of these items, x and y positions, and other variables. Within the MenuItem class, I have a function that draws the item on the menu. Certain values such as text size will vary depending on whether or not the mouse is hovering over the item. Another function exists called checkHover(), which takes x and y positions and checks to see if it is within the range of the menu item, if so hover = true.
I had a table with each menu item and their type (breakfast, greens, main) I loaded these value into an array then created an object for each item and stored it into an array called allItems. I then call a method called refreshItems() which shuffles the array and selects the first 11 items. Then I added them to the Menu class.
Within the Menu class, there is a function called checkMouseInMenu(), this was created because initially when I was testing the hover the coordinates were not matching onto the menu. This is due to the menu being displayed at an angle, so I asked Claude to help with writing a function that takes mouseX and mouseY and maps it onto the menu. The display function draws the menu on the screen and translates and rotates the menu depending on varying x,y and angle parameters.
In the update function, it checks to see if the menu is being displayed (this is a variable called state) and checks if the user is hovering over any item. In addition, it checks if the menu is currently hidden, if so it will check if the user is hovering over the menu at the bottom of the screen (this is to allow for the user to click on the menu so it reappears). The menu can also have 2 states, “sliding” or “returning”. If the user clicks on a menu item, the angle and y position of the menu will go from 330 -> 360 degrees and 70->290 respectively. I initially had it so that these values were incremented by a constant value, however I didn’t like how that looked, so I asked Claude if there was a way to increase by a percentage of the remaining distance each frame, so it naturally slows down as it approaches the target. Claude showed me the Lerp function. So in the code below you can see that Lerp() takes 3 values, this is the start position, end position and the increment. So in each frame the angle and y position increase by that percentage. This created a smoother animation. Once the angle of the menu is approximately 360, the angle and y value will be locked to the final positions and the state will be moved to “hidden”. The menu items will also be refreshed/randomly selected again.
Code:
// if sliding, moves the angle and y position of the menu
// to create a sliding effect down , once done, menu is now in
// the hidden state
if (this.state === "sliding") {
    this.angle = lerp(this.angle, 360, 0.08);
    this.y = lerp(this.y, this.startY + 220, 0.08);
    if (abs(this.angle - 360) < 0.05) {
        this.angle = 360;
        this.y = this.startY + 220;
        this.state = "hidden";
        this.refreshItems();
    }
}
For the returning state, this is the exact same, except instead of moving down, it moves up.
I also had functions for when the mouse was pressed, this checked that if the mouse was pressed, the menu was display, and it was over a menu item, then the menu would be moved to the sliding state. Otherwise, if the mouse was clicked, the menu was hidden, and the mouse was within the menu range, it would be moved to the returning state.
I then drew the background using nested for loops to created a checkered tablecloth.
I also drew the plate using circles and the fork and knife using beginShape(), vertex(), and endShape().
Final result
Reflection
Overall, I am really happy with how this turned out! I feel like the menu looks very similar to the real thing, and after the help of Claude, I am also satisfied with the sliding animation. In the future, I would add that when the user clicks on a menu item, it would then display that item on the plate instead of the same burger emoji for each item. This would obviously take some time, but I believe it would make the result more statisfying.