The development
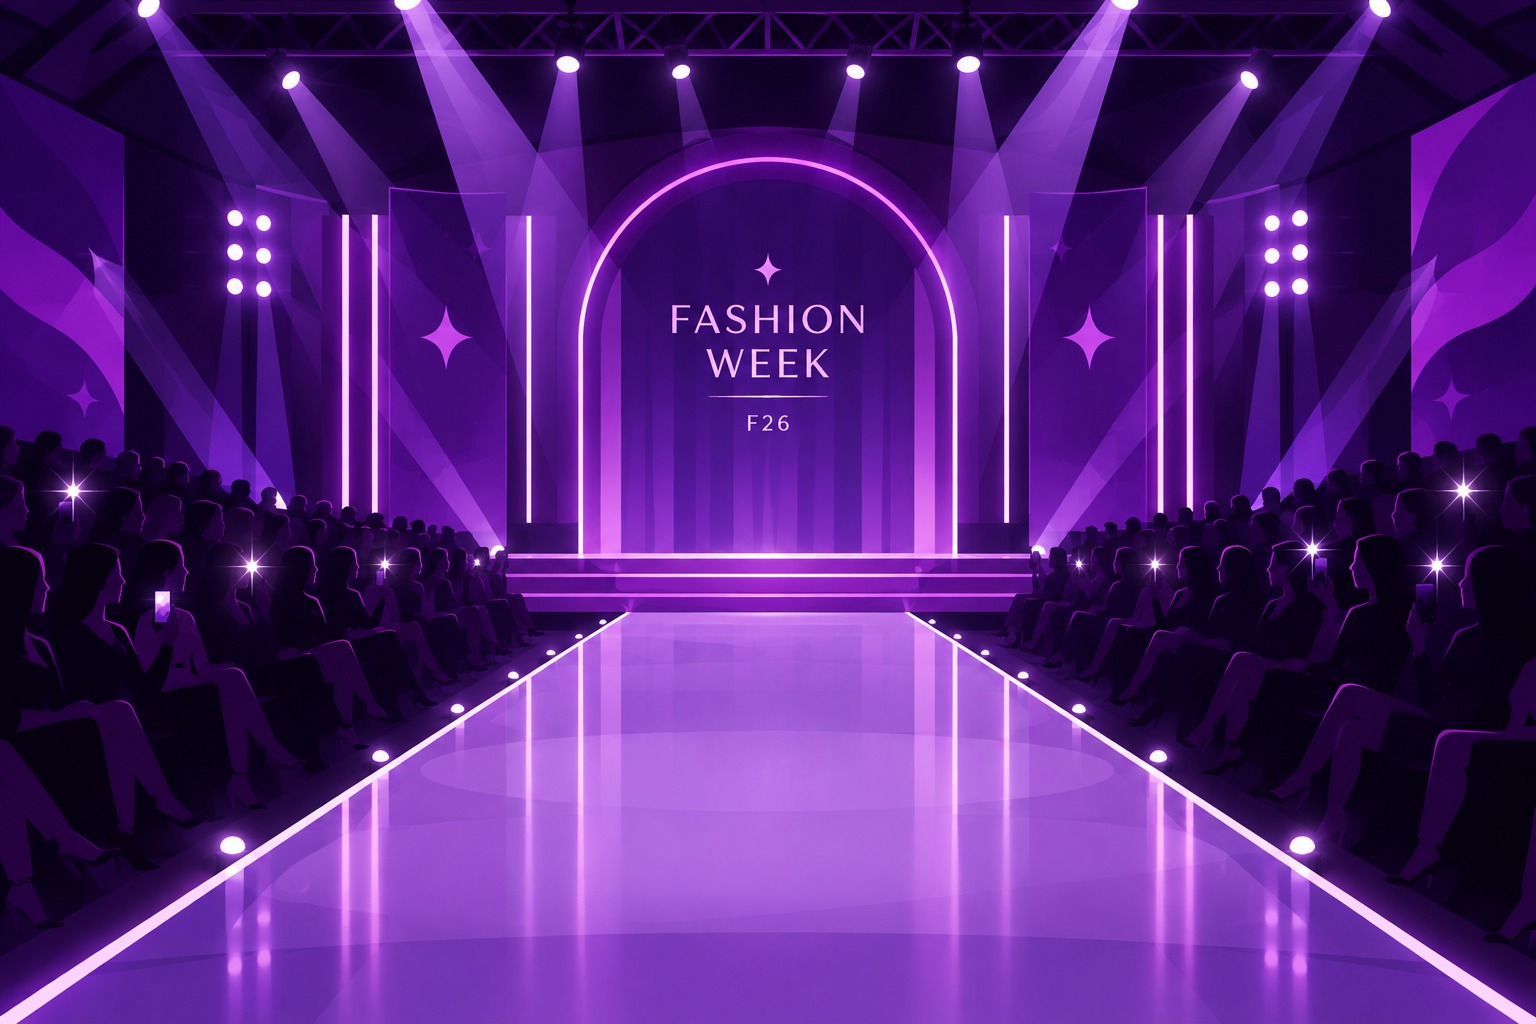
For the instructions page, I wanted to practise using images, another technique we had covered in class. I used AI to generate a runway illustration that matched my original design’s style. I uploaded a screenshot of the runway from my first sketch and prompted the AI to create a fashion-show background with a similar theme. I then used this image as the background and centred the instructions over it.
For the main game, I reused the girl from the portrait sketch I created dur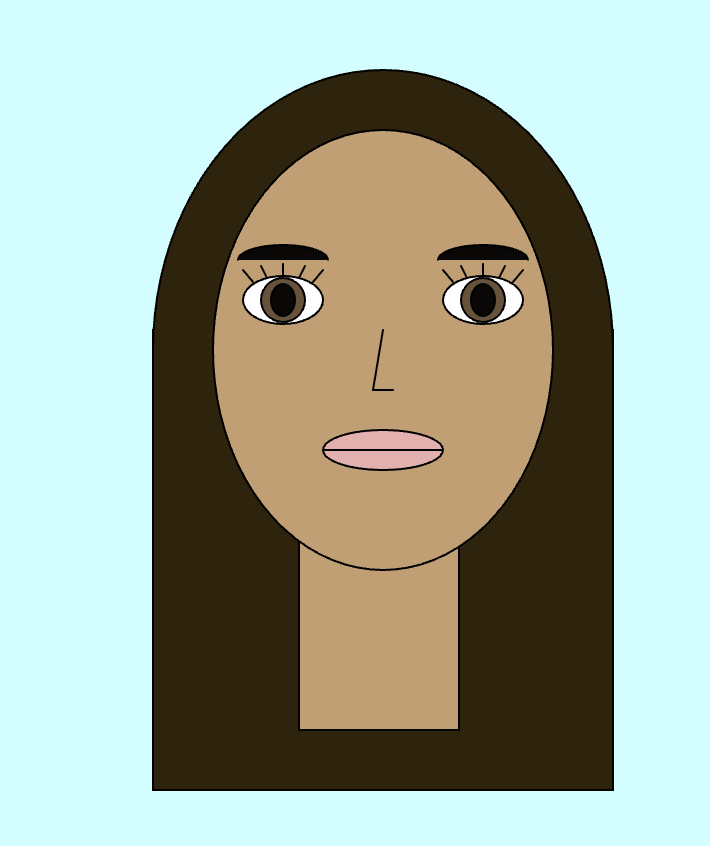 ing the first week of class. I adjusted her proportions to fit the new layout, then added a body and clothing. I used mouse interactions to allow the player to change the clothing colours and recreate the outfit from memory. Reusing my earlier portrait helped me see how a simple sketch could develop into part of a larger interactive project.
Originally, the game screen looked quite empty, so I added vanity lights and furniture to make it feel more like a dressing room. I also adjusted the text placement to make the layout clearer and more balanced. I wanted to use this as an opportunity to practise classes, building on what we had learned earlier in the course.
BEFORE:
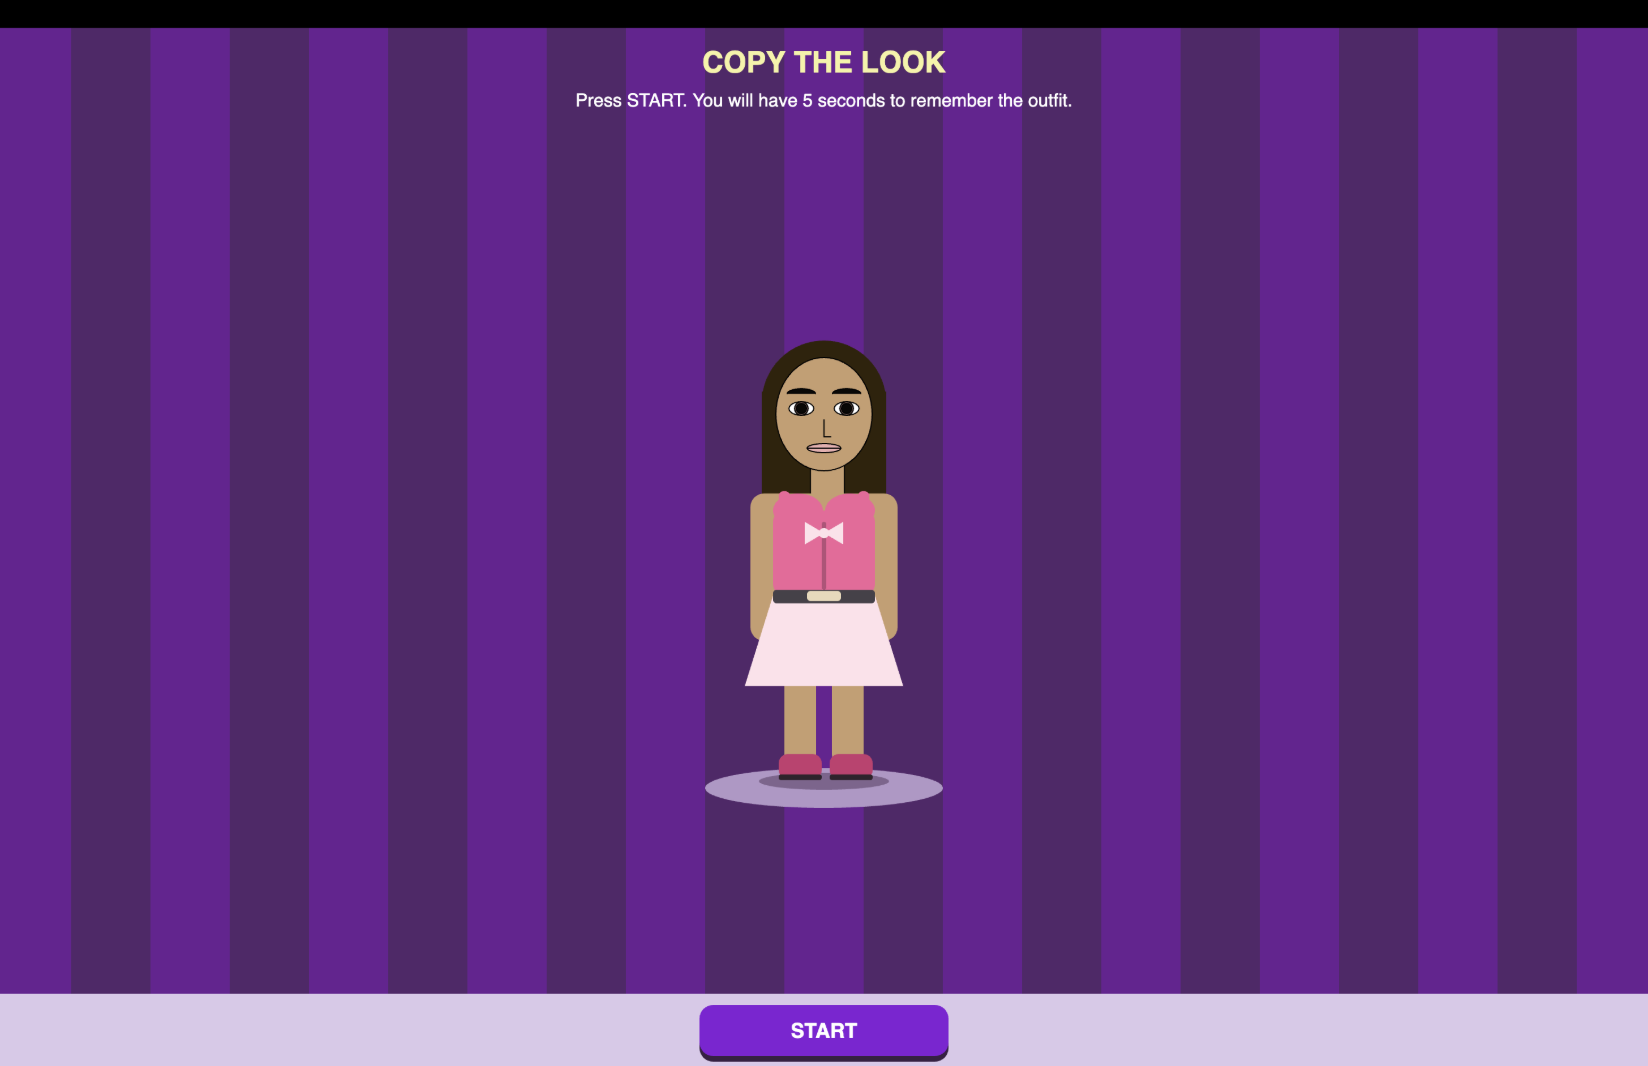
NOW:
I initially developed the welcome screen, instructions page, and game separately, then combined them into one sketch. The page variable controls which screen appears, while game start controls whether the player is memorising, choosing colours, or viewing the result. This helped organise the different parts of the experience.
The timer records the start of each round using millis(). After five seconds, the clothing returns to its starting colours so the player can recreate the outfit from memory. When the player clicks CHECK LOOK, the game compares each clothing colour with its target and awards one point for each match.
I wanted the controls to connect directly to what the player sees, so clicking a clothing item changes that item’s colour. I added hover effects to the main buttons to make them easier to recognise as controls. The countdown and score also communicate what is happening at each stage.
Code I was proud of
One part I am especially proud of is the moving light beams on the welcome screen. The code uses sin() to create a smooth back-and-forth movement and map() to control how far the beams travel. Transparent triangles create the appearance of stage lighting, while randomly positioned circles represent camera flashes. I like how these different movements work together to make my runway feel more alive and connect it to my original fashion-show idea.
// Moving light beams
 lightMove += 0.02;

 let leftX = map(sin(lightMove), -1, 1, width / 2 - 240, width / 2 - 100);
 let rightX = map(sin(lightMove), -1, 1, width / 2 + 100, width / 2 + 240);

 fill(242, 235, 202, 40);
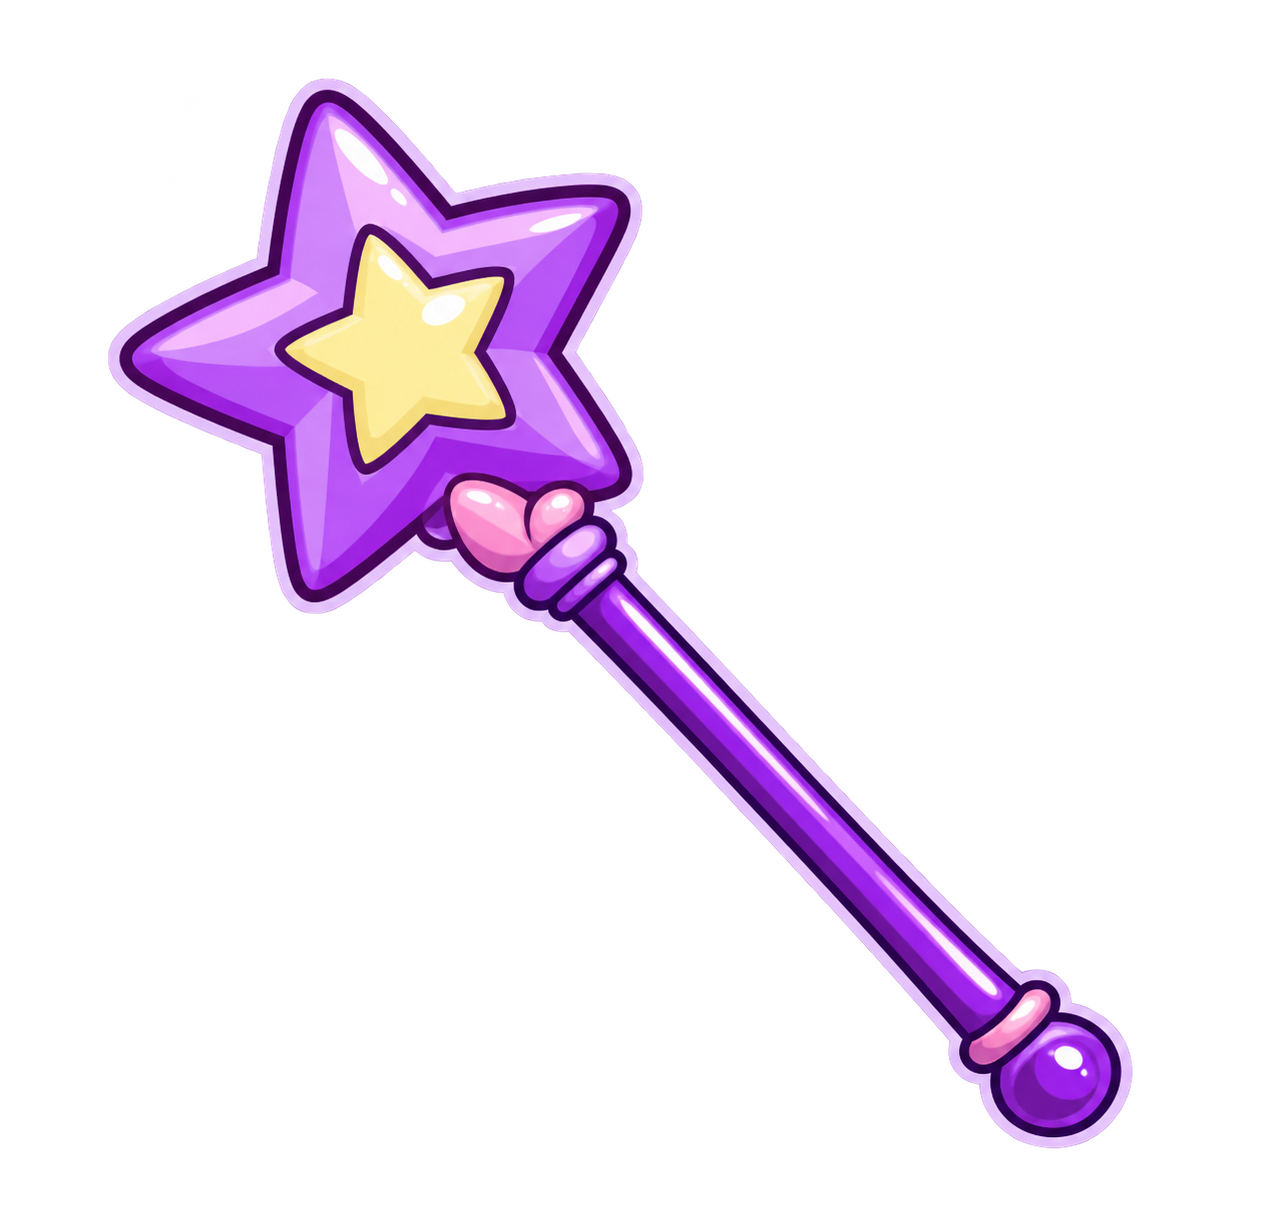
I am also proud of how I incorporated images and mouse interaction. Alongside the illustrated instructions background, I used a wand image that follows mouseX and mouseY to replace the normal cursor. Clicking directly on the model’s clothing cycles through three colour options. This makes the interaction connect to what the player is looking at, while the buttons change colour when hovered over to show that they are clickable.
I am particularly proud of being willing to go back and change my work. Moving from my original 600-pixel canvas to a full-window layout meant revisiting the positions of the model, backgrounds, text, and buttons. Using positions based on width/2 and height/2 helped me arrange elements around the centre. This process showed me that developing an interactive project involves returning to earlier decisions and adjusting them as the idea changes. It was very time-consuming, but it helped me understand coding more.
Challenges I faced
I initially designed everything on a 600-pixel canvas, so adapting the layout to fit the full screen was challenging. I had to adjust the sizes and positions of the elements across the different screens
The most difficult part was combining the three separate sketches into one game. Although working on each screen individually helped me organise my ideas, bringing them together was more challenging than I expected. Overall, the project gave me an opportunity to combine drawing, images, sound, animation, and mouse interaction while developing my original fashion-game idea into a memory game.
Usage of AI
Throughout the project, I returned to previous class examples to find techniques I could apply, including classes, images, and mouse press. I used AI to help organise the game setup, particularly the restartGame() function. This function records the start time, randomly chooses a color for each clothing item, and displays the outfit for the player to remember. It also resets the score and sets the game stage to “remember.” Working through this code helped me understand how one function can prepare both the first round and later rounds.The millisInGame() function tracks the five-second memorising period. Once those five seconds are over, the clothing colours reset and the player can begin recreating the outfit, taking as much time as they need.
I also used AI for help developing the game concept and connecting my separate sketches, which was the most difficult part for me. The transition code checks the current page and whether the mouse click falls inside the button’s boundaries. Clicking “START” changes the page from “welcome” to “instructions,” while clicking “NEXT” changes it to “game” and calls restartGame() to begin the memory game. Breaking these down helped me understand how the buttons control the order of the screens and why entering the game also needs to trigger the setup for a new round.
// WELCOME PAGE — START
  if (page === "welcome") {
    if (
      mouseX > width / 2 - 100 &&
      mouseX < width / 2 + 100 &&
      mouseY > height - 100 &&
      mouseY < height - 35
    ) {
      page = "instructions";
    }
  }

  // INSTRUCTIONS PAGE — NEXT
  else if (page === "instructions") {
    if (
      mouseX > width / 2 - 110 &&
      mouseX < width / 2 + 110 &&
      mouseY > height / 2 + 225 &&
      mouseY < height / 2 + 270
    ) {
      page = "game";
      restartGame();
    }
  }

  // GAME PAGE
  else if (page === "game") {
    // CHECK LOOK / PLAY AGAIN BUTTON
    if (
      mouseX > width / 2 - 110 &&
      mouseX < width / 2 + 110 &&
      mouseY > height - 60 &&
      mouseY < height - 15
// START OR RESTART THE GAME

function restartGame() {
  let now = millis();
  gameStartTime = now;

  // Choose the target outfit
  targetTop = floor(random(3));
  targetSkirt = floor(random(3));
  targetShoes = floor(random(3));

  // Show the target outfit
  topColour = targetTop;
  skirtColour = targetSkirt;
  shoeColour = targetShoes;

  score = 0;
  gameStage = "remember";
}

// Time since this round started
function millisInGame() {
  return millis() - gameStartTime;
}
I also used AI to generate images that matched the theme of my game. I took a screenshot of the first page, which I had designed myself, and used it as a reference when asking AI to create a fashion-show runway for the instructions page. I also asked it to generate a matching cursor image. Using my own design as the reference helped keep the colours and style consistent across the pages. I then incorporated these images into p5.js using the image techniques we
had learned in class.
Reflection
The final game keeps the fashion-show atmosphere of my original idea while giving the player a clear memory challenge. However, the score only tells players how many items they matched, rather than which ones were correct. Showing the target outfit after scoring would make the feedback more useful and give each round a clearer ending.
In the future, I would like to include multiple mini-games within the same fashion-themed project. The player could choose between the current memory challenge, a free dress-up mode, and a timed styling challenge. This would bring back some of my original idea while giving players different ways to interact with the model and clothing.
If I developed the game further, I would improve how the layout fits smaller screens, since centring elements does not automatically make everything fit. I would also add more visuals, for example, when the mouse moves over a clothing item, making the clickable areas easier to recognise. Another improvement would be to show the original outfit beside the player’s outfit after scoring, so the player can see exactly which colours they remembered correctly.
References:
 Royalty-Free Background MusicFASHION-IDOL | Fashion Background music Royalty Free | Backg…
https://p5js.org/reference/p5/sin/
https://p5js.org/reference/p5/millis/
https://beta.p5js.org/reference/p5/floor/