Concept
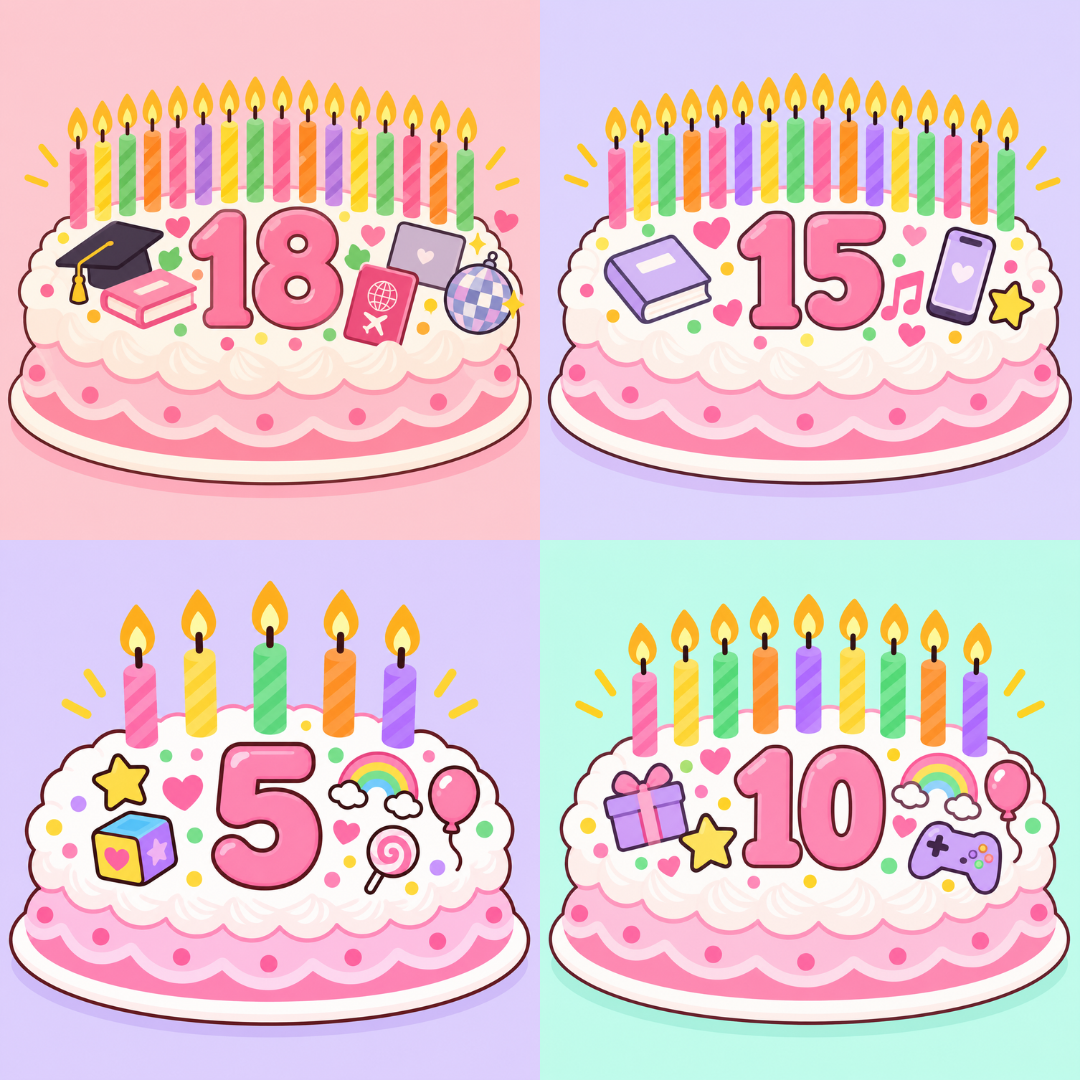
My game is based around a birthday cake, with each scene representing a different age: 1, 5, 10, 15, and 18. The character moves through the different scenes and explores objects that represent memories from that age. When the character reaches an object, the player can interact with it and a short piece of text appears explaining the memory behind it. I wanted the game to feel personal and nostalgic, while also being fun and interactive, showing how different memories and experiences have been part of growing up.
Design
I went for a very minimalistic design approach, carefully choosing certain fonts and colours to maintain the nostalgic and playful feeling I wanted for my game.
 original design
improved design
My original design was AI generated, but I wanted the final design to be something I drew myself so I decided to digitally redraw the cake, adding my own personal touch.
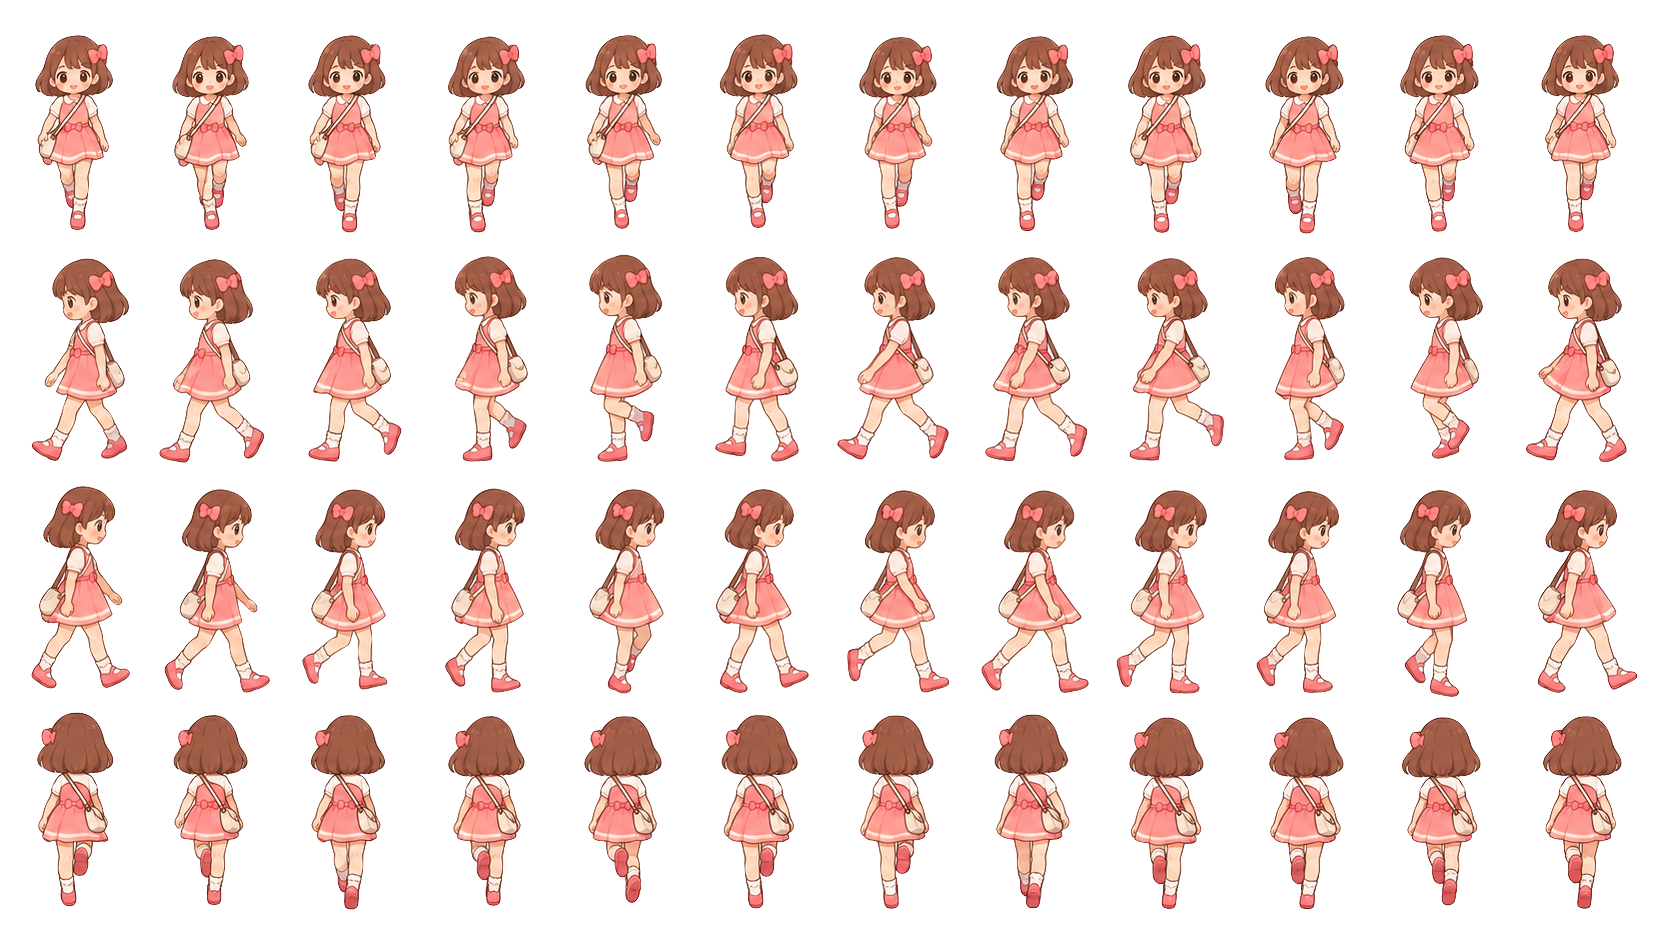
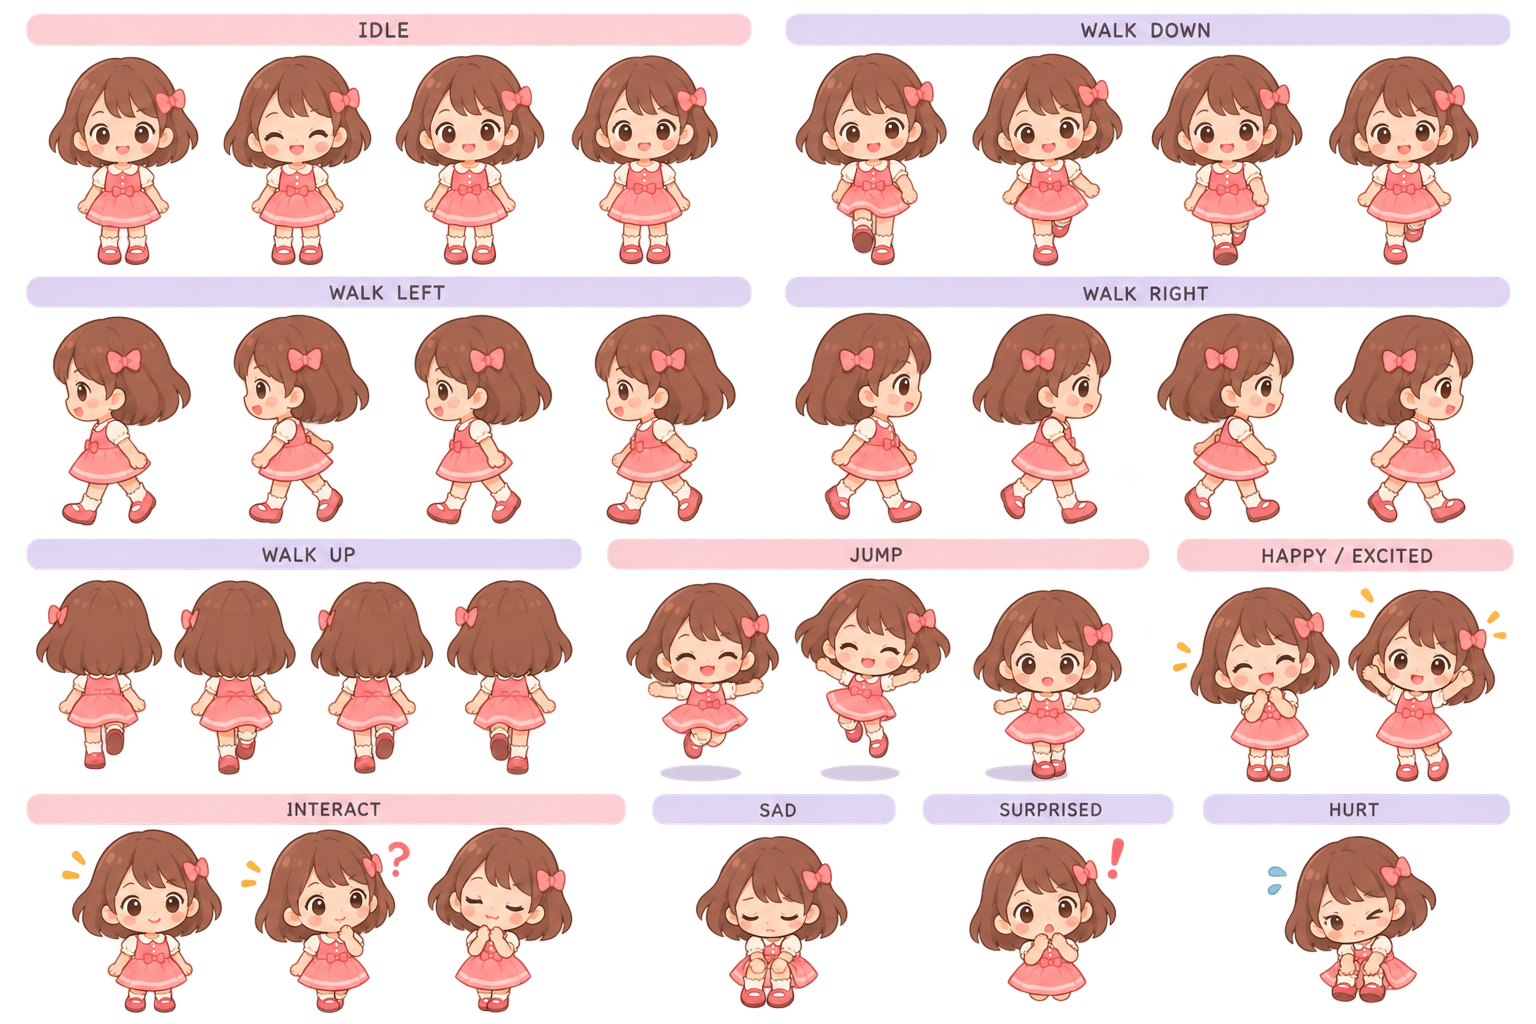
character sprite sheet
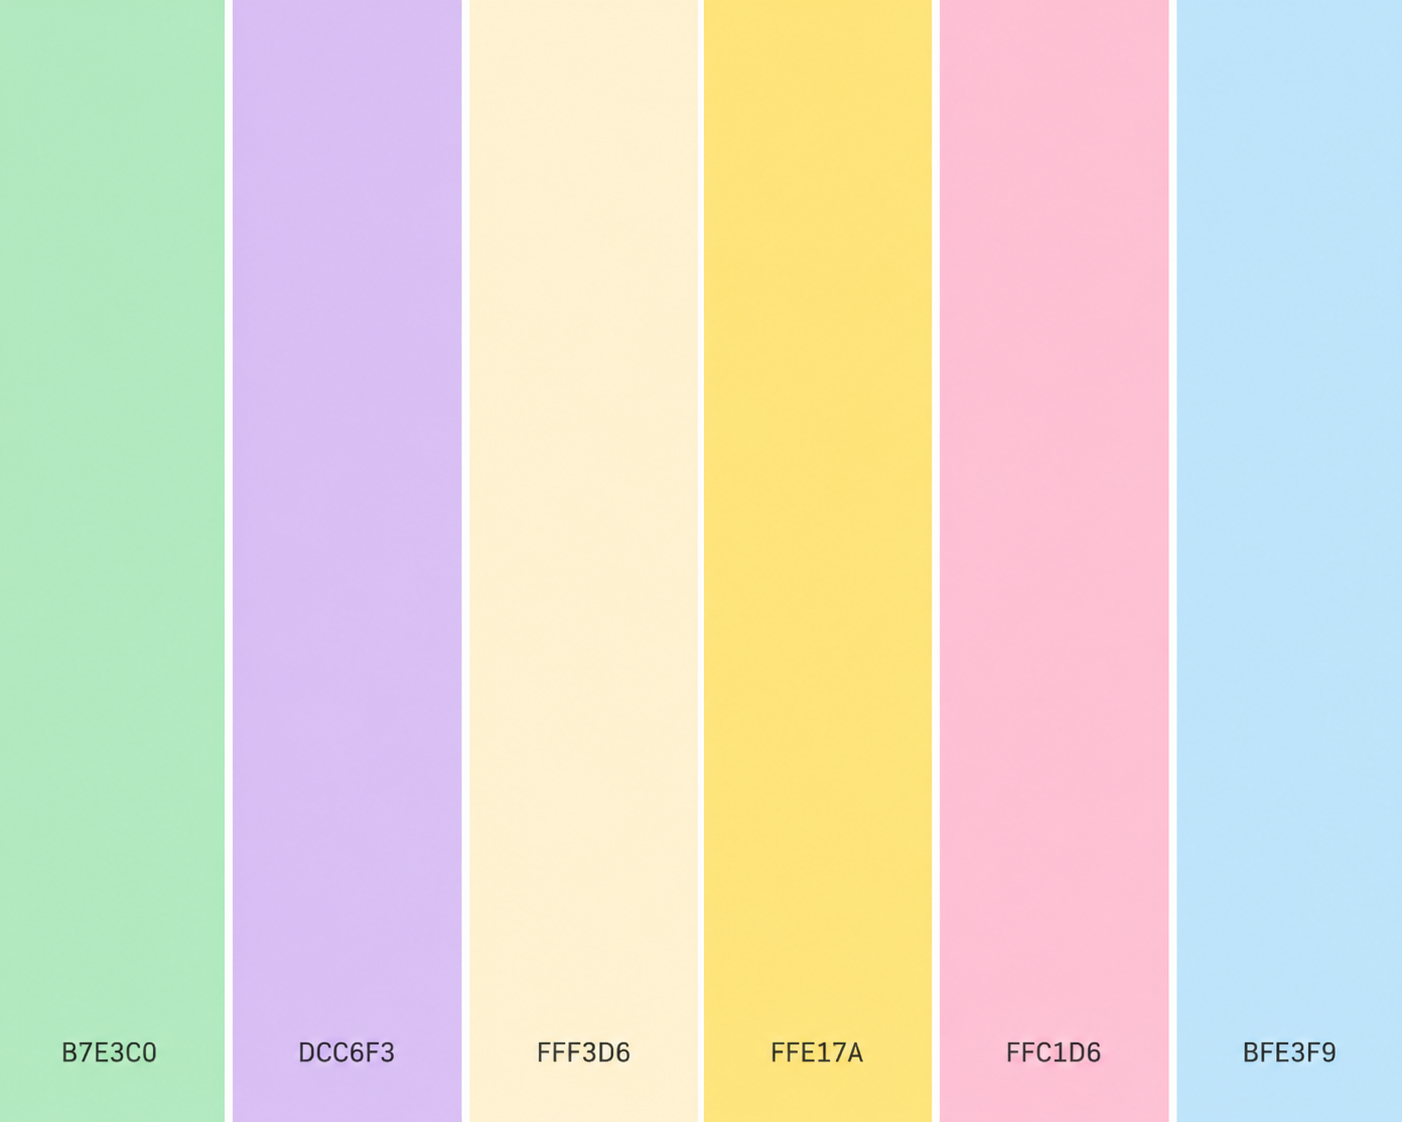
I also slightly changed the colours and simplified the colour palette to make the overall design look more aesthetically pleasing and consistent. I personally love how the improved version turned out because I feel like it reflects my personality and the style I was going for much better.
Highlighted Code
let memories = [];
let activeMemory = 0;
function createMemories() {
  memories = [
    new Memory(
      0, 0.56, 0.30,
      "My first teddy bear!"
    ),

    new Memory(
      0, 0.45, 0.78,
      "My name is Dana! This is where my story begins."
    ),

    new Memory(
      1, 0.44, 0.32,
      "I learned how to paint, and it quickly became my favourite hobby!"
    ),

    new Memory(
      1, 0.60, 0.55,
      "I loved playing with bubbles!"
    ),

    new Memory(
      2, 0.44, 0.31,
      "I learned how to ride a bicycle!"
    ),

    new Memory(
      2, 0.60, 0.78,
      "I got my first camera and started capturing memories through photography!"
    ),

    new Memory(
      3, 0.41, 0.55,
      "I started playing padel and got really good at it!"
    ),

    new Memory(
      3, 0.62, 0.78,
      "I got my first phone!"
    ),

    new Memory(
      4, 0.50, 0.50,
      "I'm finally 18! I can't wait to see what the future holds for me!"
    )
  ];
}
This was probably the part of my project that I struggled with the most. I found it difficult to figure out how to make the character interact with the different objects on the cake and have the correct memory appear. I had to learn how to use a class to create multiple memory objects, each with its own age, position, and text. I also learned how to use coordinates to determine where the character needs to be for a memory to appear, which was something I hadn’t done before. It took me a while to understand how everything worked together, but I eventually managed to get it working. Although it was challenging, I think this was the part where I learned the most because it pushed me to explore coding concepts I wasn’t familiar with.
Additionally, I learnt how to use isNearby() function to check whether the character is close enough to interact with an object. To do this, I used the p5.js reference page to learn about the dist() function, which calculates the distance between two points. I then used this to check the distance between my character and the memory objects. If the character is close enough, the player can press E to reveal the memory. This was something I hadn’t learnt in class, so it took me some time to understand how to apply it to my game.
Resources and References
Music – https://youtu.be/TmgqHnb5oHo?si=0d8dY4g8QcIGs4uZ
p5.js referance – https://p5js.org/reference/
Changing scenes tutorial – https://youtu.be/IWyPwbt5ZrA?si=tPL8t6uc9DrFvP7t
OOP tutorial – https://youtu.be/T-HGdc8L-7w?si=ATAbeymCwJaYaWAG
AI (ChatGPT) – I used ChatGPT as a learning tool to help me understand new coding concepts and troubleshoot errors.