Press F or f to make it fullscreen
YouTube videos of my project for both of the outcomes
Losing Screen – https://youtu.be/a-SeZ87uhxw
Winning Screen – https://youtu.be/bEHMXNKBAsE
Concept
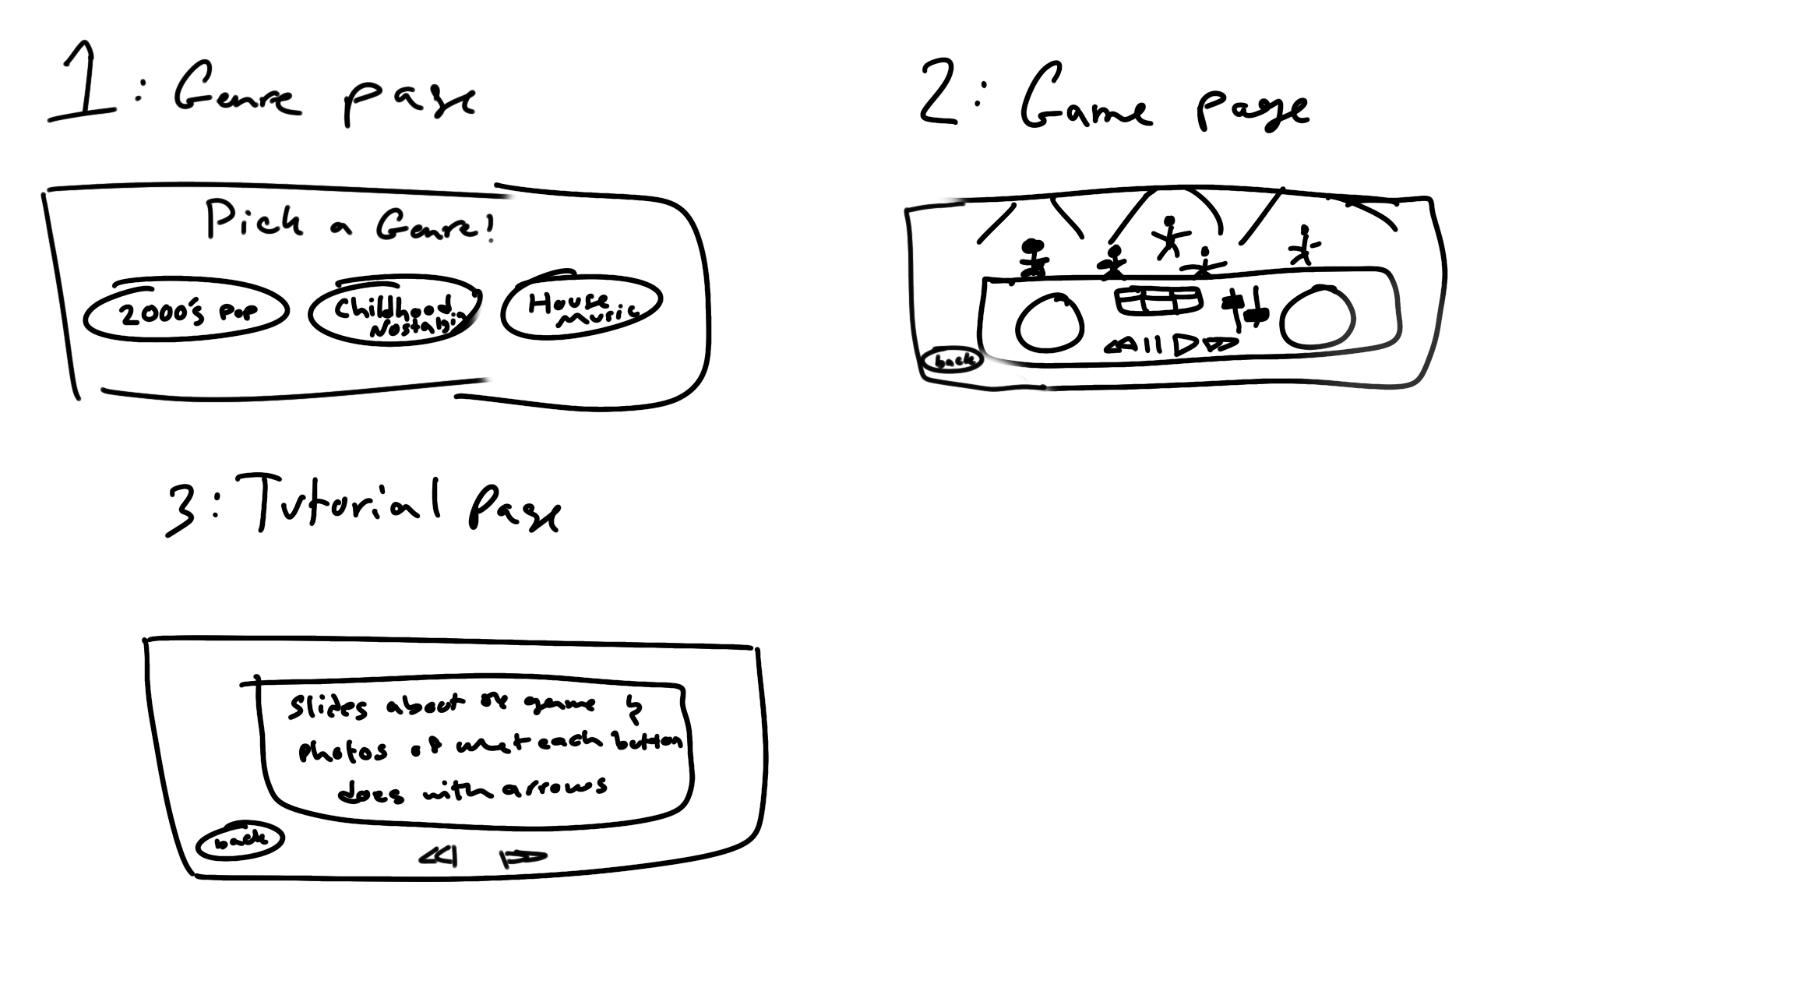
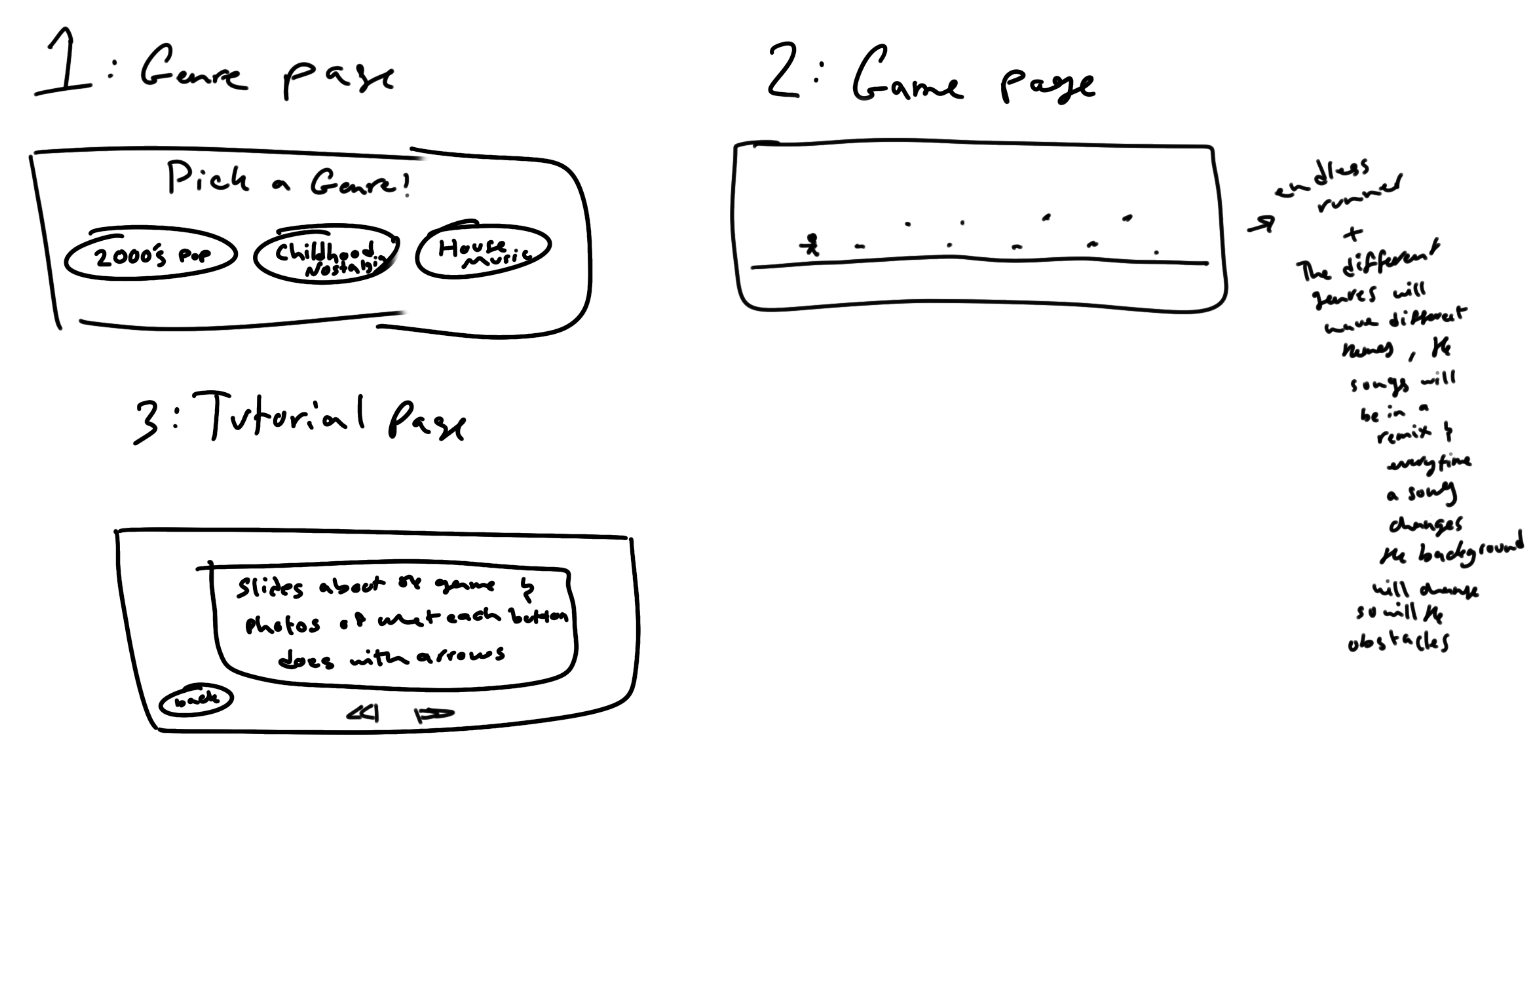
For my midterm project, I originally wanted to create an endless runner game where the user could choose between different music genres. Each genre would have random songs, and the background and visuals would change depending on the music. I wanted the user to have a different experience depending on which category they picked.
However, when I started working on the code and putting the different parts together, I realized that creating multiple genres, songs, and backgrounds would be too complicated for me to manage within the time I had. So, I decided to take one of the songs I picked for the childhood nostalgia category and build my game around it.
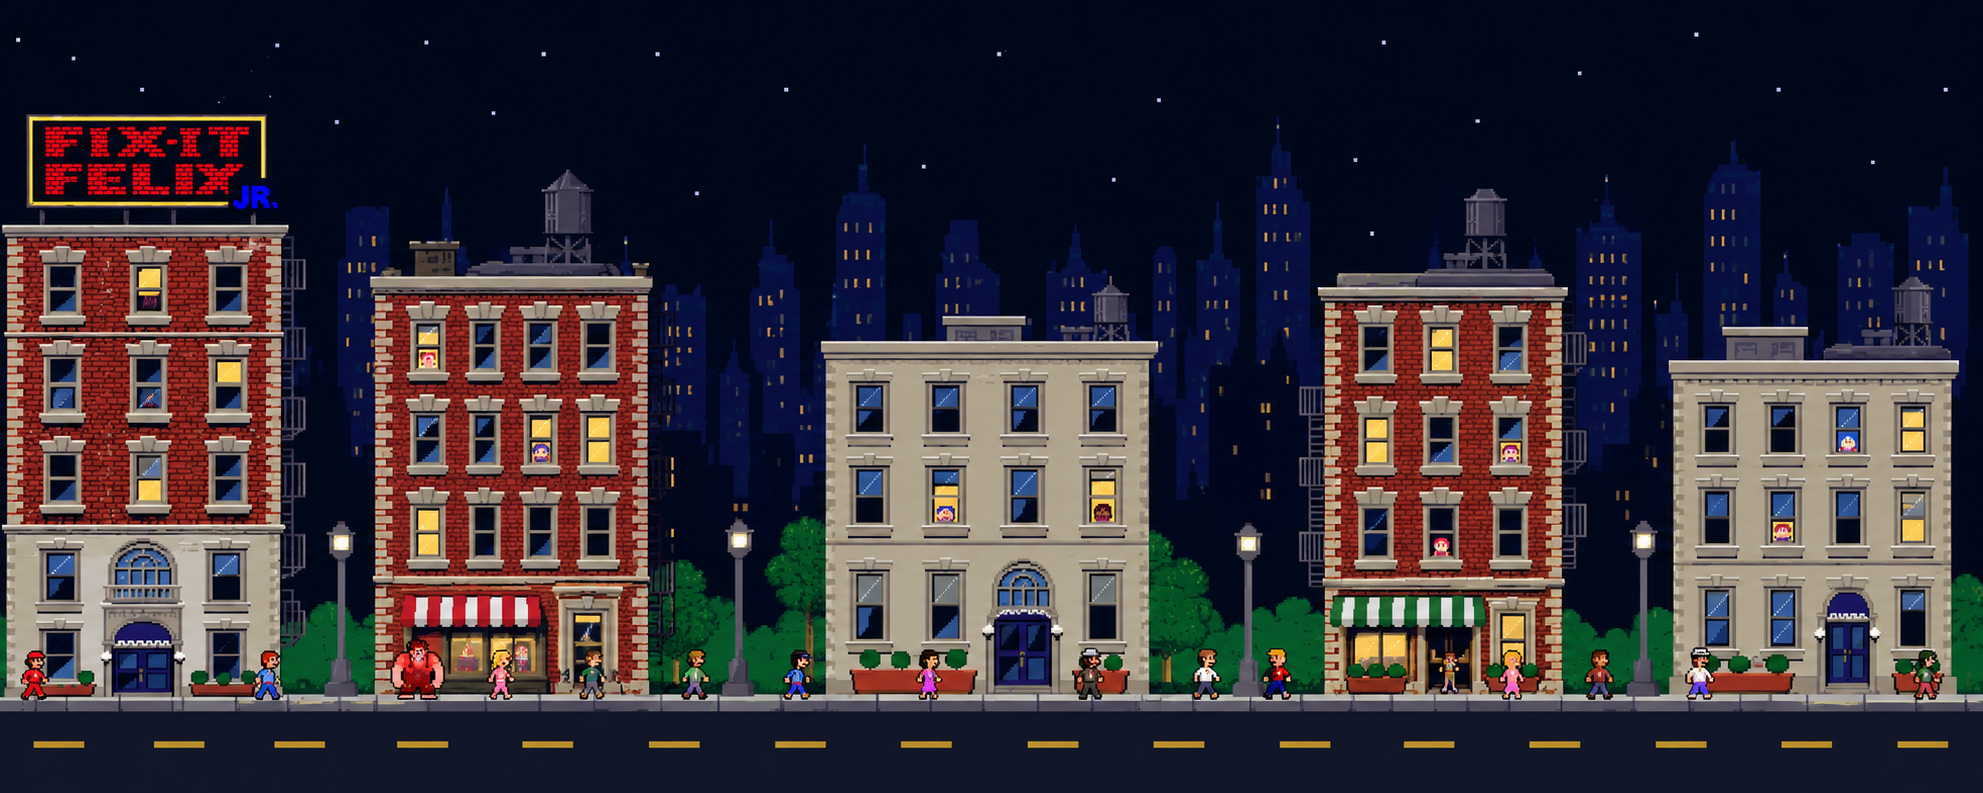
My inspiration came from the movie Wreck-It Ralph, especially the Fix-It Felix Jr. game shown in the movie. I personally really liked how the game was displayed, including its building and overall look, so I decided that I wanted to create my own game inspired by it. I also wanted to use the building as part of my background design to make the connection to the movie clear. Instead of trying to include multiple music genres and backgrounds, I decided to focus on one idea and spend more time developing the game and its visuals.
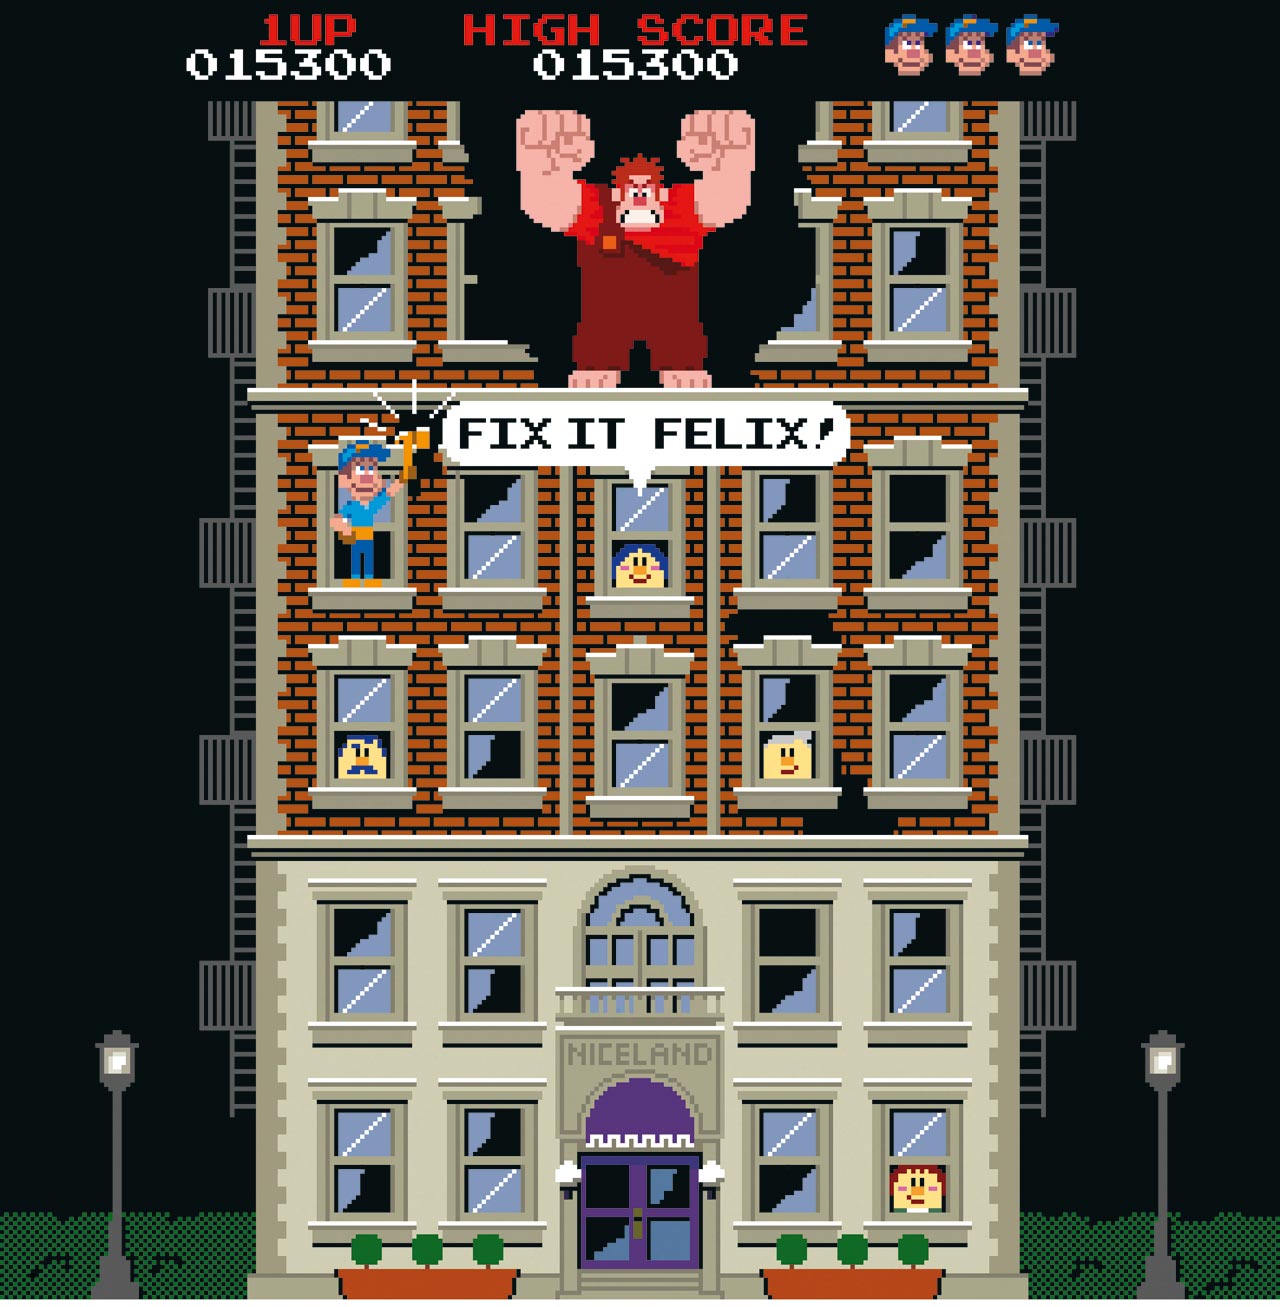
This is the game/photo I got inspired by!
How the Project Works
The first thing the user sees when opening my game is the starting screen. It displays the title of the game, two buttons called Tutorial and Start Game, and a music control at the bottom right that allows the user to turn the intro music on or off. I used createButton() in p5 to create the Tutorial and Start Game buttons and styled them by changing their size, color, border, and font. I created the music control separately using shapes and used the mouseClicked() function to detect when the user clicks on it. To control which screen the user sees, I created a variable called screen. This variable uses different numbers to represent the starting screen, tutorial, gameplay, game-over screen, and win screen. In the draw() function, I used if and else if statements to call the function for the correct screen.
Here is an example of how I switch between the different screens:
function draw() {
  background(200);

  if (screen === 0) {
    StartingScreen();
  } else if (screen === 1) {
    TutorialScreen();
  } else if (screen === 2) {
    GameScreen();
  } else if (screen === 3) {
    GameOverScreen();
  } else if (screen === 4) {
    WinScreen();
  }
}
When the user presses Start Game, the startGame() function stops the intro music, starts the game song, resets the game, and takes the user to the gameplay screen. The player controls Felix from Wreck-It Ralph, and the player must survive until the song finishes. I used two images for Felix, one for walking and one for jumping, so his appearance changes depending on whether he is on the ground or in the air.
To create the jumping effect, I used variables to control Felix’s position, velocity, gravity, and jump force. When the player presses the space bar, the code checks whether the game is active and Felix is on the ground before allowing him to jump.
Here is the code I used to make the character/felix jump:
if (screen === 2) {
    // space bar key makes Felix jump, but only when he's on the ground
    if (key === " " && playerY >= groundY) {
      playerVelocityY = jumpForce; // pushes Felix upward
    }
This code allows Felix to jump only when the player is in the game and he is on the ground. The playerVelocityY variable controls his vertical movement, while jumpForce determines how strongly he moves upward. Gravity then pulls him back down. This condition also prevents Felix from jumping again while he is already in the air.
I also made the background scroll from right to left to create the effect that Felix is running forward. The game gradually becomes faster, and cars and rocks appear at random intervals. A progress bar shows how much of the song has played. If Felix hits an obstacle, the game-over screen displays how long the player survived. If the song finishes before Felix hits anything, the player wins. From both ending screens, the player can press the space bar to play again or press M to return to the main menu without restarting the p5 sketch.
Code Im Proud Of
One of the parts of my project that I am most proud of is creating my Obstacle class. I wanted to have two different obstacles in my game, a car and a rock, but instead of writing completely separate code for each one, I used object-oriented programming to create one class that could manage both. I used a constructor to define the type, position, and dimensions of each obstacle, and different methods to control how they move, appear on the screen, and interact with Felix. I am particularly proud of this because it helped me understand how classes can be used to organize code and create multiple objects that share similar behaviors.
Here is an example of how I used my Obstacle class to manage the two different obstacles:
class Obstacle {
  constructor(type, x, groundY) {
    this.type = type; // picks between my two objects/obstacles a rock or a car
    this.x = x;
    this.groundY = groundY; // same ground as the character
    this.t = 0;     // animation timer, goes up every frame
    this.angle = 0; // how much the wheels/rock have turned, starts at 0 and then will change

    // Set dimensions based on the object (these are also the hitbox)
    if (this.type === 'car') {
      this.width = 90;
      this.height = 45;
    } else { //rock
      this.width = 44;
      this.height = 44;
    }
  }

  // moves the obstacle left and moves the animation forward one step each frame

  update(speed) {
    this.x -= speed; // move left by the game's current speed
    this.t += 1;  // animation time which kinda makes the car look more realistic

  // figure out how big the circle is that's rolling

  let radius;
  if (this.type === 'car') {
  radius = 9;  // this is for the car's wheel
} else {
  radius = 22; // the size of the rocks
}
// turn the wheels/rock a little bit every frame so they look like they're rolling

  this.angle -= speed / radius; // minus makes them spin to the left the way the obstacle moves
}

  //draws the object on the screen (runs every frame)

  display() {
    push(); // save the drawing settings so they only affect this obstacle
    translate(this.x, this.groundY) // move the drawing spot to where the obstacle sits on the ground
    strokeCap(ROUND);
    strokeJoin(ROUND);

    // Shadow on the ground for the car and rock

    noStroke();
    fill(0, 0, 0, 55);
    ellipse(this.width / 2, 2, this.width * 0.95, 8);

    if (this.type === 'car') {
      this.drawCar();
    } else {
      this.drawRock();
    }
    pop();
  }
In this code, the constructor sets up the obstacle by assigning its type, position, and dimensions. I used an if statement to give the car and rock different sizes depending on which one is created. The update() method then moves the obstacle to the left based on the game’s speed and adjusts its rotation so that the wheels or rock appear to roll as they move. Finally, the display() method checks the obstacle’s type and calls either drawCar() or drawRock() to display the correct object. What I like about this approach is that I can use the same class to create different obstacles without having to repeat the movement and animation code for each one.
Another part I am proud of is how I designed and animated the obstacles. I originally planned to use images, but instead, I decided to draw the car and rock using shapes in p5.js. I added small details to make them look more realistic. For example, I made the car’s wheels spin, its body bounce slightly, and exhaust smoke appear behind it. I also made the rock rotate as it moves across the screen. To do this, I used functions such as translate(), rotate(), sin(), and cos(). I enjoyed experimenting with these functions because I could see how small changes in the code affected the appearance and movement of the obstacles.
Another part I am proud of is how I brought all the different parts of my game together. I created separate screens for the menu, tutorial, gameplay, and endings, and connected them with the music and game controls. I also made it possible for the player to restart the game or return to the main menu without refreshing the page. Although I had to simplify my original idea, I am happy with how the final project came together and how I was able to include different features in one complete game.
Challenges and Improvements
One of the biggest challenges I faced was getting the buttons and music to work properly. This was my first time using createButton() in p5, so I was initially a little confused about how to create the buttons, style them, and make them do different things when clicked. I also had a lot of trouble with the music because there were times when the songs would not play at all. I tried different approaches based on what I knew, but eventually I had to ask Claude for help because I could not figure out what was causing the problem. Another challenge was the music on/off control on the starting screen. Sometimes it would work properly, while other times it would not respond as expected, which made it difficult to figure out what was going wrong. I also struggled with getting the cars and rocks to move the way I wanted them to, especially when working on their animations. However, after making adjustments and testing the game several times, I was eventually able to get these features working.
If I had more time, there are a few things I would like to improve. One of them is the appearance of the buttons, as I originally wanted them to use the same font as the title of my game, but I was not able to get this working. I would also like to find a PNG of Felix doing his iconic jump from Fix-It Felix Jr. because I wanted to use that specific animation for my character, but I could not find a suitable image. Another improvement would be adding more obstacles to the game. Right now, the player only encounters cars and rocks, and I think having the same two obstacles appear repeatedly could become a little boring. Adding more variety would make the game more interesting and give the player a different experience each time.
References
Font – https://www.fontspace.com/pixel-purl-font-f139571
My Audio:
The intro song: https://1421304-wreck-it-ralph-ost.mp3.pm/song/96252214-wreck-it-ralph-remix/
The game song: https://audio.com/mei-song/audio/when-can-i-see-you-again-owl-city-hd-wreck-it-ralph-soundtrack
I used the app Audacity to make the intro and game song shorter
https://editor.p5js.org/Aya_Riad/sketches/knFSEm6fM
https://editor.p5js.org/Aya_Riad/sketches/qZsp9Qete
https://p5js.org/reference/p5/createButton/
https://p5js.org/reference/p5/sin/
https://p5js.org/reference/p5/cos/
https://editor.p5js.org/Aya_Riad/sketches/XyXDfPmE4
https://editor.p5js.org/Aya_Riad/sketches/bXwvUEEpz
https://editor.p5js.org/re7l/sketches/28wsGI24p
https://p5js.org/reference/p5/ellipseMode/
https://p5js.org/reference/p5/circle/
Here are the pictures I used for my project:
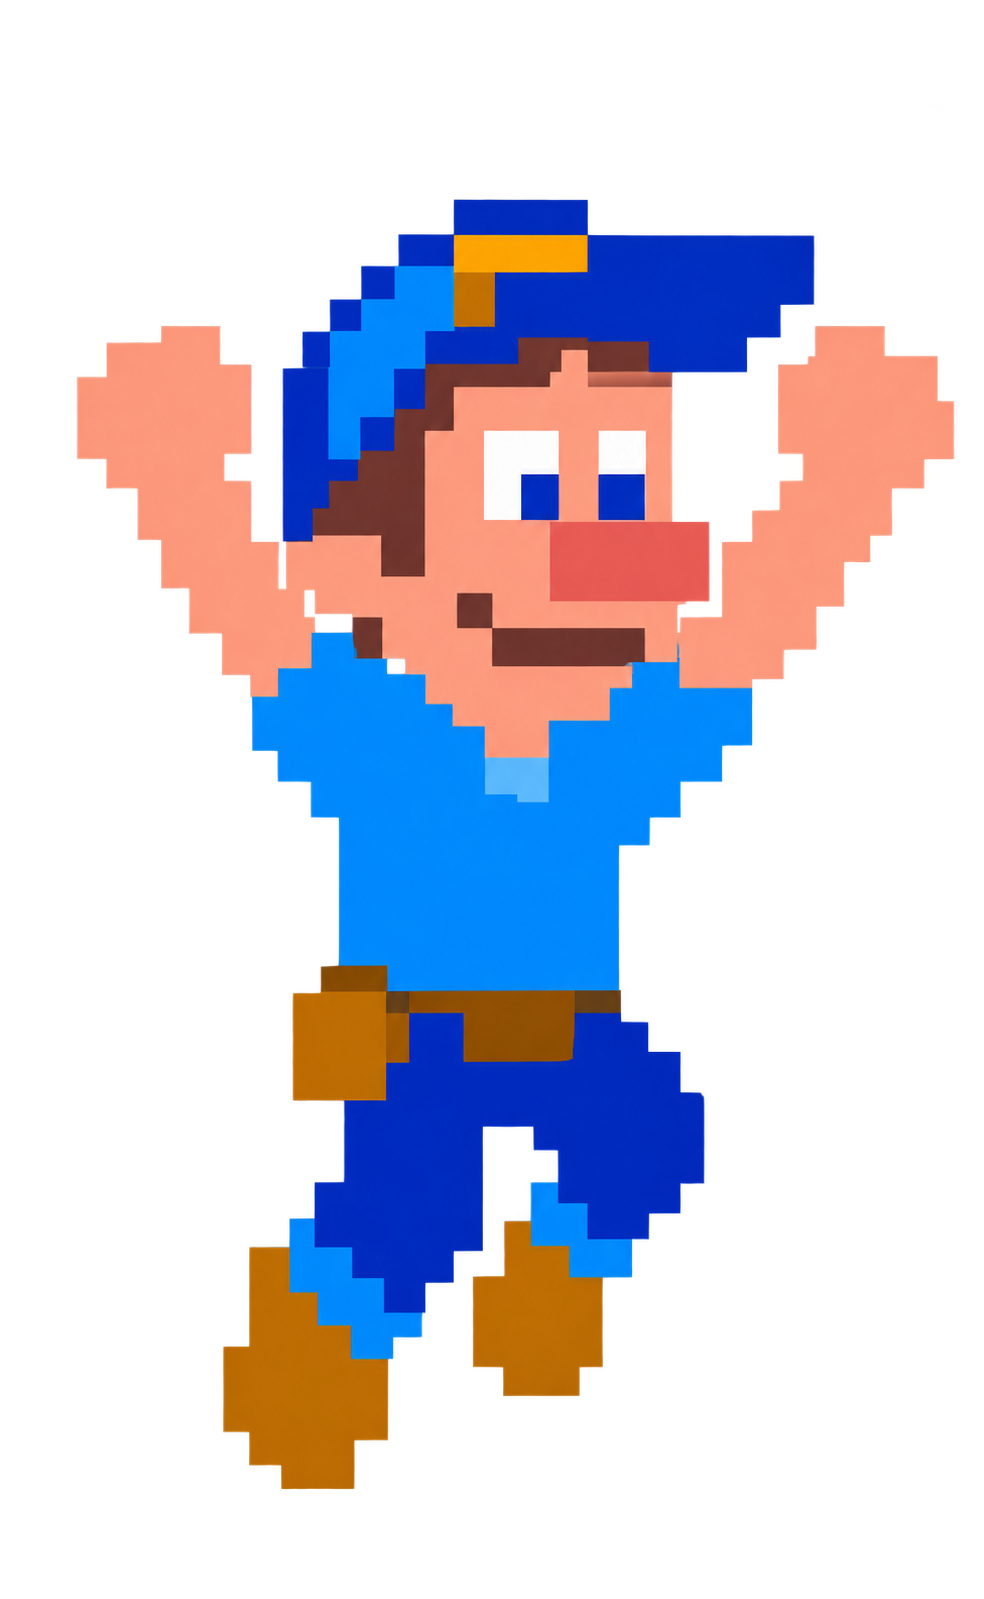
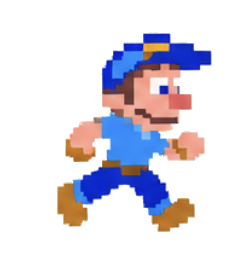
Intro Image:
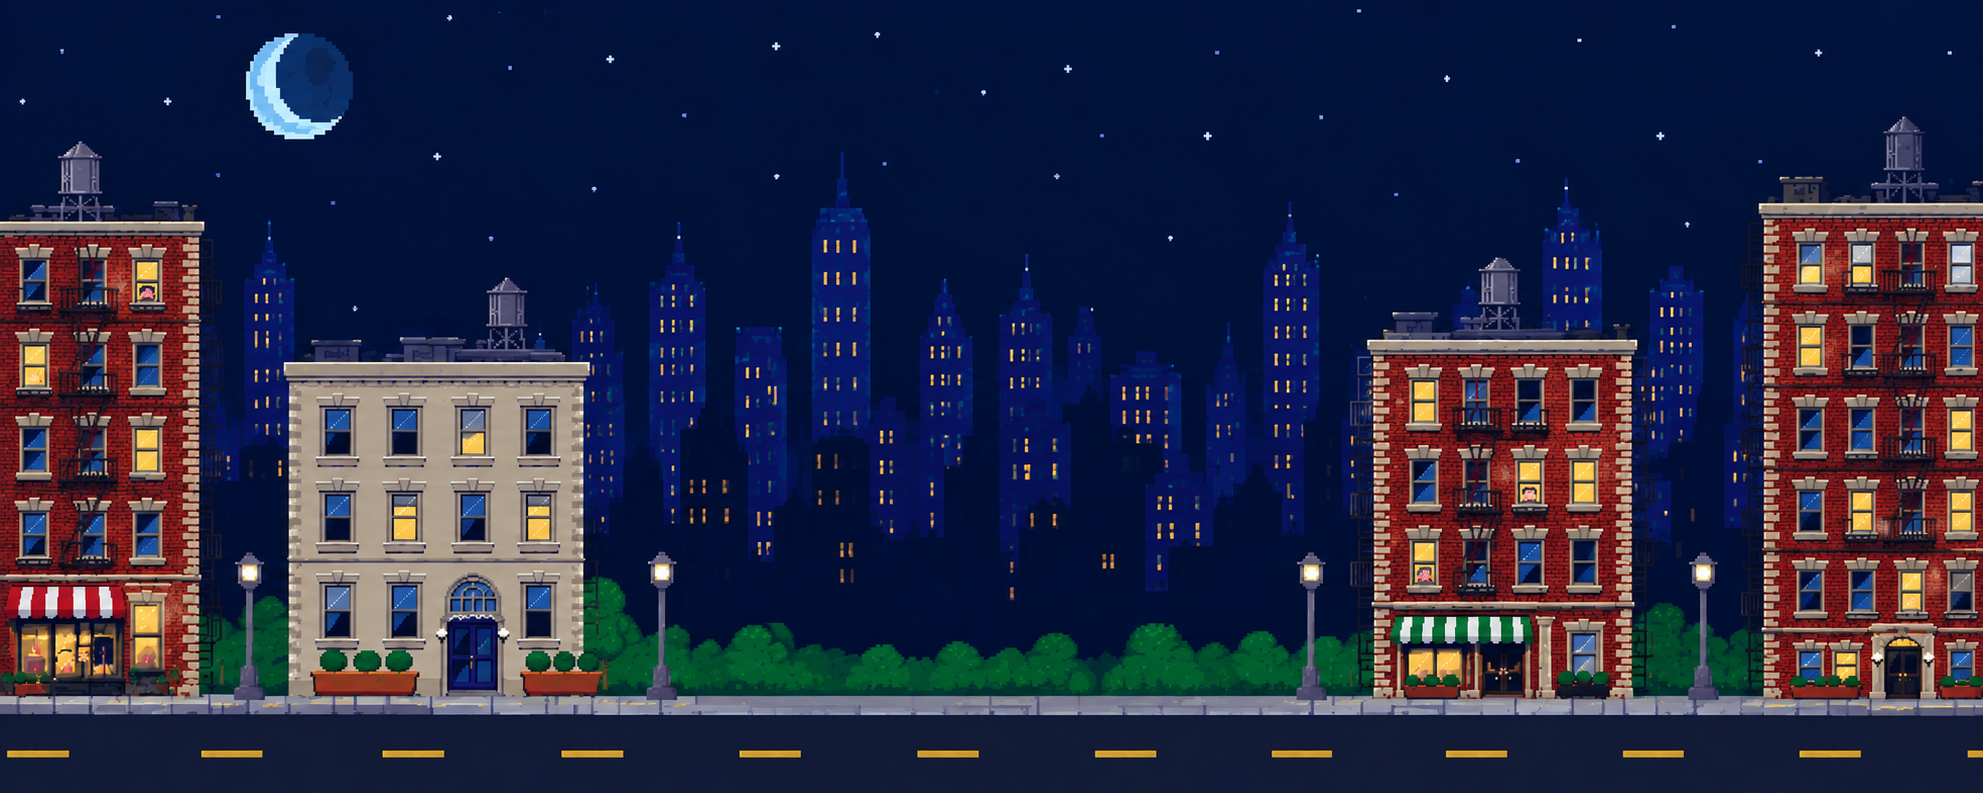
Game Image:
How AI was used:
Claude was the only AI tool I used for this project, mainly to help me debug my code and assist me with creating the buttons and getting the audio to work properly.