
Concept:
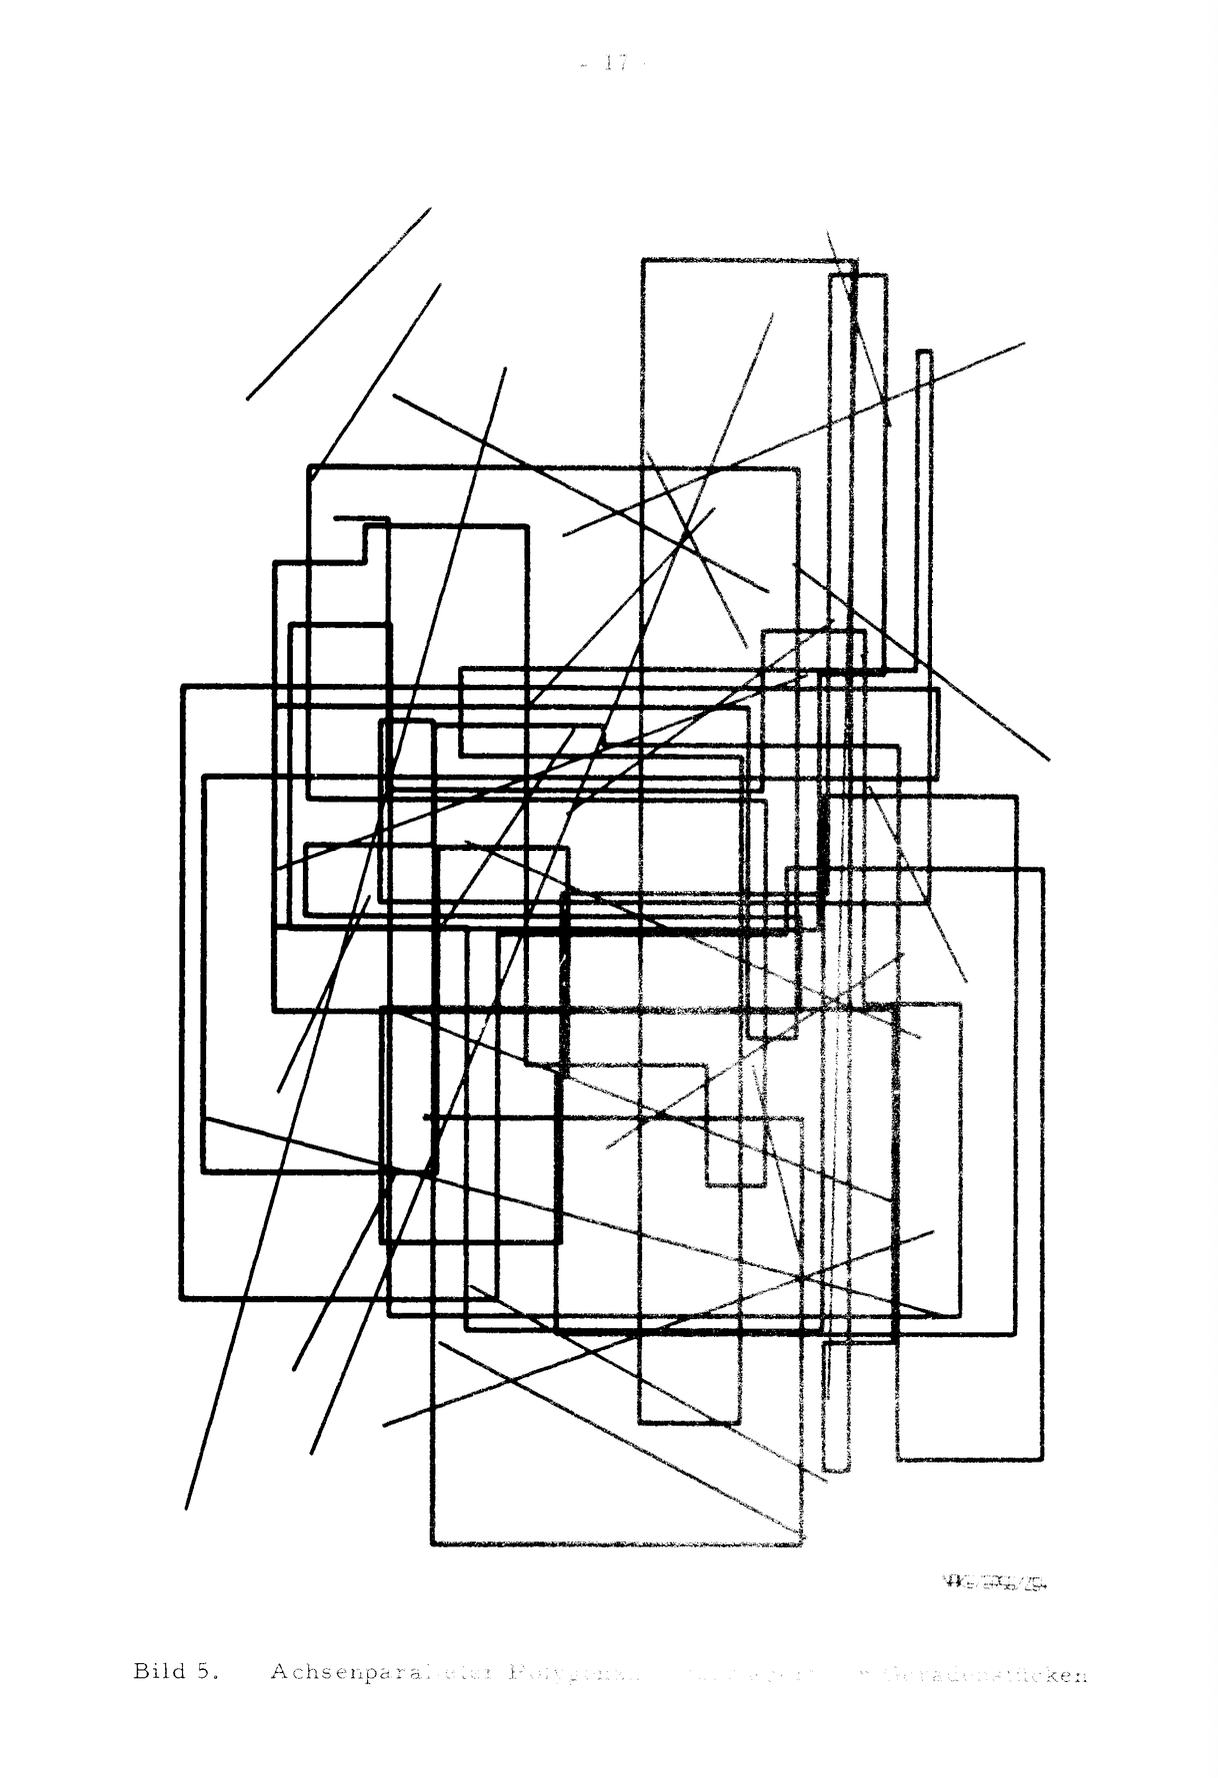
My main inspiration behind the artwork was the abstract art piece that I found in the ‘Program Information’ reading. I was drawn to it because it not only had various shapes and sizes of rectangles, but also included lines, which made the piece feel more detailed and abstract to me. I chose triangles because I wanted to experiment with a shape that I had not used much before in p5.js , and I liked how triangles could create completely different patterns depending on their size, position, and how they overlapped with each other. I chose a purple color palette because the color reminded me of NYUAD. I wanted the piece to be abstract and include animation to make it feel more dynamic and stand out.
My Artwork:
Code I am Proud of:
for (let yPos = 60; yPos < height; yPos = yPos + 90) {

  for (let xPos = 60; xPos < width; xPos = xPos + 90) {

    if (xPos < 100) {
      stroke(colors[0]);

    } else if (xPos < 200) {
      stroke(colors[1]);

    } else if (xPos < 300) {
      stroke(colors[2]);

    } else if (xPos < 400) {
      stroke(colors[3]);

    } else {
      stroke(colors[4]);
    }

    drawTriangleAt(xPos + triangleMove, yPos, 60);
  }
}
The part of my code that I am most proud of is the loop I used to create the smaller triangles. I liked this part because I was able to combine a few things we learned in class instead of just using loops on their own. The loops repeated the triangles across the canvas, while the x position helped me create the dark to light purple shift. I also added triangleMove to make the triangles move from side to side. There was a lot of trial and error with this part because I was still confused about how the positions and movement worked together, so I kept changing the values and seeing what happened. This helped me understand the code a lot better.
How this was made:
I began with a standard 500×500 canvas and added a couple of triangles. I then used what we learned in class to create a grid using nested loops, which let me repeat the triangles across the canvas instead of drawing each one individually. Once I had the grid, I wanted to make it more colorful, so I recreated the idea of the color palette we used in class. I used RGB values to create different shades of purple and used the x-position of the triangles to create an “ombre” effect from dark purple on the left to lighter purple on the right.
I also wanted to add movement to make the piece feel more dynamic and less like a stationary grid. I created variables to control the movement and speed of the triangles. I made the smaller triangles move from side to side, while the bigger triangles expand and shrink.
Using what we learned in class, I then decided to make the largest triangles expand towards the edges of the canvas. I did this by changing their size over time and using if statements to make them shrink again once they reached a certain size.
Finally, I added lines of different sizes and directions to make the artwork feel more scattered and abstract. There was a lot of trial and error throughout the process. One issue I had was when I originally named one of my color variables purple, which caused an error because p5.js already uses that name. I was confused at first, but after troubleshooting I changed it to normalPurple, which fixed it.
I used the p5.js Reference to look back at: for, loops, triangle(), color(), and line() whenever I was unsure about how they worked. I especially used the examples from class and the lecture notes to understand nested loops and how changing the x and y positions would affect where the triangles appeared. For the color palette, I searched up examples on Google and used this one as a reference to help me understand how to create and organize my own color palette. I mostly learned through trial and error by changing different values and seeing how they affected my artwork.
https://editor.p5js.org/blatinegra/sketches/pBH_qyD-o
Reflections & Future Work:
I found the process of creating this artwork challenging and frustrating at first because I had a general idea of what I wanted it to look like, but I wasn’t completely sure how to recreate that idea using code. A lot of the process involved trial and error, especially when working with the loops, coordinates, and movement. I kept changing different values and running the code to see how they affected the triangles, which actually helped me understand what each part of the code was doing. I also found that as I continued working, my idea changed a lot from the simple grid of triangles I started with, as I kept adding different sizes, colors, movement, and lines.
This assignment made me more comfortable with using loops, especially nested loops, because I was able to see how a small amount of code could create an entire repeated pattern. I also became more confident with using variables and if statements to create movement rather than only using them for basic conditions. In the future, I would like to experiment with making each shape or line move independently and in different directions. I originally wanted to try this with the scattered lines in this piece, but I found it a little too complicated with what I currently know. I would also like to add more interactive elements, such as having the mouse affect the movement or appearance of the artwork.