
My Concept
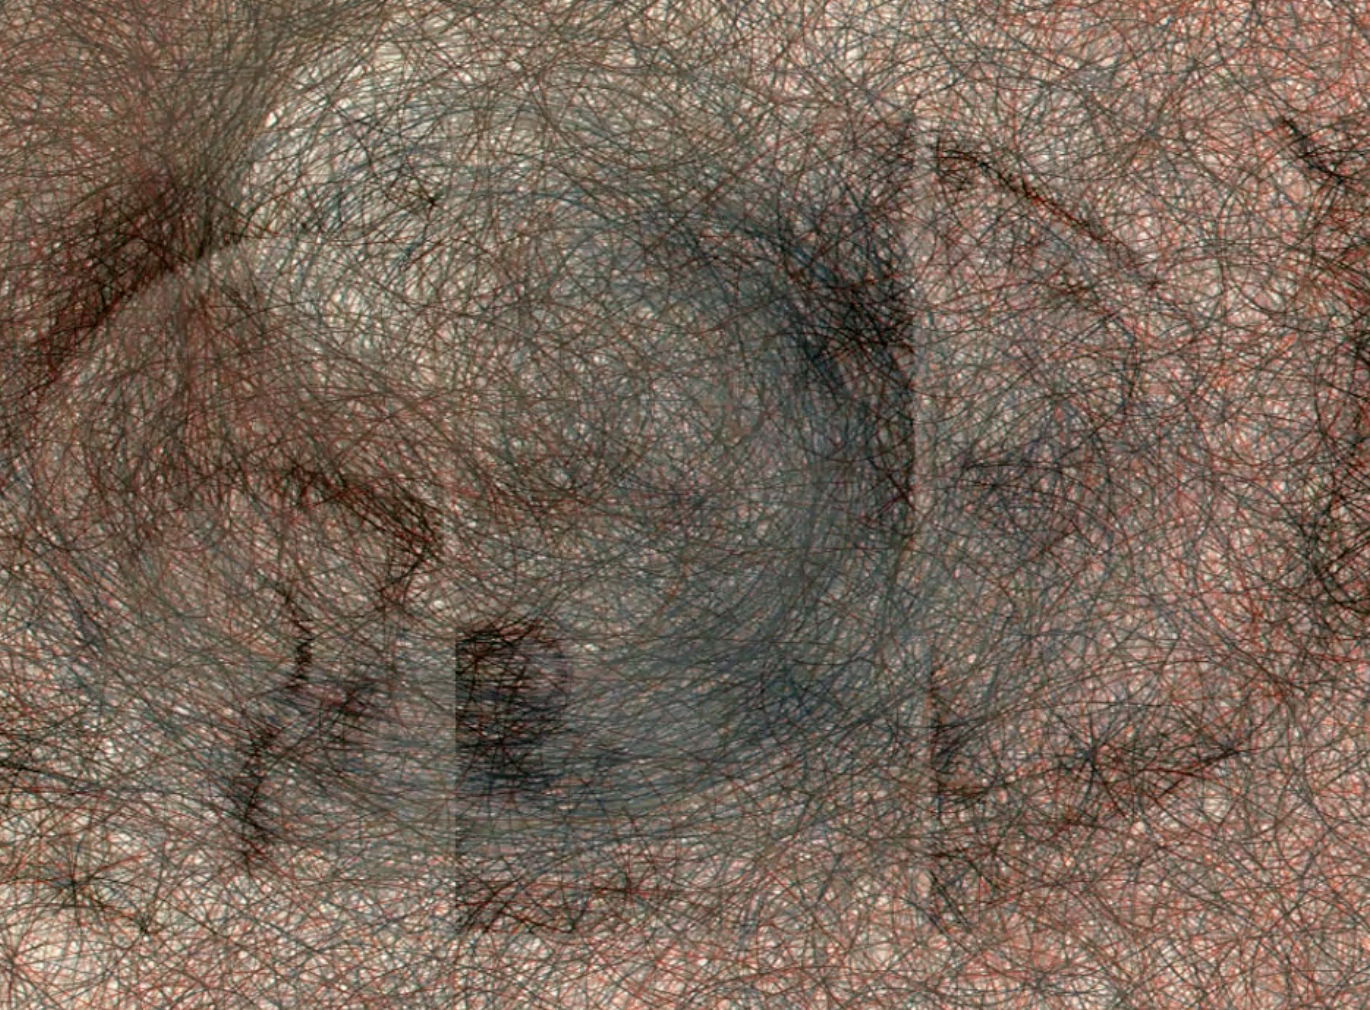
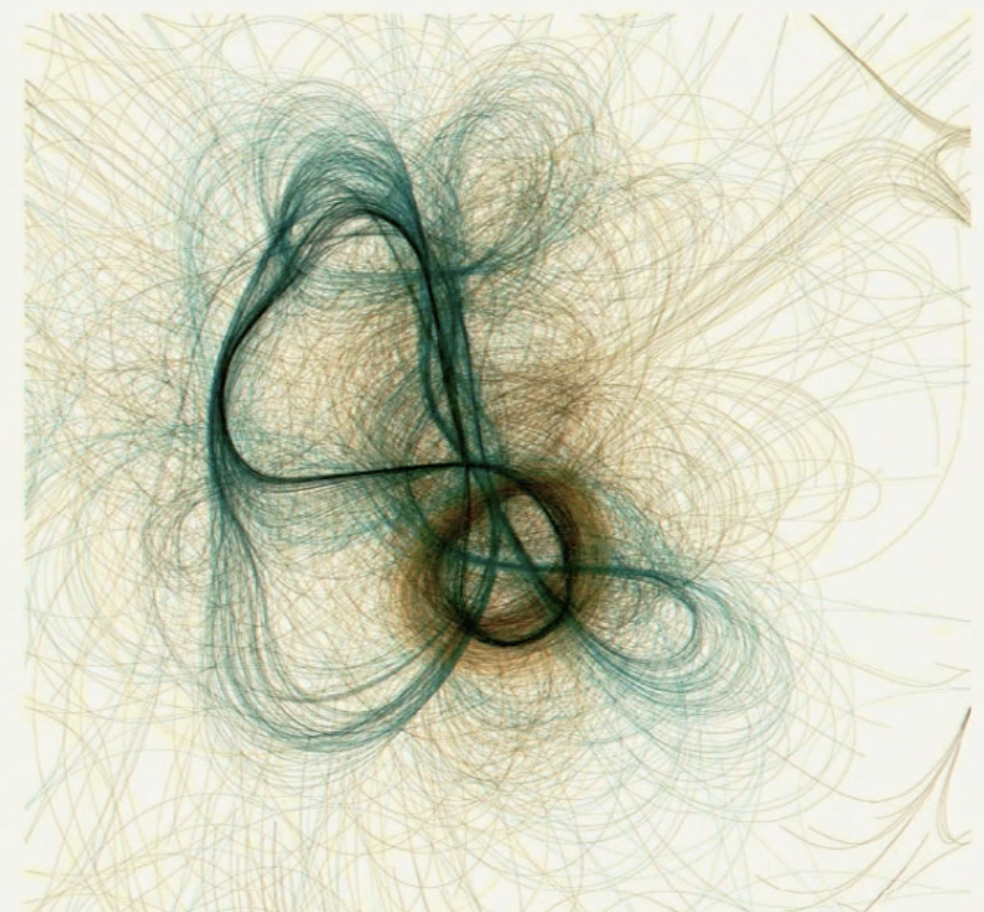
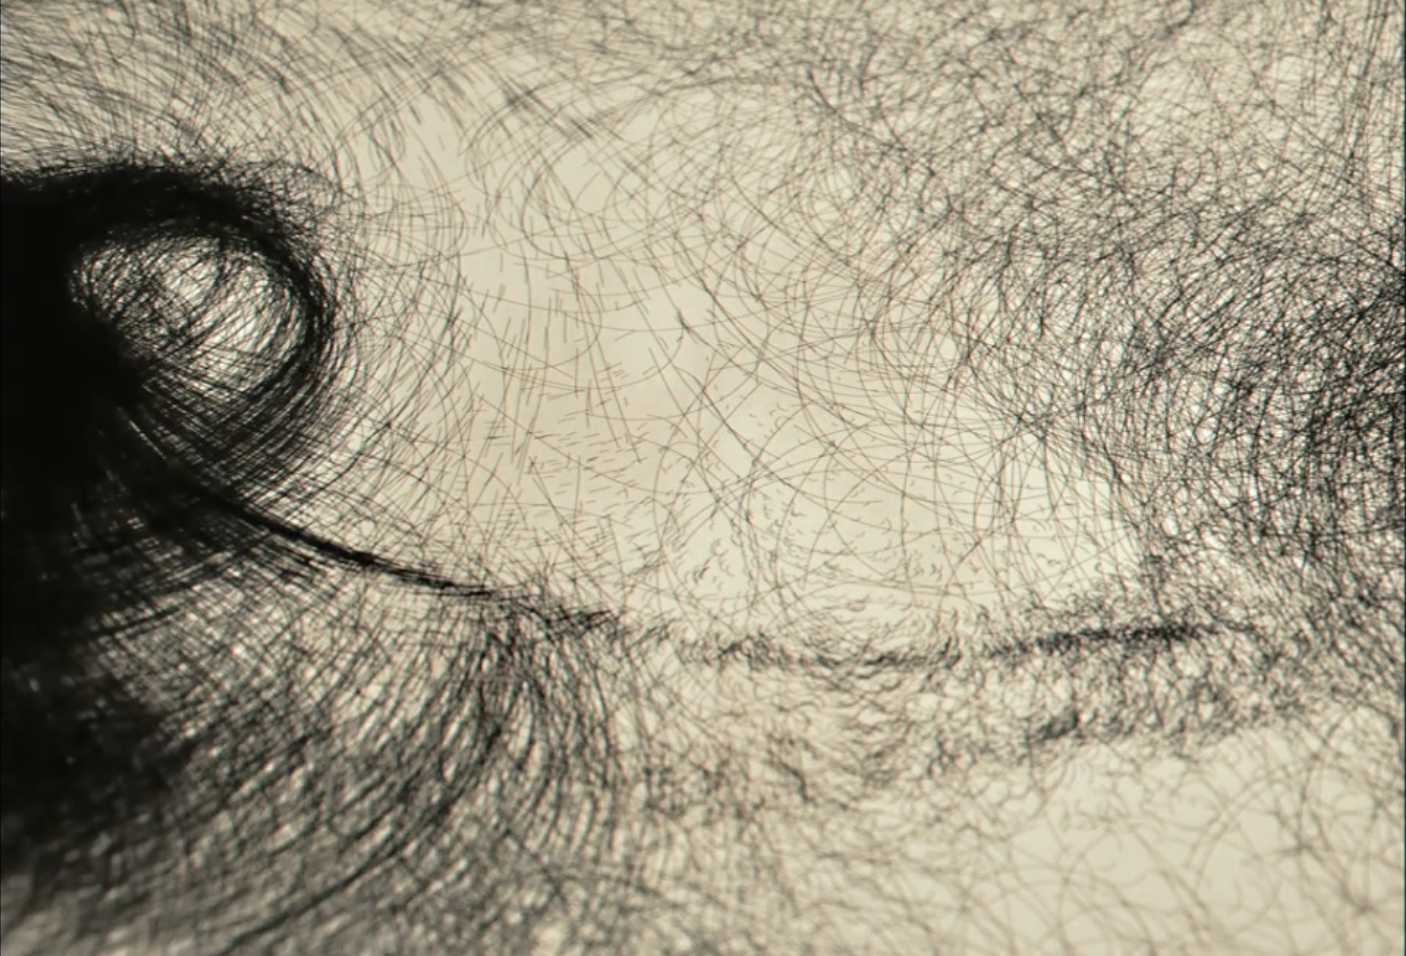
Computer vision showed me that you can have order and chaos at the same time using the random() function. I found this task a bit harder than the self-portrait because I had to explore a new idea with loops. I have only used loops for simple tasks in my other computer classes but I had never used them to draw or create random things. They were always very fixed. I took inspiration from the Casey Reas talk and really wanted to use lines. He showed a lot of examples of lines and how they can have the freedom to do whatever they want, so I wanted to see the intricate things these lines could create by themselves through the computer. I started with the idea that I wanted the lines to have control over where they start, where they can and cannot go their speed and their movement. For my first draft, I used a 500 x 500 canvas with a circle in the middle with a circumference of 100. Using the random() function, a line could be drawn within that space and move at a random speed. However, I also gave it boundaries so it could not go outside the circle. I then wanted to make it more personalized, so I remembered the four colors of the UAE flag. I scaled it down and made four boxes in two rows and two columns. I calculated the centre point of each box and made the lines spawn from there at their own random speeds. I really enjoyed the fact that I could have so much control while the output still looked very chaotic. I can explain how I made it, why I made it and what rules I gave it, but the computer created the final result through those rules and randomness.
Embedded Sketch
A highlight of some code that you’re particularly proud of
One part of my code that I am particularly proud of is the mouse interaction. I used dist() to calculate the distance between the mouse and each moving line. When the mouse gets within 50 pixels of a line; the line changes color depending on which box it belongs to. This makes the artwork interactive because the colors respond to where the viewer moves their mouse. I also like that I used the same code to create different reactions in all four boxes instead of having to write completely separate code for each one.
let distanceFromMouse = dist(mouseX, mouseY, x[i], y[i]);

if (distanceFromMouse < 50) {

  if (boxNumber == 0) {
    stroke(200, 50, 50);       // red
  }

  if (boxNumber == 1) {
    stroke(50, 170, 80);       // green
  }

  if (boxNumber == 2) {
    stroke(235, 235, 235);     // white
  }

  if (boxNumber == 3) {
    stroke(40, 40, 40);       // black
  }

} else {
  stroke(30, 80, 180);        // Blue when mouse is far away
}
How Was This Made
I got the initial idea for this project from the Casey Reas videos, as I explained in my concept paragraph. I also watched The Coding Train video on the random() function to understand how I could use randomness in my code LINK. For the other parts of the code, such as the for loops, I used the class content and notes. The only part I searched for separately was how to create the specific interaction I wanted, which led me to the p5.js dist() reference page LINK. I used this to help write the code for the lines reacting to the mouse. I also used CSS RGB to choose the colors for the project especially using the scrolling function where I could pick my own color LINK.
Reflection and ideas for future work or improvements
For this project, I learned a lot about computer vision, but I also learned about controlling something while giving it the freedom to do whatever it wants. At first this was a little off-putting because I was not fully in control of what the lines were doing. I liked how the random() function can randomize objects in ways that I would not have thought of myself. For improvements, I would want the lines to be more flowy because I felt like they were very rigid when they bounced off the walls. I wish they could curve and move more naturally but I did not fully understand how to create that effect yet. Overall, I really liked working with the topic of computer vision and would like to explore it more.