Week 13 – User Demo

  • My main users are cats; they seem very intrigued by the shape and the way the 3D-printed cat feeder works. They were able to figure out that they should go to it when the food gets released. I am not sure whether they fully understand the mapping between the controls and what happens in the experience, but they seemed very invested in the process of me wiring and testing everything before gluing it together.
  • The servo works well. I discovered that my LCD display pins might have been misaligned by one pin, which caused the vital parts—GND and power—to be connected incorrectly, and it took me a while to figure out what was wrong. However, I switched to an LCD display I had from an older kit.

    For the human users, it is quite clear: they have a remote with an “OK” button on it. It was obvious that this is what they needed to click to dispense the cat food. The cats also seemed to understand that it dispenses food, but they are not that excited about it.

I decided to interview my cats to see their understanding between their controls and their experience, and their overall experience.

Cat 1: Bella: Refused to interview with me


The demo with people user: My sister was able to figure out it used when she saw the remote by clicking the “OK” button to release the food from the cat feeder.

Cat 3: Oreo: Provided a demo


Week 13 – User Testing

User Interaction with project

For this exercise, I had my friend test my project without explaining the concept of project to him and recorded his reaction, asked his thoughts after the testing, explained the concept to him and he made some suggestions on how to improve the project.

The goal of the game was to match the sequence of the LED lights by pressing push switches. He struggled to find which LED corresponds to which switch because all the switches were of the same color. TinkerCAD does not give the option to change the color of the switch. I wanted to use colored switches to indicate which switch controlled which LED by matching the color of the LEDs but that was not successful. One he figured out which switch corresponds to the color of LED though he went on playing with the game.

Another thing my friend struggled with when playing my game was the feedback from the switch buttons. Since the game was virtual and done in TinkerCAD, he could not tell if he had successfully pressed the switch or not. This led to him pressing the buttons more times than he should have, giving him wrong outputs. This was a problem that run throughout the testing phase.

There was a potentiometer controlling the speed and level of the game but the user did not interact with it at all. It look isolated from the game system and his mind did not go to it at all. He was more focused on matching the pattern of the LEDs. He only interacted with it when I pointed it out after the testing.

Overall, he liked the idea of the game and the system behind it but struggled with the colors and the virtual interface of the project. He also suggest I used sound and light feedbacks when the buttons are pressed to alert the user.

I am glad the functionality of my project works, now for the final project, I need to find a way to direct the users attention to the levels possible and provide feedback of the the buttons with sound and light. For the colors of the switch, I am not sure of what to do of it next, but I need to find a way to let the user know the specific LED controlled by the switch if I cannot use colors of the LED.

User Interaction

Week 13 – User Testing Final Project Megan

User Interaction with my Project

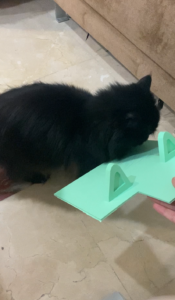
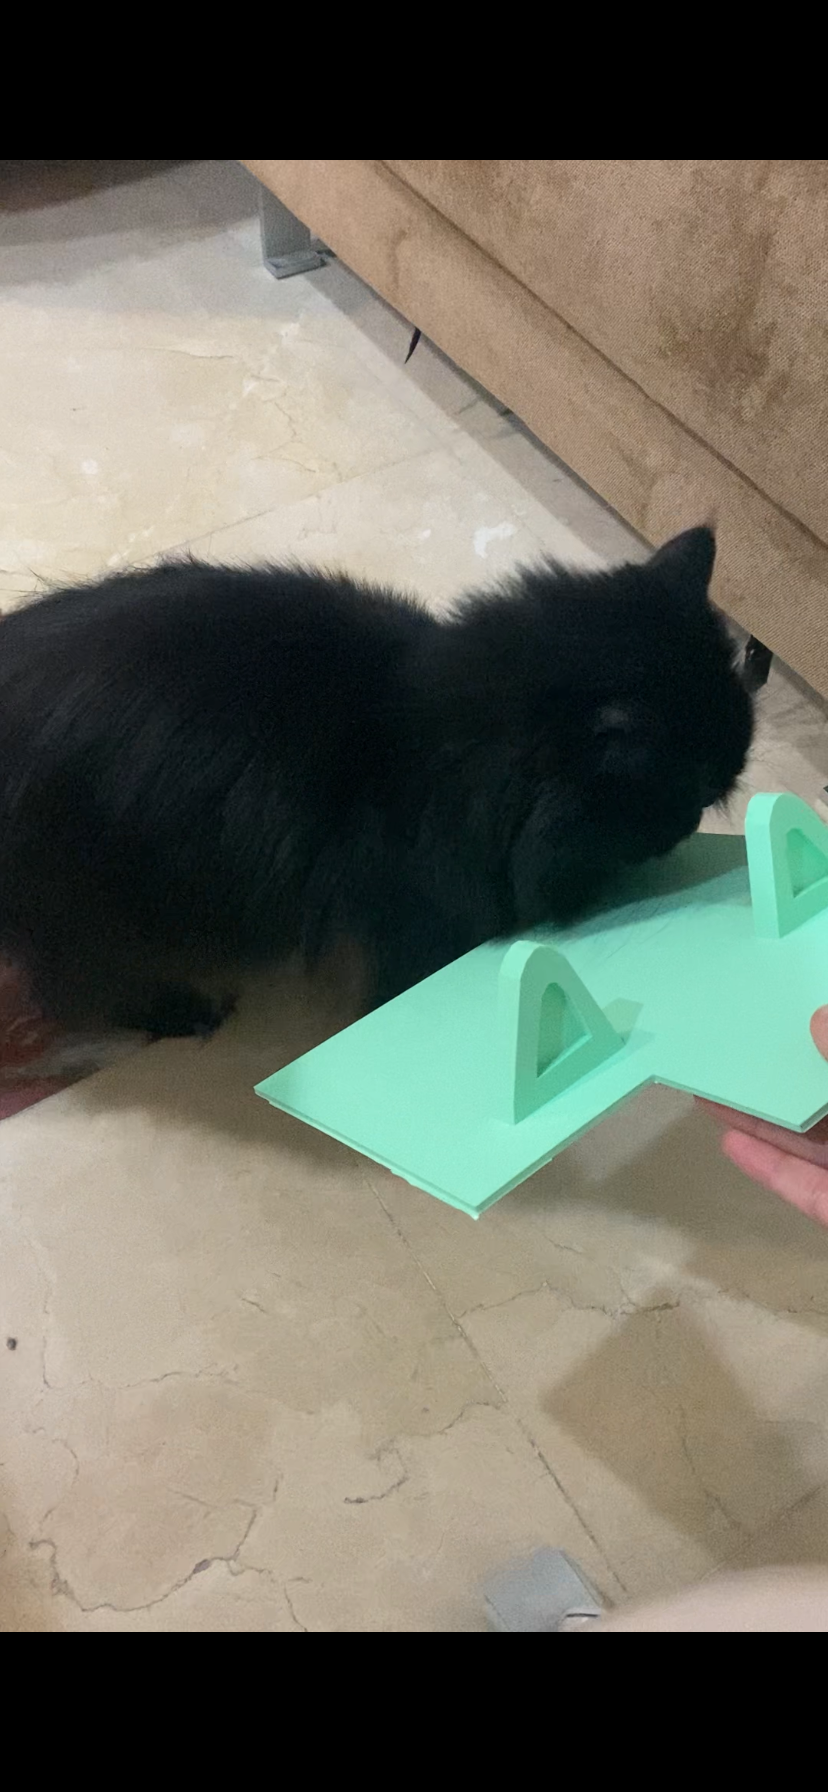
For this stage, I had my brother test my project without explaining anything to him beforehand, and I recorded the interaction to see how he would naturally use it.

Overall, he understood most of it pretty quickly. He was able to figure out how to record audio, switch between modes, and use the buttons to trigger sounds. That made me feel like the core idea and interaction design are working well.

One of the main issues he noticed was with the sound samples, especially the piano and drums. They felt delayed when pressing the buttons, which made the system feel unresponsive. I realized this was because the audio files had a bit of silence at the beginning, so I went back and trimmed each sound manually so that they start exactly when the note or drum hit begins. That made a big difference in how responsive everything feels.

Another thing that confused him was the layout. The recordings were too close to the waveform visualization, which made the interface feel messy. Based on that, I moved all the recordings into a separate tab that you can open and close. That made the interface much cleaner and easier to understand.

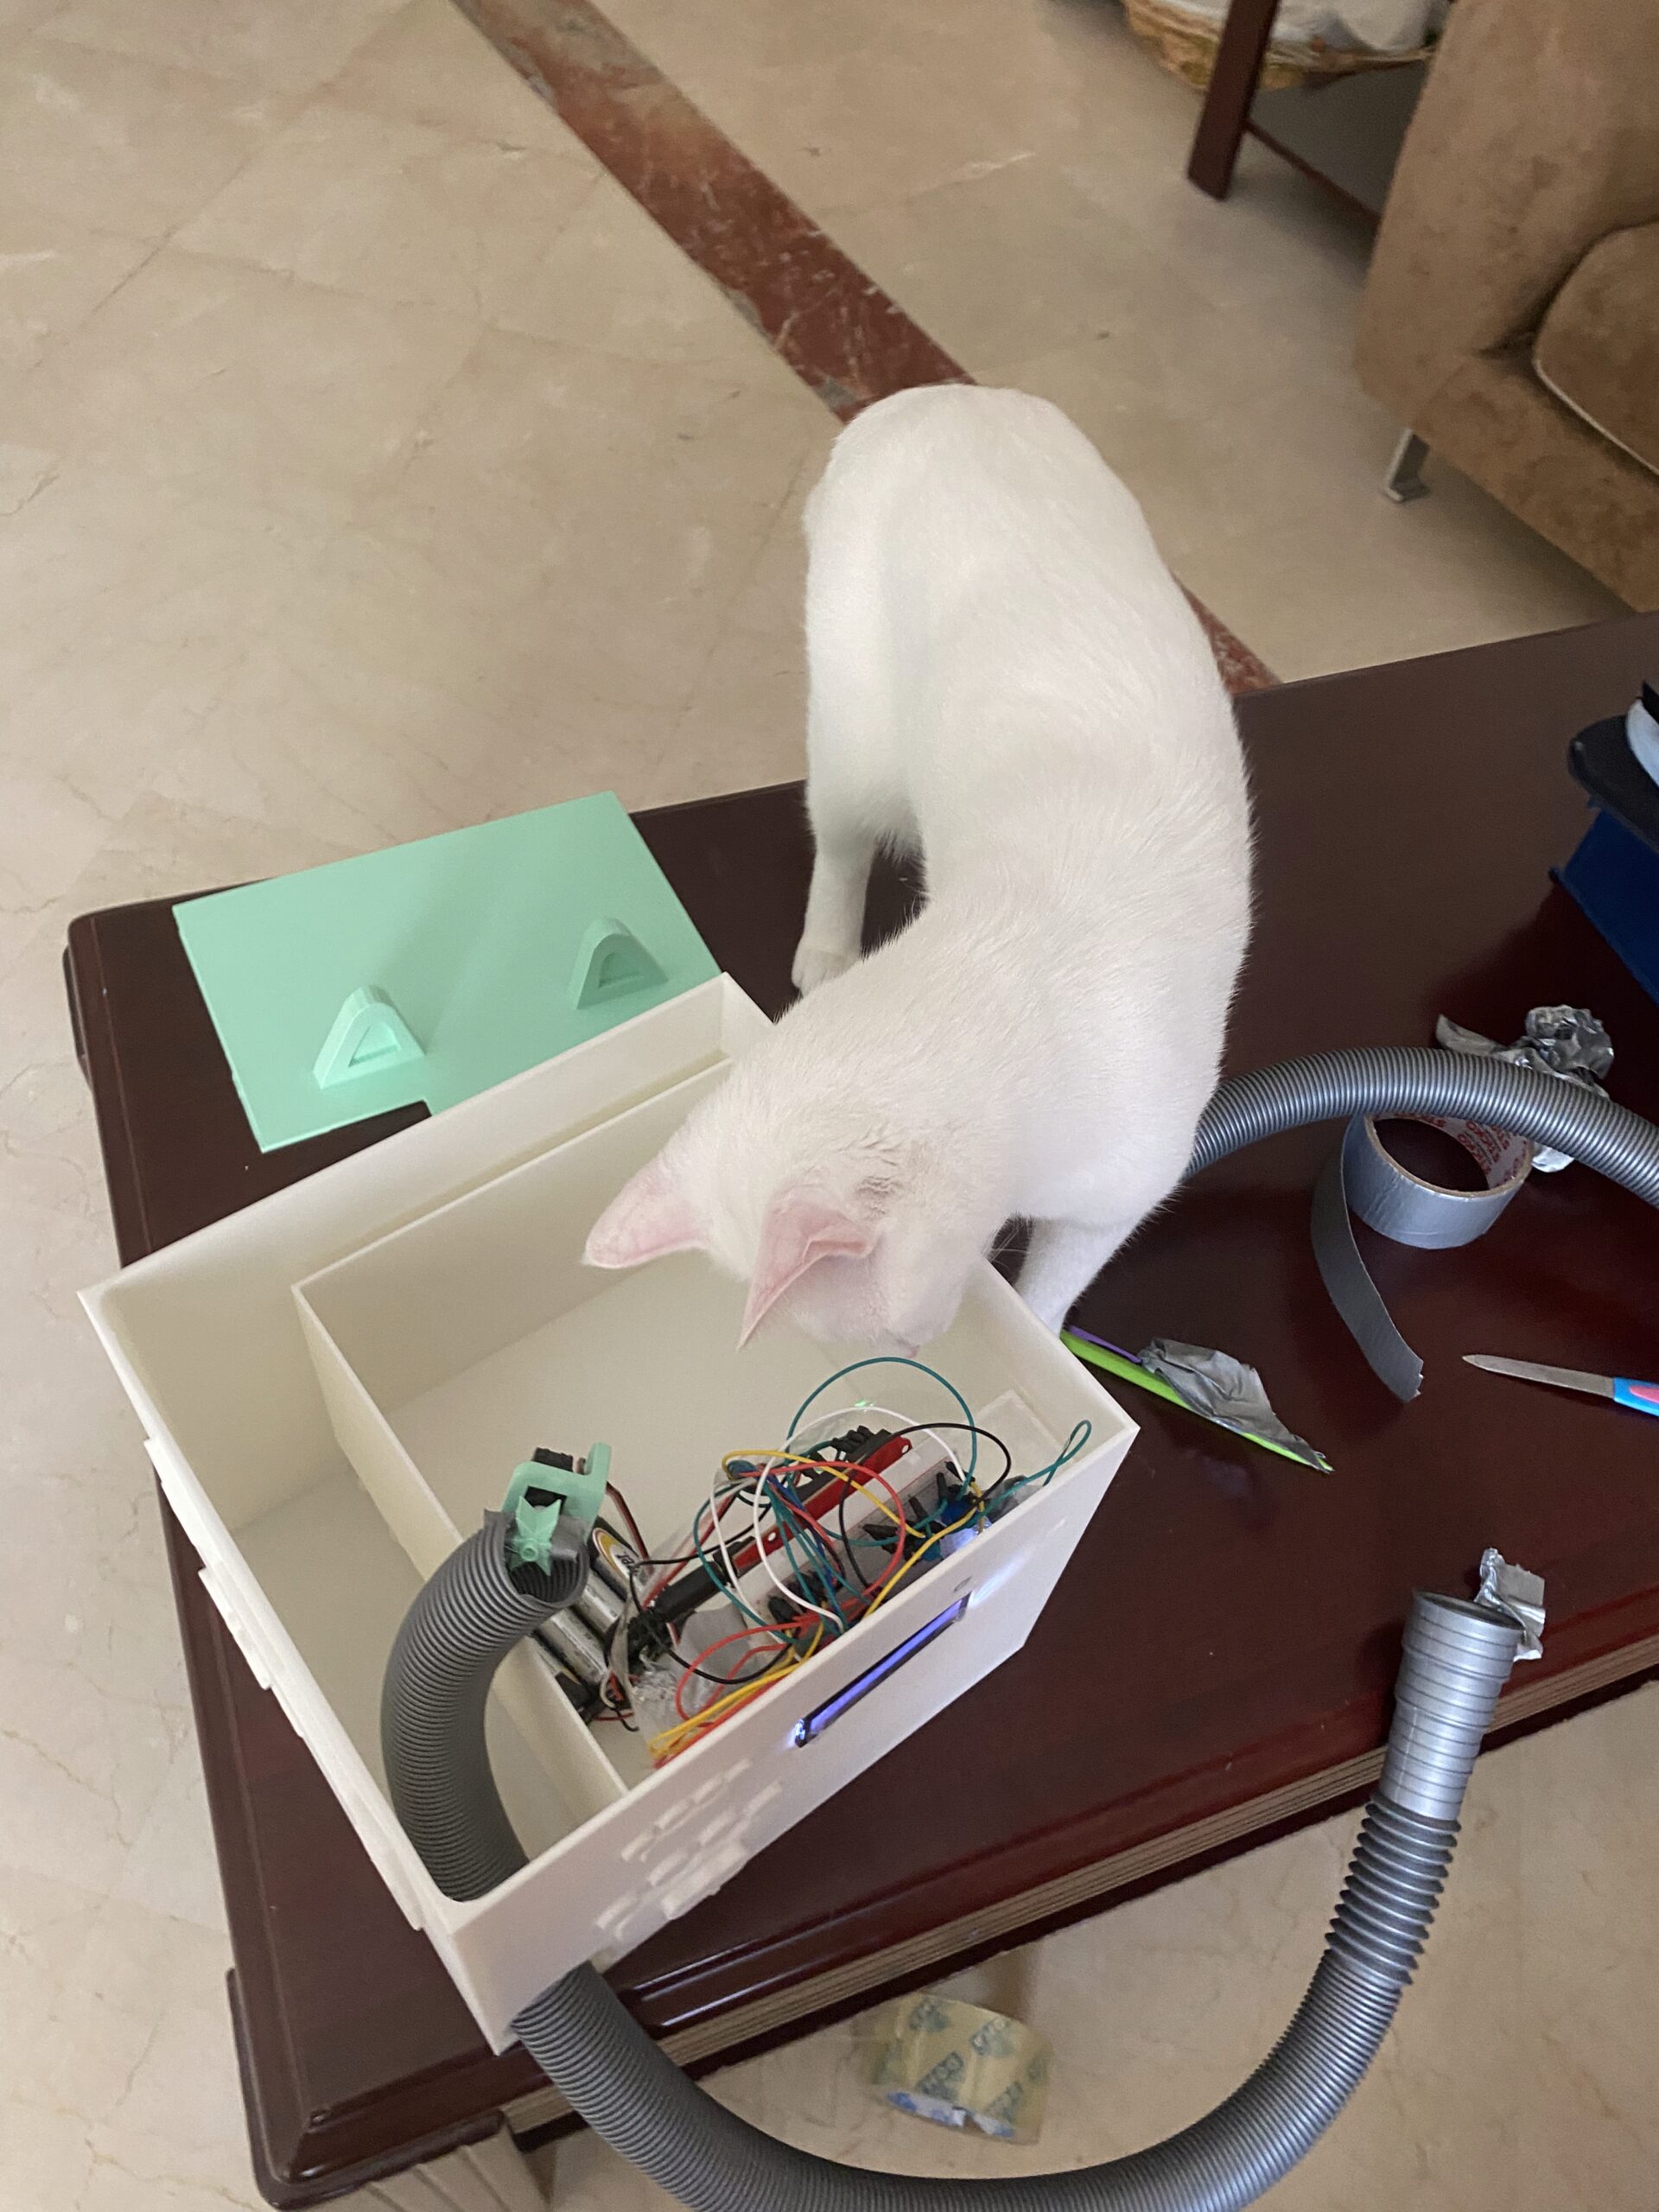
He also tried to record the piano, drums, and bass directly, which wasn’t something I had implemented yet. At that point, the system only recorded audio from the microphone. This helped me realize that I needed to clearly separate those two types of recording. So I added two different options: one for recording voice through the mic, and another one for recording the full loop so it can repeat.

Another issue was that recordings kept accumulating and there was no way to delete them. He expected that to be possible, so I added a delete function inside the recordings panel.

In terms of understanding the system, everything else was pretty clear. The only thing he didn’t really understand was the potentiometer, mostly because he didn’t know what it was. The instructions explain it, but it’s still something that depends on the user’s familiarity with hardware.

Overall, his feedback was really helpful. It helped me fix small but important details like responsiveness, layout, and clarity.

At this point, the functionality is working really well. For the final version, I want to focus more on the design and make it feel more intentional and artistic, because right now it still looks pretty plain even though the interaction itself is solid.


Full p5js code till now

////// MUSIC PRODUCER FINAL //////

//INPUT FROM ARDUINO
let port;

let button1 = 0;
let button2 = 0;
let button3 = 0;
let button4 = 0;
let potentiometerValue = 0;

//STATE
let screen = "menu";
let mode = "piano";

//AUDIO SYSTEM
let mic, recorder;
let recordings = [];
let selectedRecordings = [];
let recordingNames = [];

// RECORDING STATES
let micRecording = null;
let loopRecording = null;
let isMicRecording = false;
let isLoopRecording = false;
let showRecordings = false;
let newRecordingAdded = false;

//SOUND LIBRARIES 
let pianoSounds = [];
let drumSounds = [];
let bassSounds = [];

//ACTIVE SOUND TRACKING (for button hold)
let activeSounds = {};

// UI ELEMENTS 
let connectButton, instructionsButton, startButton;
let bliseyFont;

// FFT VISUAL
let fft;

//LOAD ASSETS 
function preload() {

  bliseyFont = loadFont("Blisey.otf");

  pianoSounds[0] = loadSound("pianoC.mp3");
  pianoSounds[1] = loadSound("pianoD.mp3");
  pianoSounds[2] = loadSound("pianoE.mp3");
  pianoSounds[3] = loadSound("pianoF.mp3");

  drumSounds[0] = loadSound("kick.mp3");
  drumSounds[1] = loadSound("snare.mp3");
  drumSounds[2] = loadSound("hihat.mp3");
  drumSounds[3] = loadSound("clap.mp3");

  bassSounds[0] = loadSound("Bass1.mp3");
  bassSounds[1] = loadSound("Bass2.mp3");
  bassSounds[2] = loadSound("Bass3.mp3");
  bassSounds[3] = loadSound("Bass4.mp3");
}

//=== SETUP ===
function setup() {
  createCanvas(windowWidth, windowHeight);
  smooth();
  textFont(bliseyFont);

  port = createSerial();

  mic = new p5.AudioIn();
  mic.start();

  recorder = new p5.SoundRecorder();
  recorder.setInput(mic);

  fft = new p5.FFT(0.9, 128);

  setupMenu();
}

//=== MENU ===
function setupMenu() {
  removeAllButtons();

  instructionsButton = createButton("INSTRUCTIONS");
  instructionsButton.position(width/2 - 80, height/2);
  instructionsButton.mousePressed(goToInstructions);

  startButton = createButton("GET STARTED");
  startButton.position(width/2 - 80, height/2 + 50);
  startButton.mousePressed(goToMain);

  connectButton = createButton("CONNECT");
  connectButton.position(20, 20);
  connectButton.mousePressed(() => port.open(9600));
}

//== NAVIGATION ===
function goToInstructions() {
  removeAllButtons();
  screen = "instructions";

  let backButton = createButton("BACK");
  backButton.position(20, height - 60);
  backButton.mousePressed(setupMenu);
}

//=== MAIN INTERFACE ==
function goToMain() {
  removeAllButtons();
  screen = "main";

  // recordings tab toggle
  let recordingsTab = createButton("RECORDINGS");
  recordingsTab.position(20, 100);
  recordingsTab.mousePressed(() => {
    showRecordings = !showRecordings;
    newRecordingAdded = false;
  });

  // mic recording (voice only)
  let micButton = createButton("🎤");
  micButton.position(40, height - 180);
  micButton.size(70, 70);
  micButton.mousePressed(toggleMicRecording);

  // loop recording (full system)
  let loopRec = createButton("REC LOOP");
  loopRec.position(width/2 - 100, height - 100);
  loopRec.size(120, 50);
  loopRec.mousePressed(startLoopRecording);

  let loopStop = createButton("STOP LOOP");
  loopStop.position(width/2 + 40, height - 100);
  loopStop.size(120, 50);
  loopStop.mousePressed(stopLoopRecording);

  // mode selection
  let pianoButton = createButton("🎹");
  pianoButton.position(width - 100, 100);
  pianoButton.size(60, 60);
  pianoButton.mousePressed(() => mode = "piano");

  let drumsButton = createButton("🥁");
  drumsButton.position(width - 100, 180);
  drumsButton.size(60, 60);
  drumsButton.mousePressed(() => mode = "drums");

  let bassButton = createButton("🎸");
  bassButton.position(width - 100, 260);
  bassButton.size(60, 60);
  bassButton.mousePressed(() => mode = "bass");
}

//=== CLEAN BUTTONS ===
function removeAllButtons() {
  selectAll('button').forEach(b => b.remove());
}

//=== SERIAL READ ===
function readSerial() {
  let data = port.readUntil("\n");

  if (data) {
    let values = data.trim().split(",");

    if (values.length == 5) {
      button1 = int(values[0]);
      button2 = int(values[1]);
      button3 = int(values[2]);
      button4 = int(values[3]);
      potentiometerValue = int(values[4]);
    }
  }
}

//=== MIC RECORDING ===
function toggleMicRecording() {
  userStartAudio();

  if (!isMicRecording) {
    micRecording = new p5.SoundFile();
    recorder.record(micRecording);
    isMicRecording = true;
    port.println("LED:1");
  } else {
    recorder.stop();
    recordings.push(micRecording);
    recordingNames.push("Recording " + recordings.length);
    newRecordingAdded = true;
    isMicRecording = false;
    port.println("LED:0");
  }
}

//=== LOOP RECORDING ===
function startLoopRecording() {
  userStartAudio();

  loopRecording = new p5.SoundFile();
  recorder.record(loopRecording);

  isLoopRecording = true;
  port.println("LED:1");
}

function stopLoopRecording() {
  recorder.stop();

  recordings.push(loopRecording);
  recordingNames.push("Recording " + recordings.length);
  newRecordingAdded = true;

  loopRecording.loop(); // auto loop after recording

  isLoopRecording = false;
  port.println("LED:0");
}

//=== MAIN DRAW LOOP ===
function draw() {
  background(0);
  readSerial();

  if (screen === "menu") drawMenu();
  if (screen === "instructions") drawInstructions();
  if (screen === "main") drawMain();
}

//=== MENU DRAW ===
function drawMenu() {
  fill(255);
  textAlign(CENTER);
  textSize(40);
  text("MUSIC PRODUCER", width/2, height/3);
}

//=== INSTRUCTIONS DRAW ===
function drawInstructions() {
  fill(255);
  textAlign(CENTER);
  textSize(18);

  text(
`You are a DJ.

Record your voice and build music on top of it.

• Mic = voice recording
• Loop = full system recording

• Modes:
🎹 piano
🥁 drums
🎸 bass

• Buttons = trigger sounds
• Potentiometer = pitch control
• LED:
Red = idle
Green = recording`,
  width/2,
  height/2
  );
}

//=== MAIN DRAW ===
function drawMain() {
  noStroke();
  fill(255);
  textAlign(CENTER);
  textSize(30);
  text("MODE: " + mode, width/2, 60);

  drawWave();

  // recordings panel
  if (showRecordings) {
    
    noStroke();
    fill(20);
    rect(0, 150, 250, height);
    
    noStroke();
    fill(180);
    textAlign(CENTER);
    textSize(12);
    text("double click to rename a recording", 125, 170);

    textAlign(LEFT);

    for (let i = 0; i < recordings.length; i++) {
      let y = 200 + i * 40;

      fill(selectedRecordings.includes(i) ? "#00ff99" : 255);
      text(recordingNames[i], 20, y);
    }

    // delete button (panel only)
    let deleteX = 200;
    let deleteY = height - 60;
    
    noStroke();
    fill(120);
    rect(deleteX, deleteY, 30, 30, 5);

    noStroke();
    fill(255);
    textAlign(CENTER, CENTER);
    textSize(8);
    text("delete", deleteX + 15, deleteY + 15);
  }

  // new recording indicator
  if (newRecordingAdded) {
    
    fill(255, 200, 0);
    ellipse(140, 115, 10);
  }

  // pitch control for selected recordings
  let speed = map(potentiometerValue, 0, 1023, 0.5, 2);

  for (let i of selectedRecordings) {
    recordings[i].rate(speed);
  }

  handleButtons();
}

//=== AUDIO VISUALIZATION ===
function drawWave() {

  let waveform = fft.waveform();

  noFill();
  strokeWeight(3);

  stroke(255); drawLine(waveform, 0);
  stroke(0,255,200); drawLine(waveform, 40);
  stroke(255,100,100); drawLine(waveform, -40);
  stroke(100,100,255); drawLine(waveform, 80);
}

function drawLine(wave, offset) {

  beginShape();

  for (let i = 0; i < wave.length; i++) {
    let x = map(i, 0, wave.length, 0, width);
    let y = height/2 + wave[i] * 150 + offset;
    curveVertex(x, y);
  }

  endShape();
}

//=== HARDWARE BUTTONS ===
let p1=0,p2=0,p3=0,p4=0;

function handleButtons() {

  handleHold(1, button1);
  handleHold(2, button2);
  handleHold(3, button3);
  handleHold(4, button4);

  p1=button1; p2=button2; p3=button3; p4=button4;
}

//=== SOUND TRIGGER ===
function handleHold(n, state) {

  let sound;

  if (mode === "piano") sound = pianoSounds[n-1];
  if (mode === "drums") sound = drumSounds[n-1];
  if (mode === "bass") sound = bassSounds[n-1];

  if (state && !activeSounds[n]) {
    sound.play();
    activeSounds[n] = true;
  }

  if (!state && activeSounds[n]) {
    activeSounds[n] = false;
  }
}

//=== MOUSE INTERACTION ===
function mousePressed() {

  if (!showRecordings) return;

  for (let i = 0; i < recordings.length; i++) {

    let y = 200 + i * 40;

    if (mouseX < 250 && mouseY > y - 20 && mouseY < y + 20) {

      if (selectedRecordings.includes(i)) {
        recordings[i].stop();
        selectedRecordings = selectedRecordings.filter(r => r !== i);
      } else {
        recordings[i].loop();
        selectedRecordings.push(i);
      }
    }
  }

  // delete button click
  let deleteX = 200;
  let deleteY = height - 60;

  if (
    mouseX > deleteX &&
    mouseX < deleteX + 30 &&
    mouseY > deleteY &&
    mouseY < deleteY + 30
  ) {
    deleteSelected();
  }
}

//=== RENAME RECORDINGS ===
function doubleClicked() {

  if (!showRecordings) return;

  for (let i = 0; i < recordings.length; i++) {

    let y = 200 + i * 40;

    if (mouseX < 250 && mouseY > y - 20 && mouseY < y + 20) {

      let newName = prompt("Rename recording:");
      if (newName) {
        recordingNames[i] = newName;
      }
    }
  }
}

//=== DELETE RECORDINGS ===
function deleteSelected() {

  selectedRecordings.sort((a, b) => b - a);

  for (let index of selectedRecordings) {
    recordings[index].stop();
    recordings.splice(index, 1);
    recordingNames.splice(index, 1);
  }

  selectedRecordings = [];
}


Final Project User Testing

Context beforehand from my side:

For this IM Project, as I wanted to emulate the vibe of an Escape Room I deliberately didn’t make it as obvious what was supposed to be done. When you try to solve a puzzle, obviously you’re not supposed to spoonfeed the answer so I kept it kind of vague as to what was needed to be done. For my user testing, I asked my sister to try it out and see how she felt about it. But what I also should mention is that, she didn’t have really any knowledge of what Tinkercad is and its various components, so she went in completely blind.

Video of the User Testing (My sister):

Feedback from The User Testing:

In the end, she was able to figure it out on her own. From her feedback to me, she mentioned that she didn’t understand what each component meant. She understood the keypad and from prior knowledge, knew she needed to enter a code, however she did not know what the LED was or what its function was. She did in fact understood that she could twist and turn the potentiometer, but after she played around with them a little bit.

I think the experience overall is working well. The connections between components worked out and all of the components reacted on time. In terms of any imporvements, if I’m honest I think you could definitely add something that’s much more visually appealing like an LCD screen, however I faced issues with it and also didn’t understand how to connect all of it to the Arduino Uno so I omitted it in place of the serial monitor. And another thing, I think if there were more components added, then the experience wouldn’t be as mysterious for it’s own little puzzle to solve.

From parts I needed to explain, it was mostly grounded in telling her what each component was as she did not have any idea what they were. For any new user that might not be well versed in Tinkercad, that would definitely be a common problem. But I think the best way to mitigate this, is to simply have speech bubbles or a list of instructions (most likely in the description of the Tinkercad Project), explaining the main goal and the options the user can do to reach it. In this case of this, the end goal would be to figure out the code, and the user will be told what each component does and that they’re able to twist the dial and enter a code on the keypad.

Week 13: Flame Keeper User Testing

This week I had my sibling try Flame Keeper without any explanation. The project is a browser-based game controlled by an Arduino: a potentiometer steers a cursor into a moving sweet spot to heal a digital candle flame, and a button shields the flame during wind gusts.

Demo

What I Observed

My sibling picked up the button quickly once a gust appeared and the screen said “GUST! HOLD BUTTON!” The text made the action obvious. The potentiometer was more confusing. My sibling turned it but did not immediately connect the movement of the on-screen cursor to the knob in their hand. It took a few seconds before the mapping clicked.

My sibling did not understand the sweet spot bar without being told. They could see a green zone and a moving dot, but did not know the goal was to keep the dot inside the green zone. Once that was explained, gameplay became intuitive immediately.

What Worked

The gust warning text and the shield effect gave instant visual feedback. My sibling felt the button had a clear purpose. The HP bar draining created genuine urgency, and the candle flame shrinking alongside it reinforced that something was wrong without any text needed.

What Needs Improvement

The sweet spot bar needs a short label or tooltip on first load that explains what it is. A simple line like “keep the dot in the green zone” on screen at the start would remove the confusion entirely. I also felt the need to explain the potentiometer every single time, which means the physical-to-visual mapping is not clear enough. A brief intro screen before the game starts would solve both issues.

Next Steps

I will add a short start screen that shows the two controls and what they do before the game begins. That way the project can speak for itself without me standing next to it.

Building a Theremin-Style Musical Instrument with Arduino

For this week’s assignment, I built a simple musical instrument using an Arduino SparkFun RedBoard. The goal was to make something you actually play in real time, not just a melody that runs on its own.

The Idea

I wanted the instrument to feel intentional. You turn a knob to pick a pitch, then press a button to sound it. Release the button and it goes silent. It is a small but satisfying loop that mimics the feel of a real instrument. The design was loosely inspired by a theremin, where pitch is continuous and the player decides when to trigger sound.

Components

The build uses five parts: a SparkFun RedBoard, a piezo buzzer, a 10k ohm potentiometer, a tactile push button, and a breadboard with jumper wires. The potentiometer is the analog sensor and the button is the digital sensor, which together satisfy both requirements for the assignment.

Demo

The Code

The sketch reads the potentiometer value on every loop, maps it to one of 22 notes across a C major scale from C3 to C6, and plays that note with tone() only while the button is held down. No extra libraries are needed beyond pitches.h for the note frequencies.

#include "pitches.h"

const int BUZZER_PIN = 8;
const int BUTTON_PIN = 2;
const int POT_PIN    = A0;

int scale[] = {
  NOTE_C3, NOTE_D3, NOTE_E3, NOTE_F3, NOTE_G3, NOTE_A3, NOTE_B3,
  NOTE_C4, NOTE_D4, NOTE_E4, NOTE_F4, NOTE_G4, NOTE_A4, NOTE_B4,
  NOTE_C5, NOTE_D5, NOTE_E5, NOTE_F5, NOTE_G5, NOTE_A5, NOTE_B5,
  NOTE_C6
};
const int SCALE_SIZE = sizeof(scale) / sizeof(scale[0]);

void setup() {
  pinMode(BUZZER_PIN, OUTPUT);
  pinMode(BUTTON_PIN, INPUT_PULLUP);
  Serial.begin(9600);
}

void loop() {
  bool buttonHeld = (digitalRead(BUTTON_PIN) == LOW);
  int  potValue   = analogRead(POT_PIN);
  int  noteIndex  = map(potValue, 0, 1023, 0, SCALE_SIZE - 1);
  int  currentNote = scale[noteIndex];

  if (buttonHeld) {
    tone(BUZZER_PIN, currentNote);
  } else {
    noTone(BUZZER_PIN);
  }

  delay(20);
}

How It Works

The potentiometer outputs a voltage between 0V and 5V as the knob turns. analogRead() converts that into a number from 0 to 1023, and map() scales it down to an index between 0 and 21, selecting a note from the scale array. The button uses Arduino’s built-in INPUT_PULLUP setting, so it reads HIGH when open and LOW when pressed, with no external resistor required. While the button is held, tone() drives the buzzer at the selected frequency. Letting go calls noTone() and the sound stops immediately.

Reflections

The trickiest part was getting comfortable with the breadboard layout. Once that clicked, the wiring became straightforward. If I were to extend this project, I would add a second button to switch between different scales, which would open up more musical variety without much added complexity.

Week 13 – User Testing

For my user testing, I had my sister test my game. I did not give her instructions beforehand on the way the game works; I wanted to see if she will be able to figure it out just from the instructions on the screen. This allowed me to test whether my game was self-explanatory and intuitive enough to be played without intervention or explanation from the developer (me). Thankfully, she indeed was able to figure out the game through the instructions given on the p5 sketch and successfully played the game.

She did not have any feedback or comments on the game. This made me really proud of the user-friendliness of my game, which is something I was focusing on during my development. I reflected on the readings we did in class regarding self-explanatory user-interfaces that do not require the developer’s input to give the user the best experience, and wanted to ensure I apply these ideas. I would like to say I think I succeeded 🙂 I wish we had the IM showcase or were back on campus so I can test my game on more people and truly see how intuitive my game is.

User testing

User testing with no instructions:

When two users tried my project without any instructions, both were able to figure out how to navigate it. The p5.js screen made it clear what action was required, so they understood that they had to respond to what they see on the screen. One user was able to move through the interaction smoothly and quickly connected the on screen commands to the physical controls like the buttons and keypad.

The other user showed some hesitation at the beginning. They got confused when instructions appeared quickly or were repeated, especially when multiple inputs were introduced at the same time. This made the experience feel slightly overwhelming in that moment. Even then, they were still able to understand the system after a short time. Both users understood the mapping between the controls and what happens in the experience, but one needed more time to adjust. This shows that the interaction is intuitive but depends on the user’s familiarity with fast paced games.

What worked well and what could be improved

Several parts of the experience worked well. The card interaction, LEDs, and overall input and output system were clear and responsive. The home page and flow of the experience helped guide the user, and the audio added an important layer by giving clear feedback for actions. These elements made the experience feel engaging and easy to follow once the user started playing.

One area that could be improved is the clarity of the instructions. Making them more specific and slightly more paced would help users who are less familiar with this type of interaction. Another important improvement is the stability of the buttons. When users started playing faster, the buttons sometimes shifted or felt less secure, which could interrupt the experience.

Reinforcing the buttons and making them more stable would make the interaction feel more reliable and comfortable. This was clear during testing and also when I disassembled and reassembled the project, which helped me better understand how to improve the physical setup.

What needed explanation and how to improve

Most parts of the project did not need explanation because users were able to understand them through interaction and feedback. The main part that needed explanation was the card. Since it is a separate component, users did not immediately understand how it works or what action triggers it.

To improve this, I could make the card interaction more clear by adding more detailed instructions or clearer visual cues. For example, showing a clearer message on the screen when the card is needed or adding simple labeling near the sensor would help users understand it faster. This would make the experience more accessible for first time users without changing the core interaction.


User one:


User two:

https://vimeo.com/1188956184?share=copy&fl=sv&fe=ci

Week 13: User Testing

Documentation:

Reflection:

My project was generally easy for users to figure out, mainly because instructions are provided at each step. One point of confusion was that the experience begins with the tamper selected, which made users unsure whether to start there. However, after referring to the steps, they were able to correct themselves and continue. One user also initially tried to use the joystick instead of the sensor for movement, but quickly understood the correct interaction. Overall, users were able to grasp the mapping between the controls and the actions and complete the process smoothly.

Most parts of the experience are working well, especially since the instructions are clearly displayed within the sketch. However, this also depends on the user taking the time to read them. Areas that could be improved include the clarity of the sprite sheet animations and making the interaction with the ultrasonic sensor more intuitive. This could be addressed by refining the instructions to more clearly indicate that movement in front of the sensor is required.

The main aspects I needed to explain were that users should use the physical button rather than the keyboard, and that the animations are controlled through hand movement using the ultrasonic sensor instead of controls. I believe this will become more intuitive once the physical setup is finalized and the wiring is concealed, allowing users to focus entirely on the interaction without distractions.

User Testing – Week 13

For my project, I created an interactive maze game where the player controls Minnie Mouse using two potentiometers connected to an Arduino. The maze appears on the screen, and the player must guide Minnie through it without touching the walls. The player collects items such as cheese, stars, and hearts, which trigger a yellow LED and a pickup sound. Hitting a wall turns on a red LED and plays a bump sound, and reaching Mickey at the end lights a green LED and plays a happy sound.

For user testing, I asked my sister to try the game. She immediately noticed that Minnie did not move smoothly. Instead of following the potentiometer movements, the character would jump or move to random parts of the maze. Even when she moved the knobs slowly, the character keeps moving as if it was lagged, making the maze impossible to complete or time consuming and not very easy. She described the controls as confusing and it wasn’t consistent. However, she said that the start page was clear and to connect the arduino it was easy and she mentioned that the instructions was clear aswell.

After watching my sister play, I realized the problem came from how I mapped the potentiometer values to the maze. The potentiometer sends numbers from 0 to 1023, but the way I converted those numbers into Minnie’s position on the screen was wrong. Because the mapping didn’t match the actual maze area, Minnie kept appearing in the wrong places. So basically the numbers coming from the Arduino did not match the part of the screen where the maze actually is.

From this user testing session, I learned that the mapping has to be extremely accurate when you connect real‑life controls to movement on the screen. Even a tiny mistake in the numbers can completely break how the game feels. I also realized how helpful it is to test with someone else, because they notice problems that I get used to. Even though the game was not working perfectly before and I realized that before the user testing, the testing helped me understand exactly what was wrong since my sister could see the same issue.

User Testing:


UPDATE:

Issue was from wiring. The connection from the bread board to the 5v was missing.