
Building Process: Update 1 🗜
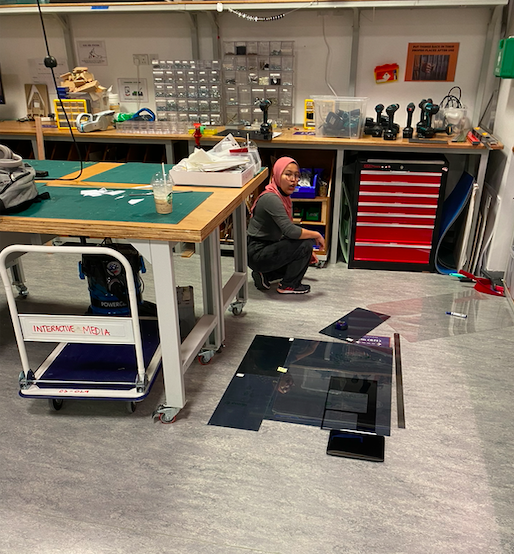
As you could observe in our previous post, we still had a lot to do on the construction of Dance Breaker. Thus, the initial days after last update were spent advancing as much as we could in order for user testing to be the most useful. This, of course, considering the Lily’s capstone written report was due on May 4th. During the break, we finished the illustrator sketches and cut with Kyles help. We, however, ran into a small time delay, as we did not factor that there would be no IM lab assistants during the Eid break. Regardless, after many hours of hard work, we were able to build a prototype for one of the pedals, and combine it with the current code.
User Testing 1: Dancing Mat Feedback & Help 💡
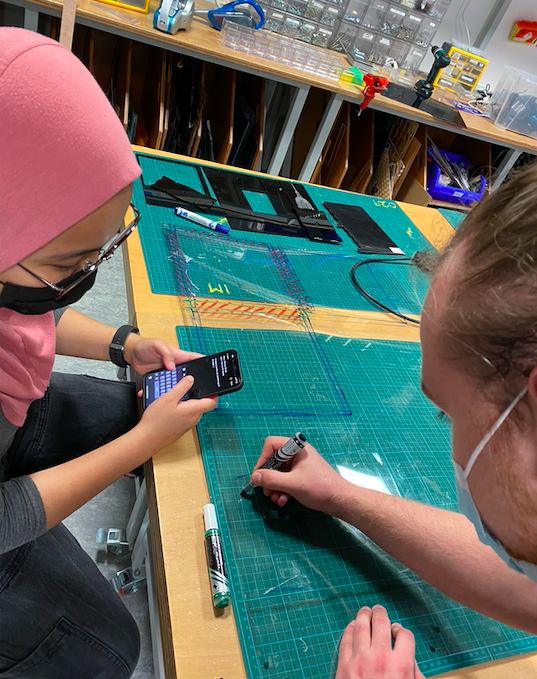
We came to Kyle, an expert in the IM lab with our prototype and soldered sensors (we finished them during last class). He pointed out a lot of design flaws and elements we had not considered, and spent a full afternoon helping us improve the design and prepare all of the materials. Some of the key elements he pointed out were:
-
-
- We did not have a spring in our “pedal” and the 1mm acrylic could break really easily as we had planned.
- We had underestimated the amount of acrylic we needed. He helped us make all illustrator files and shift our design in a way that reduces waste.
- He suggested we use a digital switch instead of an analog pressure sensor, as it would make the connections easier.
- He taught us how to use acrylic glue and showed us that it was not the best way to go. We used nuts and bolts, and had to add these holes to all the illustrator files.
-
After all of these major design alterations, we laser cut all the parts necessary and prepared for a second round of user testing. A big shout out to Kyle for all the time he spent teaching us tools and techniques to improve our project, and using the machinery we are not yet allowed to use.
Building Process: Update 2
Lily and I assembled our prototype, and built one analog switch (as originally planned) and one digital switch. We also worked a little on the p5.js sketch by making the introduction and choosing screen and adjusting some pixels. We began to work on a different visualization for a different song or for replacing the black and white aesthetic (TBD). Furthermore we chose the songs we were going to use, worked on the logo and visuals of the game.
We also took the Cats and Box instrument and shifted some sensors arround for it to work as the reward box and the control panel.
User Testing 2: Types of Sensor and Space 🔩
With the laser cut pieces, assembled prototype and P5.js sketch, we invited my roomate, Valentin Josan, to help us User test what we have so far. Here’s how it went:
After trying it as well, Lily and I wrote some comments that we have to work on:
-
- The Acrylic gets really dirty when people step on it. Do we want to ask them to be on their socks?
- People perceive the acrylic to be very fragile. How resistant is it? How do we make it so that it doesn’t break and people treat it nicely.
-
- We ask this, because with the current nature of the game, people are prompted to jump down to touch the panels as soon as possible. We are worried one of these jumps will break the springs
-
- The analog pressure sensor works significantly better than the digital switch. This is because it is more smooth and measures pressure. We could play arround with the auditory feedback.
-
- We added a piece of tape on top of the sensor to make it focal, and it significantly improves performance.
-
- Is there any way to make the panel light up as it is stepped on?
- Where will we position the camera so that the person can see themselves even when they are on the mat? (See screen recording towards the end of Valentin having to step forward to press the mat)
One other component that we User Tested was the space. We do not have all of our panels built, but we attached the pieces on the ground with tape and asked Valentin to play arround in them. This to make sure he, a person with big feet, has enough space to play and move arround, as well as to see how hard he steps on the acrylic. Here’s how it went:
Next Steps: 🔜
We have 6 days prior to the project presentation, and need to accomplish a lot in these days. Nevertheless, Lily has already turned on her capstone written assignment and I have finished two classes. Hence, we will be able to dedicate a lot more hours to our project. Immediate next steps are:
-
-
- Assemble the Dance Mat
- Connect the game to the Dance Mat as opposed to the small prototype.
- Add the random component to the game (So far you need to press all sensors in order for music to continue)
- With this, add the visual indicators (in LED’s or on the P5.js) for where you need to step
- Build the code for the control box.
- Print stickers with logos and foots and hands.
-
Valentin, Tomás and Valentina (my friends) have all been sent a google calendar invite to come next Saturday to perform a third round of user testing. Here we hope to fine tune the computer vision components as well as measure the strength of the Acrylic and how intuitive our instructions and design are.