The Rant first:
Before I start dissecting, let me just put it out there that I agree with everything he’s saying here. Now, we proceed.
"A tool addresses human needs by amplifying human capabilities. A tool converts what we can do into what we want to do."
Always good to start with definitions everyone knows before diving in. He’s right about us hearing about our tools and our needs again and again. But, what makes a tool interesting? What makes one tool capable of replacing another tool? Maybe, it’s because it goes beyond what boxes we had made to determine our human capabilities for that specific task or item. The way my brain describes the core argument (in my notes) of the main article is,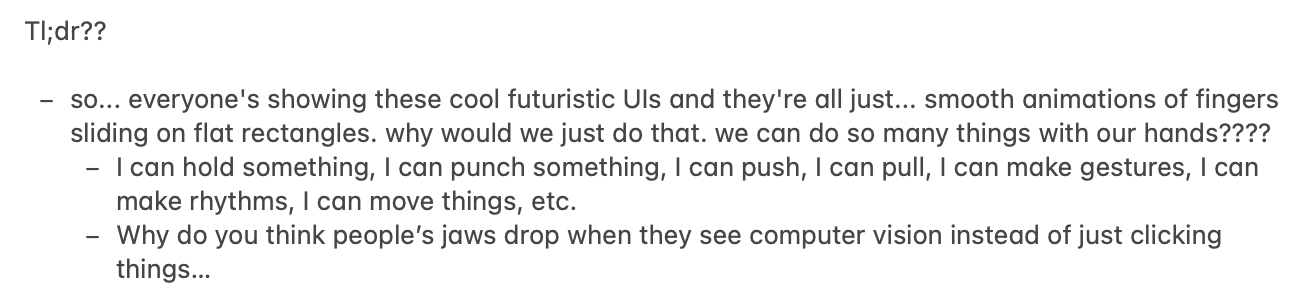
I’ve never read an article that talks, in a much-than-usual amount of detail, about the functions of hands this much before. Also, could we come up with ways to interact with things with other body parts too? (That’s a tangent, so I’ll leave it there). I really liked how he mentions that despite our insane amount of nerve endings, we still decide to go with everyone’s favorite, Pictures Under Glass. This was also super cool:
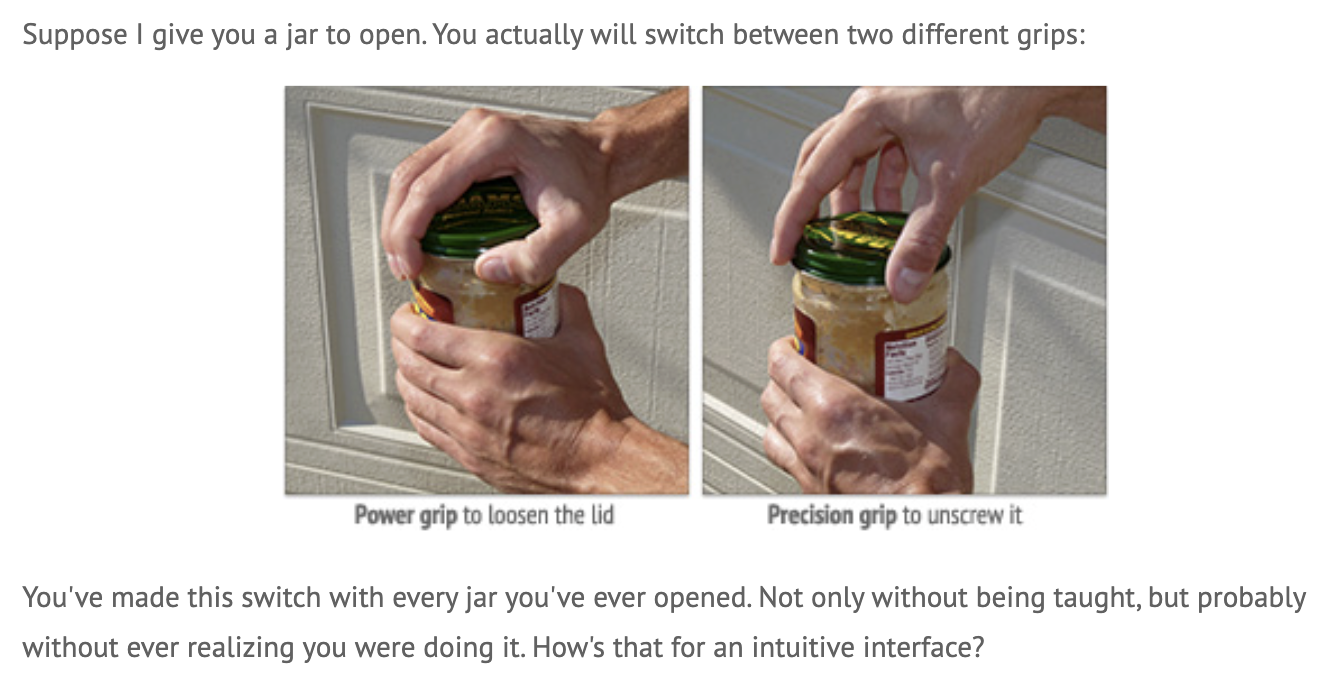
How do people just think of this? When I scroll with two fingers, my fingers curve, but when I scroll with four, my fingers start flattening. Depending on what you play in the guitar, you can manipulate how your fingers bend without even realizing (bar chords vs. non-bar chords, for example).
I also liked when he talked about Alan Kay and the iPad. He “chased that carrot through decades of groundbreaking research,” decades! If we can spend that long making an iPad with our lovely Pictures Under Glass, surely we can spend some time finding other ways to interact with our hands with technology.
What I found interesting was that he did what good media criticism does: he noticed the assumed thing nobody questions. I would have thought of this, but I wouldn’t have gone all the way to actually further test my theory.
Now… The follow-up. (Since when did ranting need justification?)
- It’s funny how people say that he didn’t offer a solution. Come up with your own solution then? Sometimes, speaking things out in the void can also end up making change. (For example, we’re reading this, and we’re thinking about what he said, and we can choose to follow his belief and try and do something different.)
- The second argument is good because it builds on the idea that we can take something good which is existing, and make it better. It doesn’t make it bad… you just add functions that can possibly remove problems that currently exist, or just make it easier to use.
- “My child can’t tie his shoelaces, but can use the iPad.” Well.
- He also rebuked my thought of waving hands in the air. Your hands think they’re somewhere different than where the computer thinks they are. No thank you.
What I got from this was that, when I design things, I should remember that there are many different ways we can interact with things around us. If my work only talks to eyes and fingers, I’m wasting the whole human body. I wonder how I could implement that with a video game that’s spread worldwide. How long do we think it will take before we actually live a lifestyle that he proposes?