
Utilizing 2 analog sensors, I created a double switch system with the LEDs and created flashing lights similar to what you might find in a disco!
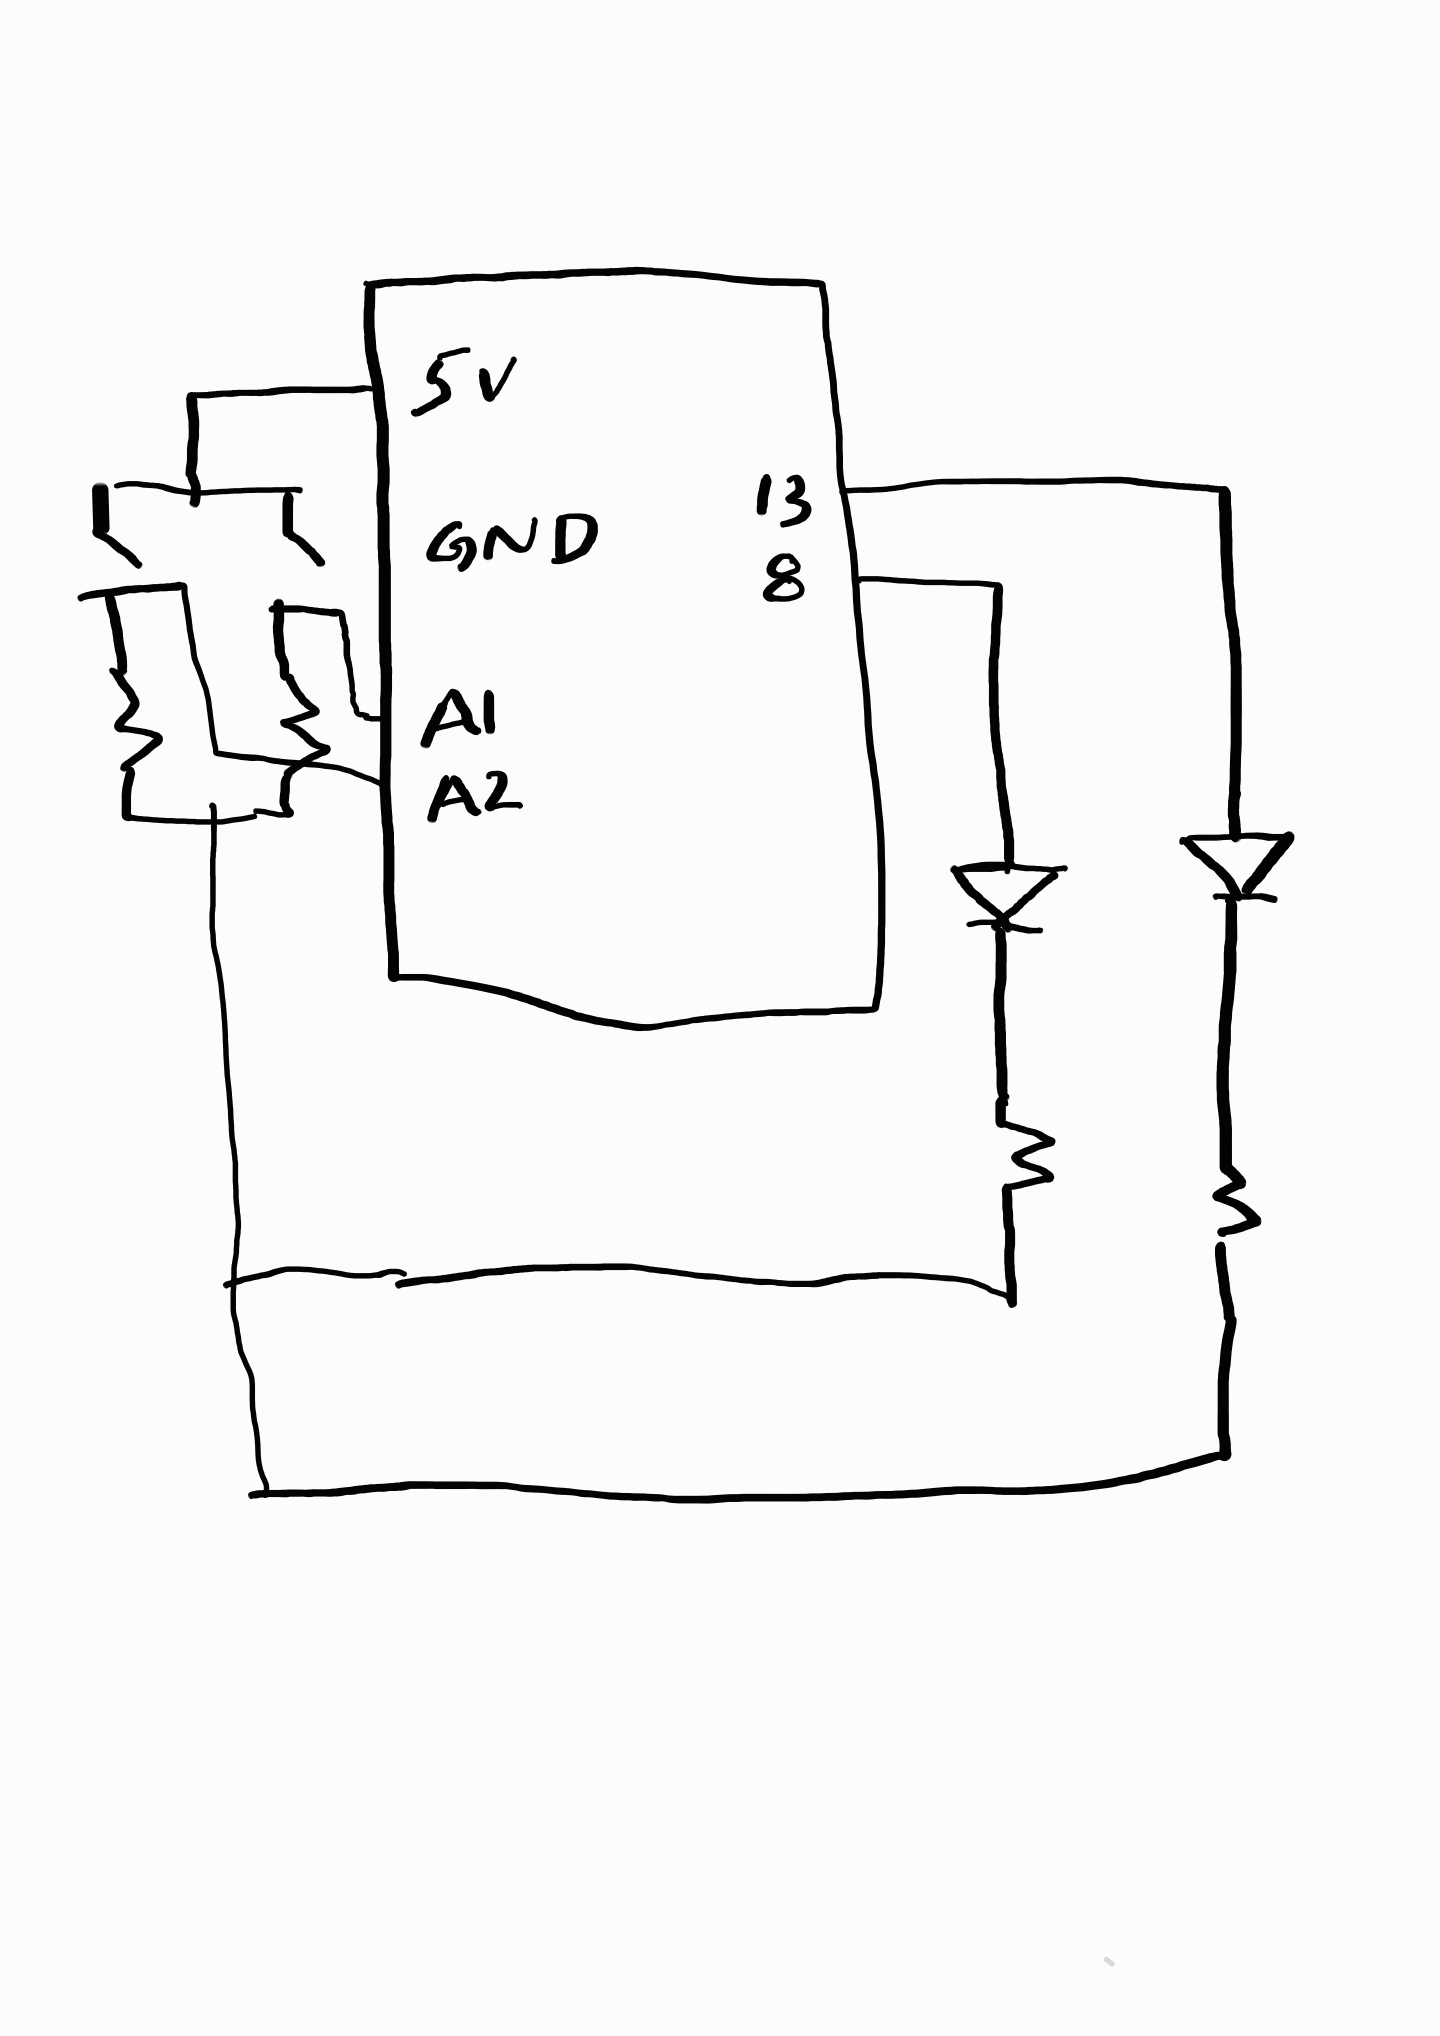
I drew this rough schematic on my phone in order to get an understanding of how the power would move throughout my circuit. I had to make sure that the LEDs receive sufficient power as to not make their outputs too dull. After drawing the schematic, I created the circuit trying my best to keep it somewhat neat as to be able to quickly identify which wires leads to where. After that, I wrote down the code in order to bring the disco to life which you can find below:
void setup() {
  pinMode(8, OUTPUT);
  pinMode(13, OUTPUT);
  pinMode(A2, INPUT);
  pinMode(A1, INPUT);
}

void loop() {
  int YellowBtn = digitalRead(A2);
  int GreenBtn = digitalRead(A1);


  if (GreenBtn == HIGH && YellowBtn == HIGH) {
    digitalWrite(8, HIGH);
    digitalWrite(13, LOW);
    delay(150);
    digitalWrite(8, LOW);
    digitalWrite(13, HIGH);
    delay(150);
  } else  {
    if (YellowBtn == HIGH)
    {
      digitalWrite(8, HIGH);
    }
    else if (YellowBtn == LOW)
    {
      digitalWrite(8, LOW);
    }

    if (GreenBtn == HIGH)
    {
      digitalWrite(13, HIGH);
    }
    else if (GreenBtn == LOW)
    {
      digitalWrite(13, LOW);
    }
  }
}
All this hard work combined led to the final product below:
For future imrpovements, I can add more LEDs in order to further the feel of a disco. I can also add some variation in how the LEDs blink or how long they stay on or how bright they should be!