
int brightness = 0;
int buttonState = 0;


void setup()
{

  pinMode(13, OUTPUT);
  pinMode(11, OUTPUT);
  pinMode(2, INPUT_PULLUP);
}

void loop()
{

  buttonState = digitalRead(2);
  if (buttonState == LOW) {
  digitalWrite(13, LOW);
} else {
  digitalWrite(13, HIGH);
}

int sensorValue = analogRead(A1);
brightness = map(sensorValue, 0, 1023, 0, 255);
analogWrite(11, brightness);

  delay(10);
}
I don’t have my arduino yet, so i had to do this on tinkeCcad.
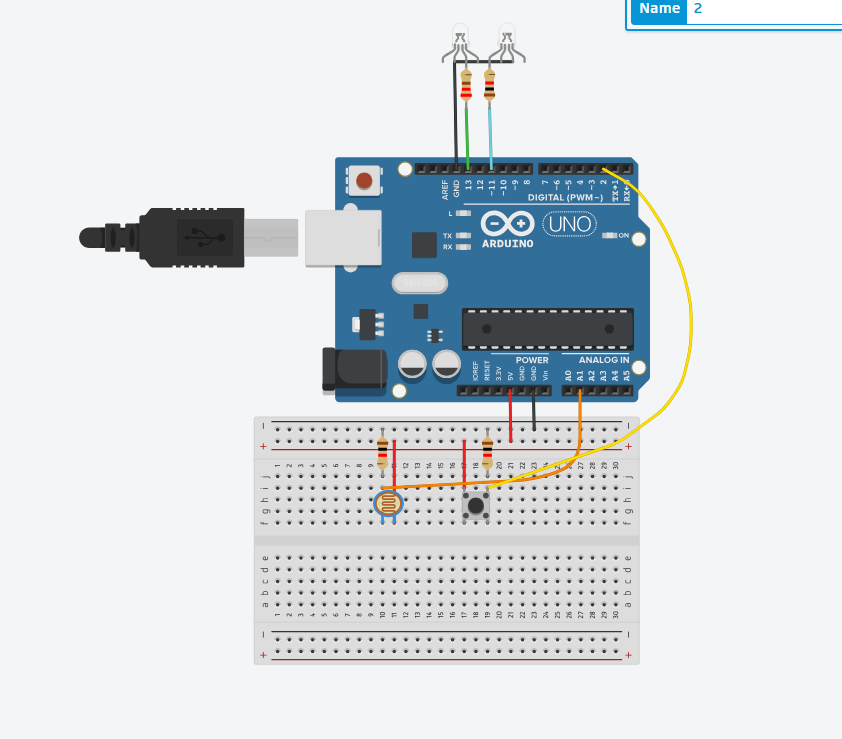
One led is triggered by a button, which acts as a digital sensor, and the other is controlled by a photoresistor, and increases in brightness the more light in the environment is detected. Not really creative, but I’m crunched on time.
UPDATE
That was TERRIBLE, I didn’t know what I was doing. Anyways, I finally got my Arduino kit, so I made a quick alternative version:
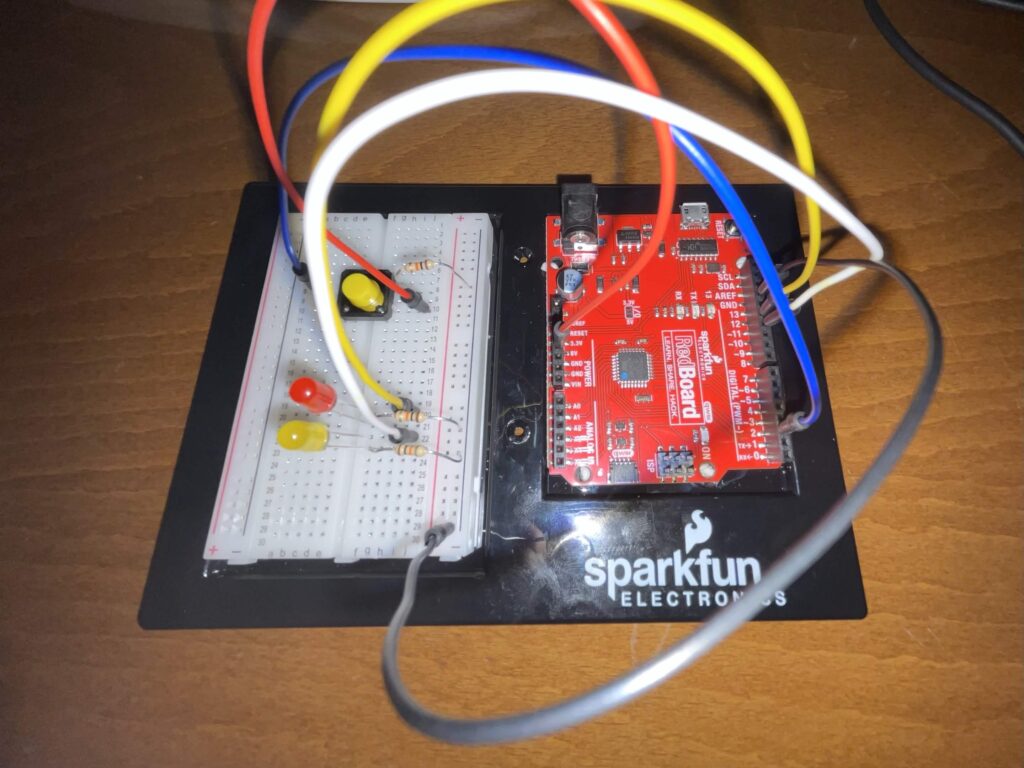
I completely forgot there had to be two sensors, but I hope that the previous iteration can make up for that. Please have mercy.
Here’s a video of the circuit in action, and below is the schematic. 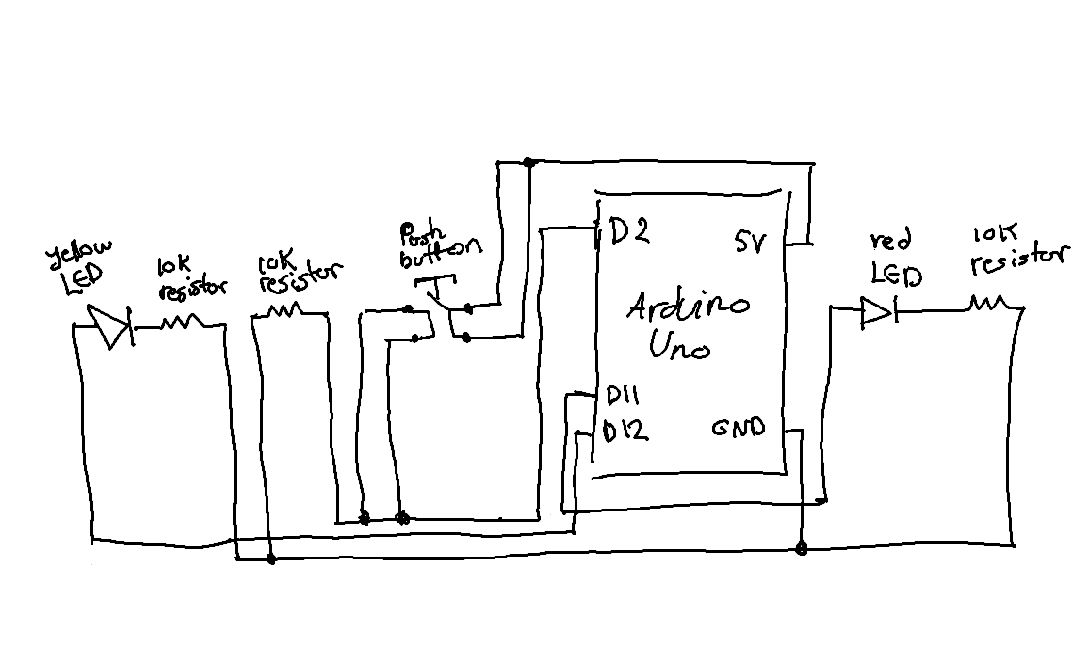
int brightness = 0;
int buttonState = 0;


void setup()
{
  pinMode(12, OUTPUT);
  pinMode(11, OUTPUT);
  pinMode(2, INPUT);
}

void loop()
{
  // timing yellow lED
  for (brightness = 0; brightness <= 255; brightness += 5) {
    analogWrite(11, brightness);
    delay(30);
  }

  // triggering red LED if button is pressed
   buttonState = digitalRead(2);
  if (buttonState == HIGH) {
    digitalWrite(12, HIGH);
  } else {
    digitalWrite(12, LOW);
  }
  delay(10);
}