
During the past week, I spent most of the time working on the physical structure of my project because this was the most confusing part for me and I did not have any experience with using wood and drilling stuff on wood. After going through a long process of cutting wood, drilling holes into the wood, then adding screws between wooden pieces using different drill bits, I was finally able to almost complete my physical structure and house the different devices inside my wooden building. In this blog I will demonstrate the different stages I went through to achieve the desired output.
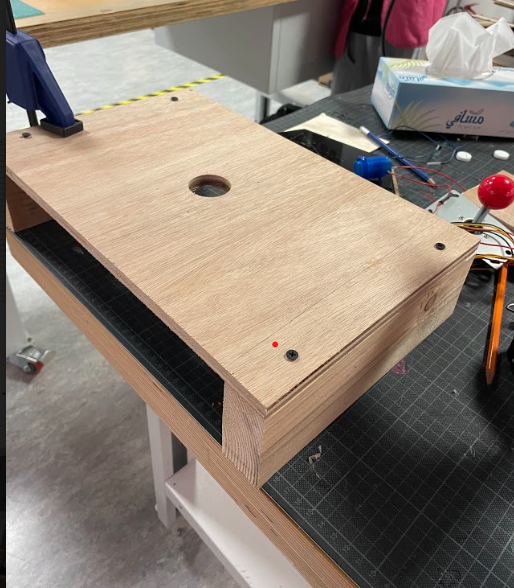
The professor at first helped me with cutting three wooden pieces, one large piece that is placed on top of the two other pieces. After that, the professor also helped me in drilling a big hole in the middle of the wood to attach the joystick to it. Then I had to use the drill for the first time to drill four different holes on the sides of the big wooden piece and on the two other wooden pieces. To find the place where I am supposed to drill the holes I used a pencil and a ruler, then I used drill bits with size of 5mm to screw the 5mm screws in my wooden structure, I was able to get the following output from this step.

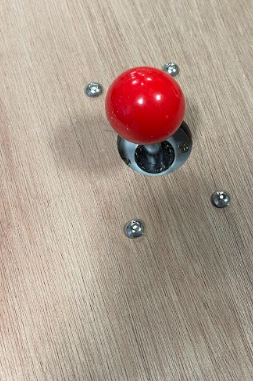
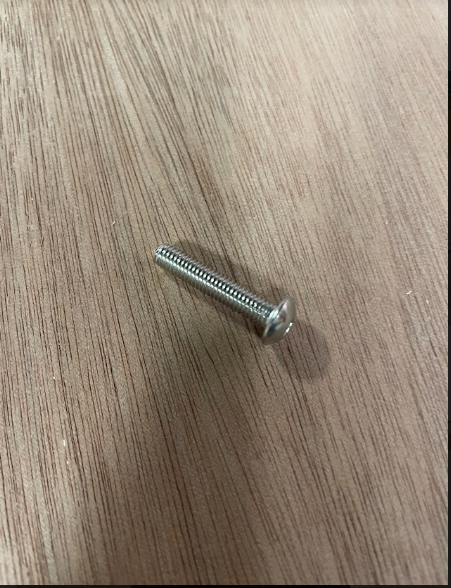
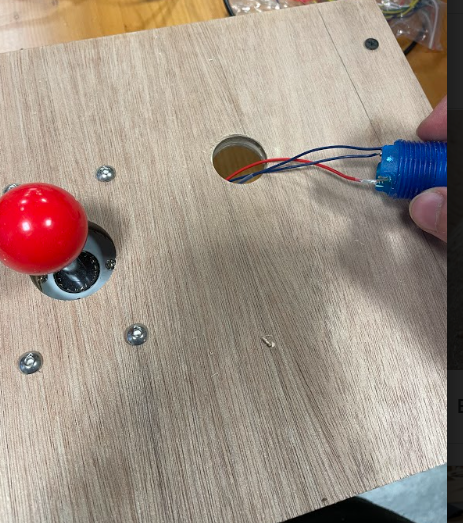
Then after that I was able to attach the joystick to this physical structure by using the four of the following type of bolts. I also attached nuts to these bolts to keep them in place. I tested the joystick after that and made sure that it is tightly fit in place.
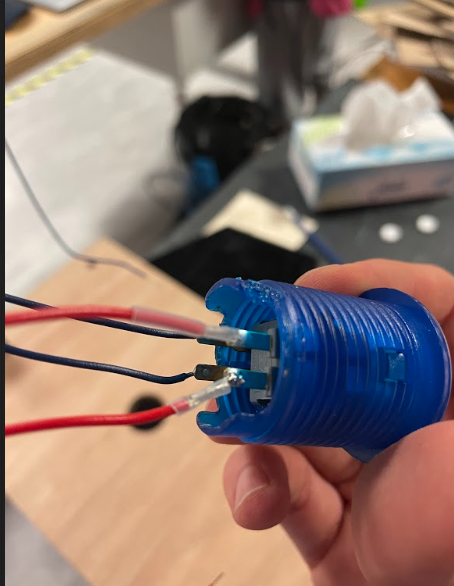
After that I also wanted to make the game more interactive and decided to add a blue butto to allow the user to control the game. To add this button I had to solder stranded wires onto the button. Then I had to solder these stranded wires to solid wires so that I can attach them to the breadboard.
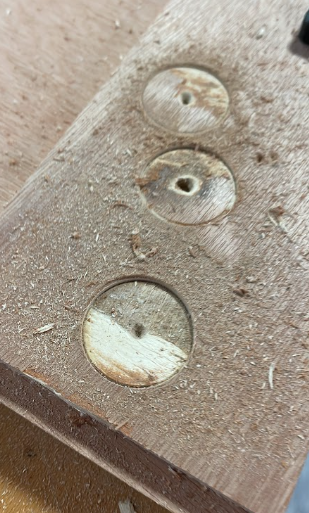
To add the blue button to my physical structure I had to drill another hole on top of my physical structure. However, I did not know how to do this because it was difficult to control the big drilling tip seen below and I was not getting the desired result as you can see in the next photo.
Then I decided to extend on this physical structure by adding another wooden piece alongside the current one to place my laptop on it. At first I added a wooden piece on the bottom to support everything and to ensure that the bread board and the arduino are supported, as seen below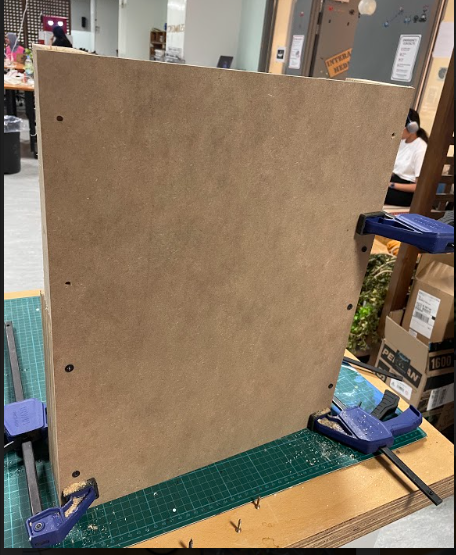
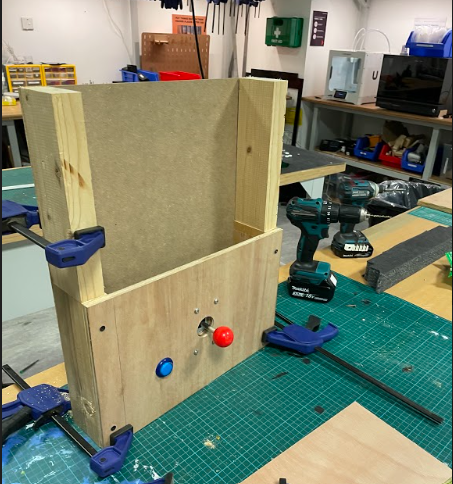
I was finally able to extend my physical structure and now I have a place to put my laptop finally on. Therefore, my physical structure can support my game and I tested out the functionality of the game below, but could not use the sound of the game because there was an ongoing class at the same time.
Here is a link to the video:Demonstration of my game