
Arduino GitHub File:
https://github.com/MouzaAlMheiri/Intro-to-IM/blob/main/sketch_ap12_Week10.2.ino
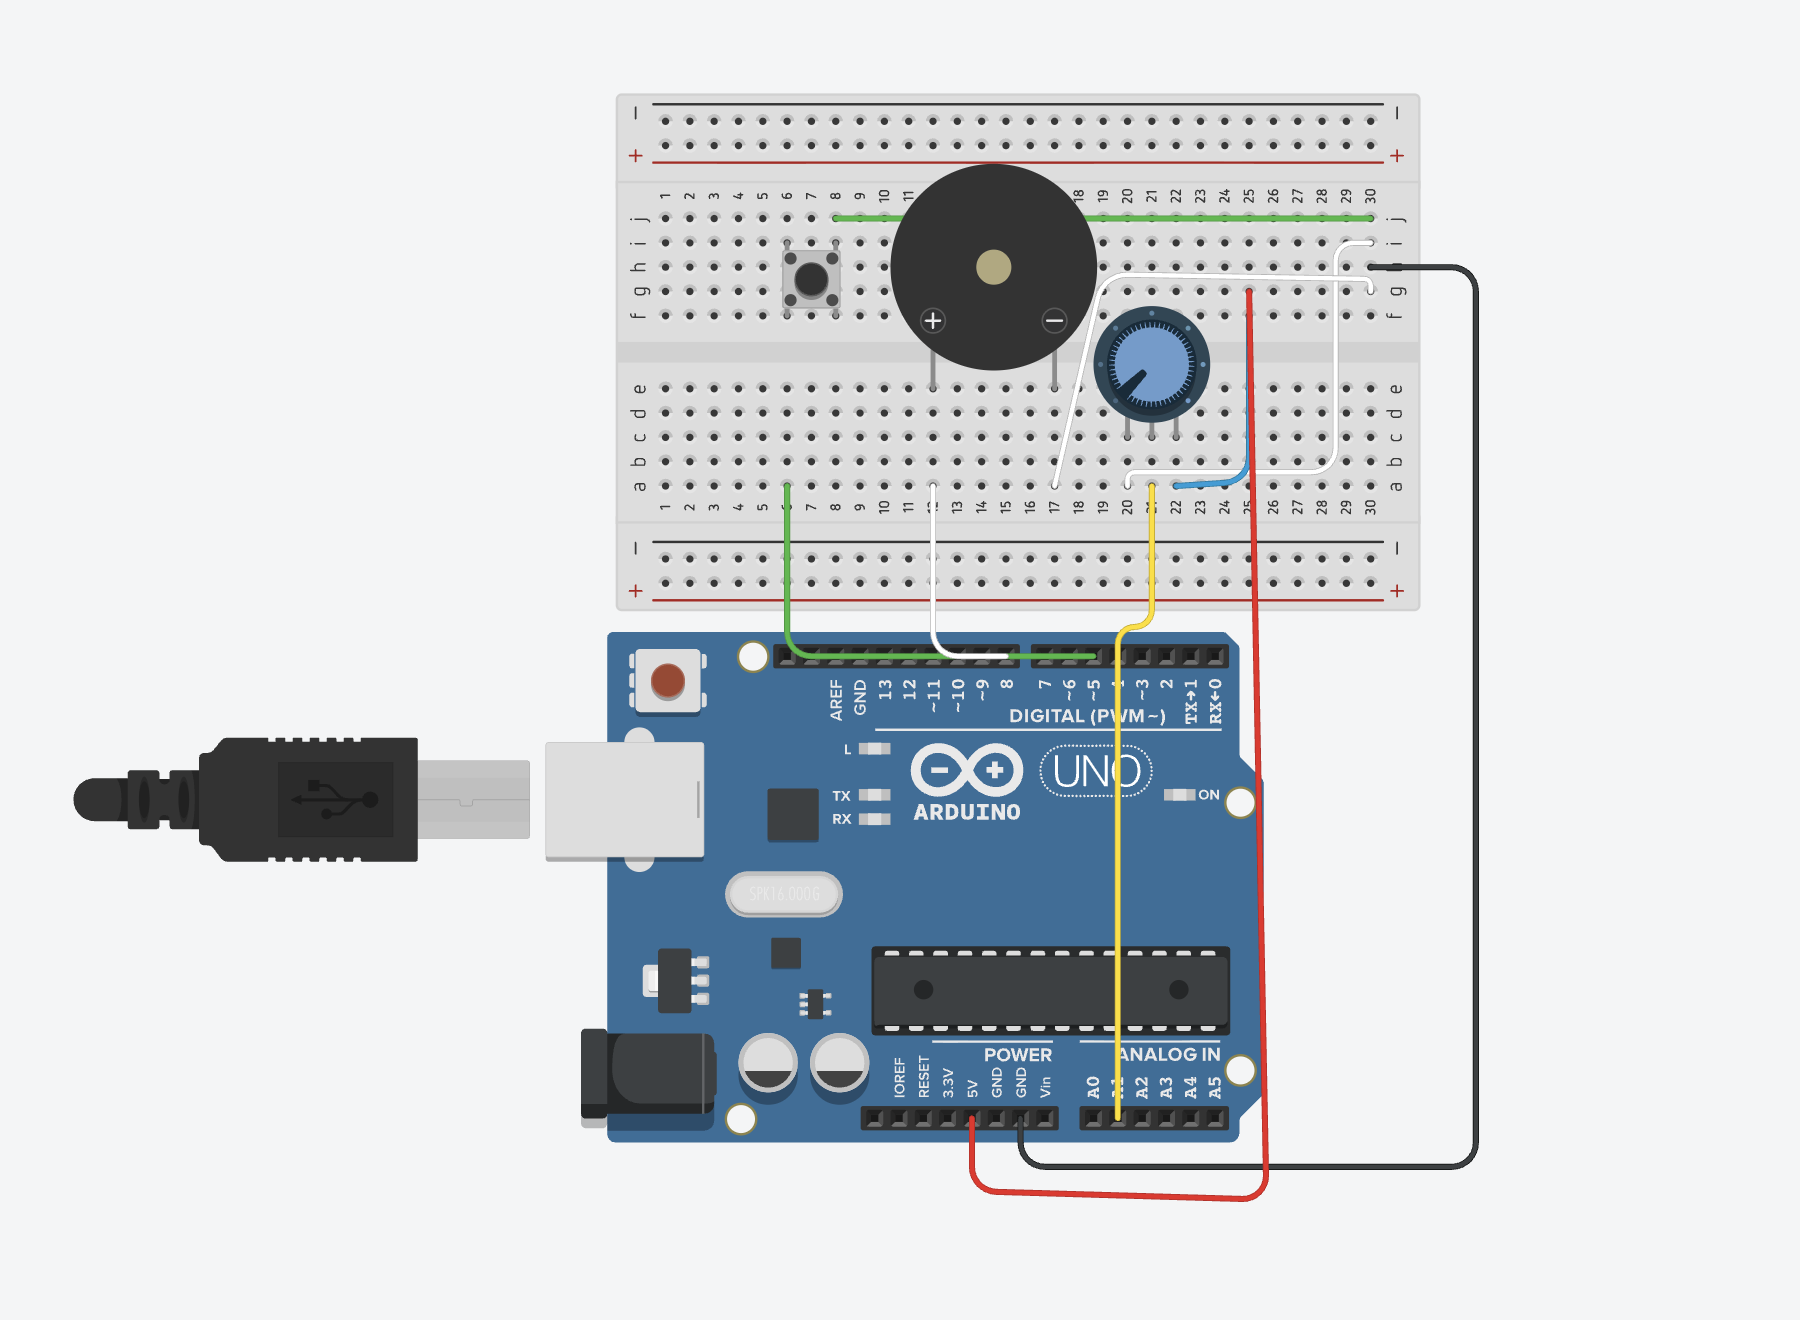
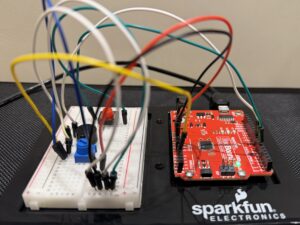
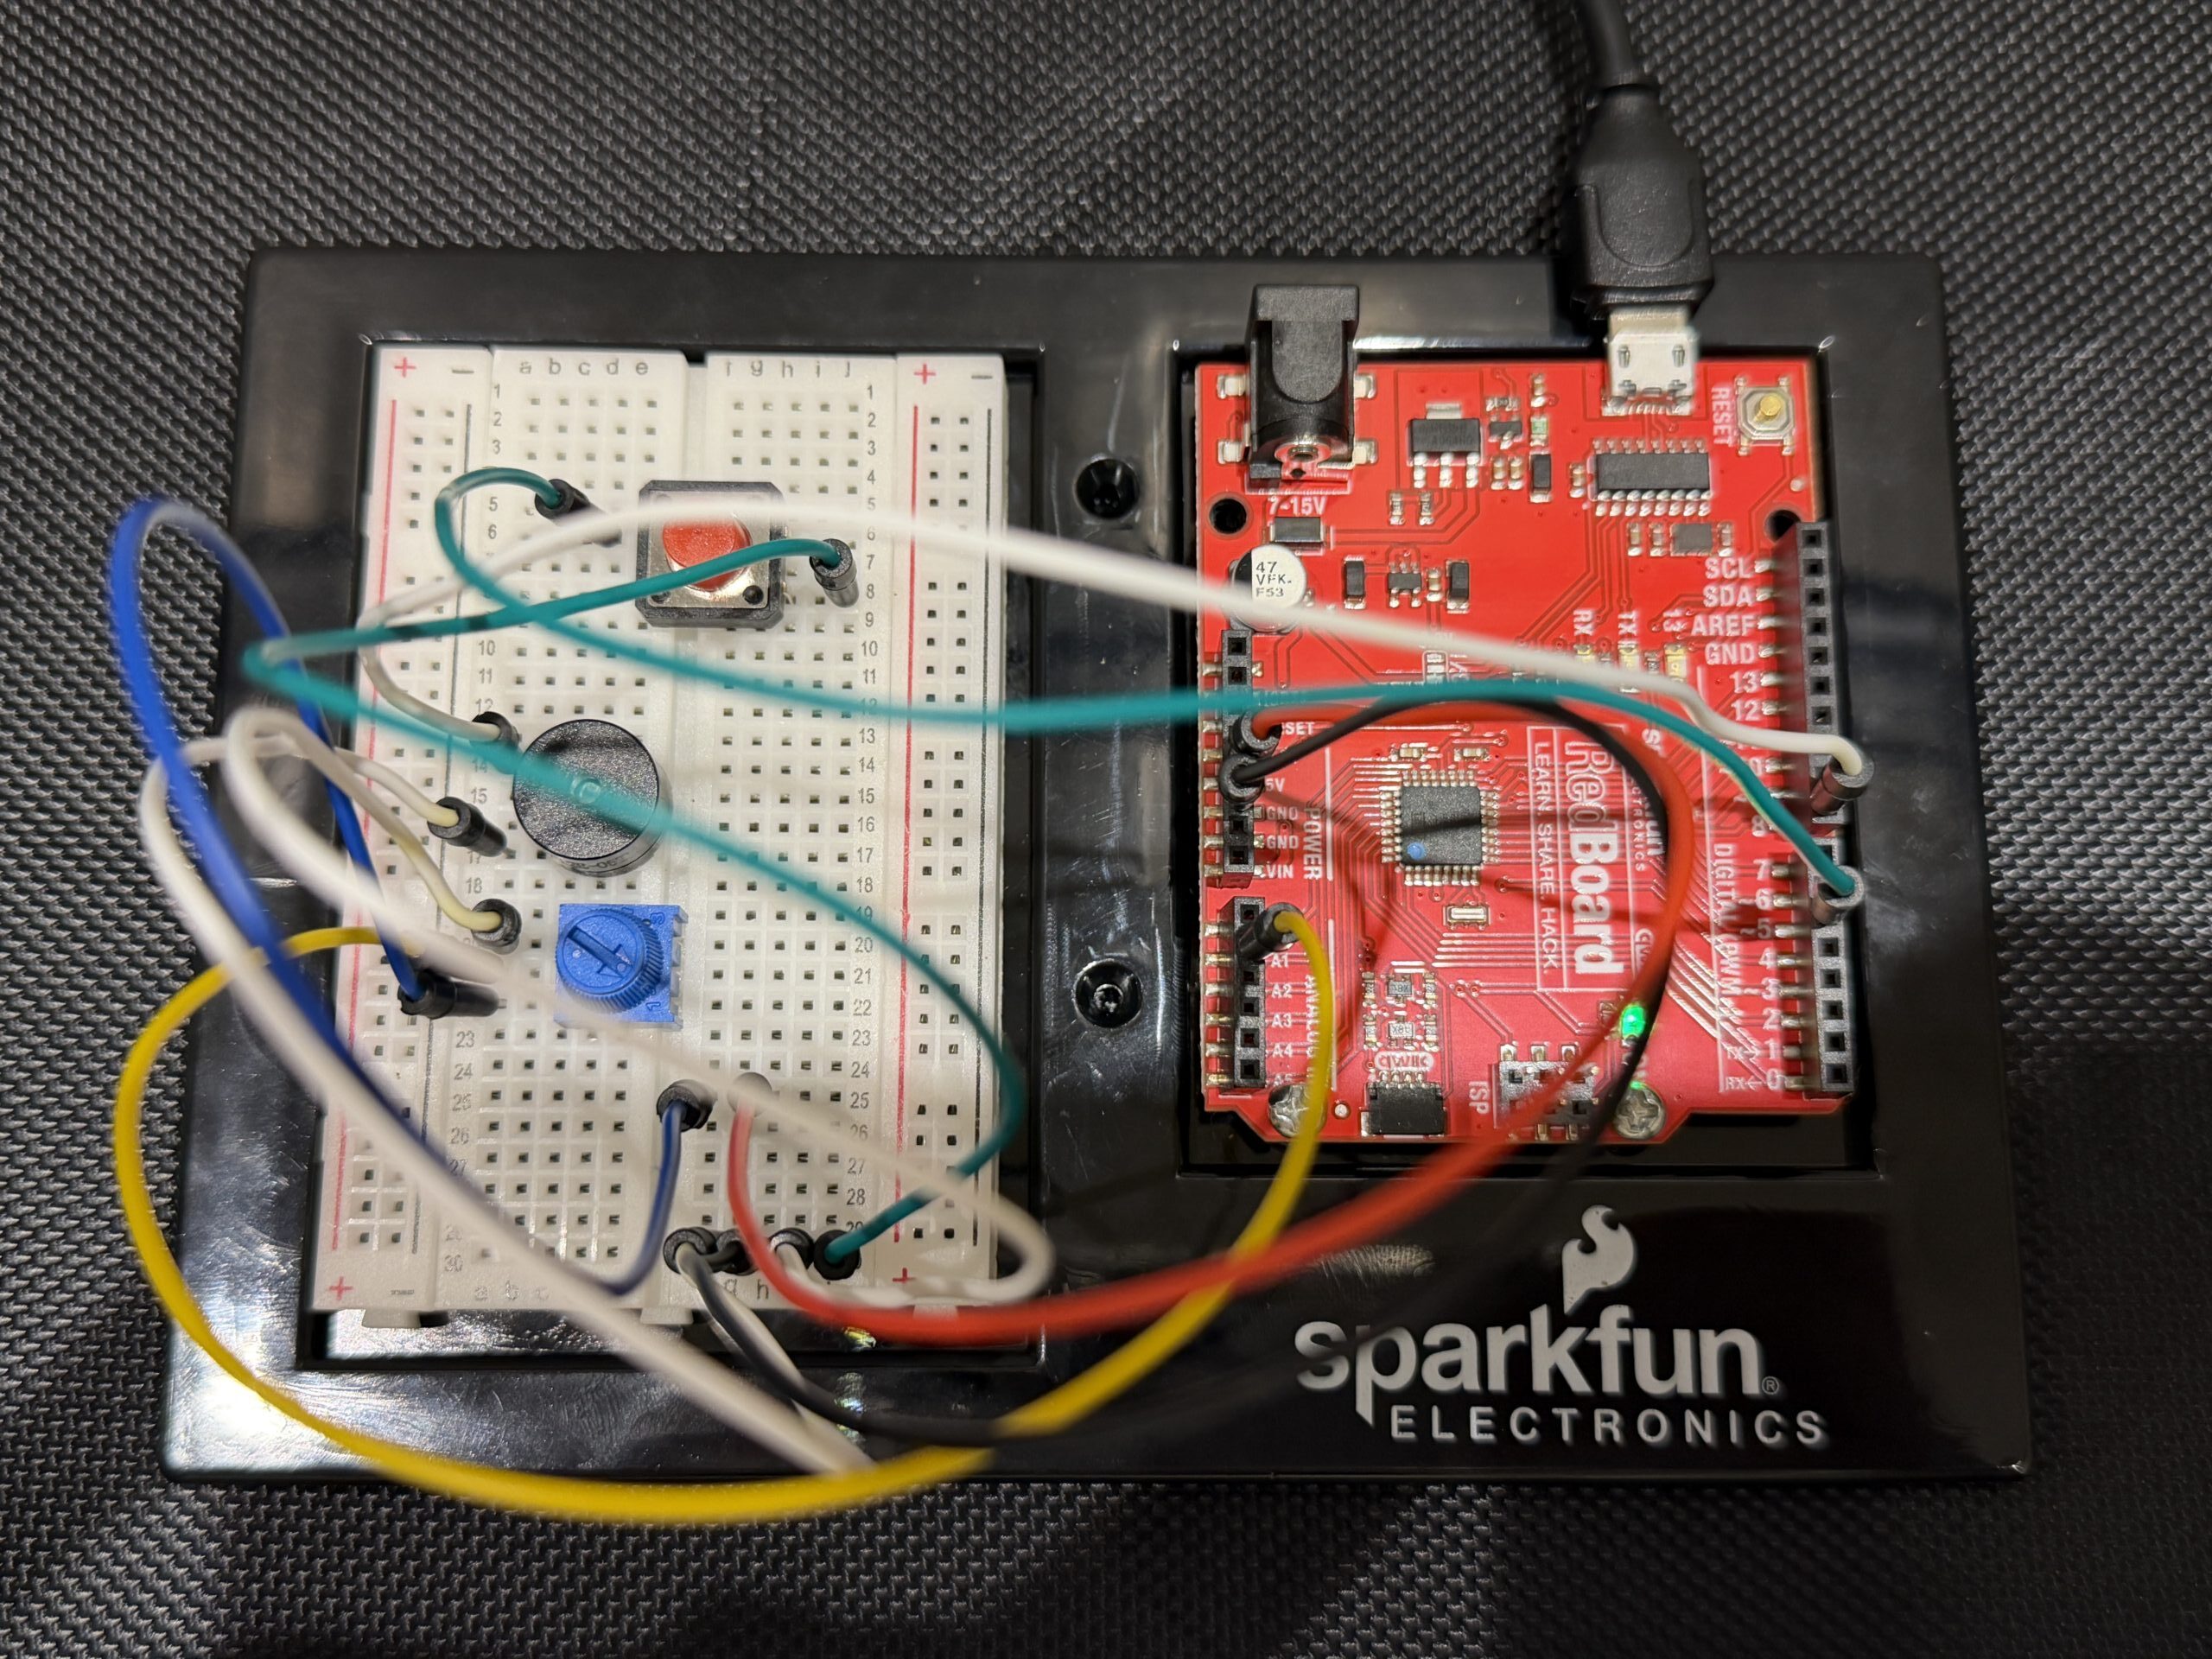
Arduino Set-up:

Project Demo:
Images
Concept
This project is a simple musical instrument that uses both digital and analog input at the same time.
The button acts as the digital sensor because it only has two states, either pressed or not pressed. When we press it, the sound plays, and when we release it, the sound stops.
The potentiometer acts as the analog sensor because it gives a continuous range of values instead of just two states. We used that range to select different musical notes, so turning the knob changes the pitch.
What we liked about this setup is that both inputs have completely different roles. The button controls when the instrument is played, while the potentiometer controls what sound is produced. It made the difference between digital and analog feel really clear and actually useful.
Code Snippet We’re Proud Of
int index = map(potValue, 0, 1023, 0, 7);

if (buttonState == LOW) {

  tone(buzzerPin, notes[index]);

} else {

  noTone(buzzerPin);

}
This part is where everything comes together. The potentiometer gives a value from 0 to 1023, and we use map() to convert that into a smaller range that matches the number of notes we have. Then we use that number to pick a note from the array.
At the same time, the button decides whether the note should actually play. So one input controls the pitch, and the other controls when the sound happens, which made it feel more like a real instrument instead of just a buzzer making random noise.
Problems Encountered
The biggest challenge was honestly the wiring. Even when everything looked right, one wire in the wrong row would break the whole circuit. We had to be really precise with the breadboard and double check every connection.
The button also gave us trouble at first. It either didn’t work or stayed on all the time, and we realized it was because of how it was placed across the gap and which rows we were using. Once we fixed that, it started behaving correctly.
Another challenge was understanding how the potentiometer connects to the sound. At first it felt random, but once we understood that the Arduino reads values from 0 to 1023 and that we needed to map that to our notes, it made a lot more sense.
Reflection
This project helped us actually understand the difference between digital and analog input instead of just memorizing it. The button made sense as something binary, while the potentiometer showed how values can change continuously.
It also made us more comfortable working with sound. Before this, the buzzer just felt like something that makes noise, but now we understand how pitch is controlled and how different inputs can affect it.
If we were to improve this project, we would probably expand the number of notes or organize them into a more structured scale so it feels more like a playable instrument.
Overall, it was a really successful assignment and working in pairs made it a lot easier to think and refine ideas and carry each other throughout the trial and error process of the entire project!
References
https://projecthub.arduino.cc/SURYATEJA/use-a-buzzer-module-piezo-speaker-using-arduino-uno-cf4191
Arduino Project | Play Melody with Passive buzzer using Arduino UnoYouTube · IoT Frontier3 Jul 2023
YouTube · Tech Explorations1.3K+ views · 1 year ago[240] Arduino Getting Started: Make noise and beeps with the passive buzzer