
Github:
Youtube:
https://youtu.be/dvRseX6c4VU?si=mKZLcT-Lm9T1LGMQ
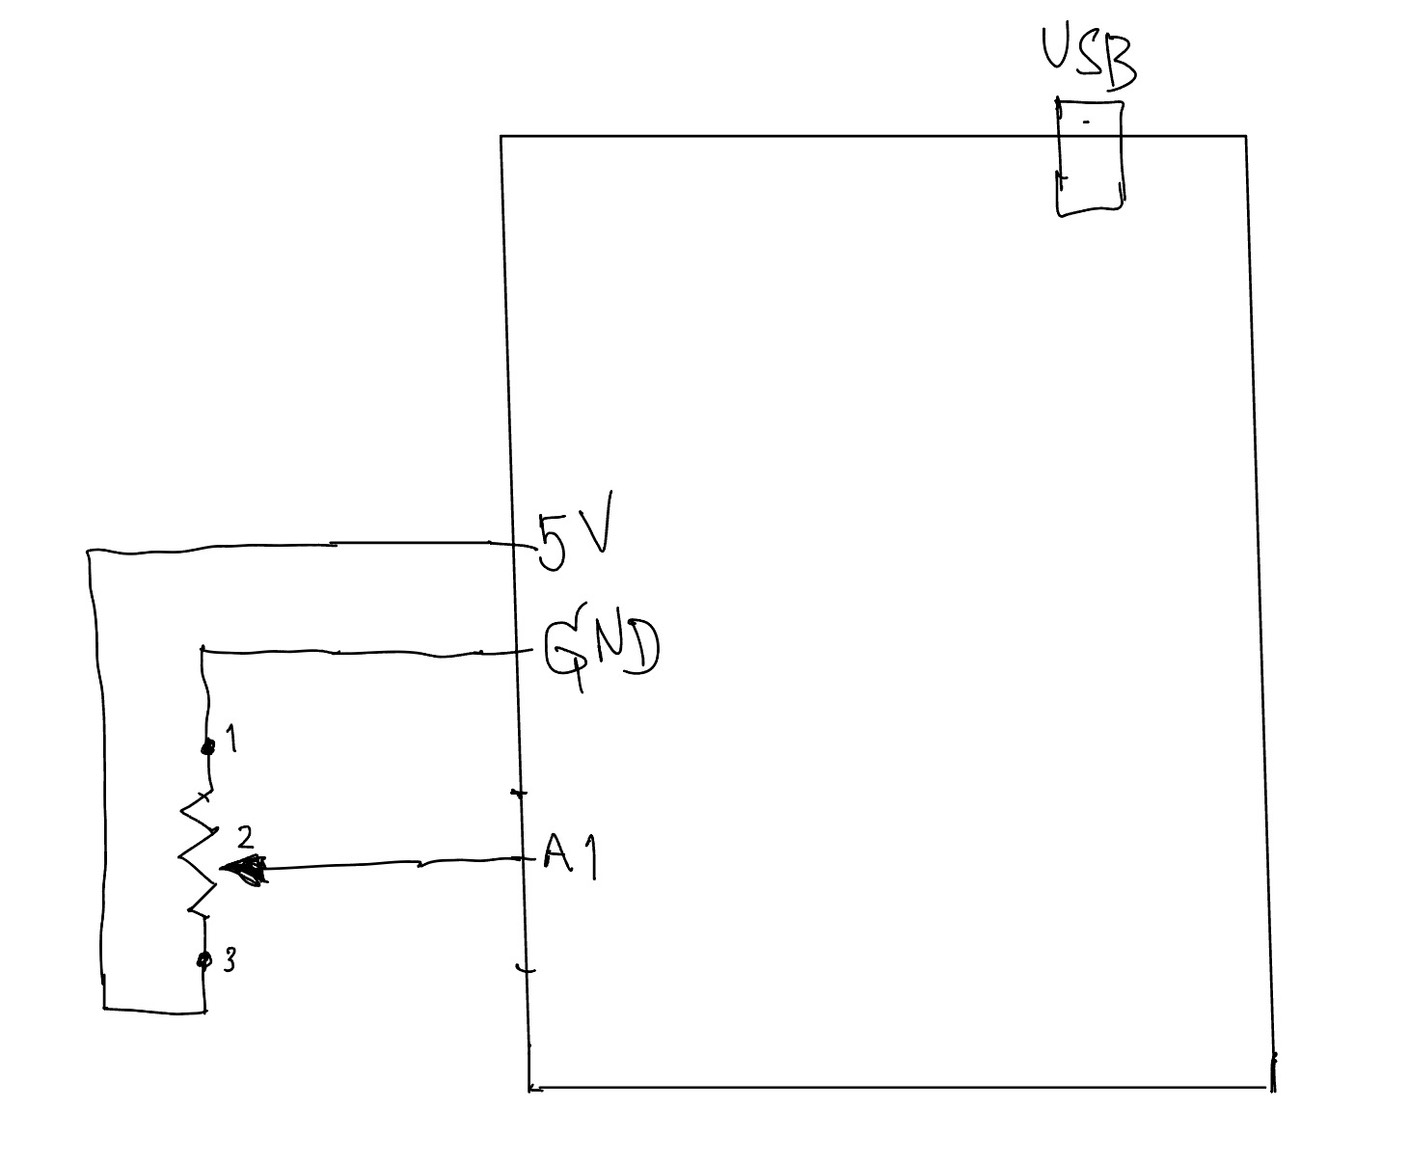
Handwritten Diagram:
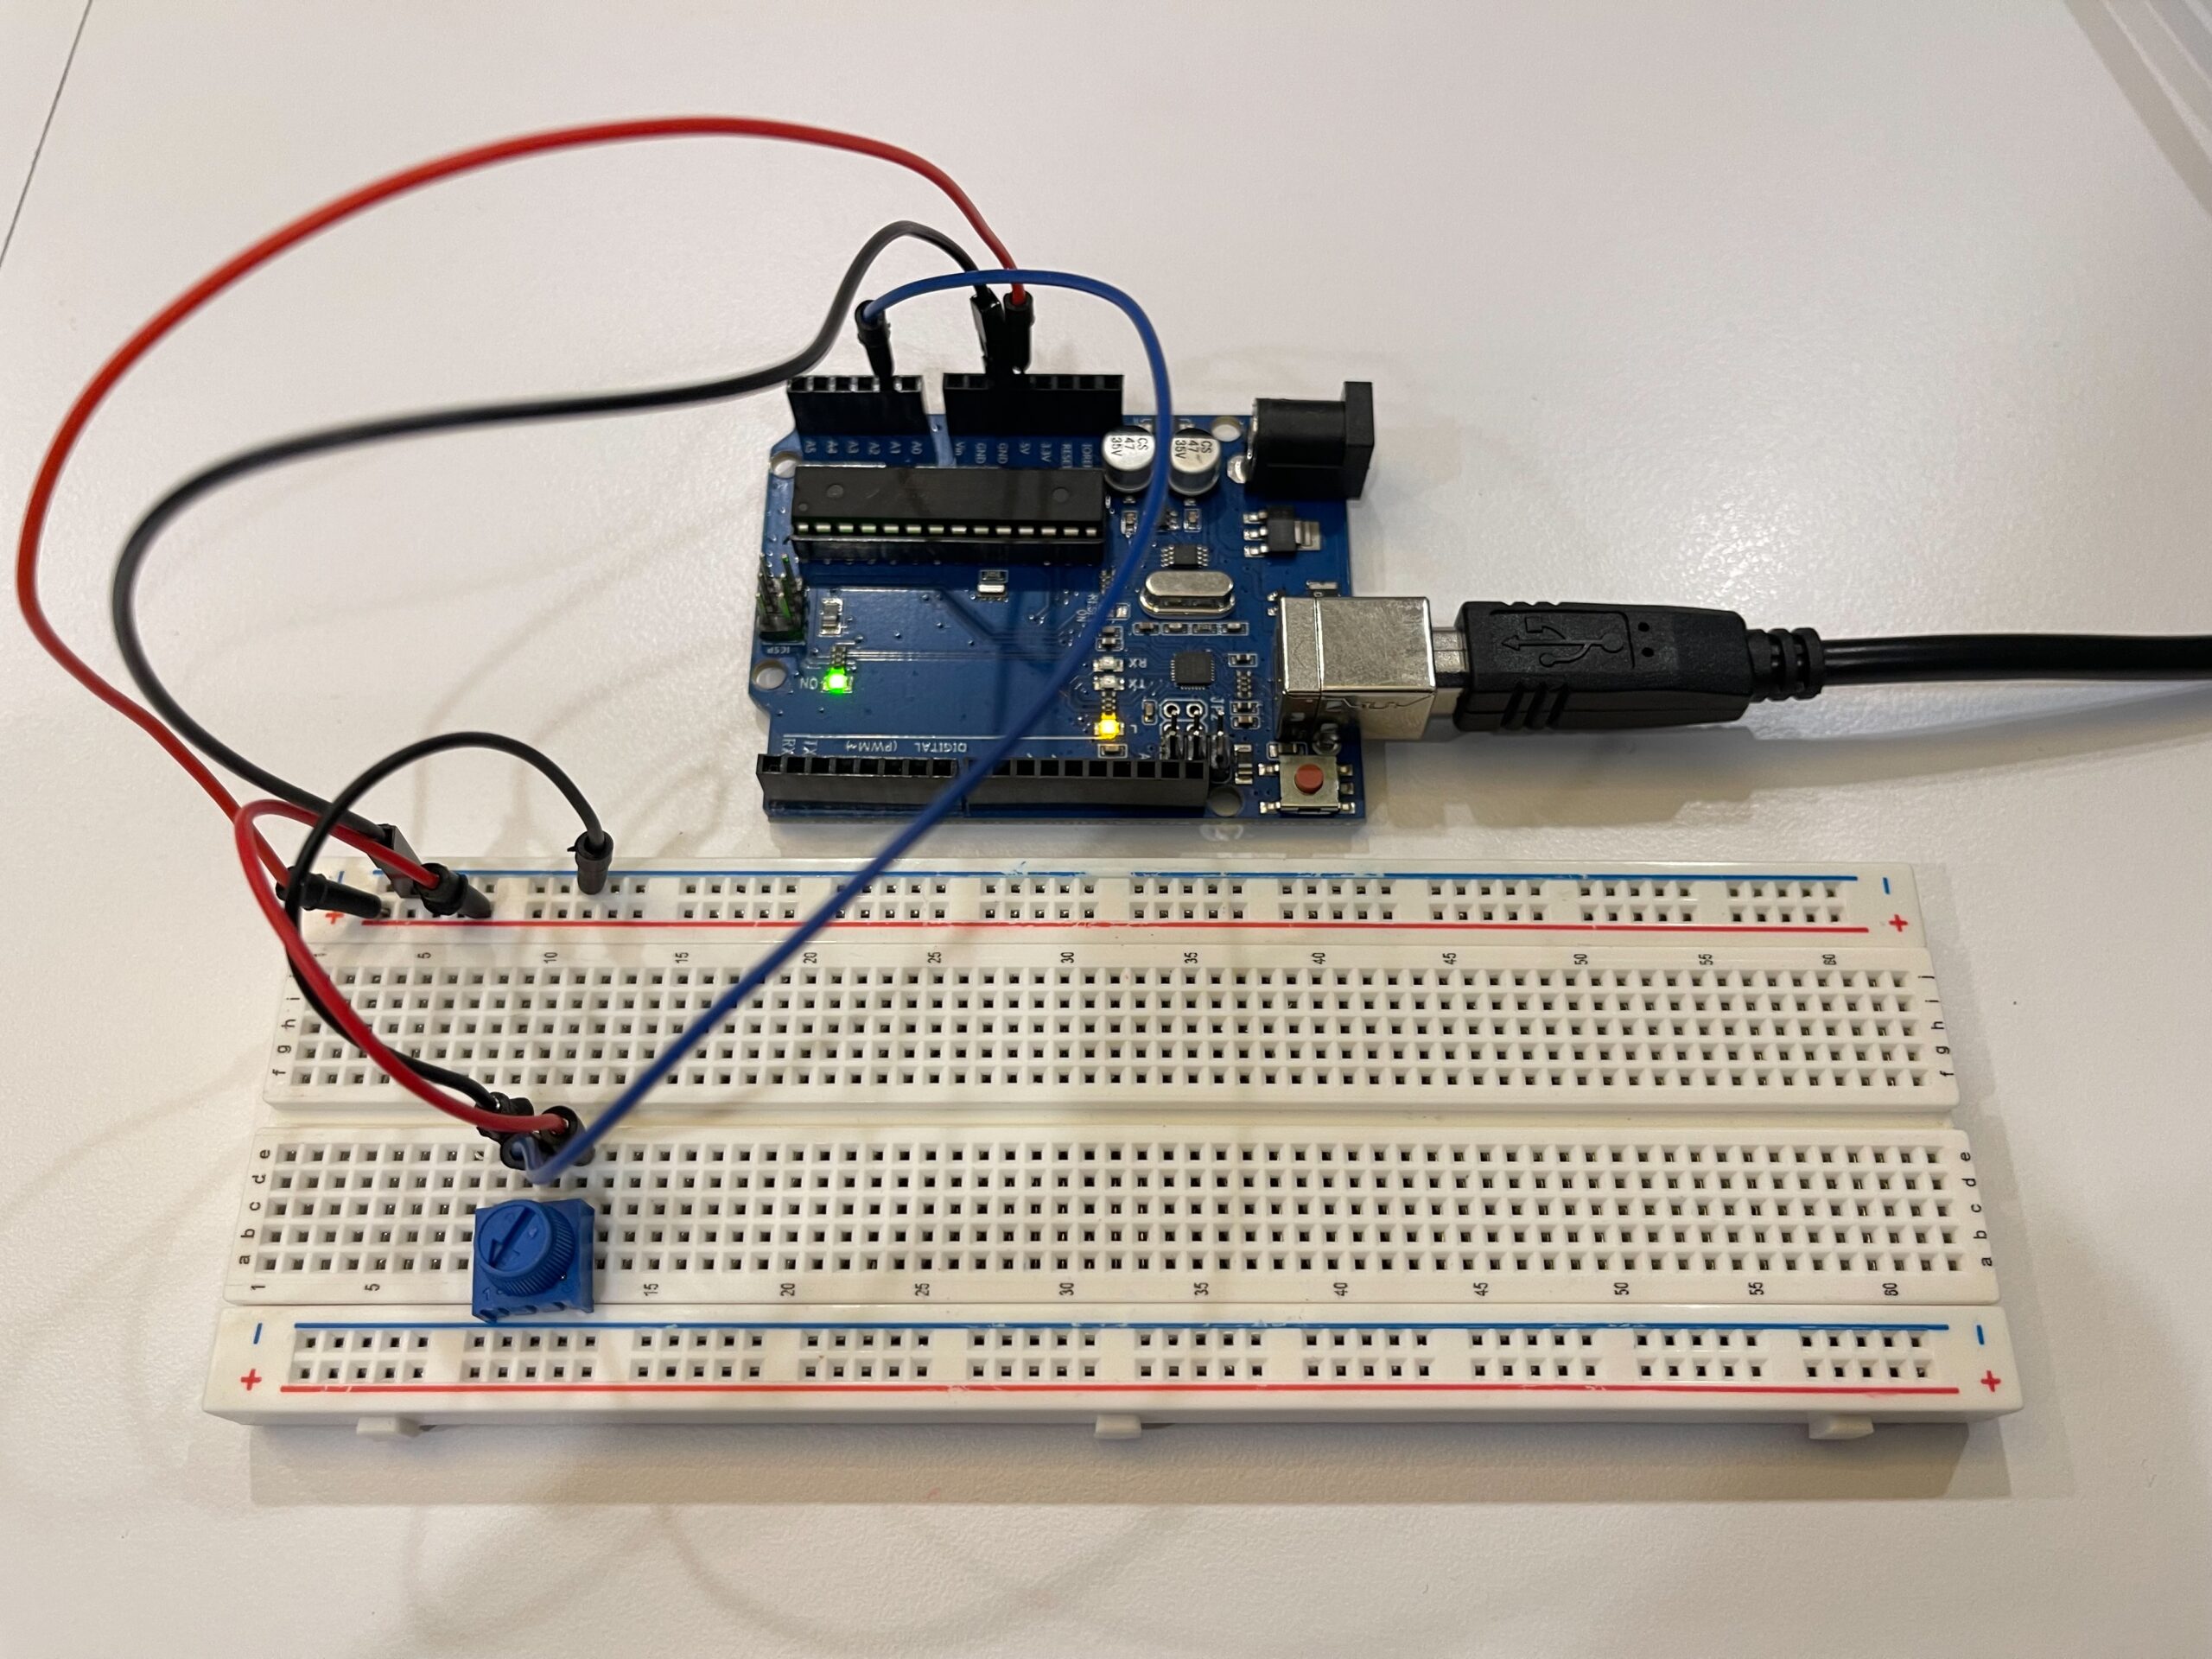
Picture of Circuit:
In this exercise, we explored serial communication between Arduino and p5.js. The main objective was to use a single sensor on Arduino and translate its input into visual movement in p5, specifically controlling an ellipse moving horizontally across the screen.
We began by following the example demonstrated in class and gradually adapted it to better understand the data flow. On the Arduino side, we used a potentiometer as an analog input. The sensor value (0–1023) was mapped to a smaller range (0–255) before being sent through the serial port using Serial.println(). This ensured that the data could be easily interpreted on the p5 side.
For p5.js, we adopted the structure introduced by professor Aya using the p5.webserial library. The connection process is handled through a button (connectBtn), and the serial port is opened using port.open(baudrate). This approach helped us clearly understand how communication between Arduino and the browser is initiated manually rather than automatically.
Inside the draw() loop, we used port.readUntil(“\n”) to read incoming serial data line by line. The received string is then cleaned and converted into a number using trim() and int(). We then used map() to convert this value into a position across the canvas width. As a result, the ellipse moves smoothly from left to right, and when the input value decreases, it naturally moves back from right to left, creating a responsive and continuous motion.
Through this process, we gained a clearer understanding of how physical input can directly influence digital visuals in real time. It also highlighted the importance of consistent data formatting and timing in serial communication.
⸻
What We Learned
• How to send analog data from Arduino using Serial.println()
• How to receive and interpret serial data in p5.js
• How to map sensor values into visual output
• How hardware and software can interact in real time
⸻
Code I’m Proud Of
One part we are particularly satisfied with is how the sensor data is processed and translated into visual movement. This section demonstrates how raw data from Arduino becomes meaningful interaction in p5.
int potentiometer = analogRead(A1);

 // map the value from 0-1023 to 0-255
 int mappedPotValue = map(potentiometer, 0, 1023, 0, 255);

 // send value to p5 as a string with newline
 Serial.println(mappedPotValue);
This part is important because it simplifies the raw sensor data into a range that is easier to use on the p5 side.
⸻
let str = port.readUntil("\n");

if (str.length > 0) {
  let val = int(trim(str));   // convert string → number

  // map value to screen position
  x = map(val, 0, 255, 0, width);
}
We found this section especially meaningful because it clearly shows the full pipeline: sensor → serial → processing → visual output.
⸻
Future Improvements
If we were to continue developing this project, we would consider:
• Using different sensors such as FSR or ultrasonic sensors for more dynamic interaction
• Adding smoothing to reduce noise in sensor readings
• Expanding the visuals to control multiple elements instead of a single ellipse
• Exploring bi-directional communication between Arduino and p5