
https://github.com/da3755-ui/intro-to-im/blob/904200aaa8c70e0606c6851ffc5c46abe5d63b96/BirthdayConcept_IntroToIM_Week9.ino
The Concept
For this week’s assignment, I decided to incorporate the concept of birthday candles (lighting them up and blowing them out). My LEDs act as my candles, my button acts as a lighter, and the LDR/photocell senses my blowing (will explain).
I used a button (digital input) to be able to control my 3 LEDs. Once I hit the button, the LEDs turn on one after the other. The blowing concept works through my photocell. When you put your face closer to the photocell and the LEDs to blow, the light from the LEDs reflects on your face; this light reflection is further read by the photocell, and the reading increases. Once my photocell takes in that higher reading, the candles/LEDs turn off one after the other as well.
Process and Challenges
To do my led set-up, I followed a diagram I found online, but I altered some of it to how I wanted it to fit my set-up.
I first started by setting up my LED system before adding in my photocell, just to make sure the base part is working. I built the system successfully and moved on to add my photocell.
Adding in the photocell and getting its readings was the most challenging part of the process. I set up my photocell and connected it to a 10k resistor and an analog pin. However, the readings were not accurate at all. For example, covering the photocell would not decrease the reading. At that point, I decided that maybe because I’m testing it during the day, there is no dramatic shift in lighting for the photocell to read (that was wrong).
After a while had passed, I was thinking about my project, and I realized I had forgotten to attach a 5V pin to my photocell, and I forgot to attach my photocell to ground. That explained a lot of why the readings were inaccurate.
Once I plugged in the wires correctly, the readings were still inconsistent and inaccurate. Thats when I decided to fully take down the entire system and start with the photocell first.
I watched a YouTube video to ensure I have the right connectivity and rebuilt my voltage distributor and photocell system. The readings then became accurate. I added in my LED system that I removed and it worked.
I originally wanted each LED to light up after each singular clip so it would be:
- first button press = turn on first led
- second button press = keep first led on and turn on second led
- third button press = keep first and second leds on and turn on the third
but that would have required me to use specific array functions which were difficult for me to implement.
Code Highlight:
I’m happy with the way I let the led lights light up one after the other after hitting the button
if (state == LOW) {   // if the button is pressed, the leds/candles will light up one after the other
  digitalWrite(led1Pin, HIGH);
  delay(2000);
  digitalWrite(led2Pin, HIGH);
  delay(2000);
  digitalWrite(led3Pin, HIGH);
  delay(2000);
}
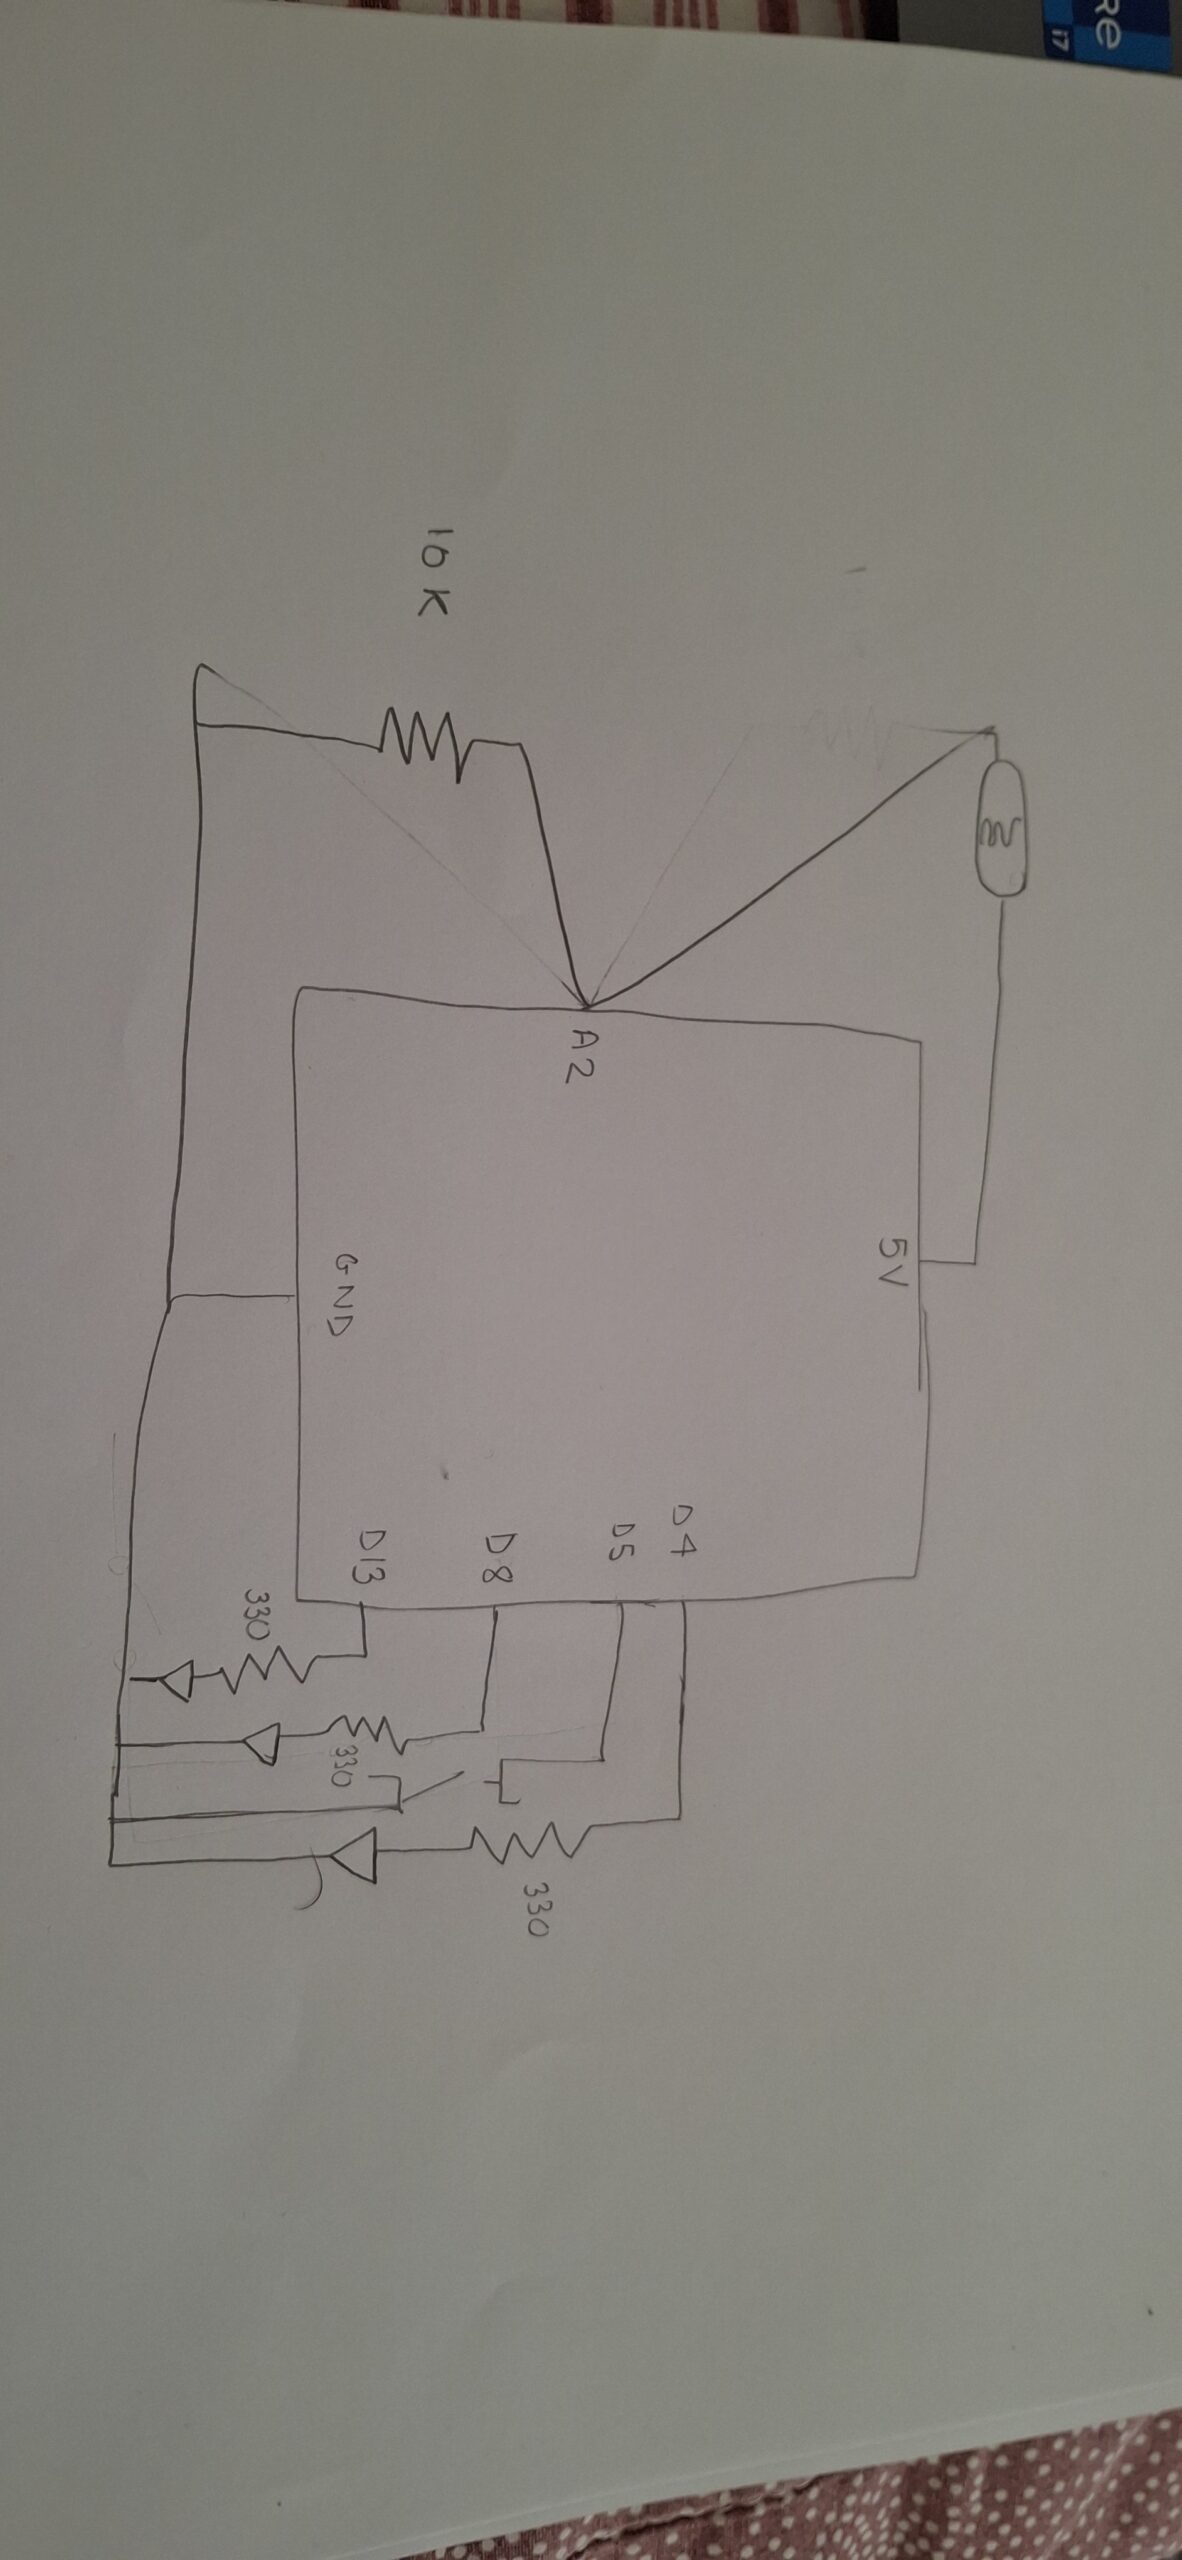
Circuit Schematic
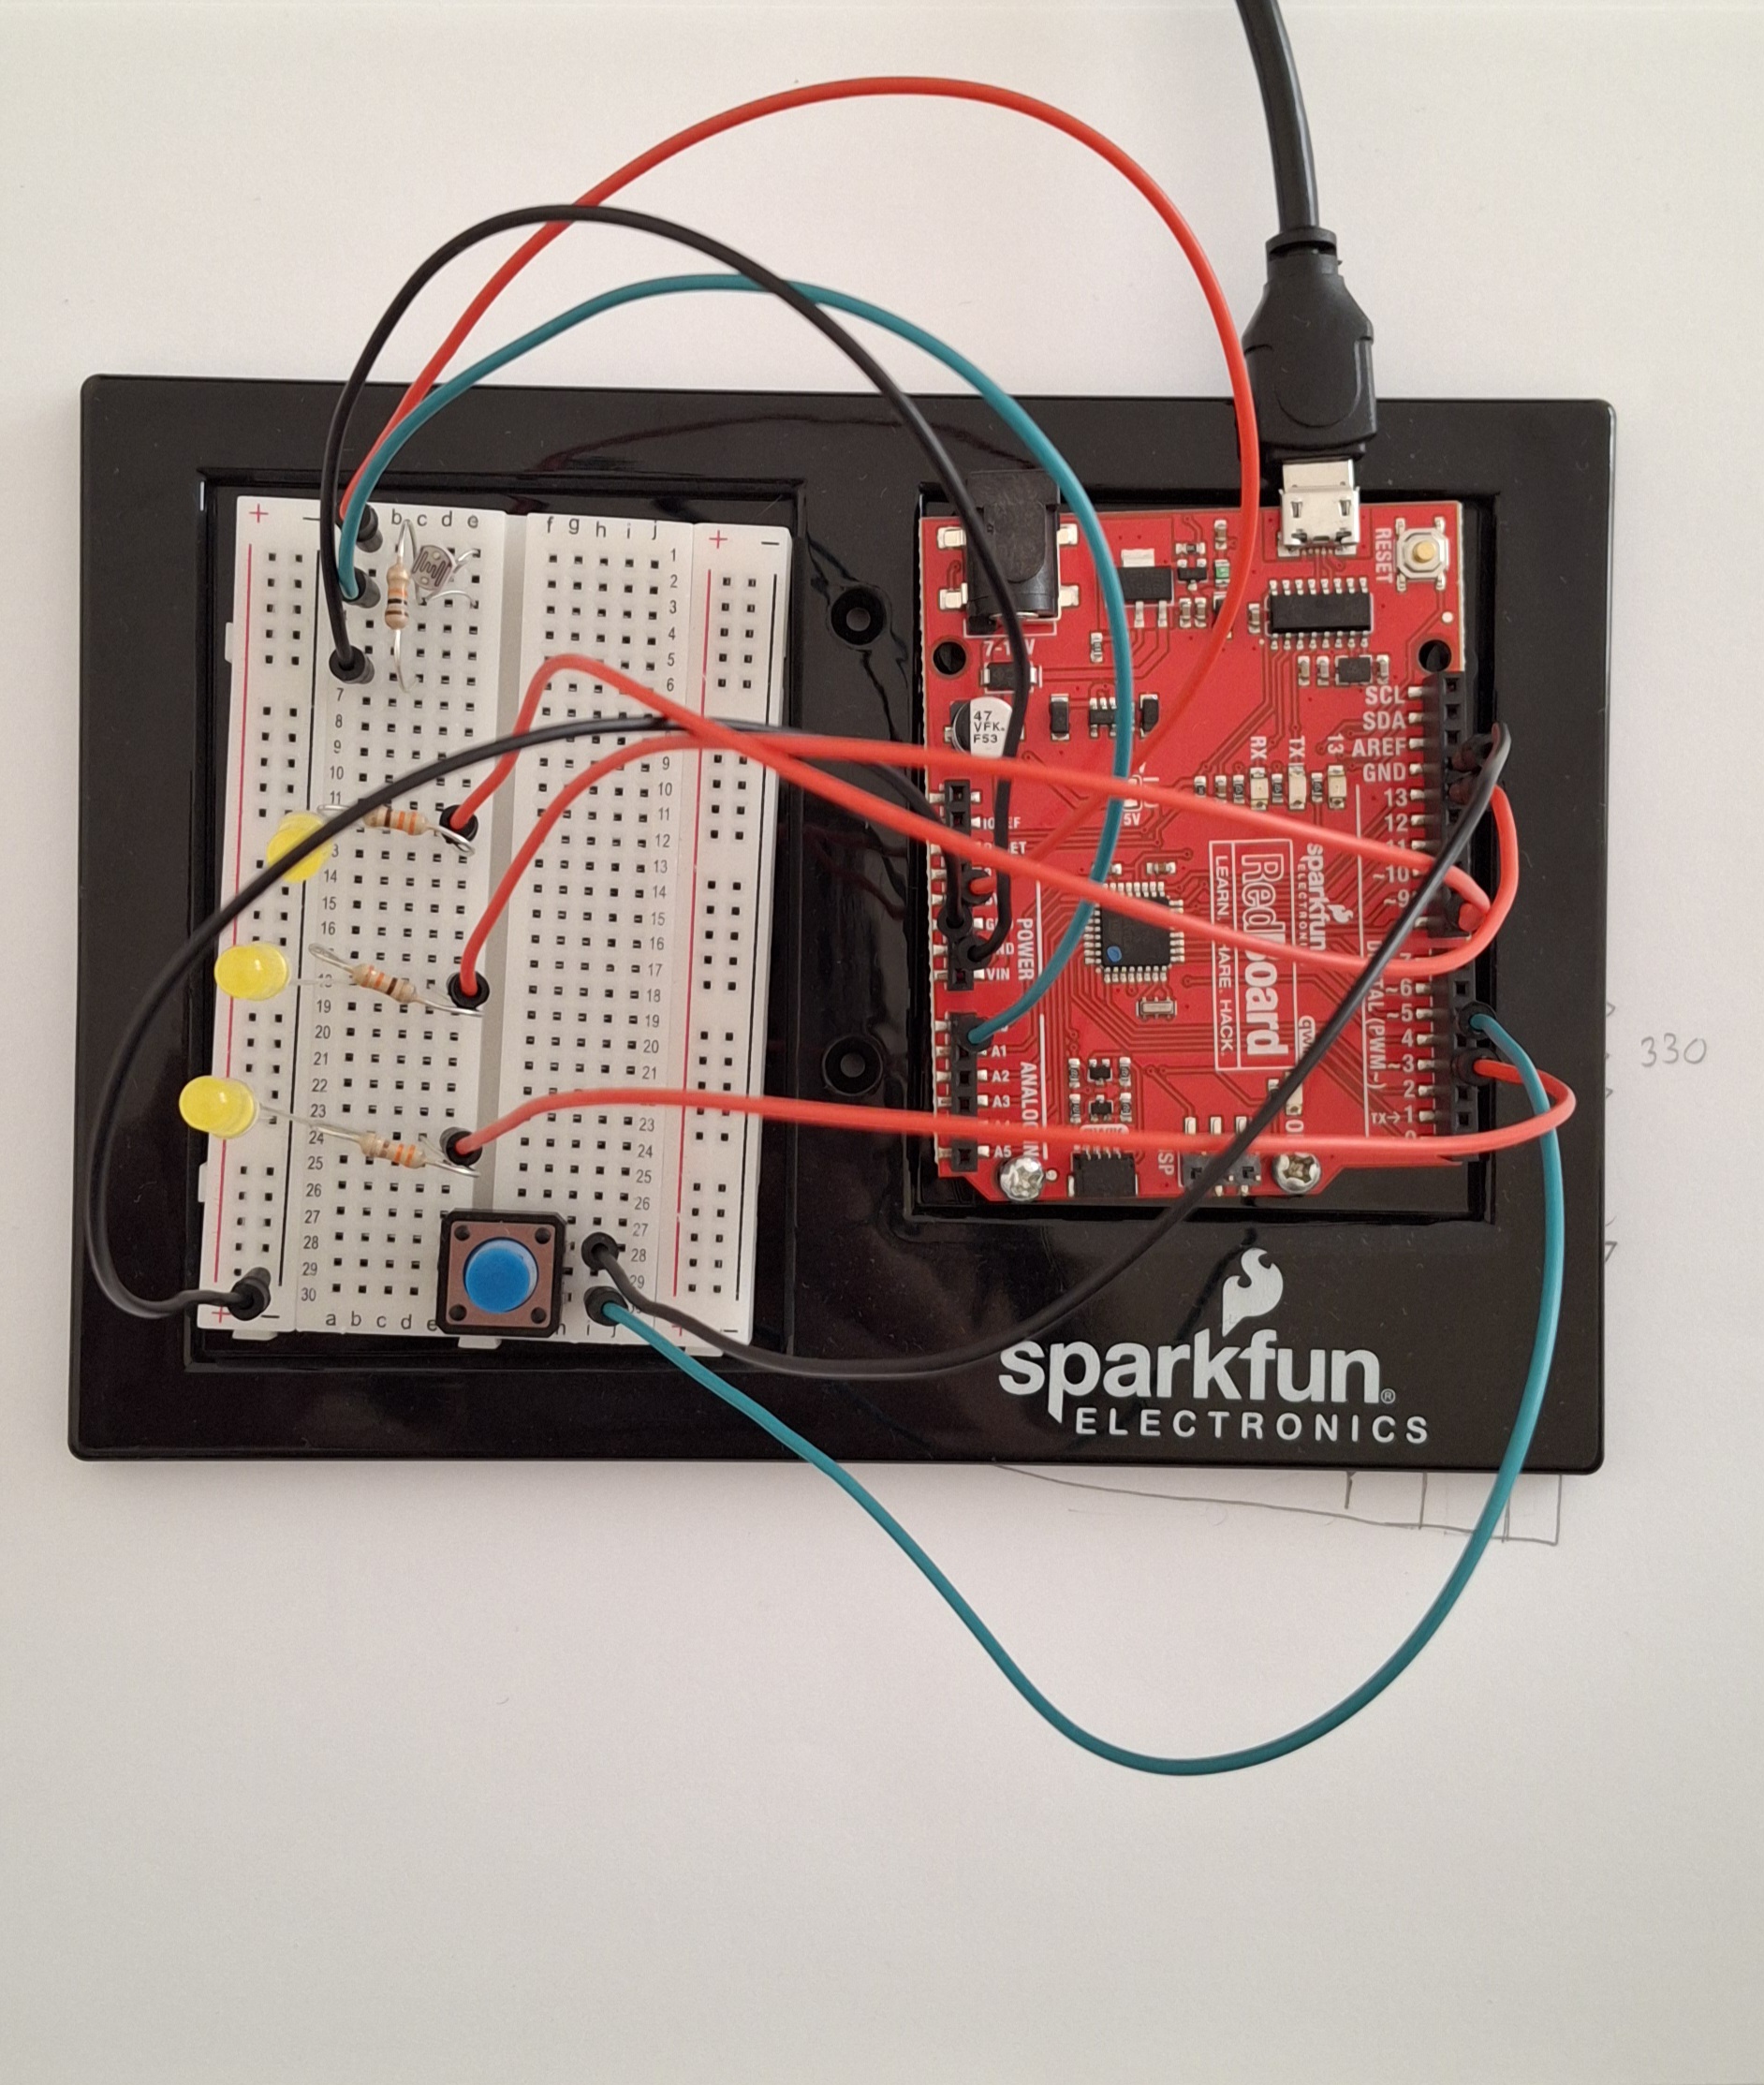
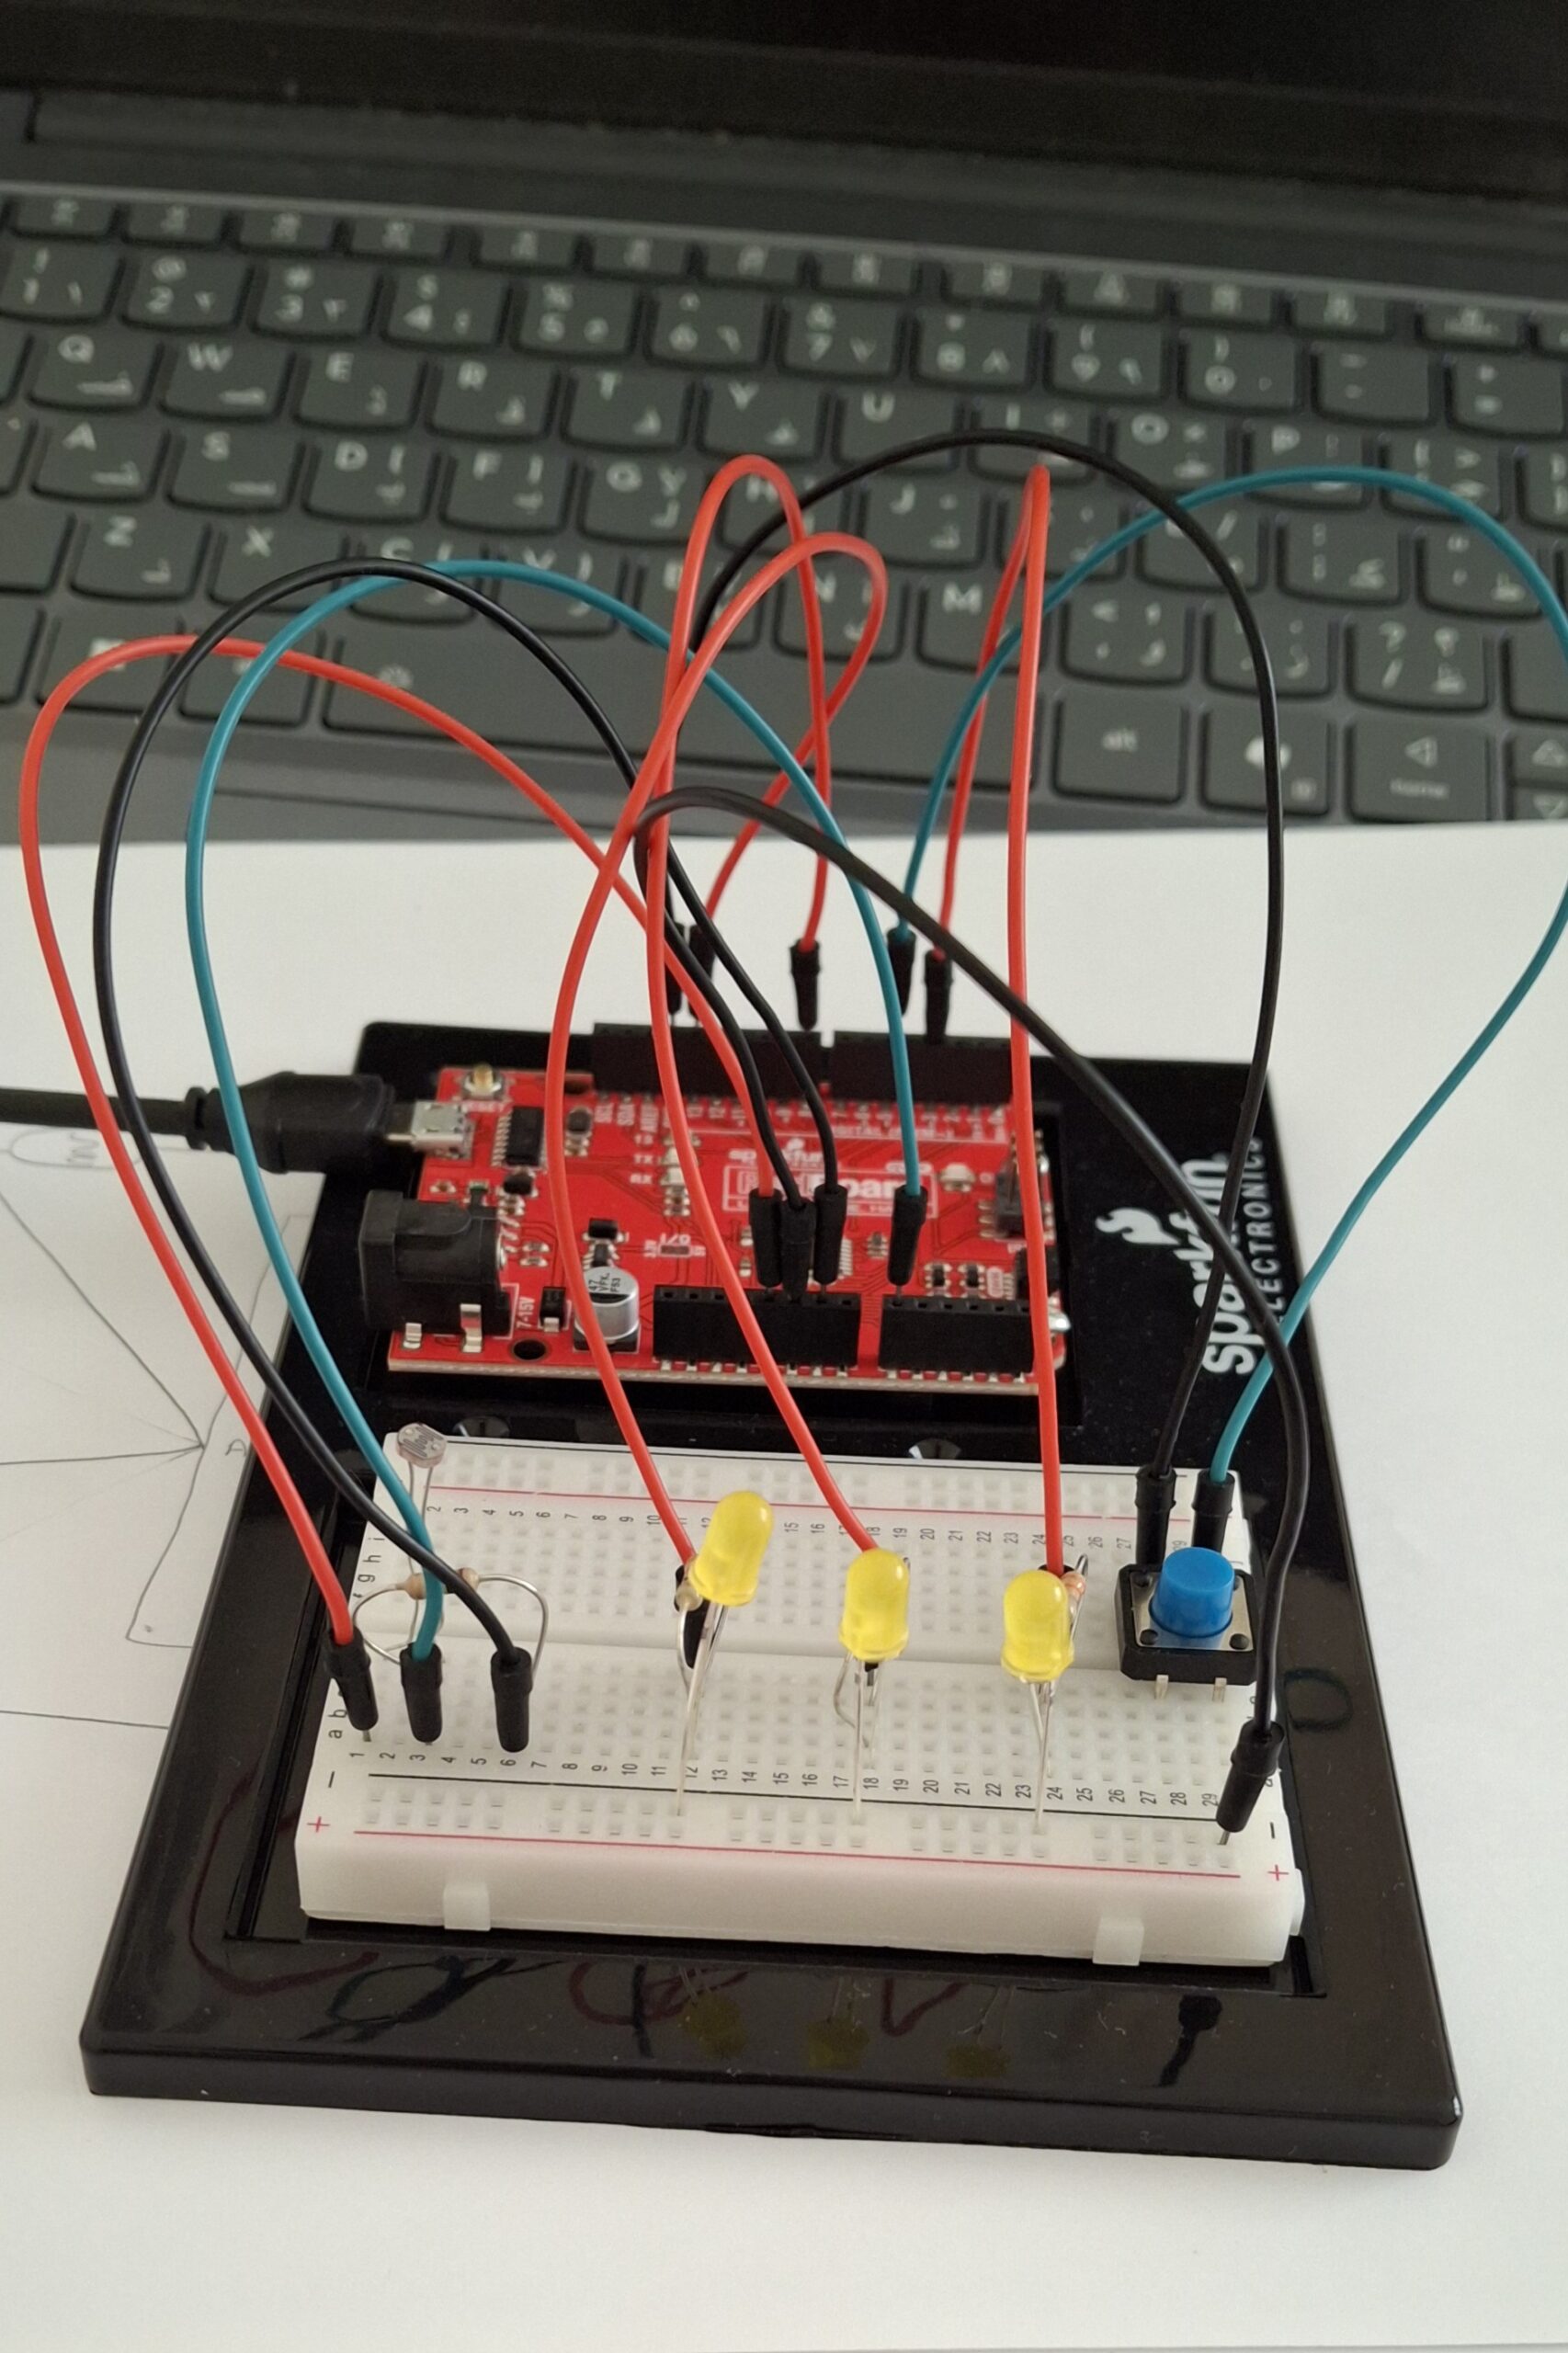
Circuit look
References
Because my photocell readings would only keep decreasing no matter what, I used Gemini AI to explain to me whether the reading from my photocell should increase or decrease when the area gets brighter. It also told me to check my connectivity, because if my photocell’s resistor was connected to one of the wires, the readings would be flipped, but that was not the case for me.