
My main concept:
My concept originally came from the Japanese horror anime called “渦巻き(うずまき)”, which literally means a spiral in English. I watched this anime during the last summer vacation back in Japan. At first, I was surprised by how it was even possible for humans to be able to create such peculiar and disturbing animations using only black and white colors and spirals. The animations were too powerful and creative to the point where I almost threw up. However, I really liked how the author incorporated his originality and personality into this anime. I was especially intrigued by the scene where the main character’s girlfriend was infected by a contagious disease where if you get infected, you become obsessed with spirals. One of her eyes started to fall out and twist inward into a spiral.
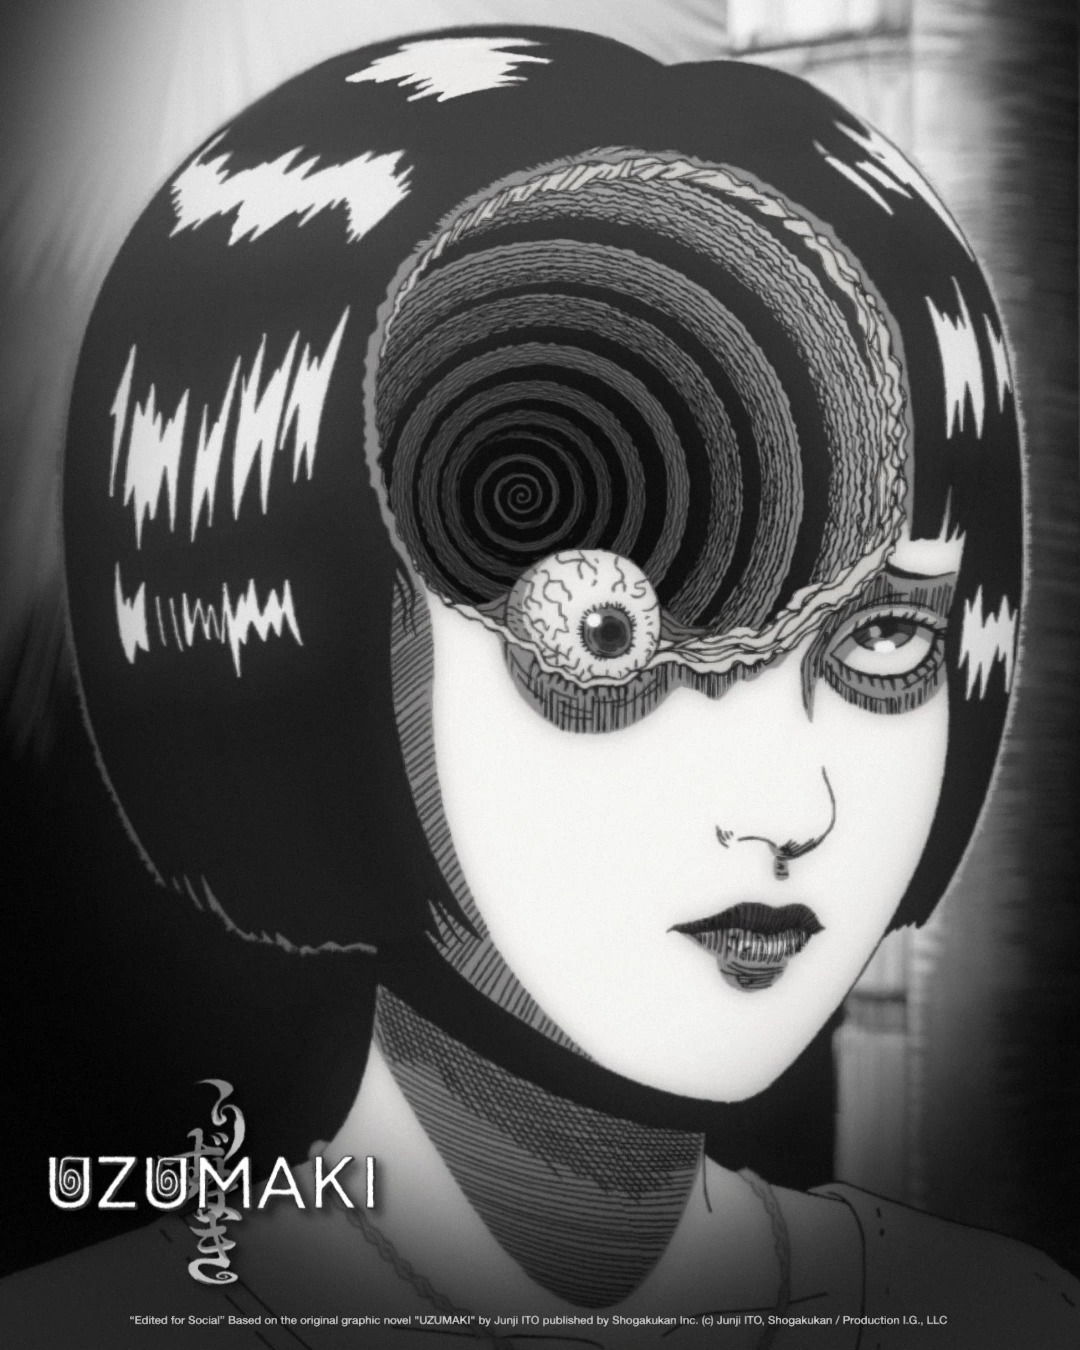
It was very gross at first when I looked at it, but I really liked the animation there, so I decided to draw it as a simple artwork this time. If you hover over the drawing, you can change the color of spirals into either green, red, or blue. Also, if you click the eye going around, its color changes into red, implying inflamed eyes. Try it out!
Part of code that I particularly like:
The part of my code that I particularly like is this block of code dedicated to producing continuous spiral movement. At first, I had no idea how to make a moving spiral other than using a for loop, sin(), and cos(). Thus, I explored some tutorials on YouTube about how to make spirals. These videos (https://www.youtube.com/watch?v=Z3PvLZYLW0U and https://www.youtube.com/watch?v=U_2WwjKEasc) really helped me understand that incrementing angle each time moves x and y coordinates and eventually helps create a static spiral and by adding a change (being incremented each time) to angle each time, you can make it move continuously. I also realized that it was important to distinguish between polar and cartesian coordinates, since cos() and sin() are based upon a unit circle. Furthermore, I learned some new functions called beginShape() and endShape(), both of which are responsible for drawing a line between points. Overall, I struggled a lot to create a moving spiral, but these tutorials really helped me understand new concepts I needed to learn.
//spiral
  beginShape();
  for (let angle = 0; angle <= TWO_PI * n; angle += angleInc){
    let radius = scaler * angle; //radius
    let x_position = radius * cos(angle + change); //x coordinate
    let y_position = radius * sin(angle + change); //y coordinate
    change += changeInc; //increment change by changeInc
    vertex(x_position, y_position);
  }
  endShape();
Reflections & Future Improvements:
In terms of reflection, it took me a lot of time to figure out how to make a spiral using for loops and other functions we haven’t yet learned in class. Thus, I had to watch tutorials to learn these new functions and how to apply them. But this assignment helped me learn various concepts and how to integrate them with the concepts that we already learned in class. For future improvements, I would like to make the animation more interactive so that people can actually engage with it. Right now, it only changes the color of the spiral and eyes using your mouse, but I want to add interactive elements, where someone’s face gradually appears inside the spiral to make it creepier. I remember I got shocked when the main character’s father’s face appeared from the middle of the spiral in the anime. I think adding these kinds of elements can engage users by scaring them. Furthermore, I need to improve how I name my variables, because many of my variables have lengthy names, which makes the code a bit messy.