Sketch
My Concept
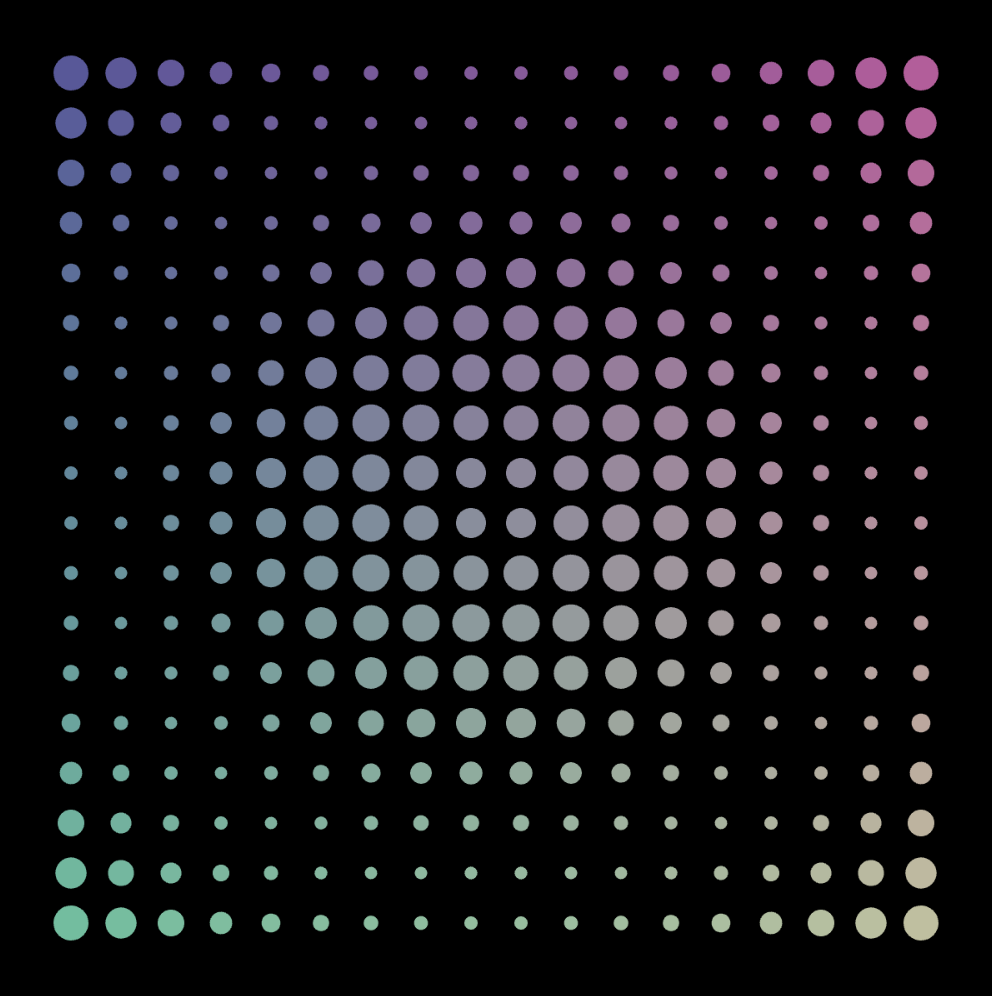
This week, I wanted to make a simple work of art using for() loops. The piece I made explores how repetition and rhythm can form mesmerizing visual patterns. I started with a simple grid of circles, using nested loops to control the rows and columns as we learned in class. I wanted to make a field of circles that felt alive, so I thought about how I was going to vary their sizes and colors. The sin() function in mathematics is frequently used to model oscillations and waves in nature, so I figured why not map the circles’ diameters to it in some way to shift their sizes in a wavy pattern as they moved across the canvas. As for varying the colors, I made two of the fill() function’s arguments dependent on the coordinates of the circle with each iteration of the loop, while keeping the other arguments constant so the colors don’t contrast too much.
Code Highlight
It was a bit tricky to figure out how exactly I was going to map the sin values to the size of each circle. I ended up defining the variable d as the distance of each circle from the center, and using it as input for sin. Since the range of sin, which is [-1,1], is too small to use as a radius, I used the map() function to to increase its range to [5,15]. Finally, I stored whatever was calculated in the size variable and used that in drawing each ellipse.
let d = dist(x, y, width / 2, height / 2); // distance from center
let size = map(sin(d * 0.05), -1, 1, 5, 15); // wavy circle sizes
ellipse(x, y, size); // draw the circle
This small section controls the shifting “wave” effect, transforming what would otherwise be a flat grid of circles into a dynamic field with depth and rhythm.
Reflection
I was amazed by how powerful loops can be in creating a piece that looks intricate but only requires a few lines of code. My entire draw function fit in 7 lines of code! At first glance, the result seems like something that would take countless steps to draw manually, but by letting the computer repeat instructions, complexity emerges naturally. It taught me to see code not only as instructions for individual shapes but as a way to design systems that generate patterns on their own. Another thing I that was cool is how small changes to the rules, like adjusting the sine function, completely transform the mood of the work.
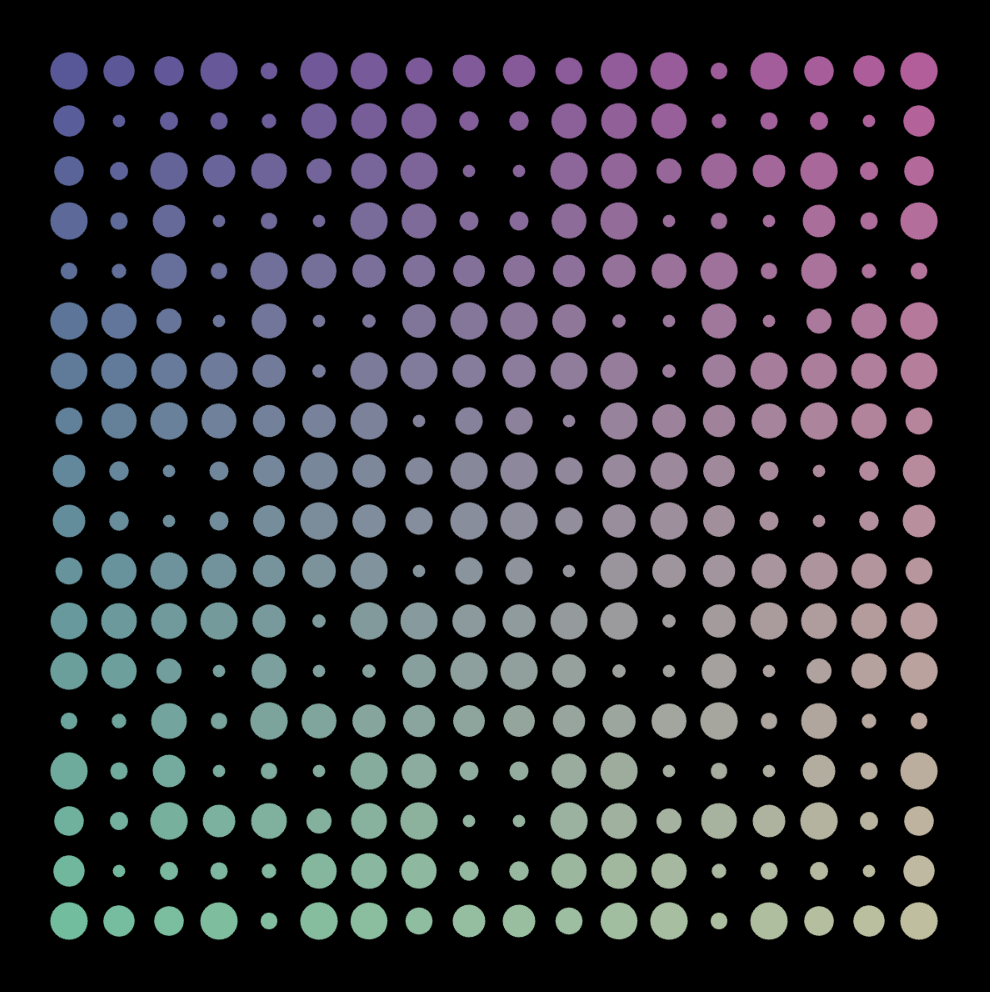 Using 10 as the coefficient of d