Week 8: Unusual Switch

Concept

For this assignment, I struggled to come up with the idea itself. I mean, a switch without using your hands is pretty tricky. I eventually came up with the idea of using an earring and a shoulder pad (of some sort). Basically, when you tilt your head (so the earring touches your shoulder), that’s when the connection happens and the LED turns off. It turns off because the whole idea is laziness. If I’m napping while sitting up, I tilt my head to the side toward my shoulder. So it makes more sense for the LED to turn off when I tilt my head, just like wanting to turn the lights off to go to sleep.

Code

void setup() {
pinMode(2, INPUT_PULLUP); //earring and shoulder foil
pinMode(12, OUTPUT);
}

void loop() {

if (digitalRead(2) == LOW) {
  digitalWrite(12, LOW); // LED turns off when earring connects to shoulder foil
}
else{
  digitalWrite(12, HIGH); // LED is on (not touching)
}
}


Here’s the video of the working switch: Video Demo

Here’s the picture of the wiring:

Future Improvements

Overall, the idea was simple, but I came across some problems. One was the LED kept blinking without a certain pattern, and I wasn’t really sure why. Then i scratched everything and redid it, and it worked. I think it might have been a problem with actually putting the wires and components on the circuit, so I will try to be more precise and careful in the future.

Reading Reflection – Week 8

Don Norman — “Emotion & Design: Attractive Things Work Better”

Don Norman argues that it’s important to design things to be visually pleasing and attractive because it makes us happier and improves how people use them. I agree with him because there were countless times when my mood or motivation dropped just because the things around me looked unattractive. A prime example for me is the room I work in, I probably wouldn’t be able to finish, let alone even start doing my work if I were in a gloomy room with barely any colors, or furniture that doesn’t complement each other. Overall, I find that I’m in a much more positive state of mind when I’m surrounded by things with an appealing design.

Robert McMillan — “Her Code Got Humans on the Moon”

The article about Margaret Hamilton really made me think about just how important not only the mission is, but the people who helped make it happen. Hamilton was a computer scientist in the 1960s who worked in MIT, where she led the development of the onboard flight software for the Apollo missions. I found it very impressive how she managed to succeed in a male-dominated field while also juggling her personal life, such as caring for her daughter, all while doing groundbreaking technical work at such a young age.

Thanks to Hamilton’s experience and clever approach to handling errors or casualties, she was able to save the astronauts on the Apollo 8 flight and bring them back home. I find it truly inspiring that even before they launched the mission, Hamilton wanted to add error-detection code “just in case.” Even when her higher-ups thought it was unnecessary, she didn’t give up and made sure the system could handle unexpected problems, and her preparation paid off in the end.

Midterm Project – Jedi’s Revenge

Link to Sketch: https://editor.p5js.org/ma9331/full/ZSQDV21v5

Concept

For my midterm project, I decided to make it Star Wars-themed. The main character of the game is Luke Skywalker, who is on a mission to defeat the Galactic Empire. Luke is on the Death Star (the enemy’s base), where he encounters countless Stormtroopers whom he needs to defeat.

Instead of having a main objective to achieve, I made it a score-based game. In this one-player game, the user plays as Luke Skywalker and slashes as many Stormtroopers (enemies) on the ship before the timer runs out and gets their score at the end.


Process

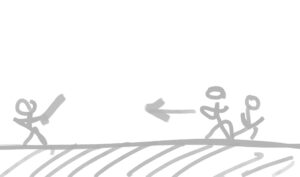
This is my initial sketch which ended up being pretty similar to the final game’s outcome. The Stormtroopers emerge from the far right side of the screen and move towards the other end of the screen. Luke moves using the arrow keys and attacks by holding the “e” key.

I made two separate classes: one for Luke (the player) and one for the Stormtroopers (NPC enemies). Luke has a constant speed but the Stormtroopers have a random speed to make it a bit more challenging.


Code I’m Proud of

//initial/starter enemies
  new Stormtroopers(windowWidth, windowHeight * 1.2, scale, enemies);
stormtroopers.push(
  new Stormtroopers(windowWidth + 200, windowHeight * 1.2, scale, enemies)
);
function spawnEnemies() { //respawn function
  stormtroopers.push(
    new Stormtroopers(windowWidth, windowHeight * 0.8, scale, enemies)
  );
  stormtroopers.push(
    new Stormtroopers(windowWidth - 10, windowHeight * 0.8, scale, enemies)
  );
}
if (stormtroopers[i].x < -10) { // enemies go offscreen
  stormtroopers.splice(i, 1); // remove from array once offscreen
  
  if(score>0){
    score -=10; // decrease score, keep >= 08
  }

I had a lot of issues with the enemies spawning and positioning. At first, only a few enemies would spawn at the start of the game but would not respawn. This was because i set the Stormtroopers to stop walking at x=0, so they could never reach less than x=-10 and trigger the respawn function. I had to experiment with different values because the first enemies spawn as soon as you click run (because they’re in the function setup), so their positioning in fullscreen was different from the ones that respawn after. Ultimately, the Y-positioning for the initial enemies had to be windowHeight*1.2, and for the respawns it had to be set to windowHeight*0.8 in order for it work on fullscreen, and to be in the same Y-position as the initial enemies.


Design

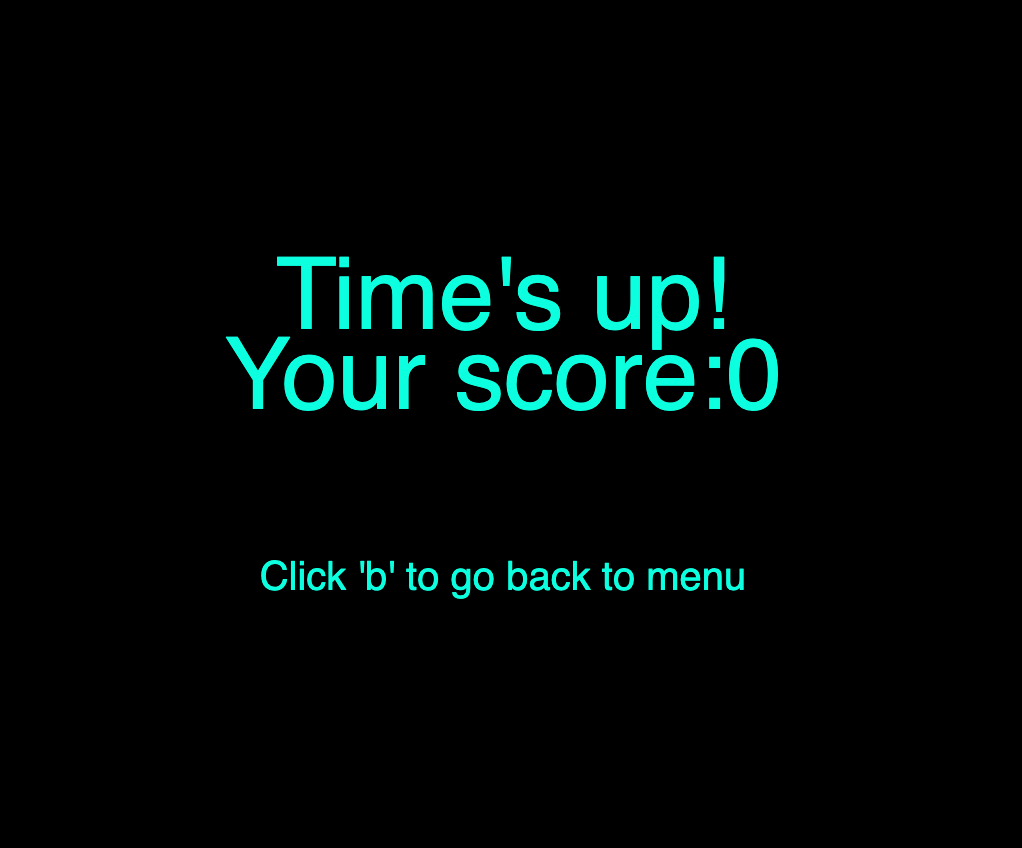
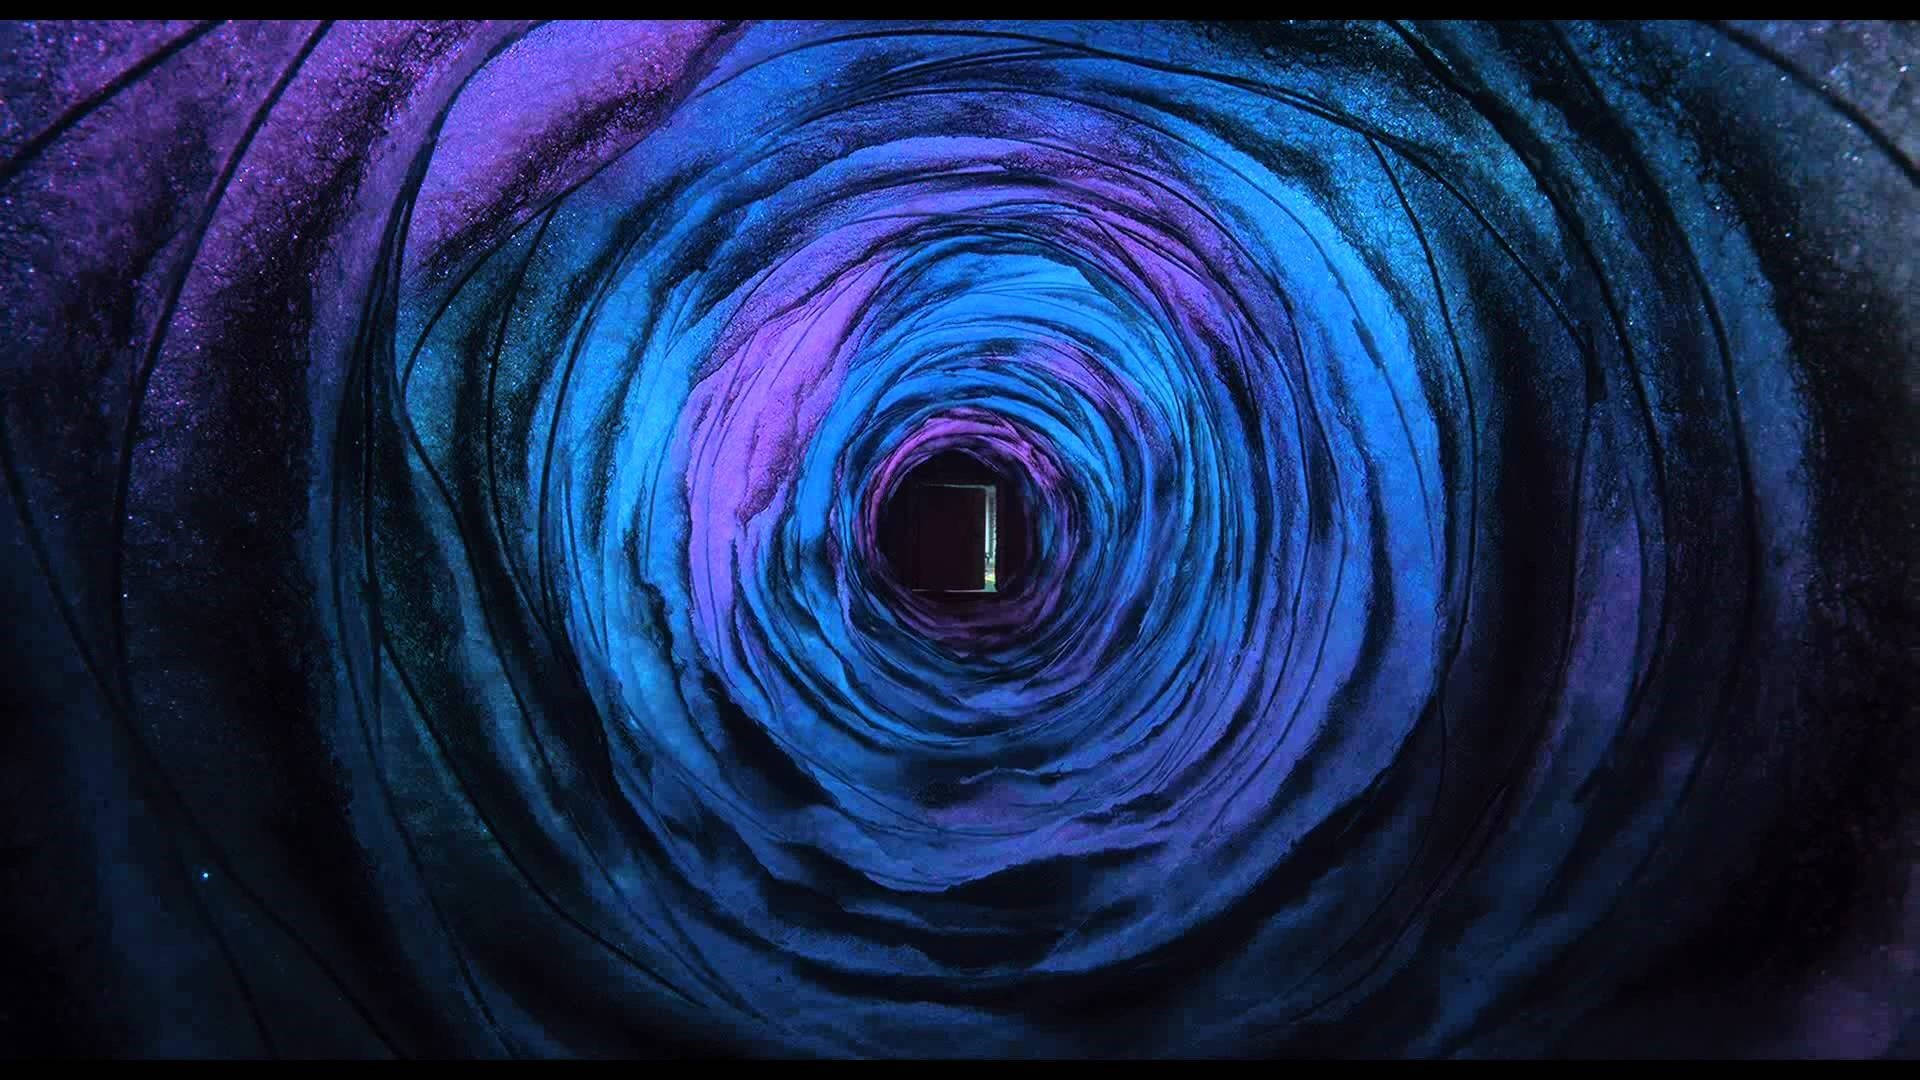
For the end screen in my game, I took inspiration from the title screen at the start of every Star Wars movie.

This is what my end screen looks like:

And this is the title screen from Star Wars films:


I thought it would be a really cool but simple nod to the movies.

Areas of Improvement

If I had more time, I would’ve experimented more with the Stormtroopers’ abilities and gave them their own attacks: one attack could be that they shoot the player from their guns and deal damage to the player. Also, I had the thought of adding a health bar for both Luke and the enemies to make the game a bit harder (killing the enemies would require more than just one slash) and not time-based.

Reading Reflection – Week 5

In this reading, Levin argues that the tools, techniques, and physical setups required for basic computer vision are no longer exclusive to only specialists, they can now be used by students and artists. Reading this article really got me thinking about how different human vision is from computer vision.

One way computer vision differs from human vision is that computers don’t have a built-in understanding; they just see pixels and values. They need algorithms to interpret color, brightness, motion, etc. Humans, on the other hand, have an innate understanding.

Some techniques we can use to help the computer see and track what we’re interested in include frame differencing (detecting motion by looking at changes between frames), background subtraction (using a static background and removing it to isolate objects), and brightness thresholding (using contrast to separate what you want from what you don’t).

Computer vision’s capacity for tracking and surveillance has its pros and cons. On the positive side, tracking allows for more responsive, immersive, and personal interactive art. On the downside, issues like surveillance, privacy and consent arise. If art is tracking people, there’s always a risk of misuse and discomfort.

Week 5: Midterm Progress

Concept

For my midterm project, I’ve decided to make a Star Wars-themed game, where the user plays as Luke Skywalker. The aim of the game is to defeat the Stormtroopers on the spaceship. The aesthetic of my game is going to look similar to the image below. I want to go for the pixel-style simple game.

Gangs wars pixel

I got the inspiration for my game’s mechanics from Street Fighter. But instead of two players fighting against each other, I’ll make it a one-player game fighting against NPC enemies.

I’m thinking of making my game look something like this:

Street Fighter II The World Warrior! / KEN Longplay / 4K HD 60 FPS - YouTube

Design and User Interaction

  • The player (Luke) will be able to move and attack.
  • The Stormtroopers will spawn on the opposite side of the screen and run towards Luke.
  • The game will include a time-limit (which goes on until all his lives/HP is gone, or to maximize points within the time-limit).

Challenges and Risks

The most complex part is probably figuring out how Stormtroopers attack. I’m probably going to program them in a single class, which will spawn all of the enemies and their attack patterns. I’m also uncertain about the point system. I’m not sure whether to go for an HP/lives system, or a points system where he gains points for killing each enemy. But either way I’ll include a time limit.

To minimize the risk, I’m planning to divide the player and NPCs into two separate classes. I’ll also experiment with a simple collision detection test to confirm that Luke’s attacks properly register against enemies.


This is what my sketch looks like so far:

Reading Reflection – Week 4


I have always thought some things could’ve been simpler. At times, I have had the thought that I was “dumb” for not being able to figure out how to use everyday appliances, but that’s not true. In this reading, Don Norman explains how the fault isn’t in the user, but in the design of things.

Something that drives me crazy is the variety of shower controls. Every time I go to a hotel or a friend’s house, the shower is always different from the one I’m used to. Some showers have two buttons for an overhead shower and a handheld one, but it’s not always clear which button controls which. I’ve even ended up soaked once because I accidentally turned on the overhead shower. You basically have to figure it out through trial and error, since there are rarely any instructions. This could be improved by creating a more universal design for shower controls, or by adding clear markings so it’s obvious what each button does.

Norman mentions feedback as a key principle of design, which is especially important in interactive media. Feedback lets users know their actions have been recognized by producing clear results. For example, an elevator button lights up when it’s pressed to show the action has been registered. In interactive media, feedback can be shown in many ways: a button changing color when clicked, a sound confirming an action, etc. Without feedback, users would feel lost or even think the system isn’t working.

Week 4: Data Visualization

Concept

For this project, I decided to make a data visualization using a dataset of Disney movies. Instead of showing the numbers in a typical bar chart, I wanted something more fun. I represented each genre as a balloon: the bigger the balloon, the more money that genre grossed overall. I also color coded the balloons: pink for drama, purple for musical, green for adventure and yellow for comedy, so each genre is easy to distinguish.

Favorite Code

I’m especially happy with the part where I drew the balloons. The shapes and colors turned out really cute, and combining the ellipse with the string image really tied it all together! This section of the code really brought the visualization to life:

//visuals
 stroke("rgba(255,255,255,0.75)");
 imageMode(CENTER);

 //drama genre balloon
 fill("#F8BCBC");
 image(squiggle, 68, 150, 20, 110);
 ellipse(70, 110, sDrama, sDrama);

 //musical genre balloon
 fill("#9194CF");
 image(squiggle, 130, 150, 20, 110);
 ellipse(130, 110, sMusical, sMusical);

 //adventure genre balloon
 fill("#66B6B6");
 image(squiggle, 225, 180, 20, 120);
 ellipse(225, 110, sAdventure, sAdventure);

 //comedy genre balloon
 fill("#EBF1AB");
 image(squiggle, 320, 150, 20, 110);
 ellipse(320, 110, sComedy, sComedy);

Here’s my sketch:

Reflection and Future Improvements

One challenge I had was calculating the total gross for each genre. I couldn’t figure out how to get the program to add everything automatically from the dataset, so I just did the math myself and typed in the totals. I know there’s probably a way to loop through the data and calculate those sums directly, but I couldn’t figure out how to write it.

For future improvements, I’d like to fix that so the totals are generated by the code itself. I also think it would be fun to add more genres (with more balloons), or even animate the balloons so they float around the screen like real ones. That would make the visualization more dynamic and interactive.


Reading Reflection – Week 3

Chris Crawford compares interactivity to two people holding a conversation, where each listens and responds, and that back and forth creates something dynamic. Before reading this, I hadn’t really thought deeply about what makes a system truly interactive, and Crawford’s explanation really clarified it for me. I agree with him because a strongly interactive system is one where the user’s input can meaningfully change the outcome, rather than just triggering a predictable or surface-level reaction. That’s when interaction feels real.

For my own p5 sketches, I’ve thought about ways I could improve the interactivity in them. Instead of just clicking to trigger something to happen, the sketch could react differently depending on the type of input, like how long you hold a key or how fast your mouse is moving. This would make the artwork/program feel less like a machine following certain orders and more like an actual conversation between the user and the program.

Week 3: Generative Artwork

Concept

When I thought about what to do for this assignment, I started brainstorming and eventually decided to create a simple simulation of rainfall. I always found rain both calming and visually appealing, so I wanted to capture that feeling in my artwork.

Code I’m Proud Of

I’m proud of this code because I figured out how to make the raindrops disappear at the bottom of the canvas (when they reach the sea). At first, I used pop(), but it didn’t work the way I wanted it to: it would randomly delete all the droplets in the middle of the page. So I researched a bit and instead, used splice(), it deletes the droplets when they reach the bottom of the page and works perfectly!

//deletes raindrops after they reach the sea
if (raindrops[i].disappear()) {
  raindrops.splice(i,1);
  //splice removes/deletes the disappeared raindrops 
}

Here’s the artwork I created:

Reflection and Future Improvements

Overall, I’m happy with the way my rainfall artwork turned out. I especially liked learning how to use arrays with objects because it made me think more carefully about organization and how each part of the code connects.

If I were to improve this piece in the future, I’d probably add sound effects of rain falling, or even experiment with lightning and thunder for a more dramatic atmosphere. Another idea I had is to adapt the same logic to create snow instead, using different PNGs for different snowflake shapes. That way, the piece could feel more unique while still using the same object-oriented structure I implemented here.

Week 2: Work of Art

Concept

For this assignment, I decided to create a simple artwork inspired by the portal in the movie Coraline. I’ve always loved how layered and colorful it looks in the film, so I used it as inspiration for my own piece.

Here’s a picture of the portal from Coraline:

Code I’m Proud Of

It took a lot of trial and error to get the loop working properly. Once I figured out how to write the condition correctly, the rings appeared just how I wanted them. I also added randomized colors of blue, purple, and pink to the rings to make them feel closer to the portal from Coraline. I also adjusted the frame rate to create more of a portal effect.

// circles size increase by an increment as it loops
 for (let i = 0; i < ring1; i += 1) {
   let s = minsize + i * increment;
   ellipse(centerX, centerY, s, s);

   // random colors from the list for each ring
   stroke(random(colors));
 }

Here’s the work of art I created:

Reflections and Improvements

Overall, I’m happy with how it turned out. I wasn’t trying to recreate the portal exactly, but instead capture the beauty of its colors and layers. However, I noticed it took me a really long time to figure everything out, and at one point the program kept crashing. I’d like to improve in understanding loops in general to be more efficient in future projects. I’d also love to add animation to this artwork, like making the rings spiral and swirl so it feels more like an actual magical portal.