Week 5: Reading Response

This week’s reading truly improved and clarified my understanding of computer vision and how interactions between humans and computers actually work. Initially, I knew computer vision differed from human vision, but I did not expect the difference to be that significant, as I assumed it still “sees” scenes in a similar way to us. I realized that computer vision operates in fundamentally different ways. Human vision naturally interprets what is in front of us and allows us to focus on what we want to see almost effortlessly. In contrast, computer vision relies on specific algorithms and processes images as numerical data including pixels, brightness, color values, distance, and other measurable characteristics. Rather than simply recognizing an object, the computer analyzes patterns within many pixels and numbers. While human vision can adapt easily to complex environments, computer vision often struggles unless it is carefully programmed and assigned clear, straightforward tasks. This made me think of everyday examples such as social media face filters and games like Just Dance, where tracking our movements seems simple but actually depends on structured computational processes behind the scenes.

I found the reading especially beneficial as a beginner in interactive media because it clearly explained techniques that help computers “see” or track what we are interested in. For example, the background subtraction technique allows the computer to detect people or objects within a frame by analyzing differences in pixels, color, and brightness, while the frame differencing technique helps detect motion by comparing changes between frames and locations of objects. These techniques along with many more show that computer vision depends on controlled conditions and specific goals. While the author explains the technical and creative potential of computer vision clearly, I feel that the perspective leans more toward its artistic possibilities than fully addressing its broader social risks. At the same time, thinking about computer vision’s capacity for tracking and surveillance made me question how far its use should go, or be allowed. Although it can enhance interactive art by increasing engagement and allowing systems to respond to users’ movements in real time, it can also raise privacy concerns and create discomfort, as users may feel constantly watched. Overall, the reading helped me better understand both the technical complexity and the ethical implications of computer vision, and it encouraged me to think more about how I might apply it responsibly in my own interactive media work.

Week 5- Midterm progress

Concept

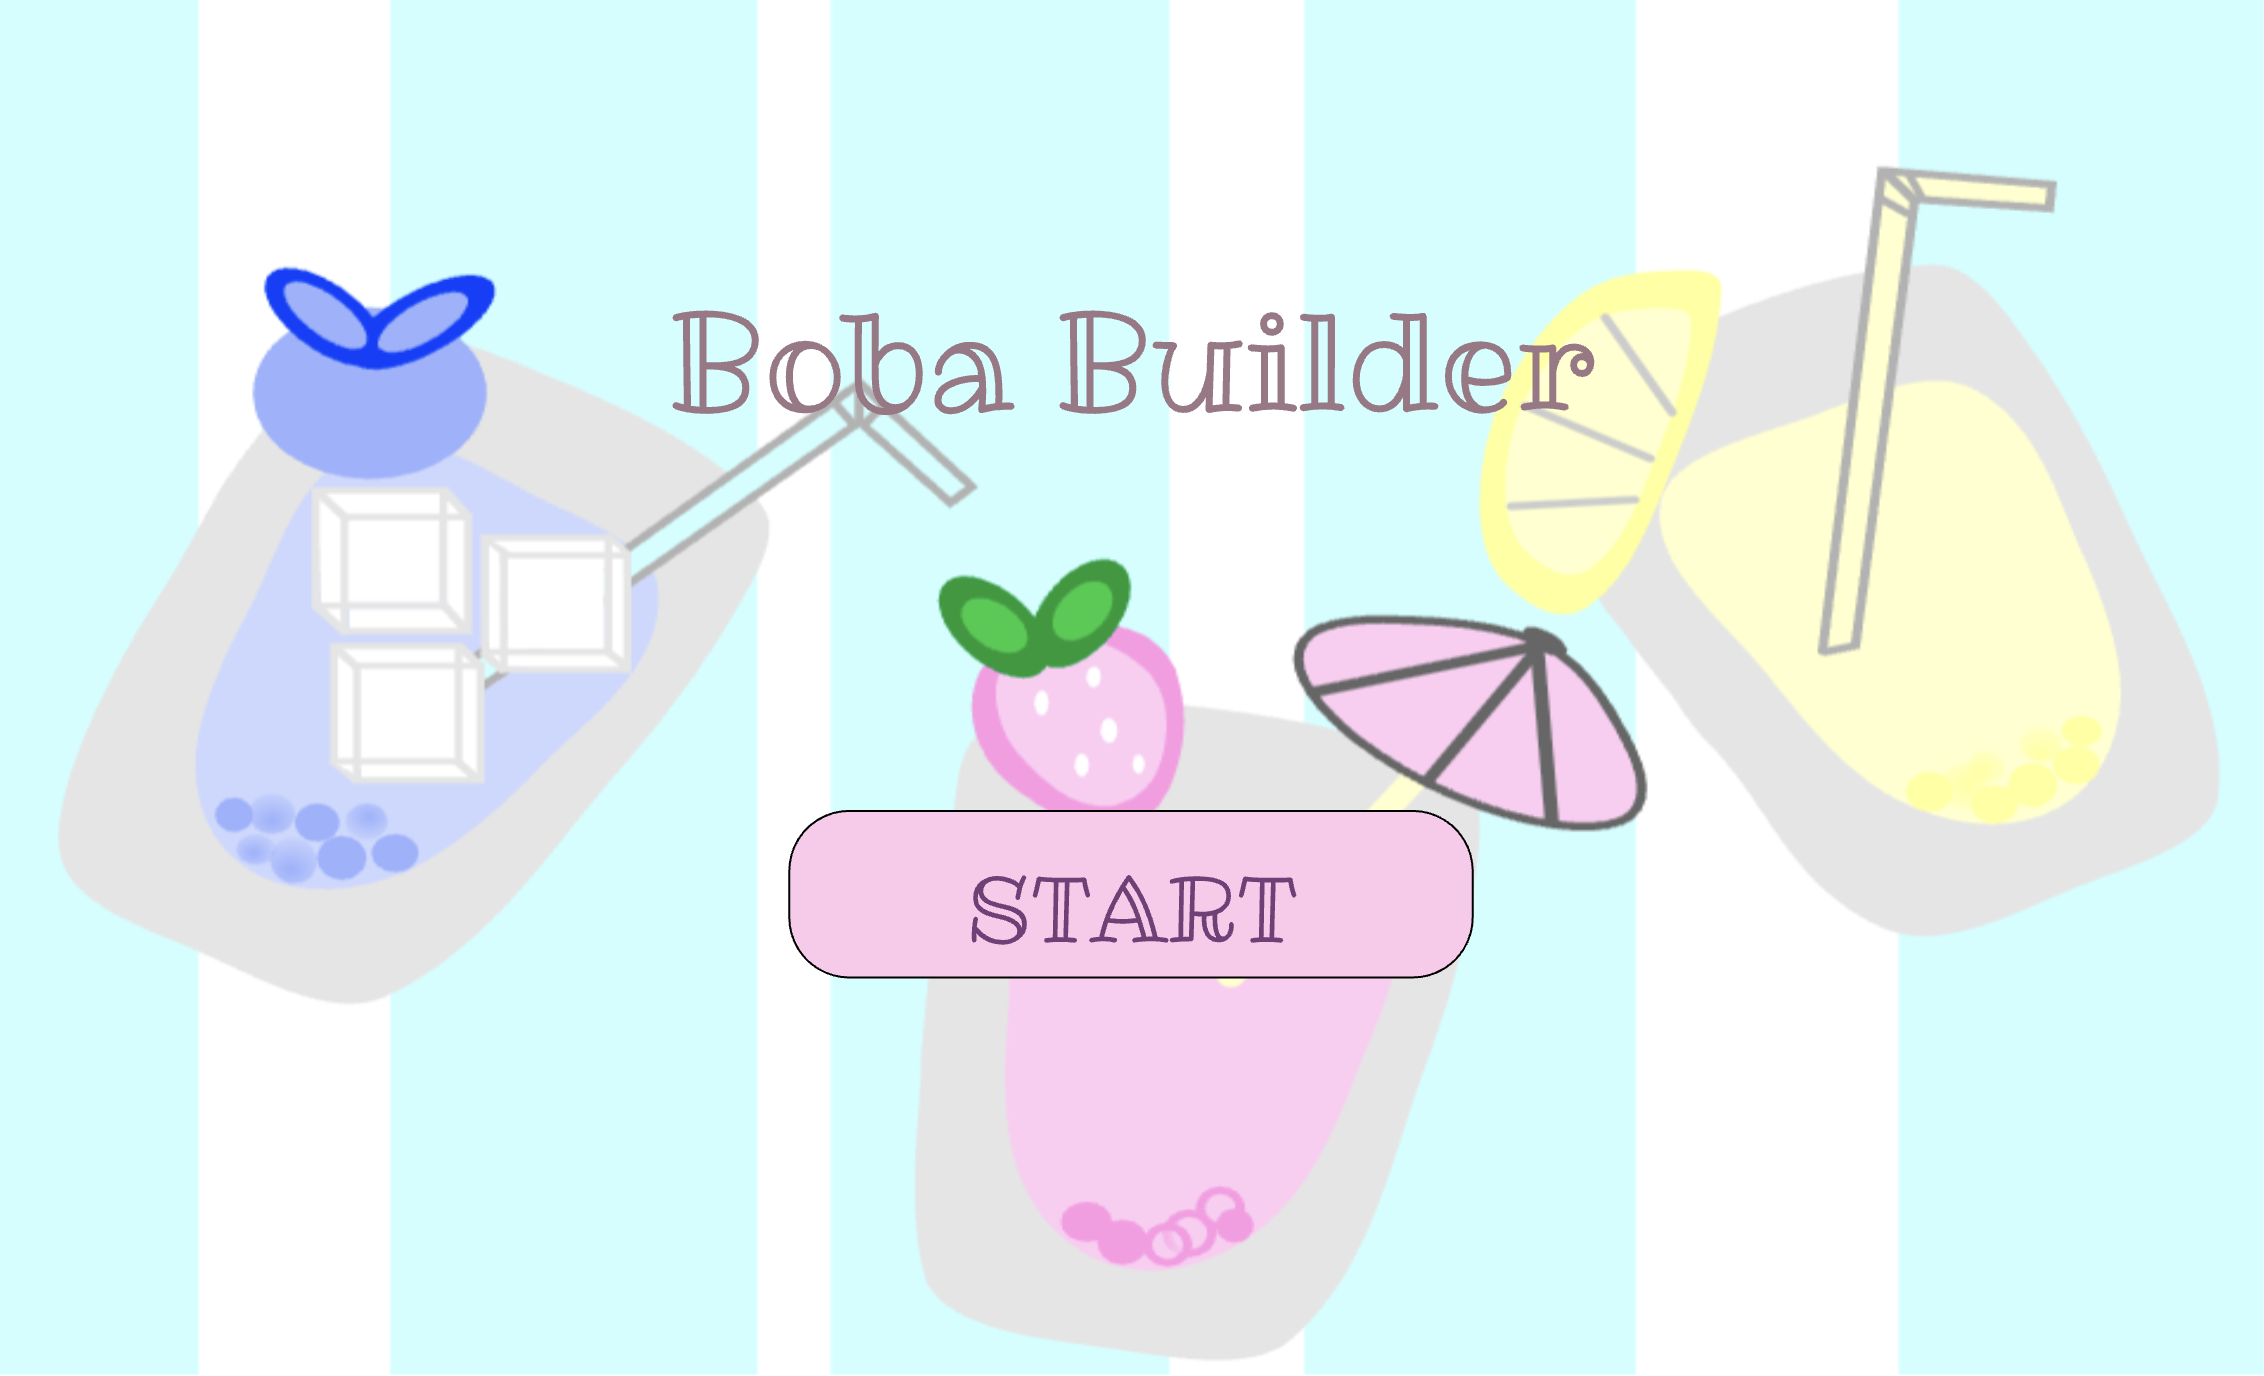
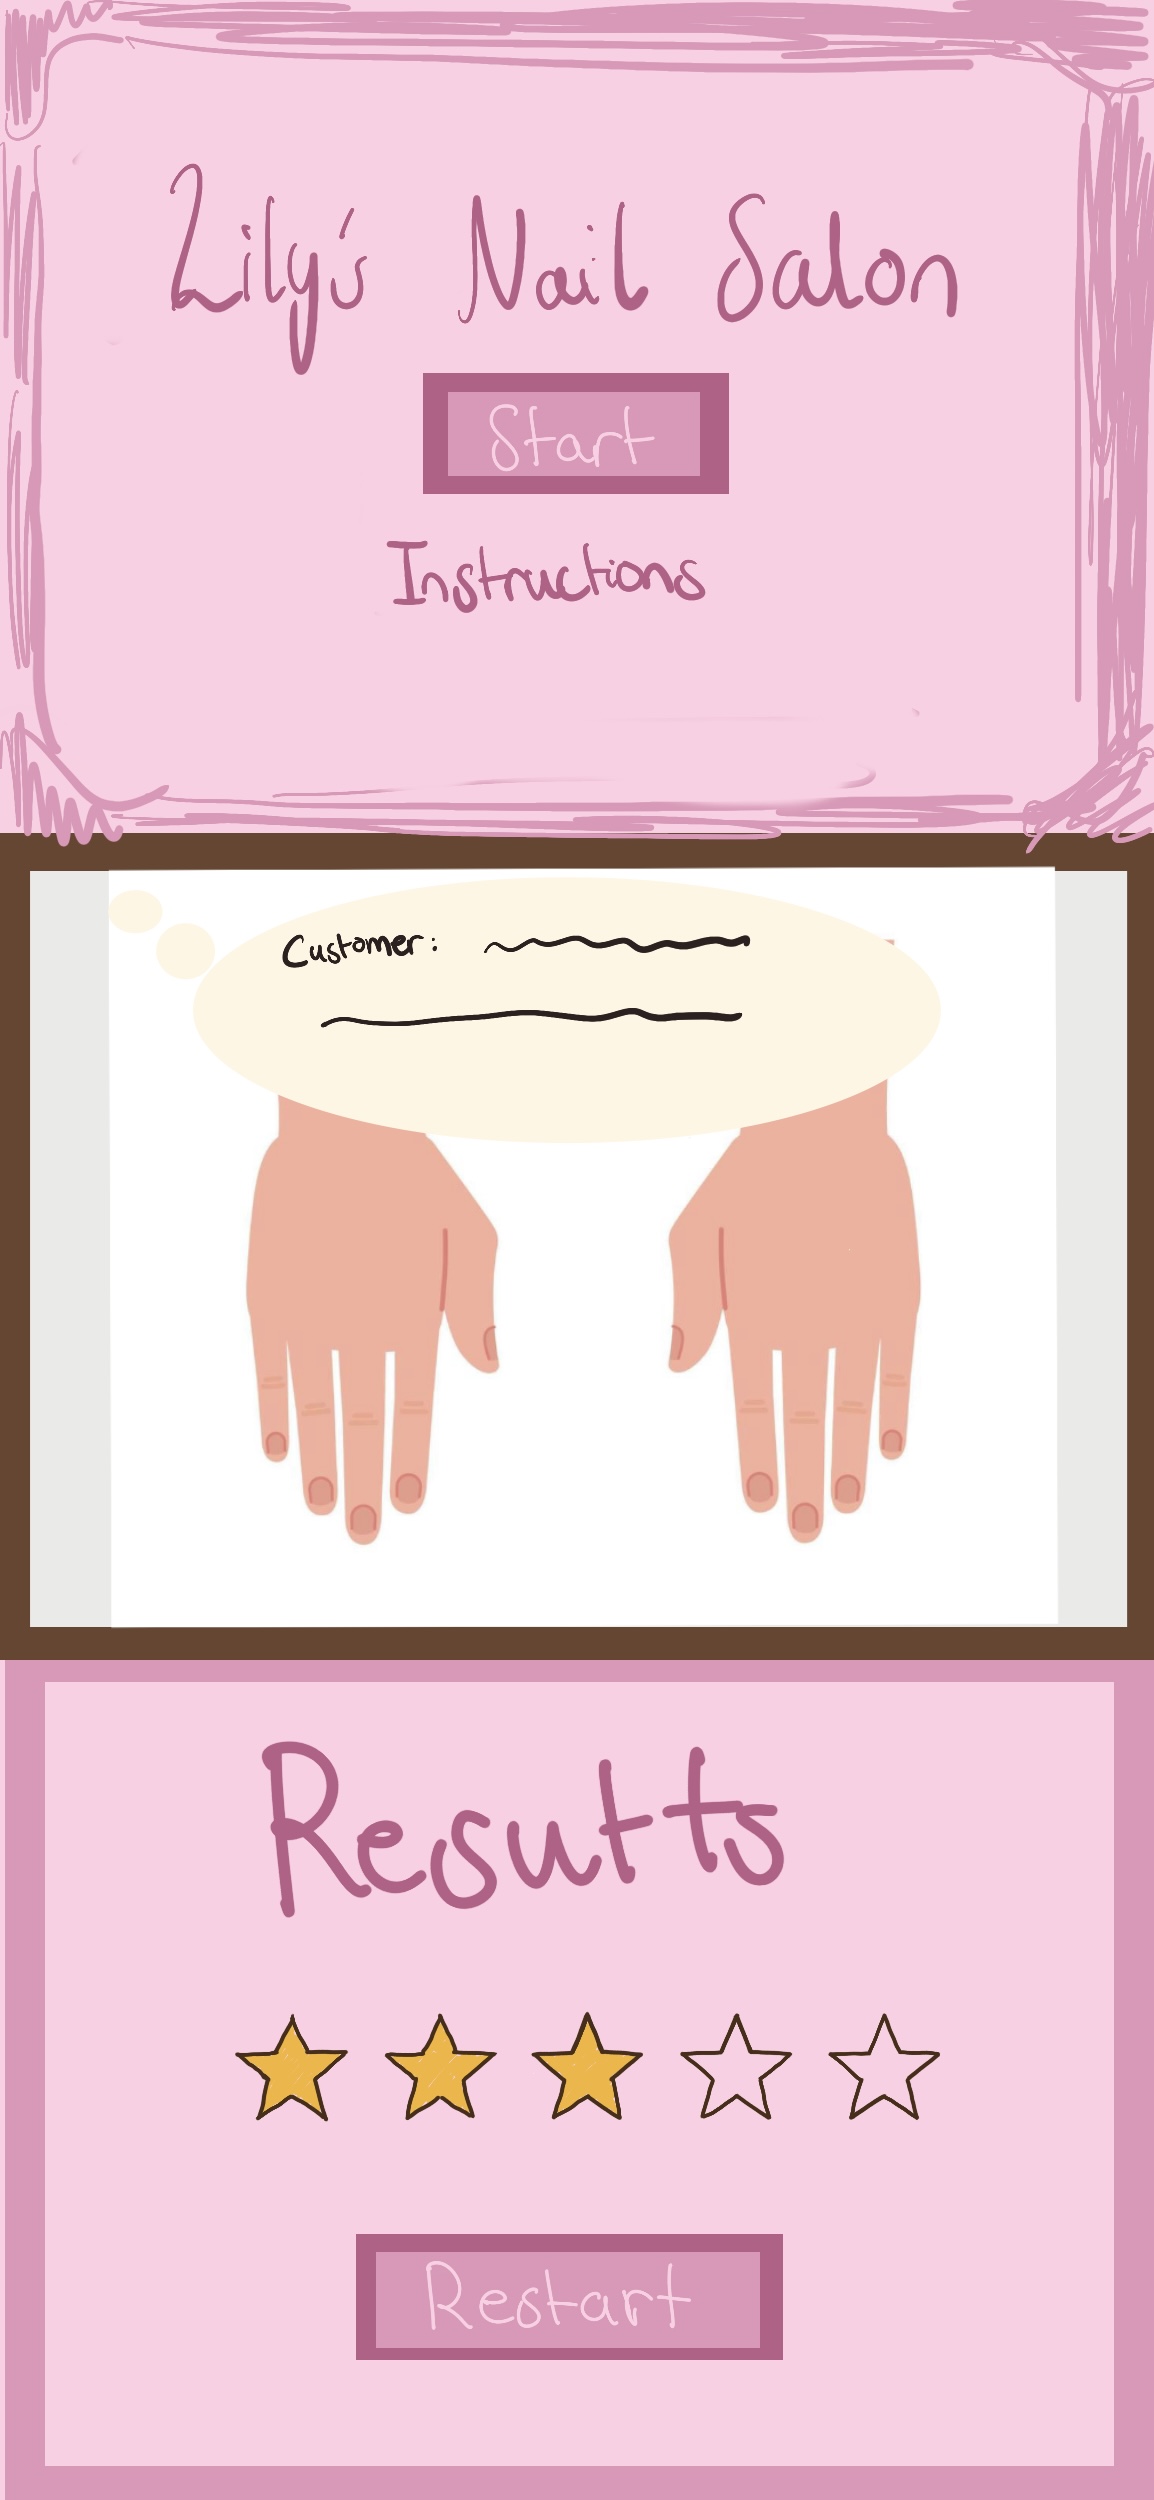
For my midterm project I am creating an interactive experience called The Talli Maker. As I worked on the project, I realized that building three full mini games was too ambitious for a midterm since i was originally thinking of creating a storyline experience, so I refined my idea into something more focused, cultural, and achievable. Instead of multiple levels, the entire experience now centers around one meaningful interaction inspired by traditional Emirati talli. When the user opens the game, they meet Yedo on the home screen. She explains that she is working on a piece of talli and needs help choosing the correct colored threads. The player taps to begin. The setting takes place inside a traditional Emirati house, creating a warm and familiar atmosphere. Colorful talli beads and threads float or move gently around the screen, each one representing a different part of the pattern Yedo is trying to complete. I plan on incorporating randomness since that’s a code I enjoyed implementing.

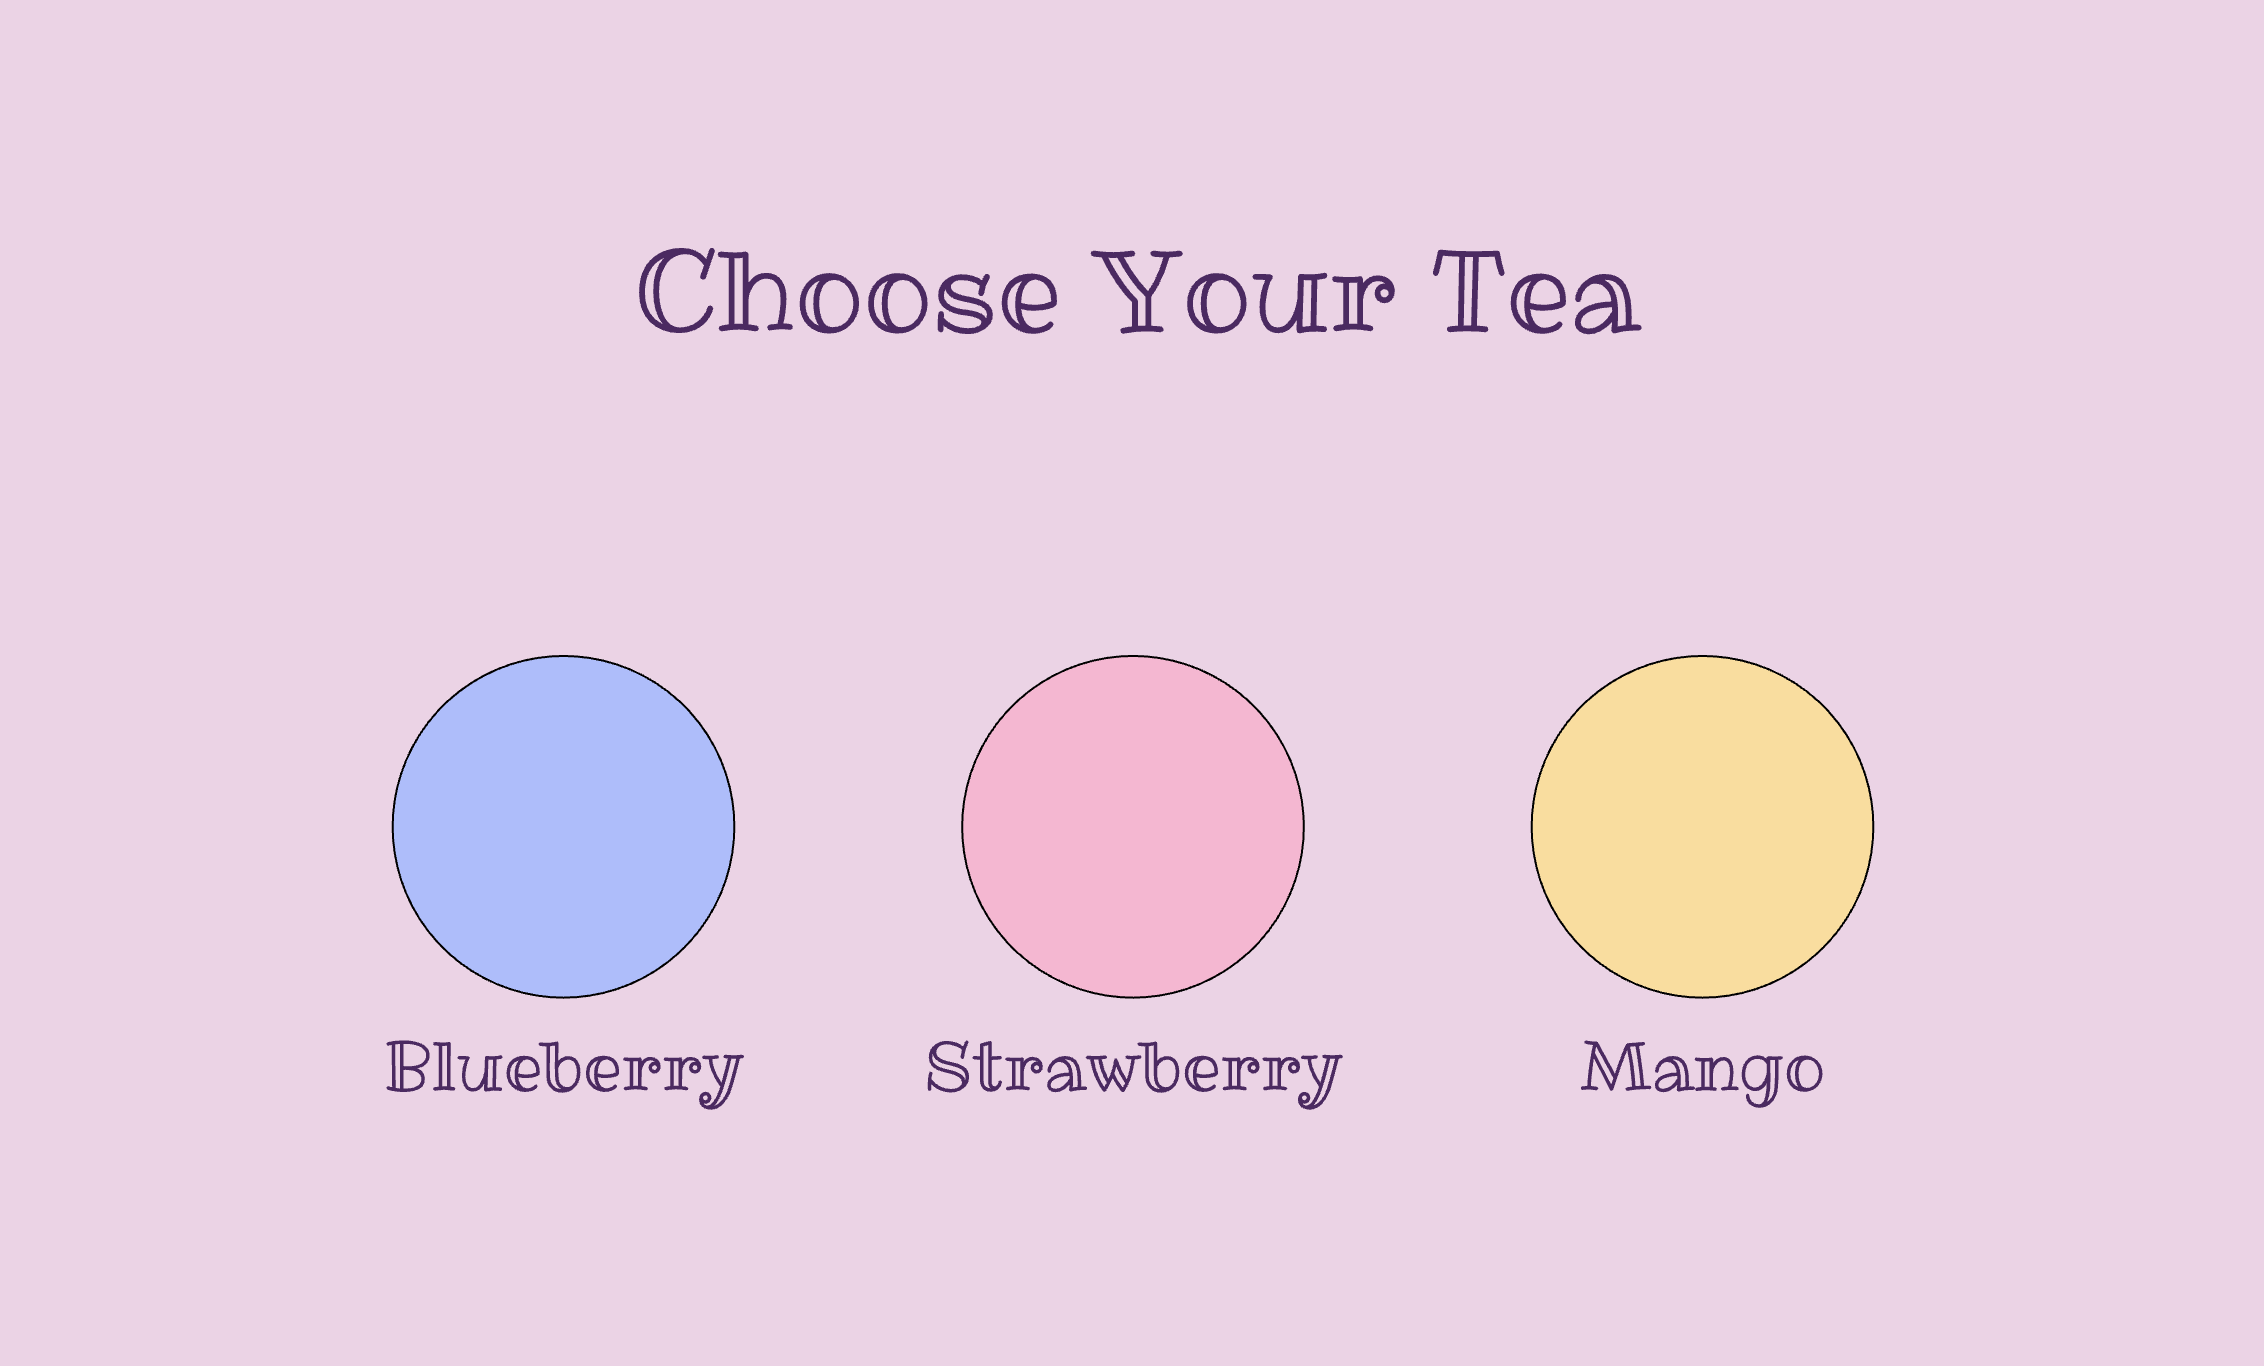
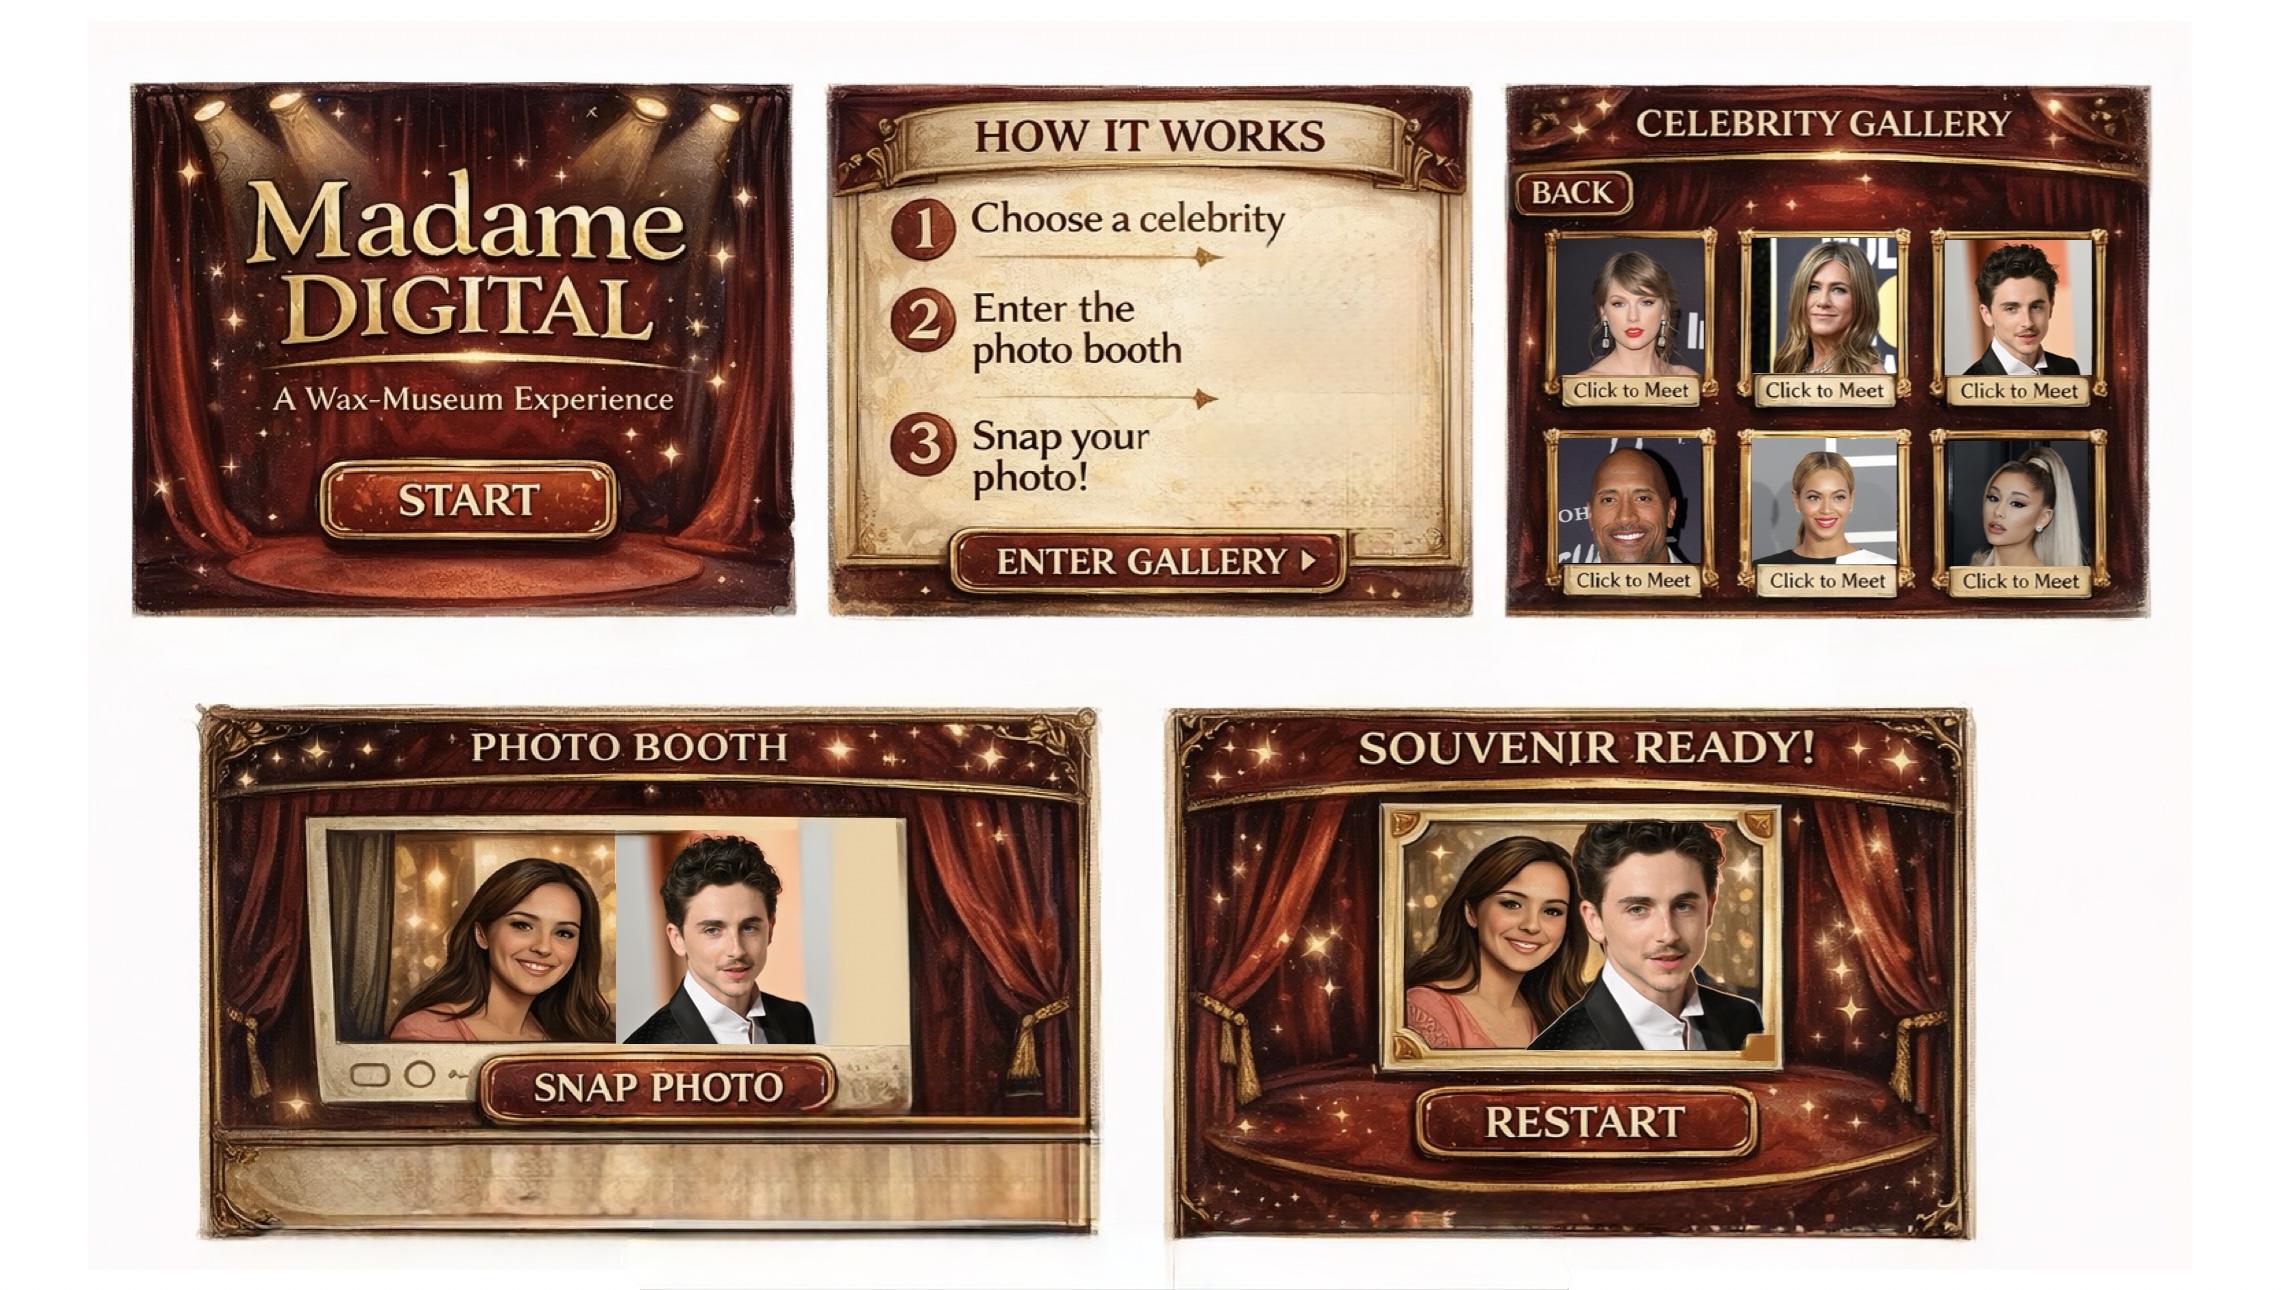
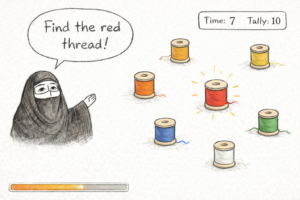
Generative ai helped me clear up the rough sketch this is a idea of how the game will look like but of course when actually played you will be able to see the randomness affect.

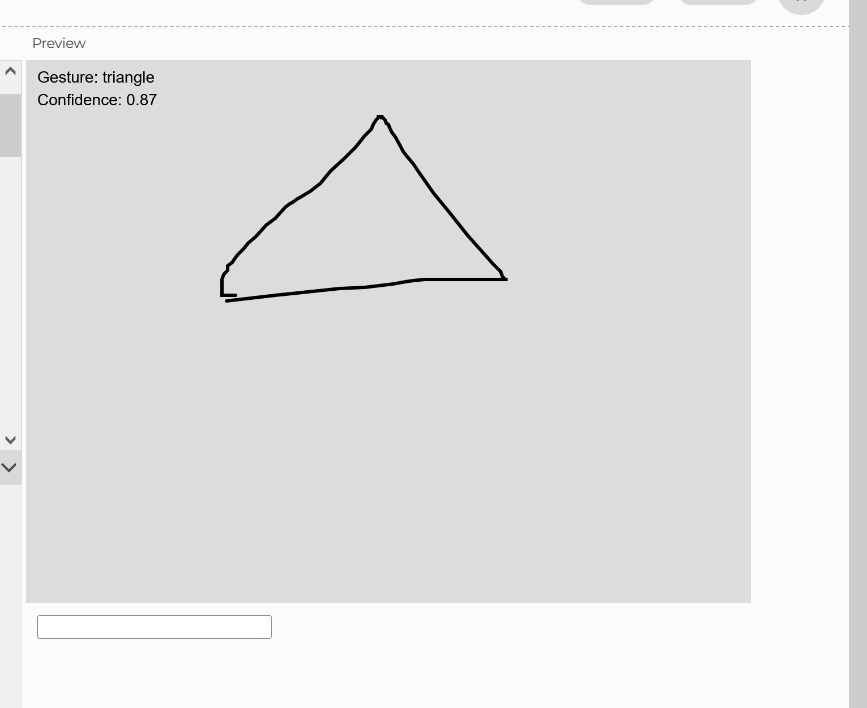
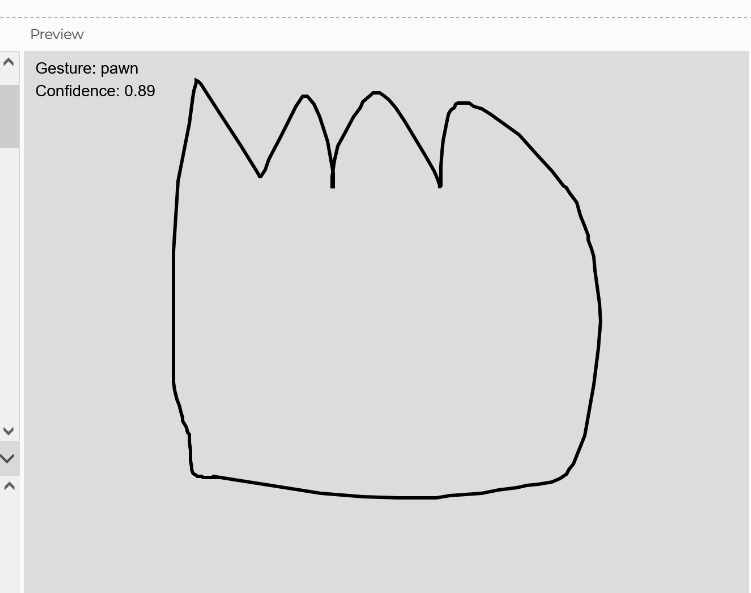
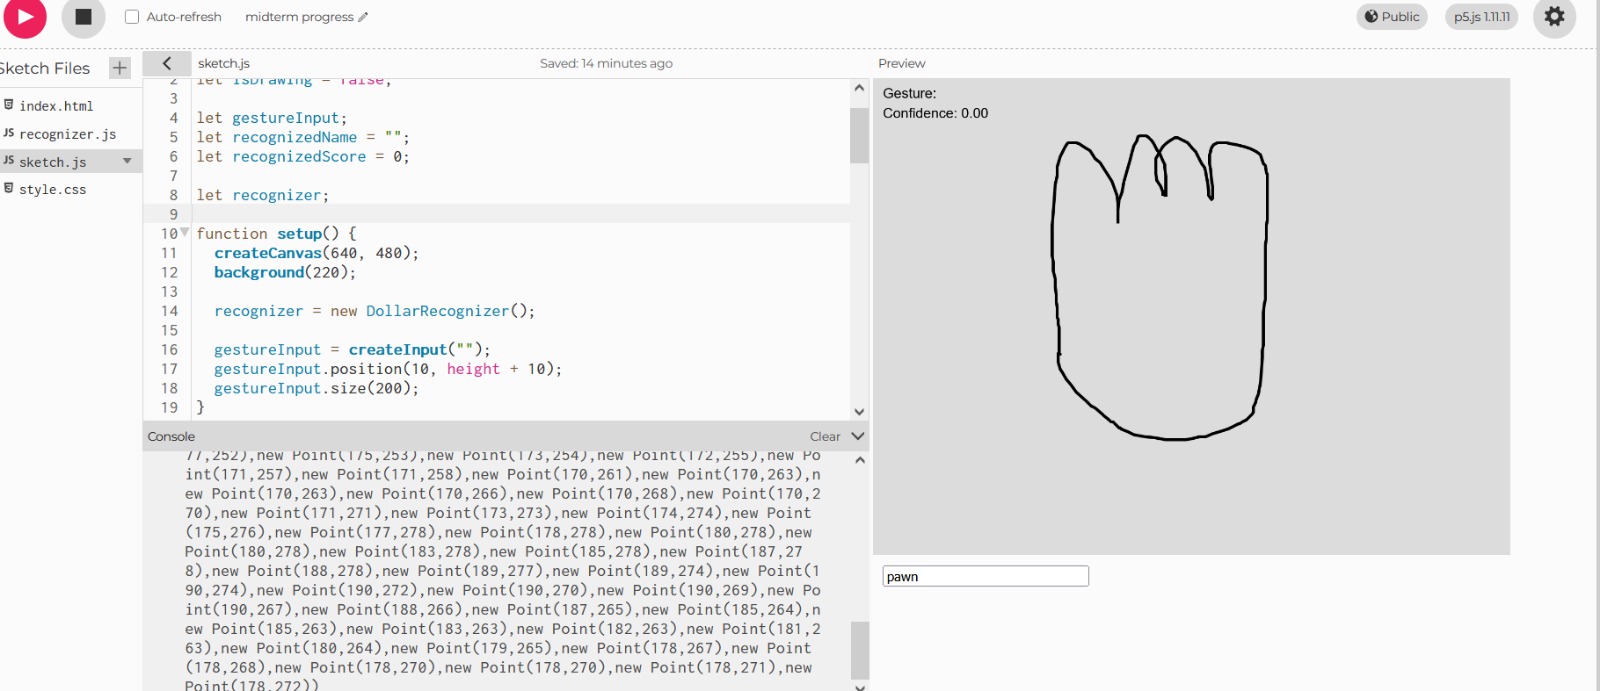
I also created the shape for the talli you can see it here:

https://editor.p5js.org/maa9946/sketches/KeancnIJE

Design and User Interaction:

To make the interaction original and reaction based, Yedo occasionally calls out a color she needs, such as “Find thered thread” and the player must react quickly and tap the correct bead before it disappears or moves away. Each round becomes slightly more challenging as the beads move faster or the colors change more frequently. This creates a playful rhythm that feels like a grandmother guiding a child through a traditional craft.

The experience is simple but meaningful. The user listens, observes, and reacts, helping Yedo complete her talli pattern one bead at a time. When enough correct beads are collected, Yedo thanks the player and shows the finished talli piece. The player can then restart the experience.

The user interaction design is clean and friendly. The game begins with a clear instruction screen where Yedo speaks directly to the player. The main interaction happens on a single screen, which keeps the experience focused and easy to follow. The player taps the correct bead based on Yedo’s instructions, and the game responds with animations, color changes, or small feedback effects. This structure allows the experience to feel complete without overwhelming the user.

My code design started with building the title screen and making sure the start button worked. I added a reset button so the user can restart the experience at any time. I loaded my fonts and images where Yedo speaks directly to the player. The main interaction happens on a single screen, which keeps the experience focused and easy to follow. The player taps the correct bead based on Yedo’s instructions, and the game responds with animations, color changes, or small feedback effects. This structure allows the experience to feel complete without overwhelming the user.

My next steps involve creating the bead objects, adding random movement, and implementing the color calling mechanic I will also add simple animations when the player taps the correct or incorrect bead. Using Object Oriented Programming will help keep the bead logic organized and easy to manage.

Most Challenging Part:

The most frightening part of my project was realizing that my original idea was too large for the time l had. worried about building multiple scenes, transitions, and mini games. So I decided to saty more focused on one cultural aspect: talli. For the talli code it would be the randomness and game like responsiveness affect an implementing more complex code like making sure my code is only run if its within the talli shape.

Risk Reduction:

To reduce this fear, simplified the concept and focused on one strong interaction instead of three weaker ones. This made the project feel more manageable and allowed me to put more attention into polish, responsiveness, and cultural detail. I also work on different p5js files for each step just to keep everything clean before I add it to the final version.

My next steps are to build the talli bead interaction, add the reaction-time color prompts, and create the final screen where Yedo shows the completed talli to avoid being overwhelmed by this at the end. Once the interaction works smoothly, I will add traditional Emirati music to make the experience feel warm and atmospheric. My goal is to create a small but meaningful interactive moment that feels personal, cultural, and complete.

Sources as of now:

Start button home page:

https://www.youtube.com/watch?v=HfvTNIe2IaQ

Fonts:

https://fonts.google.com/specimen/Old+Standard+TT?query=old

Reset button:

https://editor.p5js.org/mrquirk/sketches/_5Jdl1JKH

Shape bezier:

https://p5js.org/reference/p5/bezierVertex/

Week 5 – Midterm Progress

Concept

My midterm project is an interactive drink‑building experience called Boba Builder. The idea is simple, the user moves through different screens to create their own custom boba drink. It is an interactive and customizable experience and  where they choose a tea flavor, add toppings, decide on ice, pick a straw or umbrella, and then see the final drink displayed at the end.

Design

For my design I want my game/ interactive experience to have a playful theme with mostly colors being pastel, I want the theme to be a cute and fun experience. I want my game to be understood easily and for the player to be guided through each screen knowing what to do and everything is easy to follow.

The flow of the experience is straightforward: it starts on the main screen, then moves to the tea selection, followed by the pouring stage. After that, the player chooses their toppings, decides whether they want to add ice, and then decorates the drink. The final screen shows the completed boba based on all the choices the user made.

For the final outcome of the boba, I’m hoping the completed drink will look similar to the boba on my start page, with the ice, fruit, umbrella or straw, boba, and the different tea flavors all coming together after the user picks how they want their customizable boba to look like.

I drew the background in Procreate, and I plan to create all the other visuals there as well before importing them into p5.js.

Challenging Part

Since I want to draw my own visuals for almost everything, the most challenging part for me is handling all the visual assets while keeping everything aligned in fullscreen mode. I need to make sure they load correctly and stay positioned properly on different screen sizes. Currently, any click on the start screen takes you to the next page. I’m going to fix this so the game only starts when the player actually clicks the start button.

Reducing Risk

To reduce the risk I will probably load everything as soon as possible so that it would be easier for me to experience how everything will align together and I will look on p5’s reference to see if there is anything that would help with ensuring all assets will be fit to the full screen and will be positioned properly on different screen sizes. To avoid the issue of the screen changing on any click, I’m going to find tutorials to help with this issue and try finding something on p5 references that might help. This means the game will only start when the player actually clicks the start button.

References

  • p5.js Reference: keyTyped() Used to implement the “press f for fullscreen” interaction. https://p5js.org/reference/p5/keyTyped/
  • p5.js Reference: windowResized() Used to keep the canvas responsive when the browser window changes size. https://p5js.org/reference/p5/windowResized/
  • Fullscreen Example: Class Slides (Week 5)
  • Google Fonts: Ribeye Marrow font used in the project https://fonts.google.com/specimen/Ribeye+Marrow

Week 5 – Midterm Progress

Concept:

For my midterm project, I decided to create something inspired by one of my passions, Formula 1. I have been a huge Formula 1 fan for years, so I wanted to create something for my midterm project that I will enjoy working on.

I knew I wanted to create something related to Formula 1, but it took me some time to come up with my final idea. In the end, I decided to create a pit stop simulator game.

A pit stop in Formula 1 is the process of drivers coming into the garage to change their tyres mid-race. The entire process needs to take about 2-3 seconds to avoid the driver dropping out of places in the race. Below is a video demo of what a pit stop looks like.

The game would consist of 3 rounds. In each round, the car slides into the screen from the side, and you are given the order in which you need to change the tyres. You must click on the tyres in the correct order to change them as quickly as possible. If you click the wrong tyre, you get a 2.0s penalty added to your time. Your goal is to score the lowest time possible

Design:

I started by asking generative AI to create sample screen pages because I was struggling to imagine how they could look like. Below is a sample introduction screen, instructions page, and gameplay screen.

My original idea for the actual gameplay was to have an image of the pit stop view from the top. Something like this:

Pit Stop Top View F1 Racing Stock Vector (Royalty Free) 2602757631 | Shutterstock

However, I am struggling to find the exact image I am looking for, which is just a cartoon-ish pit stop area image, clear of the car and pit stop crew. Therefore, I designed the game differently for now. If I do find the background image I am looking for, I will change the design.

For sounds, I plan to incorporate a sound for the car pulling into and out of the “garage”, and the sound of the wheel gun when the player selects the right tyre.

Most Challenging Part:

Something I am a bit stressed about is tracking everything. When I think of how to implement each feature individually, it seems simple in my head; however, connecting everything, such as displaying the next tyre to be changed after the user completes it, and detecting if the user has clicked the right tyre or not, sounds a little bit overwhelming.

Another challenging part is ensuring all the elements on the screen move accordingly when they are in full-screen mode

Risk Reduction:

To reduce the risk, I need to properly plan which classes I am going to create and what elements need to be linked together before I begin coding. I think this would help me a lot with the full implementation and organization of the code. It would also give me a better understanding of how to translate my vision for the game into reality.


Week 5 – Midterm Progress

Concept

Every time I walk into Madame Tussauds, I feel this strange mix of excitement and also superficiality from the figures I am encountering. Because you’re standing next to someone you’ve only ever seen on a screen, except they’re not really there, and yet it still feels like you “met” them. It’s staged and curated, but somehow still memorable in a way. That exact feeling is what I want to recreate for my midterm, but in a digital format.

I don’t want to build another game where you’re trying to score points or beat something. I want to build an experience you move through. My idea is to create a wax-museum inspired digital space where you browse through celebrities, pick one and take a photo with them in a photo booth setup.

The whole concept revolves around that illusion of artificial closeness. You’re not actually meeting anyone, but you still walk away with a cute memory. I want users to feel like they stepped into a staged exhibit for a few minutes and left with a souvenir!

Design

Visually, I don’t want this to look like a bright and cartoonish app. I want it to feel sort of dramatic in a way, with a dark background and clean and polished looking framed celebrity cards.

I actually like that wax museums feel a little staged and exaggerated. I want the digital version to embrace that instead of hiding it.

The experience will start with a dramatic opening screen with soft background music. Nothing moves until the user presses start. That intentional pause kind of mimics standing outside an exhibit before stepping in.

After that, there will be a short instruction screen, and then the gallery. The gallery will show multiple celebrity cards. When you click it, you’ll move into the photo booth scene.

In the photo booth, your webcam will appear next to the celebrity you chose. There will be a snap button with a camera shutter sound, and then a final screen showing your “souvenir.” From there, you’ll be able to restart without refreshing everything, because I don’t want the experience to feel like it just cuts off.

Sound is also very important for my interactive experience. The gallery will have background music, and I might let it shift slightly depending on the celebrity chosen. Small things like that will make it feel less flat and boring and more alive.

Frightening Part

The webcam honestly scares me the most. The whole idea depends on that photo moment. If the camera doesn’t work, the entire concept kind of collapses. Browsers can be weird about permission sometimes, and I don’t want to build this whole dramatic museum and then realize the main interaction fails.

Reducing Risk

Instead of leaving the webcam for later, I’m going to test it early. I want to make sure the camera actually works and shows up inside the canvas and that I can capture a image from it before I build everything else around it.

Testing the technical parts like the camera webcam early will make the rest feel less stressful, because once I know the main interaction works, I can focus on the atmosphere of my experience, which is honestly the part i care about the most.

Week 5: reading reflection

The reading mentioned that computer vision works best when the artist helps the computer by controlling things like lighting, background, and contrast. Before reading this, I mostly thought of computer vision as a coding problem, but the reading made it feel more like a design problem too, which I liked because it connects the technical side to the creative side of interactive art. It also made me think about my own project, because even simple interactions can fail if the setup is not clear enough for the user or the system.

The reading also made me think more critically about how easily tracking can become part of an experience without users really thinking about it. In interactive art, tracking can make the work feel more immersive, but it can also feel invasive depending on how it is used. I do not necessarily think computer vision is automatically bad in art, but I do think it raises questions about consent and comfort. It made me wonder how artists can make interactive work engaging while still being clear and respectful about what is being tracked.

Assignment 5 – Midterm Progress

Concept Demo Below!


Sketch Below (Press mouse button for full screen)


Concept:

The name of the game right now is Cyberpunk Breach (tentative) and as you can see in the demo above I am doing for a cyberpunk theme game!

The game play is currently a work in progress, I have started on it but no character stripes implementation of yet. The concept is as such:

I took inspiration from a game called Magic Touch which is on the app store. The gist of the game is, you are a wizard, and you need to stop the robots from attacking you, the way you do that is pop the balloons that the robots are using, these balloons have specific glyph that you need to draw, if you draw them currently the balloon containing that glyph will pop.

Now I have added my own twist to this. I am making it cyberpunk themed, with drones rather, and the biggest change of functionality is the fact this entire game does not use your keyboard or mouse. It is entirely based on hand tracking, where you use your hand to navigate the menus, and play the game.

Now there are multiple issues with this that I have tackled or in the process of tackling.

The problem with hand tracking on browsers, is that they are really really REALLY latent and jittery. Latency would be a hard problem to fix since this is a browser issue, but jittery I can fix. This is where Kamlan filtering comes in play.

To explain the core concept:

The filtering has 3 steps:

– Predict

– Update

– Estimate

The Kalman filter works in a simple loop. First, it predicts what the system should look like next based on what it already knows. Then, it checks that prediction against a new (noisy) measurement and corrects itself.

Because of this, the Kalman filter has two main steps. The prediction step moves the current estimate forward in time and guesses how uncertain that estimate is. The correction step takes in a new measurement and uses it to adjust the prediction, giving a more accurate final estimate.

And finally, using a threshold, we can choose between using the estimated path, or the camera path.

Using this we can have pretty smooth hand tracking.

Now the issue of having recognized gestures, and even adding my own custom gestures, using a library called $1 Unistroke recognizer.

Alternate sketch just to test out the library:

The library has inbuilt strokes, so for example if we try to draw a triangle, the algorithm guesses your drawing with how confident it is:


You can also add your own custom gestures:

The tracking and the gesture recognition is what I was worried about before I got started on this project

For the final stages of the game:
I will need to work on the game-play itself and the process of implementing this into the game.

Week 5: Midterm progress

For my midterm project, I want to make a nail salon game in p5.js. The idea is that customers come in, and the player has to design nails that match how they feel. I want it to be more than just picking random colors, so their mood is what makes the game more creative. I also want to include a mood-guessing game at the beginning. The customer will say a short line, and the player will guess their mood before starting the nail design. Then the player designs the nails based on that mood, and the game gives feedback at the end.

I want the design of the project to look cute, simple, and easy to understand, like a cozy nail studio. I plan to use soft colors and clear buttons so the user can move through the experience without getting confused. The project will start with an instructions screen, then move to the main nail salon screen where the customer says their line and the player guesses their mood, then the player designs the nails, and finally sees a result screen with feedback and a restart option.

For the visuals, I will use shapes for the nails, buttons, and decorations, and images for things like the background or customer. I also plan to include sound and text for the customer’s reaction/line so the project feels more interactive. This is a sketch of what I’m planning for my game.

I think the most challenging part will be organizing the project and the code, and making sure everything appears at the right time. Since the project has multiple stages, I need to keep the flow clear and make sure the user knows what to do next. Another challenge is the nail design interaction itself. I still need to decide the simplest and best way for the player to apply colors and decorations. I want it to be easy to use, but still feel fun and creative. I also still have not figured out how to decide whether the final design matches the customer’s mood at the end or not.

To reduce that risk, I will first make a simple version of the project with only the screen flow and text/colors. This will help me test if the structure works before I spend time on the final visuals. I will also make a reusable button class early so I can use it for mood choices, color choices, and the restart button. After that, I will test the nail design interaction with basic shapes first, like clicking a button to change the nail color, and I may also try a brush-like stroke animation.


Week 5 Reading – Computer Vision

Computer Vision has always been something I’ve been interested in, I used it in my 3rd assignment and I am currently using it in my midterm project. The article has given me answers to questions I have had while working with computer vision.

So far I have really only worked with hands, and it got me really curious, how does the AI model what is a hand and what isn’t, to the point it can assign so many key points to a single hand, it knows where the each finger tip is, the middle, the base and so on. And I know this article doesn’t fully answer this, but it gave me an idea to what exactly is computer vision. To a computer with no inherent context, anything it “sees” is just a bunch of no pixels with absolutely no relation whatsoever. It relies on mathematical calculations to make it’s own to context to what is happening and what is what.  But that is just an abstract definition, honestly the techniques provided seem to only work in really specific cases, the author says there is no computer vision algorithm which is “completely” general.

I am going to have to disagree with that on the basis that this is not specific enough. Hand detection algorithms seem to work in almost any environment. It is able to detect when a hand is on screen or not, even multiple hands. Now if we take a hand algorithm and say that this algorithm wont detect this object in any environment? Of course it won’t. When we say general we need some sort of context to what general is! A lot of hand detection algorithms can be considered general in detecting hands no matter the environment for example.

There is a detection technique that I had to learn to improve my hand detection in the midterm project, and it is called Kalman filtering. To briefly describe this technique, the algorithm tries to predict the location of what it is tracking in the next frame, an compares it to the what the location actually is, and depending on a threshold we give this algorithm, the visualization of this tracking will either follow our predicted calculation, or the camera’s calculation. And this is an algorithm which I found to be quite intuitive in how it works, and I have noticed considerable difference in my hand tracking after implementation.

Honestly computer vision’s potential in interactive art is so extremely untapped. I do not see many people implementing it besides very few, and considering how accessible it is now to implement, it is such a shame We can have true interaction with our art work if we have the computer make decisions based on what it sees, giving us a new piece, not just every time the program is ran, but every time the background or the person does something.

Assignment 5 – Midterm Progress

Concept
For my midterm project, I decided to create an interactive courtroom experience where the player becomes the judge and has to decide whether a defendant is guilty or not guilty based on testimony and evidence. The original element of my project is that the player must interpret conflicting evidence and testimony rather than relying on obvious clues, making each decision feel uncertain and investigative. I chose this idea because I was interested in how people interpret information differently and how evidence can sometimes be misleading depending on how it’s presented. I wanted to design something that makes the user think critically rather than just react quickly. Also, because I love law and the process in general.

The experience begins with a cover, then an instruction screen that explains what the user has to do. From there, they move through the trial, evidence review, verdict decision, and final results. Each case is randomly generated from a set of scenarios, so the experience feels different every time someone plays.

Design
So far, I have focused on designing both the concept and the structure of the project. I planned out the different screens first (cover, instructions, trial, evidence, verdict, result) so I could understand the flow before building anything. That helped me feel less overwhelmed because I could work on one part at a time instead of the whole game at once. I went ahead and made the backgrounds using Canva and some generative AI pieces with the text (I will implement on-screen text for the testimonies), here are some:

Right now, I have the main structure of the game working, like the interaction controls, screen transitions, and the characters. I separated everything into classes and functions, and made some interactive buttons and keys to move through the different stages. I already have an idea in mind on how I want this game to work, so now I’m just trying to put it all together. I also started designing case scenarios, and I came up with 20. Now I just need to think about designing the visual evidence icons because I will have 5 pieces of evidence displayed for each case.

Visually, I plan to keep the characters stylized and minimal, created using p5 shapes instead of detailed illustrations. I want the courtroom environment to feel cohesive but not overly complex, so the focus stays on interaction and decision-making. The characters (defendant, lawyer, and witness) are drawn from mid-chest up using oop, so I can easily place them anywhere on the screen.

Challenging Aspects
The most frustrating and uncertain part so far has been positioning the elements on the screen, especially when switching to full-screen mode. My characters kept moving to different places, which made it hard to design the layout. Another difficult aspect is managing multiple interactive elements at once, like the hover detection, clickable areas, and screen transitions, because they all require precise logic to work smoothly together. I’m also worried about making all of the pieces of evidence using shapes, but I am thinking about doing them on different sketches, finding inspiration, and then combining them into my final sketch.

Risk Prevention
To reduce the layout issues, I switched from fixed pixel positioning to relative positioning based on the canvas width and height. This allows the objects to scale and stay in the correct space even when the screen size changes. I also used a coordinate display tool that shows my mouse position on screen while designing, to help me put everything precisely instead of guessing.

Also, to manage the interaction complexity, I tested individual features separately before combining them. For example, I built and tested hover detection for the characters before integrating it into the full scene. I also focused on building the basic system early, so I could confirm that the scene transitions worked before adding the detailed images. To me, breaking the project into smaller testable parts made the process feel more manageable.

Moving forward, I want to focus on refining the visuals, adding the pop-up for the testimony and evidence, which you get when you click on the character, and the sounds.