
Unlike human vision, computer vision is not as malleable and flexible. It is trained on the basis of algorithms, therefore, if any error occurs, it’s not as quick to adapts and lacks human adaptability. Instead, it would need to be trained. I believe that in order to translate our physical world for computer vision and algorithms, we must map out their particular characteristics which make them stand out. Almost similar to how we would explain to a child (or even a visual of a child’s painting) reveals the most identifying aspects of particularities in our physical world. Since computer vision has certain limitations and require algorithm training, you would need to extensively train the computers to read what you want it to read in extreme detail. In addition, you would want to make sure it makes no errors especially since surveillance and privacy are extremely sensitive topics in the digital world.
Month: February 2026
week 5 reading response
human vision and computer vision is actually quite similar in a way. humans are especially attuned to detect even the most subliminal changes in their physical environment, be it sound or light or movement etc.
to illustrate just how important change is for our “vision”, next time you’re in a very dark room (when you go to bed tonight), try and stare at the far corner without blinking or moving your eyes. you’ll begin to notice that, gradually, a darkness is creeping up from your peripherals and slowly makes it way towards the centerpoint of your vision. i thought this was so cool when i first discovered it, felt like i was falling into a void. this happens because the rods in your eyes (which are attuned to both light and movement) and the cones (which are attuned to color) are almost completely deprived of stimulation. your brain figures you dont need your vision if theres nothing to detect.
this is also the reason why we are constantly moving our eyes. ever notice the little micromovements your eyes are always making when your attention is focused externally? they need the movement to help keep them stimulated enough to see. and also, ever notice how, when theres a noise that’s been going on for a long time, you only notice it when it suddenly stops? the brain kind of filters out stimuli that are continuous and unchanging. it’s looking for change, just like computer vision does.
it’s important to realize how inseparable technology and art both are from human biology, it’s all modeled off of our understanding of ourselves. the farther we progress in the fields of biology, medicine, neuroscience, and psychology, the greater capacity we have for advancements and inspiration in ai, computers, architecture, and, by extension, interactive media art.
week 3
-
- concept:
simple, i wanted to create a cute blinking birdie staring at some trippy stars and contemplating things. what on earth could he possibly be pondering about? i fear we will never know.
- A highlight of some code that i’m particularly proud of:
i used while() and if() functions to make the background animation. it’s quite literally just a bunch of thin white concentric circle patterns bouncing off the edges of the canvas, overlapping with eachother and a static one in the middle. pretty neat.
//sky pattern
 rectMode(CENTER);
 strokeWeight(0.4);
 stroke(255);
 stroke("white");
 noFill();

 while (sky > 1 && sky < 900) {
   circle(200, 200, 1);
   circle(200, 200, sky);
   sky += 10;
 }

 stroke(0);

 //pattern 1
 Circle(10, x, y);
 if (y > 375 || y < 25) {
   speedY = speedY * -1;
 }
 if (x > 375 || x < 25) {
   speedX = speedX * -1;
 }
 x = x + speedX;
 y = y + speedY;

 // pattern 2
 Circle(10, a, b);

 if (b > 375 || b < 25) {
   speedB = speedB * -1;
 }
 if (a > 375 || a < 25) {
   speedA = speedA * -1;
 }
 a = a + speedA;
 b = b + speedB;
i also used a randomGaussian() function to have the birdie blink at random intervals.
function lilGuy(){
push();
let r = randomGaussian(50, 150);
stroke(0);
strokeWeight(1);
translate(90, 0);
fill(255);
arc(195, 355.5, 80, 160, 270, 0, PIE);
circle(195, 265, 39);
arc(194, 280, 55, 25, 180, 270, PIE);
strokeWeight(0);
arc(195.5, 360.5, 80, 170, 270, 0);
circle(195, 265, 38);
strokeWeight(1.5);
fill(255);
strokeWeight(1.5);
ellipse(192, 267, w, h);
if (r < 51 && r > 45) {
h = 1;
} else {
h = 17;
}
pop();
}
- Reflection and ideas for future work or improvements:
if i had more time, i’d definitely add an interactive element, maybe some dialogue options so you can chat with the strange bird and get to the bottom of what he’s been musing about all mysteriously.
week 5 – midterm project
project concept:
for my midterm project, i’m planning to create a simple pixel rpg-style demo. the demo will start with an interactive cutscene, then the player will be able to navigate a room / setting. the details are very vague, but i’ll figure out what works as i make progress.
design:
my visual inspirations for this project are the games Undertale (particularly the way the sprites and backgrounds are designed), and Sally Face, which i’m using as a reference on how to visually incorporate the dialogue interactions as well as the vibe i’m going for.
i drew the sprites via pixelart.com (honestly i spent more time on them than the coding itself…), and the background music is an 8-bit cover i found of a deftones song, which i thought sounded pretty awesome. going forward, i intend to draw a pixel background with some interactive elements for the player to navigate. i want the overall experience to look eerie and sickly (which is why the sprite i made may seem a little jaundiced).
most frightening part and how i tackled it:
having to animate a sprite was definitely the most intimidating part for me. to start off, i reread the slides and really studied the examples provided. problem was, i wanted my sprite to be able to move while the arrow keys are pressed, unlike the example in the slides where you have to spam the keys rapidly. to figure out how to achieve this, i did some googling and scrounged around for (mostly useless) advice on the internet (obviously including ai overview), and ultimately was referred back to the KeyIsDown() reference page on p5.js. however, in trying to incorporate what i was learning, the code got extremely messy and buggy. all sort of horrendous things happened to my little sprite – i cannot bear to speak of it. eventually, i figured things out myself through trial and error (like always), and, while heavily relied on my references to keep me on the right track, all the code is written by me. (i shall add comments later when i continue to work on the project.)
function draw() {
  background(0);
  if (keyIsDown(DOWN_ARROW)) {
    direction = 0;
    y += speed;
    step = (step + 1) % 4;
  } else if (keyIsDown(LEFT_ARROW)) {
    direction = 2;
    x -= speed;
    step = (step + 1) % 4;
  } else if (keyIsDown(UP_ARROW)) {
    direction = 1;
    y -= speed;
    step = (step + 1) % 4;
  } else if (keyIsDown(RIGHT_ARROW)) {
    direction = 3;
    x += speed;
    step = (step + 1) % 4;
  } else {
    step = 0;
  }
  if (y <= 0) {
    y = 0;
  }
  if (x <= 0) {
    x = 0;
  }
  if (y >= windowHeight - 126) {
    y = windowHeight - 126;
  }
  if (x >= windowWidth - 60) {
    x = windowWidth - 60;
  }
  image(sprites[direction][step], x, y, 70, 147);
}
references:
as mentioned earlier, ai was used in the sense that it popped up and tried to provide answers to the questions i googled. i used it as a tool to try and understand how KeyIsDown works when i was experiencing bugs and analyzed the (very simple) examples it provided, then tried to implement what i learned into my code. I did not ask it to fix my bugs or provide me with code.
https://p5js.org/reference/p5/keyIsDown/
https://drive.google.com/file/d/18ZMq9BB1l5XhMx5OfzNciU2OJQbUKvg3/view?usp=sharing
Week5 Reading
I found the emphasis on accessibility compelling as it resonates with me that groundbreaking ideas often emerge when constraints like hardware, resources or expertise are lowered. Still I find it questionable that whether the tone of inevitability “recent improvements make artistic experimentation a reality” oversimplifies deeper tensions: access to hardware, funding for arts-tech projects, and the proliferation of open-source culture are not universally available. The example mentioned like Videoplace and Sorting Daemon foreground surveillance as a recurring motif in art. They hihglight a critical stance toward automated perception. This aligns with my belief that technology should be examined through ethical, social, and political lenses. However, I would like the authors to more explicitly address issues of consent, data provenance, and the potential for misrepresentation when computer vision projects interpret publics.
The reading has made me to rethink my own ideas about visibility and control in realm of interactive art. It argues how tracking and head or gesture-based interactions can produce intimate, embodied experiences, yet it also raises questions about privacy concerns like who is being watched and for what purpose. The use of surveillance-tinged artworks like Standards and Double Standards and Sorting Daemon highlights a paradox that technology that augments artistic expression can simultaneously normalize and critique surveillance. I wonder how far artists should go in personalizing tracking. Are there boundaries that preserve participants’ agency without stifling experimentation? I want us to think: How do we balance artistic intent with privacy concerns in real-time, participatory installations? What concrete techniques feel most useful for a new programmer without compromising ethical considerations? And how mcomputer vision can be used to create more reflexive, consent-aware audience engagement rather than passive observation?
MidTerm
Concept
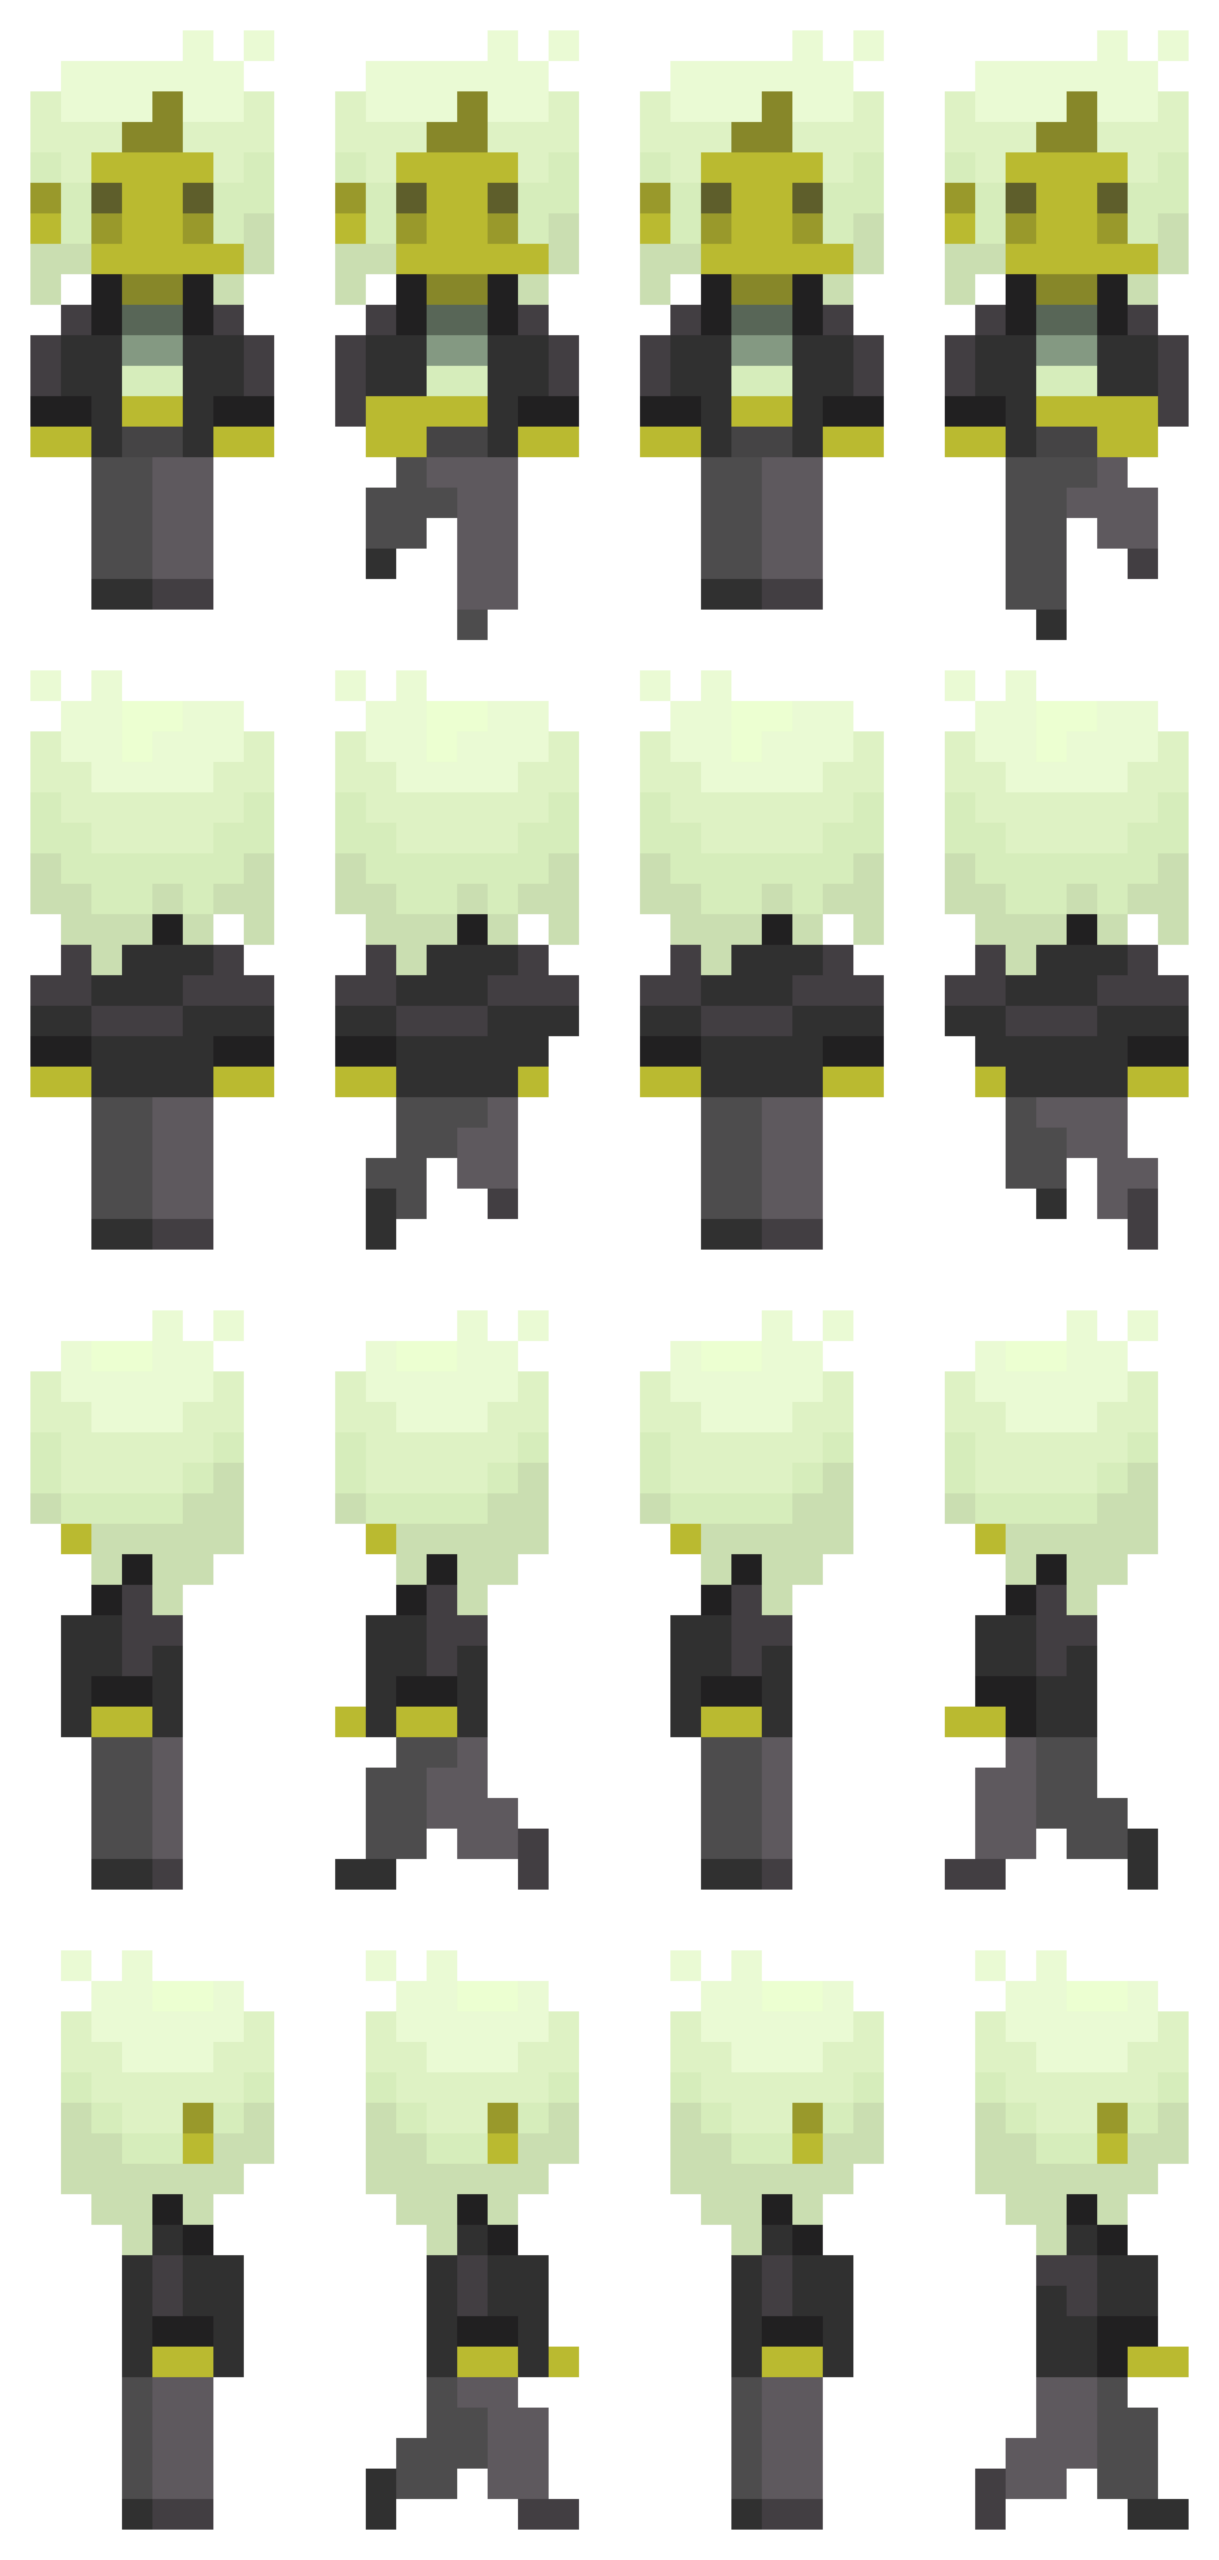
I have been looking at the portfolio websites for quite a while. All looked same to me box of texts heather and theather. I had this idea long before to create a a 3D version of it. Like a human figure represented in form a hollogram. It is 3D figure, rotating. The interaction is done basically by scrolling. if the mouse is over the body and we scroll up. It will zoom in the body. and the attributes will be start appearing on the periphery like neon signs. This might not be a professional portfolio, but that was the idea I had. The assumption about the experiance is to be tech savy, and futuristic. I would want to add more mini interactions into it.
Design
For the figure, I wanted to replicate the self portrait. But the without any hardcoded values other than the scaling ones. Initially, I want to be able to put custom coridinates, so that I am able to draw it anywhere. But to make it rotate, I later used rotate(). By it I didn’t had ot worry about the overall mangment of the coridnates.
the sketch
The hardest part till this moment was cerating the curve of the the neck collar, It is not visible right now in the sketch as I made whole neck black. I wil extend from it when I will be adding more attributes towards the final product.
The part I am most proud of is the making it rotate while everything remains intact. Initialy I wanted the neck to stay connected but it during some hit and trial. I noticed it seems more lively if its a bit apart and kept it like that. To my undrestanding the next challenging part will be the navigation form the whole sektch to the indvidual partsor it along with their attributes.
For the usage of AI, I used it draw the curve of the neck colar. I couldn’t understand the how control points work in the curve() function. It was hard from me to do all the calculation, when already don’t understand the parameters of the funcion. So I gave it to gpt to wrtie it form line by line and put comments for each.
    let collarY = neckY + neckLength;  // directly under neck

    curve(
        neckX - 20, collarY - 70,  // control point
        neckX+2, collarY-10,            // start
        neckX + neckWidth-2, collarY-10,// end
        neckX + neckWidth + 20, collarY - 70 // control point
    );
}
Week 5: Midterm Project Progress
Concept:
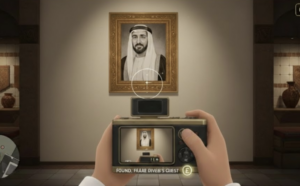
For my midterm project, I knew I wanted to create an interactive game, something creative, original, and fun, while also incorporating everything required for this project. I came across multiple ideas but ended up choosing a 3D Maze Capturing game, where players walk around a maze holding a camera and must find objects placed within and capture them within a set duration. Each captured object increases their score, and the earlier they capture it, the higher the points.
While developing and improving my idea, I wanted a specific theme to add a personal touch. I was inspired by an escape room I visited this year at Qasr Al Hosn, which reminded me of a maze, as well as the new Sheikh Zayed Museum, with its many Emirati historical artworks and objects. I decided to go with a Historical Emirati Theme, where players first choose their character, either an Emirati girl or boy, and the maze will feature modern walls and decorations, while the objects the player needs to capture are Emirati cultural items, such as traditional clothing, historical artworks, and objects used in the past.
I used AI to generate sample images to illustrate my idea and show what I want my game to look like, not exactly, but to convey the concept:
Design:
My initial plan is to have an introductory page displaying the game title, Maze of History, along with instructions on how to play. For interactivity, the player will click a start button, then select their preferred character, and the game will begin with a camera lens displayed on the screen, as if held in their hands.
Players navigate the maze using the arrow keys, moving through hallways and spaces. When they spot an object, they center it in the camera lens and press the Enter key to capture it, accompanied by sound effects of the camera. Each captured object increases the player’s score, with higher points awarded for capturing objects earlier. When the 40-second timer ends, the game stops, the score is displayed in the center of the screen, and players can press the Space bar to return to the main menu and start a new session.
I planned out the structure of my code to ensure it would be manageable and easy to work with. My game will use Object-Oriented Programming, with classes for the characters to track their positions and movements, classes for the objects placed around the maze that can be captured by the characters to manage their placement and display captured state, and a class for the maze structure itself, including walls and decorations. I will also include functions for the game to handle the start screen, gameplay interactions such as clicking and key pressing, and the score screen after the game ends.
For the visual design, I would like to create a modern museum aesthetic, with clean white walls and subtle decorations, along with objects such as traditional Emirati clothing, historical artworks, and artifacts placed throughout the maze. From the first-person perspective, the camera lens simulates the player holding a camera, adding immersion to the exploration experience. Sound effects for capturing objects and potentially background music will further enhance interactivity.
Frightening Parts and Plan to Reduce Risks:
In this project, I’m going with a more advanced idea compared to what I already did, and I have identified some parts that could be challenging while working on this project to make it work. I am concerned about the whole “3D” aspect, since everything I have done so far is 2D, and I’ll need a 3D setting with hands and a camera. To reduce this risk, I have already started going through different tutorials on YouTube by The Coding Train about how to create and work with 3D objects in p5.js, and I have started experimenting by creating some simple shapes.
Another risk I am considering is ensuring that the players can move smoothly within the maze without walking through walls or objects. To reduce this risk, I plan to start by testing a small maze prototype with a few walls and one character, while also watching tutorials before expanding the maze.
Moreover, I am also concerned about implementing the score system, where points increase based on how quickly the player captures objects. Calculating and updating the score dynamically while the timer counts down could be tricky to get right. To reduce this risk, I plan to prototype the timer and score separately first, testing that the points update correctly for each capture before integrating it into the full maze.
Reading Response Week_5
Computer visions differn from human vision in several ways. The human vision does not need pre-programed information about visual contexs to understand it directly. However computer vision is unable to do so without pre-programmed assumption about the context, or else it fails to understand. Human vision is also better at image level understanding instead of understanding or counting pixels, while computer vision is the exact opposite.
Some techniques to help computers see and track would be background subtraction: to help isolate moving object; brightness thresholding: to detect change in picel brightness to infer change in the whole image; high contrast: so that the subject would stand out; simple backgrounds: to make background aubtraction and brightness thresholding easier.
Computer vision’s special capacity make it useful for bringing in a new perspective in interactive art. A computer vision will get differnt information or emphasis from the same image as a human, and the comparison or cooperation between the two would be a great lead for interaction. The computer vison is also objective and can pick up details, giving it the potential to learn its interactive audience better than a human would.
Midterm Progress
Concept
I had a tough time thinking of how to make something original and interactive with my limited skills. Then I remembered an interactive exercise I did when I was in middle school. It was an interactive investigation story of the famous haunted Queen Mary cruise, where the reader made choices and flipped to the corresponding pages and eventually reach different endings. I thought I wanted to do something similar that would have an original story and scenes that I make myself, and allow great interactivity by letting the player make their choices. I thought of the film “Night at The Museum” and decided to write a spooky story based on the museum setting. I enabled the player to make choices at multiple points in the stories, leading to different endings accordingly. I am not attching the whole storyline because I dont want it to be a spoiler.
Design
the design would be simple pictures that show the museum scene, with animation when it is neccesary. Sound effect and text would be key to the design. An example would be like this
This is in p5 because the image upload doesn’t work, it is just to show the image and not interactive, but when it is put together in p5js there would be interactivity.
Frightening Aspects
The difficult part if to keep track of what scene the player is in and what interaction the player makes. Every secen need to be activated only when having both conditions of being in the precious scene and clicking the correct interaction. This gets more complex when different choices can lead to the same scene. I am planning to do this with stacking of if else statements.
What I plan to do to prevent this is attaching conditions to the buttons not the images which serve as the scene. Because background and animation is loaded after the scene change, they cannot be the trigger. So I likely have a scene array where each scene has its own index and the index will be used to identify which scen it should change to when interaction takes place.
Week 5: Reading Response
This week’s reading truly improved and clarified my understanding of computer vision and how interactions between humans and computers actually work. Initially, I knew computer vision differed from human vision, but I did not expect the difference to be that significant, as I assumed it still “sees” scenes in a similar way to us. I realized that computer vision operates in fundamentally different ways. Human vision naturally interprets what is in front of us and allows us to focus on what we want to see almost effortlessly. In contrast, computer vision relies on specific algorithms and processes images as numerical data including pixels, brightness, color values, distance, and other measurable characteristics. Rather than simply recognizing an object, the computer analyzes patterns within many pixels and numbers. While human vision can adapt easily to complex environments, computer vision often struggles unless it is carefully programmed and assigned clear, straightforward tasks. This made me think of everyday examples such as social media face filters and games like Just Dance, where tracking our movements seems simple but actually depends on structured computational processes behind the scenes.
I found the reading especially beneficial as a beginner in interactive media because it clearly explained techniques that help computers “see” or track what we are interested in. For example, the background subtraction technique allows the computer to detect people or objects within a frame by analyzing differences in pixels, color, and brightness, while the frame differencing technique helps detect motion by comparing changes between frames and locations of objects. These techniques along with many more show that computer vision depends on controlled conditions and specific goals. While the author explains the technical and creative potential of computer vision clearly, I feel that the perspective leans more toward its artistic possibilities than fully addressing its broader social risks. At the same time, thinking about computer vision’s capacity for tracking and surveillance made me question how far its use should go, or be allowed. Although it can enhance interactive art by increasing engagement and allowing systems to respond to users’ movements in real time, it can also raise privacy concerns and create discomfort, as users may feel constantly watched. Overall, the reading helped me better understand both the technical complexity and the ethical implications of computer vision, and it encouraged me to think more about how I might apply it responsibly in my own interactive media work.