
IMG_2996 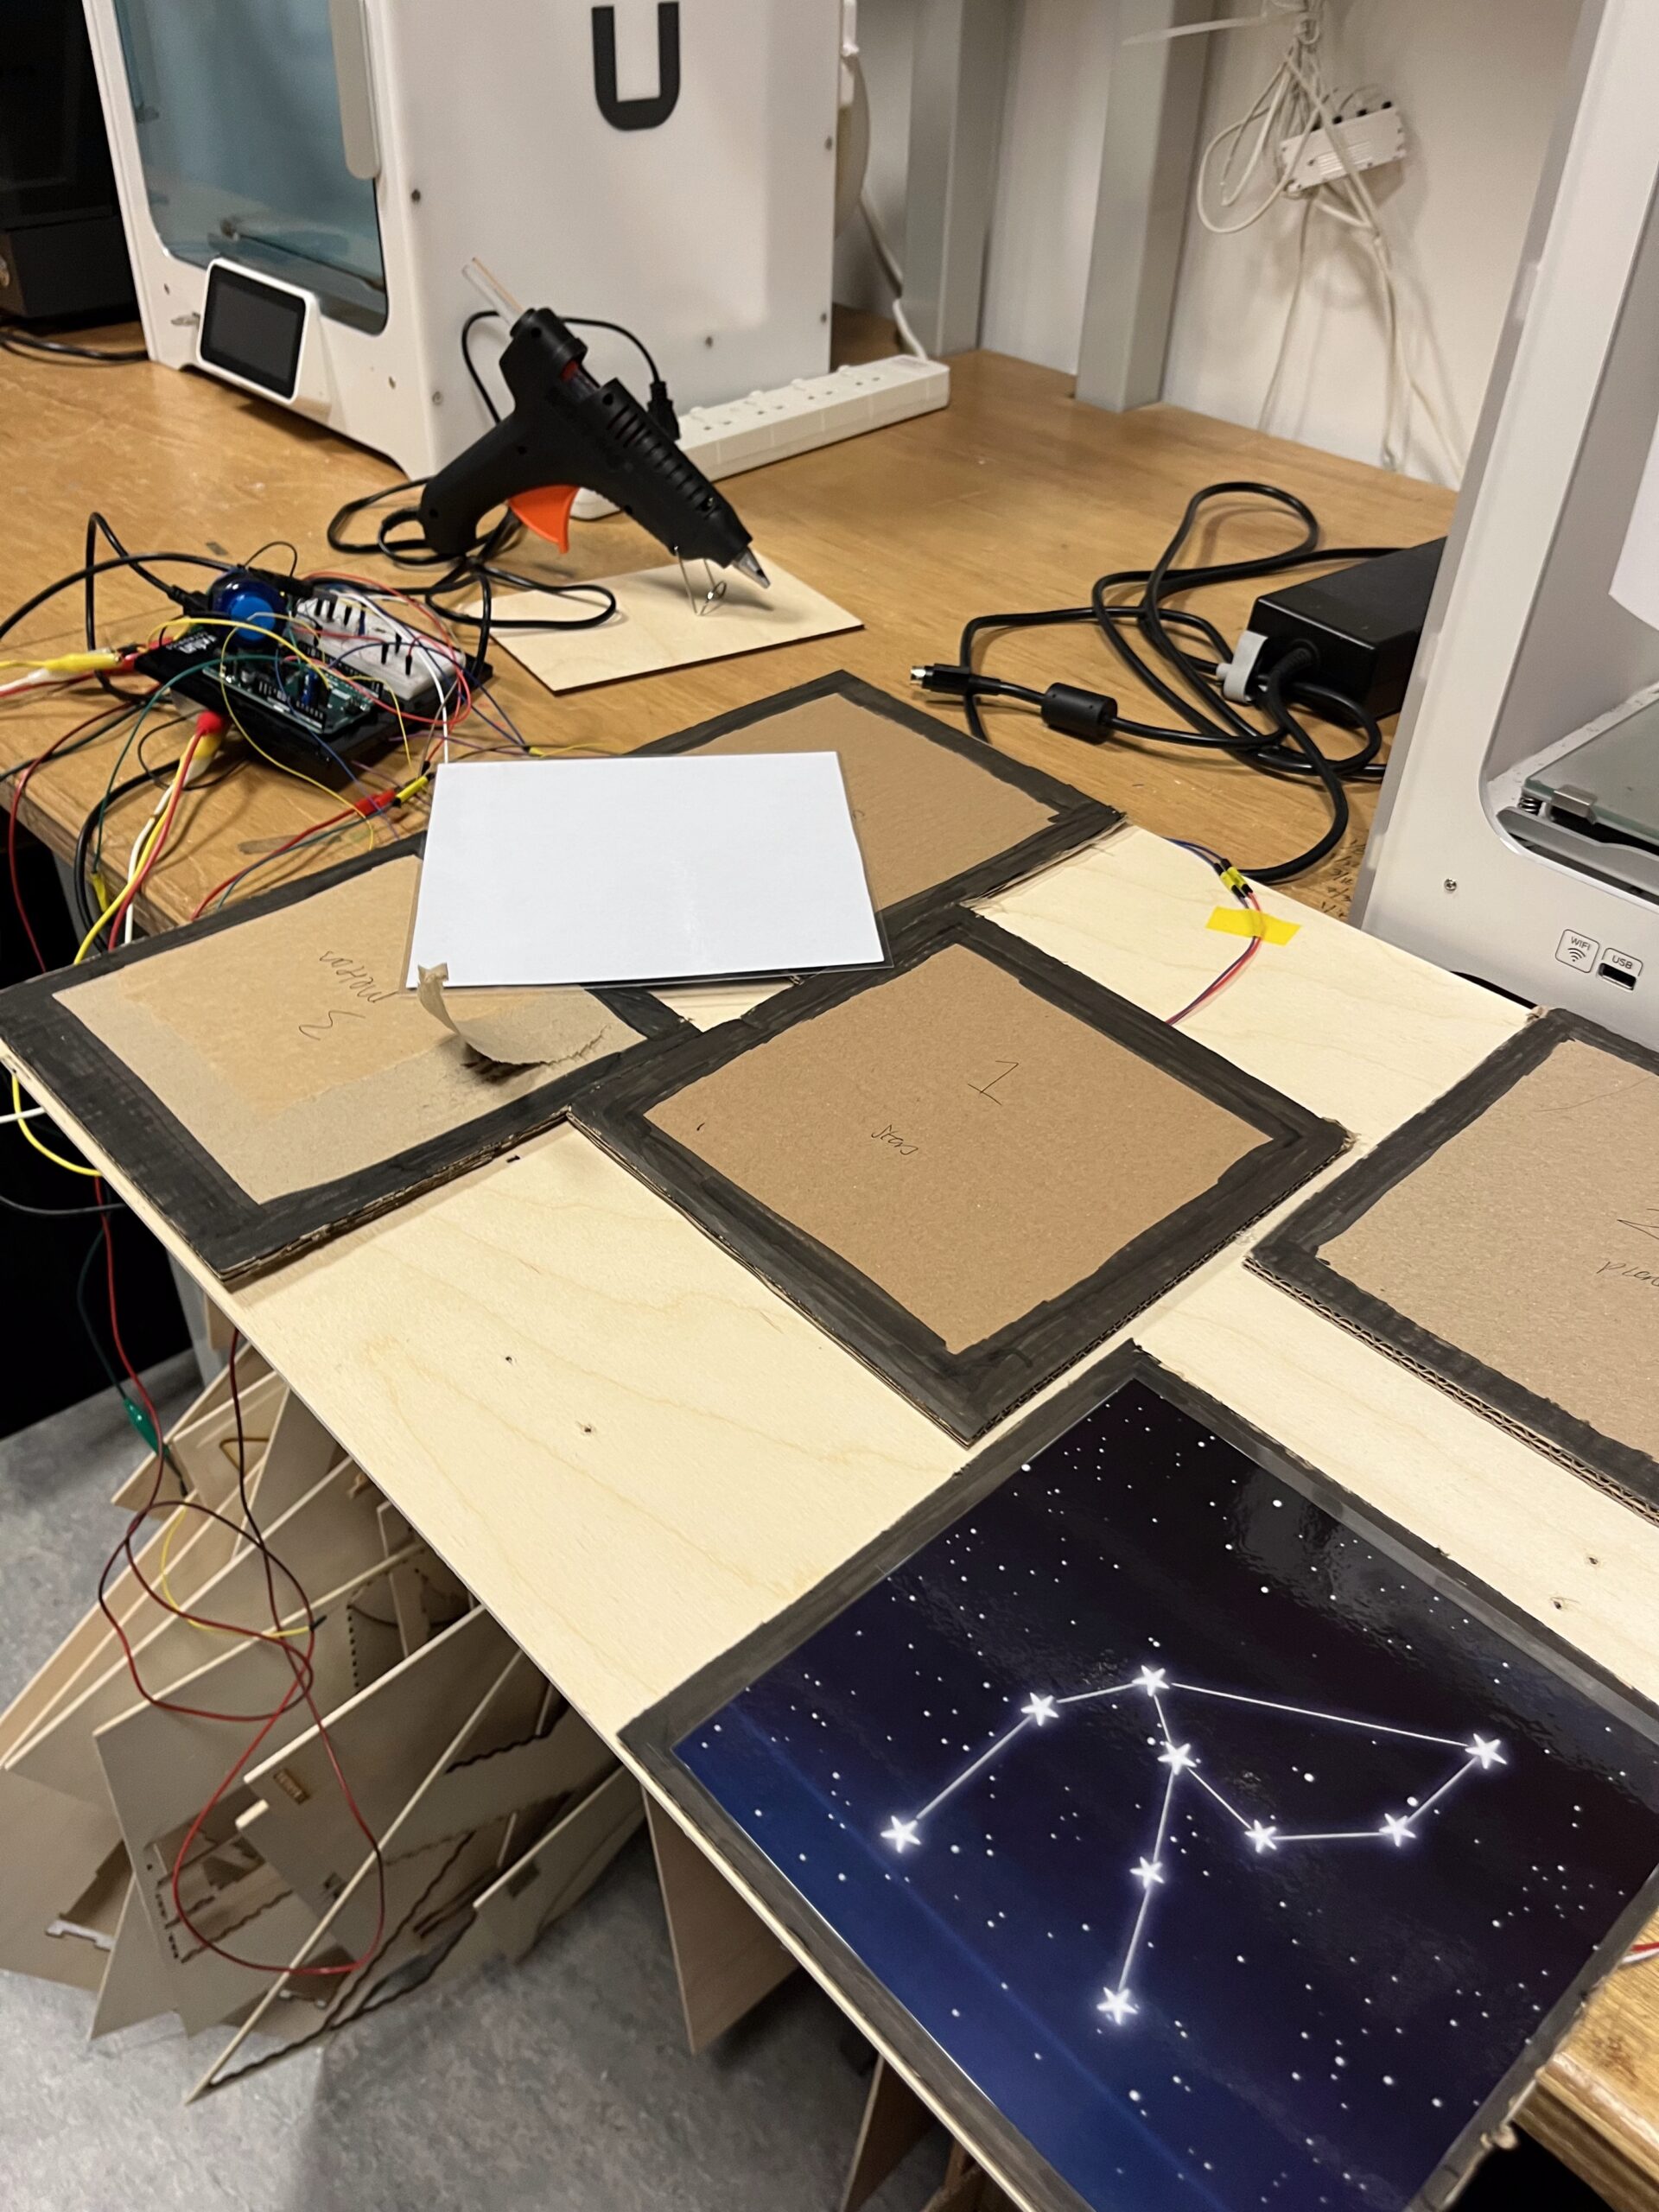 Updates
After doing more research, I realised I can only have five stepping pieces. This is because the Arduino only has six analog pins, and I need to reserve one for the potentiometer. So I changed the layout to: three pins for the three star regions, one for planets, and one for meteors.
User Testing
During my initial testing, the first problem I encountered was that several sensors didn’t work at all. I had to find new ones, solder them to the wires so they stayed attached, and replace the old ones. This also meant I had to rip the stones off the board, which made me realise I should have tested the sensors thoroughly before sticking them onto the wood.
I used a simple Arduino program that printed the FSR values to make sure each sensor worked properly.
Another thing I realised was that, since I wanted the installation to be activated by foot pressure, I needed a way for users to know what each foot pad represents. So I generated images with Gemini AI, printed them, and mounted them on cardboard. Then I realised I should laminate them, because they were starting to crinkle and tear.
I also thought about how the user would see on the screen what they are pressing, especially if they’re holding it down. I decided it would be ideal to show small circles representing each stone on the screen with a ring animation that fills up when the stone is held, similar to the ring on the Apple Watch when you hold down a button for three seconds.
With the FSR, I noticed that sometimes the pressure would fluctuate between 0–10 even when a foot was on the sensor, so I set the threshold to 10.
Finally, I placed my stepping stones on pieces of black wood to create a more defined “space” feel.