Yeah soooo my midterm didn’t turn out as well as I’d hoped.
I had this beautiful idea in mind of an interactive stage where you could control the lights and play with different designs and lighting choices. It would be a way that kids could discover the magic of lighting design and be a new outlet into the world of technical theater.
In reality, it ended up being two weeks of pure frustration and sleepless nights. In the end, I’m not very proud of the product, but I am proud of the process.
It started very big. I wanted to include both set and lighting: the lighting would change color and intensity and the set would move around a little model stage. Whoa! Slow down! So once I realized how impractical that was, I decided to focus in on the lighting aspect.
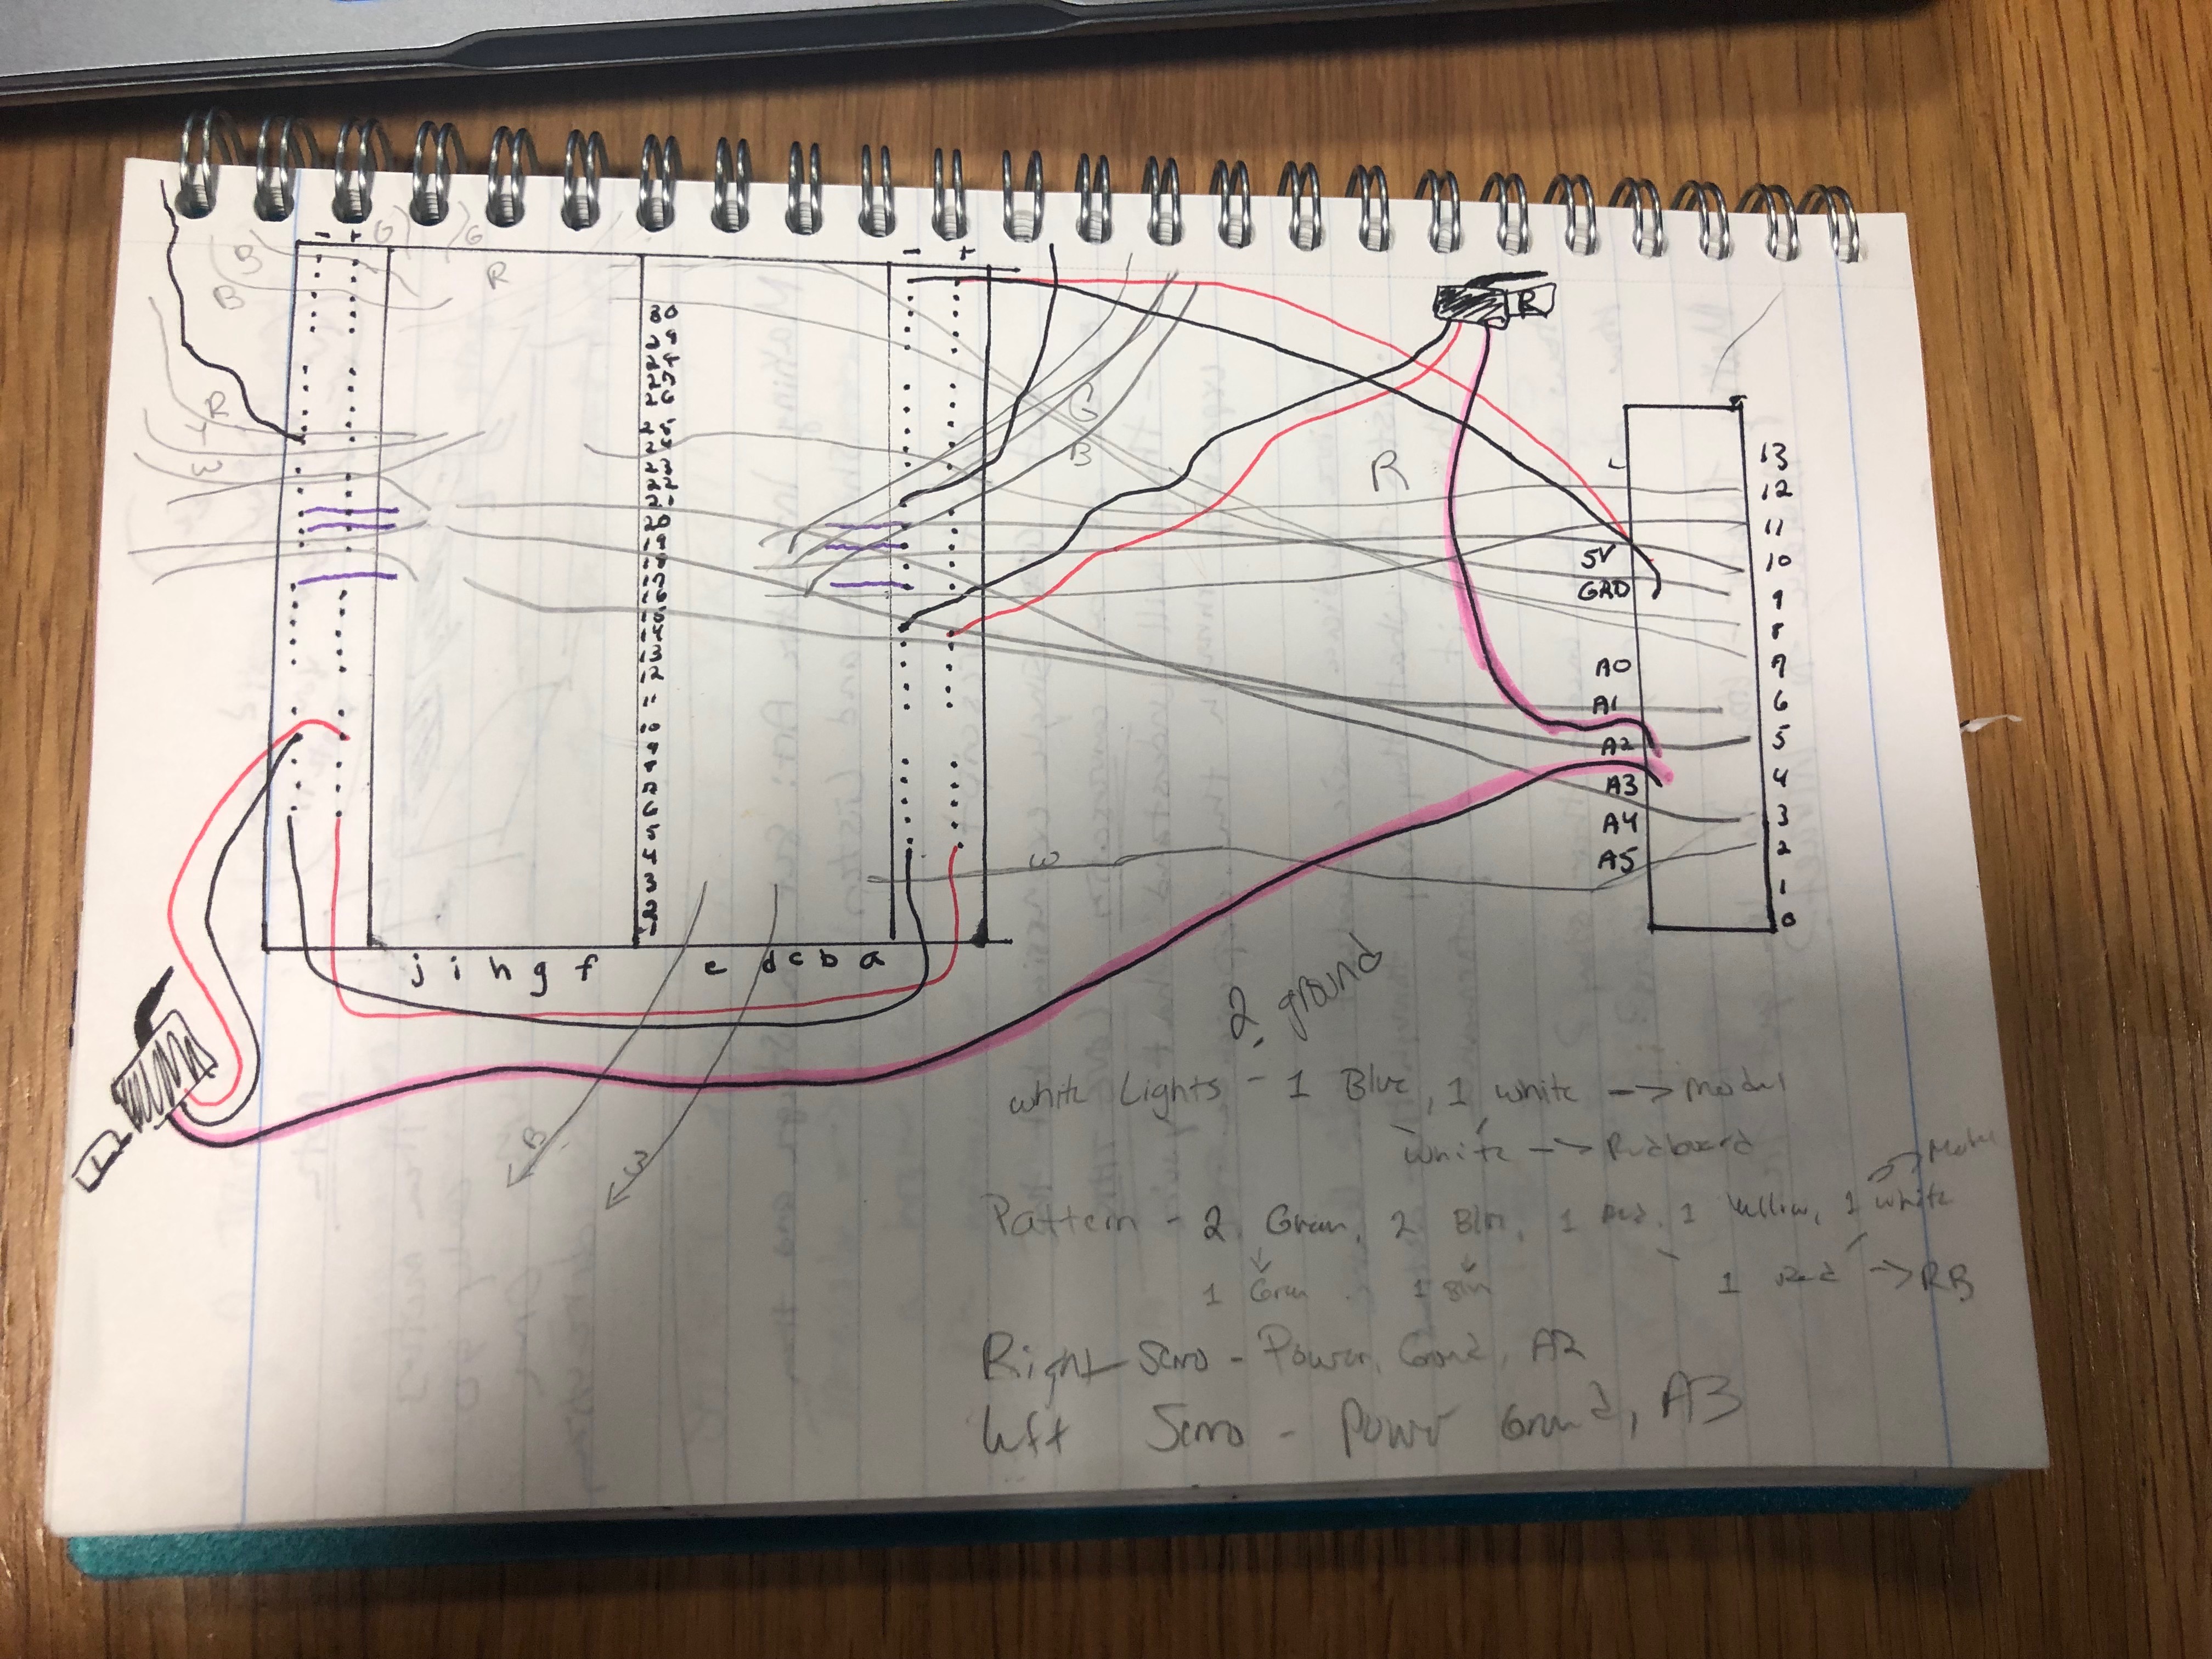
I split it into three categories 1. White Lights 2. Patterned Set Lights 3. Moving Servo Lights
The white lights would be immobile and would turn on and off with just the push of a button.
The patterned set lights were originally going to turn on and off and blink to a pattern with a button, but then I decided to just make them blink for simplicity’s sake.
Finally, the servo lights would be a bit more difficult to pull off. They would be attached to a servo, which could move up to 180 degrees, controlled by a potentiometer, and would also be able to change color, which is also controlled by a potentiometer. In total, there would be two servos and two common LEDs (Stage Left and Stage Right).
While the end product ended up not really working the way I wanted it to, the process of getting to this end product was extremely beneficial as a beginner IM student. I learned valuable skills like using sketches of circuits and breadboards, both solderable and solderless, to limit mistakes made and organize your work so you don’t get your wires confused.
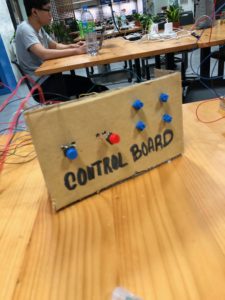
One of my biggest challenges was the organization of the Control Board, which was at the front of the stage, and its connection to my redBoard, which was at the back of the stage. I didn’t know how to tell which wire went to which appliance as my color coding system was flawed (Red for power, black for ground, other colors to separate the appliances, but that didn’t really work).
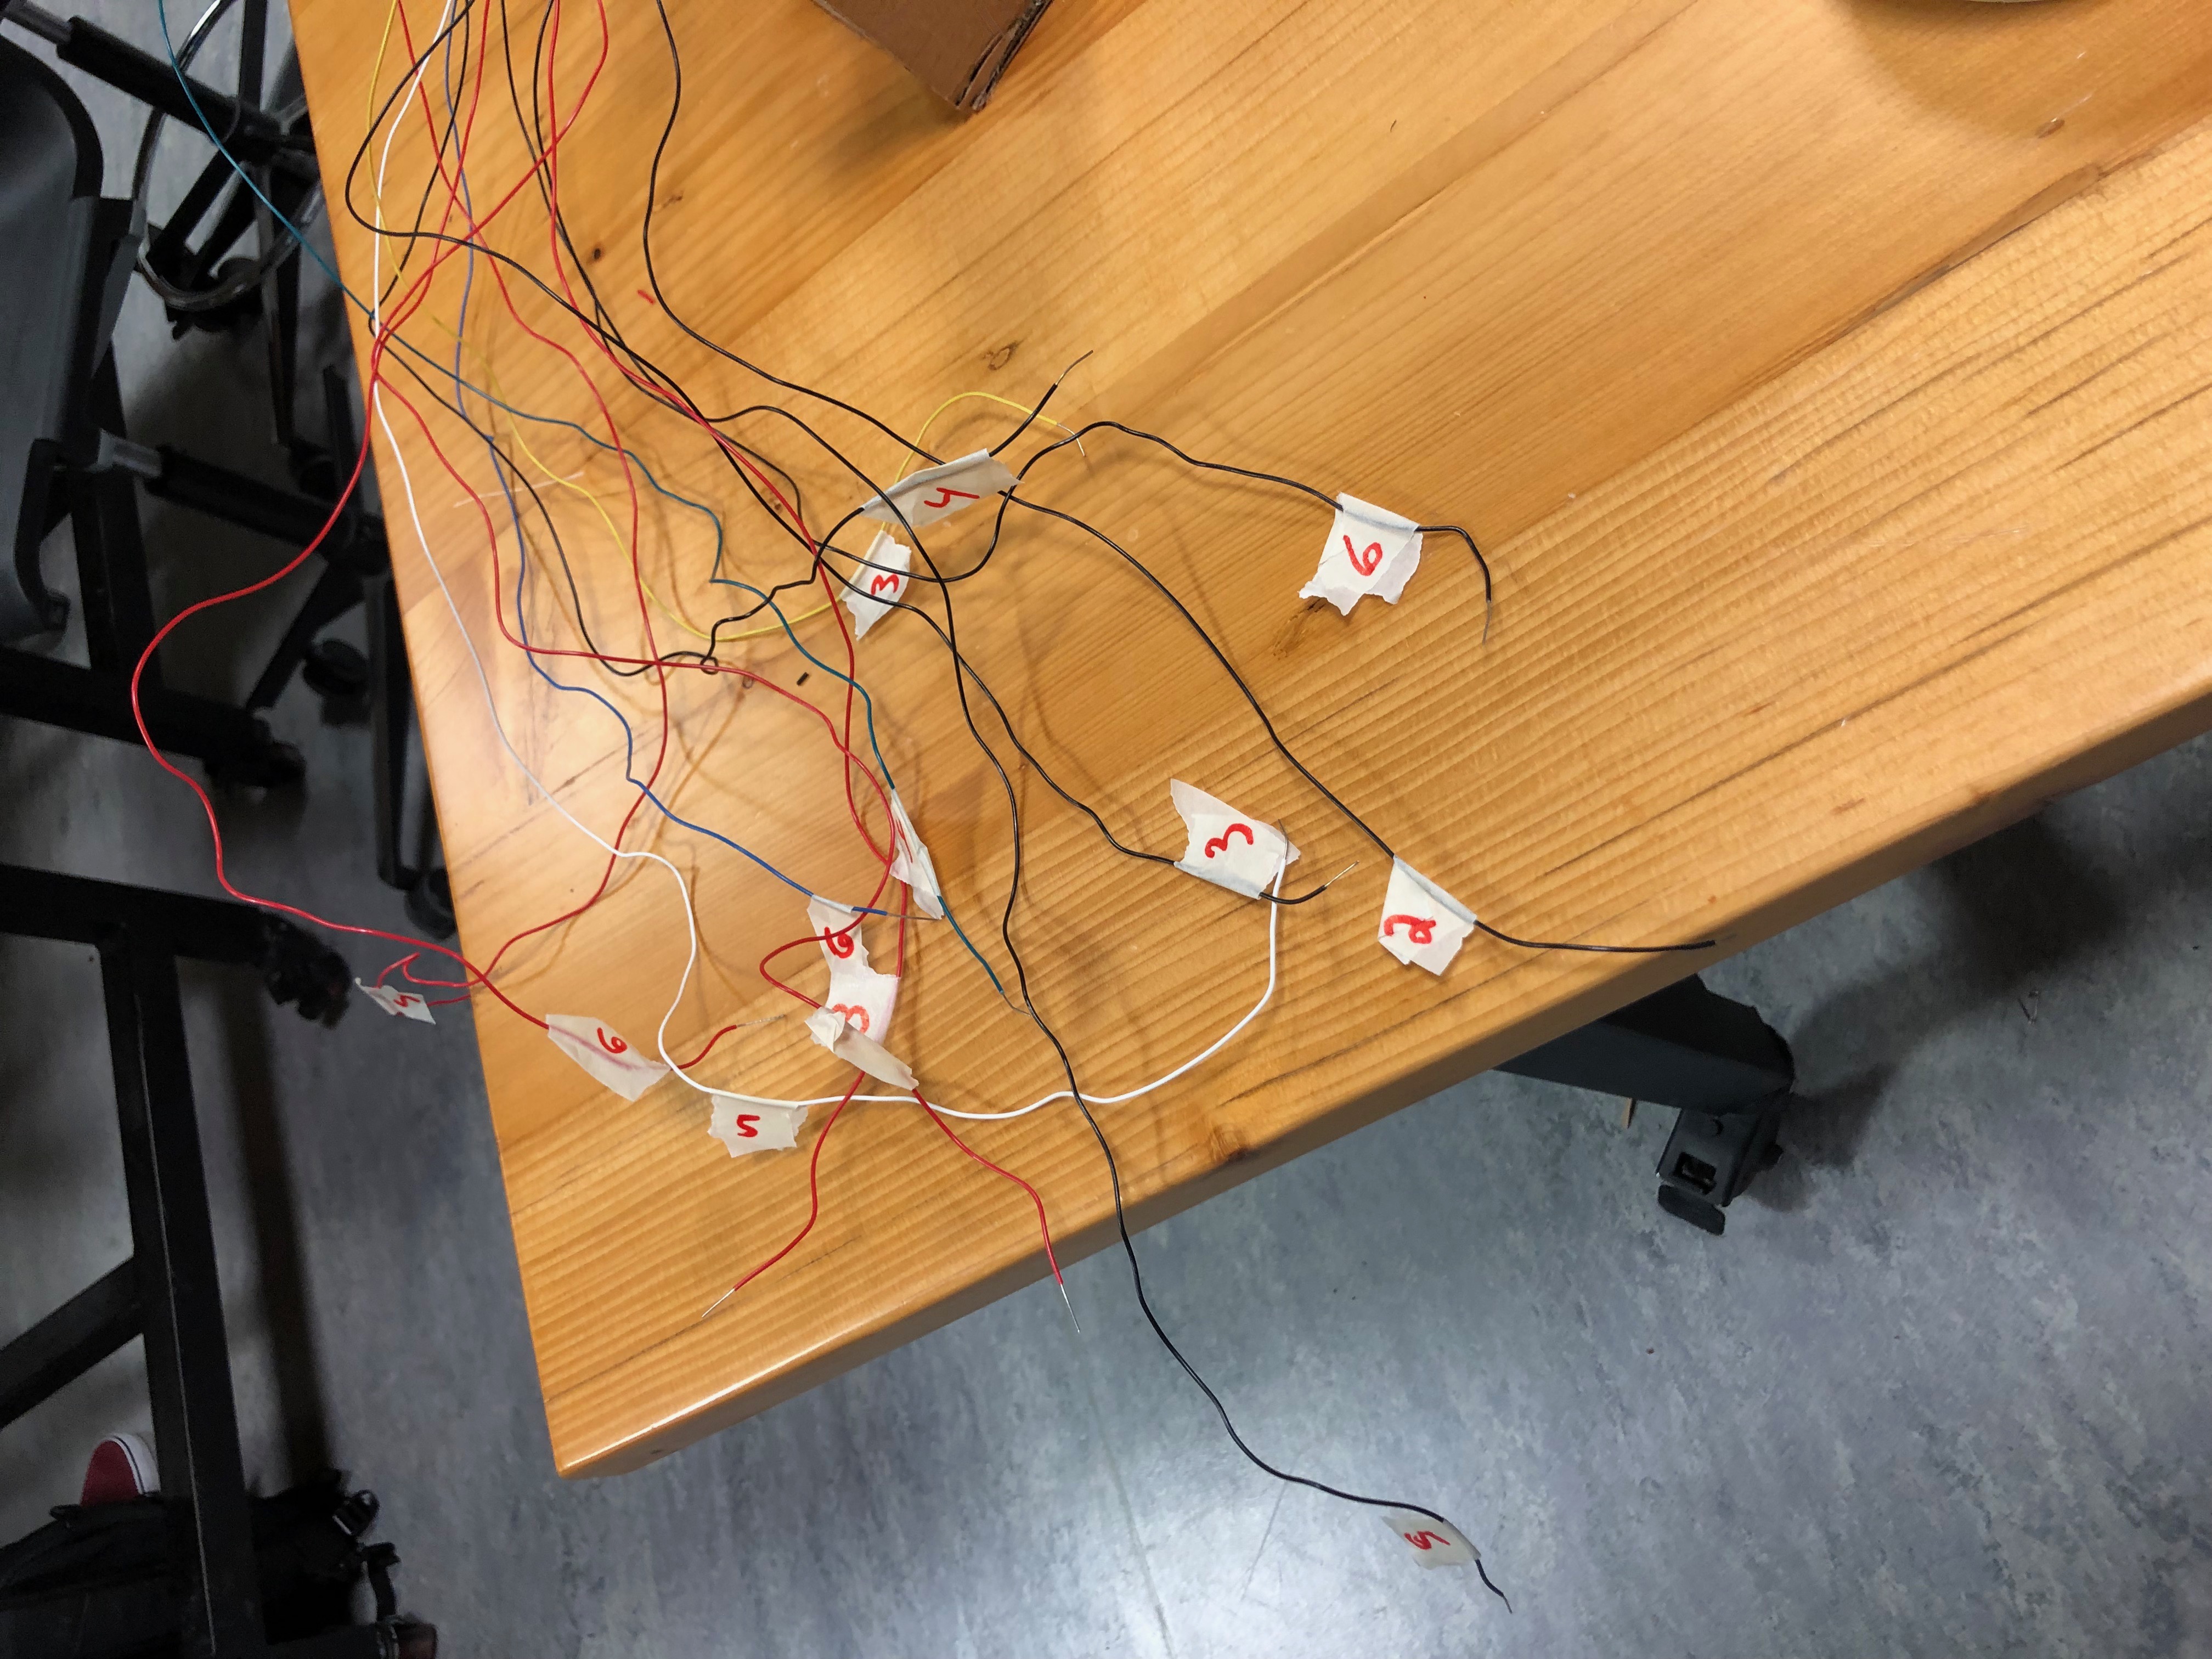
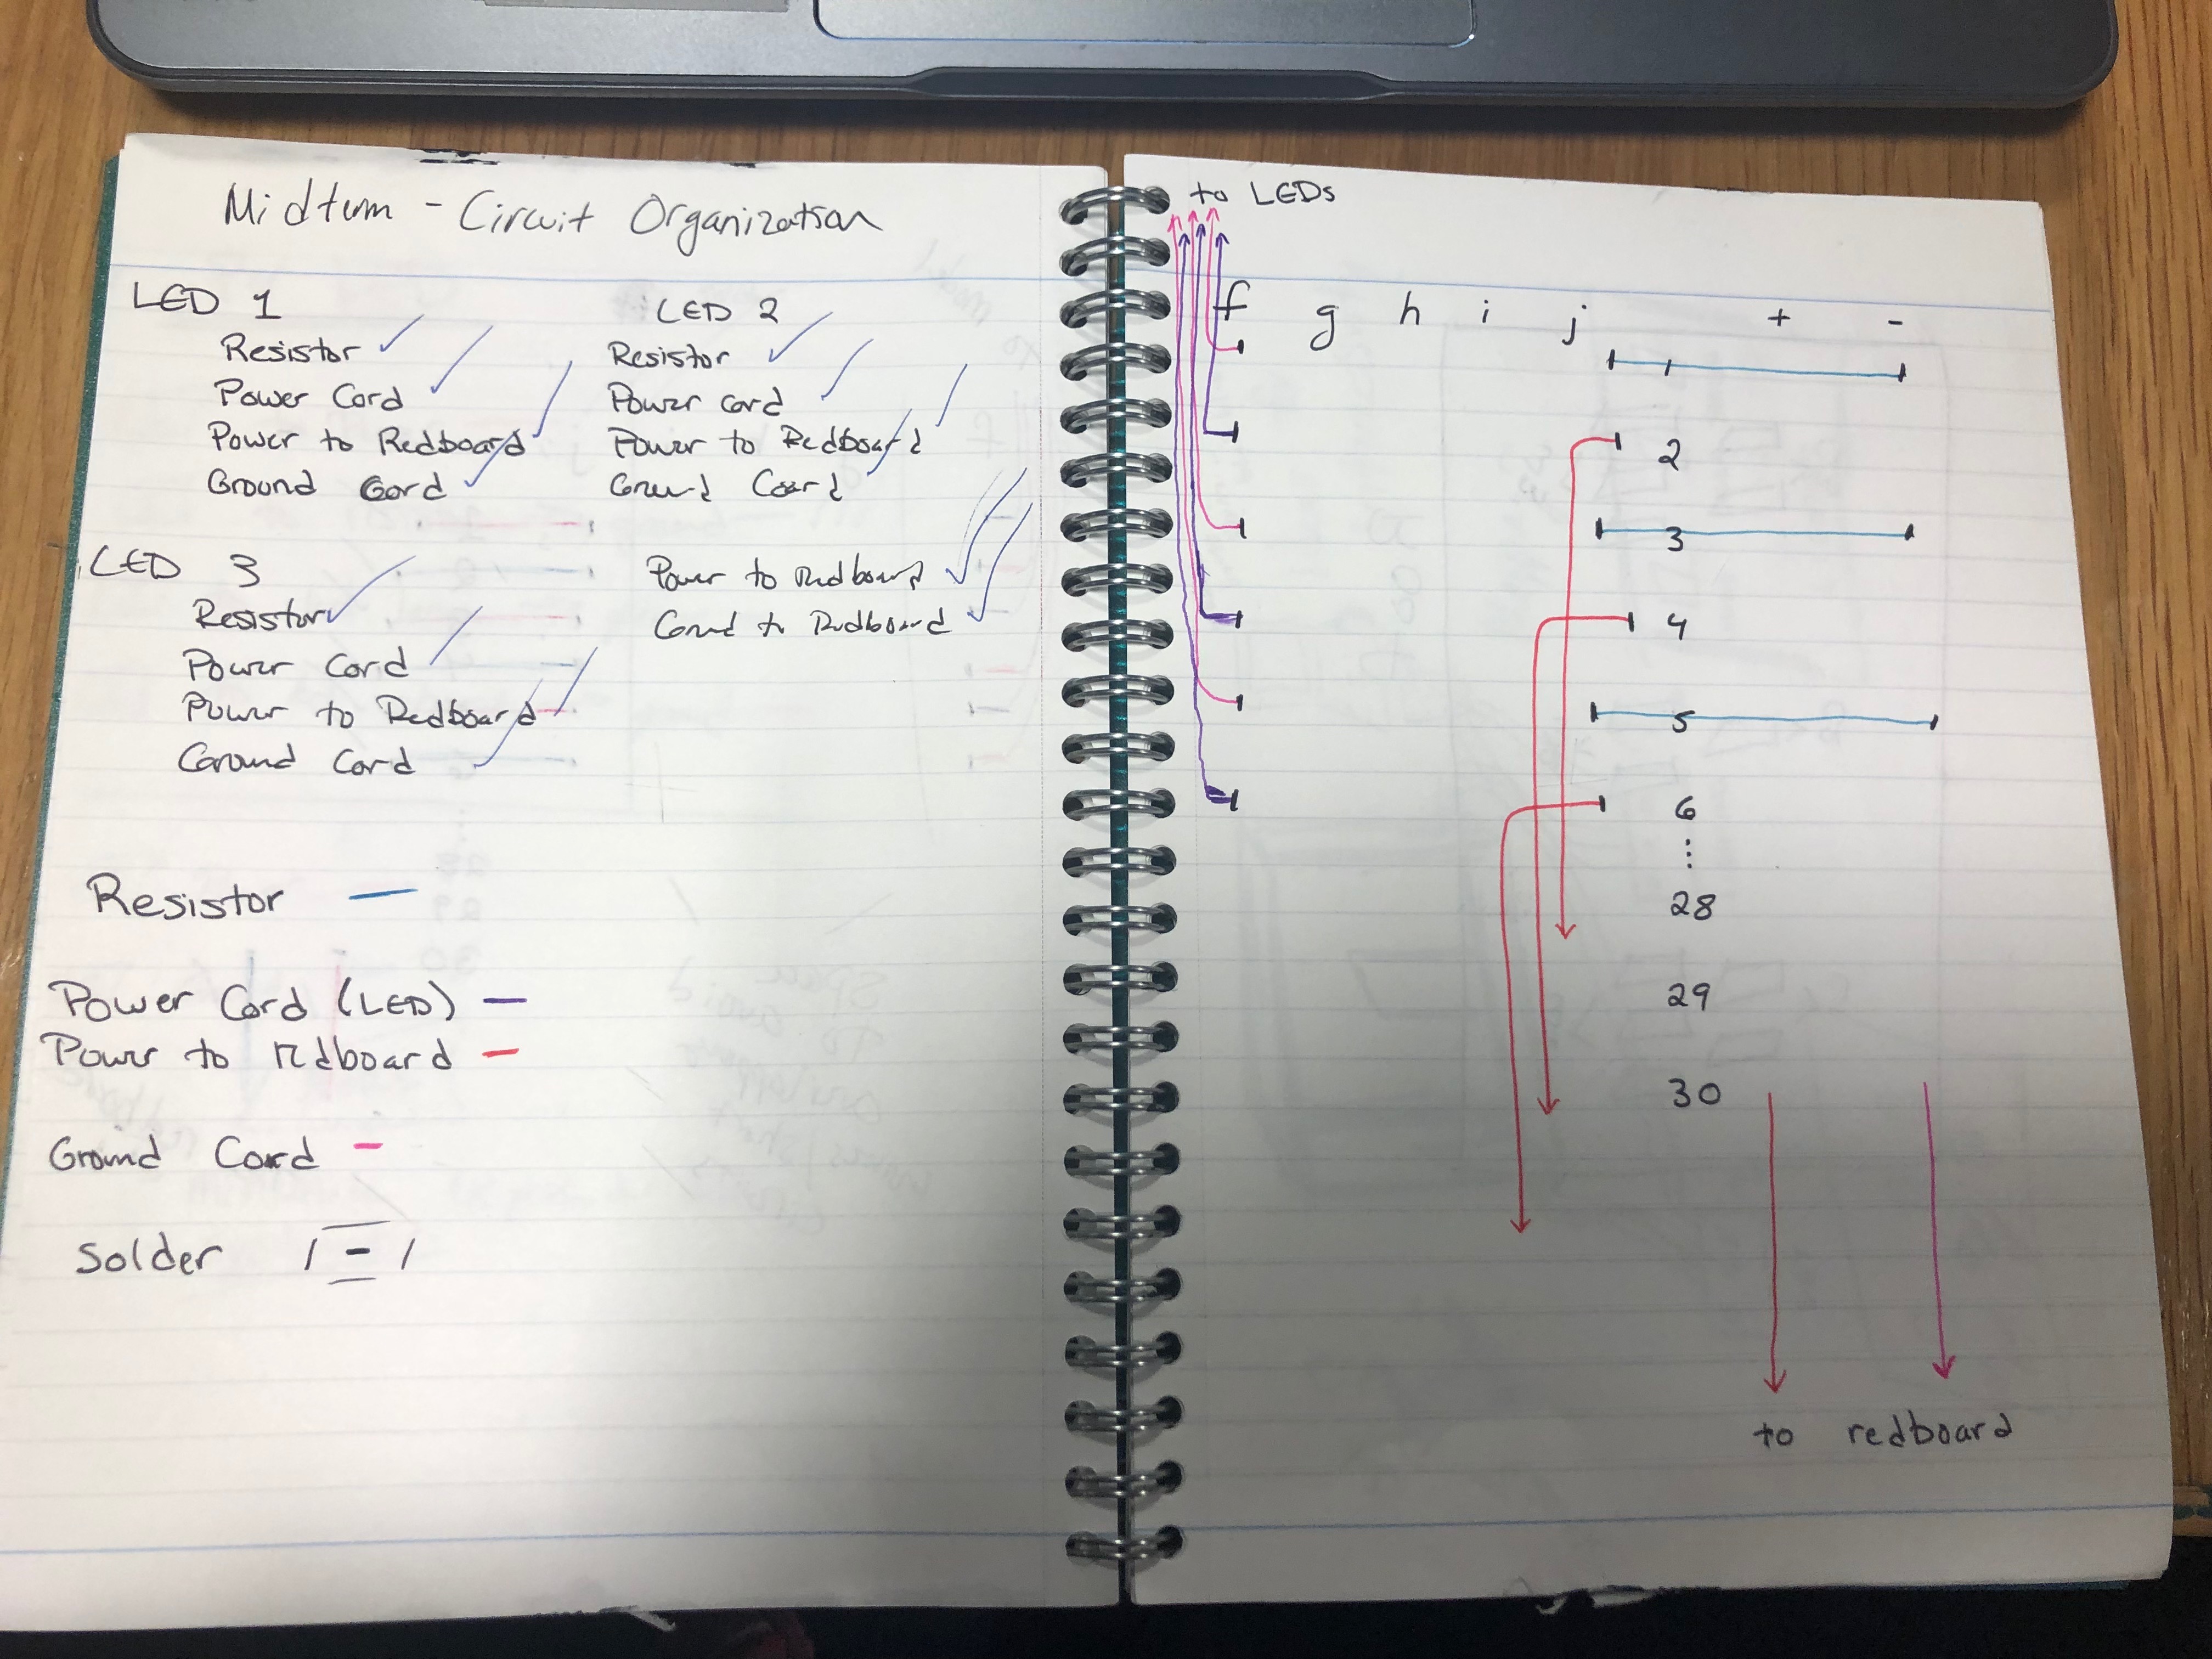
My solution came in the form of masking tape and four wooden blocks. My first step was to elevate the stage so the wires could slide underneath it, rather than having to wrap them around the sides. This helped me use less wire and also made the connections more direct. The next step was to draw a little diagram in my notebook that labelled each appliance I was using from #1-#6.
Then, I follo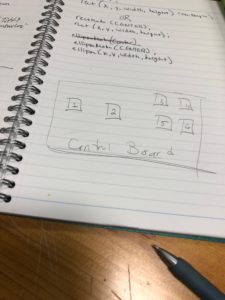 wed t
wed t
he wires and put a little masking tape label on the end of it, dictating which # appliance it corresponded to. This helped me keep the wires organized. I could then put the control board where it resided, at the front of the stage, and plug in all the wires without having to ch
eck and make sure I had the right wire, which greatly reduced
the time needed to install the buttons and potentiometers.
In the end, I got frustrated and I think I fried my redBoard a bit because weird things started happening. Potentiometers would do things they weren’t supposed to, lights would turn on and off randomly. Maybe I got a Phantom of the Model Stage…