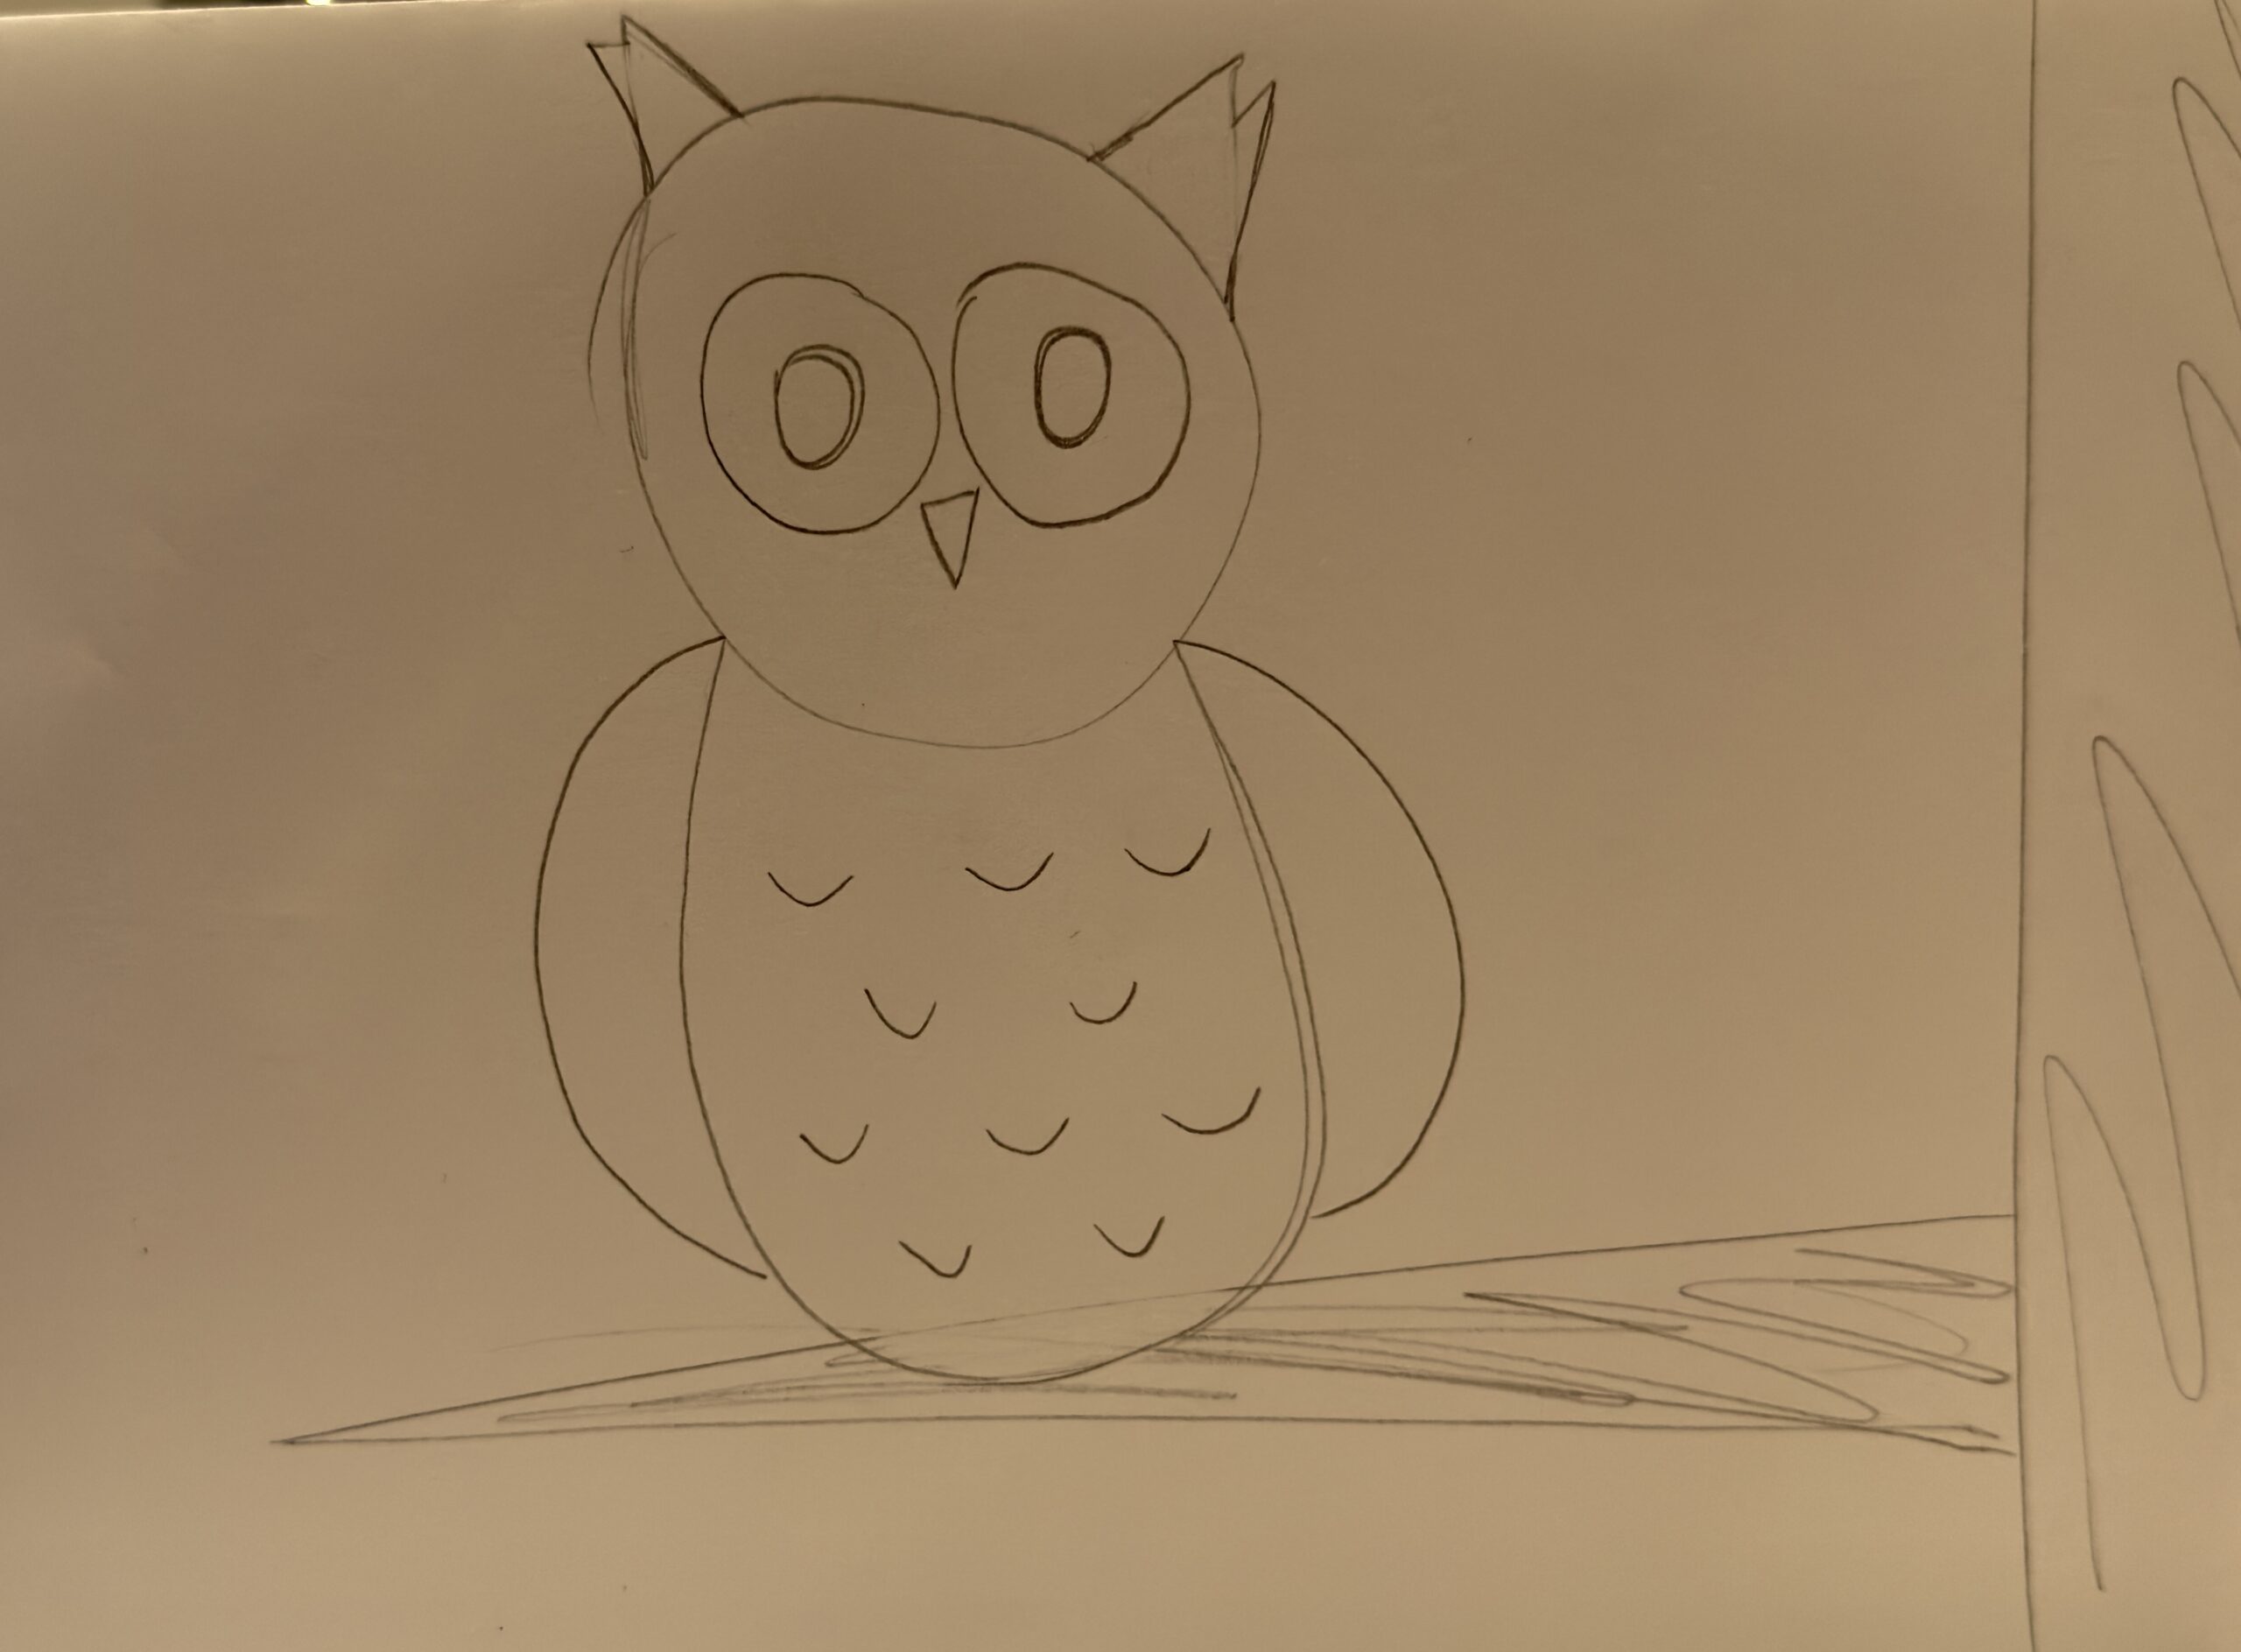
Self Portrait – Guli

Our hometask for the first week was to create a self portrait to practice using the simple drawing functions in p5js. For the assignment, I had an idea to use my avatar in Duolingo as a refernce. I really liked my Duolingo avatar — the colors, the shape, and the style, thus recreated it while adding more ideas.

The colors in the avatar are yellow for the background and orange for the dress. The avatar has smiling eyes that are curved at the bottom, along with sparkles. For the body, I simplified the design by making the head float, rather than directly being attached to the body. The idea of a floating head came from one of my chilhood cartoons Phineas and Ferb.

The curls and the curious expression with sparkles in the eyes are the highlights of the portrait. I am proud of myself for thinking off using human face color circles under the eyes to give the impression of smiling eyes. Drawing the curls also proved to be not a straightforward task, with me adjusting and readjusting the position and size of each brown circle untl  achieved the look I wanted.

In my future works, I could make the design interactive, so the art changes color or moves as the viewer comes into contact with the work. In terms of the design itself, I can use codes like arc() and  rotate(), adding more creativity to the work.

function setup() {
  createCanvas(600, 400);
  noStroke();
}

function draw() {
  background(255, 241, 167); // yellow bg

  // Face --------------------------------------------------->
  fill(255, 226, 214); // face color
  rect(200, 120, 200, 150, 40); // face shape
  
  
  // Eyes --------------------------------------------------->
  fill("white"); 
  ellipse(width/2 - 40, height/2 - 20, 75, 70); // left eye
  ellipse(width/2 + 40, height/2 - 20, 75, 70); // right eye

  // Pupils
  fill(61, 61, 61); // dark pupil
  ellipse(width/2 - 40, height/2 - 20, 45, 45); // left
  ellipse(width/2 + 40, height/2 - 20, 45, 45); // right

  // Blue part of pupil
  fill(57, 94, 130, 200); 
  ellipse(width/2 - 40, height/2 - 10, 35, 30); // left
  ellipse(width/2 + 40, height/2 - 10, 35, 30); // right

  // Sparkles
  drawSparkle(width/2 - 35, height/2 - 27, 15); // left eye sparkle
  drawSparkle(width/2 + 35, height/2 - 27, 15); // right eye sparkle

  // Under-eye curves 
  fill(255, 226, 214); 
  ellipse(width/2 - 40, height/2 + 20, 90, 60); // left
  ellipse(width/2 + 40, height/2 + 20, 90, 60); // right

  // Nose --------------------------------------------------->
  fill(248, 172, 148); // nose color 
  beginShape(); 
  vertex(width/2, height/2 - 10); // top 
  vertex(width/2 - 7, height/2 + 10); // left 
  vertex(width/2, height/2 + 17); // bottom 
  vertex(width/2 + 7, height/2 + 10); // right 
  endShape(CLOSE);

  // Mouth --------------------------------------------------->
  fill(179, 93, 110); // lip color
  ellipse(width/2, height/2 + 45, 20, 20); // lip position
}

// sparkle in the eye function ---->
function drawSparkle(cx, cy, size) {
  fill("white"); // sparkle color
  quad(
    cx, cy - size/2, // top
    cx + size/2, cy, // right
    cx, cy + size/2, // bottom
    cx - size/2, cy  // left
  );
  
  // circular sparkle
  fill("white"); // circle sparkle color 
  ellipse(width/2 - 50, height/2 - 15, 8); // left 
  ellipse(width/2 + 50, height/2 - 15, 8); // right
  
  // HAIR --------------------------------------------------->
  fill(84, 54, 41); // hair color
  // Top
  ellipse(width/2, height/2 - 120, 120, 90); // top middle
  ellipse(width/2 + 60, height/2 - 115, 110, 85); // top right 
  ellipse(width/2 - 60, height/2 - 115, 110, 85); // top left 

  // Left 
  ellipse(width/2 - 120, height/2 - 60, 90, 100); // left top 
  ellipse(width/2 - 140, height/2 + 10, 95, 110); // left bottom 
  

  // Right 
  ellipse(width/2 + 120, height/2 - 60, 90, 100); // right top 
  ellipse(width/2 + 140, height/2 + 10, 95, 110); // right bottom 
 

  // BODY --------------------------------------------------->
  fill(243, 161, 63); 
  ellipse(width/2, height - 10, 170, 200); // body position 
}


Week 1 – Self Portrait on p5js

CONCEPT:
For this assignment, I built a self-portrait entirely out of shapes in p5.js. I wasn’t trying to make something realistic, instead, I went for a cartoon version of myself: a round face, messy hair, glasses, and a simple smile. The idea was to see how much “me” I could get across with just ellipses, arcs, and lines. The output is far from realistic; come on, I am not trying to replace my passport photo with this. The portrait is simple, but I like how it balances between looking generic and still recognizably like me.

HIGHLIGHTED CODE:
The glasses ended up being my favorite part. Without them, the face felt empty, but adding two circles and a line suddenly made it feel right:
  noFill();
  stroke(0);
  strokeWeight(3);
  ellipse(167, 170, 60, 60);
  ellipse(233, 170, 60, 60);
  line(200, 170, 200, 170); // bridge

REFLECTION AND FUTURE WORK:
This was my first attempt at drawing myself, and that too using code; and it showed me how powerful even basic shapes can be. It doesn’t need shading or complex details to read as a face, and luckily identify a person if the components are placed right.

However, if I had more time, I’d like to:
– Make the eyes blink or move with the cursor (saw many do that, i can’t just yet)
– Give the background more personality
– Fix the hair so it looks less like a helmet and more like actual messy hair (pretty doable with multiple ellipses but i reckon there are more efficient ways)
Even with its simplicity, I like how it turned out, it’s definitely not a mirror image, but it’s “me” enough.

Week 1 – self portrait

Concept

For the self portrait I decided to show not exactly my picture, but the picture of my inner animal.

Initially, I drew a sketch of myself, holding a camera, because photography is on of my favorite hobbies. However, I then thought of giving more meaning to my portrait, because I had a call with my mom and remembered how she always called me an owl when I was a child (reason being my sleep schedule that is still very bad). So I thought, if my sleep schedule harms my health, let me at least use it to benefit my academics.


my initial sketch

what I decided to create

Creation

It was a little challenging for me to get started on p5.js, because of my limited coding skills, but after some experiments I was able to actually create something using simple circles, triangles and lines. One of the most challenging parts was creating the feathers on my Owl’s body, so I used some help from AI. I tried not to simply copy the code, but learn how to do it on my own as well. And because this was one of the most confusing part for me, I am proud because I eventually created it.

Interactivity

I made my drawing clickable: the owl sleeps during the day but if you click it, night comes and it wakes up (just like me).

Improvements

There are a lot of things I would like to improve in my project, one of them being enhanced interactivity. I would love to add moving clouds, more complex shapes for the owl, stars at night, and many others things that could make my owl more “likable”.

Week 1 Self-portrait Joy

Concept

I started the idea of pixel art with this piece of wooden pixel art that we mentioned in our first class(Wooden Segment Mirror). I’m also recently obsessed with Perler Beads(plastic fusible beads to form patterns and fuse together with an iron). So, I pixelated one of my self-portraits and created a canvas of 10 * 12 colored squares.

To make it more interactive, I also use the mouseClicked function to add a more immersive version to get rid of the pixel stroke.

Code Highlight

I’m particularly proud of the color list. When I just started, I wanted to do an automatic color picker program to create the list for me. However, after a few trials, all the available auto ones cannot handle many colors, either giving a fake hex code or a single palette with a maximum of 10. Then, I did some research on manual color pickers, and I found this one(https://colorpickerfromimage.com/) to be the best hex color picker shortcut among all. Since I had to manually picking up all the colors, it also pushes me to optimize other parts of my code to use less repeated manual calls but using the loop to create all the squares.

let colors = ["#9194a6","#7d7d8f","#c29c8e","#e8bc9e","#ebbe9e","#dcac8c","#a38572","#5b585a","#5b585a","#c0cc66","#767787","#736f79","#c19a88","#e7b691","#edbb93","#daa884","#a5846d","#5b5350","#685d56","#dfe1b5","#676672","#6c6266","#ab8273","#ab8273","#e5af83","#927466","#7c6258","#544944","#665a52","#bea7a9","#5c5258","#6c5554","#a17d68","#db9f7e","#e8b08a","#5e4540","#785145","#544139","#665c56","#cecccf","#5c4b4a","#b57b64","#de9b79","#e5aa8a","#e6a68d","#d09375","#c18067","#5c443a","#6a5c57","#ccc7c9","#674e46","#cd8e6a","#eaa67d","#e1a286","#e7ab93","#e6a880","#d8946e","#5c4035","#544b47","#cdcdd3","#543d36","#d7996a","#e9ae7e","#e0a17b","#d08b5d","#e0a46d","#d39560","#3b2922","#49423b","#ccc7c4","#372623","#c28b5c","#d5936e","#c6735c","#c67255","#d59761","#7f5535","#34231c","#3a2c23","#625c43","#33221e","#644430","#e4a976","#da8667","#da7c5e","#af794d","#341d13","#39261d","#3b281e","#3b281e","#39251e","#5d402d","#d29e74","#d59d6d","#a6754b","#2b1810","#2b1b14","#422c1e","#4c3626","#28190a","#4d372d","#694735","#d09c74","#d29d72","#7c593e","#362822","#3a2b24","#442f21","#78614d","#4d3b26","#4e382f","#6a4833","#d69a74","#c99874","#49362d","#2f221f","#3c2f2b","#402d20","#876e51","#83735c"]

I also think the way p5.js displays these hex codes is another piece of art that breaks down the color of me into hex code pieces.

Reflection

For my future works, this work reminded me the importance of planning before starting. Digital art is a more well-planned process compared to free-form drawing on papers. This time, I began by creating all the squares manually, but soon I realized how redundant that was. So, I turned back to a draft note to jot down the ratio calculations. Overall, the process of choosing colors and planning turned out to be quite meditative.

Week 1: Made this While I was Hungry (Self-Portrait)

(Try Clicking on the Mouth when it’s Open!)

I had a few ideas of how I wanted to depict myself, none of which included a real depiction of my face, but more or less characters that I resonated with. I quickly scrapped that idea when I felt like it wouldn’t really be challenging me if I drew a depiction of an already existing illustration.

With my limited coding experience it would be certainly difficult to go from concept into actualization using just my keyboard and the funny colored words on screen, but I was committed to making something worth looking at.

One of the first things I tried to understand coming from a long photoshop/graphic design background was how layers would work on p5.js. Understanding this early gave me a lot of confidence that I wasn’t going to make something uncanny-looking. I made each body segment its own function and called it in the order from the lowest layer to the highest layer in draw()

function draw() { //draw runs on loop 60/sec
  background(110,40,80);//change later?
  
  //Draws Body Parts in Layers
  drawHair();
  drawTorso(90);
  drawHead();
  drawLeftEye(6.7);//parameter is for gap between lines
  drawRightEye(6.7)
  drawMouth();
  drawHands();
  drawBangs();
}

As I learned more about p5.js through tutorials, I wrote down lots of notes and reminders to myself. One tip that really helped me out initially was putting fill() before the shape I wanted to draw. When I was listening to the demonstration in class I thought it would make more sense for fill() to have parameters for what you wanted to fill, but after working with the shapes today I realized that would’ve caused a big confusing wall of text very quickly. Putting notes next to how many parameters and what each parameter did for each function was also really helpful in my learning process.

I wasn’t quite sure how to depict the face at first with just simple geometry but by removing the outline “strokes” and blending shapes I started sculpting some much nicer shapes.

I really wanted my avatar’s arms to be interactable with the user’s mouse values so I initially allowed the top Y-positions of the arm segments to be controlled using the mouse. I obviously didn’t want it to go out of bounds so I looked through the p5js reference until I found the constrain() function. This was a huge lifesaver for both this aspect of the self-portrait and some other aspects I worked on after this.

let armY = constrain(mouseY, 430, 500); //restricted value, min, max
  let armX = constrain(mouseX, 200, 350); 
  
  //LEFT
  quad( 
    armX-60, armY, //top left 220~
    armX-10, armY+20, //top right 280~
    220, 600, //bottom right
    100, 600  //bottom left
  );
  //RIGHT ARM
  quad( 
    armX+110, armY, //top left 380~
    armX+60, armY+20, //top right 320~
    width-220, 600, //bottom right
    width-100, 600  //bottom left
  );

This snippet was taken as I was working out the arm animation and tracking. Mini-me was very deprived of any type of hair back then. He was also very gray.

Fig 1. Snapshot Right After Figuring Out Arm Animations

I feel like the hand movements made the avatar feel so much more alive and responsive, making good use of p5.js in ways beyond just turning code into still images. This would go a step beyond when I added the cookie into mini-me’s hands then another step beyond when the mouth would respond to having a cookie in front of it.

//COOKIE
fill(210, 180, 140);
stroke(190, 160, 120);
cookieX = armX+25
//main cookie area
if (cookieEaten) {
  arc(cookieX,armY,150,75,5.7,3.5) //cookie missing the top corner
  console.log("Cookie was Eaten")
} else {
  arc(cookieX,armY,150,75,0,2*PI) //a full cookie
}
//chocolate chips
fill(90, 60, 40);
noStroke();
//top left to bottom right
ellipse(cookieX-50,armY-10,19,14)
ellipse(cookieX-21,armY-2,16,10)
ellipse(cookieX-37,armY+10,12,7)
ellipse(cookieX+3,armY+8,17,12)
ellipse(cookieX+22,armY-6,12,8)
ellipse(cookieX+29,armY+20,15,10)
ellipse(cookieX+38,armY+2,18,13)

At first I didn’t have any chocolate chips on the cookie and my friend thought it was holding an empty plate so I decided to add some chocolate chips even though the way I did it was probably not very efficient. I considered using random variables like I’ve seen some previous projects utilize for their backgrounds but the choco chips needed to avoid a very specific area of the cookie that would be “bitten” into while looking well balanced.

One of my goals with the cookie in hand was to let the user be able to eat it by clicking on the mouth of mini-me, but I didn’t know how to program a bite mark into the ellipse so I decided to change it into an arc() halfway through and use the arc’s unique properties to cut out a portion of it near the mouth, making it appear like it had been bitten into. I was pretty proud of how I worked with my limited knowledge here.

cookieEaten = false
function mouseClicked() {
    console.log(mouseX,mouseY)
    if (mouseX > 280 && mouseX < 320 && mouseY > 330 && mouseY < 400){
      cookieEaten = true; 
      console.log("clicked mouth");
     }  
  }

//lots of stuff here in between in the real code...

if (cookieEaten) {
    arc(cookieX,armY,150,75,5.7,3.5) //cookie missing the top corner
    console.log("Cookie was Eaten")
  } else {
    arc(cookieX,armY,150,75,0,2*PI) //a full cookie
  }

By far the most unsatisfying part to me was definitely the way I did my hair. There were just so little polygons to work with to properly express what type of hairstyle I wanted for mini-me. However, a lot of my friends said they actually really liked how I depicted the hair so perhaps I’m fixating on it too much.

My biggest regret was that I only learned after I was nearly done with my self-portrait that I could’ve changed the angleMode() to degrees the whole time… I spent so much time trying to remember middle school math just to work out the PI angles for certain arcs.

//the upper lip
arc(cenX - 210/4, faceCenY, 150, 150, PI/4, PI/2); //left side
arc(cenX + 210/4, faceCenY, 150, 150, PI/2, 3*PI/4);//right side

If I were to do this exercise again, I would probably create more variables to make certain parameters look a little more organized and efficient. I changed a few parts to stuff like “width-X” rather than calculating it myself but there was definitely more I could’ve done to make everything look cleaner.

Overall for my first experience with p5.js and my limited experience with JavaScript , I think I would be proud of myself even later down the line.

Week 1 Self-Portrait: I’m a flower :)

The moment a friend joked that I’m “basically a flower,” while I was brainstorming ideas for this task, I knew exactly what I wanted to draw! A happy, cartoon daisy standing in for my portrait. Instead of wrestling with a realistic self-portrait, I leaned into something more playful and honest, something that resembled me in being bright, a little goofy, and imperfect in the best way. That choice took the pressure off and made the assignment fun, I wasn’t proving I could render a realistic portrait, but rather show a bit of personality.

Color was deliberate in this portrait. I picked a soft pink background (`#fae`) because it feels light and friendly, like a page from a sketchbook. The petals are white with a clean black outline because daisies are my favorite and that crisp edge gives a bold, sticker-like cartoon look. The center is a warm yellow (classic daisy!), and the stem is a saturated green so it reads immediately even at a glance. Together, the palette stays simple, cheerful, and high-contrast, perfect for for clarity on screen.

There were two small decisions that made a big difference. First, was the draw order: I coded the petals before the center so the yellow circle sits neatly on top. p5.js applies fill and stroke at the exact moment you draw, so layering matters, getting that step right eliminated messy overlaps without extra code. Second, the smiley face: two tiny circle calls for eyes and a single arc for the smile gave the flower a personality however this was probably the hardest part. I watched a few YouTube videos about coordinates which is how I learned to use “cx” and “cy” so I wasn’t typing magic numbers everywhere (much easier to tweak).

The smiley face was the specific piece of code that I was proud of. I know it looks very simple but it definitely took me the longest time to get right without looking completely wonky!

// Smiley
 const cx = 300, cy = 200;
 fill(0); noStroke();
 circle(cx - 20, cy - 15, 12); // left eye
 circle(cx + 20, cy - 15, 12); // right eye
 noFill(); stroke(0); strokeWeight(4);
 arc(cx, cy + 15, 60, 40, 0,PI);

What went well: I kept the geometry minimal (lines, ellipses, and circles). The result feels cohesive: the color palette, the outlines, and the proportions all read “cartoon daisy” immediately. What I could have done better: the petals aren’t perfectly placed since I originally wanted to do 5, and they look kind of odd, some spacing could be cleaner. I wish I had more time to work on this so I could adjust the shapes to my liking.

Looking ahead,  I’d also like to add motion, a subtle stem sway maybe or a smile that reacts on hover/click. Or perhaps, adding clouds or a sun in the background. For now, I’m happy that it isn’t perfect, neither am I, and that’s kind of the point. I’m still getting into the rhythm of JavaScript, and this little daisy felt like the right way to bloom.

Week 1 – Self Portrait

As someone who grew up watching suspense, mystery, and thrillers, I have always had a love for the unknown . It is practically part of my personality at this point. So for my self-portrait, I wanted to bring in that sense of intrigue.

When the sketch first loads, you see an anonymous figure – a faceless, question-marked silhouette. But if you click anywhere on the canvas, the figure is replaced by a self-portrait. Click again, and it disappears back into anonymity.

On the surface, it is a fun interactive switch. But on a deeper level, I think it reflects something more personal: the idea that people can choose to know you  or not. Maybe someone clicks, sees the portrait (a glimpse of who I am), and then clicks again to hide it. Maybe they don’t want to see me. Or maybe, like in real life, they’re unsure if they’re ready to know the full picture.

I guess that is the suspense in being known . Once someone sees you, they can never unsee you. But they can still choose to look away.

Here is my sketch.

The part of my code I am most proud of is the use of a boolean and if…else logic to toggle between the anonymous and self-portrait modes when the user clicks on the canvas.

function draw() {
textAlign(CENTER, TOP);
textSize(12);
noStroke();

if (showPortrait) {
background(255);
fill(0);
text('click to hide', 200, 50);
drawPortrait();

} else {
background(0);
fill(255);
text('click to reveal', 200, 50);
drawAnonymous();
}
}

function mousePressed() {
showPortrait = !showPortrait;
}

I am also quite proud that I managed to create a relatively expressive smile using just one line of code. It is simple, but adds a lot of personality in I think.

arc(200, 330, 30, 10, 0, PI, CHORD);

For future improvements, I would love to build on the toggle idea by introducing multiple personalities or moods instead of just a binary switch between anonymous and self-portrait. I believe everyone reveals different layers of themselves depending on the environment or the people around them. It would be really cool if the portrait could reflect that. For example, changing facial expressions, clothing, or color schemes to represent different sides of my personality: serious, playful, thoughtful etc. This would add both depth and relatability to the sketch.

Week 1: Self-Portrait

My Concept

A self-portrait should show that part of you that makes you who you are, right? My concept was to depict myself ‘normally’, but when the user clicks on the canvas, they are shown a side of me that not many people know about. I am actually a HUGE ocean nerd: marine life, ocean sustainability, deep exploration, I’m a sucker for it all. Consequently, I also love diving!

So, clicking transports me with my diving gear under the water! My eye shape changes to depict how happy I am and I think the bubbles bubbling upwards is a cute touch.

Code I’m proud of
// bubbles
noStroke();
fill(255, 255, 255);
for (let b of bubbles) {
  ellipse(b.x, b.y, b.size);
  b.y -= b.speed;   // move bubble upward
  if (b.y < -20) {  // reset if off screen
    b.y = 145;
   }
}

I really like how I animated the bubbles to float upwards and out from the snorkel and continue to regenerate. I was already familiar to how to implement such a logic due to my previous coding experience, but it definitely took a bit of trial-and-error to figure out the initial placement, size, and speed of the bubbles.

 My Sketch

Reflection

For future improvement, I would really love to add a kind of gradient of different shades of blue to enhance the underwater effect. I also think it would be pretty cool to have more animations, such as tiny fishes swimming in the background (and maybe a shark).

I think this assignment was particularly fun because I got to use JavaScript in a different creative manner compared to what I am used to. I was able to see my idea come to life just through simple shapes and colors! Overall, this self-portrait is an expression of a space I really care about and hope to get other people to care about too. Help keep our oceans clean, thank you!

Week 1 Self-portrait

My concept was to depict myself as an angry circle. When I’m provoked I get and increasingly large.

This part is particularly amazing

if (mouseIsPressed) {
  fill("red");
  circle(mouseX, mouseY, bigCircleSize);
} else {
  fill("green");
  circle(mouseX, mouseY, 50);  
}