All Posts

Wallpaper using loops

function setup() {
  createCanvas(500, 400, WEBGL);

  
}

function draw() {
  background(0);
  
  
  //for rotation
  rotateX(frameCount * 0.01);
  rotateY(frameCount * 0.01);

  noFill();
  stroke(255);
  
  //draw series of boxies that follows mouse
  for (let i = 0; i < 100; i++) {
    for (let j = 0; j < 150; j += 10) {
      box(mouseX, mouseY, 150);
    }
  }

  box(mouseX, mouseY, 100);
  box(mouseY, mouseX, 200);

  for (let i = 5; i < 100; i += 10) {
    for (let j = 10; j < 150; j += 50) {
      box(i, j, i + j);
    }
  }

  rotateX(frameCount * 0.01);
  rotateZ(frameCount * 0.01);
  //draw circle at center
  fill(0)
  stroke(0)
  circle(0,0,20)
}

Assignment 2- Art(Static Noise)

IDEA

In this assignment, we were required to use the knowledge we acquired in class( mainly loops) to create an art of any form. At first, I tried out so many random combinations of shapes and loops to create a generative art drawing inspiration from so many online sources but I could not really come up with something very inspiring and aesthetically pleasing to me. As I kept on searching I came across the image below.

The image Image above is an image of what we term “Static noise”. It’s basically an output to a television screen when there is a bad signal.

PROCESS

I decided to recreate this using p5js. At first i tried out several shapes and finally settled on using rectangles. Using for loop, i generated several small rectangles to fill up the whole canvas and then used the random function to also give them color. The code is very simple and short. I used just two nested for loops in this assignment.


 REFLECTION

For me, my work for this assignment was very simple and less time consuming as compared to the first assignment. I think i am getting better at using p5js. I experimented on so many functions and was also able to add some sound to make the whole experience better.

Week 2: Generative Art

Concept:

For this assignment, my concept was to create a dynamic generative art by using just a one shape – ellipse. I was interested in how ellipse can be manipulated to create an outline of various figures such as circles, triangles, blobs, etc.

As I started to play around with the ellipses, I was stuck on the problem of how I can make the ellipses follow the outline of a circle. After using some math, I eventually succeeded in forming the half-circle with ellipses, and then I applied the similar logic with x-axis reflection to form the other half.

I tried to utilize the concepts that we learned during the previous classes (translation, rotation, randomization, etc.) as much as possible, so I ended up creating an interesting form of generative art composed of 4 large and 1 small vibrating circles. The frame rate can be manipulated to change the speed of vibrations, in my case it is set to 5. The vibrations are achieved by manipulating the gaps between the ellipses and their width as well.

As for the color choice, I wanted to match the dynamic concept and the “wavy” vibe it gave, so I chose a black color for the background and a gradient color for the ellipses forming circles, which is achieved by manipulating the RGB values.

Code:

A code that I’m particularly proud of is the one where I draw circle by forming it from ellipses.  I used the Pythagorean theory (x^2+y^2=z^2) to get the length of a line that connects  two points in the circle which lie on the same line, and which is parallel to the diameter of the circle.  I used the for loop to gradually increment the width of the ellipse, and used x-axis reflection to form the other half of the circle.

//function to draw the circles
function drawCircle(radius,gap,upperCircleI){

  for(i=0; i<91; i+=gap){
    let circleWidth = 5;
    
    //upper part of the circle
    fill(255,150,2*i);
    ellipse(width/4, 10+i, 2*(sqrt(radius*radius -   upperCircleI*upperCircleI)), circleWidth);
    upperCircleI-=gap;
    
    
    //lower part of the circle
    fill(2*i,150,255);
    ellipse(width/4, 100+i, 2*(sqrt(radius*radius - i*i)), circleWidth);
    
  } 
}


Reflection and future improvement:

One of the ways this artwork could be improved is by increasing the size of the circles (i.e. making it 8×8) and applying a rotation effect that will make the circles rotate about the origin point. Another possible improvement would be randomizing the size and locations of the circles to create a more dispersed and random images.


Assignment 2

Concept

This code creates a canvas and displays a rainy scene with clouds and raindrops. The position of the x coordinate of the ellipse is set to 10 and the position of the y coordinate of the ellipse is set to 70. The sound of rain is preloaded and the setup function creates the canvas and sets the frame rate to 20. The function “raindrops” takes in two arguments, xPosition and ySpeed, and implements gravity by increasing the ySpeed by 0.05 and adding it to the yPosition. The ellipse is drawn at the updated x and y positions. The for loop in the draw function displays three clouds using multiple ellipses and creates falling raindrops using the raindrops function with random x positions and speeds. The code also plays the sound of rain every 15 frames.

Code

let xPosition = 10; // Position of x coordinate of ellipse
let yPosition =70; // Position of y coordinate of ellipse
let gravityAcceleration = 0.05; // gravity acc set to 0.05
function setup() {
  createCanvas(400, 400);
  rainSound.play(); // playing sound
frameRate(20); // to control the speed of rain
}

function preload() { // preloading sound of rain
    soundFormats('mp3');
 	rainSound = loadSound('heavy-rain-nature-sounds-8186.mp3');
 }
function raindrops(xPosition,ySpeed){
  fill('#C4D3DF ');
  ySpeed = ySpeed + gravityAcceleration; // implementing gravity
  yPosition = yPosition + ySpeed;
   ellipse(xPosition,yPosition,6,10);
  if(yPosition > 450) // to make the rain drops fall again when the rain drops go past 450 in the canvas
{
 yPosition =70;
  ySpeed = 0;
}

}

function draw() {
  
  background("#9099a1");
  if (frameCount % 15 == 0)
  {
    rainSound.play(); //sound of rain plays
  }
  
  fill(255, 255, 255, 200); // opacity set to 200 and color is white
  noStroke();
  
  for (let i = 0; i < 3; i++) { //making three clouds with ellipses
    let x = 70 + i * 130;
    let y = 70;
    
    ellipse(x, y, 80, 80);
    ellipse(x - 30, y, 80, 80);
    ellipse(x + 30, y, 80, 80);
    ellipse(x - 15, y - 20, 80, 80);
    ellipse(x + 15, y - 20, 80, 80);
  }


for (let i = 10; i < 400; i+=10) //rain drops looped with different x position and  different speeds
{
  raindrops(random(0,400),random(0,10)); 
}

}


Reflection and Future Improvements

Overall, it was a very fun project to work on as I tried to implement a Rain Storm. I tried to make it using what we have studied so far but learned the use of gravity to make the rain fall. Implementing gravity was the best part of the project. There are several areas where improvements could be made to enhance the realism and overall quality of the code. For instance, the raindrops could be made more random in both their appearance and speed to create a more realistic simulation. Instead of hardcoding the raindrops and clouds, the code could be optimized by using arrays and loops to create them, making the code more efficient and scalable. Furthermore, the code could be extended to include other elements such as lightning or wind, adding to the overall atmosphere of the rainy scene. Another area for improvement is adding user interactivity, such as the ability for the user to control the volume of the sound or the size of the raindrops. The code provides a basic foundation for creating a rainy scene, but there is still room for development and improvement to create an even more immersive and engaging experience.

weekly assignment 2

Concept

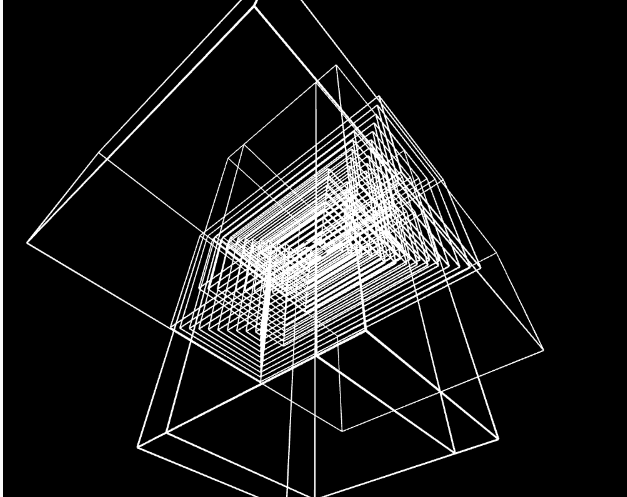
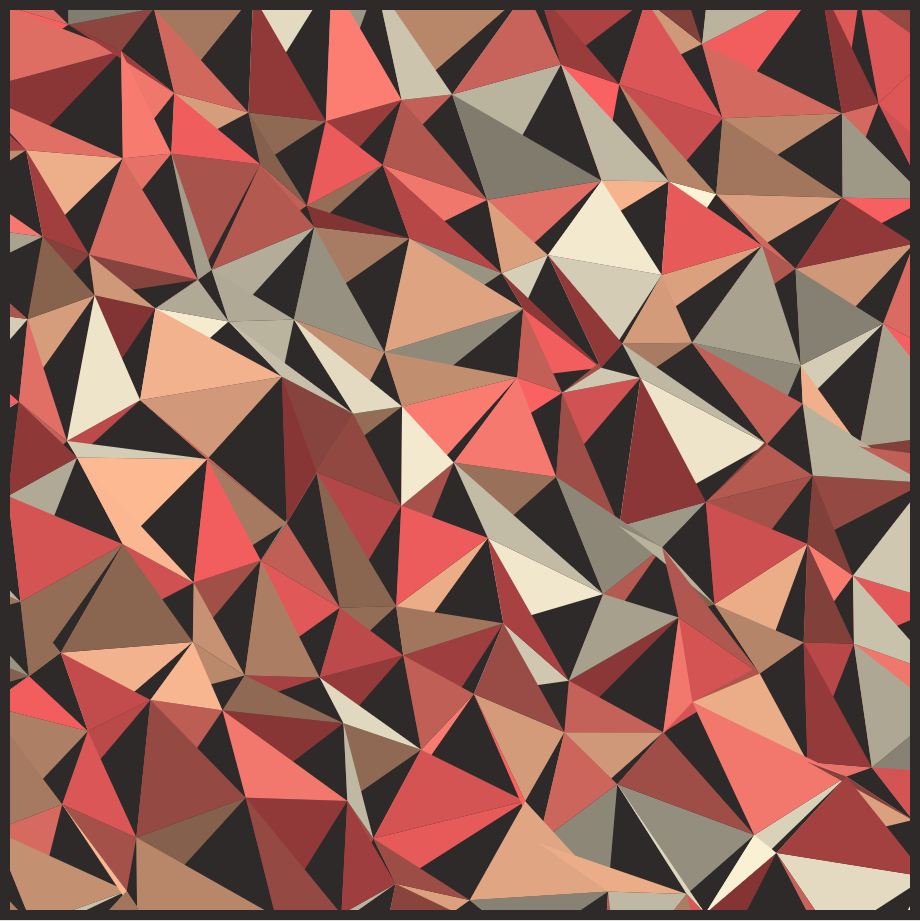
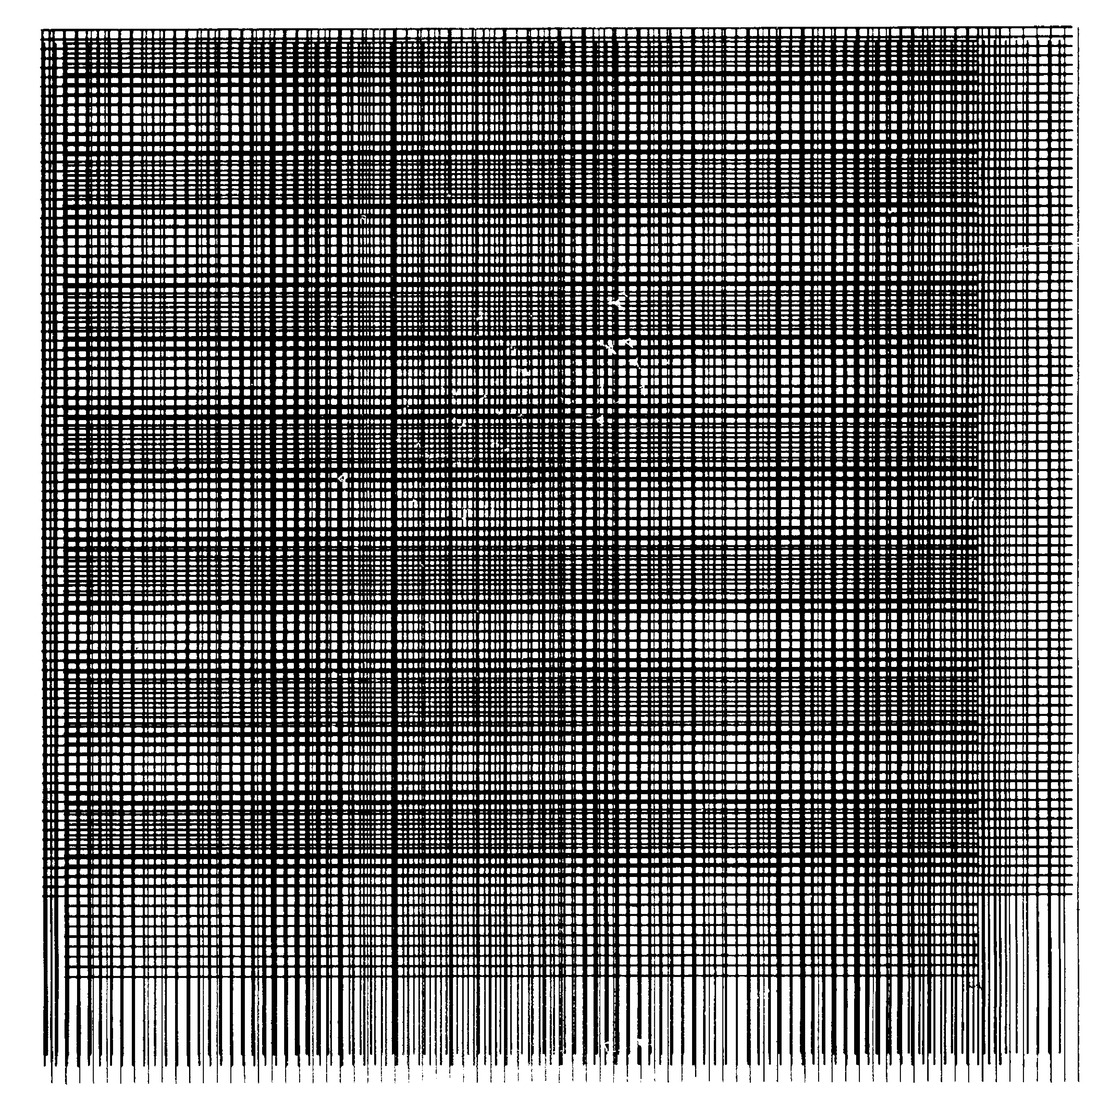
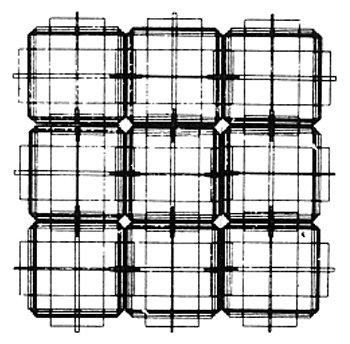
For this assignment, I wanted to make an art that is hectic, colorful, and mesmerizing which is what comes to my mind when I think of media art. First, I read through the old computer arts magazine for inspiration and one piece of art got stuck in my head which was:

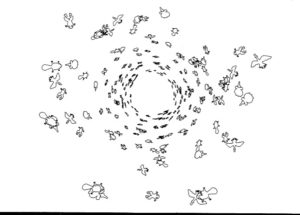
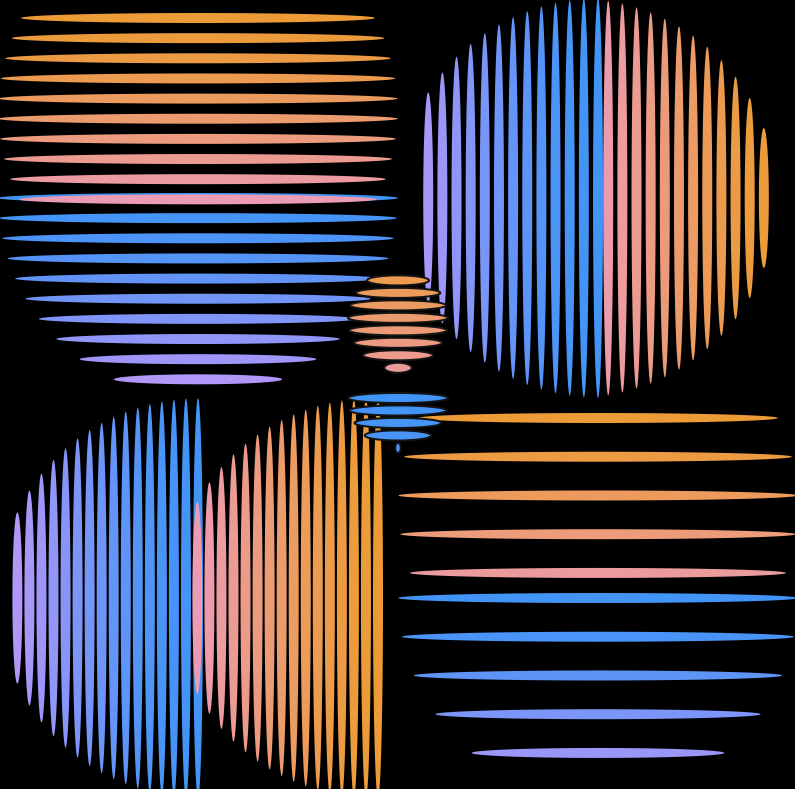
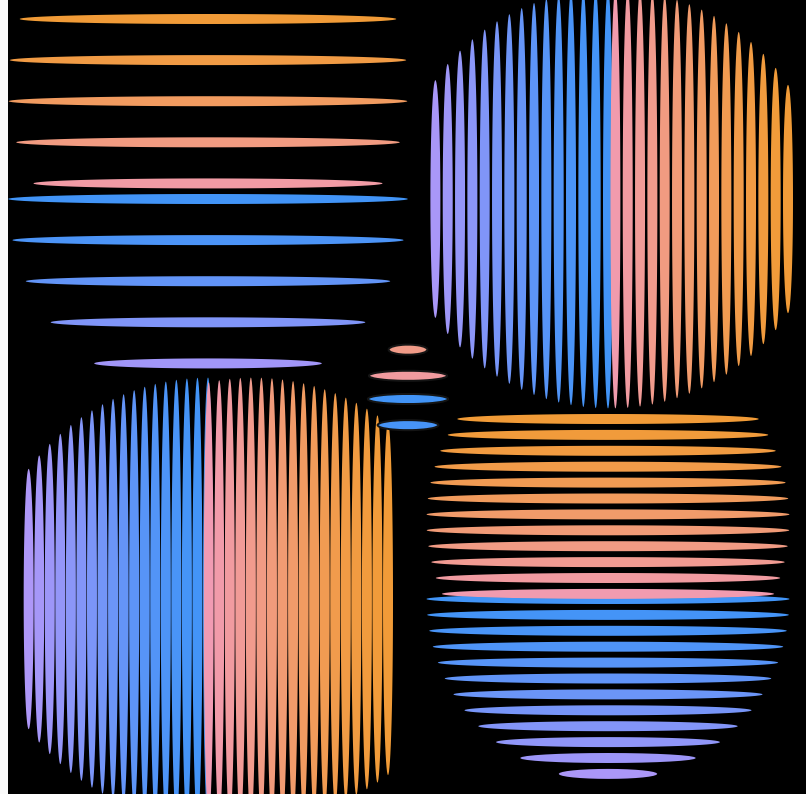
I really liked this piece because the shapes looked like it was spiraling towards the center which feels infinitely faraway. Thus, I decided to implement some spiraling component in my art piece with motion and color. At first, I wanted to have a bezier curve squiggling towards the center from all directions, making a huge squiggling circle. But manipulating with multiple bezier curves turned out to be very difficult so ended up with two bezier curves moving across the canvas, squiggling using the random function which I decided to keep. The shape I wanted to spiral was a circle simply because the shapes were going to orbit around the center in a circle. The color of the background and the circle shapes were randomly set using a random function and were randomly changed as well by calling the random color function which added/subtracted each RGB value randomly.

Code

* IF YOU CLICK THE CENTER CIRCLE, YOU CAN SEE THE PAUSE MENU

in the pause menu, you can control the toggleLeft and toggleRight variable which determines the distance between each circle’s orbit and has a default value of 10. You can also control the sin factor which is the constant multiplied to the sin component that determines the orbit and has a default value of 1/2.

The code has several sections. First, there is the initial section of establishing the global variables and setup function that sets up a random color for the background. Second, the draw function has a two conditional branches based on the boolean variable onOff where if this is true the drawTrue function will be called and thus drawn, and if it is false, drawPaused function will be called and the art will be paused.

function draw() {
  if(onOff > 0)
    drawTrue();
  else{
    drawPaused();
  }
  button = circle(300,300,10);
}

onOff variable can be switched true and false by clicking the button circle in the center. Third, the functions mouseClicked and drawPaused are functions that deal with pausing gimmick and changing the sin factor variable and toggle variables. Lastly, the drawTrue function which is the code that runs the art has also two compartments: one that deals with the squiggling bezier curves and one that draws the circles. The bezier curve gimmick really caused me a headache because initially I didn’t understand how it worked so after trial and error, I made a two separate bezier drawing functions: one going from top left corner to lower right and one vice versa. Both of these functions take a direction parameter and an array of parameter which have four elements for the four parameters of bezier shape which are randomly added/subtracted to make the bezier curve squiggle. The other component that deals with the orbiting circles use the for loop to draw 200 circles orbiting around using the sin() cos() function to constantly move the circle around the orbit. To diversify the speed between each 0rbit, I created an array of angles where each element is the speed of the orbit.

for(let i = 0; i < 100; i++){
    let x1 = 0;
    let y1 = 0;
    strokeWeight(1);
    if(i % 2 == 0){
      x1 = 300 + toggleLeft * i * sin(angle[i]);
      y1 = 300 + toggleLeft * i * cos(angle[i]);
    }
    else{
      x1 = 300 + toggleRight * i  * cos(angle[i]);
      y1 = 300 + toggleRight * i * factor * sin(angle[i]);
    }
    randomColor(colorsCircle);
    fill(colorsCircle[0], colorsCircle[1], colorsCircle[2])
    circle(x1, y1, i * 1);
    circle(y1, x1, i * 1);
  }
  
  for(let j = 0; j < 100; j++){
    angle[j] += 0.0314 + (j * 0.001);
  }

And this is my full code:

let onOff = 1;
let xMotion = 0;
let yMotion = 0;
let colors = [0,0,0];
let colorsCircle = [0,0,0];
let paramsA = [0,0,0,0];
let paramsB = [0,0,0,0];
let counter = 0;
let toggleLeft = 10;
let toggleRight = 10;
let factor = 1/2;

let angle = [];

function setup() {
  createCanvas(600, 600);
  for(let i = 0; i < 3; i++){
    colors[i] = random(0,255);
  }
  for(let j = 0; j < 100; j++){
    angle.push(j);
  }
}

function draw() {
  if(onOff > 0)
    drawTrue();
  else{
    drawPaused();
  }
  button = circle(300,300,10);
}

function mouseClicked(){
  if(dist(mouseX, mouseY, 300, 300) <= 10)
    onOff *= -1;
  else if(dist(mouseX, mouseY, 110,400) <= 20 && toggleLeft > 1){
    toggleLeft--;
    console.log(toggleLeft);
  }
  else if(dist(mouseX, mouseY, 160,400) <= 20 && toggleLeft < 10){
    toggleLeft++;
    console.log(toggleLeft);
  }
  else if(dist(mouseX, mouseY, 420,400) <= 20 && toggleRight > 1){
    toggleRight--;
    console.log(toggleRight);
  }
  else if(dist(mouseX, mouseY, 510,400) <= 20 && toggleRight < 10){
    toggleRight++;
    console.log(toggleRight);
  }
  else if(dist(mouseX, mouseY, 100,525) <= 25){
    factor = 1/2;
  }
  else if(dist(mouseX, mouseY, 300,525) <= 25){
    factor = 1;
  }
  else if(dist(mouseX, mouseY, 500,525) <= 25){
    factor = 2;
  }
}

function drawPaused(){
  background(255);
  textSize(100);
  fill(0);
  
  text('Paused', 150, 200);
  triangle(100, 400, 120, 380, 120, 420);
  triangle(170, 400, 150, 380, 150, 420);
  triangle(430, 400, 450, 380, 450, 420);
  triangle(500, 400, 480, 380, 480, 420);
  
  fill(255);
  rect(75, 500, 50,50);
  rect(275, 500, 50,50);
  rect(475, 500, 50,50);
  
  
  textSize(25);
  fill(0);
  text('1/2', 80, 525);
  text('1', 290, 525);
  text('2', 480, 525);
  
  text("Toggle Left", 75, 350);
  text("Toggle Right", 400, 350);
  text("Sin Factor", 250, 470);
  
}

function drawTrue(){
  background(colors[0], colors[1], colors[2]);
  fill(colors[0],colors[1],colors[2])
  stroke(colors[0]);
  strokeWeight(10);
  
  if(xMotion < 610 && yMotion > -10){
    xMotion ++;
    yMotion --;
  }
  else{
    xMotion = -10;
    yMotion = 610;
    paramsA = [0,0,0,0];
    paramsB = [0,0,0,0];
  }
  
  if(counter == 10){
    randomColor(colors);
    counter = 0;
    randomParam(paramsA);
    randomParam(paramsB);
  }
  drawBezierX(xMotion, paramsA);
  drawBezierY(yMotion, paramsB);
  counter++;
  
  for(let i = 0; i < 100; i++){
    let x1 = 0;
    let y1 = 0;
    strokeWeight(1);
    if(i % 2 == 0){
      x1 = 300 + toggleLeft * i * sin(angle[i]);
      y1 = 300 + toggleLeft * i * cos(angle[i]);
    }
    else{
      x1 = 300 + toggleRight * i  * cos(angle[i]);
      y1 = 300 + toggleRight * i * factor * sin(angle[i]);
    }
    randomColor(colorsCircle);
    fill(colorsCircle[0], colorsCircle[1], colorsCircle[2])
    circle(x1, y1, i * 1);
    circle(y1, x1, i * 1);
  }
  
  for(let j = 0; j < 100; j++){
    angle[j] += 0.0314 + (j * 0.001);
  }
}

function randomColor(colorsArr){
  for(let i = 0; i < 3; i++){
    colorsArr[i] += random(-15,15);
  }
}

function drawBezierX(dirX, param){
  bezier(dirX + param[0], dirX + param[0], dirX + 10, dirX + 10 + param[1], dirX + 20, dirX + 20 + param[2], dirX + 30,dirX + 30 + param[3]);
}
function drawBezierY(dirY, param){
  bezier(dirY + param[0], dirY + param[0], dirY + 10, dirY + 10 + param[1], dirY + 20, dirY + 20 + param[2], dirY + 30, dirY + 30 + param[3]);
}

function randomParam(param){
  for(let i = 0; i < 4; i++){
    param[i] += random(-30,30);
  }
}

Reflection

Like the last assignment, for this assignment, I didn’t have a concrete plan on what I wanted to create through p5js but rather I did a lot of exploring, meddling, and experimenting with the code and stumbling upon many gimmicks that I didn’t intend but looked cool. After two practices, I found myself getting more and more used to this language and how to create and use functions and the draw function to achieve what I want. I also learned and got used to the interactive part of the p5js with mouseClicked function and how to have a panel with set of buttons on the canvas using this function.

Week 2 – Artwork using Loops

Concept 

For this artwork, I wanted to create layers on top of each other that merge to form a piece of art. Each layer was developed using repeating shapes with a for or while loop. This was inspired by some geometric artworks I found online. While most of them had one repeating element such as a circle or square, I thought why not make several layers and merge them to form a different art piece? Some work that inspired me is:

Interactivity
Moreover, I wanted to create a monochromatic art piece with a pop of color that the user can add. So, the entire piece is shades of black and white and these colors blink/alternate. Moreover, the user can press the mouse to add colored circles throughout the canvas however, these disappear when the mouse is released. But a glimpse of them can be seen in the back through the spaces in the previous layers. This way, the users’ interactions bring a pop of color to the otherwise monochrome canvas.
Another form of interaction I added was a slider that allows the user to change how fast or slow the artwork blinks by changing the frame rate.

My Artwork


Code

Code I am particularly proud of is the following:

function getCircles(posX,posY,circleWidth) {

//alternate color of each circle between black and a random value between black and white
colorBlack = true;
noStroke();

//loop 20 times, each time increasing the width of the circle centered at x and y
for (let i = 20; i>0; i--) {
//alternating colors
if (colorBlack == true)
{
colorBlack=false;
fill(random(10),random(15),random(15));
}
else {
colorBlack = true; 
fill(random(255));
}
//making the ellipse
ellipse(posX,posY, circleWidth*i, circleWidth*i);
}
}
//draw a flower at x and y using rotating ellipses
function drawFlower(posX,posY){
  
  noStroke();

  for (let i = 0; i < 10; i ++) {
    fill(0,127);
    
    ellipse(posX,posY,10, 60);
    rotate(PI/5);
  }
}

//helper function to draw a flower 
function drawFlowers(posX,posY)
{
  translate(posX,posY);
  drawFlower(0,0);
}

//function to create a bunch of flowers in bottom-left
function getFlowers(){
  drawFlowers(50, 350);
  drawFlowers(30, 30);
  drawFlowers(-60, 10);
  drawFlowers(0, -80);
}

With these functions, I used loops to create blinking circles and flowers using rotate and translate as well. As a whole, the assignment turned out to be very fun to make.

Reflection and future improvements

I found this assignment to be exciting as I got to play around with loops – which is something I really enjoyed doing in the first assignment too. Also, it allowed me to express my creativity and further enhance my artwork using interactivity. Some aspects I can improve in the future include optimizing my code further to use loops to position the flowers and the sets of circles on the canvas. For now, I hard-coded the positions but in the future, I want to make the canvas more responsive by using values that are in terms of the width and height variables. Further, I want to learn how to use make the number of elements on the canvas increase/change with time.

HW2 – Generative Art

Concept

I have started my implementation of the art work from one of the works from Programm-Information21 suggested by Professor Shiloh. It is shown below.
At first, I  replicated  it  trying  to copy  the  idea  of squares populating my  canva  with  various  density. It turned out to not be so exciting, so I have decided to play around with shapes and then I sticked to the idea to use ellipses. My final sketch uses only ellipses.

Different parameters for ellipses gave different visuals, and for my primary part of sketch I attempted to replicate ongoing flames. Background color is set to orange and a number of black ellipses with different parameters moving in a random fashion are responsible for the final effect.

Code for the Fire Imitation

background(249, 94, 4);
fill(0);
for (let x = 0; x < width; x = x + 5) {
  for (let y = 0; y < height; y = y + 5) {
    if (y < height / 4 + 10) {
      ellipse(x + random(width / 20, -width / 20), y, 8, 10);
    } else if (y < height / 2 - 30) {
      ellipse(x + random(width / 20, -width / 20), y, 6, 10);
    } else if (y < (3 * height) / 4) {
      ellipse(x + random(width / 20, -width / 20), y, 4, 10);
    } else {
      ellipse(x + random(width / 20, -width / 20), y, 3, 10);
    }
  }
}

As I mostly implemented the fire animation in class and just changed it a bit at home, I have decided to add something using key controls as well. So, to introduce a bit of contrast to fire, I coded falling rain drops to imitate rain to some extent. I did some quick research on p5js to use Classes and functions to code behavior for each rain drop as an object. It is again ellipses.

Code for Rain using OOP

class Rain {
  constructor() {
    this.x = random(0, width);
    this.y = random(0, -height);
  }
  create() {
    noStroke();
    fill(140, 223, 232);
    ellipse(this.x, this.y, random(3, 6), random(3, 10));
  }
  fall() {
    this.y += random(10, 30);
    if (this.y > height) {
      this.x = random(0, width);
      this.y = random(0, -height);
    }
  }
}

“Rain” activates when a user presses the mouse and stops upon its release. You can check the full sketch below.

Reflection

My final sketch is nowhere near close to the work I got inspiration from. For me, it shows that we may start at one point and end up deviating from our designed path yet enjoy the process. It is certainly exciting that such simple code may produce interesting results.

Future Improvements

I am quite satisfied with the flame animation, yet for the rain part I feel it can be improved further and there it may make sense to add ground, sky, and other attributes to give it a look of something more real, rather than completely artificial.

Loops – Aigerim

Inspiration

For this project, I recreated an artwork from ProgrammInformation. It is a collection of stars that are scattered throughout the screen. I took the idea of a static image and decided to make it dynamic. I also randomized the number of stars in each iteration and the shape of the star, thus creating infinitely many unique similar artworks.

Process

It was a bit tricky to figure out how I am going to angle the lines of each star and make them appear with random rotations and lengths. The way I went about is that I picked a random point (x and y coordinates) where the star would be centered and drew lines from that point to a new, random point within a given range (as can be seen on the code below).

function cluster(x, y) {
  for (let i = 0; i < 20; i++) {
    dx = random(-25, 25);
    dy = random(-25, 25);
    line(x, y, x + dx, y + dy);
  }
}

Each line in a star is away from the center at most 25 pixels in both x and y, and ranging the random value of that distance (dx and dy respectively) from negative to positive enabled me to create lines around the center in all directions. Only the number of lines in each star remain constant (20), but everything else is randomized, creating a unique image at each new frame.

Reflections

Overall, I am proud of the solution I came up with in creating the lines, as it does not seem to be a trivial or traditional way to go about it, at least for me. If I were to work in this further, I would love to incorporate some interactivity (e.g. making the frame change whenever user clicks on the image) or adding some color.

HW2: Loops

CONCEPT

I took inspiration from this one example shown in the COMPUTER GRAPHICS and ART magazine for May, 1976  suggested by the professor. It made me think of buildings and cables under walls. In my sketch, I attempt to imitate a nightlife of a residential building, with the light in the windows randomly turning off and on, and the cables exposed over the walls indicating some activity.

IMPLEMENTATION

I created three functions to draw each element of the sketch: cables, windows, and walls. FrameRate function is set to 1 because the change is too fast-paced otherwise and the sketch looks less like a building in a night time.

I started by making the overlapping cables, which created the outline for the brick walls and windows. The cables are done in a for loop nested three times: the first time to draw multiple rectangles over itself, the second time to make a row of those rectangles, and the third time to make it a grid. The rectangles overlap with each other in a row, to make a narrow compartment for a window to fit snugly into. The outline of the rectangle is different each time because, in my mind, it makes sense that a change of color signals whether the cable is on or off.

For windows, I have used a nested loop to make a grid of rectangles. An array of two colors and a random function are used to update the fill value. This helps to imitate the lights being turned off and on in each apartment unit and gives the building some life.

I had the most struggles drawing the bricks. Initially, I wanted to make a 6 by 4 grid of brick walls so that they don’t go beneath the windows but stay separately from one another. However, when I tried implementing that, the editor would crash. I assume that it’s because I have nested the for loop 4 times. I tried a few more times until I realized that it would be easier to make a singular 50 by 27 brick wall and call this function before the other two.

Essentially, all three of my functions are similar to one another. I attach the brick wall function snippet because it took me the longest to come up with.

//drawing the bricks
function brickBuild() {
  noStroke();
  fill(222);
  let brX = 0;
  //initial Y indentation
  let brY = 33;

  for (brGridH = 0; brGridH < 50; brGridH++) {
    //move the row down
    brY = brY + 9;
    //initial X indentation for each row
    brX = 28;

    for (brGridW = 0; brGridW < 27; brGridW++) {
      //draw 12*8 brick
      rect(brX, brY, 12, 8);
      //move to the left
      brX = brX + 13;
    }
  }
}

WHAT WOULD I CHANGE

Perhaps, to make the sketch imitate a residential building more closely I could make each of the windows update the fill value at a different point so that they would change the colors asynchronously. The cables could do the same things (change asynchronously), but I would also add a pulsation effect when they change their color and width/height values.

Week 2 – Loop Art

I have thalassophobia, the fear of giant bodies of water. So, if ever asked to choose between mountains and the sea (like on those personality quizzes), I will, without a doubt, choose the mountains. However, like most people, I love nature. Having grown up in a small village I am no stranger to its wonders and in my 20 years of being on the Earth, I have grown my appreciation for even the smallest drops of dew condensed on an unripened plum. So, for this assignment, I choose to focus on both mountains and the sea in order to explore loops and conditionals in p5js:

The Sea

Challenges

To start off, I didn’t animate the sea. Rather, I just created a stationary sine curve. Then, sine curves. I didn’t quite understand how to make them move, so I watched this video by Professor Daniel Shiffman and implemented his motion technique to my sine curves. To make them move in the opposite directions, I first started with graphing them out of phase, which did not work because they would move in the same direction. By using the modulus function, I was able to move adjacent rows in opposite directions, which gave the animation an interesting effect. A big obstacle was also the background. Since fill() and stroke() can go beyond the scope of the function they are in, it took some time to re-read the code in order to remove stroke() and strokeWeight() from elements they were not supposed to be on. Lastly, since I used curveVertex() for the sine waves, I was unable to fill the sea properly. So, to get around that, I increased the stroke and used scale() to make the waves slightly bigger without seeing the background underneath.

Reflection

The sunset, although it does not look completely realistic, is still very beautiful. By looking up the hexadecimal values for the sunset colours I was able to create ellipses which imitate the sky around a setting sun. I placed a rectangle above the canvas with a varying alpha (transparency) which made the sunset more realistic:

// Sunset color over the sea
noStroke()
fill(4, 97.7, 65.9, map(mouseY, height, 0, 0.1, 0.4))
translate(100,100)
rect(width/2, height/2, 800, 1000)

Although I tried making a gradient, it did not look good, so I stuck with the simplified version. In the future, I wish to understand how to make gradients without the help of external libraries and make the motion of the waves both horizontal and vertical compared to the currently only horizontal ones.

The Mountains

Challenge

To start off, understanding how to graph noise() was very challenging. To understand noise(), I once again watched Professor Daniel Shiffman and his series on noise(). They were extremely helpful in understanding how to graph noise without having all the curves look the same. Although I understood how to store the points on the canvas and how to graph them, the amplitude of the waves (y offset) was not working properly. Fortunately, I realized that I was not the only one interested creating noise() curves and I solved my issue by contrasting my code with the example on this page. After graphing my mountains, I realized that they would not fill completely. After some time, I realized I could use rectangles underneath the curves in order to make them completely filled. Lastly, working with RGB is the easiest when dealing with a single shade of blue. By reading about different color modes in p5js, I was able to figure out how to gradually increase the brightness of my blue through the use of colorMode(HSB).

Reflection

In class, we made “buttons” by constraining the mousePressed function on an ellipse or rectangle. For this assignment, I wished to create the option to, in a way, shuffle the mountains and the stars in order to get new pieces of art, if they can be called that. I created a button (“Generate new”) which can be pressed to do just that:

let button = createButton("Generate New");
button.position(0, h - 20);
button.mousePressed(loop);
button.mouseReleased(noLoop);

The button loops draw() when pressed and stops after being released which showcases the noise() function a lot better and its weight on standard distribution, i.e., distribution around the center. In the future, I wish to combine the two artworks and create a bay or lagoon that encompasses both the concept of noise() and water motion inspired by sine curves.