Assignment 2: Loop-Based Digital Art

Loop-based Digital Art

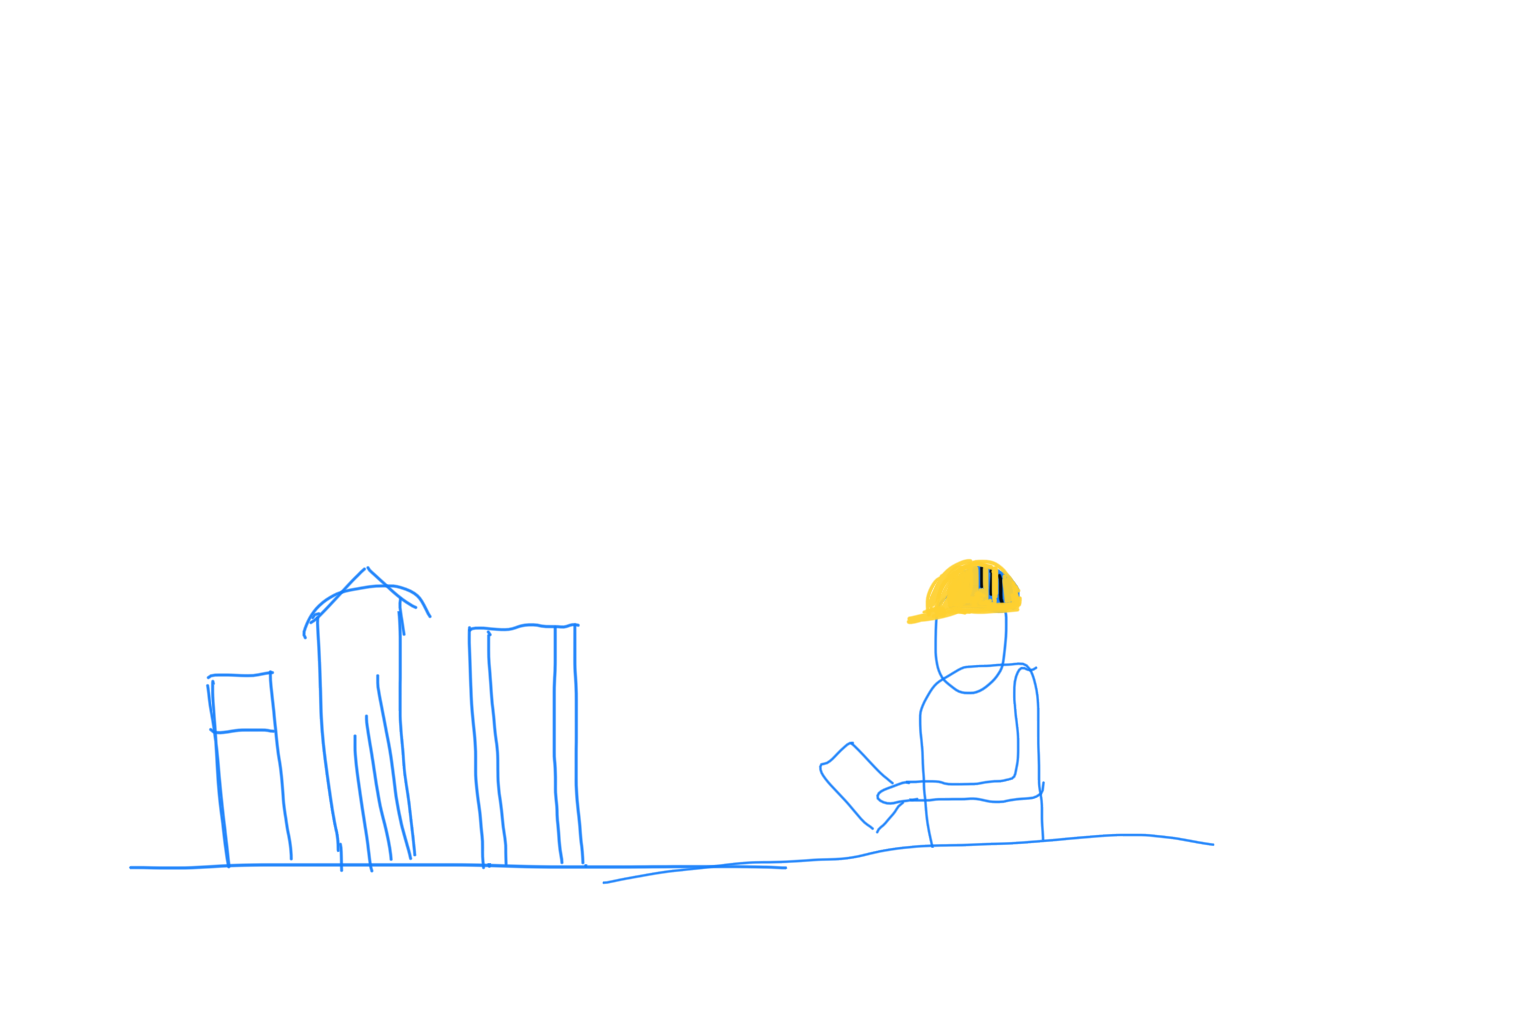
This time, the assignment was to create a digital art based on loops. We learned the basics of the loop, and for the example we were shown multiple houses across a canvas. That may be why; while vaguely thinking about how I should work on this assignment, out of nowhere, an image occupied my mind:

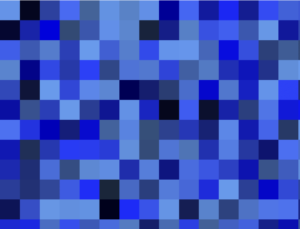
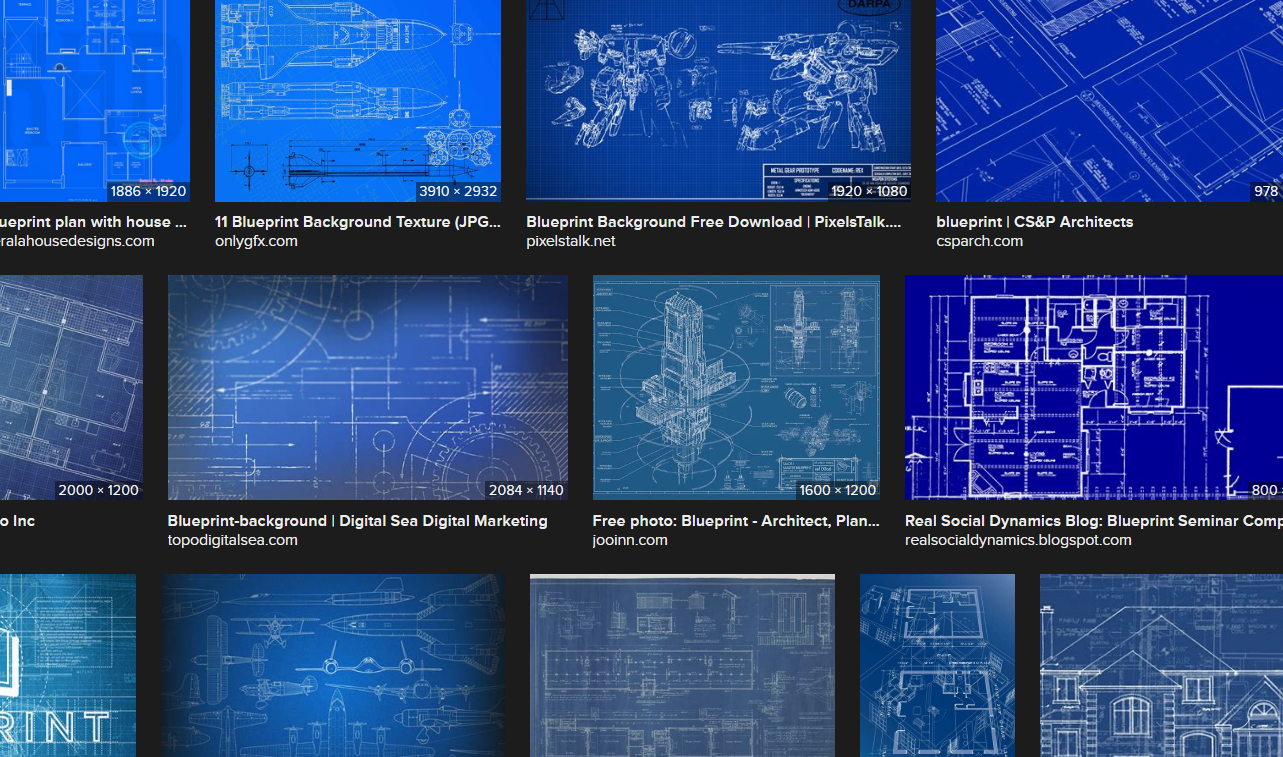
“blueprint” from your favorite search engine

It was blueprint. Not the idea of blueprint, but the image of it: a combination of varying shapes on a blue board. I was not completely sure about the composition of colors, so I looked it up from a webpage called SchemeColor.com.

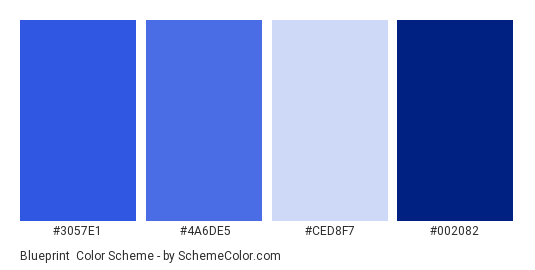
Seeing these colors, I asked myself whether I had a specific image that I wanted to make. The answer was no. I had a vague image, and this image yielded only a handful of words such as blue background, white drawings, varying shapes, eye-catching, and so on. Because I did not have a specific image in mind, I decided to give my computer a chance. It was time for the chaotic randomness.


Controlling the Chaos

Random can be almost anything. But I did not want anything. I wanted a specific color scheme, specific positions for shapes (they should at least on the canvas so I can see), number of shapes, and other details that make the result look good. The below is a list of fixed values and controlled chaos.

  • Fixed Canvas Size
  • Fixed Frame Rate (if too fast, dizzy)
  • Fixed Background Color
  • Fixed Number of Shapes
  • Fixed Number of Scenes (total number of frames shown)
  • Controlled Shape Border Color
  • Controlled Shape Border Thickness
  • Controlled Shape Position
  • Controlled Shape Rotation (improvement since the last assignment)
  • Controlled Shape Type
  • Controlled Shape Size
  • Controlled Random Seed (So that other people can see the exact thing I saw)

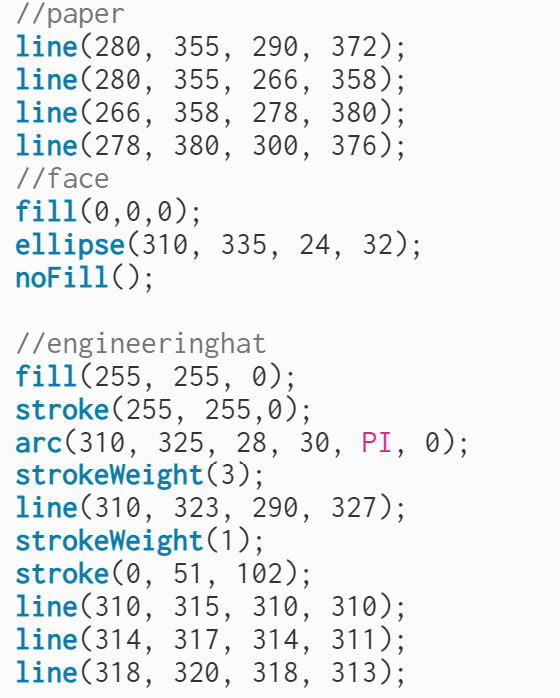
And here is the code that does the above:

function setRandomStroke() {  // sets border color and thickness
  // Color credit to SchemeColor.com
  let colorSet = ['#CED8F7','#4A6DE5','#002082'];
  stroke(random(colorSet));
  strokeWeight(random(1,5)); // 1 to 4
}

function setRandomPosAngle() {  // sets position and rotation
  resetMatrix();
  translate(random(width),random(height));
  rotate(radians(360));
}

// Name is not so descriptive, but it will be used a lot
// It is to limit coordinates(and thus size of the shape)
// 1/downscaleFactor of either width or height (whichever is smaller).
function p() {return random(min(width,height)/downscaleFactor);}

function drawRandomShape() {
  // randomly(based on seed) choose from 1 to 5
  switch (int(random(1,6))) {
    case 1: // rectangle
      rect(0,0,p(),p());
      break;
    case 2: // triangle
      triangle(0,0,p(),p(),p(),p());
      break;
    case 3: // circle
      circle(0,0,p()/2);
      break;
    case 4: // line
      line(0,0,p(),p());
      break;
    case 5: // arc
      arc(0,0,p(),p(),0,radians(random(360)));
      break;
  }
}

function draw() {
  randomSeed((frameCount)%sceneCnt); // shows only sceneCnt # of frames
  for (i=0;i<(width*height/1400);i++) {
    setRandomStroke();
    setRandomPosAngle();
    drawRandomShape();
  }
}

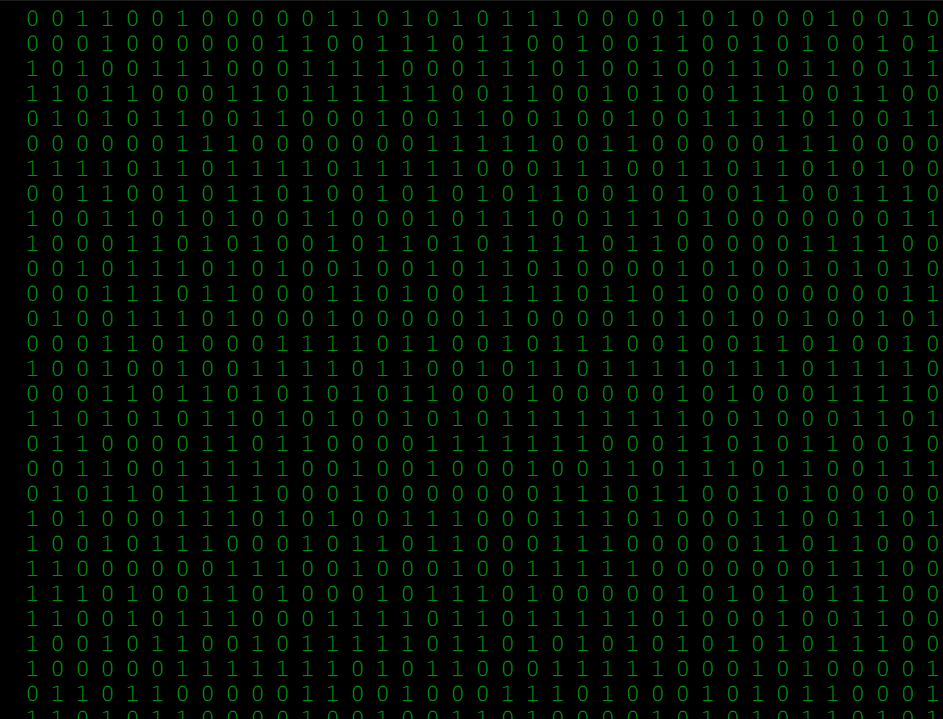
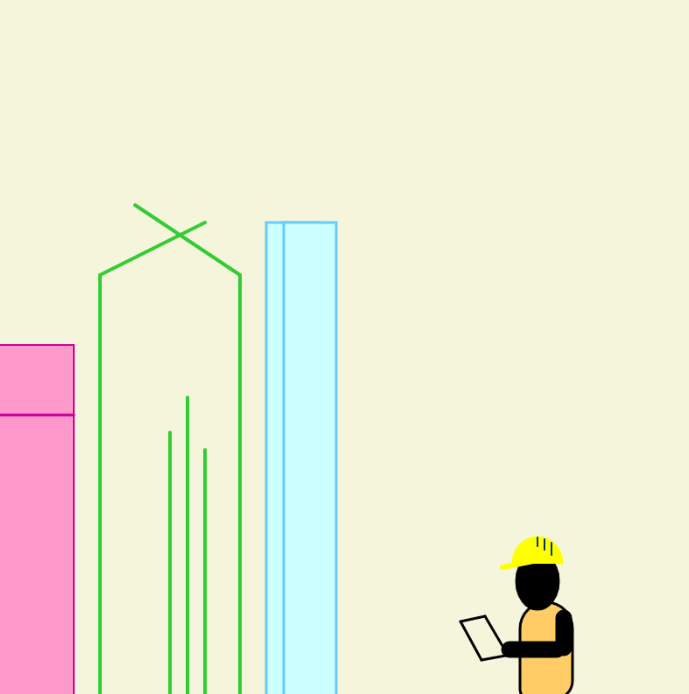
And here is the result. If you look at it for a while, you may start seeing patterns from these random generations.


It is interesting how our minds work. Out of these randomly generated images, our minds start to detect motions. Again, they are (pseudo)randomly generated and thus lack continuity to form a motion. But, if you look at them long enough, you may see them as a tornado of objects, bubbles floating toward you, objects falling down, and so on. I like this randomness. It took a bit of time to refine the details, but I want to use this controlled chaos on later projects.

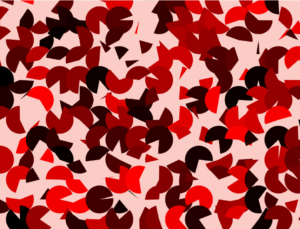
The below is a variant where only size of the shape is different. Shape, position, rotation, and all the other details are the same as the above (same seed for the random function). After seeing this for a while, you may be able to see a wind blowing.

Assignment 2 – Loops

If you keep watching the numbers until they fill up the whole canvas, you will see a surprise!

The concept I was going for in this assignment was Matrix themed. Originally, I wanted to have a different work of art for “out of the Matrix” and “stay in the Matrix”, but I ended up just doing something simple instead.

Process + Highlight

The whole process of making this was similar to the self portrait; there was a lot of trial and error. Essentially, I just experimented until I got something I liked.

I started off with a black background and added green ellipses that were slightly transparent. I later changed it to rectangles. I tested different transparencies and sizes before I settled for the final look. random() is my favorite method to use because I don’t have to make a choice and it’s interesting to see how the “art” changes each time you run it (also you will see how often I use random() in this assignment).

function matrixNumbers() {
  fill(0, 143, 17);
  textFont("Courier New");
  textSize(20);
  
  if(random(2) < 1) {
    text("0", textPosX, textPosY + spacing); 
  } else {
    text("1", textPosX + spacing, textPosY);
  }
  
  textPosY = textPosY + spacing;
  if (textPosY > height) {
    textPosY = 0;
    textPosX = textPosX + spacing;
  }
}
Organized numbers, but there was an offset on the left

The one thing I was certain I was going to do was the numbers appearing down the screen. At first, I had the numbers in an organized fashion by having textPosX + spacing and textPosY + spacing in both the if and else statements. Then I changed it to the code above, which staggered and stacked the numbers, which I felt was more interesting than a grid-like fashion. I also realized that globalizing the variables will create the dynamic aspect of the numbers showing up one by one. At first I just put the variables in the function, but this just stacked 0 and 1 in the corner (I think this happens because when you keep it in the function it changes once, whereas when you globalize it, the variable changes every time the function is called in draw?)

This code was actually taken from a previous p5 assignment I did, but I modified it to fit the Matrix number pattern:

A 10Print assignment I did for another class

This isn’t really related to loops, but I really like how the pills appeared after the numbers finish appearing on the screen. I experimented with setAlpha() to make the pills and text appear gradually. I got this code from the reference, but I modified it because I didn’t need it to go constantly go from opaque to transparent. Originally, I followed the reference and did sin(millis() / 1000), but it didn’t work the way I wanted it to, so I looked at the reference for just millis() and realized that I didn’t need the sin().

I wanted the red pill and blue pill to contrast each other in terms of the shapes used. So for the red pill, I wanted to use arcs, but I didn’t really like how the empty space looked, so I used circles and adjusted the transparency. For the blue pill, I wanted it to be like pixel art. Again, I used random so the colors would be different each time. I originally had the squares larger, but the smaller it was, the more intense the pixel effect was so I kept it small.

Future Improvements and Ideas

Currently, I’m kind of cheating with how the red pill and blue pill works. This is the code:

if (mouseIsPressed && mouseX < width / 2) {
    noLoop(matrixNumbers());
    redPill();
  }

  if (mouseIsPressed && mouseX > width / 2) {
    noLoop(matrixNumbers());
    bluePill();
  }

So no matter where on the canvas, as long as it’s less than half of the width, it will take you to the red pill. Similarly for the blue pill, as long as it’s more than half of the canvas width it will change. Therefore, even before the pills appear you can click to see either the red pill or blue pill “art”. I was thinking of using dist(), but I was a bit confused as to how with a rectangle. Additionally, since my code doesn’t include a way to go back to the numbers screen, once you click on one side you would have to restart the program in order to see the other pill. I’d like to say this was an intentional design because once you pick one, you can’t go back. However, since the mouse press range isn’t only within the two pills, if you accidentally click somewhere it will take you to either pill drawings.

I want to add more dimension to the red pill and blue pill drawings, such as lines or curves drawing over it, similar to what Casey Reas does. Actually, the more I look at the arcs version of the red pill art, the more I like how random it is. So another future idea might be combining the current, organized version with the arcs. For example, make the circles change into arcs using millis() and loop that, similar to what the reference for setAlpha() does.


Aaryan’s Self-Portrait: Touch-and-Go

I am bad at drawing. I once tried drawing a reindeer in school for Christmas, and what I drew looked more like a Martian cow. I’m also relatively new to coding. So, I wasn’t sure where to start my self-portrait, I didn’t even know if my head would be an ellipse or a rectangle. So, I decided to just start drawing and try capturing some of the identifiable features of my face as best I could, and take it from there. This was not too difficult, as it just needed the basic shapes we learned in class. The only challenge was figuring out where to locate each shape and how big to make it. I had to do this manually for each shape, and there were quite a few elements, so it took a while. But I was quite happy with the disembodied face I produced at the end.

Disembodied Face:

This face seemed like a passable self-portrait that captured some features such as the roundness of my head. But it very clearly didn’t look like me (not that I had expected it too). So, I decided to incorporate something that was easy to associate with me as a person, to make the drawing more representative of me. Currently, the one thing outside academics that I give the most time and energy is Touch Rugby. So, I thought I would put a touch rugby ball into my portrait.

It was easy enough to draw the ball (it’s quite similarly shaped to my head, actually). I thought it would be fun to have the ball bouncing against my head, so I decided to add that simple animation based on the bouncing ball activity we had done in class. I could get the ball to bounce between my fixed head and the border of the canvas. I had gotten more comfortable with drawing shapes, so I drew the rest of a body and added a few details, a well as a background.

At this point, I was quite happy with the self-portrait, save for one element. My head being rigidly fixed while the ball bounced against it looked unnatural, and I wanted to create some response from my head. But this seemed tough and I couldn’t think of how to do that, especially while keeping the rest of the body still and consistent. But then I glanced through the examples from past classes and felt inspired. So, I decided to try it. It was a conceptual challenge, but I realized, if I made a reference variable to demarcate the head position, I could make the ball interact with that variable. So, I decided to set the x value of the face as a variable and made the other facial features relative to this position. I created a velocity variable for the face that would become non-zero when the ball hit the face; it would then change direction after some motion, and then become zero again when the face reached its initial position. To keep the rest of the body still, I made top of the neck relative to the face, but the bottom fixed with the rest of the body. It worked, and I was quite pleased with having overcome that hurdle and added this element of interaction between my head and the ball.

The Final Result:

Reflection

Looking back, I would have made my life a lot easier if I had created this reference variable earlier as it would have been a lot simpler to position the other elements on the face. It would have also given me more flexibility, such as being able to move many features at once, rather than having to change coordinates individually. One feature that helped with some shapes, especially the arms and legs, was this function called quad() which I looked up to make custom quadrilaterals. It helped but required manual input of all vertices. I did this because I couldn’t figure out how to use rotate(), which is something I should certainly get the hang of so that I can make diagonal shapes. My approach to this assignment was to try a few things and build the idea as I went along, without a coherent idea to begin with. It would definitely help to start with an overall concept and work towards it next time, but I think that will also come with greater skills and confidence in being able to execute an idea.

Self-portrait

Concept:

My idea is based on my hometown, Ohrid, a beautiful small town in Macedonia. For most of the year its cold and rainy, but when it snows for me its the most magical time of the year.

Reflections and improvements:

I would like to focus on improving interactive features on my projects and learning new skills to incorporate in p5js.

Assignment 1: Self Portrait

Following our first class, I fiddled around with the code and got a feel for what I might be capable of drawing. With the ability to generate simple shapes, my mind immediately went to my Animal Crossing avatar. Booting up my game, I took a picture of my avatar to serve as my reference image:

Picture taken from personal copy of Animal Crossing: New Leaf.

While I initially struggled a bit with the arc() function—an essential tool for drawing hair and eyelids—I was soon able to get the hang of it. With the power of the arc at my fingertips, I was able to draw myself a rough draft of what my portrait might look like.

Rough sketch in hand, I now wanted to add a layer of interactivity to the portrait. Following our second class, I sought out to implement the if() function that we learned in class together with the (mouseIsPressed) variable to realize this next step.

//Top Half
if (mouseIsPressed && mouseY < 200){//effect1}
//Bottom Half
if (mouseIsPressed && mouseY > 200){//effect2}

Using these if statements, clicking on the top half and bottom half would yield different effects—a top half click would make my avatar happy, while a bottom half click would make him sad. As the effect would only change the eyes and the mouth of the avatar, I decided to move the rest of the drawing into its own function of face():

//Function for Drawing Base of Face
function face() {
  //Halfline
  line(0, 200, 400, 200);
  strokeWeight(3);
  //Ears
  fill(240, 184, 160);
  strokeWeight(1.7);
  ellipse(110, 210, 40, 50);
  ellipse(290, 210, 40, 50);
  //Face
  ellipse(200, 200, 180, 200);
  //Hair
  fill(60, 19, 33);
  arc(200, 165, 185, 160, 3.14, 0);
  arc(107.5, 165, 110, 61.6, 0, 1.57);
  arc(162.5, 165, 100, 61.6, 0, 1.57);
  arc(292.5, 165, 160, 61.6, 1.57, 3.20);
  line(107.6, 166, 107.6, 196);
  line(292.4, 166, 292.4, 196);
  //Nose
  fill(215, 107, 0);
  triangle(190, 240, 200, 220, 210, 240);
}

I also edited the if statements to become a set of if, else if, and else statements to respectively accommodate the three statuses of 1) top half is clicked 2) bottom half is clicked 3) nothing is clicked (the neutral state).

//Top Half
if (mouseIsPressed && mouseY < 200){//effect1}
//Bottom Half
else if (mouseIsPressed && mouseY > 200){//effect2}
//Neutral
else {//effect 3}

With everything in place, all I needed to do was code in the different shapes of the eyes and mouth for the two expressions. I also added in changing background colors, indicative lines, and some text bespeaking my avatar’s mood.

The final touch I decided to employ was scrolling text encouraging the user to click the portrait; I got this to work by setting up the variables first:

//Variable Setup for Scrolling Text
let scrollSpd = 3;
let textX = -260;

Then I used said variables in the following block of code, which continually executes in the draw() function and moves the text along, with the if() statement resetting its position when it moves out of the screen.

//Scrolling Text
strokeWeight(0);
textSize(20);
textStyle(BOLD);
fill(0);
textX = textX + scrollSpd;
if (textX > 400){
textX = -250;
}
print (textX);
text('Try Clicking & Holding!', textX, 335);

All the parts were now in place! The final version of my self portrait:

Try clicking and holding the upper and lower halves of the portrait!

There it is! This was my first time using Javascript, and I’m very satisfied what I was able to achieve. One feature I wanted to include but could not was  falling stars, but I soon realized that drawing one—let alone animating one—would be quite the task (perhaps one that I may tackle later on). As I feel that I’ve now gotten a preliminary grip of p5.js, I look forward to what more I may be able to make in the future!

Assignment 1 Self-Portrait

Concept

For my self-portrait I decided to attempt to draw myself doing something that I love: going on walks to distract myself from the real world and think about life. I was pretty ambitious at first considering this is my first time learning this type of material and my first time coding. At first, I imagined my drawing to be very complex. I wanted to try and incorporate a lot of movement to capture the act of walking, detail in terms of shapes and the setting, and a lot of color. I imagined incorporating nature, interaction, and even aspects of Chicago such as the skyline since that’s where I am from and walking around Chicago is one of my favorite things to do. Sadly, all of that gradually changed as I began to work on the drawing, and the drawing became much more simpler than I imagined.

Code Highlight

Using the p5.js references I was able to create my code and I was also able to learn how to use rotation and translation for a “moving” arm which is shown here.

//arm
  
  fill(210, 180, 140);
  rotate(radians(20));
  translate(90, -50);
  rect(110, 290, 50, 10,10);


Embedded Sketch

Reflection & Future Directions

Though I like the outcome of my drawing, I think it could have used more movement considering my goal was to capture the act of walking. Even though it does look like a simple drawing, it was still rather difficult for me and it took me a lot of time to grasp the basics of the principles that we have learned so far.  I definitely learned of at least one approach that I should not take to complete these assignments. In the future, I want to play around with more functions and find a way to make things easier for myself, possible take more time to watch tutorials and try different codes for the same outcome to find what best works for me. Overall, I did enjoy the challenge and I am excited to continue learning as well as challenging myself. I would possibly like to in the end, try and recreate this assignment with the initial image that I had for it.

Self-portrait

This assignment was a great start for me to get introduced to p5.js. Since I had never worked with p5.js before, I spent a lot of time understanding and “playing” with the functions and their application. To create a self-portrait, I decided to take one of my photos as a basis. The reference page of p5.js helped me a lot in this work. I also watched tutorials recommended by other students. All this helped me take the first step in working with the assignment.

In fact, I really enjoyed picking the right coordinates, even though it’s a tedious task. For instance, I wanted to add an eyeliner to my self-portrait and do it in the same way as I created my eyebrows, bangs and eyes before. Also, I really wanted to try to create some kind of animation/interactivity in my work. In the process, I tried several options that I saw in some tutorials. I liked the works with painting over the background, they had a vibe that reminded me of many “anti-stress” coloring videos.

Since this is my first work, the result is pretty simple. However, I believe there is still a lot that can be done with this assignment. Going forward, as we go through the new features and functionality that p5.js provides to the user, I hope to improve my skills and apply them to fix past mistakes. I would like to learn how to use more shapes, because even with the triangle I had to learn a lot of new information. Moreover, next time I’d like to make sure that my interactive background remains just a background without interfering with the portrait itself. Also, so that when user clicks, the portrait itself does not disappear, but remains on the screen. To conclude, assignment 1 was very helpful to me in terms of practice. I really enjoyed trying out new features and seeing the results of my work and I hope it only gets better with more improvements.

Aisha – Self Portrait

Before starting this assignment, I tried to experiment with different shapes and colors to familiarize myself with p5 as I have never used it before and have little experience in coding. After I got the gist of it I attempted to produce a photo of me with a simple background of nature.  I thought it would be a fun idea to include the background as it enabled me to practice more coding and begin my coding artistic abilities.

I used the mouse and mousey to help me identify where I would have to put different features in my portrait. I used an ellipse to draw a simple head and eyes hijab adding details such as eyelashes by using the lines function. I used both the line and arc functions to sketch my mouth, nose, and hair. For the background, I used arc functions to sketch the ground and rectangles and ellipses to sketch a tree. Finally, I used ellipses to sketch a few clouds.

The most challenging part for me in this assignment was the majority of the arc shapes as well as figuring out the exact position to place different features of my sketch.

I think the feature that I’m most proud of is the mouth. Although it isn’t great, I liked how I included the upper lip and outlined the whole mouth as red rather than just leaving it as a white smile.  This is the code I used for it:

//Mouth
  
  fill(255,0,0);
  arc(200,232,50,8,radians(180),0);
  fill(255);
  stroke(255,0,0);
  arc(200, 230, 50, 50, radians(0),radians(180));
  stroke('#222222');
  line(200,231,200,255);
  line(185,231,185,250);
  line(215,231,215,248);
  line(178,241,222,241);


This is the final result:

As I mentioned earlier this was a fun task to get familiar with the program however there are some improvements I’d like to apply if I were to do this assignment again.

  1. As my code is too long I would like to use variables to simplify it a bit.
  2. Utilize different/new shapes such as a curvey line and a tilted ellipse to represent the leaves on the tree.
  3. I would also like to make my portrait more realistic. For example, I could go more into detail in terms of color and I could perhaps make it look 3D.
  4. Lastly, I could make my portrait more complex and challenging by adding an animation (such as birds flying).

Assignment 1: Self-Portrait

I am very bad at drawing and almost never draw, but I like tracing, coloring, and putting geometric shapes together. So for this assignment, instead of drawing the portrait on paper, I decided to recreate this picture of me that my brother took of me:

I like this picture because it’s possible to recreate almost all the facial features using arcs, rectangles, triangles, and circles. Initially, I struggled a lot with arcs and went on a mission to learn it so well that I will get every arc right on the first try. But it got frustrating at one point and I decided to go with other shapes and minimalize the use of arcs.

I tried to think of and try out different ways to add a bit of user interaction to the portrait and decided to go with a button at the end that puts on/takes off my glasses. Having limited drawing skills, I could not create shadows or play with the lighting, etc. but I really like the end result. It’s simple but it’s what I was going for; drawing with geometrical shapes and keeping things minimalistic. 

self portrait

I defined my self-portrait as my identity and what I do and imagine my future to be. It was interesting to navigate through p5.js for the first time and trying to get around the different shapes and functions it has. Before trying to use the shapes, I made a rough sketch of what I imagined the portrait to look like.

I started experimenting with rectangles, lines, arcs and ellipses to sketch the buildings. It was a little tricky figuring out where to add in the stroke, fill, and stroke weight for the different elements in the sketch.

The buildings were easy to construct compared to the human face and body structure which contained more ellipses and arcs. In general, it was fun playing around it and I would love to work on more face features in the future.

https://editor.p5js.org/hessaala/sketches/QXn4IFHO1