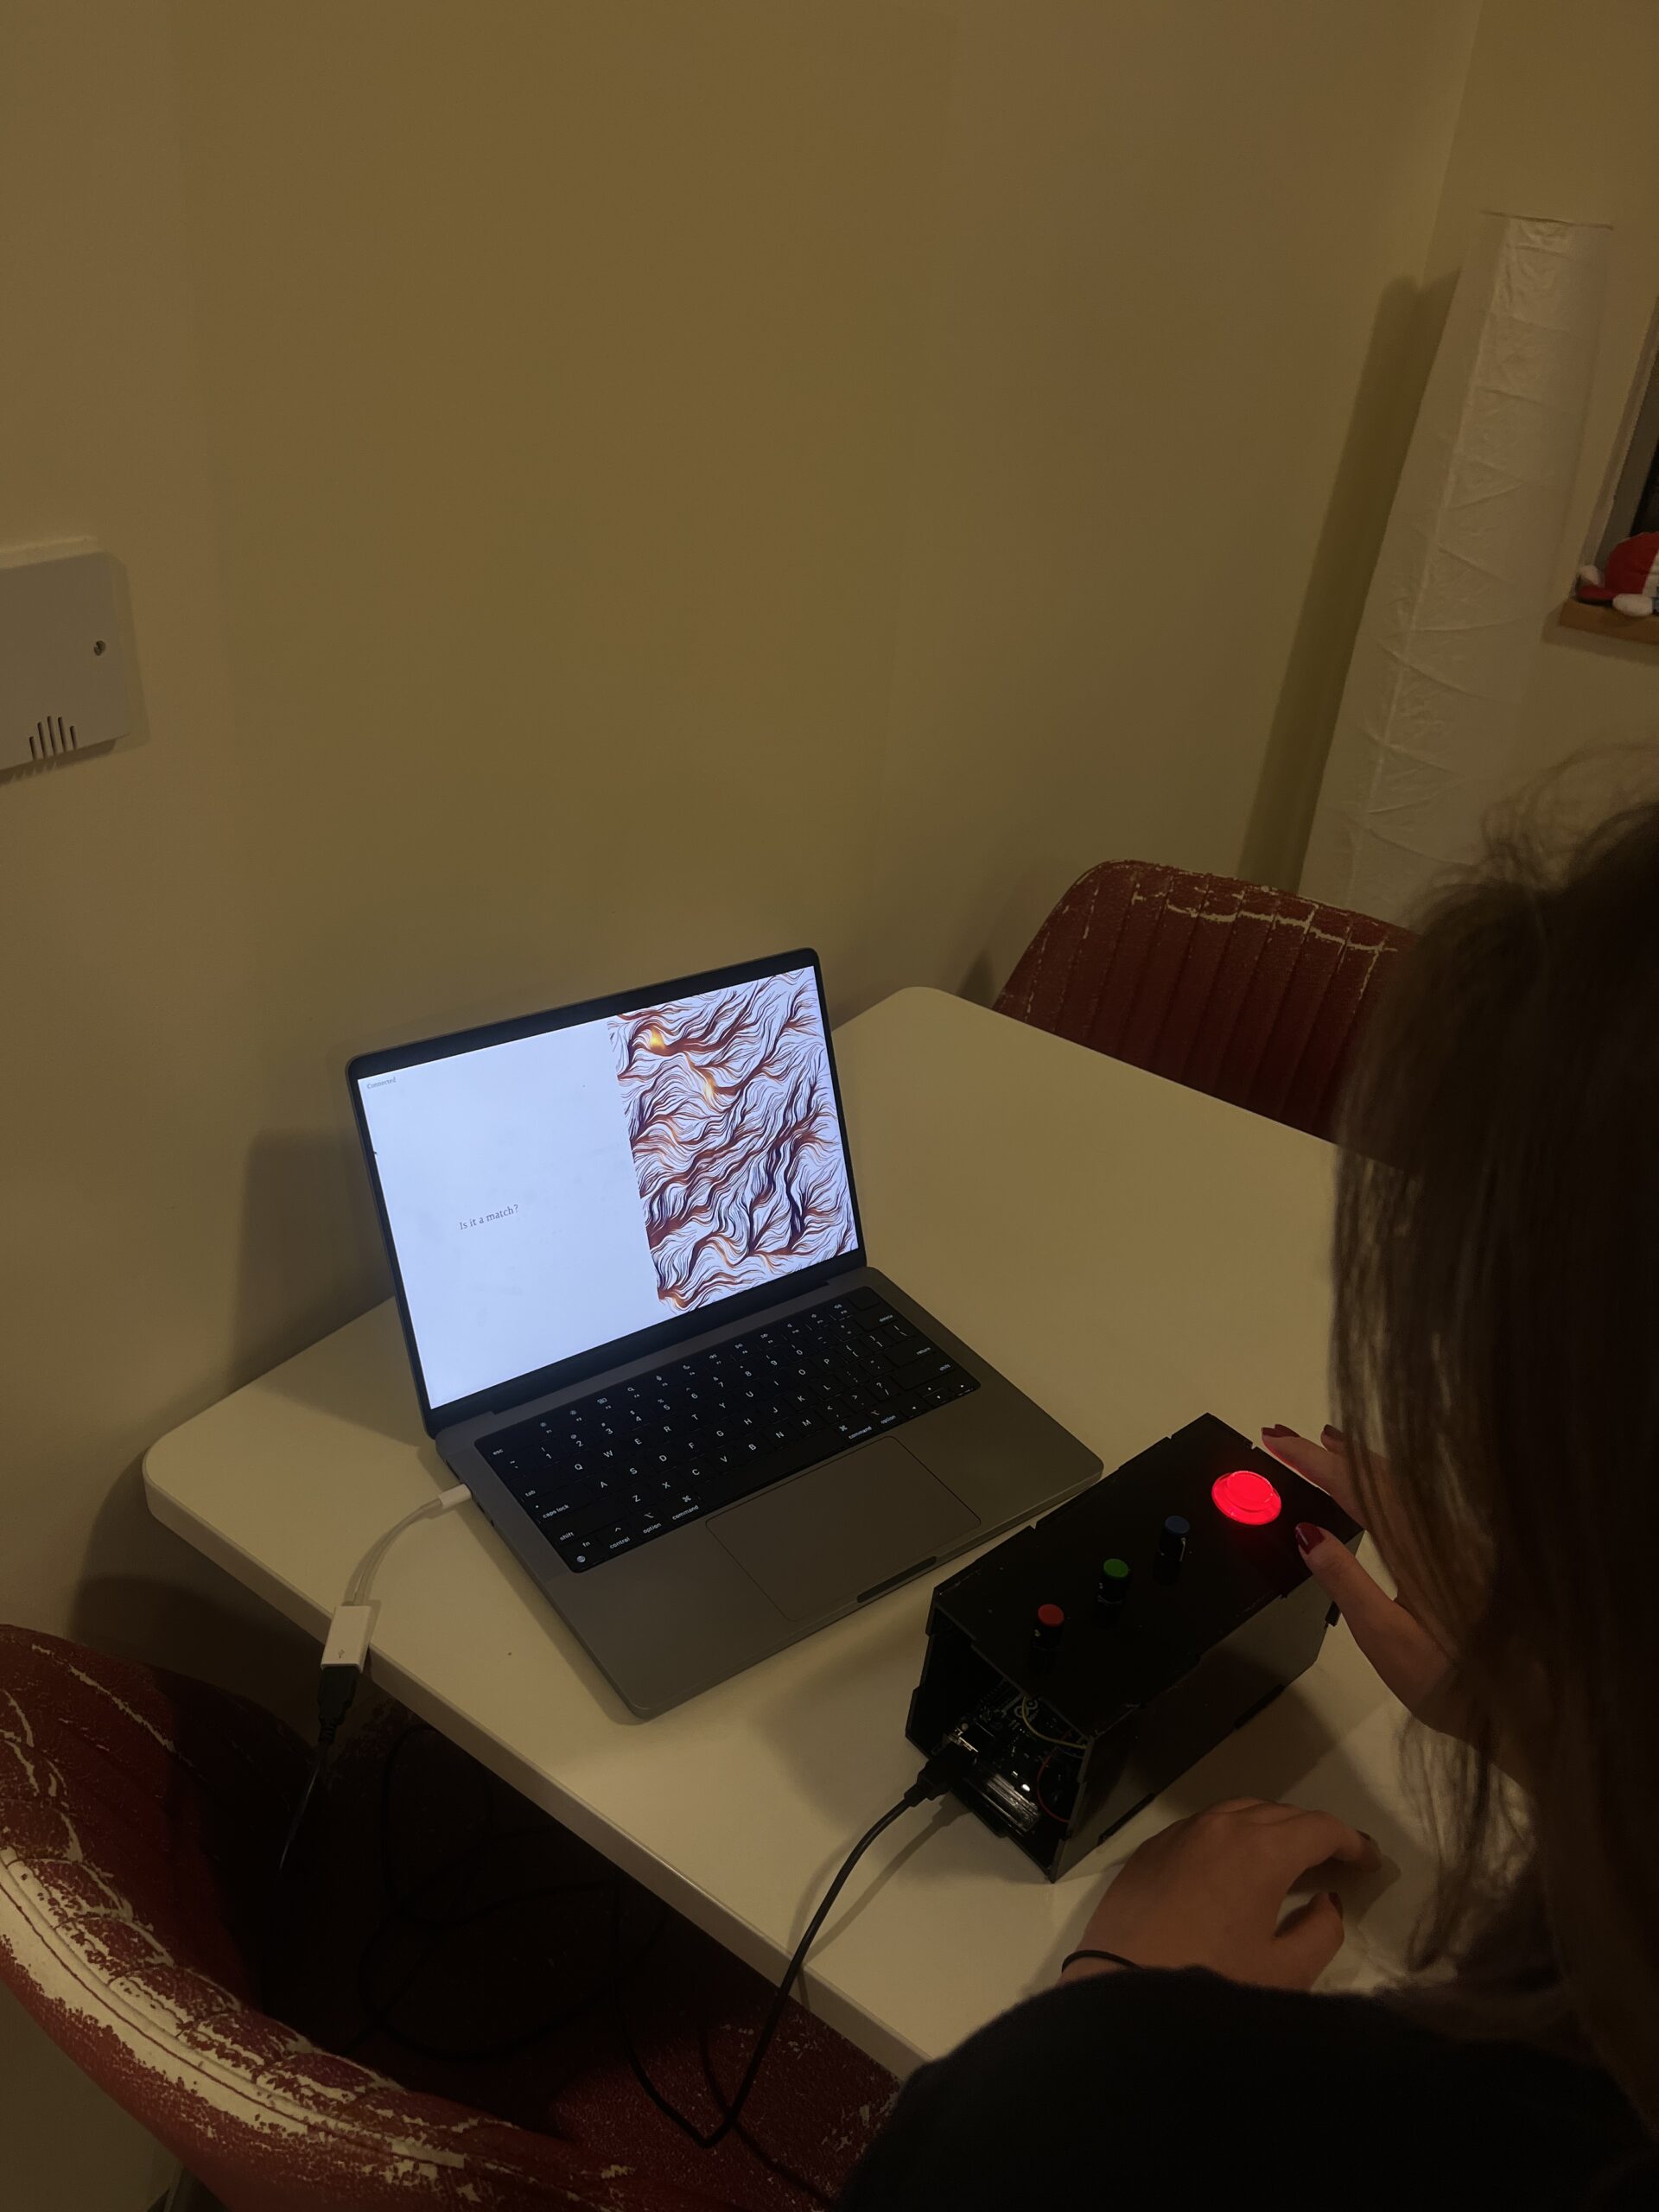
Before completing the project, I did some user testing with a small sample of participants. Here is a video of Zion using my project:
User testing stage gave me valuable insight that was difficult to see from my perspective as the creator of the project. Here are the tips that I implemented in the final version:
Specifying how many stages (color inputs) there will be, helps the participant to understand the structure of the experience from the start.
Starting the instructions by saying what is the main thing that will be required (color input based on prompts).
Introducing an additional screen in between the last color input and generated gradient to build some suspension.
Are they able to figure it out? Where do they get confused and why? Do they understand the mapping between the controls and what happens in the experience?
– Everyone was able to figure it out, sometimes there would be a little confusion in the beginning due to multiple potentiometers though.
What parts of the experience are working well? What areas could be improved?
– The generative gradient tends to produce a pleasant reaction, so I would say that works well. The button perhaps is the one that is not too reliable.
What parts of your project did you feel the need to explain? How could you make these areas more clear to someone that is experiencing your project for the first time?
-I would often receive questions as to how many stages there will be in total, therefore I decided to add this information to the instructions page.
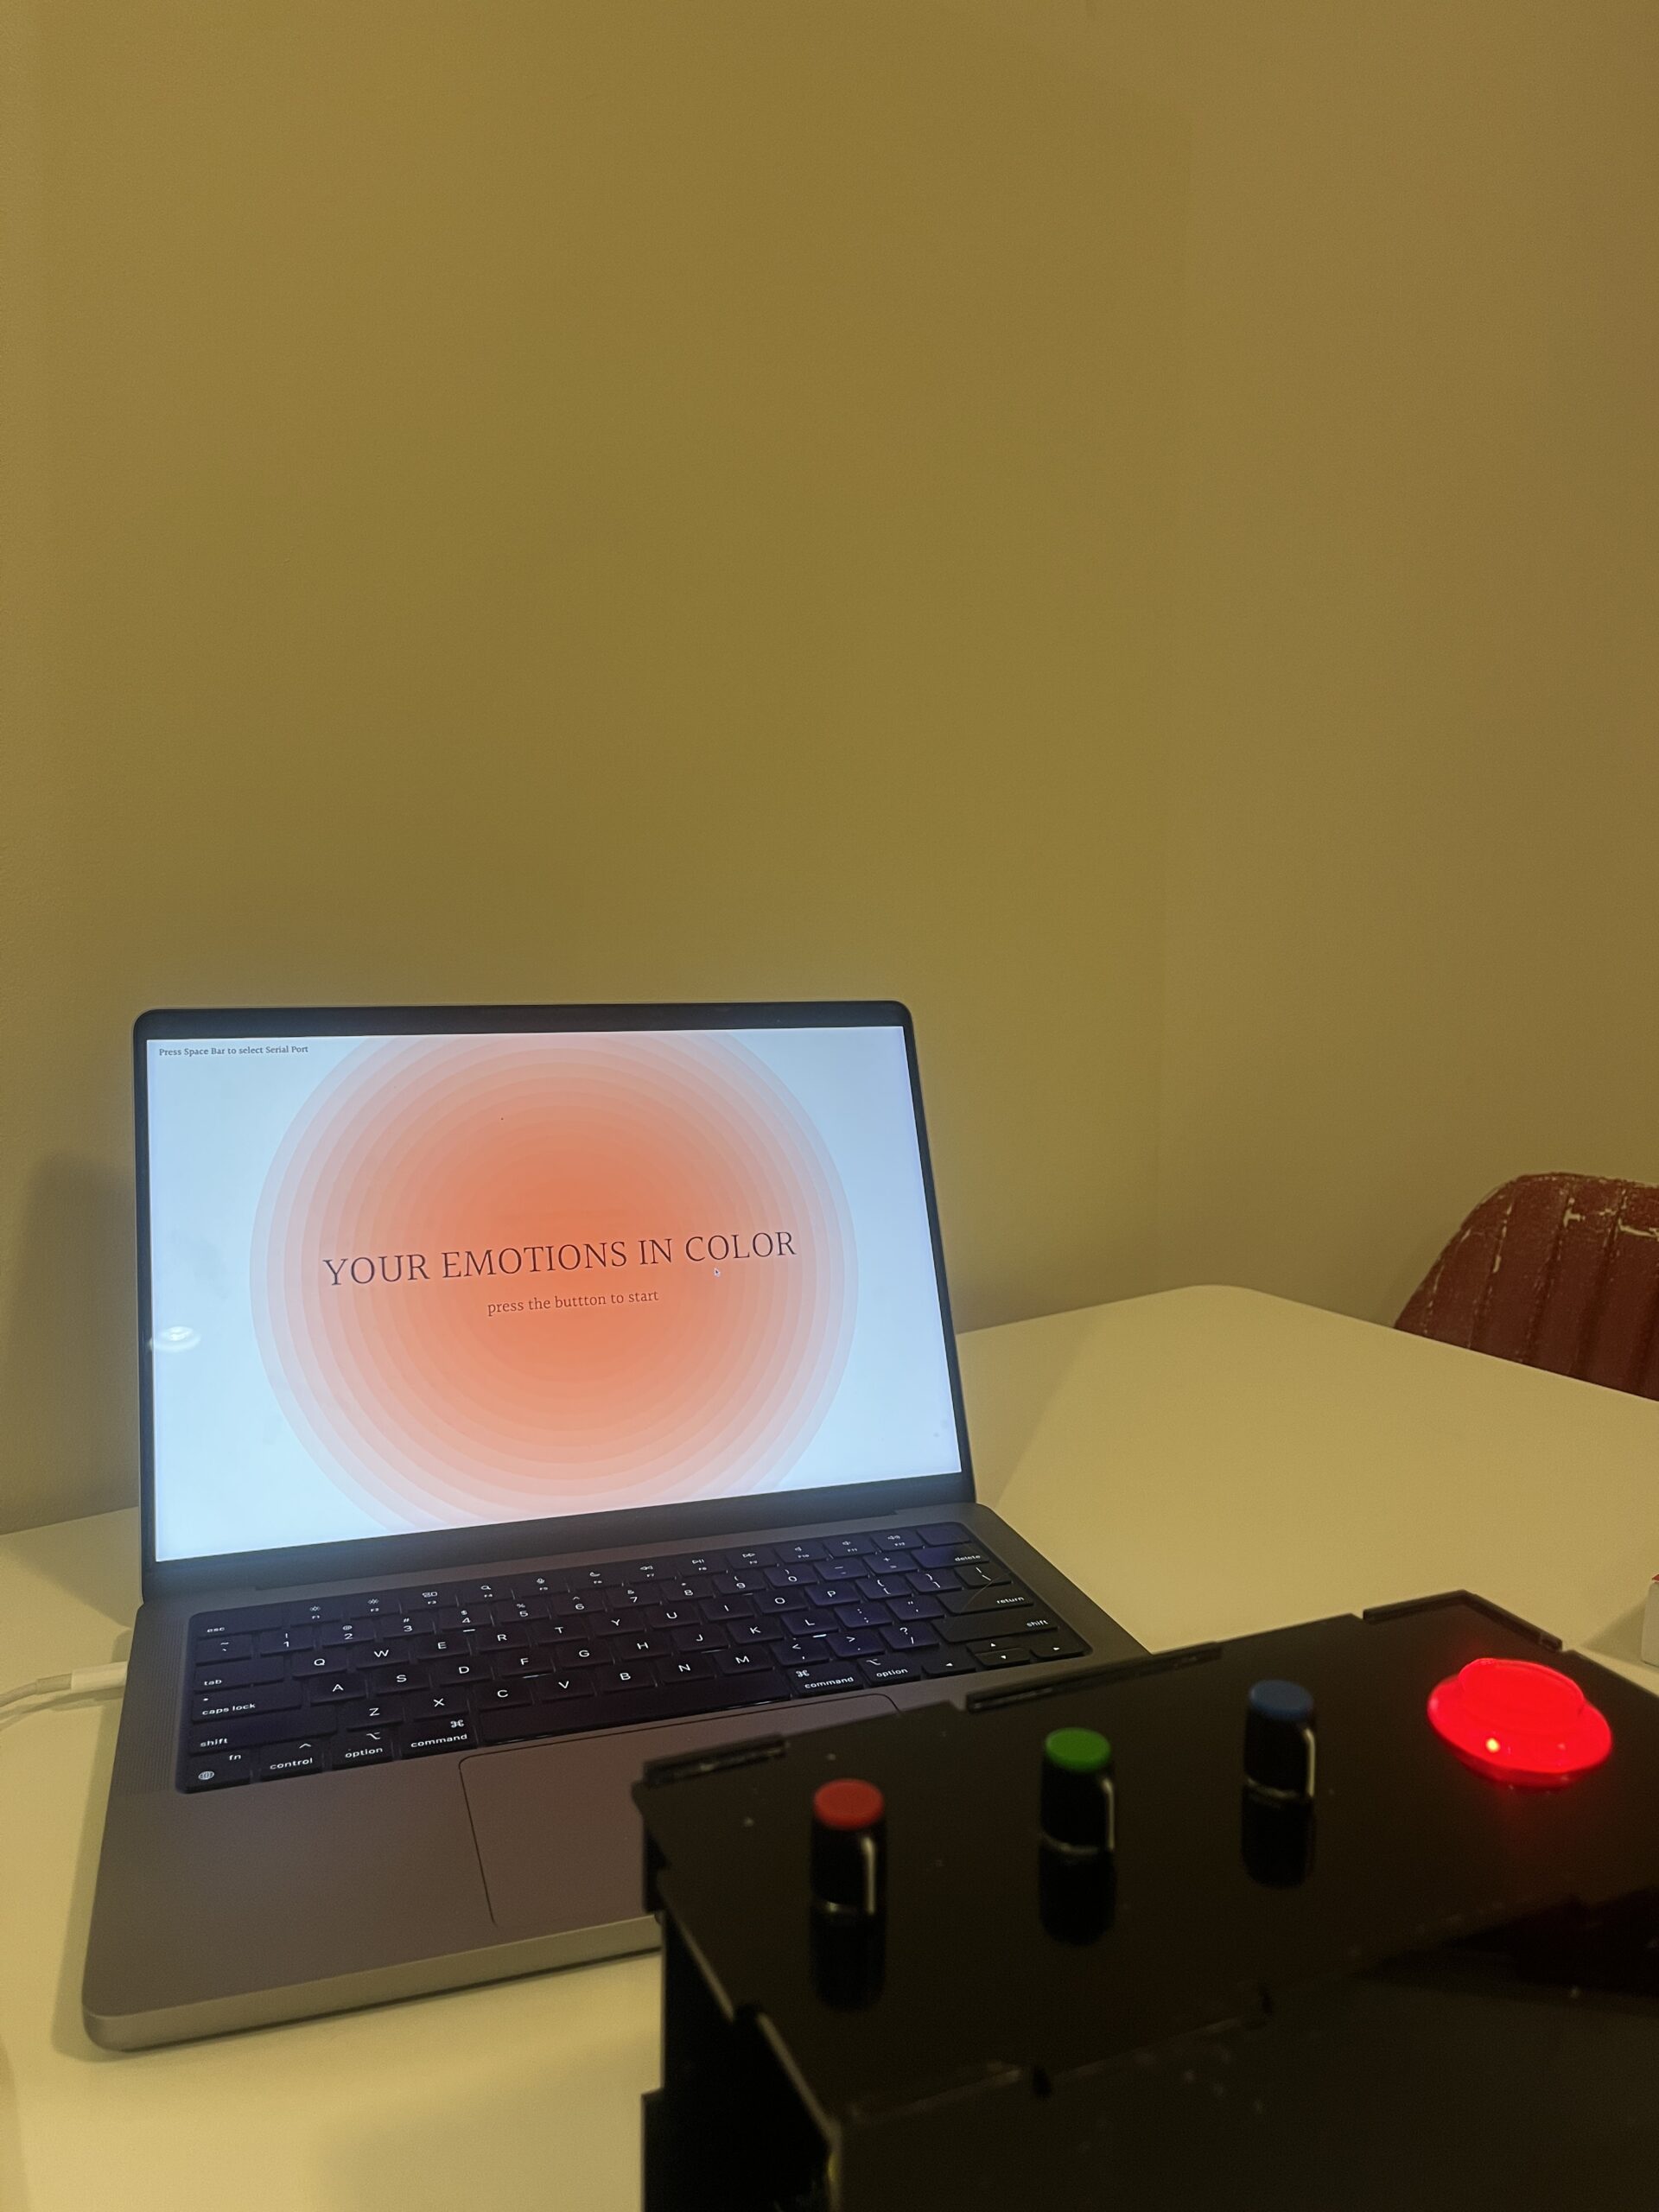
With my project I am attempting to translate human emotions into color. It is a personal experience during which a participant is asked to input 5 colors for 5 different emotions. The colors are then used to generate a personal generative artwork that portrays the unique color gradient of the participant.
In addition to its primary goal, the project carries an educational aspect. I aim to provide participants with a deeper understanding of the interplay between RGB values and the diverse outcomes arising from various color mixtures. This dual-purpose project invites individuals to explore their emotions creatively while gaining insights into the fascinating world of color.
Pictures and Videos
Interaction Design
Regarding the interaction design, I wanted the setup to be simple and minimalistic: 3 potentiometers and one button. The color input happens through the potentiometers each of which represent Red, Green and Blue color channel values (RGB). The button is used to progress through the experience.
The visual design in P5 is also quite simple, following a simple color palette. It is structured and clean, guiding the participant through the experience. The feedback on the color input is provided instantly, ensuring a seamless and responsive interaction that enhances the overall engagement.
Arduino code
My Arduino code reads values from three potentiometers and a button and sends it to P5. The potentiometers provide analog input representing different color channels (Red, Green, and Blue) by measuring voltage. The button is used as a digital input.
const int potPin1 = A0;  // Potentiometer connected to A0
const int potPin2 = A1;  // Potentiometer connected to A1
const int potPin3 = A2;  // Potentiometer connected to A2
const int buttonPin = 4; // Button connected to digital pin 4

void setup() {
  Serial.begin(9600);  // Initialize serial communication at 9600 bps
  pinMode(buttonPin, INPUT_PULLUP); // Set the button pin as input with pull-up resistor
}

void loop() {
  // Read values from potentiometers
  int value1 = analogRead(potPin1);
  int value2 = analogRead(potPin2);
  int value3 = analogRead(potPin3);

  // Read the state of the button
  int buttonState = digitalRead(buttonPin);

  // If the button is pressed, send a button message
  if (buttonState == LOW) {
    Serial.println("BUTTON_PRESSED");
  } else {
    // Send potentiometer values as usual
    Serial.print(value1);
    Serial.print(',');
    Serial.print(value2);
    Serial.print(',');
    Serial.println(value3);
  }

  delay(500);  // Add a delay for stability, adjust as needed
}
P5 code
The P5 code controls the different stages of the experience. The project unfolds through different stages, each focusing on a specific emotion, such as nostalgia, serenity, courage, curiosity, and resilience. P5 is receiving the data from the Arduino, and the combined color choices are stored in an array, which is used to create a generative artwork based on the personalized color gradients.
One of the more challenging parts was the storing of the final input colors in an array. I had to create additional flag variables or else the storing would be continuous and the array would expand super quickly. However, with the flags I was able to store the last value before the press of the button:
hasPushedColors = false;
if (buttonPressed && !hasPushedColors) {
  // Add the last values of R, G, and B to the array
  p_colors.push([R, G, B]);
  console.log("!!!!!!!!!!!!!!!!!!!!!!!!!!!!!!!!!!!!");
  console.log("color" + p_colors);
  hasPushedColors = true; // Set the flag to true to prevent multiple pushes
  buttonPressed = false;
Parts I am proud of
I am particularly proud of my concept. I find it to be very simple, yet it has a sense of discoverability, anticipation and surprise, especially with the reveal of the gradient. Even after completing the experience multiple times, each time I am curious to put it different colors to see what final gradient will be generated. I am also happy that it has a deeper psychological context and how unconsciously we do tend to connect certain colors to certain feelings. I already made some observations, for instance, a big part of my participants tended to associate red with resilience.
I am also quite satisfied with my interaction design. It was a great learning experience for me to better understand color through color combinations, and the potentiometers are quite an accurate choice for input. They are easy to control and provide good precision.
Future Improvements
An improvement I would be most keen to explore would be to provide an interpretation for the color choices of participants. Either at every stage, or at with the final result. It would be interesting to perhaps incorporate machine learning into analysing the color selections and generating insights into the potential emotional or psychological significance behind each choice. This could involve training a machine learning model on a dataset of color-emotion associations, allowing the system to recognize patterns and correlations. By providing participants with personalized feedback on their color selections, the project could become a more insightful and introspective experience.
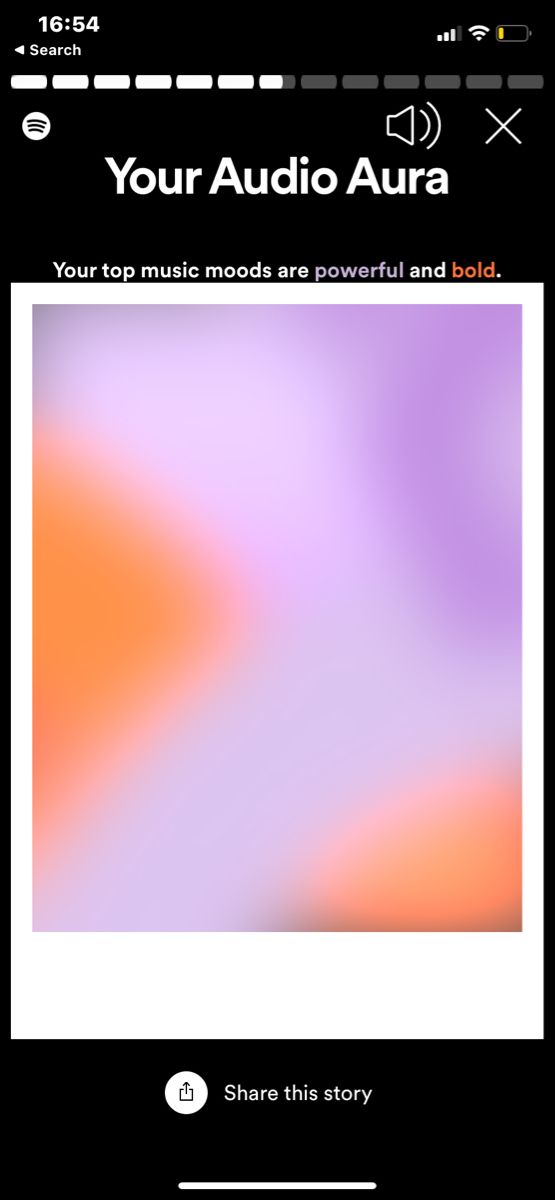
As I was thinking about my idea (and as Spotify Wrapped came out), I remembered last year’s Spotify’s Wrapped element where the application generated a gradient based on the top music moods. Here is an image of what I am referring to:
Therefore, I decided to stick to the colors but to change the purpose and the idea of the game. Instead of making it a game, I want my project to be a personalized experience for the user. The users will be prompted to input colors that represent different emotions to them, such as happiness, sadness, anger, etc. The input will happen with the help of 3 potentiometers, where each potentiometer will represent Red, Green and Blue. After the input is done, a personal color or a gradient will be generated, that perhaps with a click of a button can be downloaded and then sent to the user’s personal device.
Arduino Program:
Arduino setup:
3 potentiometers (I saw we have bigger potentiometers in the IM Lab, perhaps I could use those)
buttons (for progressing through the game and the download of the result)
Arduino Program:
The Arduino program will receive the values from the potentiometers and map them to the color range from 0 to 255. It will also receive the input from the buttons and send them to P5js.
P5 Program:
P5 will be responsible for displaying the correct screens and stages of the experience (such as in the midterm project). It will also be responsible for providing real-time feedback on the color being generated by receiving the values from potentiometers and Arduino. P5 will store the input colors and use them to generate the final result.
I want to create a color-mixing game. Using potentiometers that represent primary colors red, green and blue, players will have to match a presented color as closely as possible by tuning the RGB values. I will use some sort of a system or an equation to calculate a score as to how close to the target color the match is. The feedback would be instant, meaning that the color changes would appear at the same time the potentiometers are used. I think it would be nice to have multiple rounds, let’s say 5, which would progress in difficulty, and perhaps a time limit for each round. There would be a final score that could be used for the players to compete with each other. I believe that the game would be a valuable interactive experience in terms of providing a better understanding of color theory and enhancing visual perception.
I was glad to read about the topic of design in the context of disability and how it has historically been approached with a focus on discretion rather than aesthetics or even functionality. I found the discussed collaboration between athlete and model Aimee Mullins and designer Alexander McQueen to be beautifully inspiring. It highlights the power of design and how it can be used to transform something that is considered a pitied disadvantage into an element of individual identity. It opens a completely new direction, one that values empowerment and personal expression rather than the wish to blend in and the strive for “normal”.
As we go deeper into this evolving conversation about design and disability, I’m left wondering about the potential effects on societal perceptions. How might a more widespread acceptance of visually expressive assistive devices lead to a more inclusive sense of beauty and ability? Can collaboration between designers and people with disabilities pave the way for a cultural shift towards celebrating uniqueness rather than conforming to preconceived norms? Storieslike the one of Aimee Mullins and Alexander McQueen invite to consider the transforming role of design not only in the lives of persons with disabilities, but also in constructing a more inclusive and welcoming society that celebrates the complexity of individual experiences.
To move the ellipse in the middle of the screen, I used the example from class with small changes. Here is the sketch:
The ellipse moving part:
let x = map(alpha, 0, 1023, 0, width);
  ellipse(x, height/2, 40, 40)
Exercise 2:
I wanted the brightness level of an LED to be matched with the falling of the ellipse on P5.js. The LED is the brightest when the ellipse is at the bottom of the canvas, thus making the LED brighter as the ellipse falls. Here is the sketch:
P5 code:
let y = 0;

function setup() {
  createCanvas(640, 240);
  textSize(18);
}

function draw() {

  background(0);

  // the other value controls the text's transparency value
  fill(255);
  ellipse(width/2, y, 40, 40);
  y+=1;

  if (y>height){
    y=0
  }

  if (!serialActive) {
    text("Press Space Bar to select Serial Port", 20, 30);
  } else {
    text("Connected", 20, 30);


    // Print the current values
    //text('rVal = ' + str(rVal), 20, 50);
    text('alpha = ' + str(alpha), 20, 70);

  }

  print(y)


}

function keyPressed() {
  if (key == " ") {
    // important to have in order to start the serial connection!!
    setUpSerial();
  }
}

// This function will be called by the web-serial library
// with each new *line* of data. The serial library reads
// the data until the newline and then gives it to us through
// this callback function
function readSerial(data) {
  ////////////////////////////////////
  //READ FROM ARDUINO HERE
  ////////////////////////////////////

  if (data != null) {
    // make sure there is actually a message
    // split the message
    let fromArduino = split(trim(data), ",");
    // if the right length, then proceed
    if (fromArduino.length == 2) {
      // only store values here
      // do everything with those values in the main draw loop

      // We take the string we get from Arduino and explicitly
      // convert it to a number by using int()
      // e.g. "103" becomes 103
      //rVal = int(fromArduino[0]);
      alpha = int(fromArduino[1]);
    }

    //////////////////////////////////
    //SEND TO ARDUINO HERE (handshake)
    //////////////////////////////////
    let sendToArduino = y + "\n";
    writeSerial(sendToArduino);
  }
}
Arduino code:
int ledPin = 11;  // LED connected to pin 11

void setup() {
  Serial.begin(9600);
  pinMode(ledPin, OUTPUT);

  // Blink the LED to indicate setup
  digitalWrite(ledPin, HIGH);
  delay(200);
  digitalWrite(ledPin, LOW);

  // Start the handshake
  while (!Serial.available()) {
    Serial.println("0");  // Send a starting message
    delay(300);
  }
}

void loop() {
  // Wait for data from p5.js before doing something
  while (Serial.available()) {
    int y = Serial.parseInt();
    if (Serial.read() == '\n') {
      // Map the y value to the LED brightness (0-255)
      int brightness = map(y, 0, 240, 0, 255);
      analogWrite(ledPin, brightness);

      // Print the received y value for debugging
      Serial.println(y);
    }
  }
}
Exercise 3:
I made the gravity weaker so that the LED blinking is more clearly visible.
P5 code:
let velocity;
let gravity;
let position;
let acceleration;
let wind;
let drag = 0.99;
let mass = 50;
let alpha = 0; // Initialize alpha

function setup() {
  createCanvas(640, 360);
  noFill();
  position = createVector(width / 2, 0);
  velocity = createVector(0, 0);
  acceleration = createVector(0, 0);
  gravity = createVector(0, 0.05 * mass);
  wind = createVector(0, 0);
}

function draw() {
  background(255);

  // Update wind based on alpha
  wind.x = alpha;

  applyForce(wind);
  applyForce(gravity);

  velocity.add(acceleration);
  velocity.mult(drag);
  position.add(velocity);
  acceleration.mult(0);

  ellipse(position.x, position.y, mass, mass);

  if (position.y > height - mass / 2) {
    velocity.y *= -0.9; // A little dampening when hitting the bottom
    position.y = height - mass / 2;
  }

  print(int(position.y), alpha);
}

function applyForce(force) {
  // Newton's 2nd law: F = M * A
  // or A = F / M
  let f = p5.Vector.div(force, mass);
  acceleration.add(f);
}

function readSerial(data) {
  if (data != null) {
    // make sure there is actually a message
    // split the message
    let fromArduino = split(trim(data), ",");
    // if the right length, then proceed
    if (fromArduino.length == 2) {
      // only store values here
      // do everything with those values in the main draw loop
      alpha = int(fromArduino[1]);
    }

    //////////////////////////////////
    // SEND TO ARDUINO HERE (handshake)
    //////////////////////////////////
    let sendToArduino = int(position.y) + "\n";
    writeSerial(sendToArduino);
  }
}

function keyPressed(){

  if (key == " ") {
    // important to have in order to start the serial connection!!
    setUpSerial();

}
}
Arduino code:
const int potPin = A0;
const int ledPin = 13;

int potValue;
int ballPosition;
bool isBouncing = false;

void setup() {
  pinMode(ledPin, OUTPUT);
  Serial.begin(9600);
}

void loop() {
  // Read the value from the potentiometer
  potValue = analogRead(potPin);

  // Map the potentiometer value to the range of wind force
  int mappedWind = map(potValue, 0, 1023, -1, 1);

  // Send the mapped wind force value to the computer through serial
  Serial.print("0,");
  Serial.println(mappedWind);

  // Read the ball's position from p5.js
  if (Serial.available() > 0) {
    ballPosition = Serial.parseInt();
  }

  // Check if the ball bounces
  if (ballBouncesCondition()) {
    if (!isBouncing) {
      // Turn on the LED when the ball starts bouncing
      digitalWrite(ledPin, HIGH);
      isBouncing = true;
    }
  } else {
    // Turn off the LED if the ball is not bouncing
    digitalWrite(ledPin, LOW);
    isBouncing = false;
  }


}

bool ballBouncesCondition() {
  return ballPosition >= 320;
}
Our idea for the musical instrument was drawn from the classic guitar mechanism. By integrating Light-Dependent Resistors (LDRs) as the sensory input and buzzers as the output, we’ve created a playful experience. Each LDR is strategically positioned to represent a distinct musical note, and when covered, it triggers a corresponding buzzer, simulating the act of plucking strings on a guitar. There’s also a digital switch, which, when pressed, records the notes being played. When the switch is released, the notes are played back.
Items used:
Arduino Uno
6 Light-Dependent Resistors (LDRs)
6 Buzzers (Speakers)
Resistors (for LDRs )
Jumper Wires (for connecting components)
2 Breadboards
1 Momentary Switch
Technical Implementation:
In our musical instrument, each Light-Dependent Resistor (LDR) is assigned to represent a specific musical note, creating a musical sequence reminiscent of a guitar tuning. The choice of notes – E, A, D, G, B, E – corresponds to the standard tuning of the six strings on a guitar. When an LDR is covered, it changes the resistance and triggers the Arduino to interpret this change as a command to play the designated note through the corresponding buzzer.
The Arduino continuously reads the analog values from the LDRs and, upon detecting a significant change, maps the input to trigger the corresponding buzzer connected to a digital output pin. The code is designed to be modular, allowing for easy adjustments to resistor values or the addition of more sensors and buzzers for expanded musical possibilities.
When the digital switch is pressed, the notes which are played are recorded in an integer array. As soon as the switch is released, the notes in the array are played back using the regular tone() function.
// check recording state
 if (digitalRead(SWITCH_PIN) == HIGH) {
   Serial.println("Recording");
   recordMode = true;


 } else if (digitalRead(SWITCH_PIN) == LOW) {
   if (noteCount > 0) {
     Serial.println("Playback");
     recordMode = false;
     for (int i = 0; i < noteCount; i++) {
       tone(playback_PIN, melody[i]);
       delay(200);
     }
     noTone(playback_PIN);
     noteCount = 0;
   }
 }
Future Improvements:
The array can only hold a maximum of 50 notes, and a future improvement could be adding some warning (LED flashing?) to indicate that the array capacity has been reached. There’s also no error handling at this stage, so there could be some unexpected errors if more than 50 notes are recorded.
Are we really going to accept an Interface Of The Future that is less expressive than a sandwich?
The warning about avoiding the body’s natural interfaces inspires reflection about the effects of immobile futures. Despite the simplicity and accessibility of touchscreens, the absence of tactile interactions raises concerns about the long-term impact on human development. Some of the consequences are already visible, such as an increase in bad posture, poor eyesight or decreased attention span. The rant invites to contemplate the depth of interaction design in the context of adult capabilities, expressing the notion that a fully-functioning adult human deserves interfaces that go beyond the simplicity of existing touch-based interactions. However, it is interesting to imagine the alternatives. As discussed in the second reading, many more expressive options are simply not optimal, such as voice or gestures. Even besides their limitations, just thinking about having to control the multiple windows on my laptop with a hand gesture in a cafe or another public space makes me uncomfortable, not to mention the discomfort associated with voice commands. I think this is where a lot of difficulties emerge as well – as a society we are already on a path to a screen-based future, and some deep habits have already been formed. This is where the challenge arises. We’re already heading towards a screen-centric future, and deep-rooted habits have taken hold. Transitioning to more expressive interactions would face resistance, as significant changes are often taken pessimistically and lack widespread support. This reluctance makes achieving a shift towards more expressive interfaces even more challenging.
For this week’s assignment, my goal was to get more comfortable with the different components of Arduino and making circuits. I decided to use a potentiometer for analog input and a button for the digital. With potentiometer, I aimed to control the dim level of a red LED, and with the button I wanted to control the yellow LED. Here is the result:
It was a simple setup but completing this assignment made me feel more comfortable with Arduino. Also, a big shoutout to the IM Lab assistants and their Saturday vibes💅🏻.
In his exploration of interactive art “Making Interactive Art: Set the Stage, Then Shut Up and Listen”, Tigoe suggests that meaningful interactive experiences emerge from a delicate combination of guidance and freedom of the participant. He offers an analogy of a director working with actors to illustrate the importance of subtly suggesting intentions without imposing rigid interpretations. Such comparison sparks a reflection about the setting and design of interactive artworks, which drives a question as to how much guidance is sufficient to provide a context without overshadowing individual interpretation? What is the role of physical space and how can an artist set up a design that encourages curiosity and discovery without the need of dictating the narrative? Furthermore, does the setup of the artwork influence the participant’s emotional connection as well as one’s interpretation of the artwork?
This nicely ties in with the “Physical Computing’s Greatest Hits (and misses)” reading. The part about Theremin-like instruments caught my attention, where the author mentions the importance of gestures being meaningful when a participant interacts with the artwork (gesture of moving your hand over a sensor vs a glove where one taps his fingers to make a rhythm). It makes complete sense that less guidance is required when a setup matches with some kind of pre-existing mental model. It highlights the interconnected nature of physical computing and interactive art, emphasizing the importance of aligning design choices with participants’ intuitive understanding for a more seamless and engaging interactive experience.