Final Project

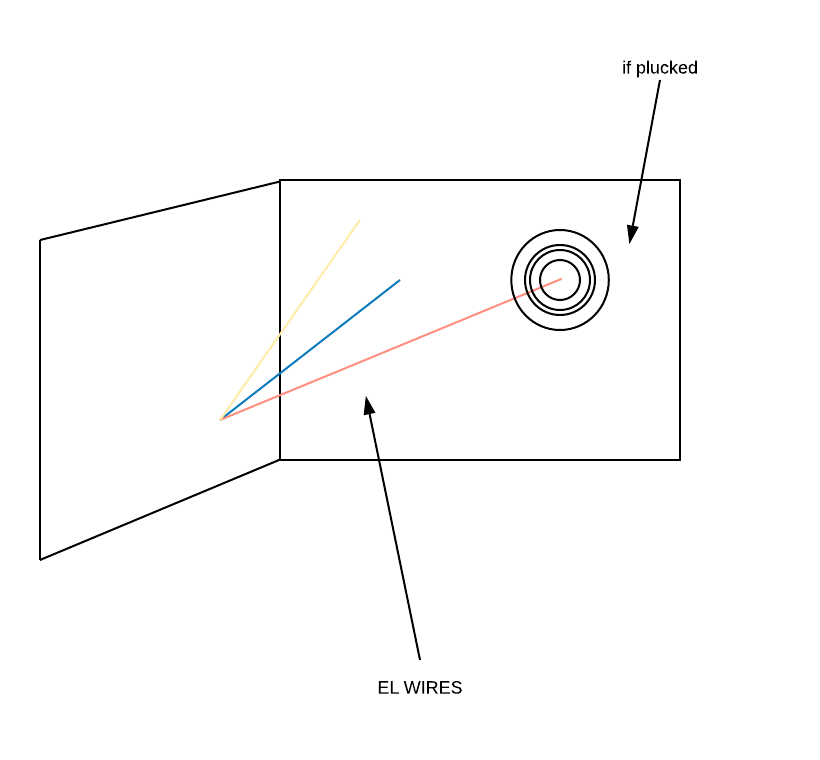
For my final project, I wanted to create an interactive piece where users can tap El wires that light up and map animations onto the wall depending on where that El wire is installed on the wall. When tapped, a tilt sensor sends a signal to Processing, the sound attached to that wire will play, and the animation for that wire will show up.

I worked with Serial communication between Arduino and Processing in this project and playing with El wires, and projection mapping.

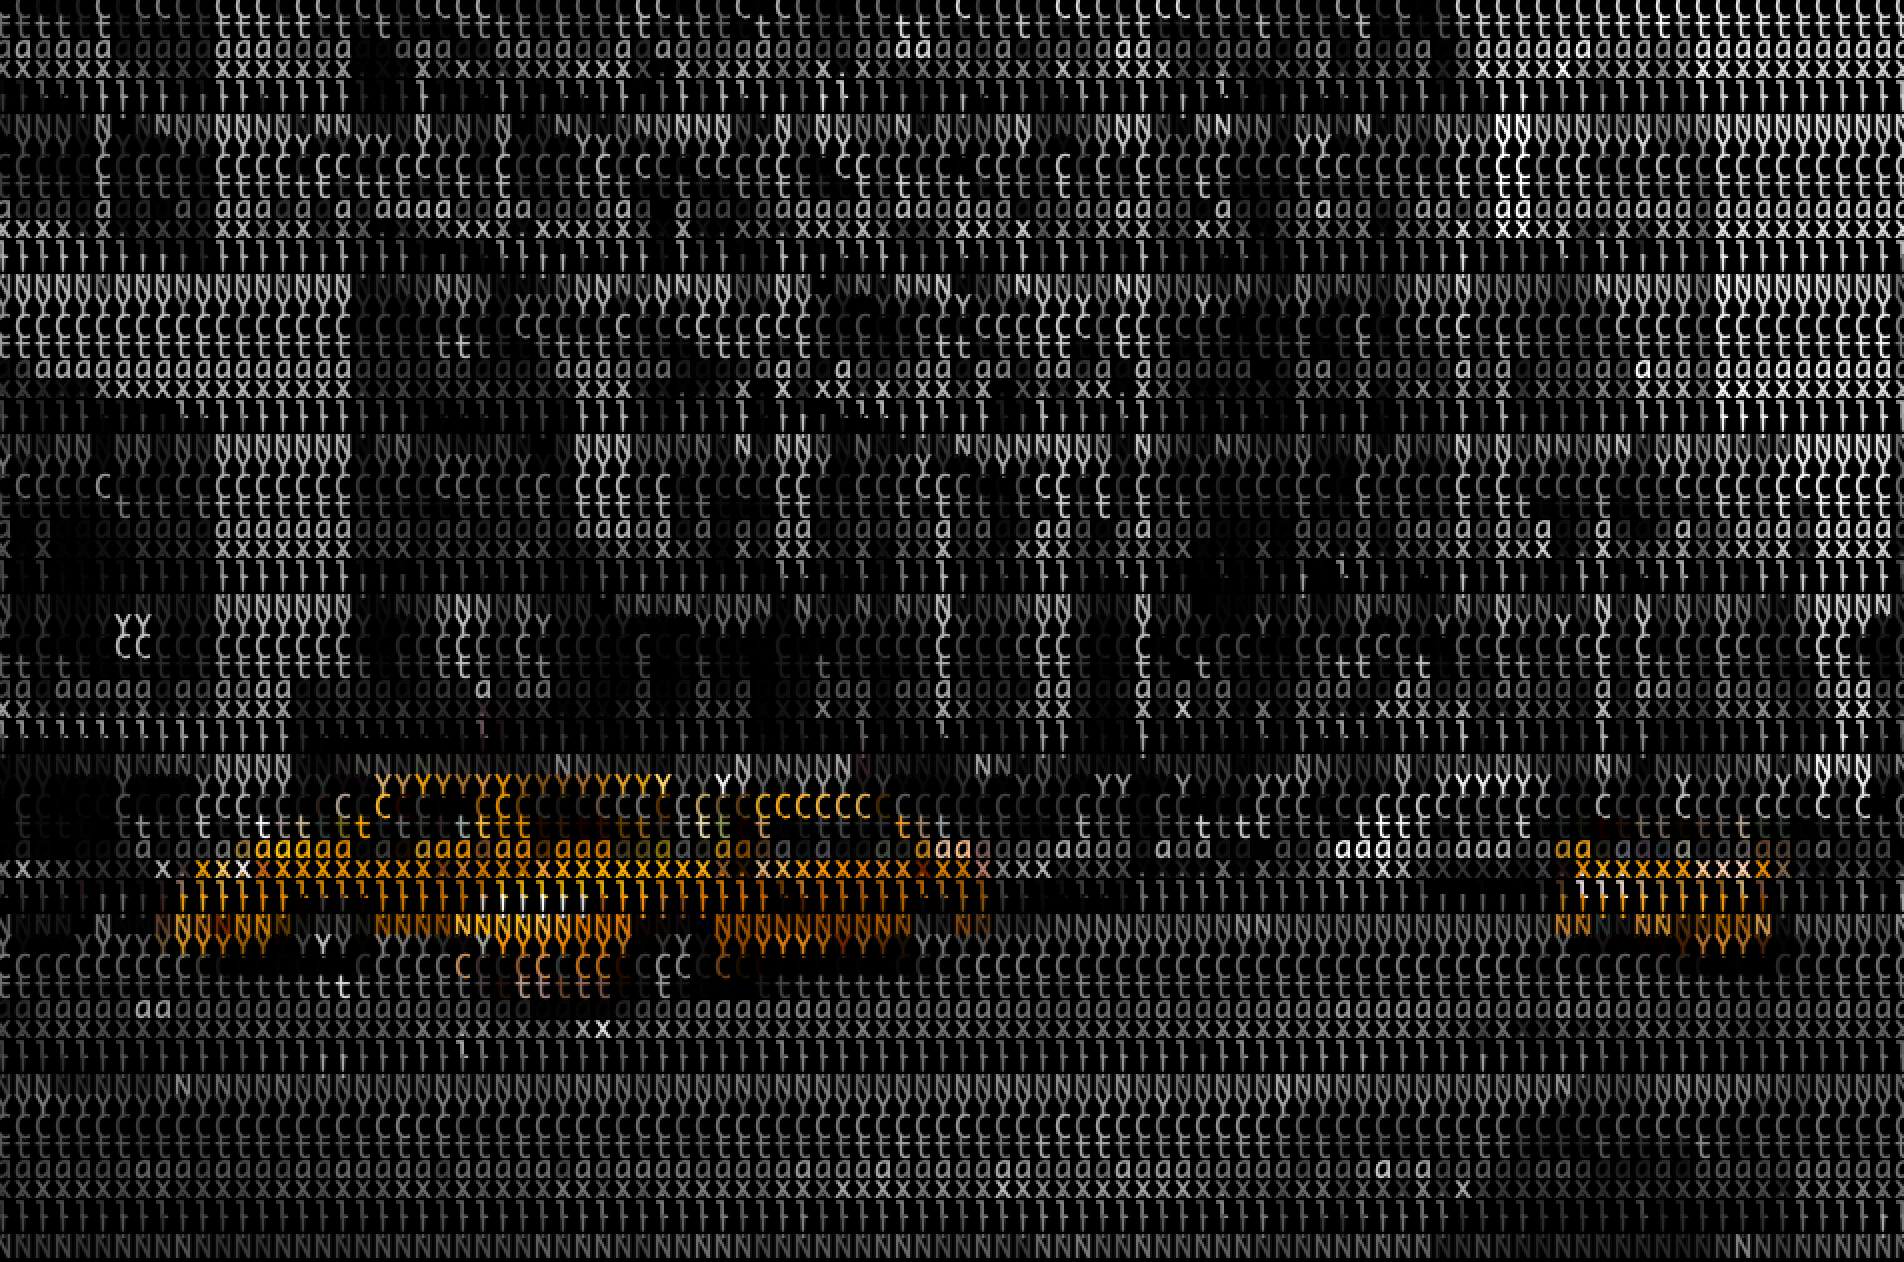
Here is the basic animation:

Here is the prototype:

Problems I ran into:

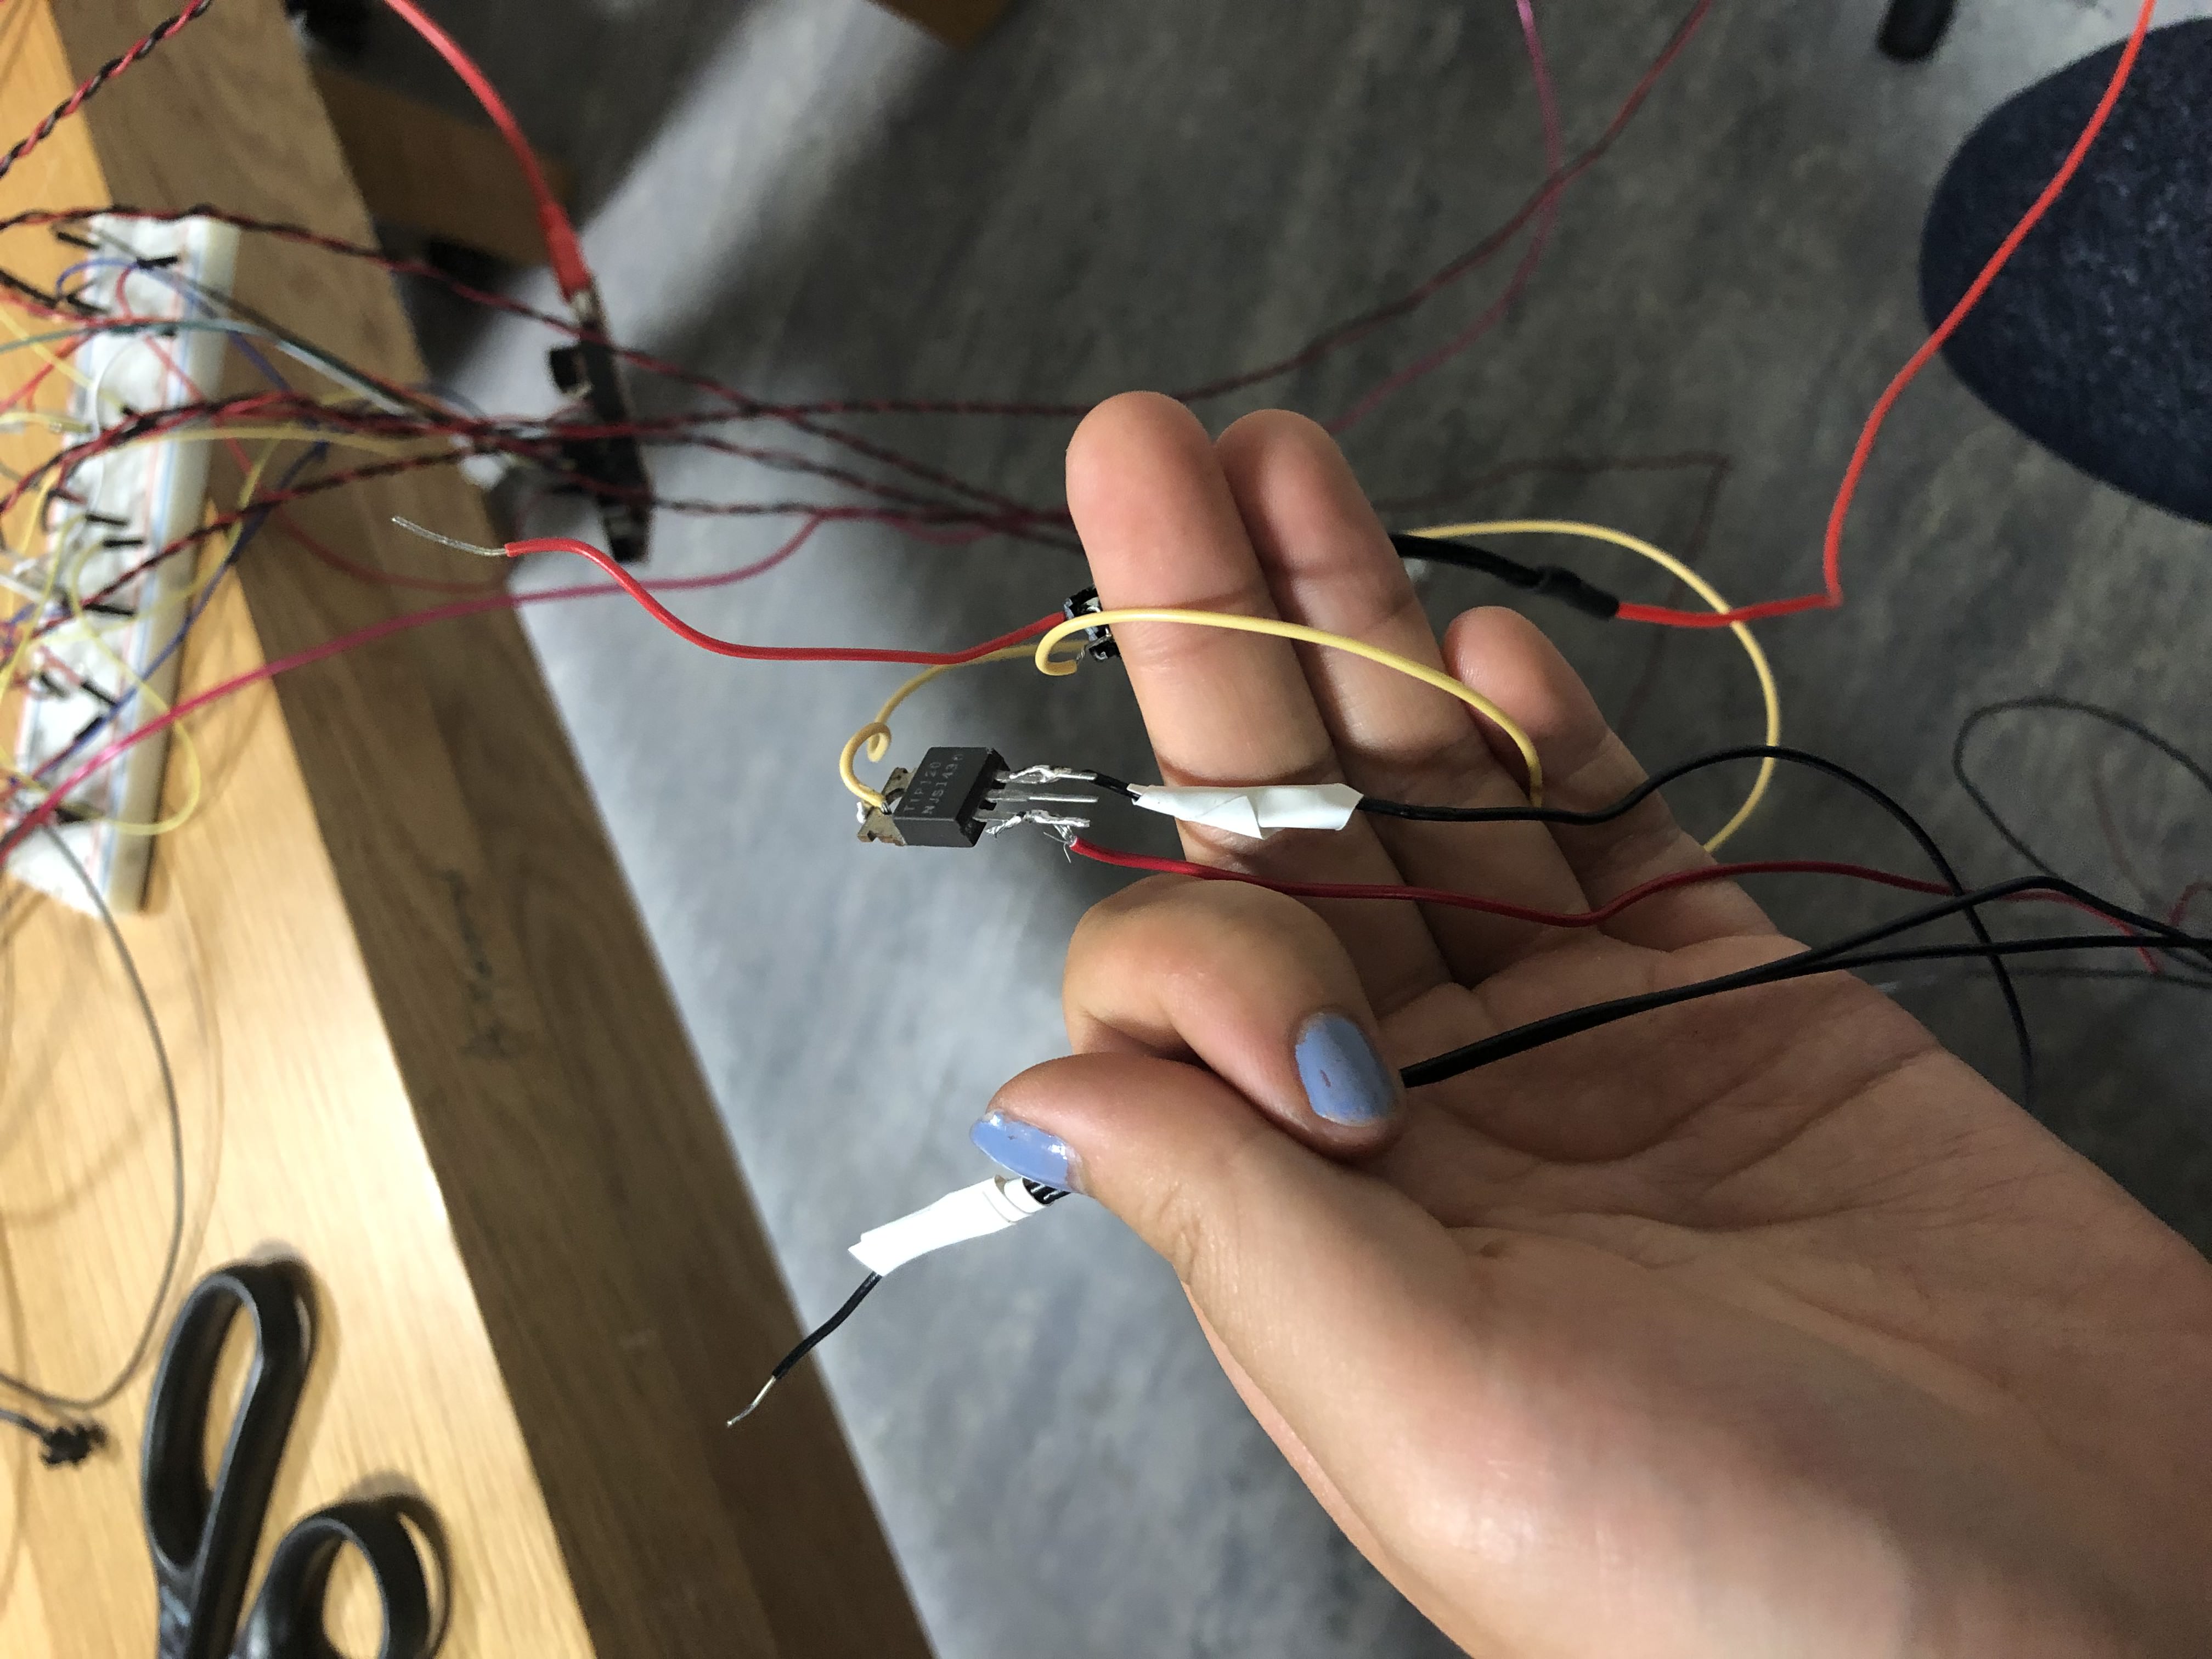
  1. The main problem I had throughout this project was with the El wires. I spent an entire day or two trying to figure out how to get the el wires wired up so that it would run. At first, I tested it out with just AA batteries and plugging that in with the wires, which worked. I then looked up many videos on how to get the wires to work with Arduino. Many of them told me to hook them up to a relay and other tutorials required Sparkfun sequencers to program the El wires, so I spent a lot of my time trying different methods, but all to no avail. I then found a video on YouTube that went through how to wire up a 12V inverter power, which was very helpful. With that, I was finally able to wire them up correctly.
  2. After wiring them up, I had a problem where one of the lights would not turn on whatsoever, which required me to work on it overnight, but I still couldn’t find out why. After debugging with Aaron, we found out one of the power did not work at all for any of the wires. Luckily I had extra one so that I could still work with three wires.
  3. On the day of the show, another battery was acting up. It kept blinking on and off so when people tapped the orange El wire, the light wouldn’t go off. At this point, I couldn’t change anything, but if I had known the inverters wouldn’t be so reliable, I could have looked for another 12V power source to light the El wires.
  4. I tried to hook up the sound right before the show and for some reason, it wasn’t connecting to my speaker, so there was no sound. I wanted it to play the guitar notes with each wire, but that didn’t happen. There were a few people who suggested me to add some sound to it to make it more interesting and I had to tell them that it was there, but didn’t work right now.

If I had more time:

If I had more time and wire, I would ideally like to have 6 wires displayed and 6 notes playing.

What I would change for next time:

If I had managed my time better, I would ideally have the wires set up on a pole ahead of time (in time for the user testing part of the project), so that I could ask people to test it out. I now see important it is because I didn’t realize that some people might not know what to do with the interactive piece since there are no indicators that it works. The only way to see what the project is doing is by interacting with it, so if no one is touching the El wire, my project is essentially El wires tied onto a pole that does nothing. Next time, I would add some sort of indicator. Maybe when the project is idle, there would be a certain animation, or I could put some text on my Processing sketch to ask the user to play with the wires. I could also make the lights go on and off when no one is interacting with it.

Additionally, I wish I had set up the sound way beforehand to make sure my sound was working. I also wish I had a better projector since it was very light and pixelated.

Overall, I wish I had fixed the small inconsistent bugs and had found a way to get people to come play with the project without me ushering them over since the project looked like nothing if no one interacts with it.

int tiltPin1 = 2;
int tiltPin2 = 3;
int tiltPin3 = 4;
int tiltPin4 = 5;
int tiltPin5 = 6;
int tiltPin6 = 7;

int tiltLED[] = {8, 9, 10, 11, 12, 13};
int tiltLEDState[] = {0, 0, 0, 0, 0, 0};

int interval = 1000;
unsigned long previousMillis = 0;

void setup() {
  Serial.begin(9600);
  pinMode(tiltPin1, INPUT);
  pinMode(tiltPin2, INPUT);
  pinMode(tiltPin3, INPUT);
  pinMode(tiltPin4, INPUT);
  pinMode(tiltPin5, INPUT);
  pinMode(tiltPin6, INPUT);

  pinMode(8, OUTPUT);
  pinMode(9, OUTPUT);
  pinMode(10, OUTPUT);
  pinMode(11, OUTPUT);
  pinMode(12, OUTPUT);
  pinMode(13, OUTPUT);
}

void loop() {
  int tiltState1 = digitalRead(tiltPin1);
  int tiltState2 = digitalRead(tiltPin2);
  int tiltState3 = digitalRead(tiltPin3);
  int tiltState4 = digitalRead(tiltPin4);
  int tiltState5 = digitalRead(tiltPin5);
  int tiltState6 = digitalRead(tiltPin6);

  if (tiltState1 == 1) {
    Serial.write("1");
    tiltLEDState[0] = HIGH;
  } else {
    Serial.write("0");
  }
  
  Serial.write(",");

  if (tiltState2 == 1) {
    Serial.write("1");
    tiltLEDState[1] = HIGH;
  } else {
    Serial.write("0");
  }

  Serial.write(",");
  
  if (tiltState3 == 1) {
    Serial.write("1");
    tiltLEDState[2] = HIGH;
  } else {
    Serial.write("0");
  }

  Serial.write(",");

  
  if (tiltState4 == 1) {
    Serial.write("1");
    tiltLEDState[3] = HIGH;
  } else {
    Serial.write("0");
  }

  Serial.write(",");
  
  if (tiltState5 == 1) {
    Serial.write("1");
    tiltLEDState[4] = HIGH;
  } else {
    Serial.write("0");
  }

  Serial.write(",");
  
  if (tiltState6 == 1) {
    Serial.write("1");
    tiltLEDState[5] = HIGH;
  } else {
    Serial.write("0");
  }

  Serial.write("\n");

  checkLEDDelay();
}


void checkLEDDelay() {
  unsigned long currentMillis = millis();
  if (currentMillis - previousMillis >= interval) {
    previousMillis = currentMillis;
    for (int i = 0; i < 6; i++) {
      if (tiltLEDState[i] == HIGH) {
        tiltLEDState[i] = LOW;
      }
    }
  }

  for (int i = 0; i < 6; i++) {
    digitalWrite(tiltLED[i], tiltLEDState[i]);
  }
}

Unfortunately, I forgot to record/take a picture of the final piece :/

More Progress

I’ve now connected the tilt sensors to control the Processing screen. Currently, because I don’t have my el wires yet, I’m currently substituting the el wires with strings and the strings are attached to placeholders (the tripod in the IM room). The tilt sensors are attached to the string with resistors right now and I’d probably just end up using that to attach it for the show because the resistors are small enough so people can’t see it. I’ve also added music to the strumming of the string (mainly guitar notes). The tilt sensors aren’t too sensitive so it works perfectly because very light touches of the string will not do much.

For the rest of the project, I mainly have to have the room and the el wires to come in so I can position everything correctly. I’ll also be added 3 more wires so 3 more tones (acoustic guitar — D, A, E, G, B, Low E — found on soundcloud).

Computer Vision / Final Project

Computer Vision:

Computer vision seems much harder than the way the article explains. Despite the author breaking down the idea into three elementary techniques used by computer vision, it’s still hard to get a grasp of what is meant by frame differencing, background subtraction, and brightness thresholding. Reading about the idea of how computer vision works is tricky for me (looks like there’s many mathematical equations that aren’t explained to isolate objects), but with a demonstration, it probably won’t seem as hard. Computer vision seems to be very frustrating to work with because there’s many room for error. Regardless, I’m excited to use some computer vision concepts in any interactive projects I might work with since it’s great at tracking people’s activities. Now that I think about it, many of the art gallery places and videos shown in class has a lot to do with computer vision.

Final Project:

For the final project, I worked on the ProcessingJS part of it. It’s basically a class of ripples. For the time being, the ripples only appear when you click on the screen. Other than ripples, I also created one with points coming from where the mouse is pressed. Currently, the way it’s programmed, only one or the other pattern will show up since I’m commenting out code depending on which pattern I want. I am planning on using Arduino to pick which pattern to run when the user plays with the program. It’d probably be mapped with the analog value of a sensor that’s attached to an El wire.

Here are the two patterns so far.

Additionally, I tested out the tilt sensors to see if it would trigger the patterns on Processing. Currently, any tilt will cause a pattern, but it still doesn’t choose decide on which pattern to run. I will test it out more, but I really want to get the El wires working first so I have to wait for it to arrive.

Final Project Concept

Since the last post, I’ve changed my idea from the Morse code game to an interactive installation where people can interact with the art displayed by plucking at the El wires. Each of the El wires are attached to different points on the wall and the other end of the wire will be tied down so there is enough slack. Once a wire is touched, it should vibrate and triggers the Arduino to connect with Processing so that it can display drawings on the wall. The El wires would also glow when this happens and when it’s idle, the wires won’t light up, so ideally, this project would be placed in a dark room. 

What I Need:

  1. El Wires (different colors if possible)
  2. Hooks for walls to tie the wires onto
  3. (Not-too-sensitive) vibration sensor — possibly analog vibration sensor?
  4. Projector
  5. Speaker (for music) — may or may not need it depending on whether I can find the right sound for the plucking of wires

Top 3 Difficult Problems I Might Run Into:

1. Connecting El Wires to Arduino

I have to solder the El wires to the Arduino and since the El wires come with an inverter, I’m worried about how that works too since I’ve never used one before. With that also comes with the trouble of programming these wires to do exactly what I want. I’m thinking the wires can come in at an angle so maybe I would need a corner of the room.

2. Projection mapping of effects onto specific locations of the wall

I think the way to make sure the wires hit the right spot on Processing art on the wall would be trial and error. Depending on where I put the projector, the size of the screen may change, so I’m worried about having to readjust the projector every time I’m testing. I also have to think about where I should put the projector so that the user isn’t blocking anything.

3. Making sure the Arduino doesn’t detect movement of El Wire when no one is touching it.

From previous experience, I have a feeling that the vibration sensor would let me down by detecting very small vibrations or by being very sensitive. I also have to find where the best place to attach the sensor is and how I should attach it so that it doesn’t end up falling after a while.

Final Project Concept — Morse Code

For my final project, I want to create morse code machine that is controlled by Arduino and is displayed in Processing. I don’t know any Morse code so I would have to spend some time learning the language too. My main purpose of creating this project would be to teach other people how morse code works. Since Morse code is made of dots and dashes, I want to represent those dots and dashes in a more interesting way in Processing. For the Arduino part of the project, I would have buttons that triggers some sound and then have that signal send to Processing. That Processing program would take in the input from the Arduino and draw out the letter the person tapped out.

I might also add a game in the Processing part with letters that pop up. For example, Processing would show the letter A and the player would have to tap out A. This would continue until the game is over or whenever the player chooses to finish.

What I would need:

  1. Momentary Switch Buttons
  2. Piezo Buzzer
  3. Acrylic panel for holding the buttons — laser cutter
  4. LED lights — for emphasize on whether it’s a dot or dash

I’m trying to keep the Arduino part simple so that I could focus more on how I’m going to represent Morse Code in a creative manner. There would be two parts to choose from

  1. Learning Morse code
  2. Playing a Morse code game to test how good you are

Week 11: Physical Controller, Computing Response

Write on this blog a paragraph or two about what computing means to you at this point. Is it adding something to your life? Is it helping you become a better person? What are you getting out of it, what do others get from it?

I’ve never really worked with circuits before and have only played with the basics of it from my electronics class back in high school. I learned about parallel/series circuits and all the semantics/calculations but never put it into practice until this class. From everything we’ve learned from Arduino and Processing, I think I’ve grasped enough basics to create (almost) anything I want. I loved that we’ve learned how to connect software and hardware into one and I’m excited to make my own electronics to better my life. It’s a nice change from just making software/websites to making physical devices. Now that I’ve taken this class, I feel more confident with building actual products. Mark Zuckerberg recently posted about how he made his wife a device that emits a faint night between certain hours for a few minutes at night. If I hadn’t taken this class, I might think this project is very complicated, but I no longer think so.

  • For the project, I created a controller for my game from two weeks ago. My controller moves the bar in the game left to right. For this, I used a potentiometer because it seemed intuitive. If the player loses, the red light goes off and if they win, the green light goes off.
void loop() {
  xPos = analogRead(A0);
  delay(0);
  Serial.write(xPos/4);
  int winInt = Serial.parseInt();
  int loseInt = Serial.parseInt();
  if (winInt) {
    digitalWrite(won, 1);
  }
  if (loseInt) {
    digitalWrite(lost, 1);
  }
}
void serialEvent(Serial port) {
  xPos = map(port.read(), 0, 255, 640, 0);
  port.write(int(won) + "," + int(lost) + "\n");
}

Generative Text

For this week’s assignment, I decided to work with text instead of data visualization. I started off with creating photos out of text, but then I wasn’t sure if that was enough, so I made a project that took in words from Nick’s post about his snail story. With that, the program counted which words appeared the most in the text. The ones with the most occurrence would appear larger in size compared to the others.

Here are images created from text:


PImage timeImage; 
PFont f;
String[] chars = {"t", "i", "m", "e"};

int i = 0;
int incr = 10;
void setup() {
  size(560, 560);
  timeImage = loadImage("time.jpg");
  f = createFont("Monaco", 15);
  textFont(f);
}

void draw() {
  background(0);
  timeImage.loadPixels();
  for (int x = 0; x < timeImage.width; x += incr) {
    for (int y = 0; y < timeImage.height; y += incr) {
      int loc = x + y * timeImage.width;
      i++;
      float red = red(timeImage.pixels[loc]) ;
      float green = green(timeImage.pixels[loc]);
      float blue = blue(timeImage.pixels[loc]);
      fill(color(red, green, blue));
      text(chars[i % chars.length], x, y);
    }
  }
}


This is the one from the snail text: To distinguish the words, the bigger text ones shake a bit too. 

String[] textLines;
String[] words;
String fileText;
PFont font;
int len;
int ct = 0;

ArrayList<String> seenWords = new ArrayList<String>();
ArrayList<Integer> wordSize = new ArrayList<Integer>();
ArrayList<Float> xPos = new ArrayList<Float>();
ArrayList<Float> yPos = new ArrayList<Float>();

void setup() {
  fullScreen();
  font = createFont("ZapfDingbatsITC", 32);
  textFont(font);
  textLines = loadStrings("textlalal.txt");
  fileText = join(textLines, "");
  String files = fileText.toLowerCase();
  words = splitTokens(files, ",?!.:\" ");
  len = words.length;
  textAlign(CENTER);
  frameRate(30);
  for (int idx = 0; idx < len; idx++) {
    String word = words[idx];
    int loc = seenWords.indexOf(word);
    if (seenWords.contains(word)) {
        wordSize.set(loc, wordSize.get(loc) + 5);
        textSize(wordSize.get(loc)); 
    } else {
      int wordLen = word.length();
      seenWords.add(word);
      wordSize.add(wordLen + 5);
      xPos.add(width/2 + random(-500, 500));
      yPos.add(height/2 + random(-350, 350));
      textSize(wordLen);
    }
  }
}

void draw() {
  background(0);
  for (int i = 0; i < seenWords.size() - 1; i++) {
    textSize(wordSize.get(i));
    if (wordSize.get(i) > 20) {
      //xPos.set(i, lerp(xPos.get(i), 250, 0.01));
      text(seenWords.get(i), xPos.get(i) + random(-1, 1), yPos.get(i) + random(-1, 1) );
    } else {
      text(seenWords.get(i), xPos.get(i) , yPos.get(i));
    }
  }
}


Response: The Digitalization of Just About Everything

Although Waze is not the focus of the paper, I actually find that part very interesting. As someone who drives in NYC, I’m not sure I agree entirely with how efficient Waze is. Technically speaking, traffic moves and there’s a chance that by the time you get to the point with traffic, it has already subsided. If you are rerouted to a route that is further away, the time you spent to get there might be equivalent to the time you spend in the traffic. Similarly, if you are spending a lot of time in local traffic, with all the lights, in the long run, you might actually be spending longer on the road than if you spend a short time in traffic.

Besides that point, I think the question “But what would happen to the digital world if information were no longer costly to produce?” the author poses is interesting. It’s great that users are creating data that can be used by other technologies, but if technologies like Watson are using such data, those data are not necessarily accurate. How do we know when to trust these data since it’s not actually proofread? Regardless, I agree with  Andrew McAfee and Erik Brynjolfsson about how great digitalization is and how it’s provided a lot of data that are very useful for other technologies. Despite some inaccurate information, overall, those data probably do not skew conclusions that are formed from user data.

Response to Design Meets Disability

Before reading this, I had no idea there were so many inventions for the disabled and I did not think about the work that went into designing them. Because everyone’s situation is different, the devices that help aid them are difficult to standardize. Additionally, if that person has to use the technology for the rest of their lives, it has to be one that they enjoy and are comfortable with and because of that, for those creating the devices, design has to be up to par.

I personally like the point about simplicity because it really focuses in on what’s important and in this case, it’s to give the user a functionality they need. It should be simple enough that it’s intuitive and useful at the same time, yet there’s still a like of devices out there that are too confusing to use.