Exercise 1: Arduino to P5 Communication
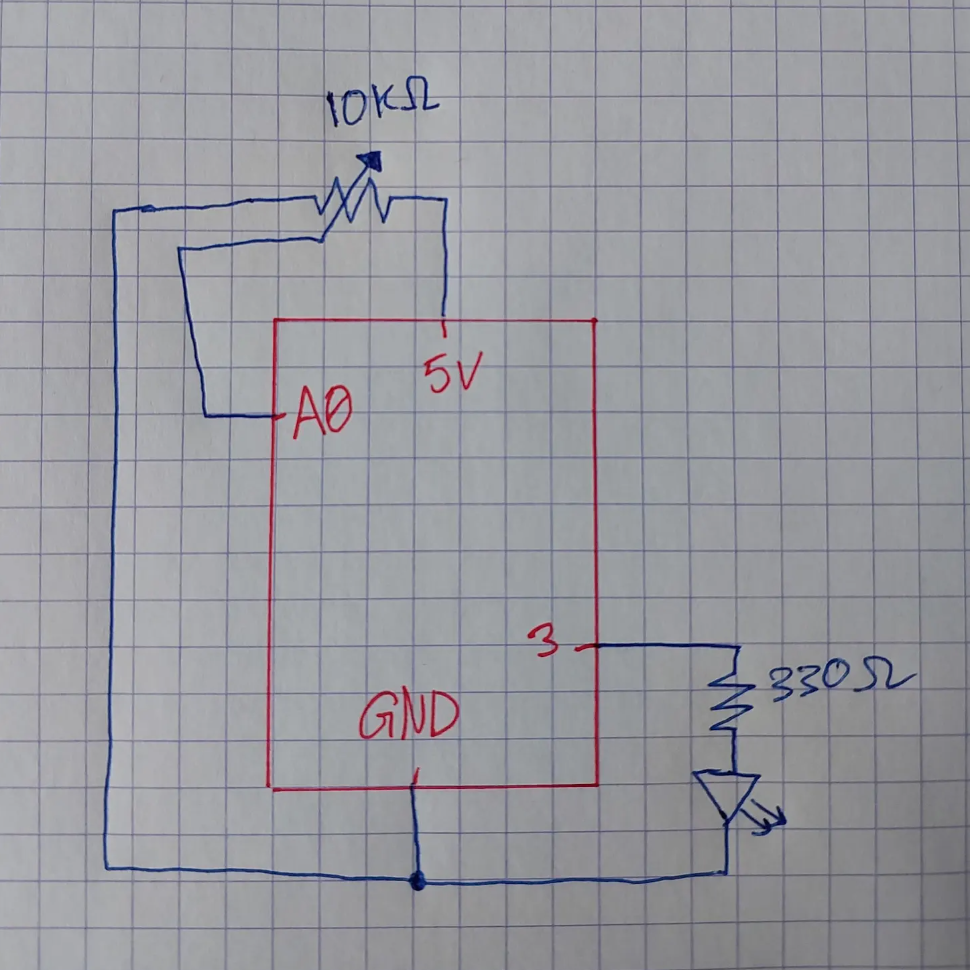
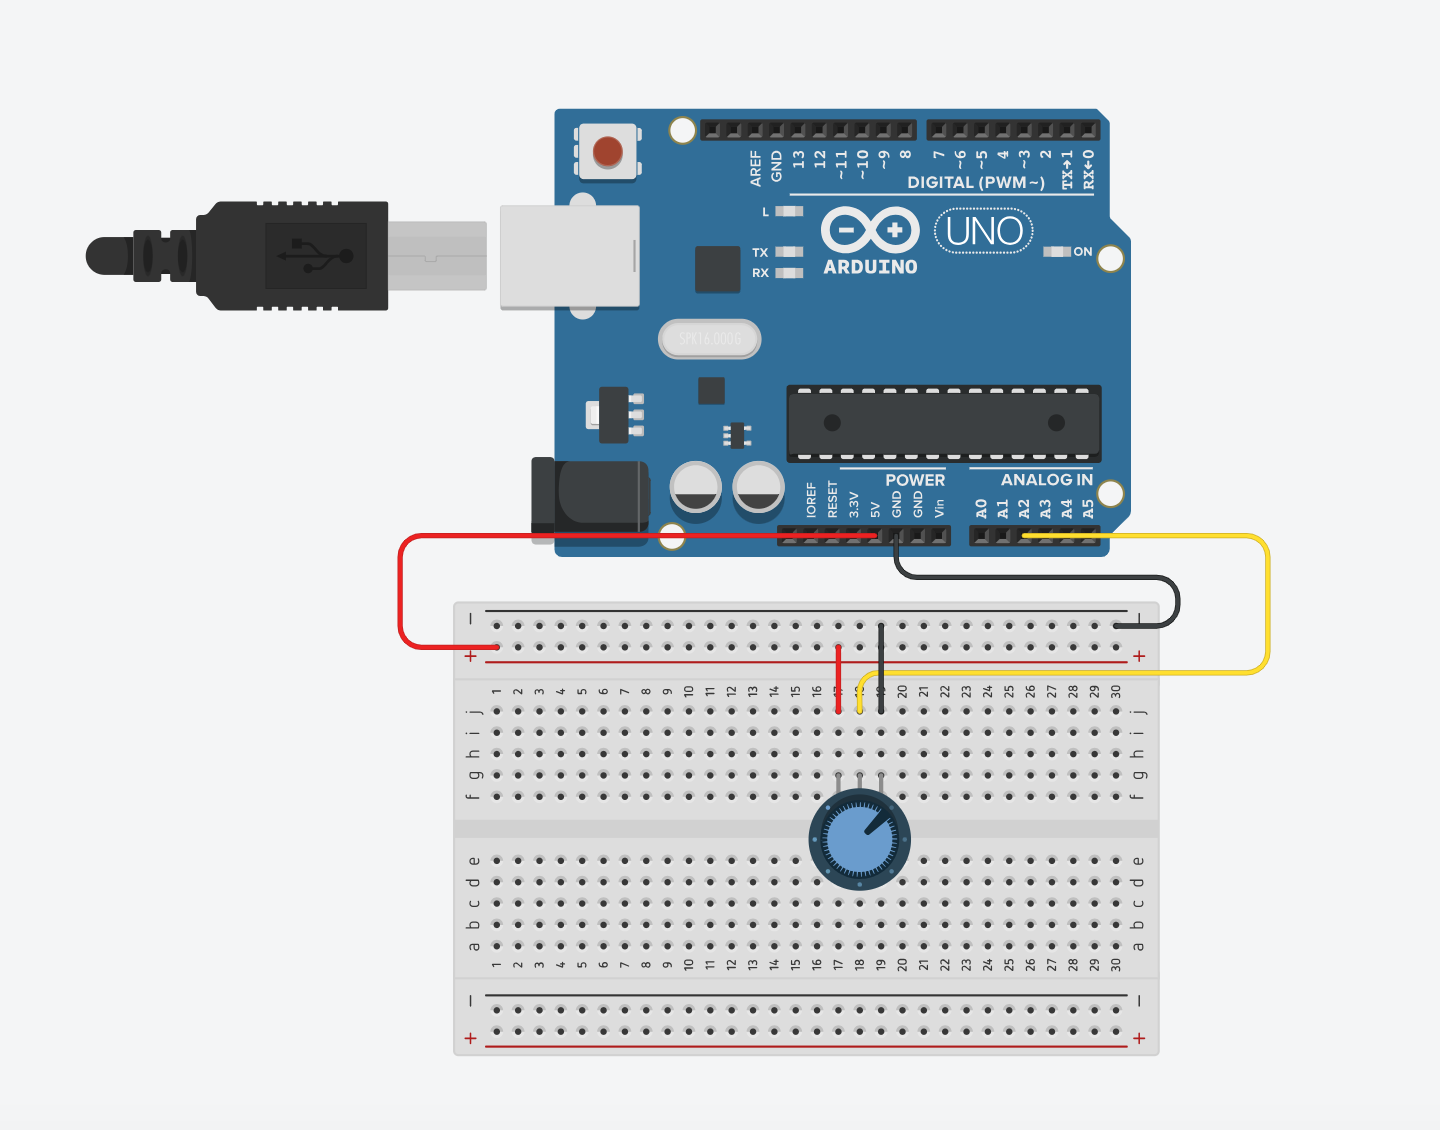
For this exercise, we used a potentiometer as the analog sensor. The potentiometer controls the ellipse’s position on the horizontal axis in the P5 sketch. When you turn it one way, the ellipse moves to the right, turning it the other way causes it to move left.
We added a little text at the top of the sketch that displays the sensor value. As the value increases, the ellipse moves to the right, and vice versa.
Link to code: Exercise1_FullCode
Schematic
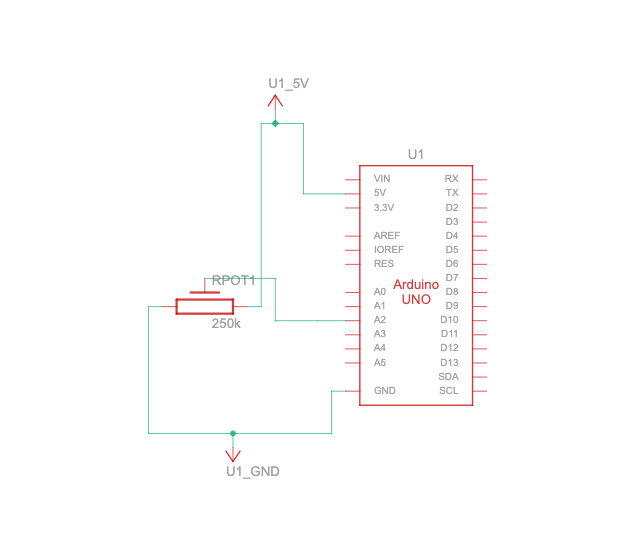
Circuit Design
Demo Video
Exercise 2: P5 to Arduino Communication
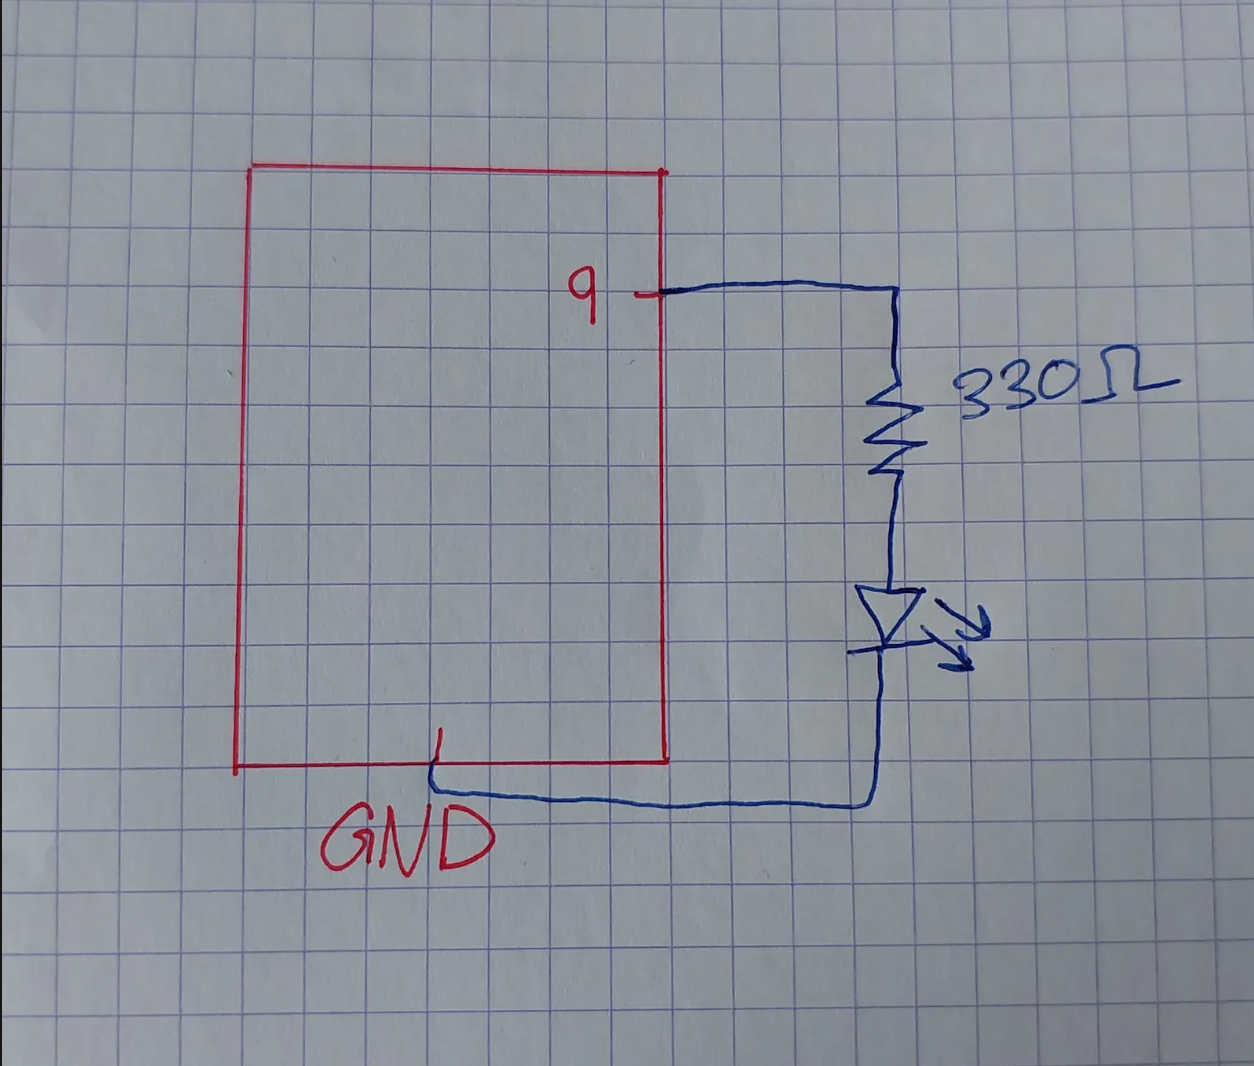
Here, we used the keyboard arrow keys to change the LED brightness. Pressing the right arrow increases the brightness, and the left arrow decreases it.
Link to code: Exercise2_FullCode
Schematic
Demo Video
Exercise 3: Bi-directional Communication
For the Arduino to P5 communication, the potentiometer acts like the “wind” in the gravity/wind example. As you turn it, the ball gets pushed left or right depending on the mapped value.
For the P5 to Arduino communication, every time the ball hits the bottom and bounces, it triggers the LED to briefly turn on and then off, so the LED flashes in sync with each bounce.
Link to code: Exercise3_FullCode
Schematic