Concept
For this project, to create an analog sensor and one digital sensor (switch), and use this information to control at least two LEDs, I decided to make for the digital sensor a connection between a digital pin and a button to control one LED light. For the analog sensor I used the analog input and output to control the second LED light, turning it on and off depending on how much brightness the light sensor received.
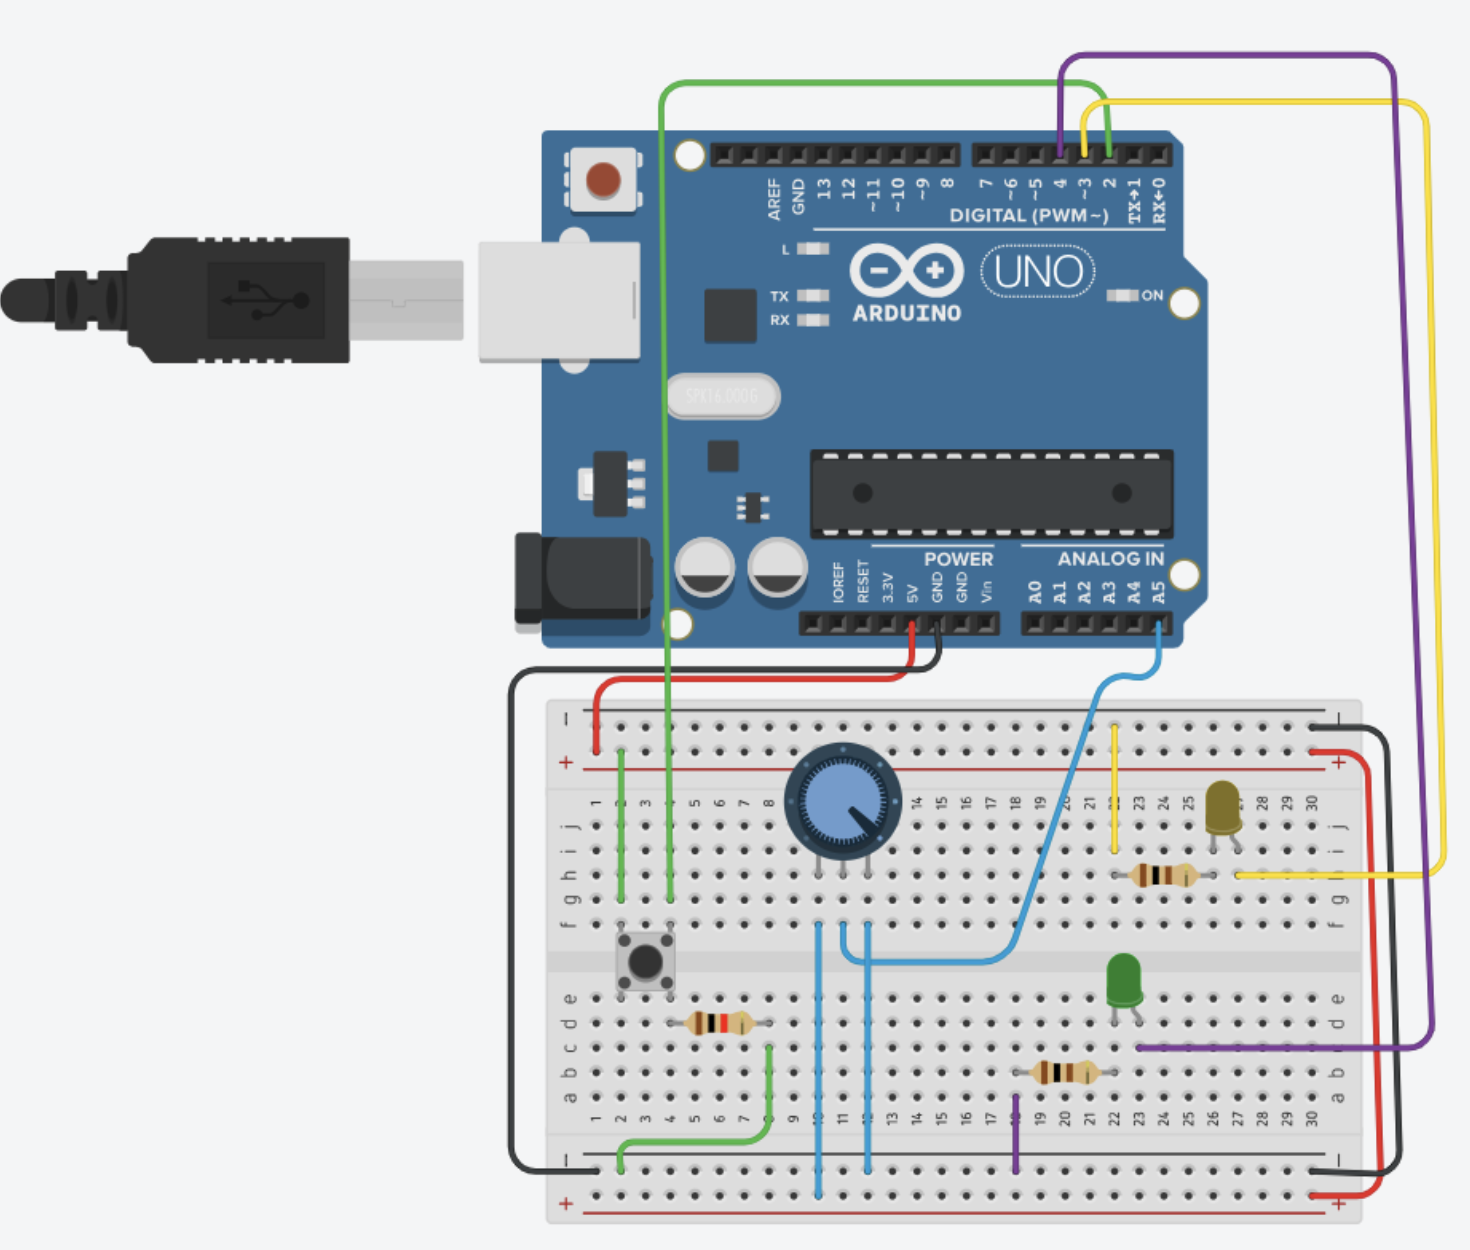
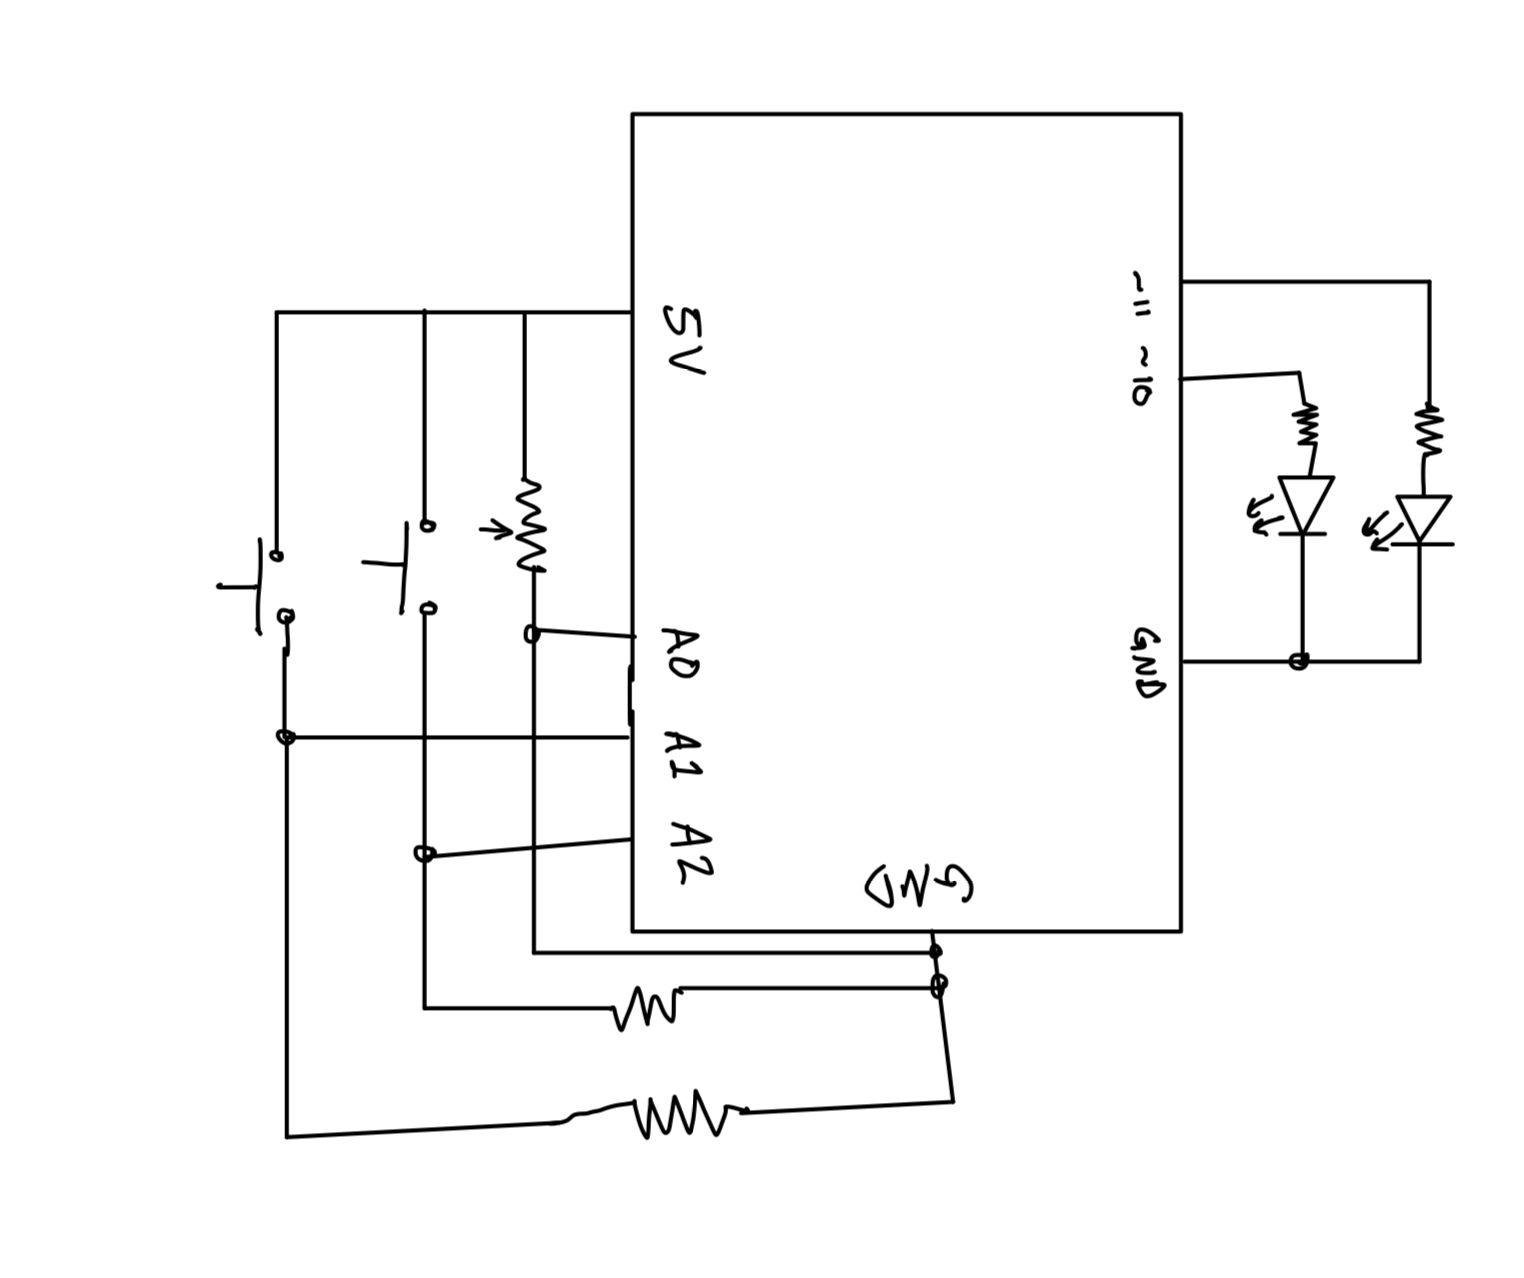
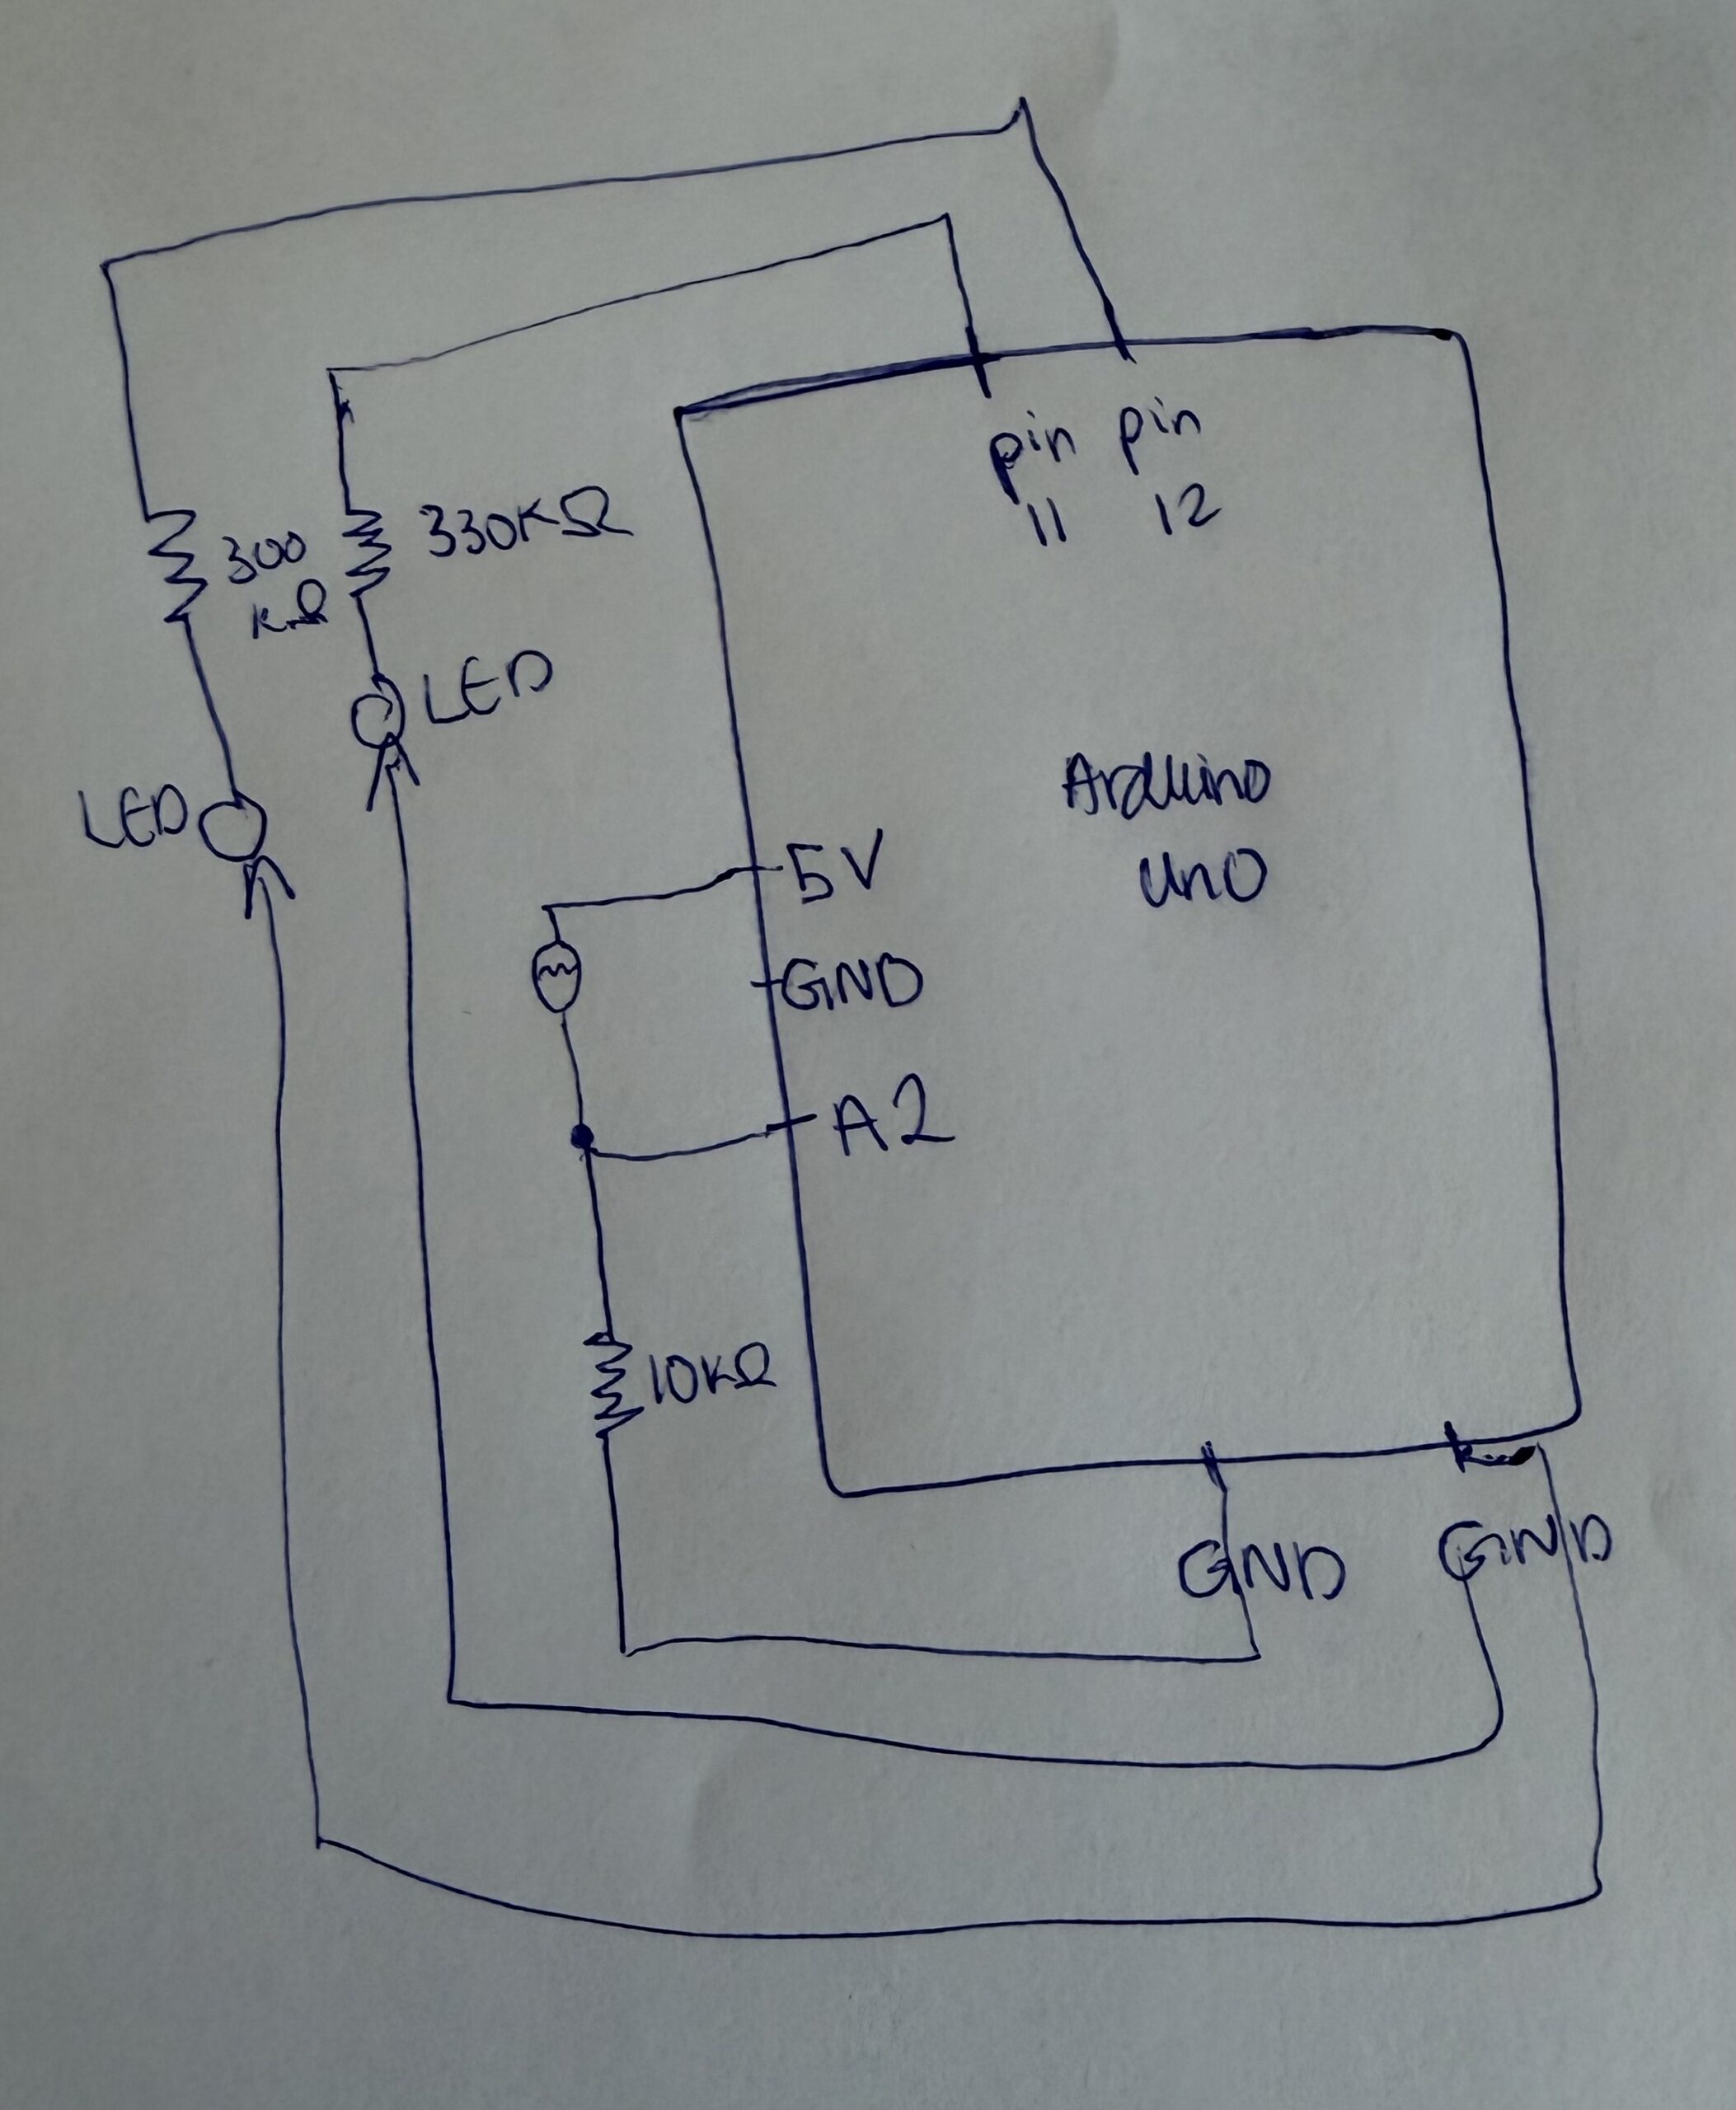
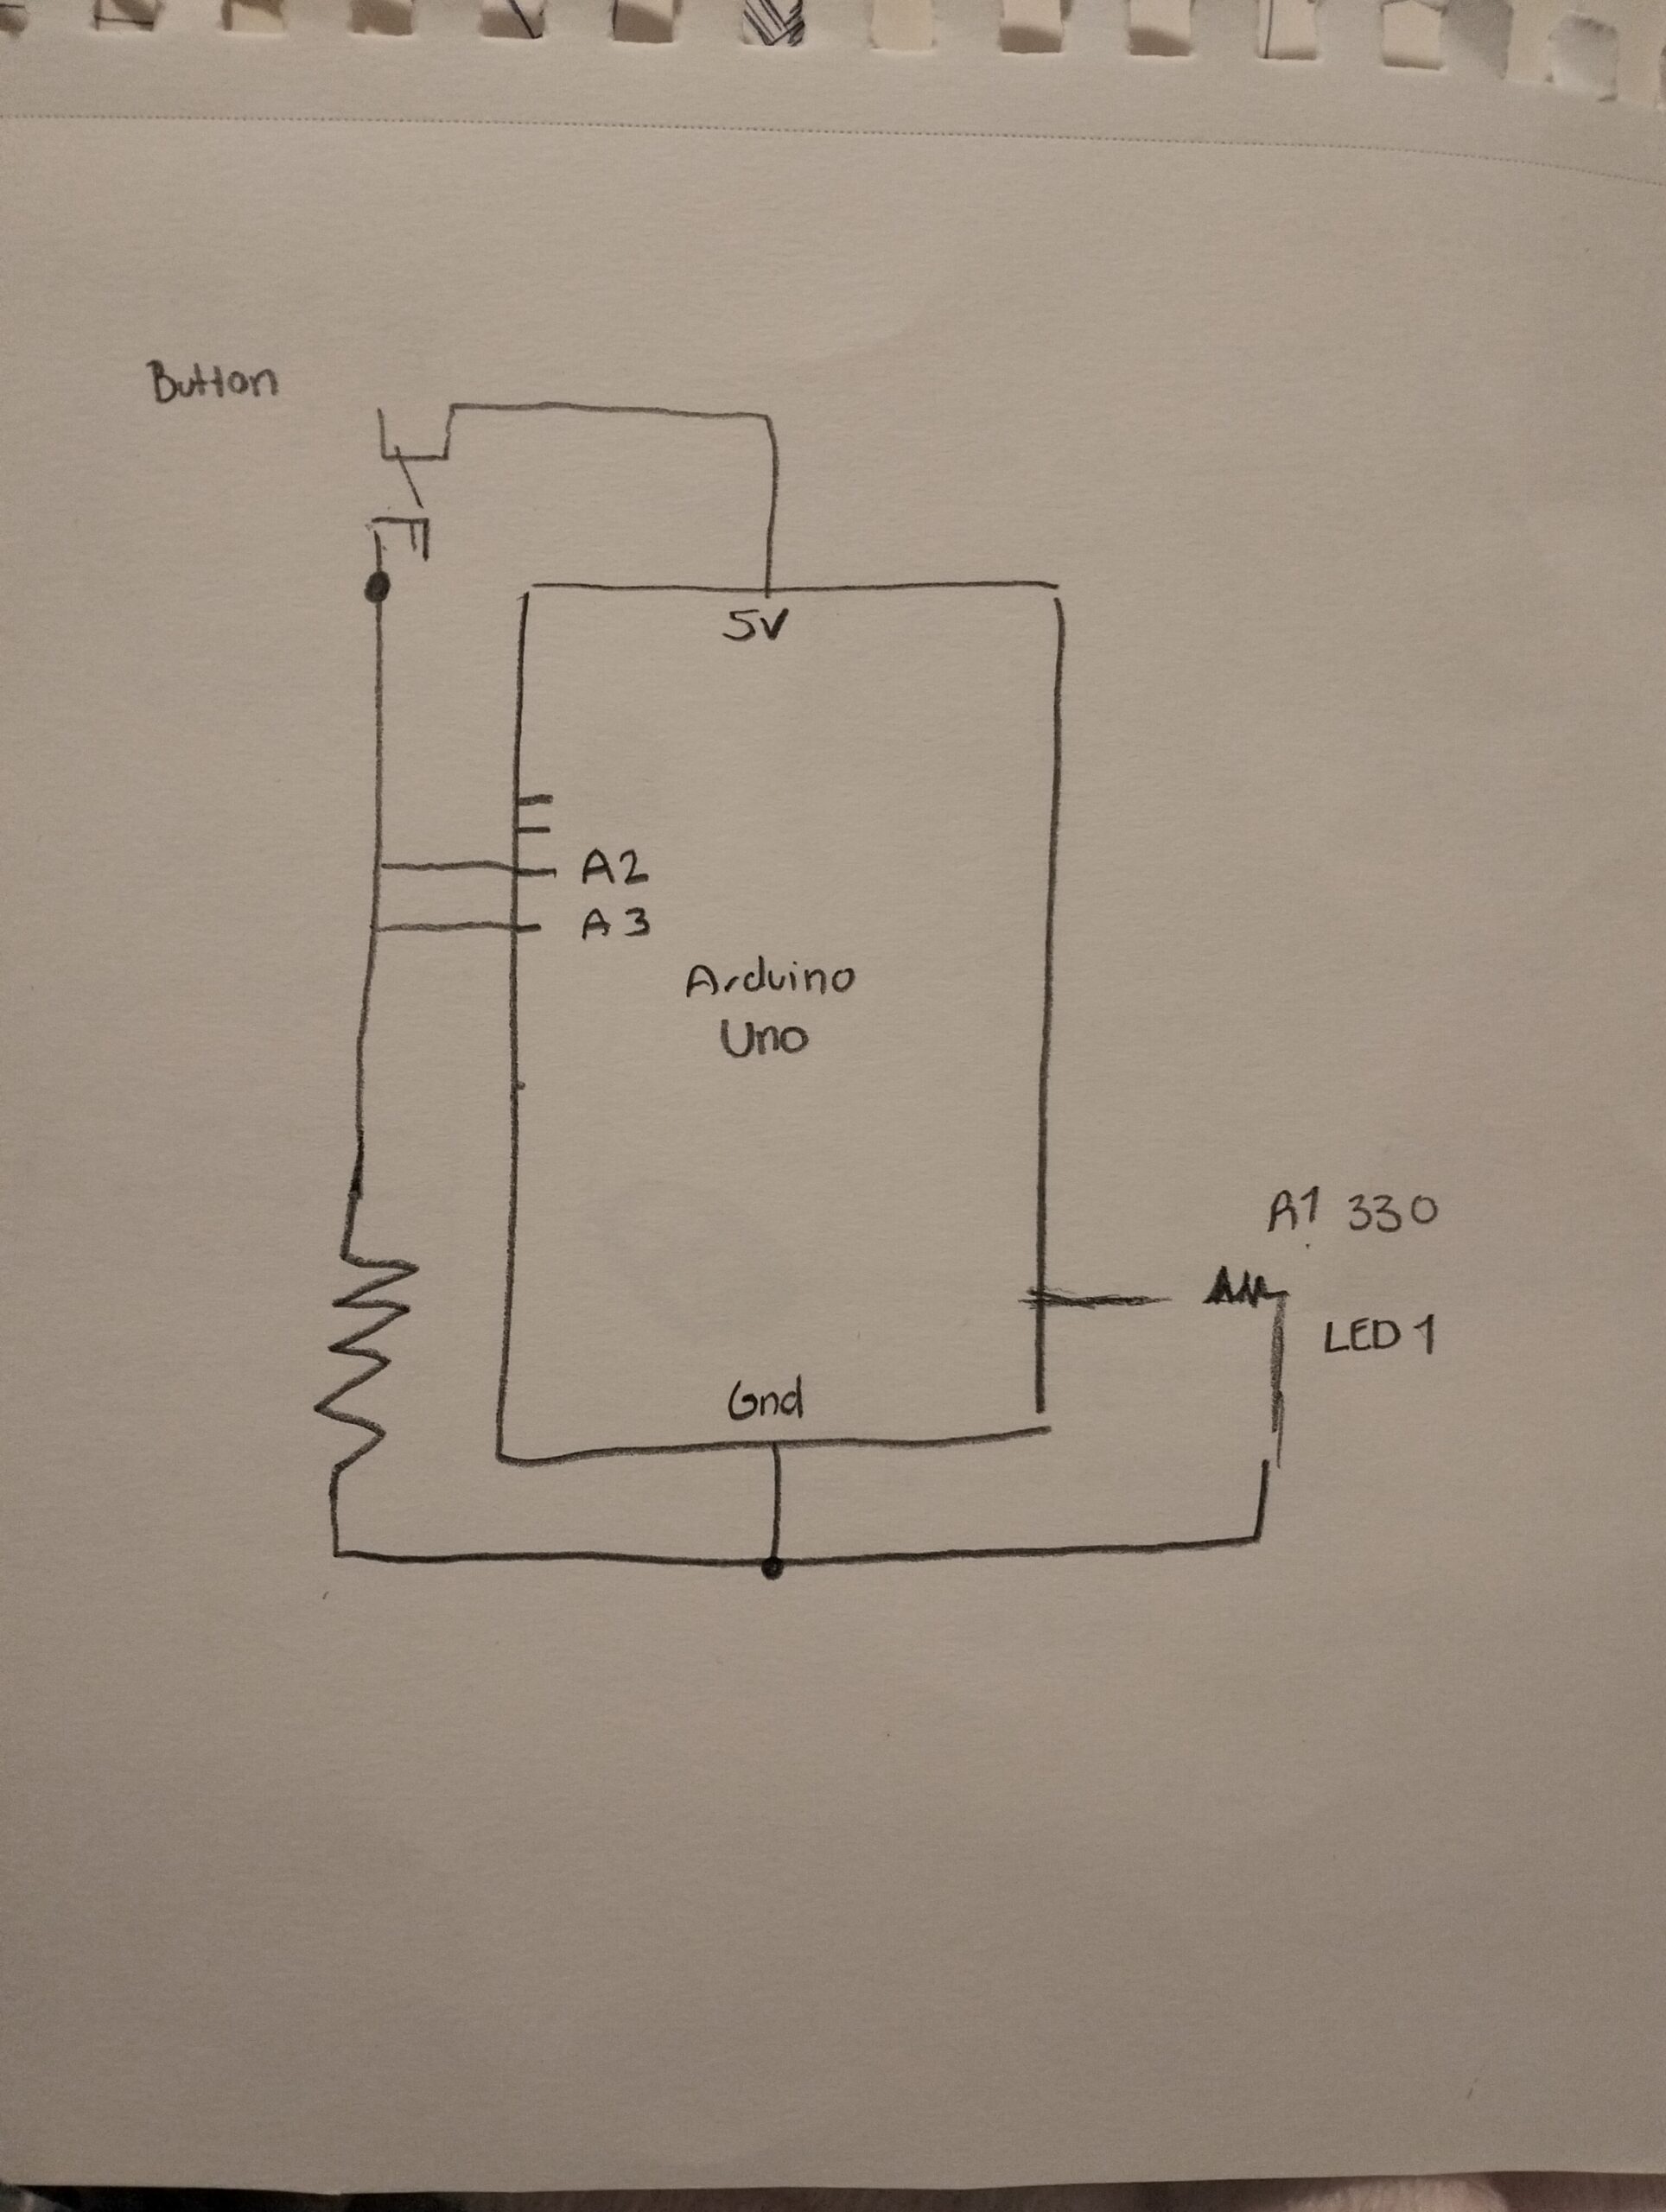
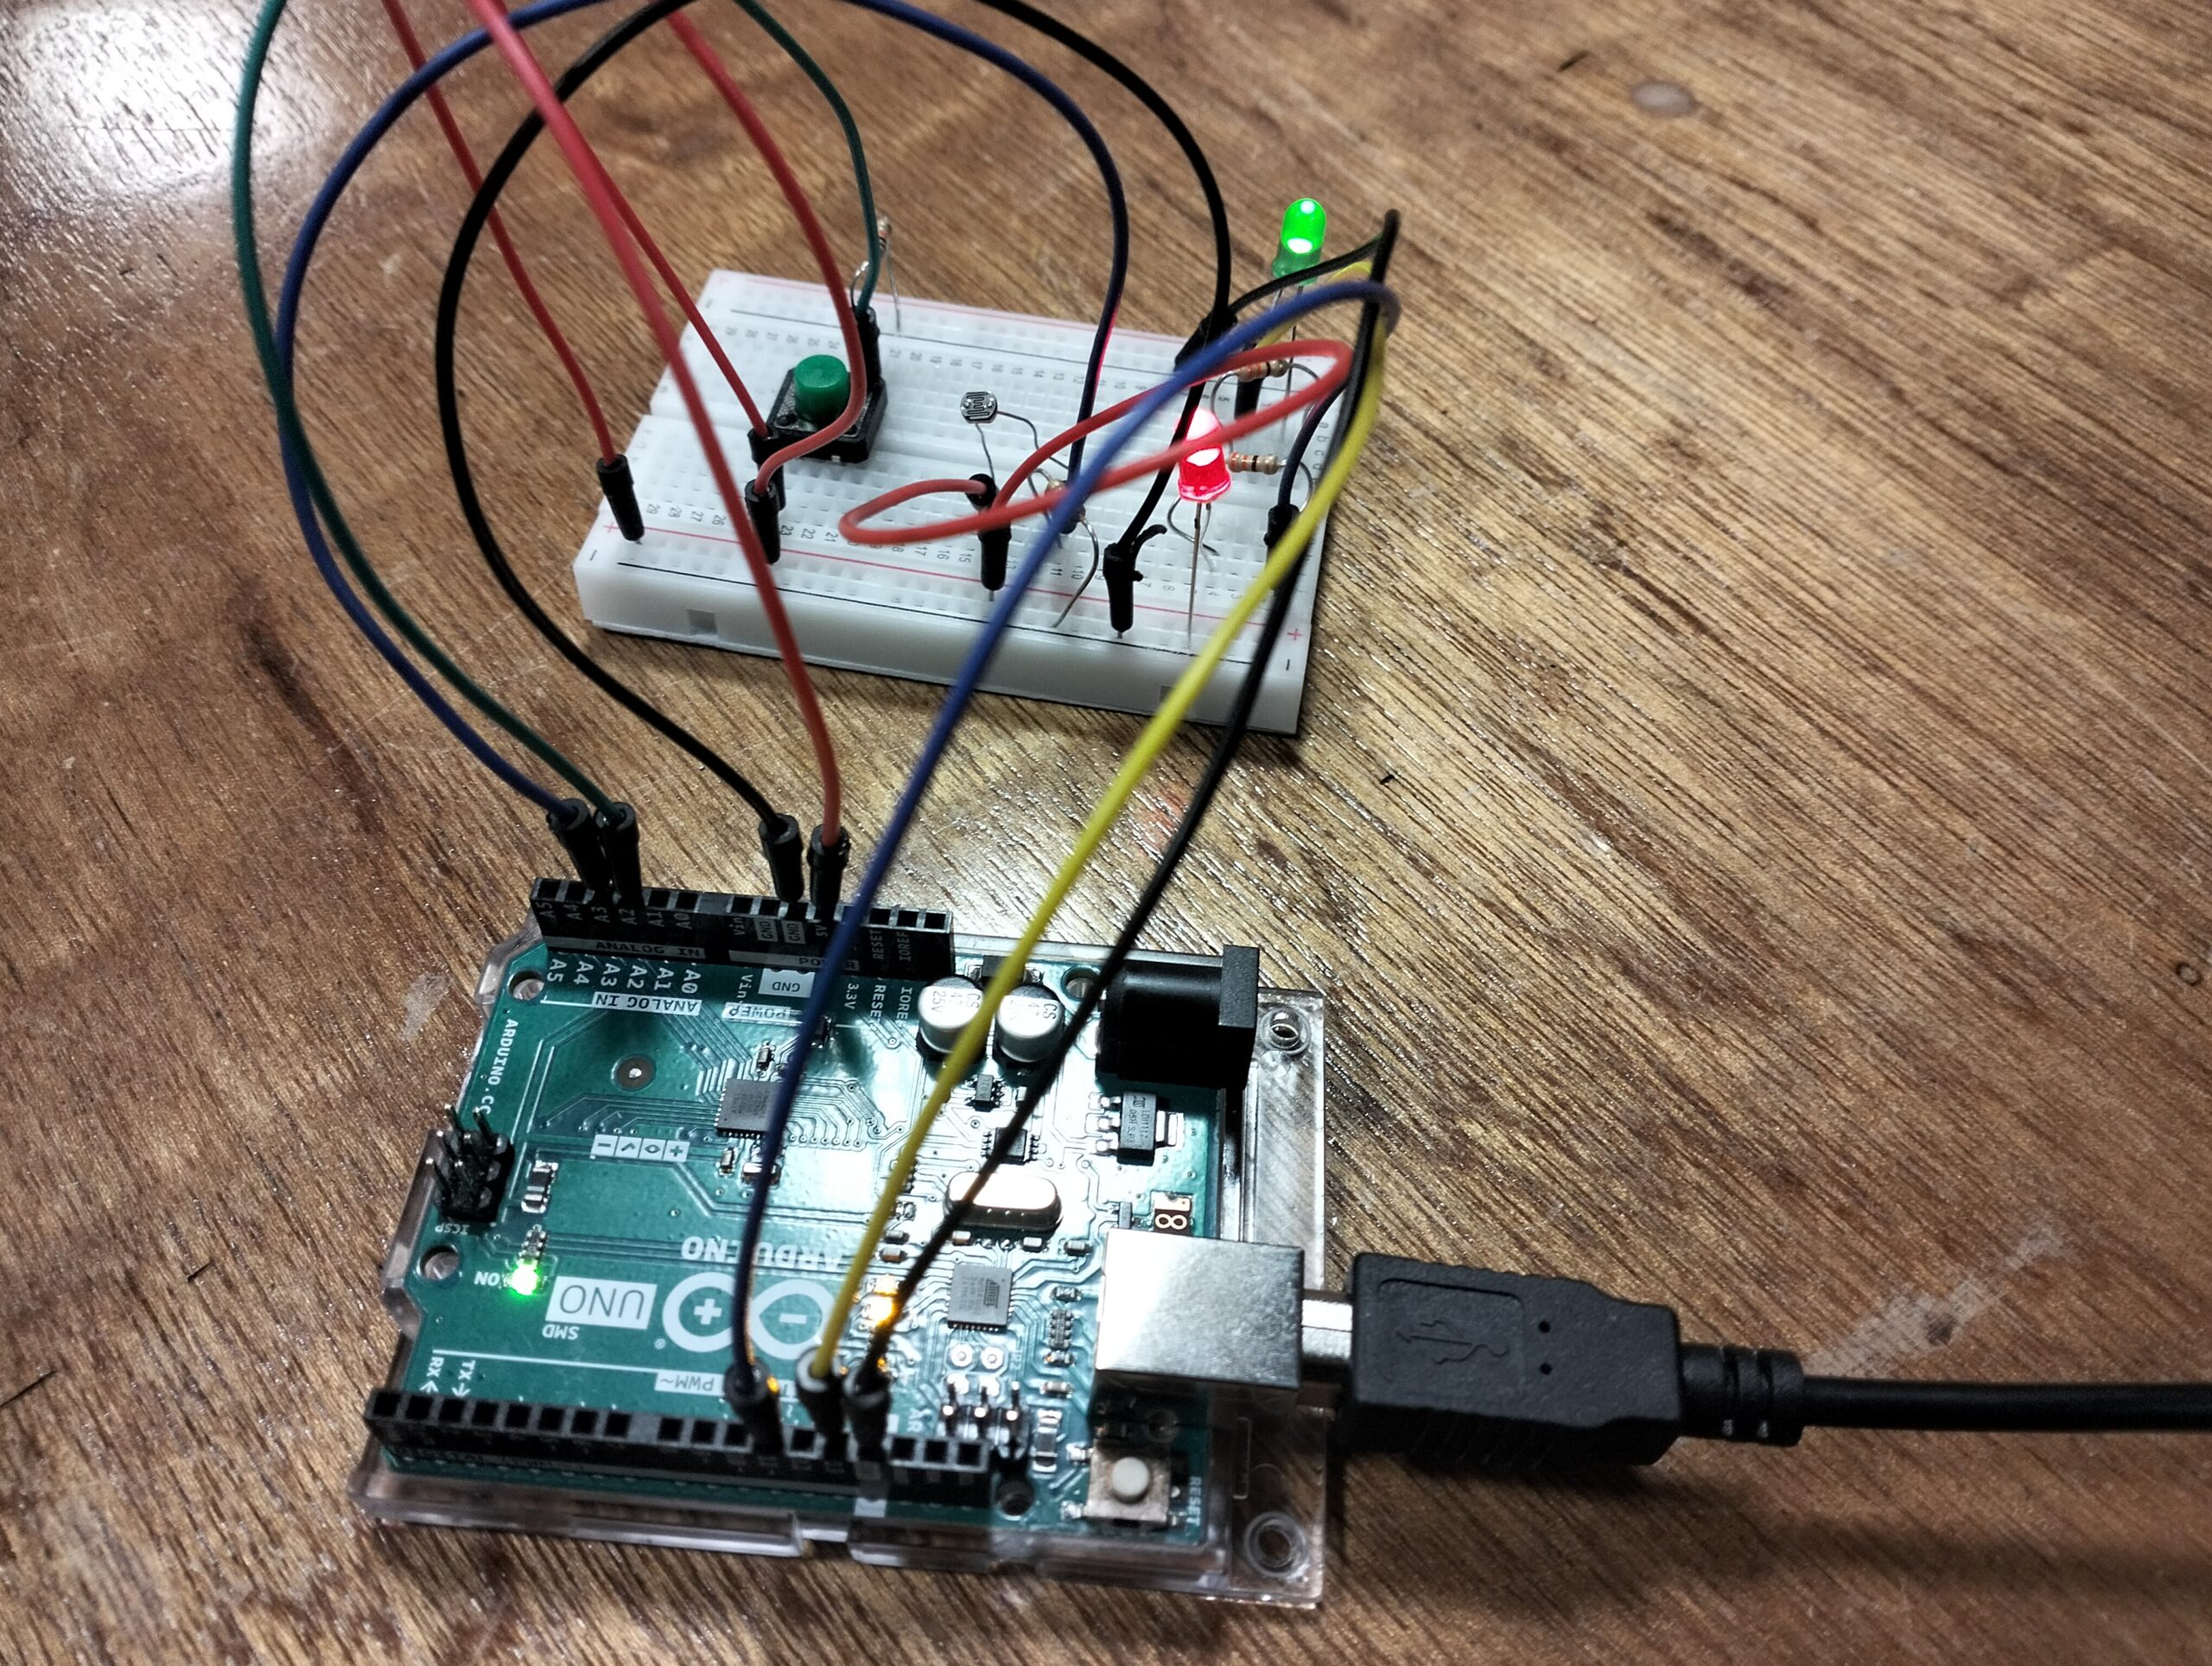
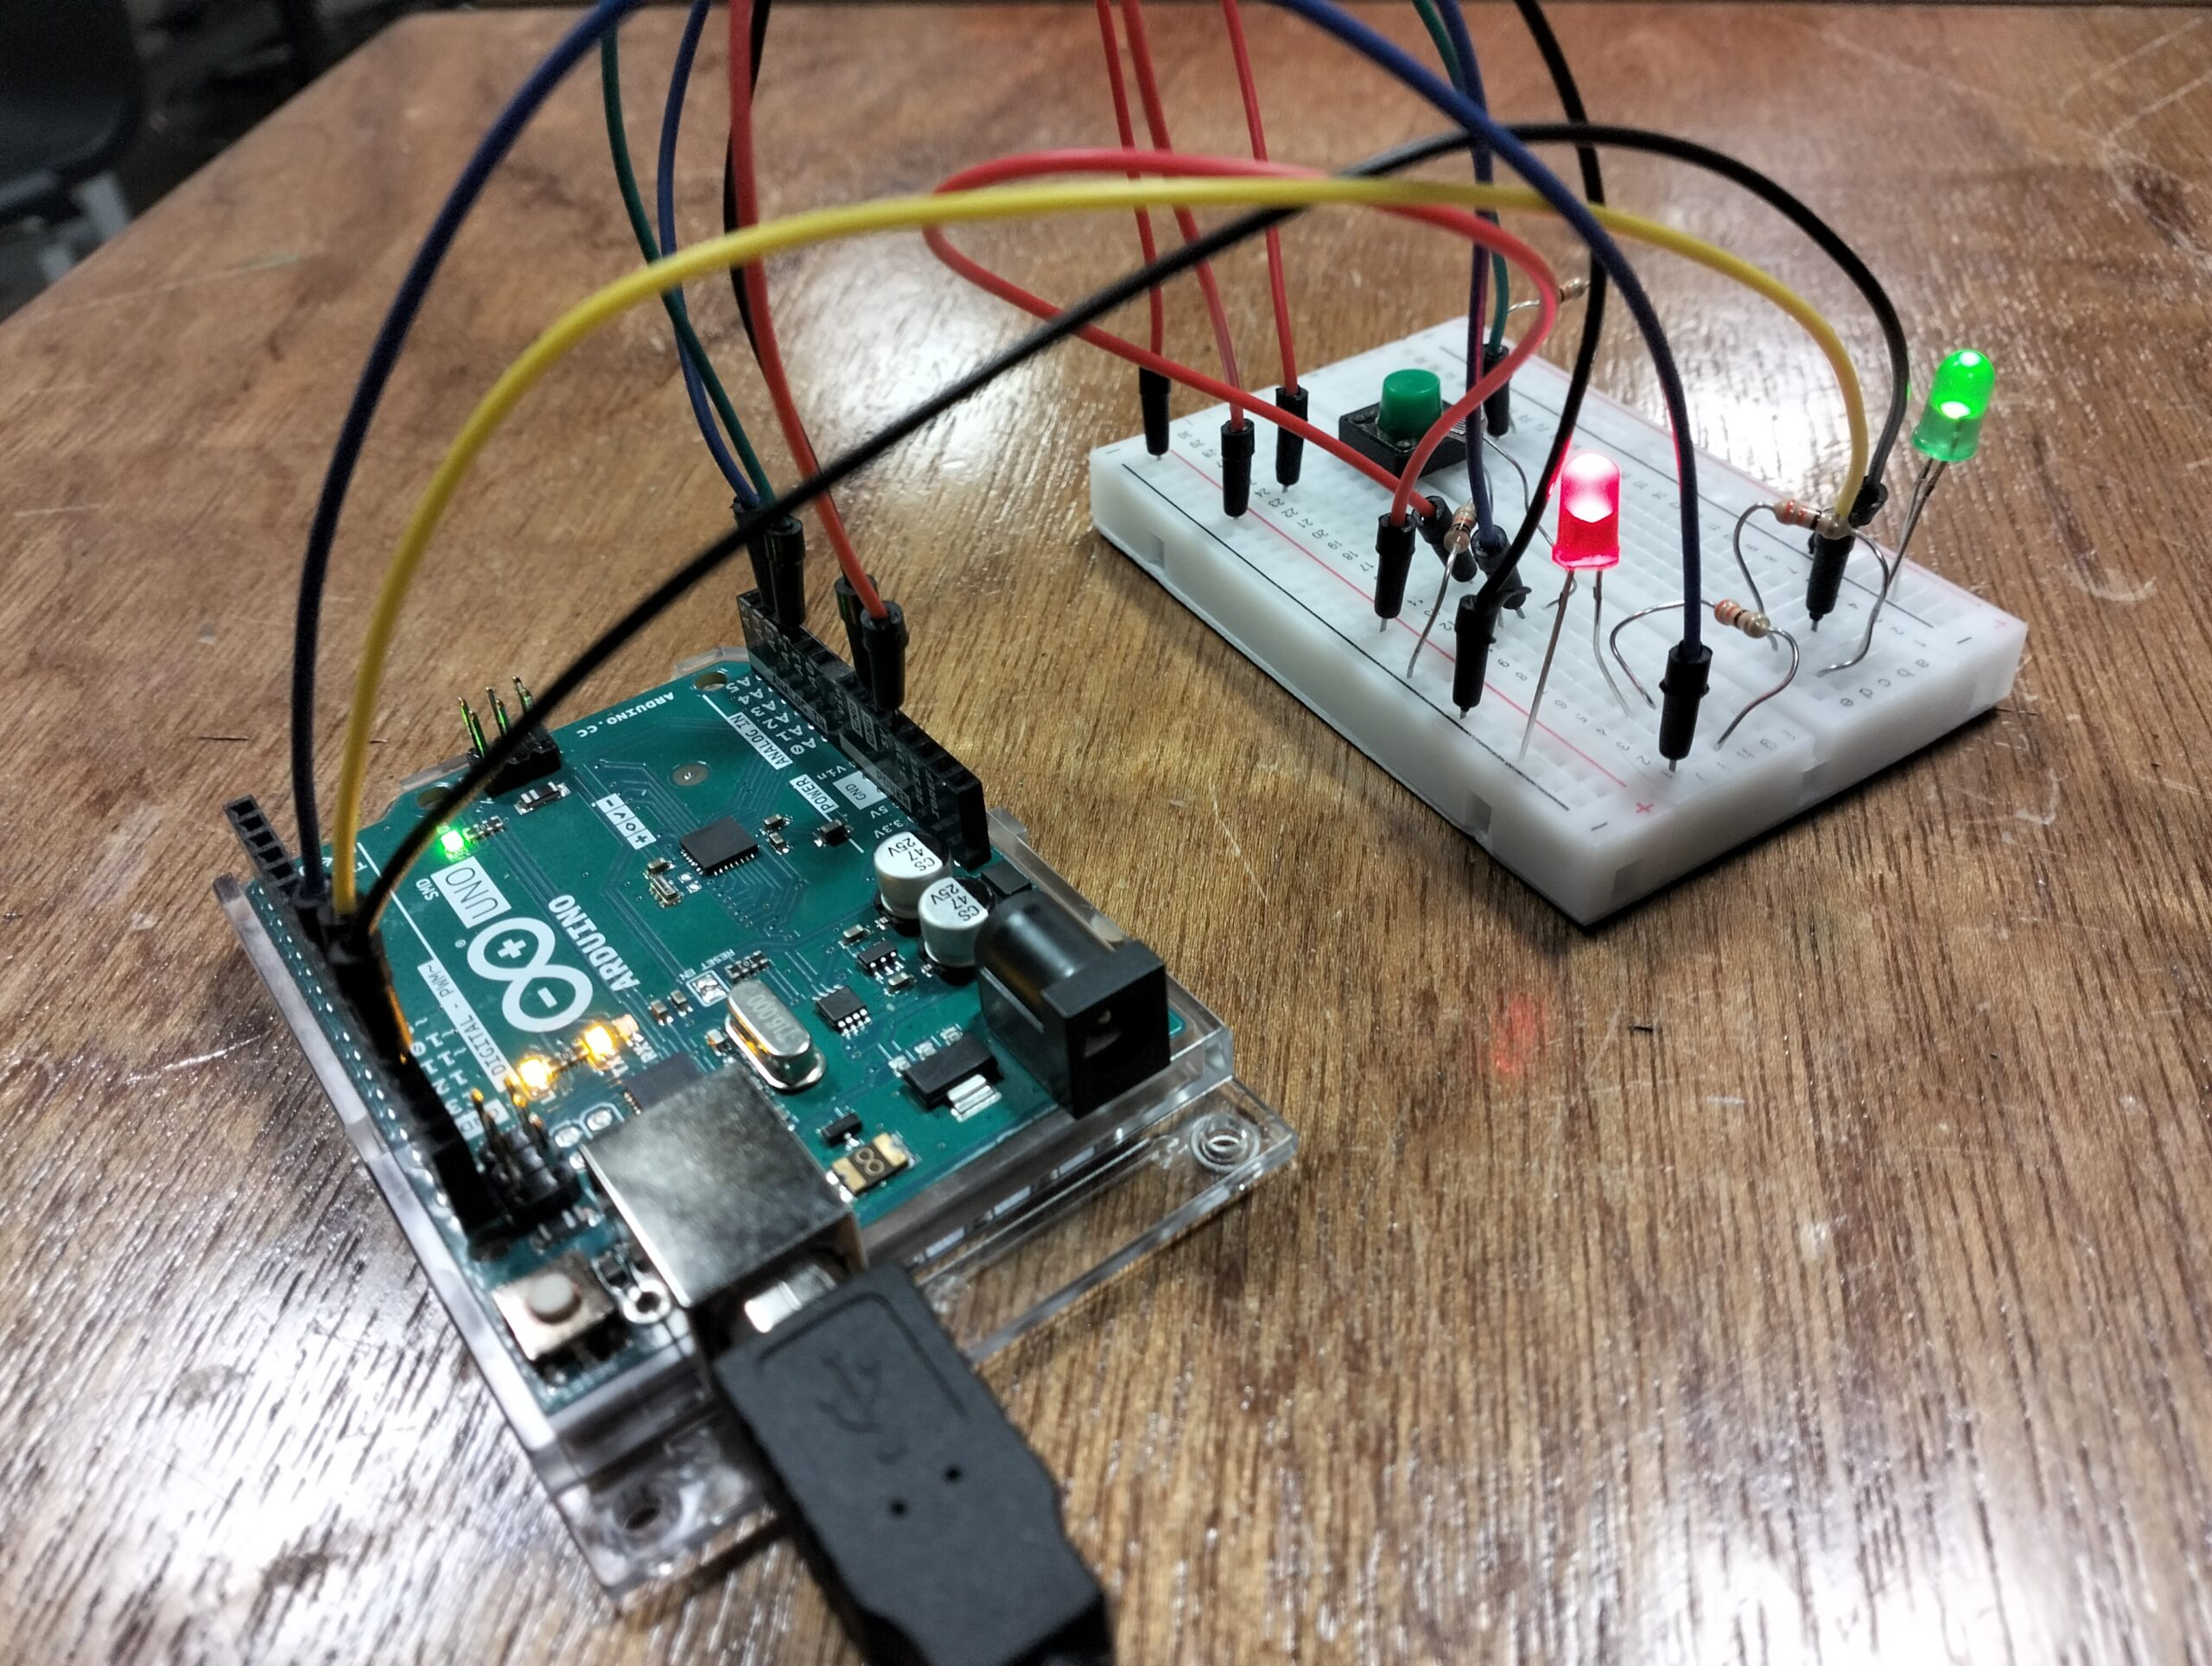
Circuit Illustration
Final Results
VIDEO
Arduino code
oid loop() {

int sensorValue = analogRead(A3);
Serial.println(sensorValue);
// set the brightness of pin 11
sensorValue = constrain(sensorValue,500,900);
brightness = map(sensorValue, 500, 900, 0, 255);
analogWrite(11,sensorValue);
delay(30);


  int buttonState = digitalRead (A2);
  if (buttonState == HIGH){
    digitalWrite(13,LOW);
  } else{
      digitalWrite(13,HIGH);
  }
Although it isn’t the most creative or unique code, I was happy to find that my initial code was working to make both LED lights light up, and it was just a matter of adding information for the sensorValue and the brightness to make the LED light responding to the light sensor to show a greater difference in the changes of brightness.
Github
https://github.com/imh9299-sudo/Intro-to-IM.git
Challenges and Further Improvements
While I was able to successfully complete the assignment and create both digital and analog responses, I wish I could have found a more creative way of obtaining these responses. Moreover, I struggled to put the code together so both sensors would function simultaneously, as well as arranging the position of all the jumper wires, the resistors, and the LED lights themselves. For my next project, I will seek help from the Lab assistants, and I will pay more attention to all the information on the slides we are provided in class to make sure I fully grasp the foundation behind every code and understand what each tool does. I would also like to explore the other tools found in the lab to make different responses in comparison to the tools we already have in our Arduino kit.