All Posts

Aisha Design Meet Disability Reading

The reading talks about how the design of products aids people with disability. It was really interesting as I never really thought of how certain designs do accommodate people with disabilities – I’m usually unaware of it.

The author mentions that the traditional views on design for disability have been to hide the disability which creates a negative connotation. Not only does it hide a part of the person, but it may also tell the person that they should be ashamed to publicly show and express their disability which could actually be a part of what makes them who they are.

An example of a design for the disabled they gave is eyewear. Glasses have shown the way some people may divert from this traditional view. There are many ranges and styles for eyeglasses giving people the choice to pick out what seems more comfortable and fashionable to them. There are also many people nowadays buying eyeglasses just for the aesthetic even if they have no prescription for them. However, if we look at another design they mentioned such as a prosthetic leg many people may associate negative connotations with it and may hide it due to it ‘not being goodlooking’ even though it is totally functional. I definitely think this needs to change. I don’t think anyone should have to feel that they are ashamed of their disability.

The last thing I want to mention is that I definitely agree with the fact that these designs should be as simple as possible. The main point of these designs is to help people who are disabled. The designs should be simple enough for the users to be able to use them to their full potential without stressing them out.

Serial Communication Assignments

This was my hardest project yet. i spent a lot of time with my code and having a bunch of errors that I didn’t understand. after i tried to get some help from the internet i got a bit of a better understanding. what really helped is when I remembered what the professor said about old students records being on the WordPress site. this is my best attempt that kind of worked.

Task 1    

For the first task we were instructed to use a sensor on Arduino to make an ellipse in p5 move horizontally. And to have nothing on Arduino being controlled by p5.

After looking thru projects i decided to use a potentiometer to control the axis of the ellipse.

This was my p5 code.

function setup() {
  createCanvas(640, 480);
  textSize(18);
}

function draw() {
  background(54);
  map(100,0,1023,0,width);
  ellipse(100,height/2,100,37);


  if (!serialActive) {
    text("Press Space Bar to select Serial Port", 20, 30);
  } else {
    text("Connected", 20, 30);
  }

  
}

function keyPressed() {
  if (key == " ") {
    // important to have in order to start the serial connection!!
    setUpSerial();
  }
}

function readSerial(data) {
  ////////////////////////////////////
  //READ FROM ARDUINO HERE
  ////////////////////////////////////

  if (data != null) {
    ellipseXPos=data;
    }

  
}

My Arduino code:

I used it to just connect the sensor to the p5 sketch

void setup() {
  Serial.begin(9600);
}

void loop() {
  // wait for data from p5 before doing something


      int sensor = analogRead(A0);
      delay(1);
      Serial.println(sensor);
    
  
}

Task 2

For the second task we were initially asked to control the LED brightness. When i first took a stab at it i had no idea how to start. I initially tried to do it with mouse press but after looking at others projects  For inspiration I saw people used diffrent keys to control the brightness so i decided to do the same.

I was initially trying to use the B key for brightness and D for dull. for some reason i got an error. but after i tried the arrow keys like one of my colleges it seemed to work.  This is part of my code

let brightness = 0; 
let value=50;


function setup() {
  createCanvas(600, 600);

 
}

function draw() {
  background(255);
  
  if(value>255){
    value=255;
  }
  if(value<0){
    value=0;
  }
 
  
  brightness = value;

Arduino code:

int LED = 11;
void setup() {
 Serial.begin(9600);
 pinMode(LED, OUTPUT);
 while (Serial.available() <= 0) {
  Serial.println("Wait");  // send a starting message
   delay(300);               // wait 1/3 second
  }
 }
 void loop() {
  // wait for data from p5 before doing something
 while (Serial.available()) {
   int brightness = Serial.parseInt(); 
    if (Serial.read() == '\n') {
     analogWrite(LED, brightness); // turn on LED and adjusts brightness
     Serial.println("LIT"); 
    }
  }
 }

Task 3

This task started off as the easiest one but ended up being the most confusing.  I started of by looking at others projects like i did previously and i saw people using  the gravity wind example  so i took a look at that. I created. a p5 Code and didn’t get an error but when i hooked it up to Arduino it didn’t work.

 if (!serial Active) {
    text("Press Space Bar to select Serial Port", 20, 30);
  } else {
    text("Connected", 20, 30);
  }
  
  
  ellipse(position.x,position.y,mass);
  if (position.y > height-mass/2) {
      velocity.y *= -0.9;  // A little dampening when hitting the bottom
      position.y = height-mass/2;
      LEDbrightness=1;
      
    
    }
  else{
  LEDbrightness=0;
  }
  if(windSpeed<500){
  wind.x =-1;
  }
  else if(windSpeed>600){
    wind.x=1;
  }
  else{
    wind.x=0;
  }
  print(windSpeed);
  
  
}

Arduino

void setup() {
  Serial.begin(9600);
  pinMode(2, OUTPUT);
  // start the handshake
  while (Serial.available() <= 0) {
    Serial.println("0,0"); // send a starting message
    delay(300);            // wait 1/3 second
  }
}

void loop() {
  // wait for data from p5 before doing something
  while (Serial.available()) {
    int LEDstate = Serial.parseInt();
      
    
      digitalWrite(2, LEDstate);
      int sensor=analogRead(A0);
      
      
      Serial.println(sensor);
      
    
  }
}

Conclusion 

Although i spent a bunch of time with this project and it wasn’t perfect in the end I think I learned a lot out of it. This really helped me get coding on another level. Especially when it comes to Interactive Media. It humbled the level that i thought i was at( in a good way)


Final Project Progress: User Testing, Bug Fixing


I’ve made pretty good progress on my final game. I worked on the physical user interface of the Arduino, all the remaining illustrations and UI screens, the second and third stage of the game, and the Arduino code that will connect with p5.js. I stripped down a lot of the unnecessary and unreasonably inconvenient features to focus on delivering a simple but effective game.

Snapshots of the progress and the process:

No description available.

No description available.

No description available.

No description available.

No description available.

No description available.

I also made this physical halo halo cup, but I’m still deciding if I want to use it.

No description available.

All I have left to do for the final project are: fixing the sounds and music (which are getting corrupted :’)) and fixing a few bugs caused by restructuring and refactoring the code.

I had a few friends, including an IM major senior, user test it. The process helped me spot a few bugs, adjust the difficulty level, and give more time for each user. User testing also helped me realize that I should be clearer with the instructions, especially for Stage 2, where people have to step 3 feet away to get the best effect for posenet tracking.

If I have time, I am thinking of maybe adding one last little extra feature: a photobooth that uses Posenet so you can take a picture while wearing a little halo halo hat or some halo halo accessories. However, I’ll be prioritizing putting out the fires created by the bugs and the music, and also surviving the rest of the week.

Sketch is here: https://editor.p5js.org/paulinekowee/full/cFHpjwPWd

Final Project Update – Daniel and QM

p5 part

We’ve been working on deciding what features to be part of the mixer, and we decided on the following: Reverb, Delay, bypass, and a pause/play button. This is less than what was originally expected, however I got the idea to adding an extra feature, a sine-wave oscillator. This would allow the user to learn more about the types of sine-waves that are seen

After you select a song or the oscillator feature you will go to a different interface, for the oscillator and to change between wave-types we might use buttons or one of the already existing potentiometers to make the design more intuitive.

I’ve also been looking into the different sound library options of p5js and how they work, based on that I decided which effects would work best. Here is how I’ve been testing it (not the most optimized interface but it gets the job done)

Arduino

For the Arduino section of the project we’ve figured out the coding aspect on how to receive multiple inputs to p5, the only thing left will be repurposing the Arduino’s box to make it the base of the mixer and soldering the cables into the potentiometers.

what’s missing?

What we need to work on now is polishing the interface, testing over and over the mixer and features and making sure the code for the buttons works.

Final Project Progess Update

I decided for the final project to improve on my midterm project game, which is the pac-man game. In this post, I will discuss the role of p5.js and Arduino in my project and how the communications happen between them. Moreover, I will talk about the hardware stuff that I am using for this project.

Hardware devices

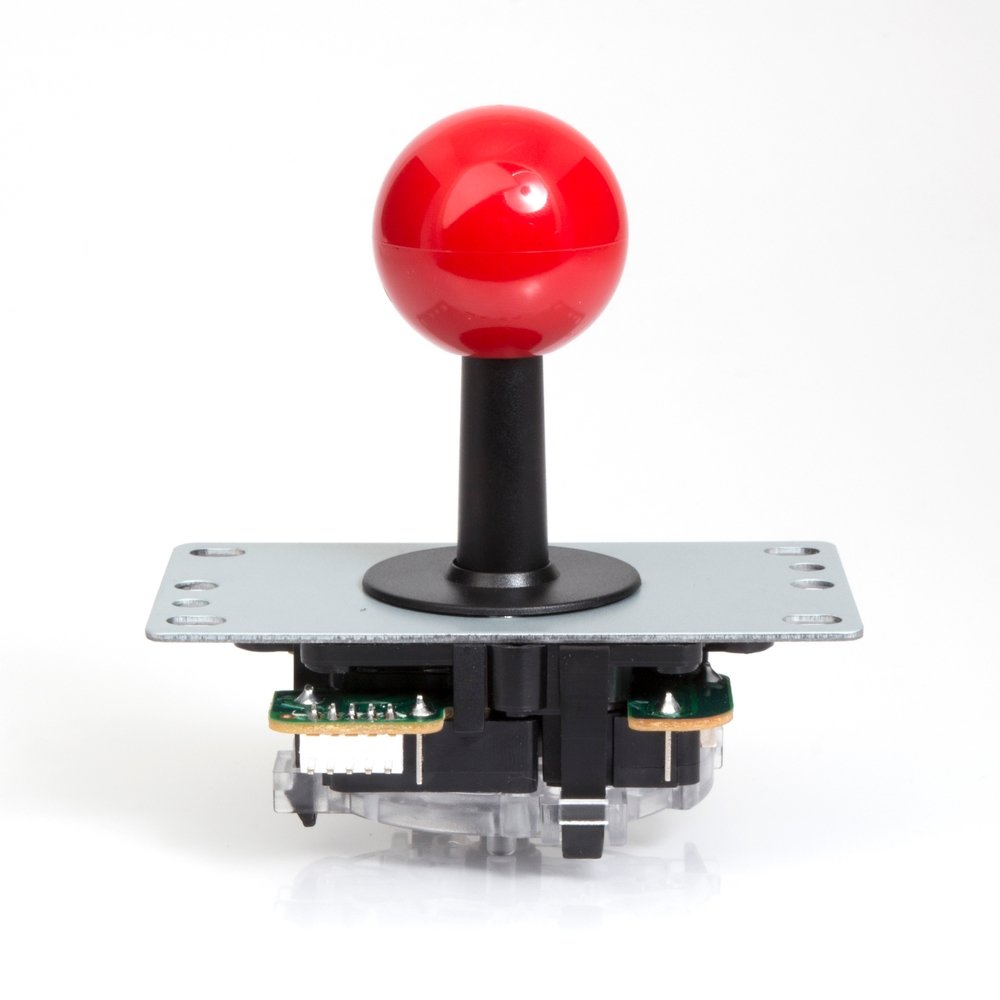
To build an interactive system that can control the pacman game in my laptop I will use an arduino Uno and a breadboard with wires. The major hardware component for my game is a joystick that I will attach to the breadboard to control the game. You can see this joystick attached below.

Monster Joysticks BASIC Arcade Joystick - Red

Furthermore, I want to add few indicators that will show the user their progress in the game. For example if the user needs 15 points to win the game then I will have three indicators and each indicator will light up if the user reaches 5 points. The three indicators will all light up together and start blinking when the user wins the game.

The role of p5.js

In my interactive system p5.js will contain all the commands needed to run my game on p5.js interface, which I have done for my midterm project. In addition to this p5.js should also read 4 different values from arduino which will be the UP position, DOWN position, LEFT position and RIGHT position. If any of these values is zero then in p5.js I will write if statements to move the pacman towards this direction. For instance, if UP is zero then pacman moves towards the up direction. In addition to this  p5.js should send the current score value to arduino so that the arduino IDE will deal with this value and light up the different indicators accordingly.

The role of Arduino Software

The arduino software will be the main bridge connecting my hardware stuff to the game on p5.js. The arduino should read 4 different values based on the joystick movements. After testing the joystick motions I figured out that the joystick returns 4 values and whenever I move it to one end, then one of the four values will return 0. Based on this observation I will be able to control the game on p5.js.

Furthermore, the arduino software will read value of score from p5.js and update the state of the indicators based on these lights.

I am very excited to complete this project but I am still a bit confused about how the physical structure for my project will look like and I hope to be able to figure out this challenging thing soon.


final project progress update

my idea: an imagine play interactive recipe.
current progress:

        • The basic structure is built
        • the communication between Arduino and p5js is done (all the information is sent back and forth as needed
        • The sensors and Arduino parts have been tested
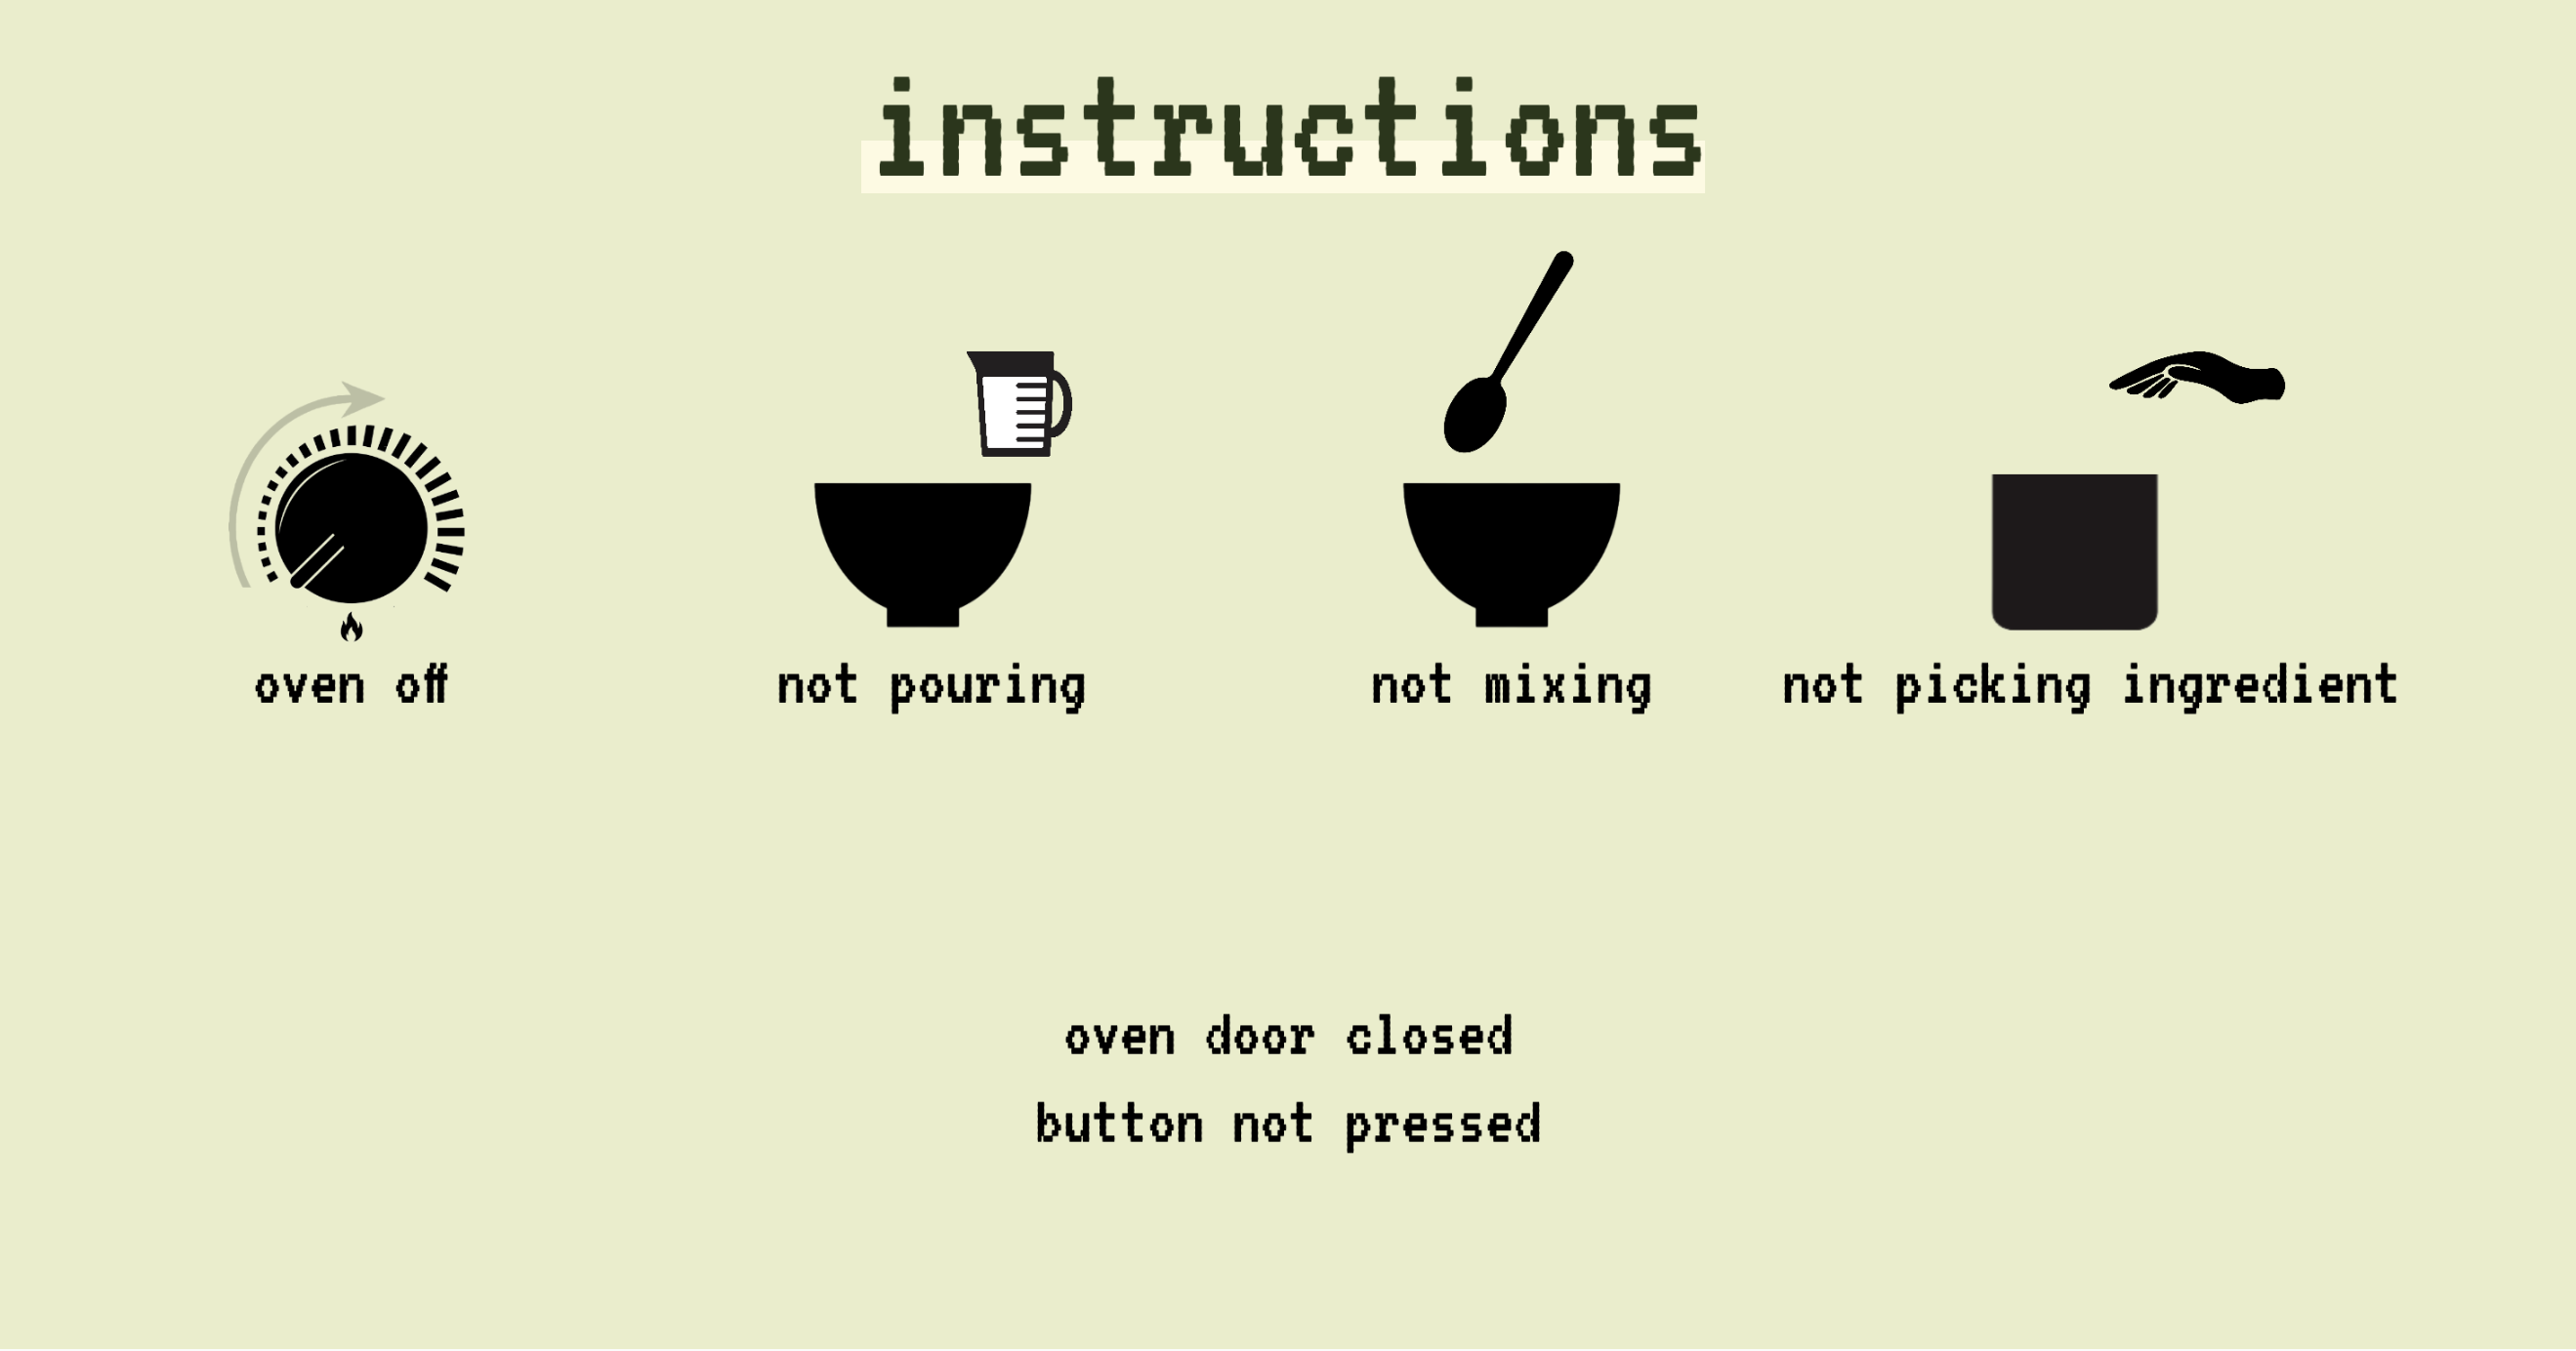
      • An instructions page that uses all the sensors has been implemented(this is demonstrated later)

Arduino and Code

Data sent and received

Arduino would send the potentiometer, force sensor, tilt sensor, ultrasonic sensor, button, and limit switch data. The P5js would get that data and use it within the interactive recipe. p5js will also send whether the oven is on or off to the arduino so that it can turn the oven LED on.

force sensor – detect mixing motion
tilt sensor – detect pouring
ultrasonic sensor – detect person picking up ingredients
limit switch – to detect the oven door opening and closing

Testing sensors

I tested that the sensors did what I needed them to do.
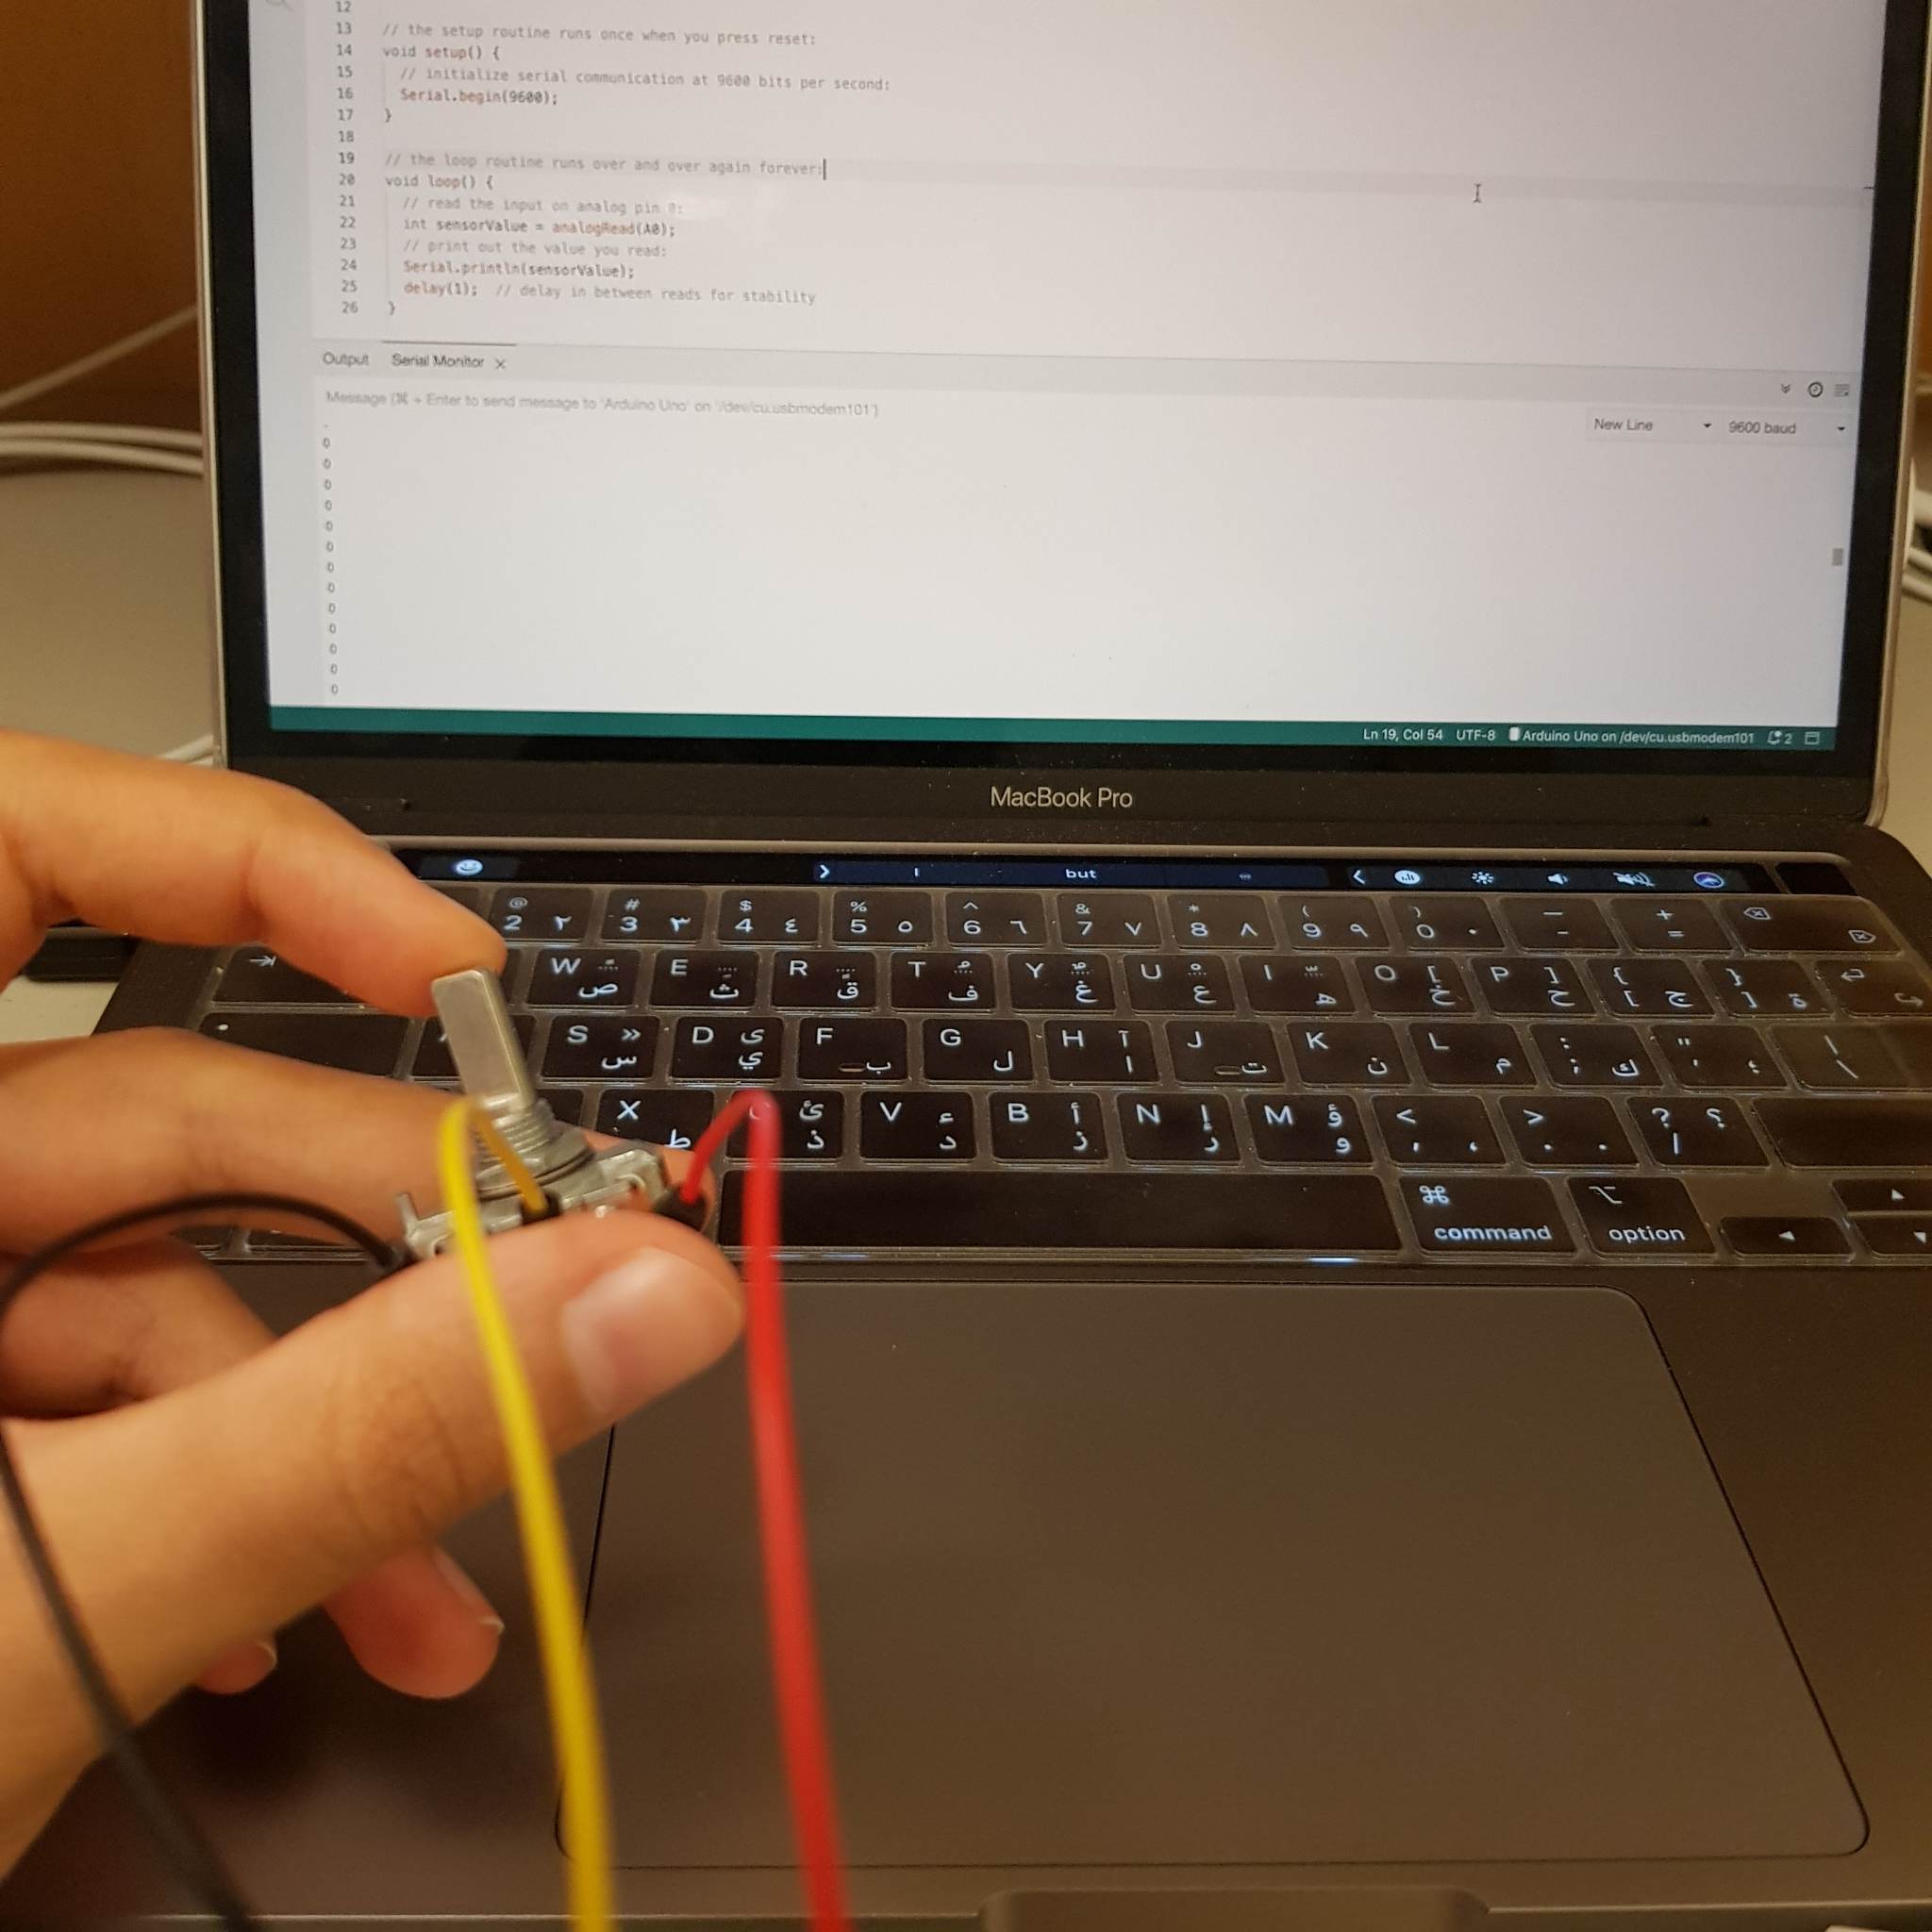
potentiometer testing
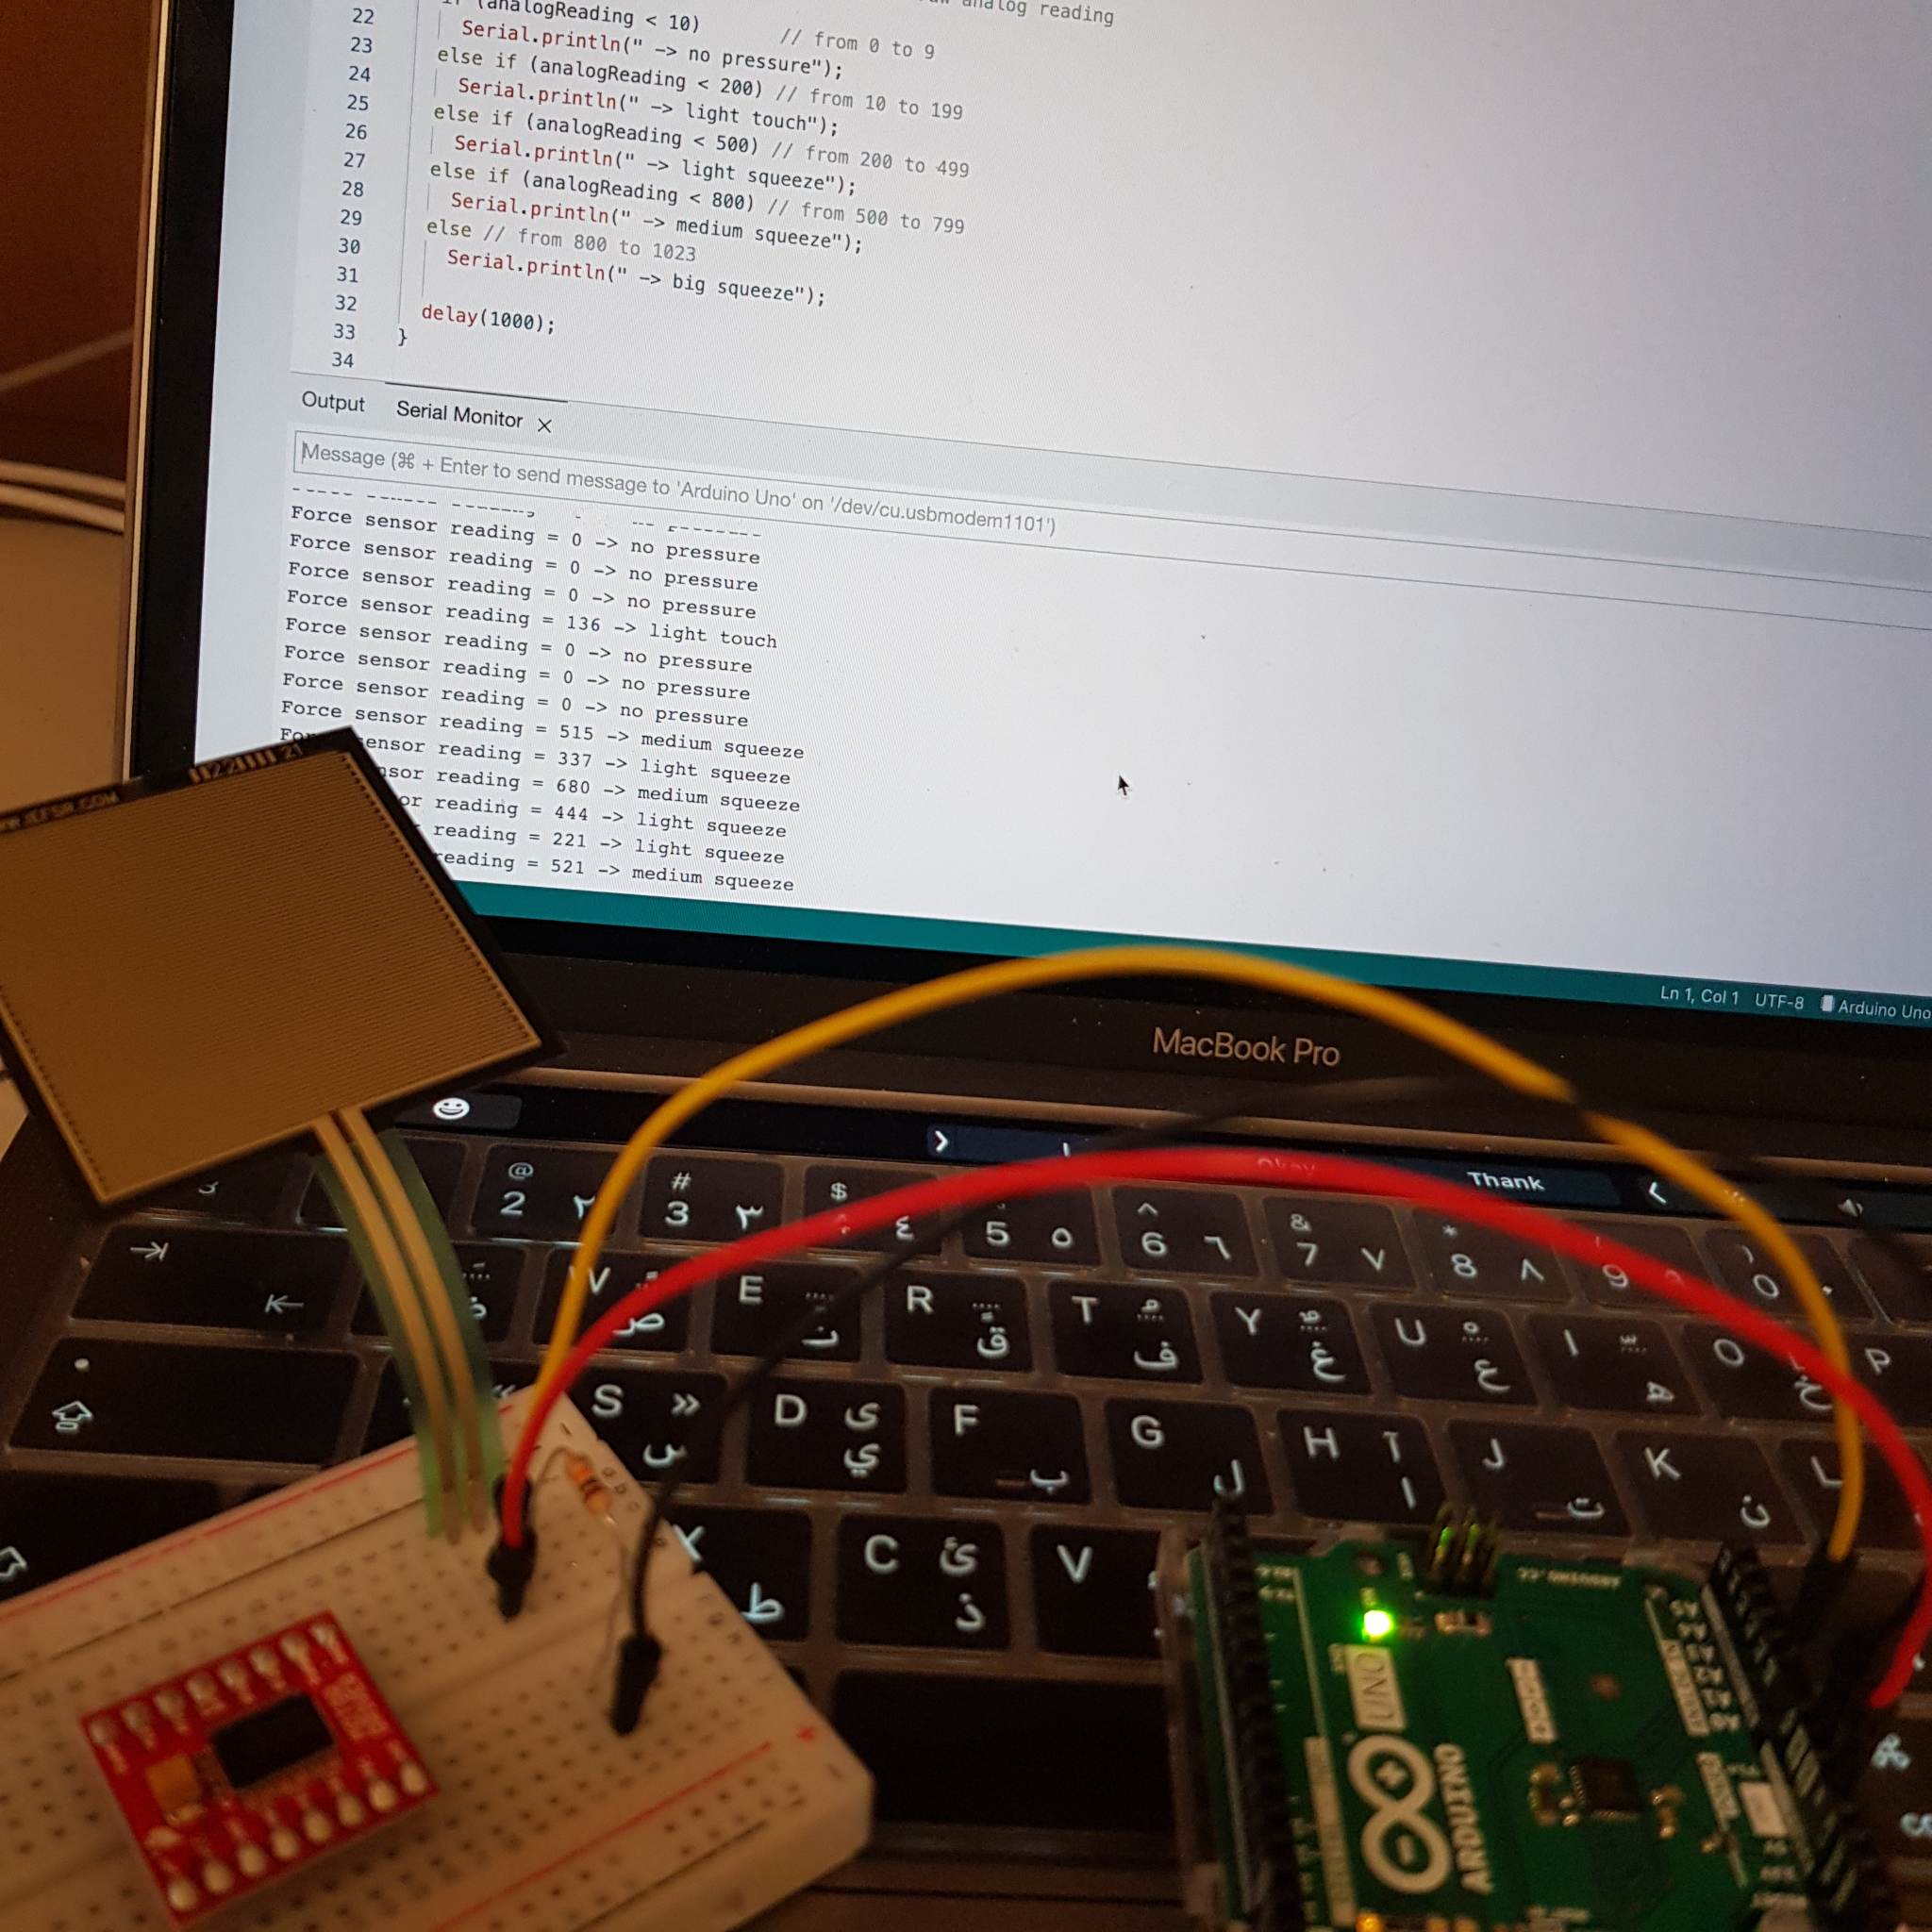
I tried the force sensor and decided to use the square one but did the initial testing with the circle one because it was already soldered.
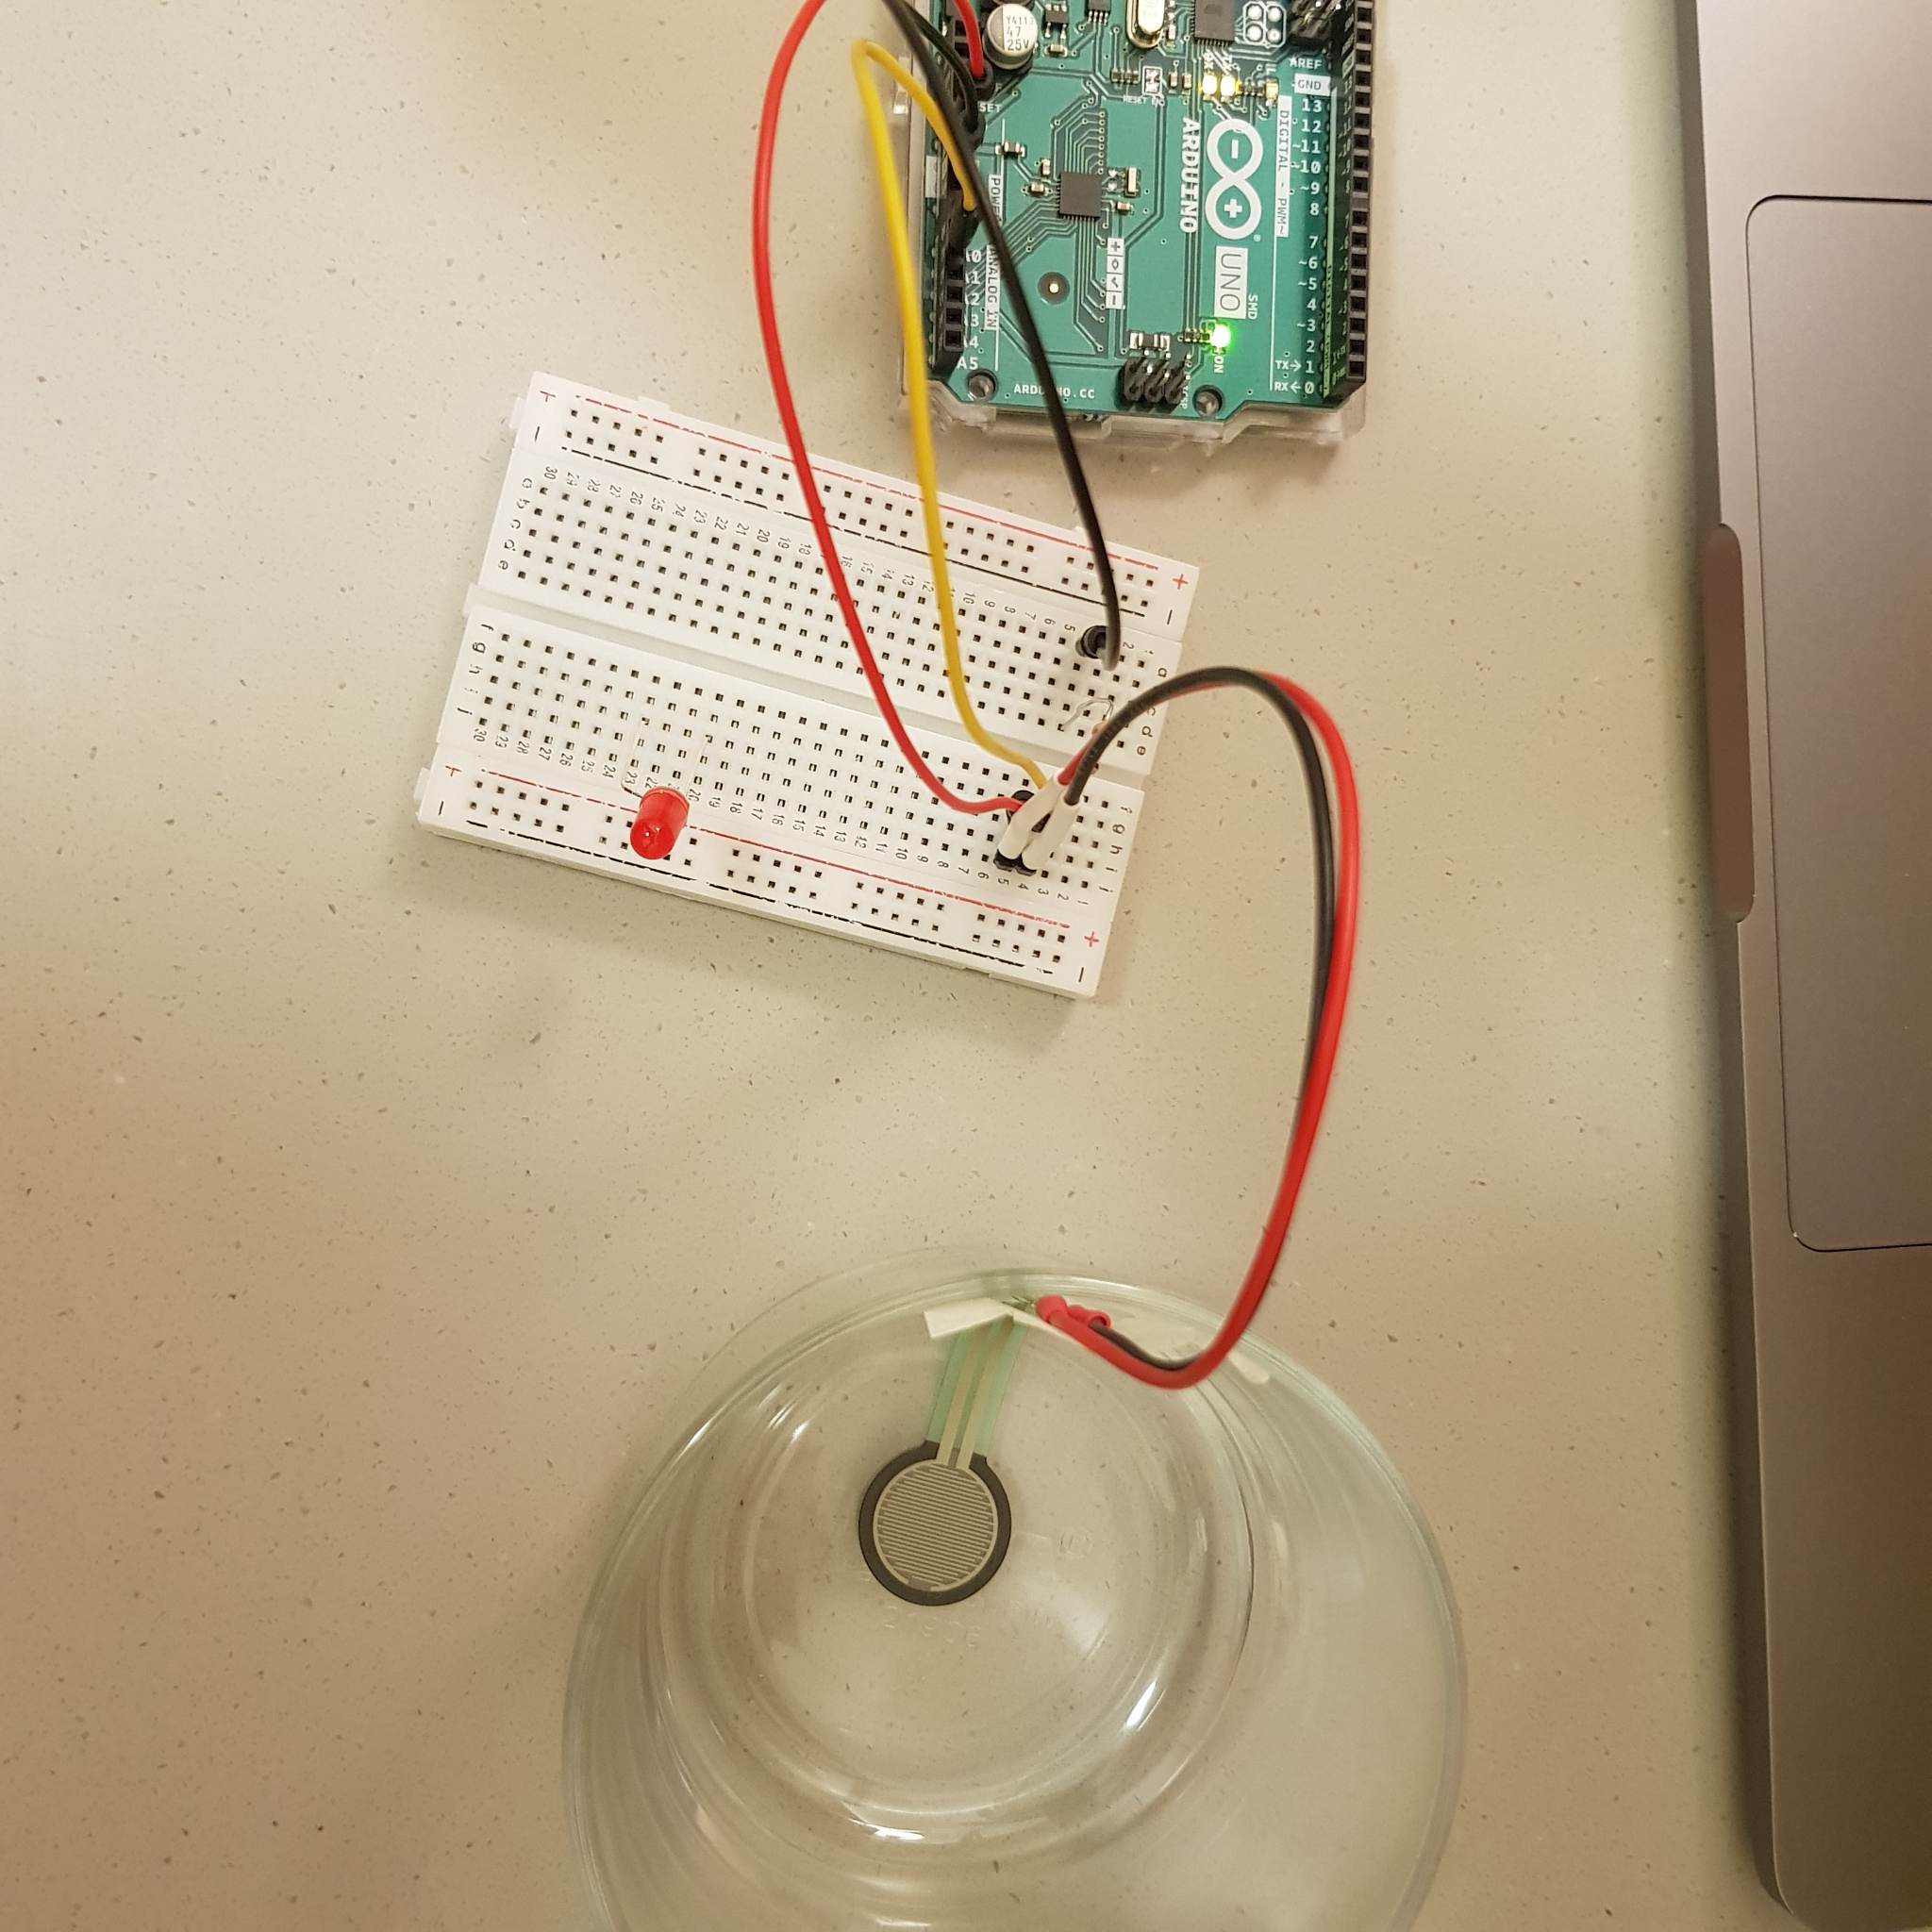
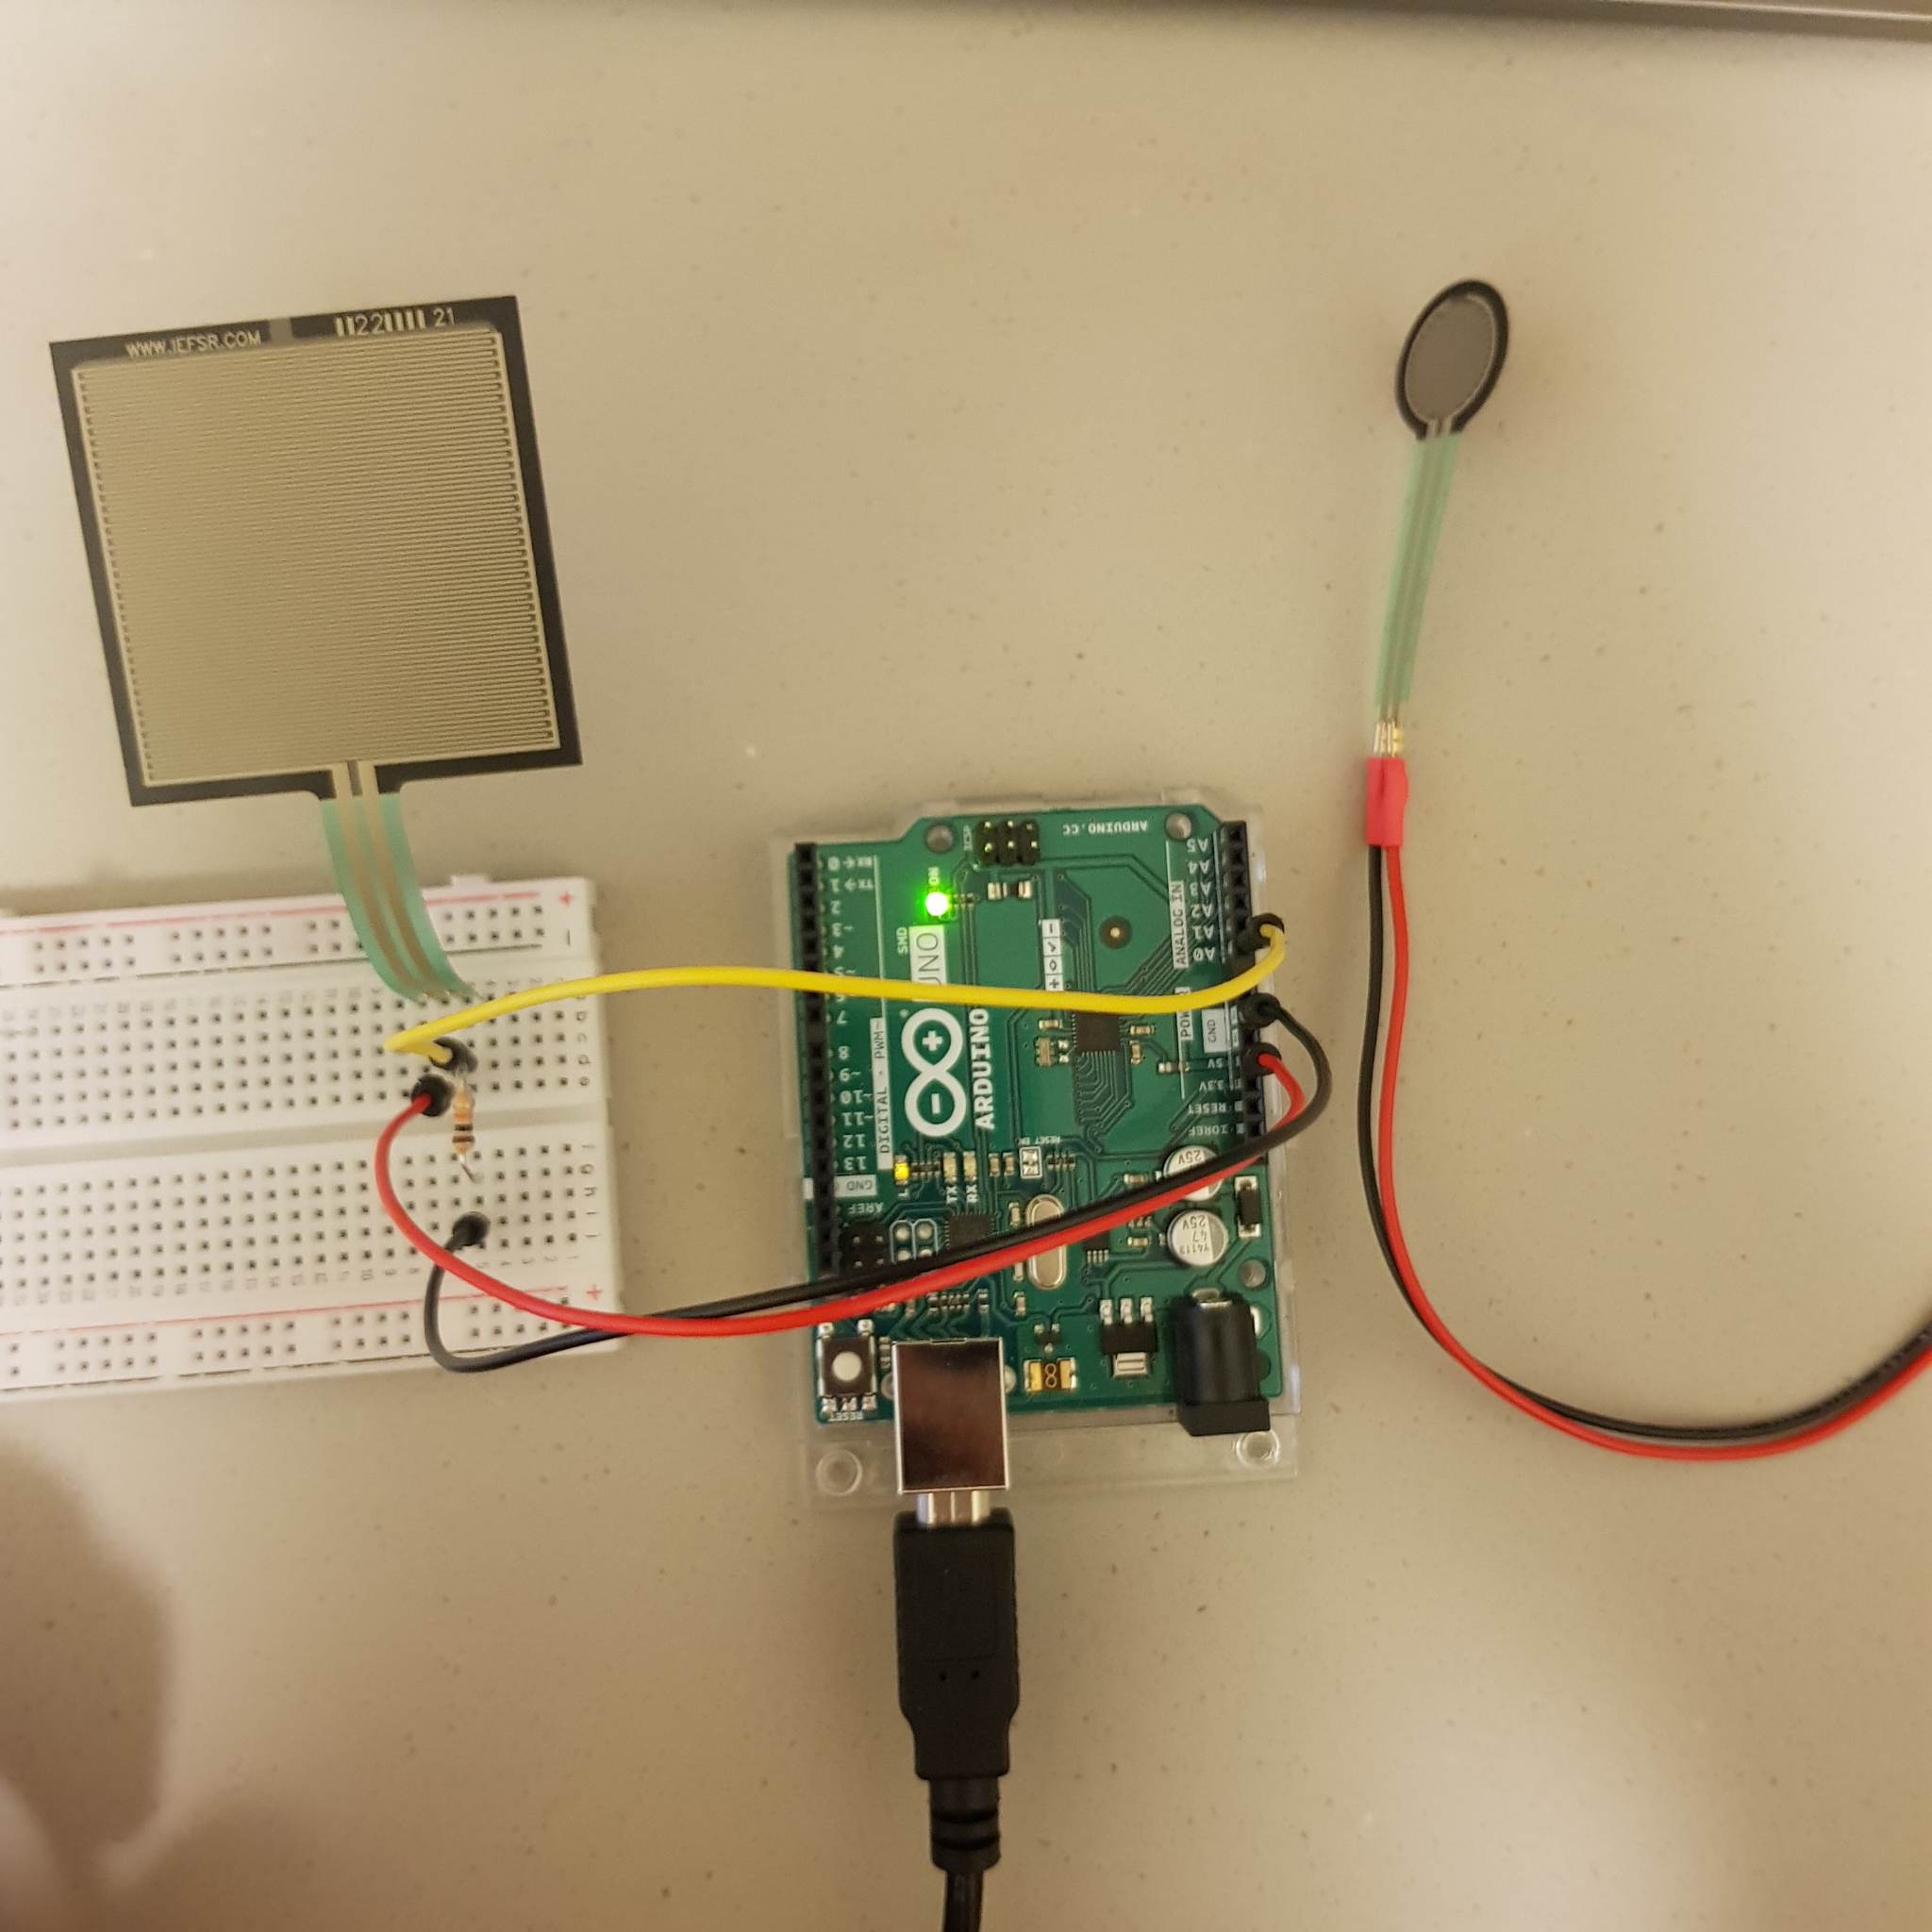
I also tested 2 tilt sensors(I’m not entirely sure what the difference between them is, but the first fit the use better fit my project in terms of it being easier to place on the prop).
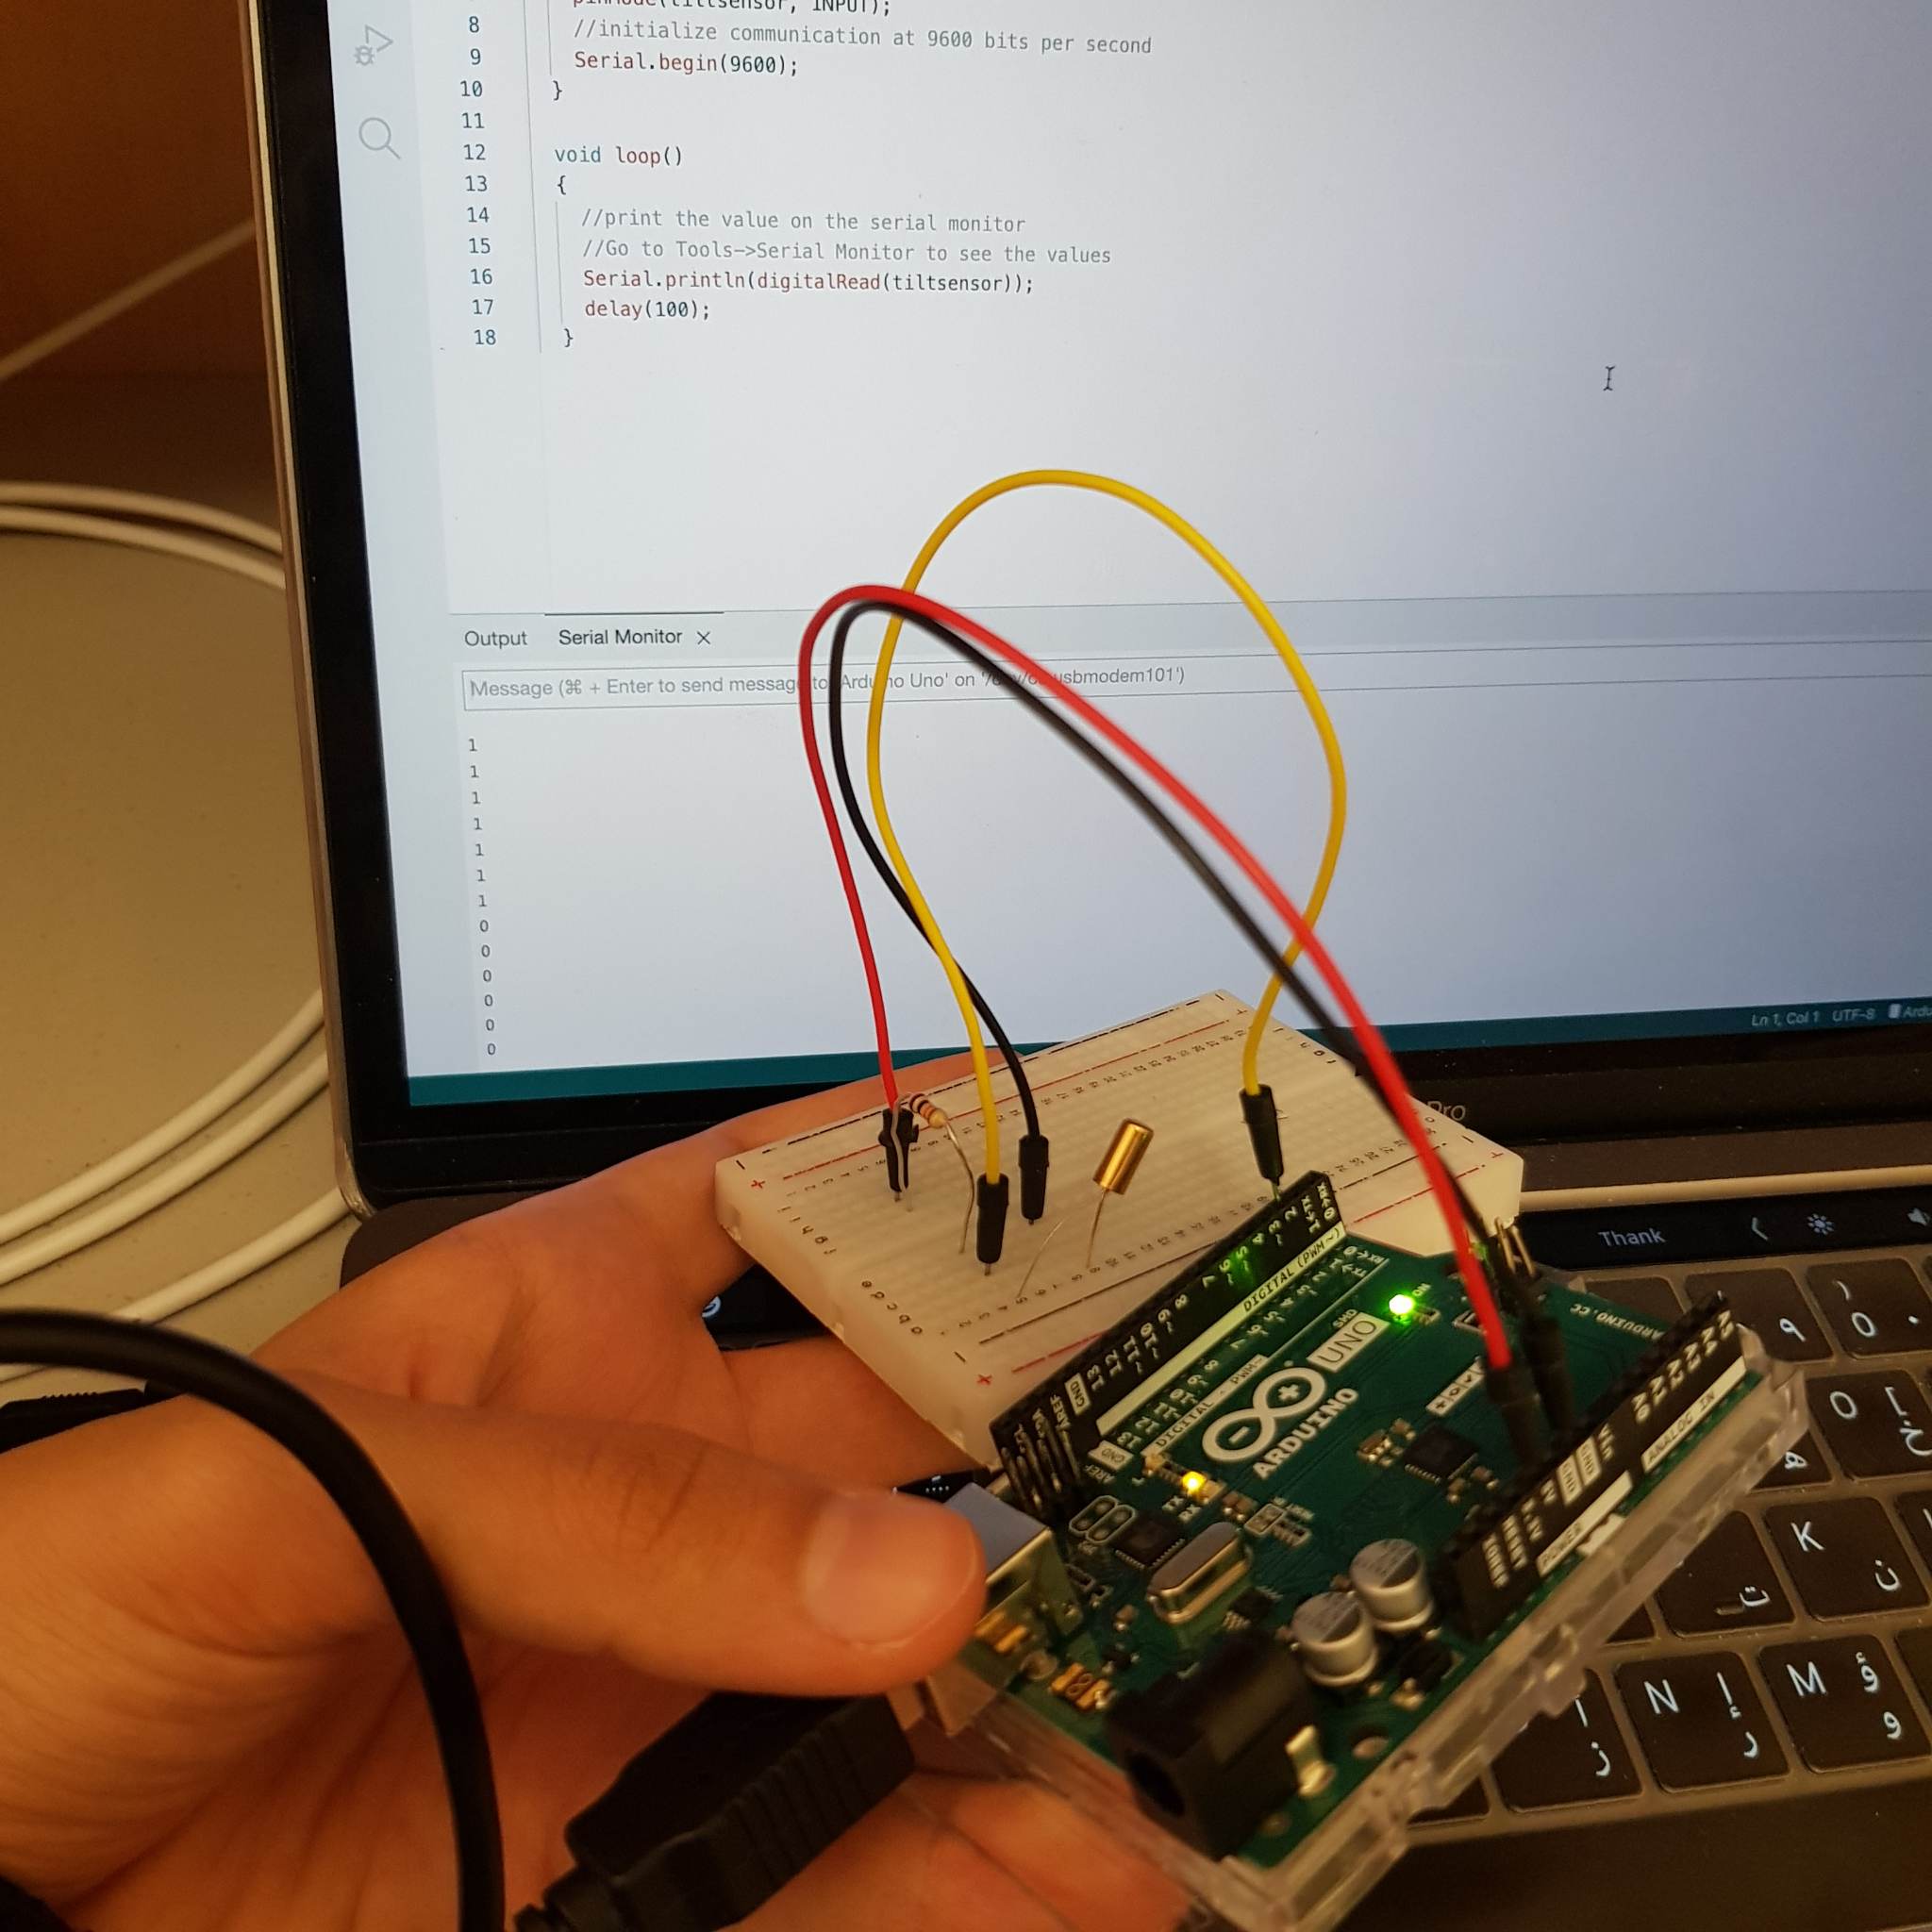
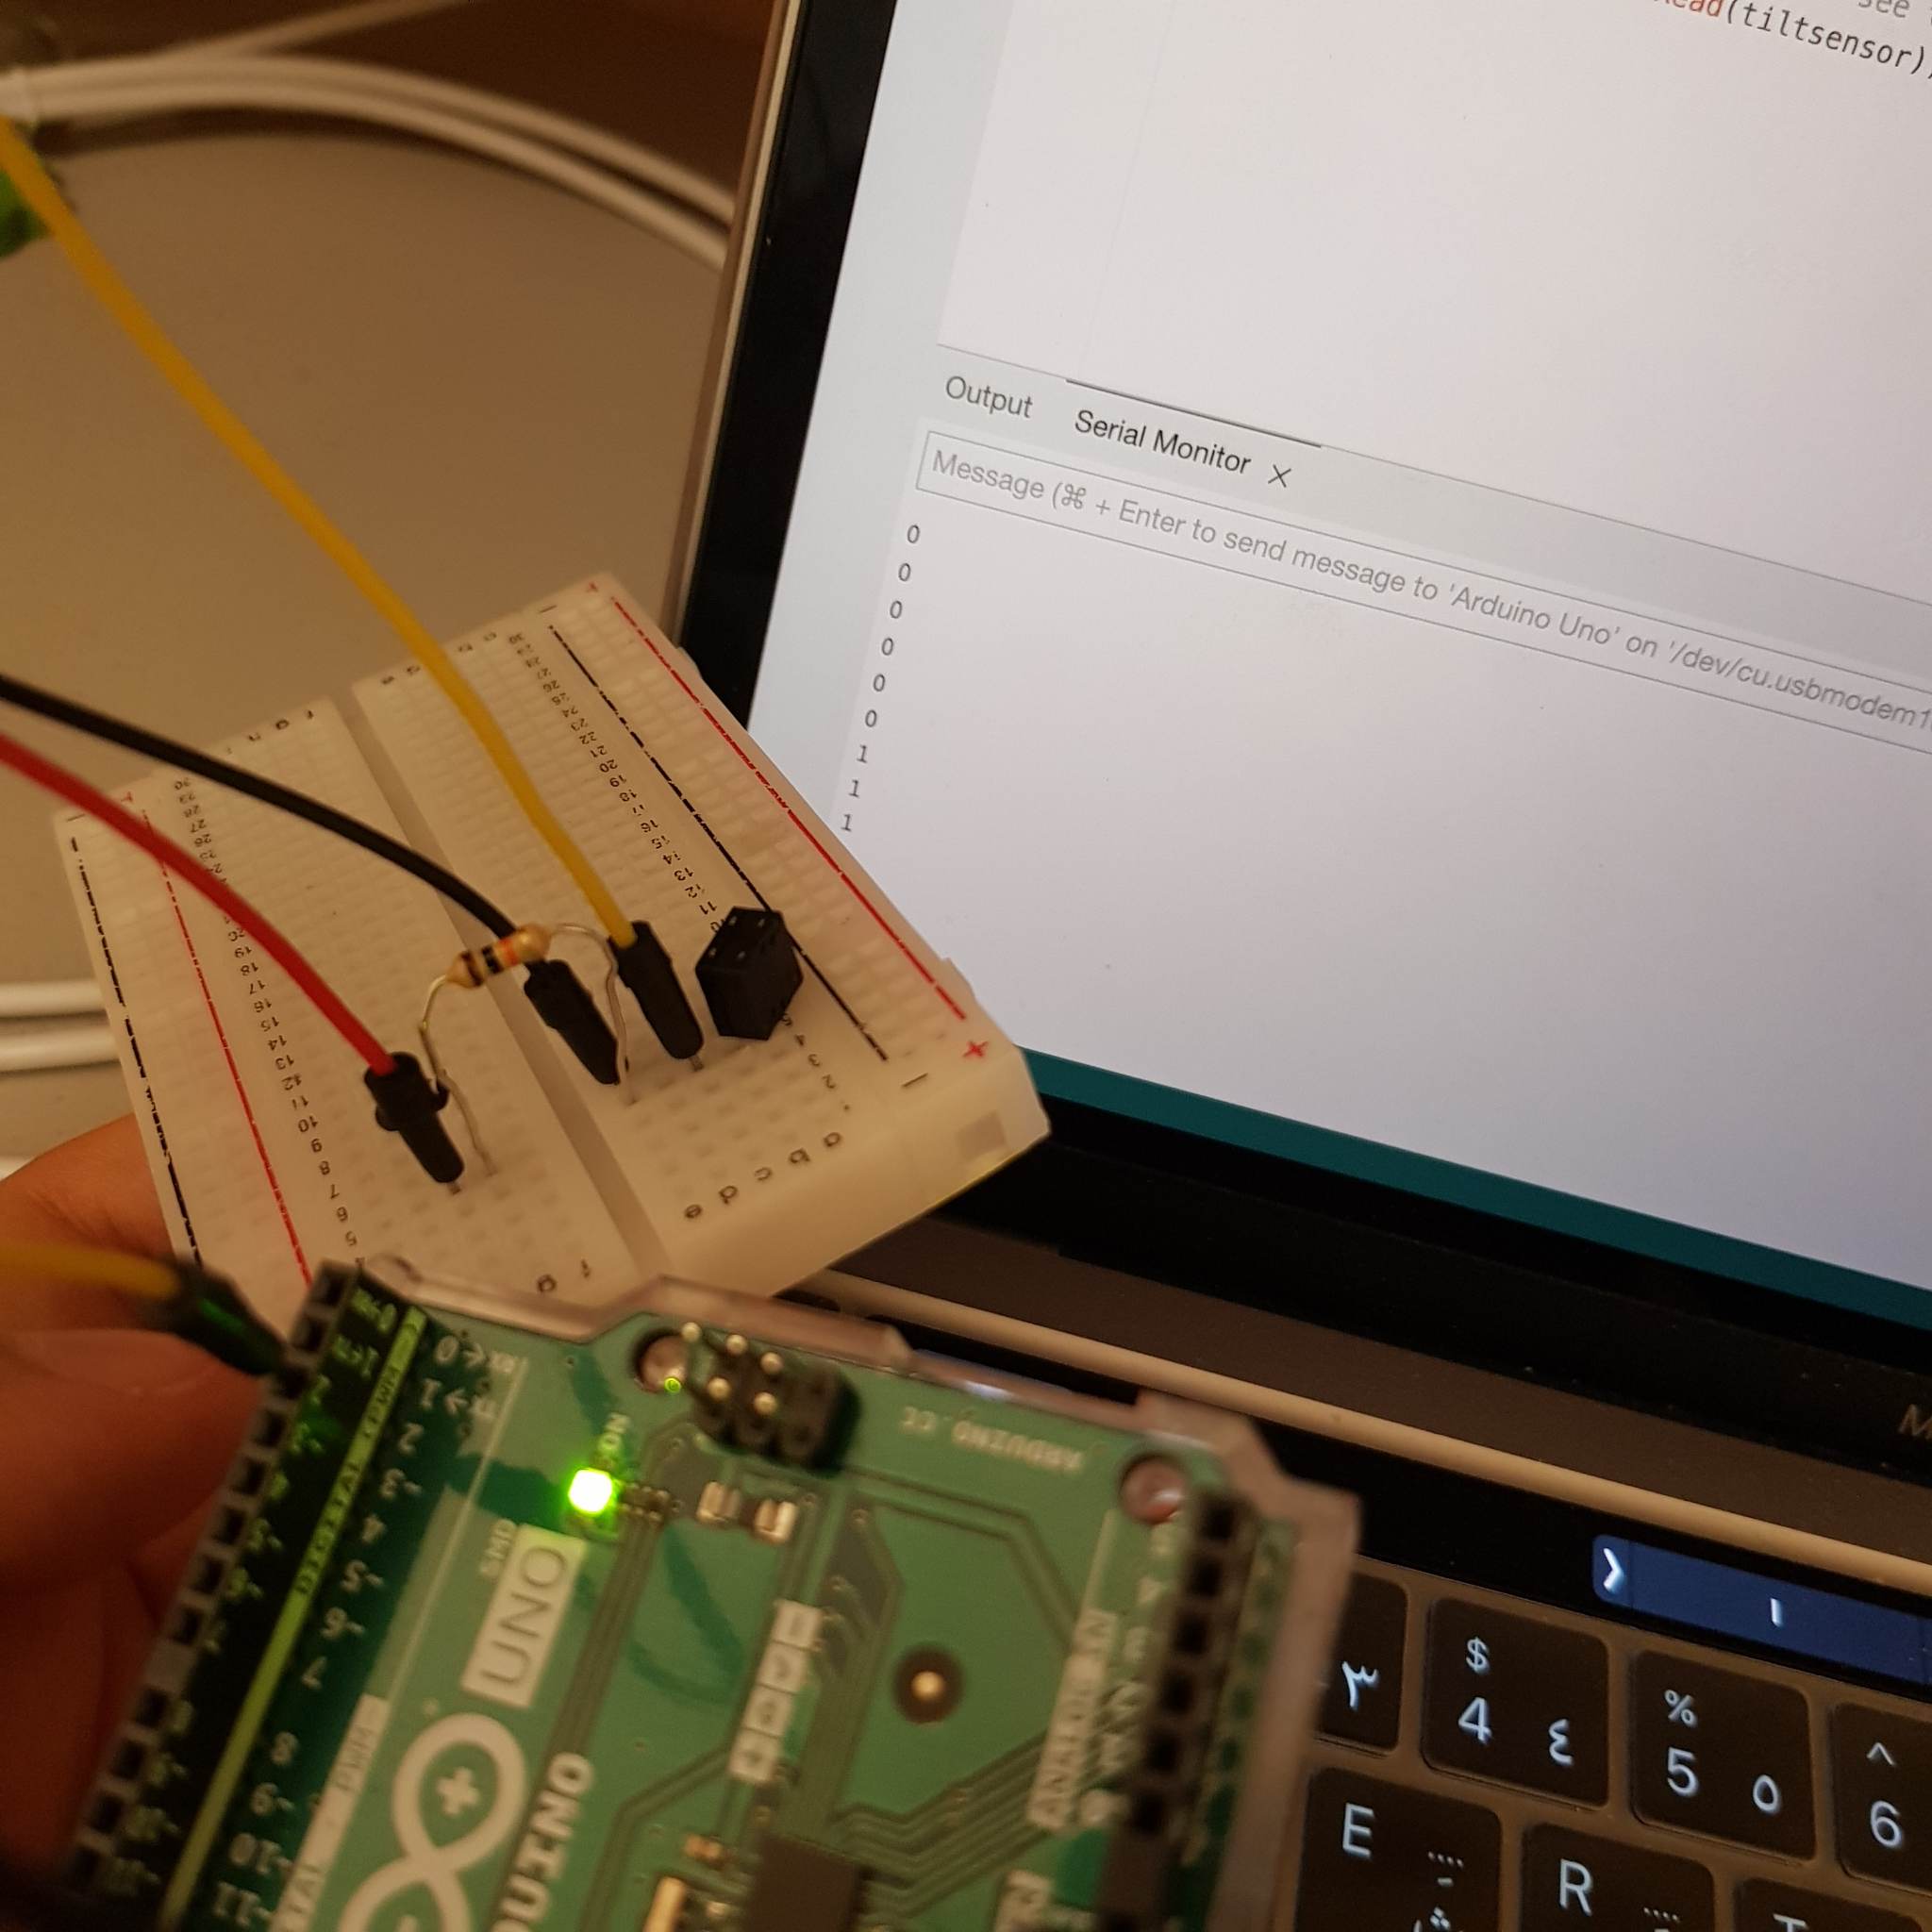
then I tried to mimic how they would be used in the project. They seemed to work as intended. I implemented a simple p5js interface that displayed wether the sensor is triggered or not.

When I tried to add the ultrasonic sensor I couldn’t send the data to p5js. I checked that the ultrasonic sensor code works on it’s own and it did. I also checked that p5js was being sent a value and it was, except that value was always 0. I looked through the code line by line and realized that the pins I was using for the Ultrasonic sensor we’re being assigned as an output (but we’re never used as output, I think they we’re part of the initial code to test something but I never removed them). I removed this, and it worked.

Arduino assembly

I started with noting down the wires that need to be connected to each Arduino object so that the wire colors reflect that. (I did change a few wires later on, but those pictures were taken before that so they don’t reflect the changes)
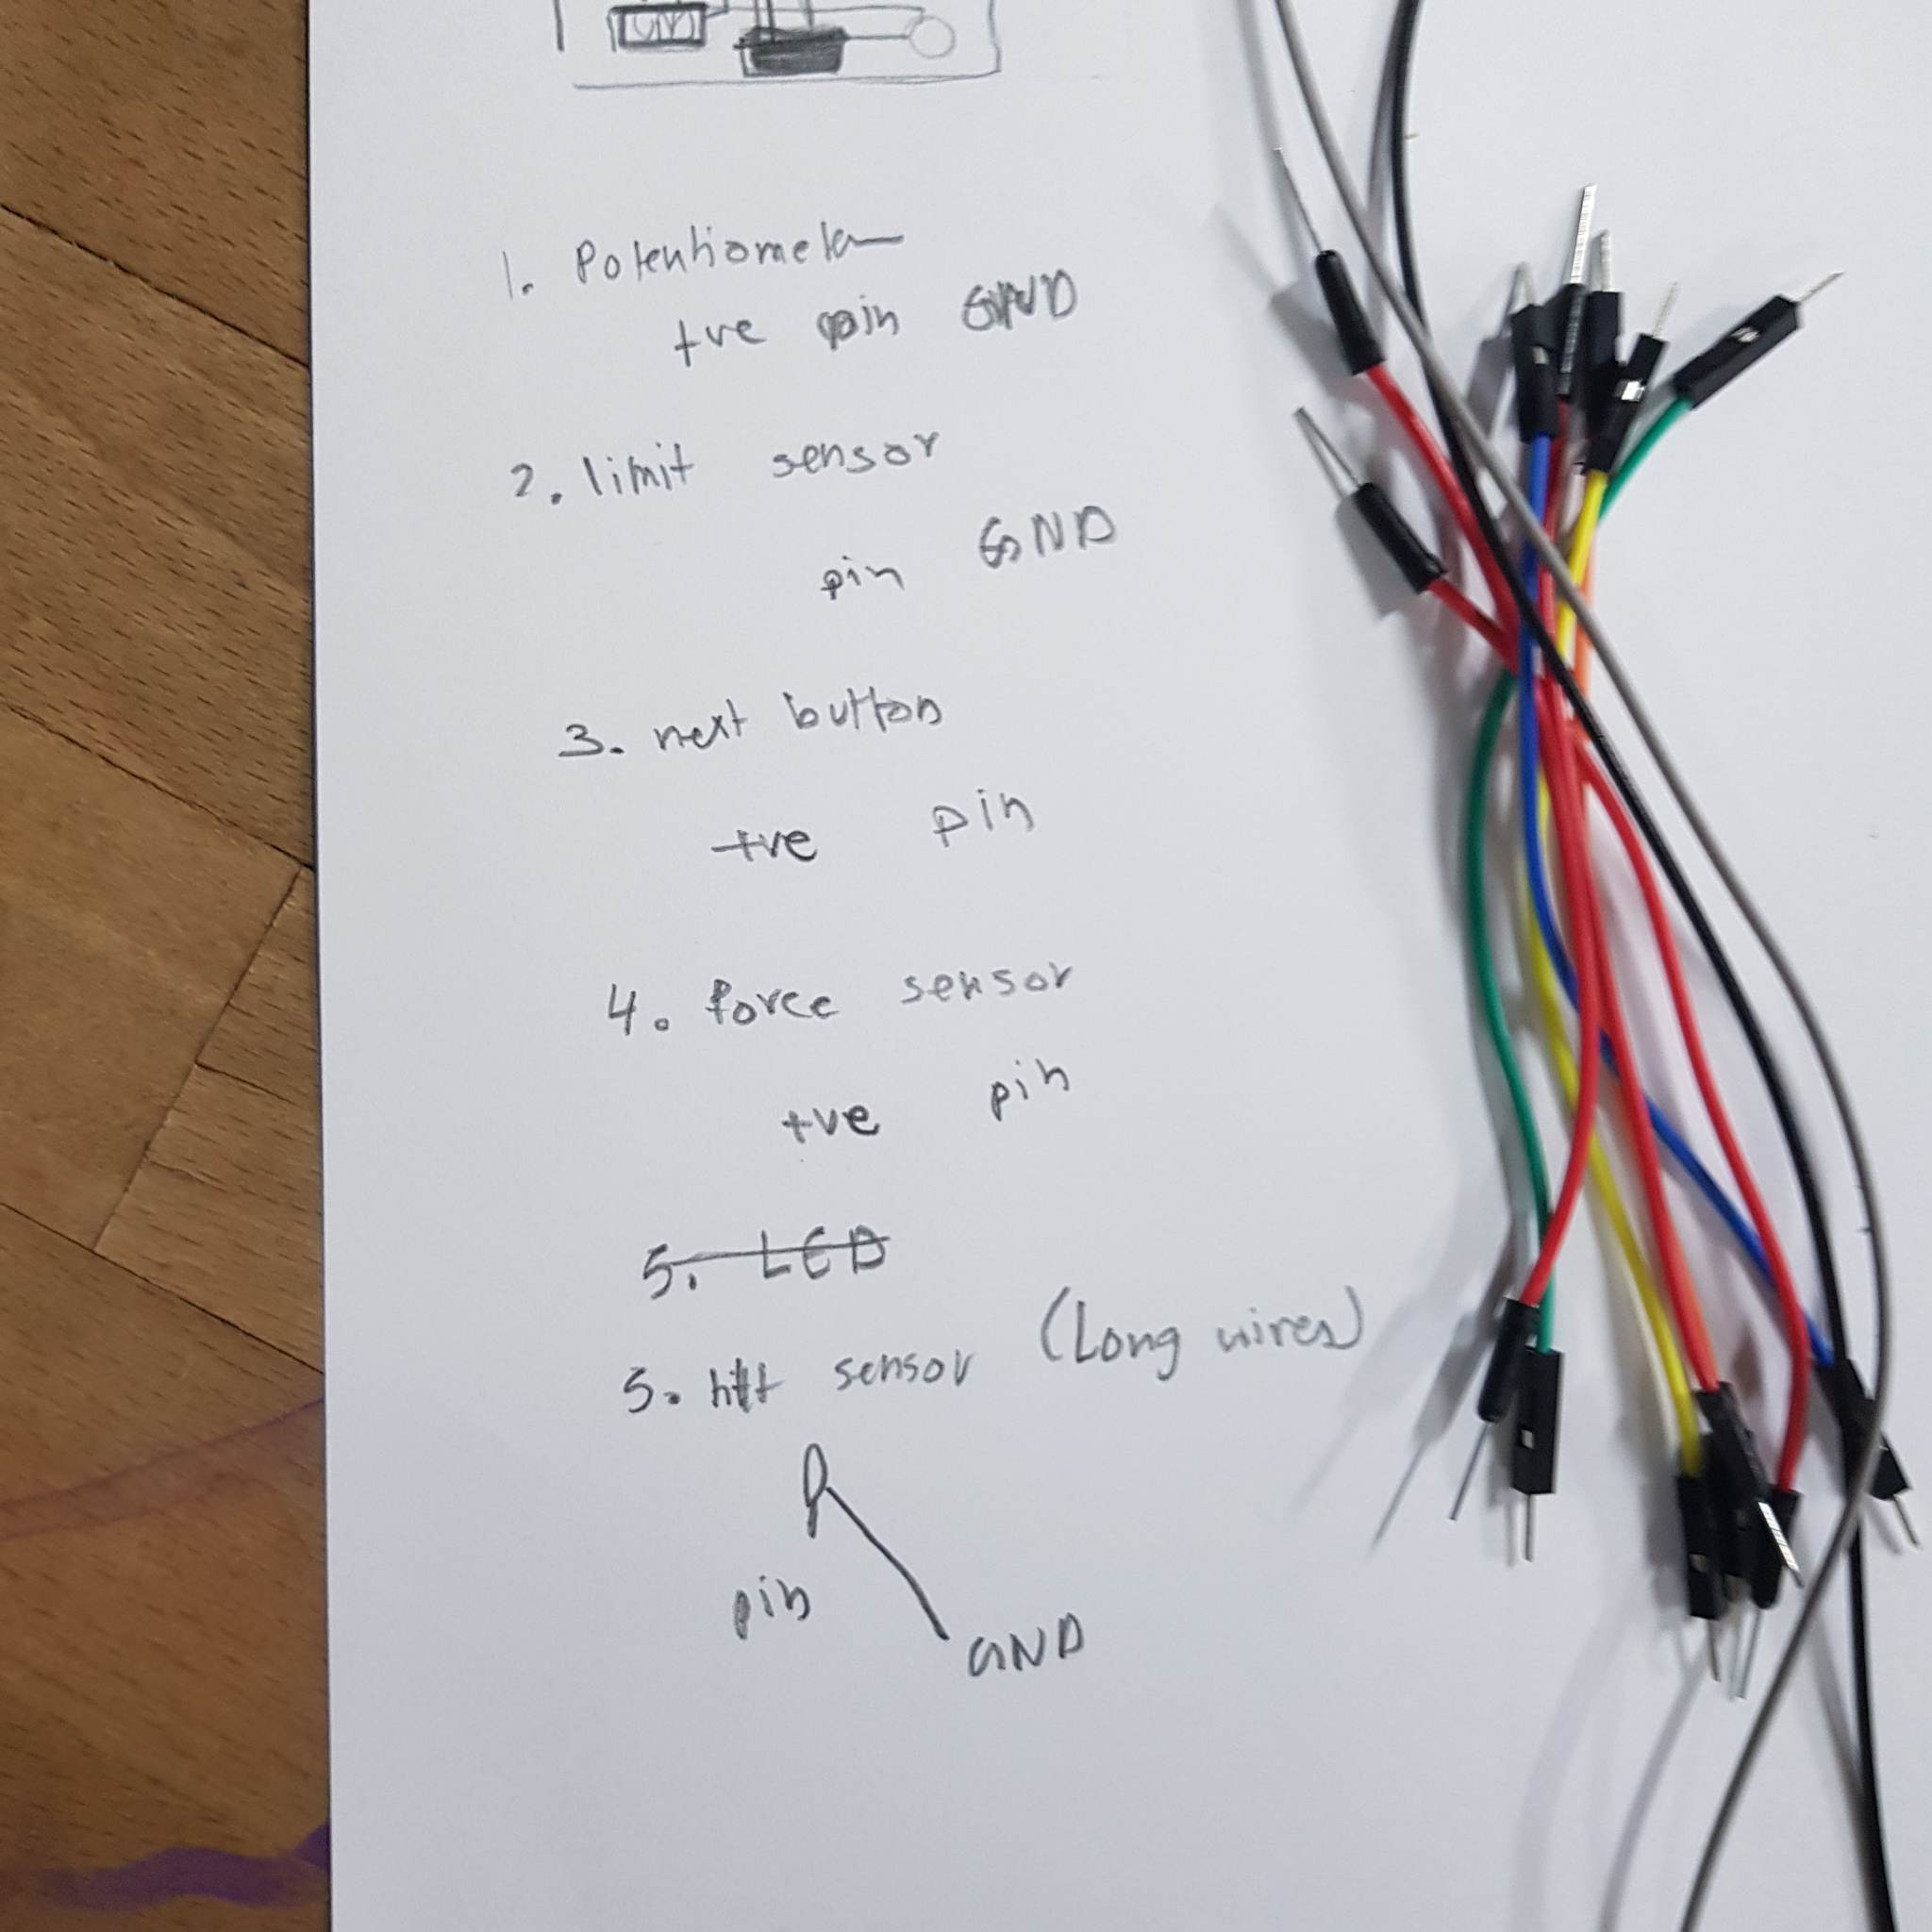
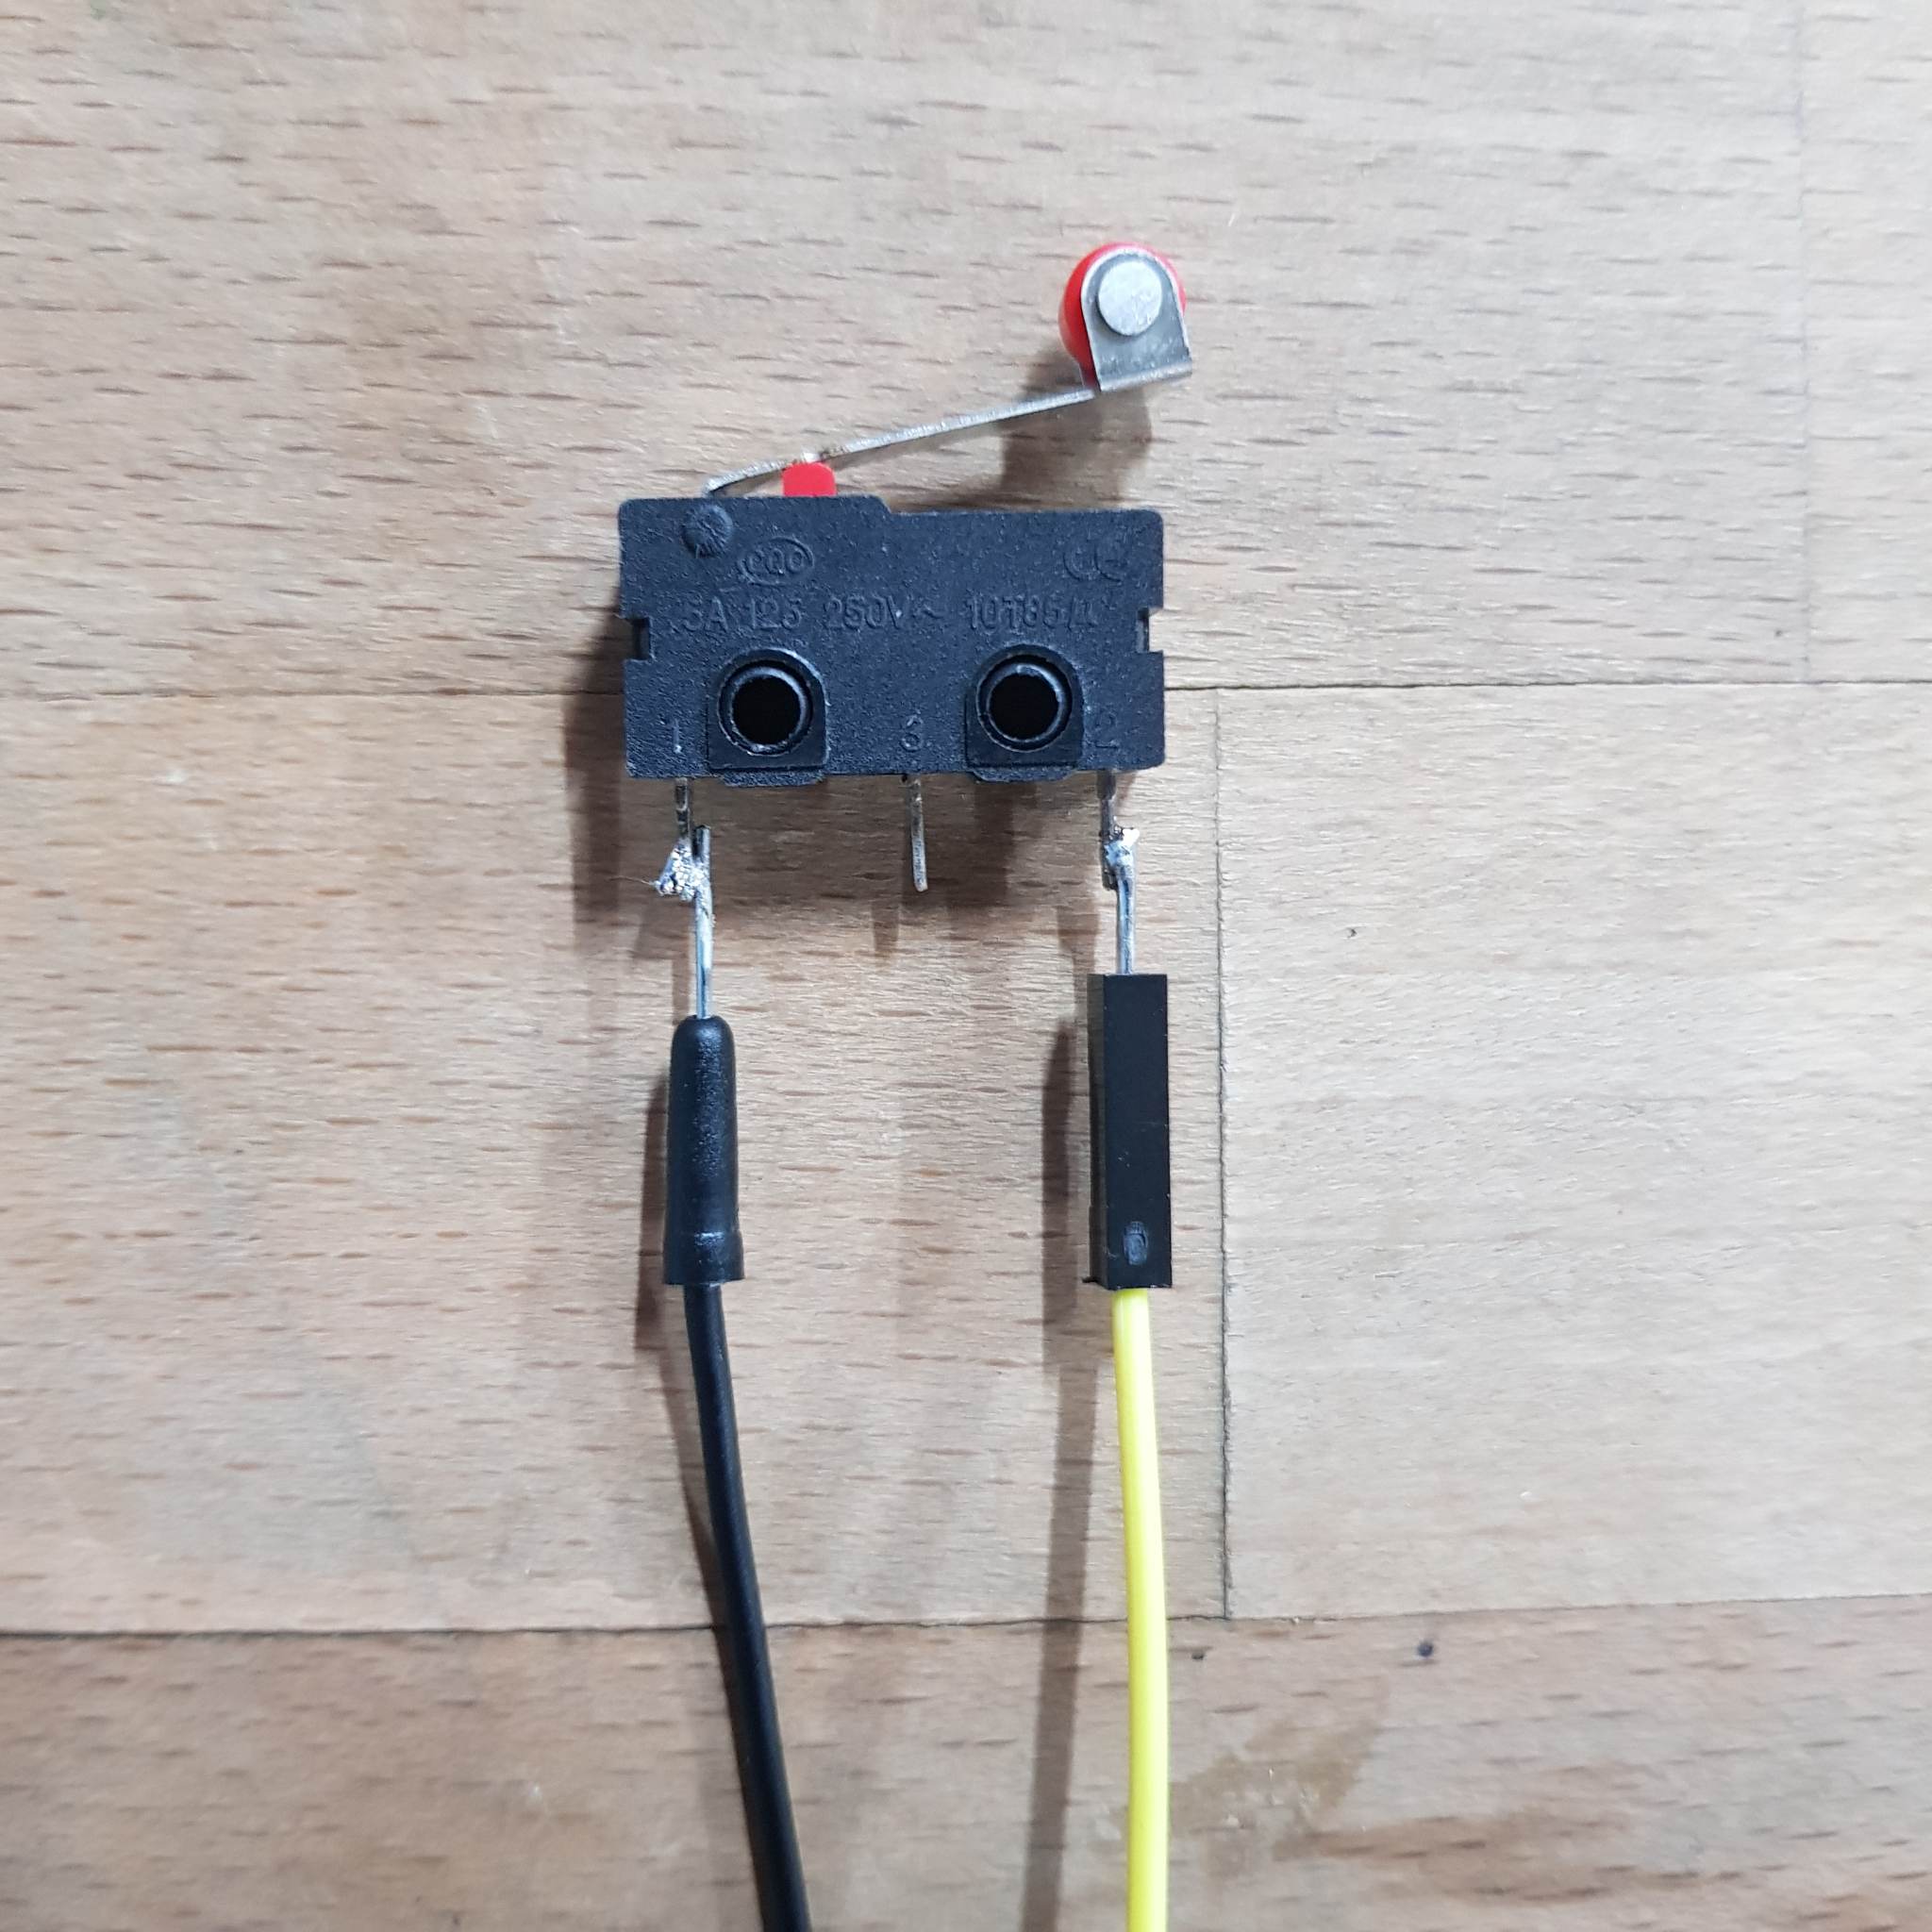
I soldered the wires to the Arduino objects. (I used jumper wires to make the process quicker)
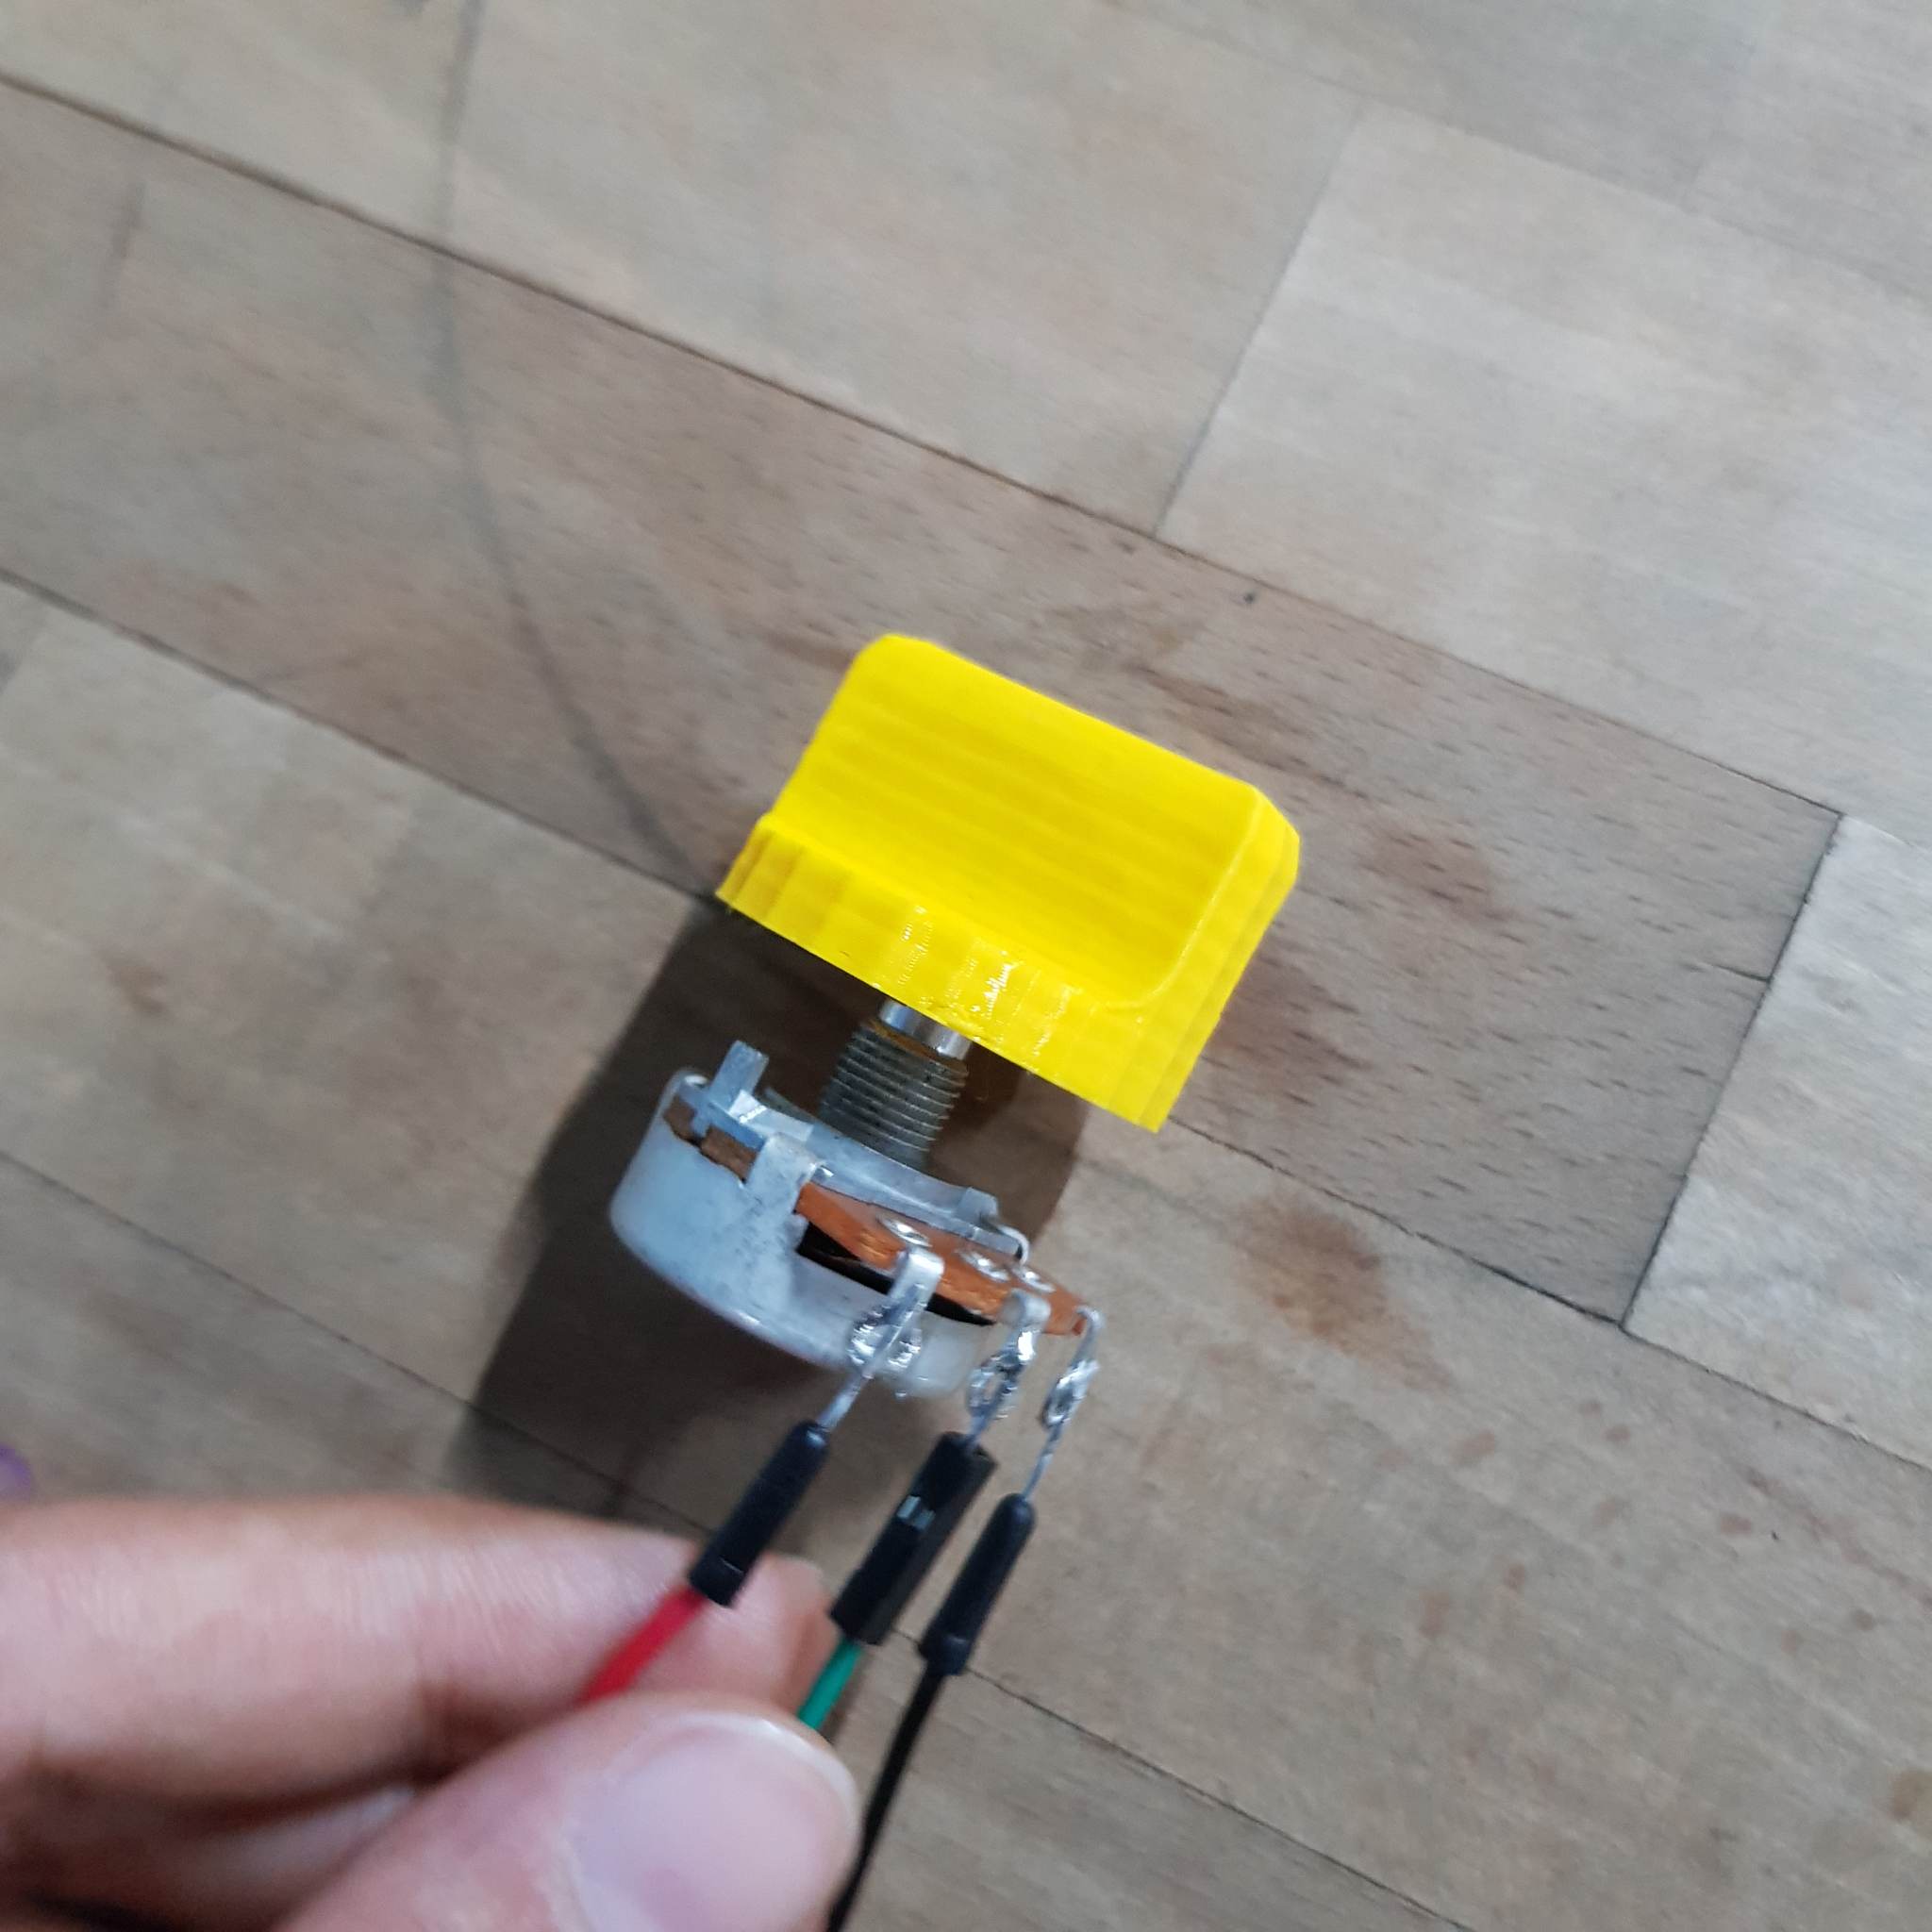
I 3D printed a knob to attach to the potentiometer.
I retested all the Arduino components together with the instructions p5js page.
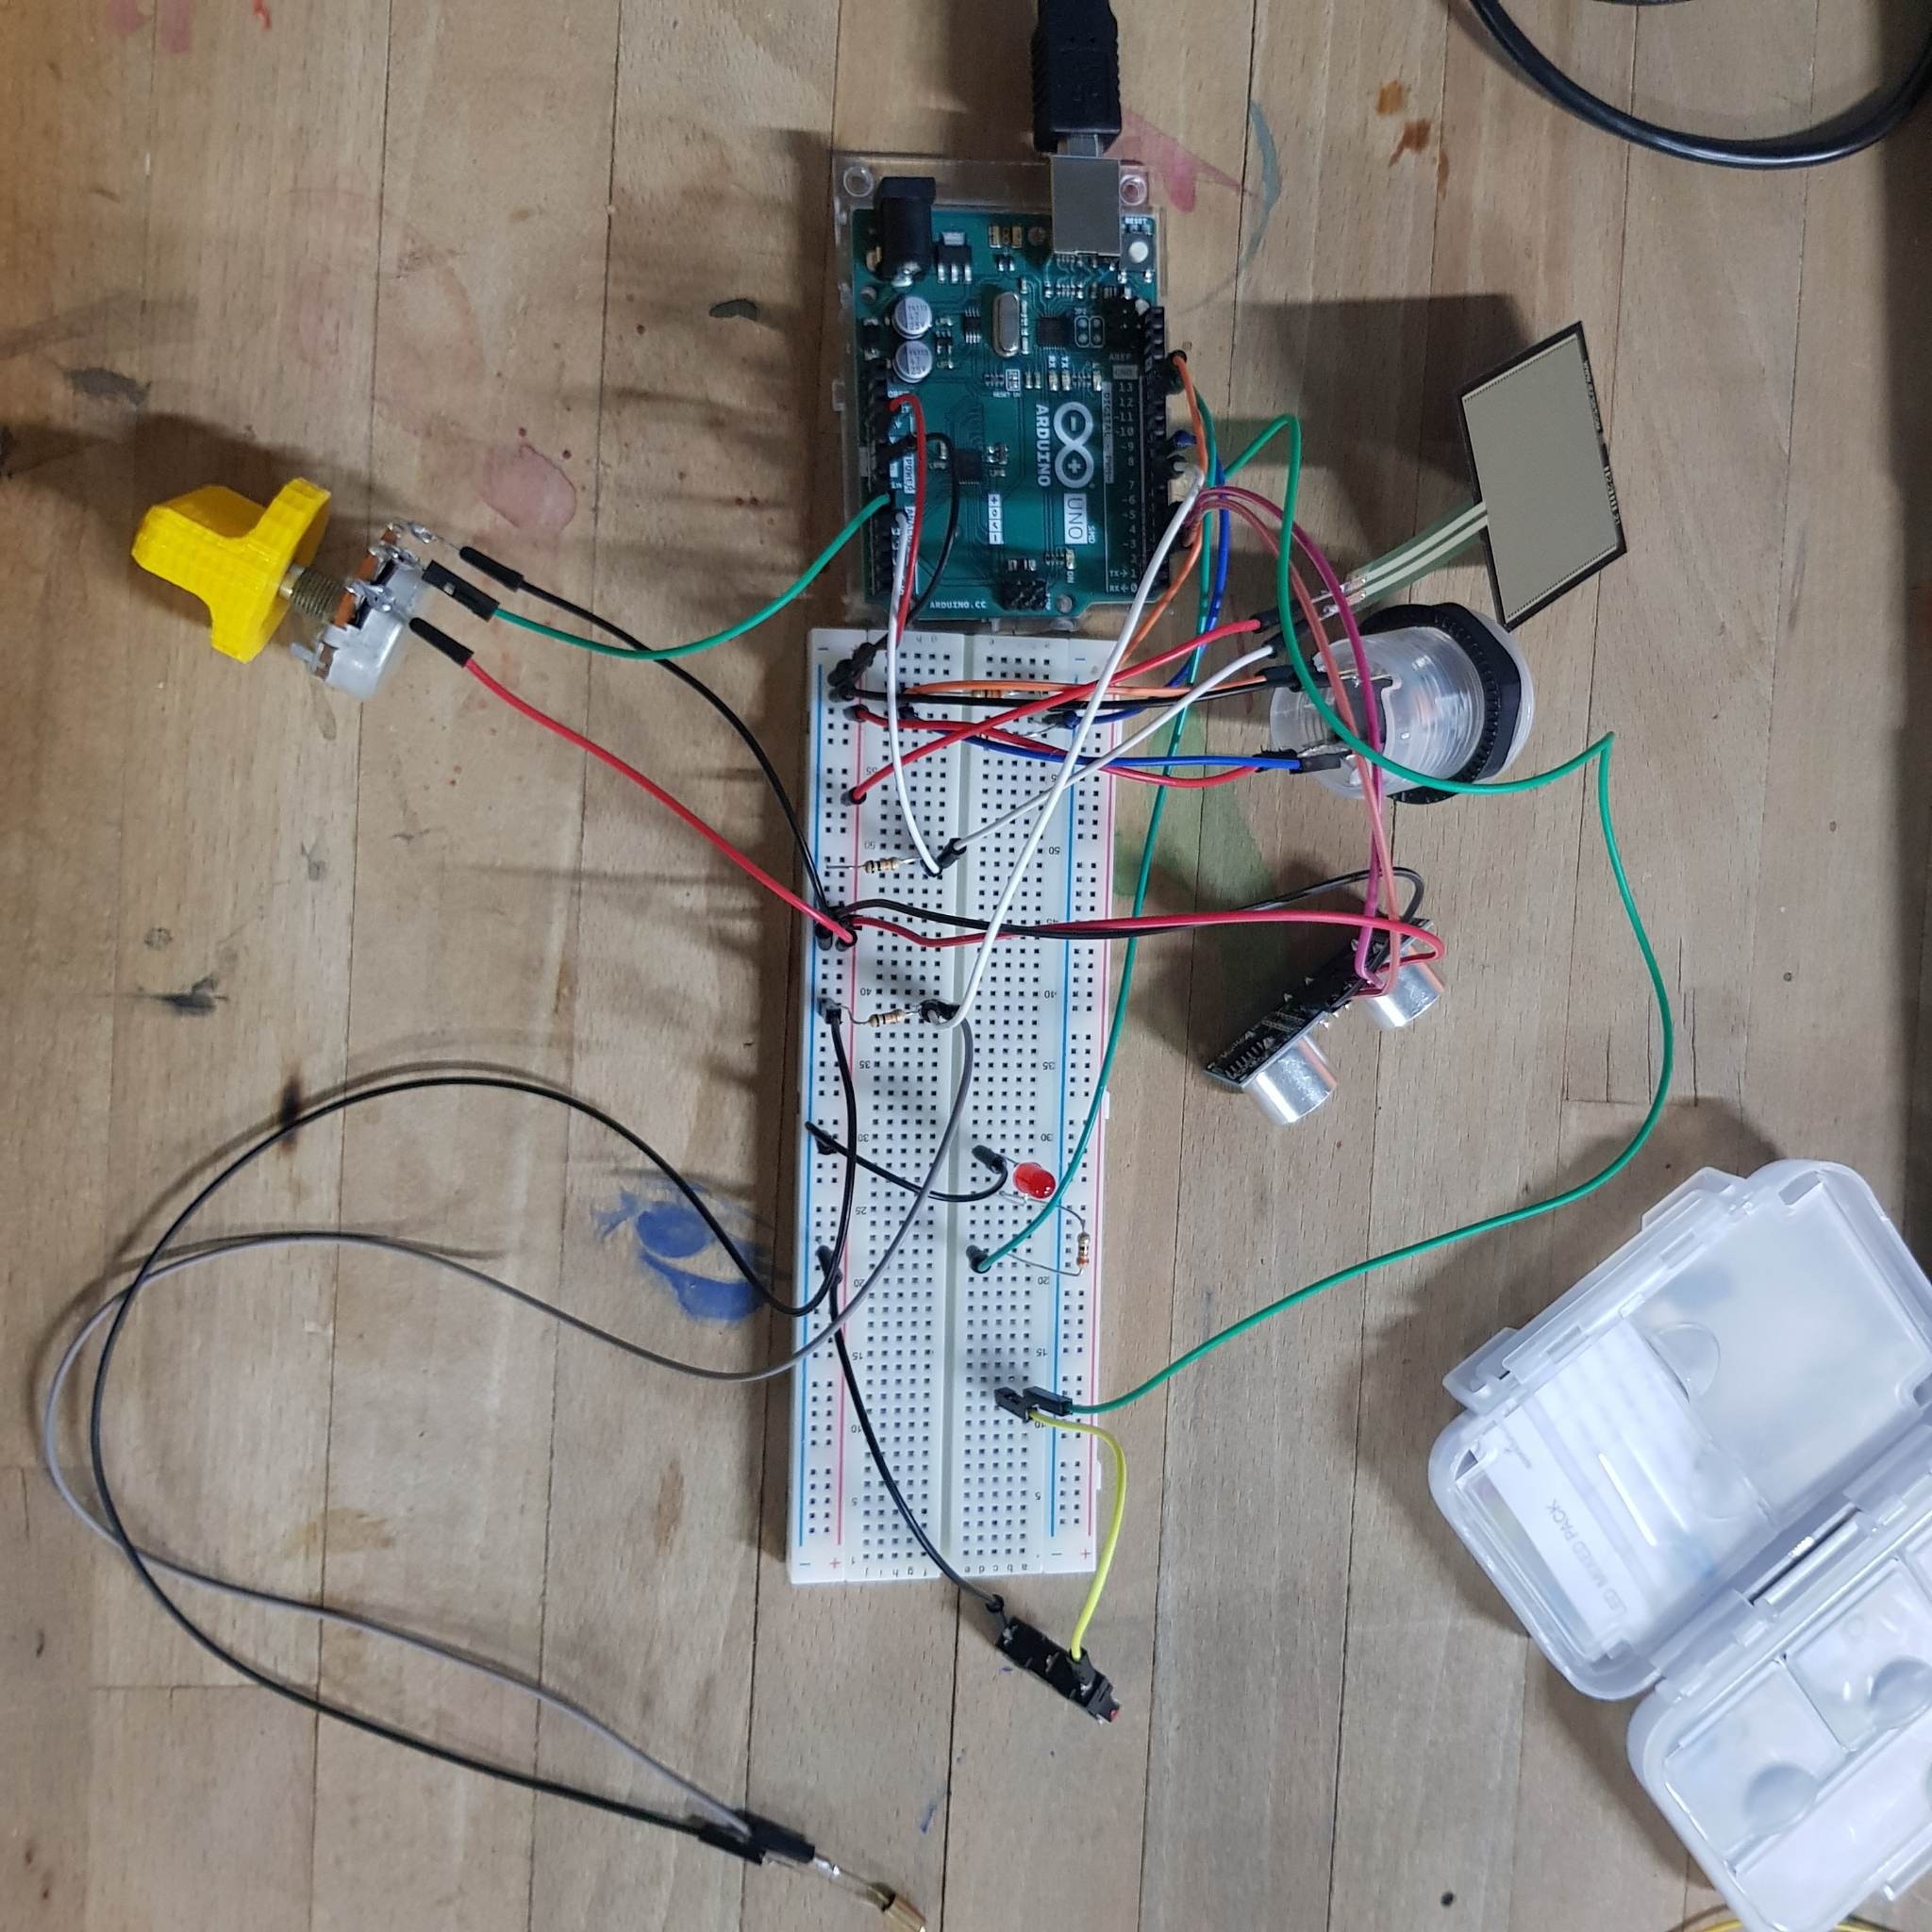
The bread board looks a bit messy but I tried to keep all the components as neat as possible and ended up moving things around a bit later to make it neater.

also, the tilt sensor was not giving a constant value and kept moving between 1 and 0 when tilted, I realized that I wired the sensor the wrong way and forgot to add a resistor

Instructions page

I started with the instructions page because it would utilise all the Arduino functionalities which helps with the testing and would make the future pages easier to implement. The instructions page would have all the controls and allow the user to test them out to understand how to interact with the project. I thought that this way might be a better way to familiarize the user with the game controls, compared to only having text.
Here is how the screen looks like and the images change if the user interacts with the Arduino components.
building the physical structure

planning

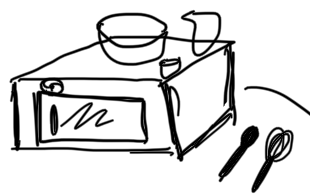
I started to brainstorm the basic structure and decided that the main structure would be an oven with a door and a mixing bowl, a small container and a measuring cup on top. I also wanted to have a small compartment that would have the Arduino components.
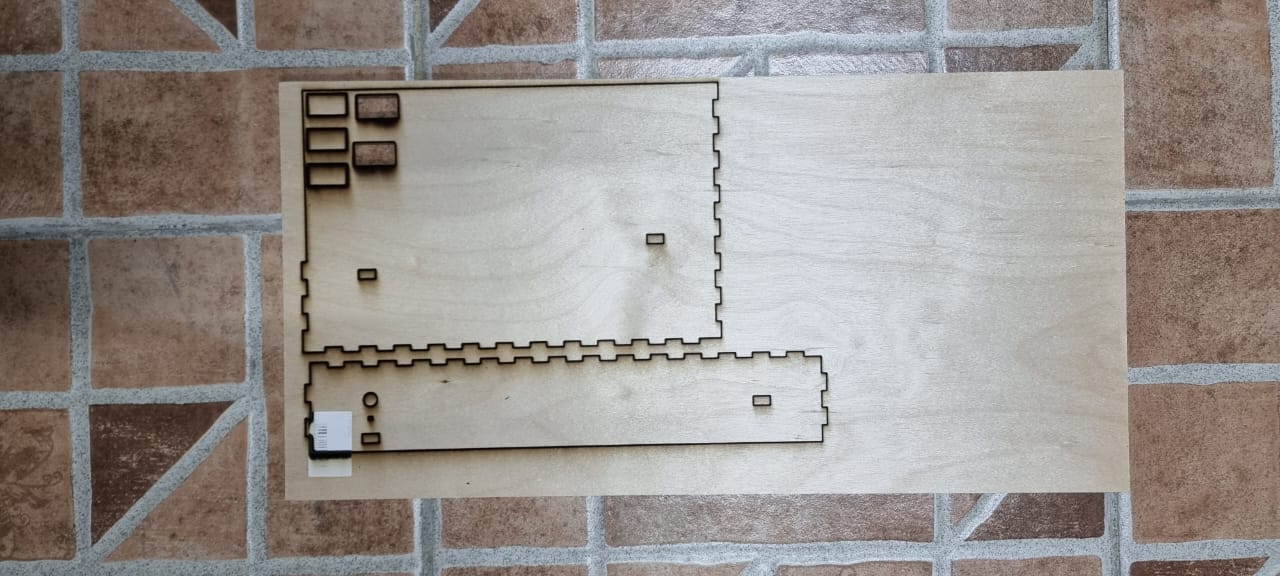
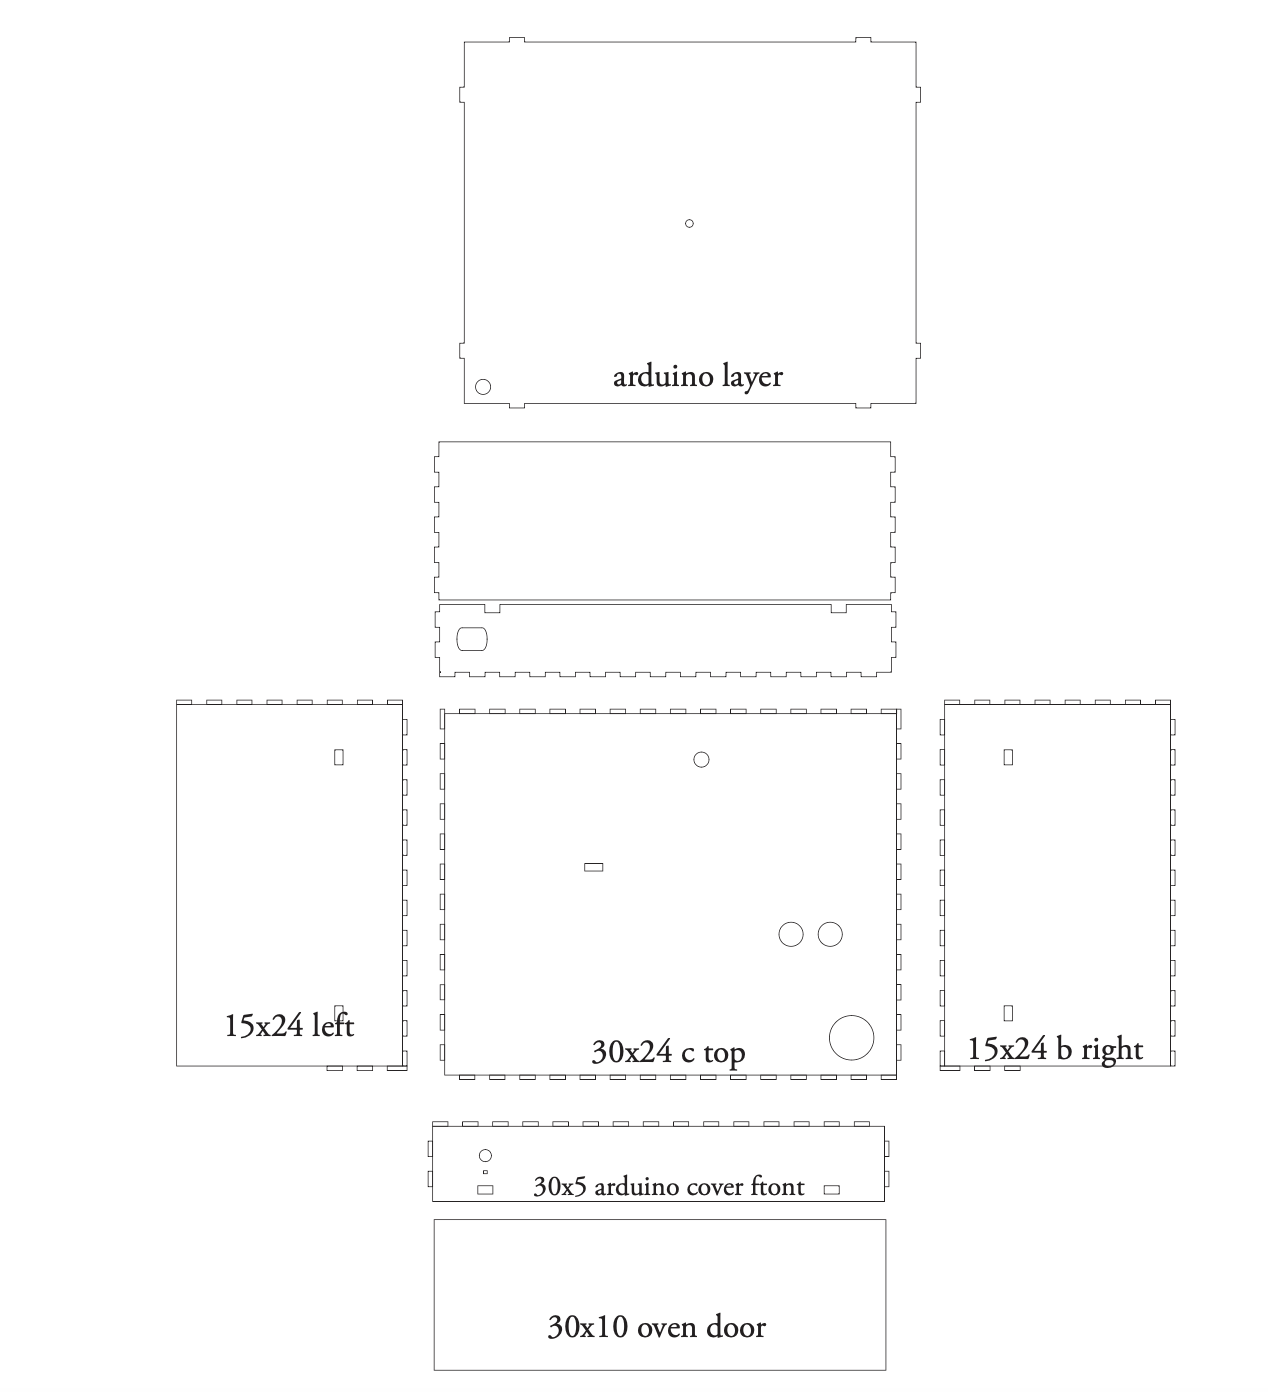
I wanted to use wood for the structure. I created the design to cut the wood in and used the “finger joint” method(I believe this is what it is called based on what I found online) to make sure that the structure is strong. (the letters on the align with a sketch I did of the structure on paper and labeling a, b, c… helped me keep track of the measurements)
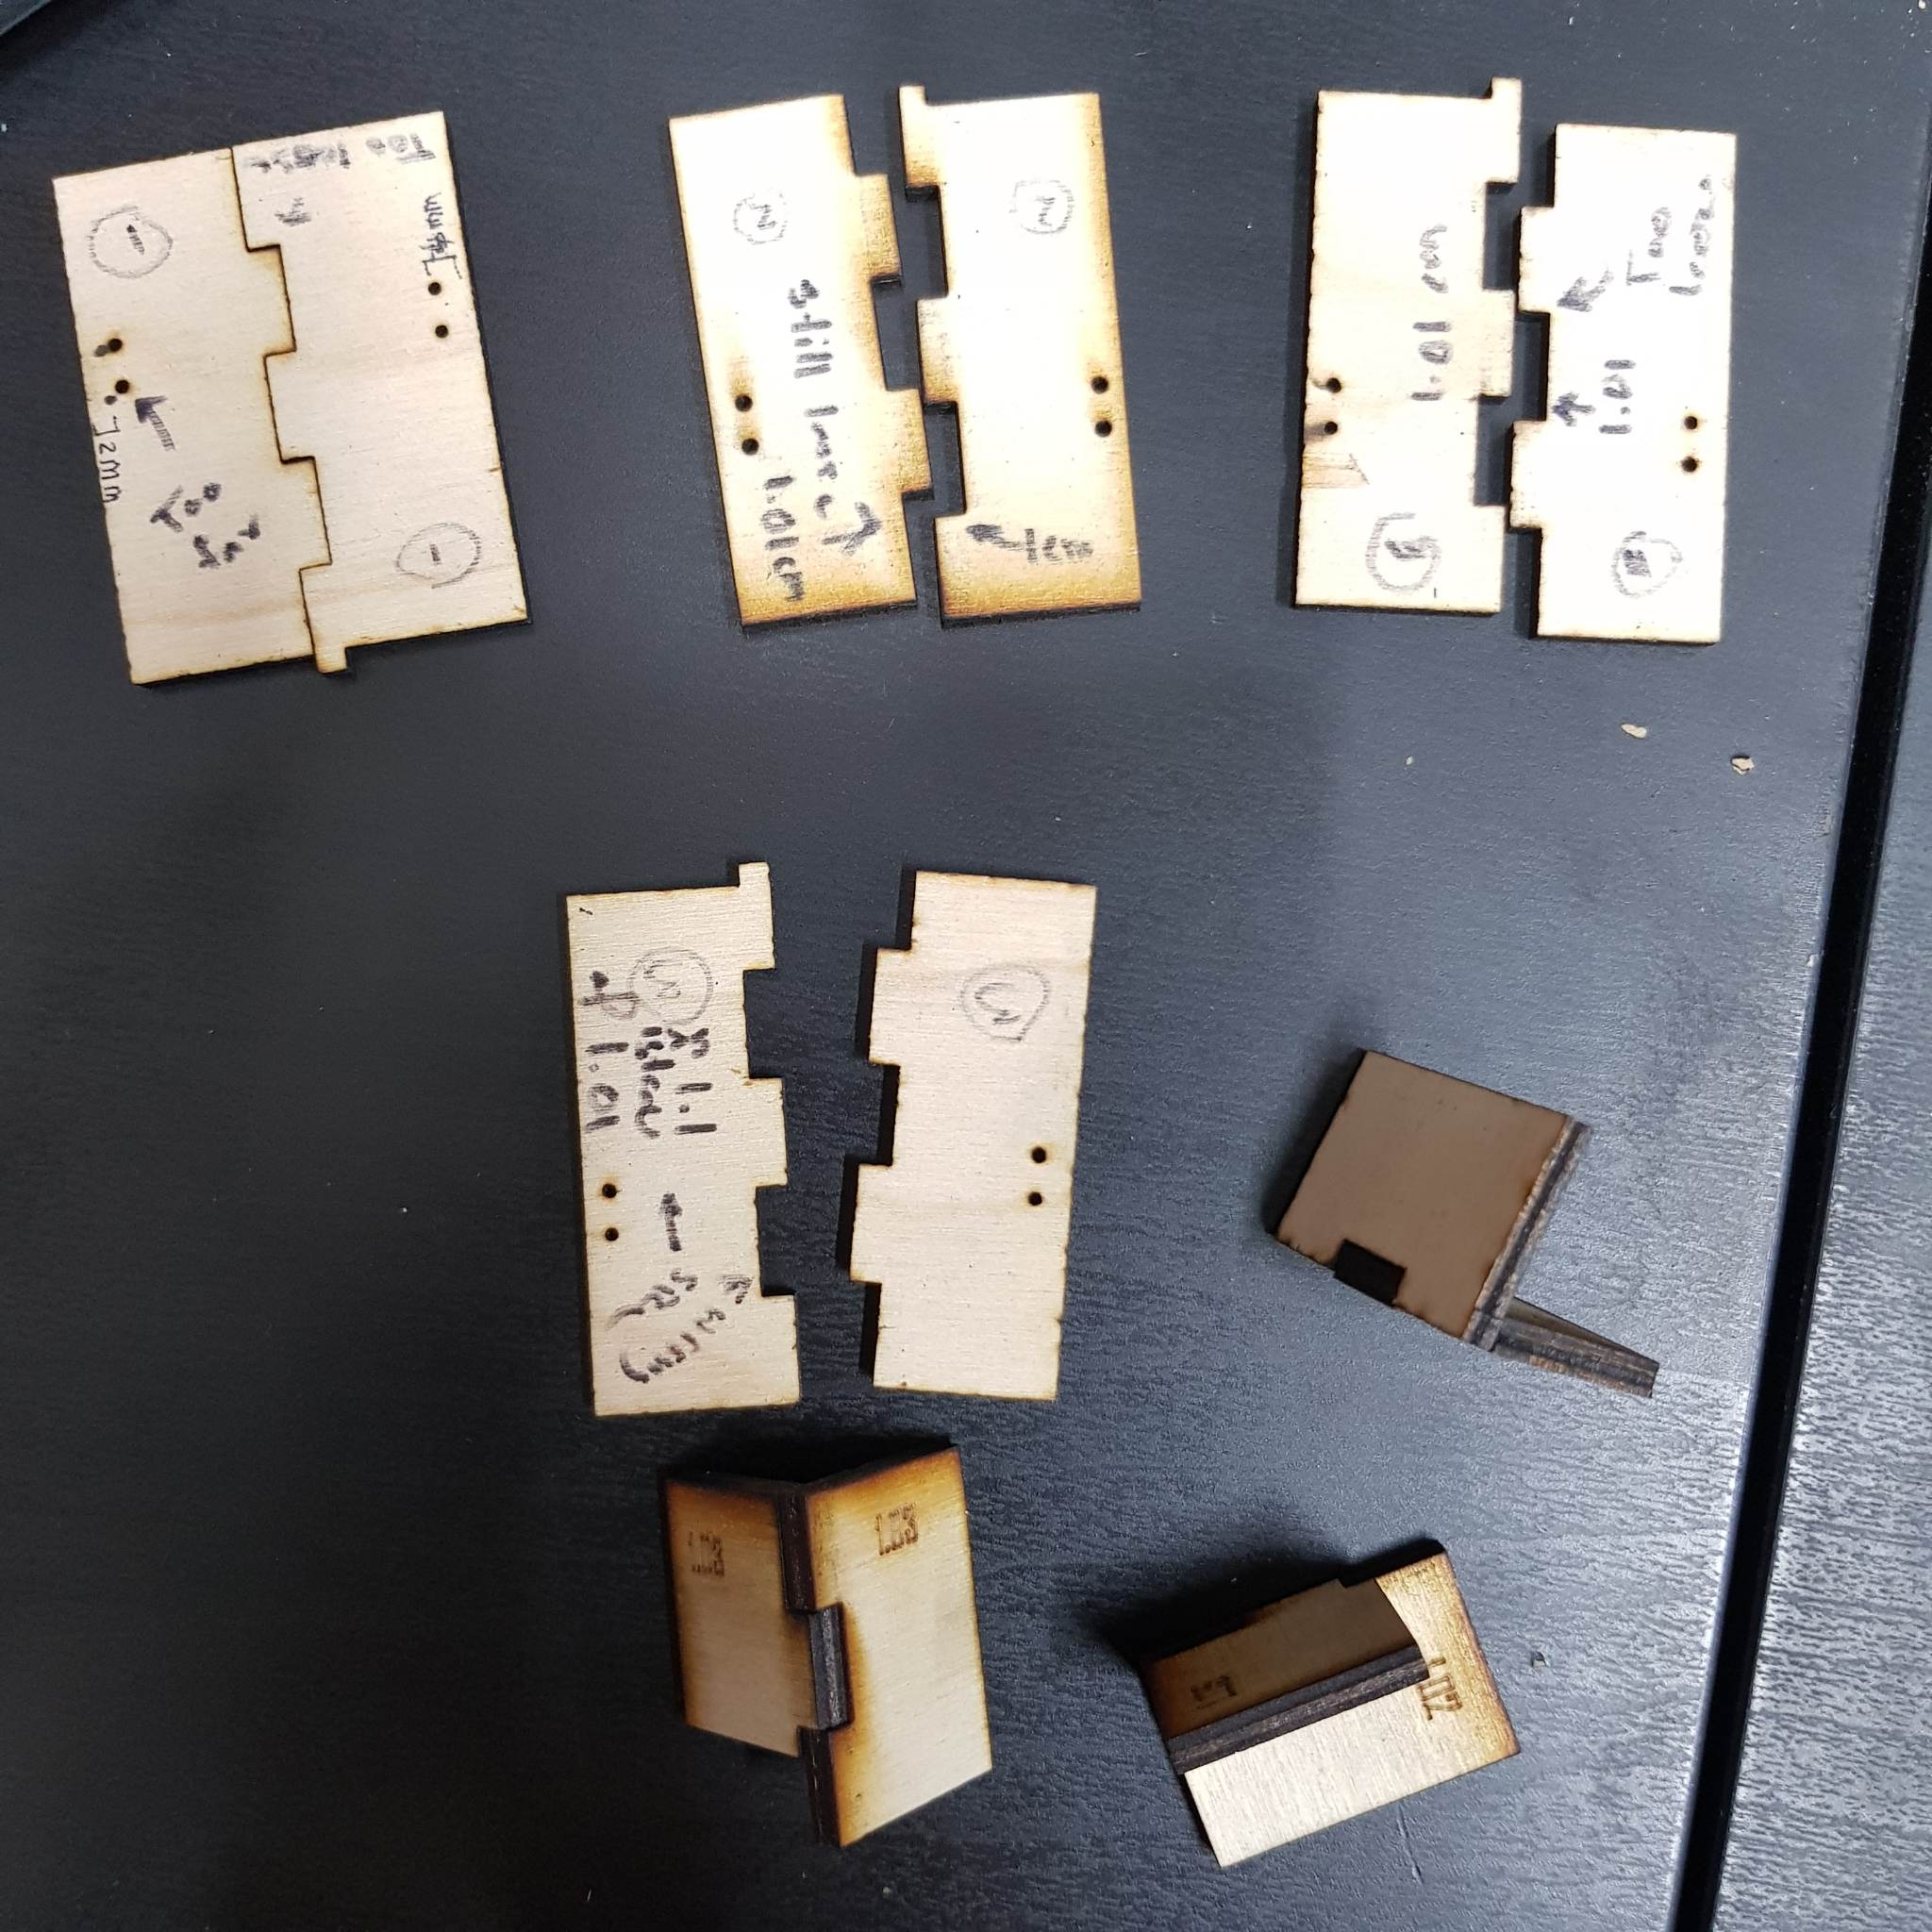
testing

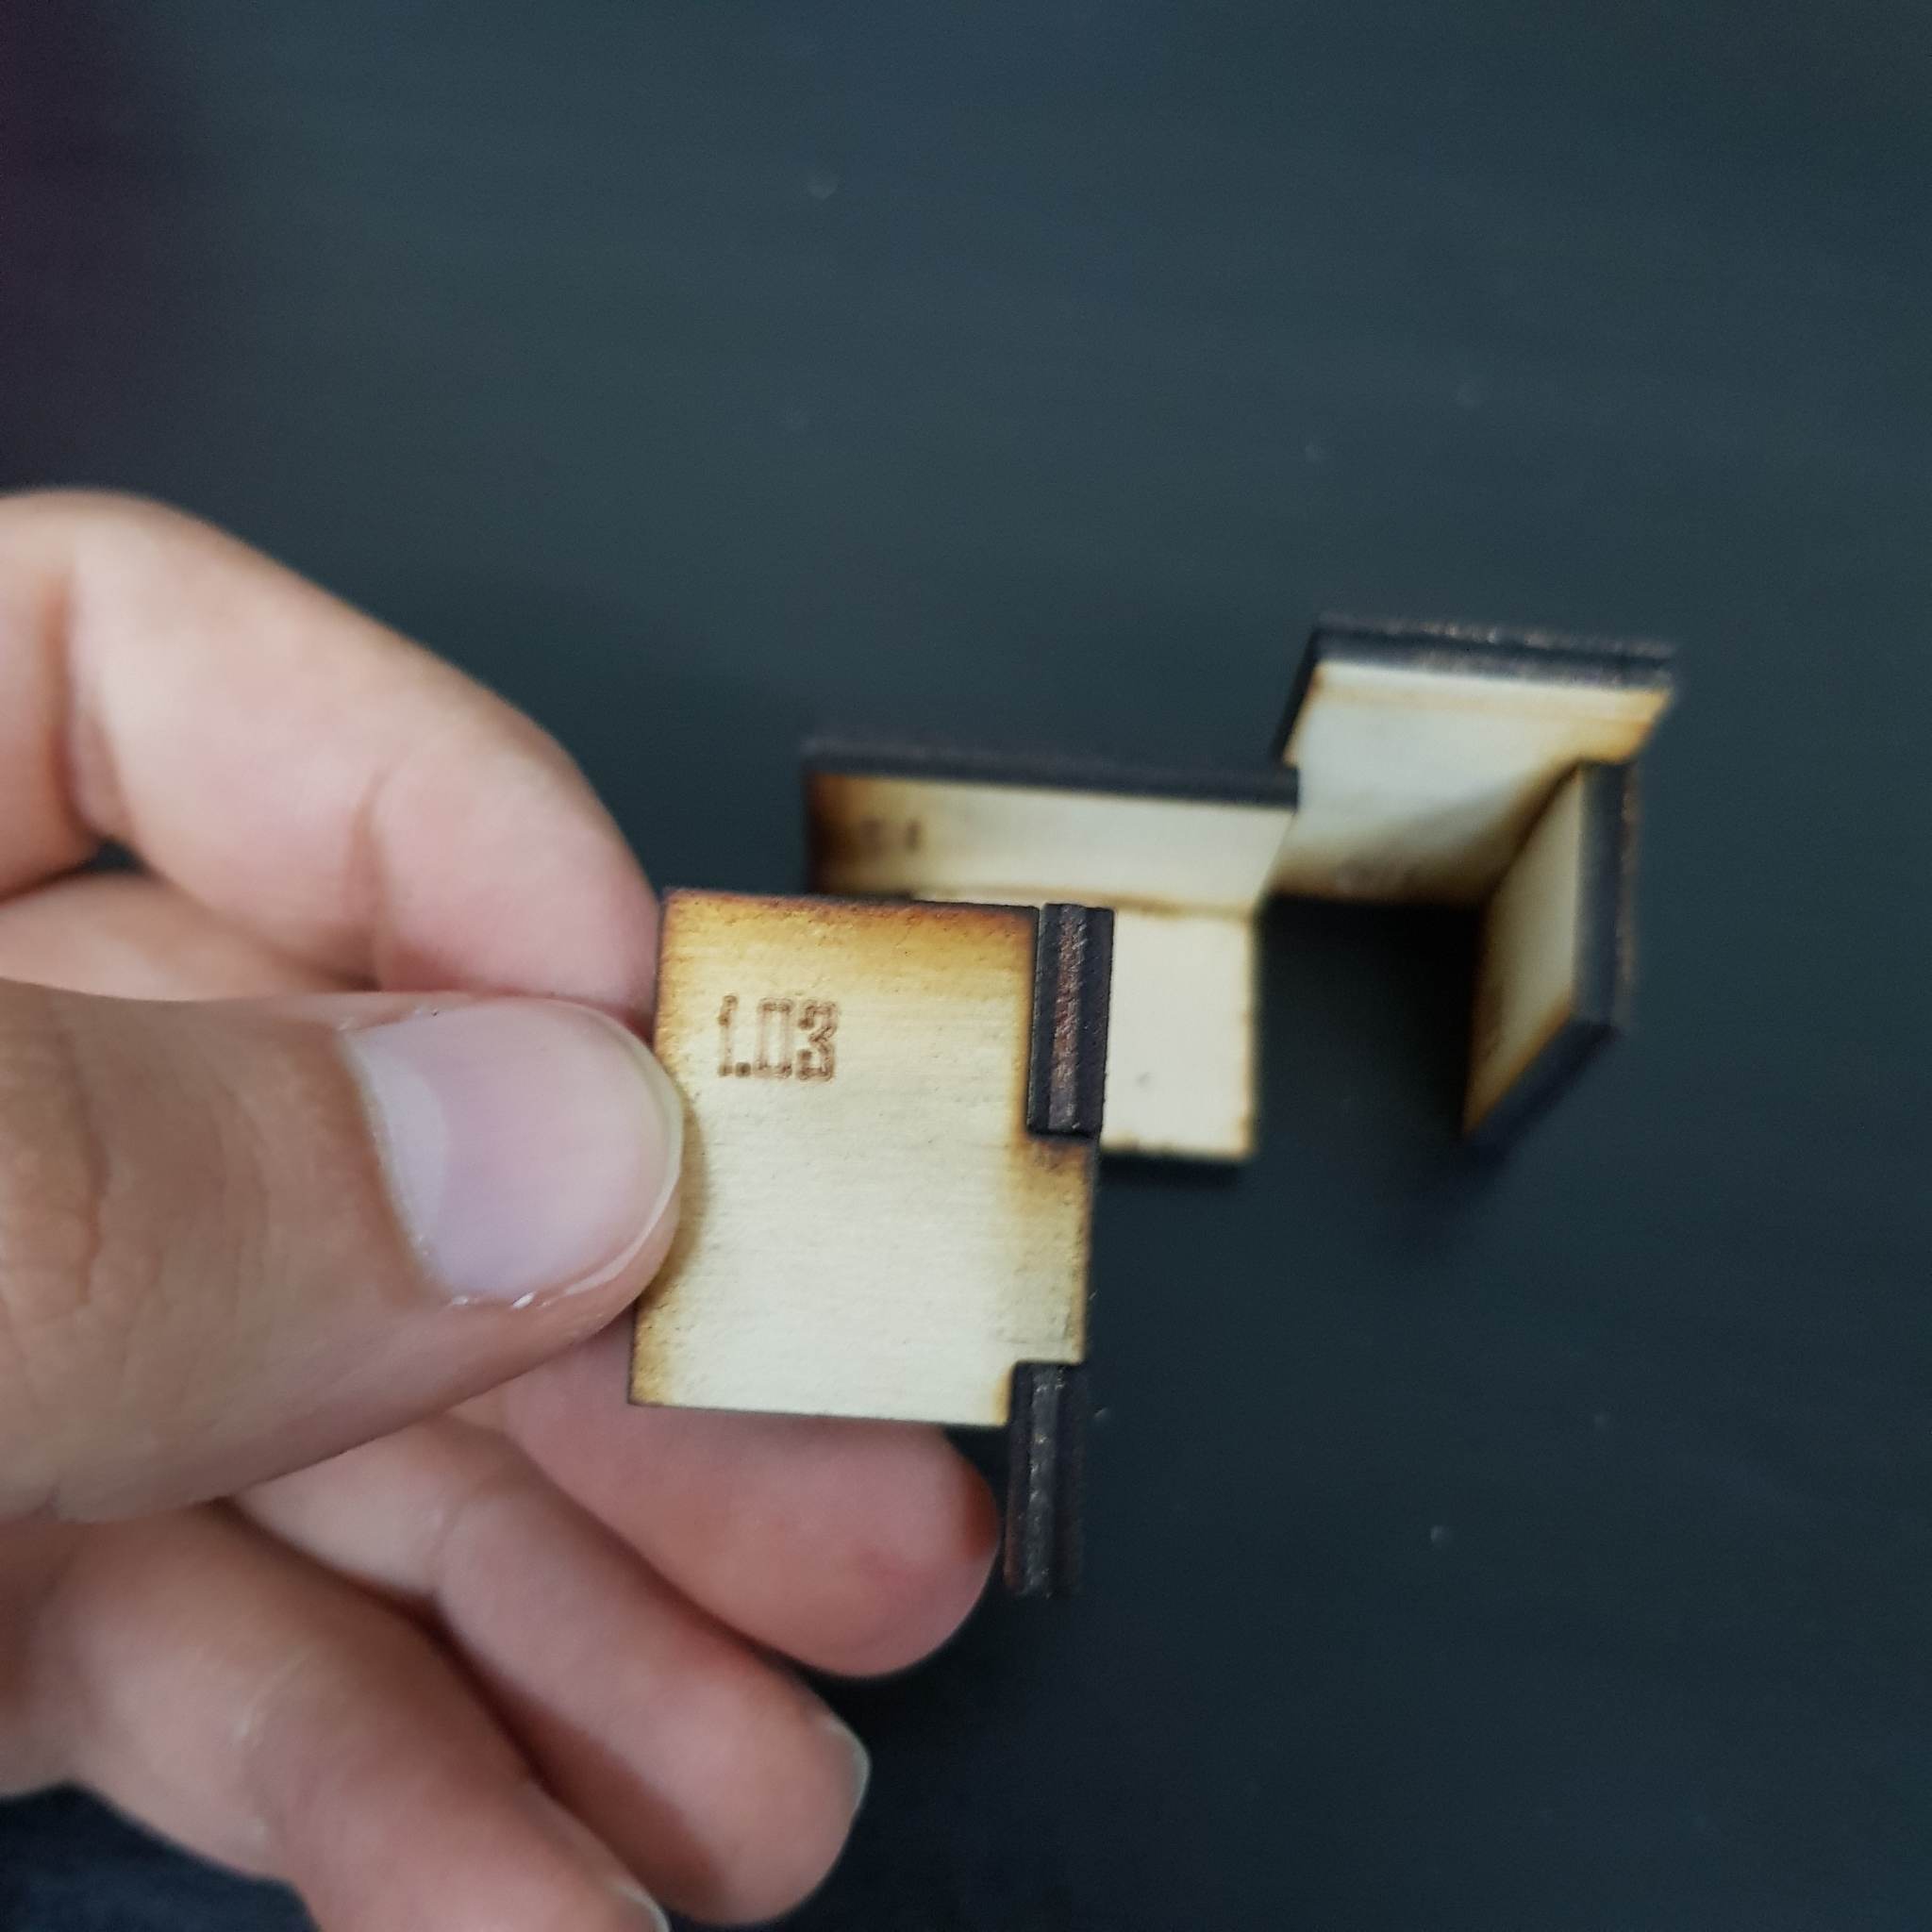
I started with 1 cm between each comb and a 1 cm comb with a height of 0.3(the width of the material)

I tested that but it was a bit too loose(plot twist: it wasn’t, the little wiggle room is necessary). I settled for 1.03cm combs (with 1cm – 0.03/2 distance in between, not sure if this makes sense but this results in tighter fitting combs)
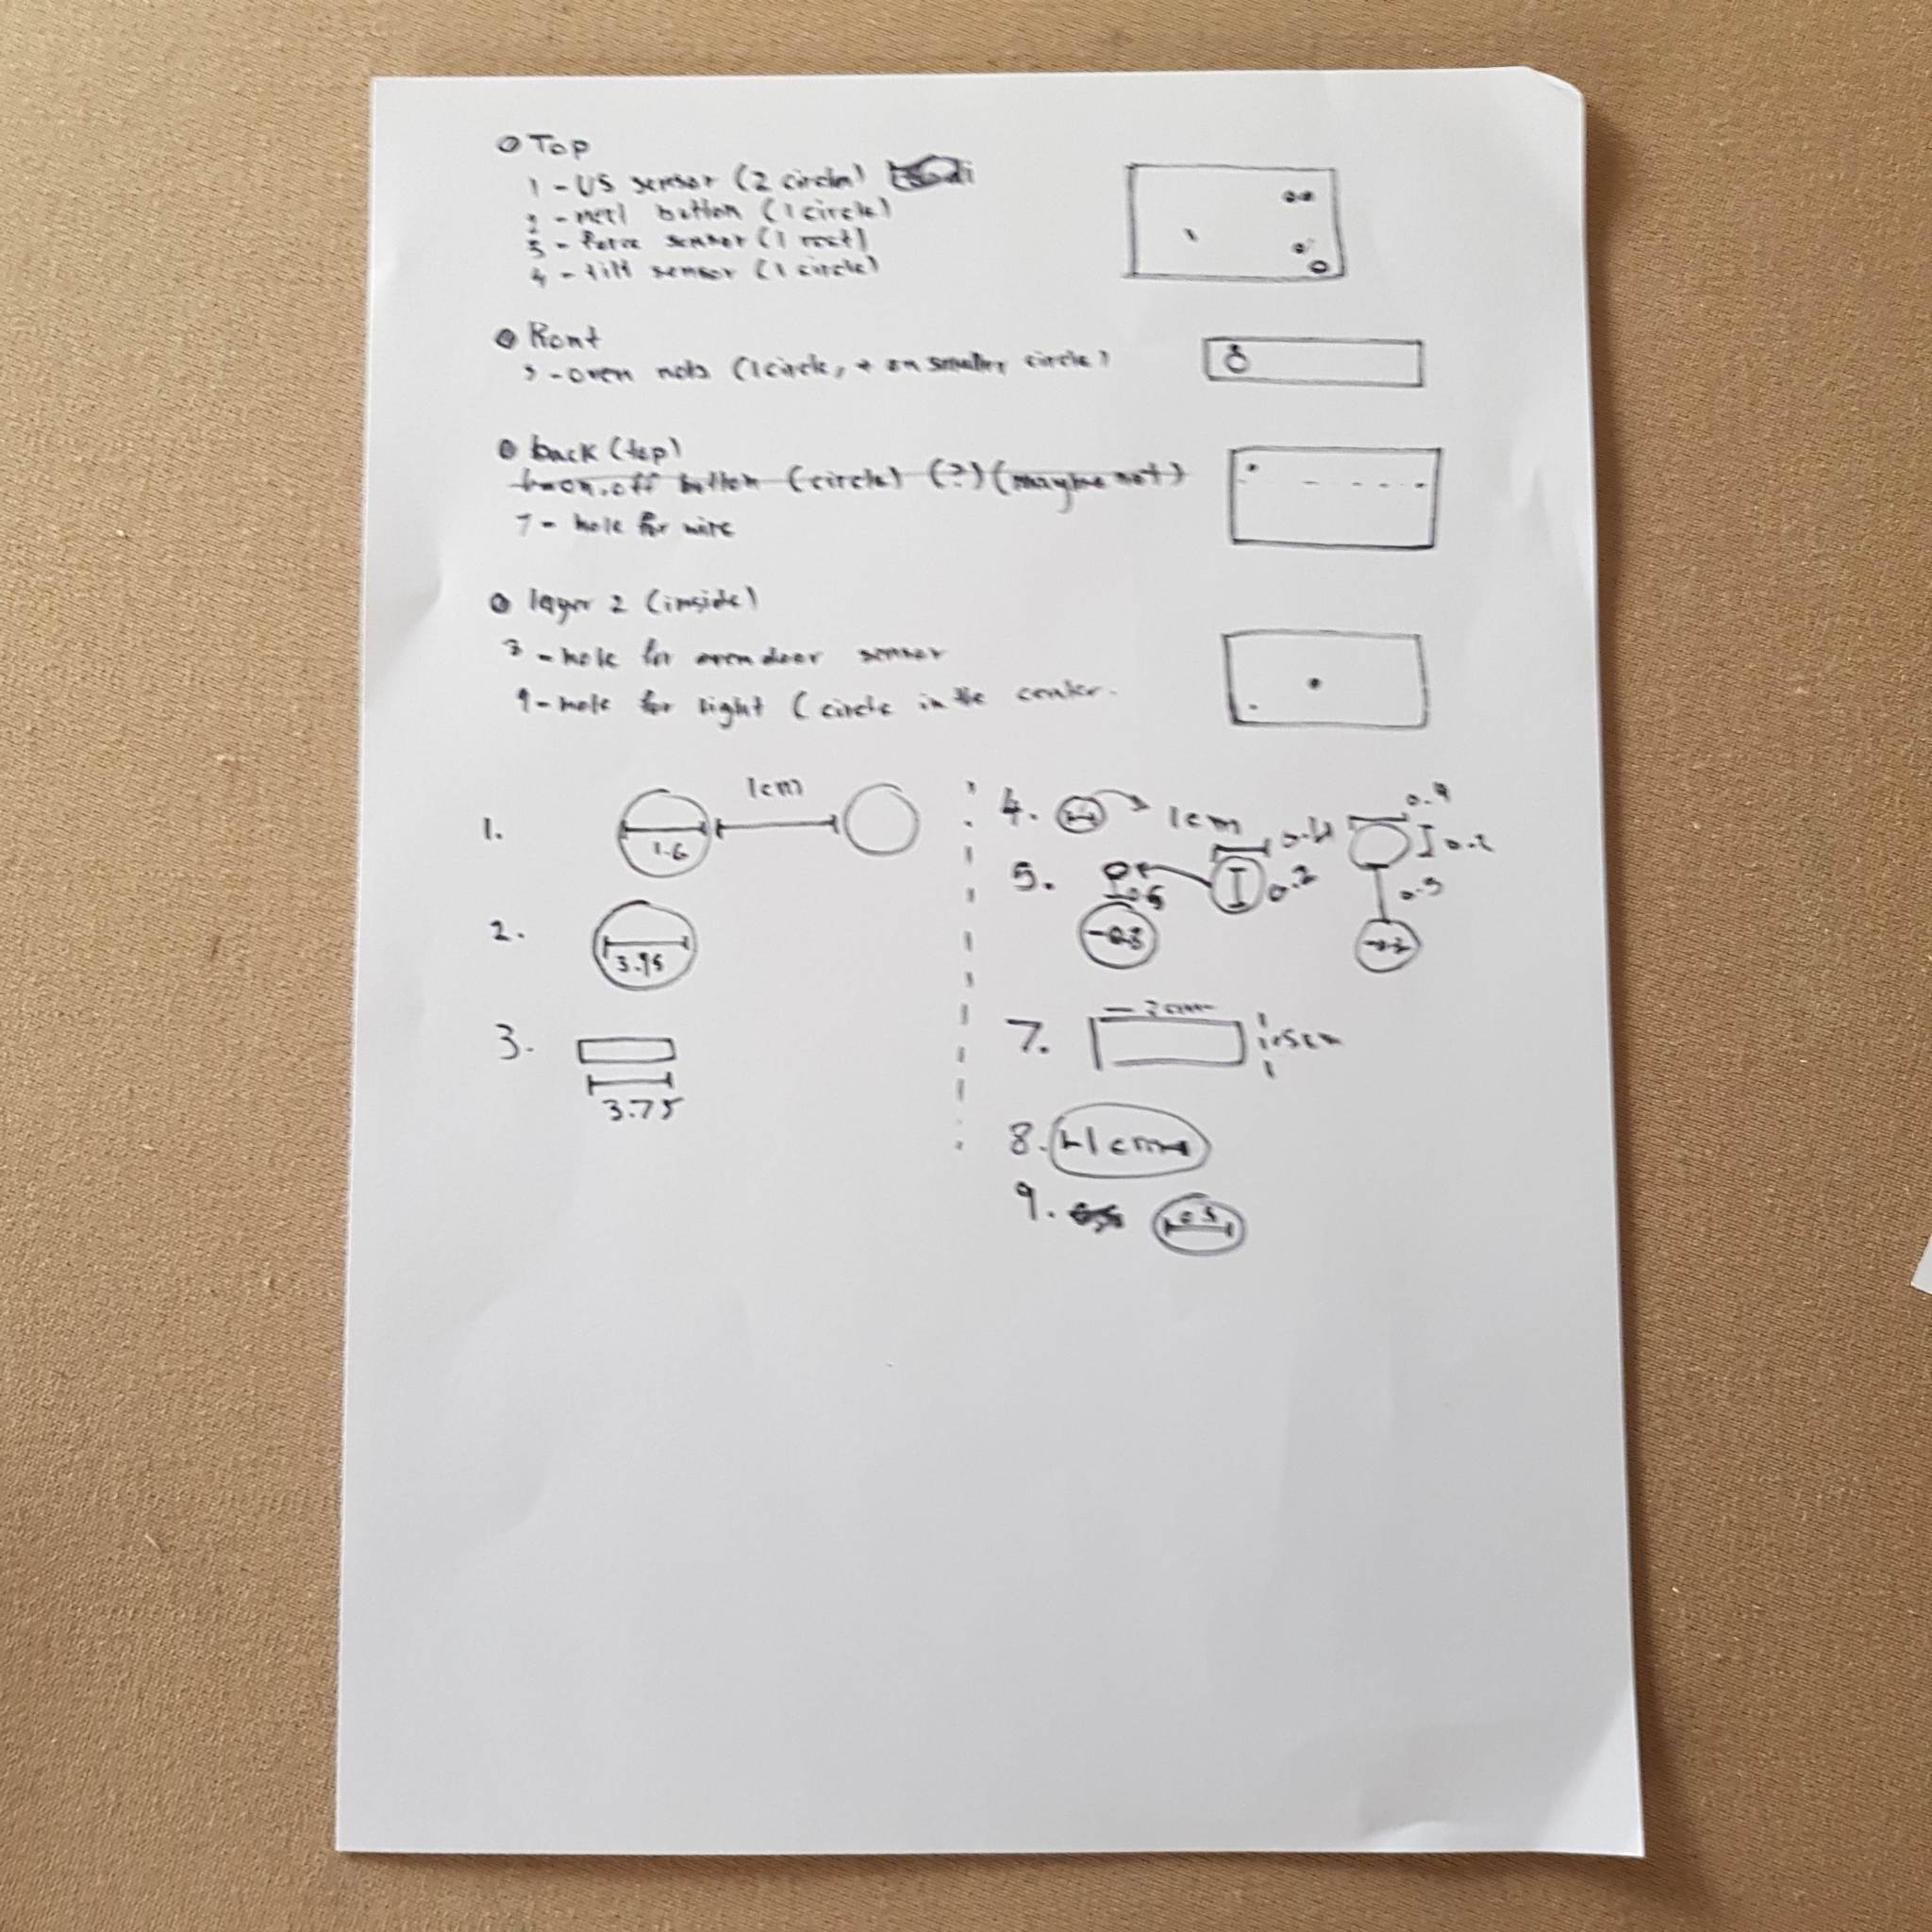
I also wanted to prepare the measurement for all the Arduino components that would be attached to the structure. I listed all the things that needed to be accounted for and measured all the components and their place on the structure.
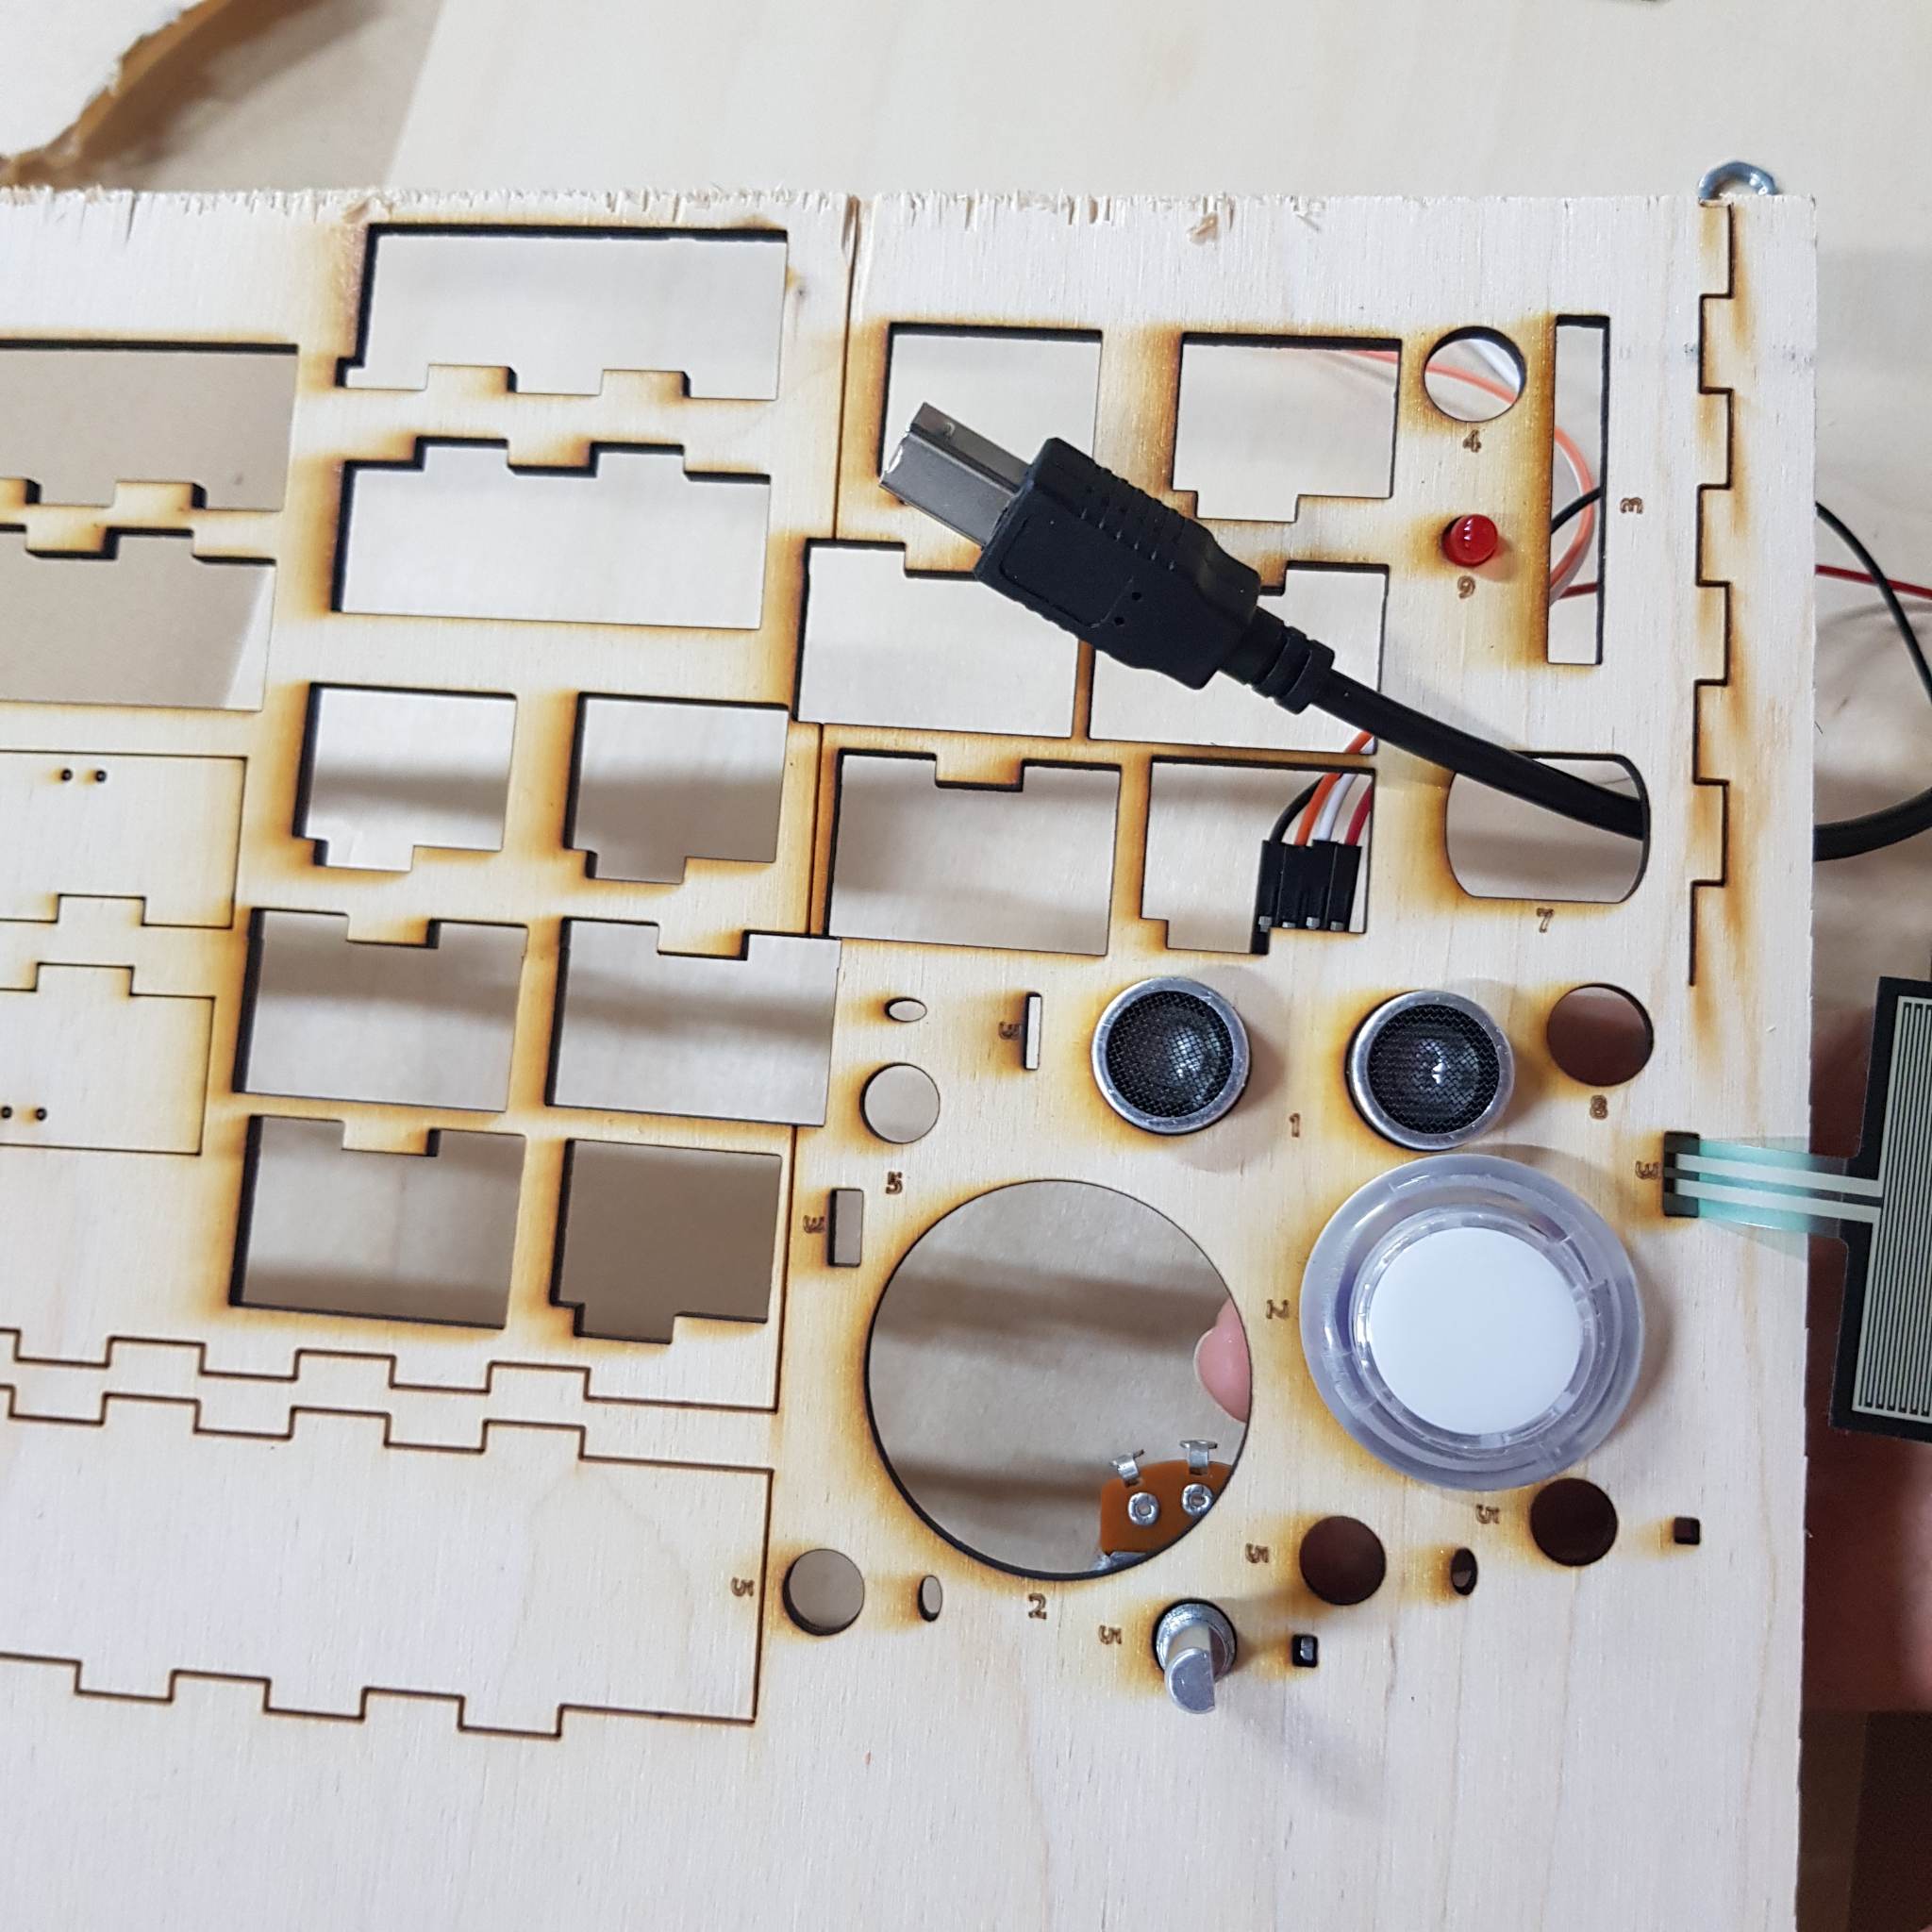
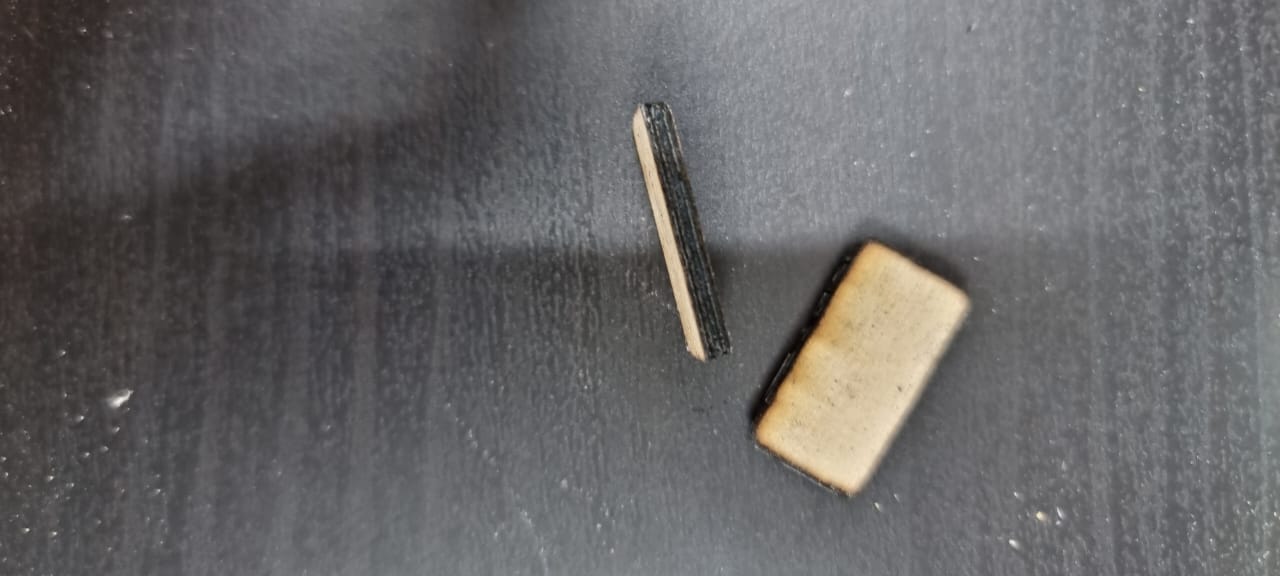
All the testing was done a scrap piece of wood that was the same thickness as the wood I intend to use for the project. After I was done with the design and testing I tried to laser cut the design the wood I plan to use for the project. However, the laser cutter wasn’t cutting the wood, I realized that the wood had a different (“structure?”) than the wood I used for testing. I assumed that changing the laser cutter settings could help, but it either didn’t cut the wood, or burnt the edges to ashes.
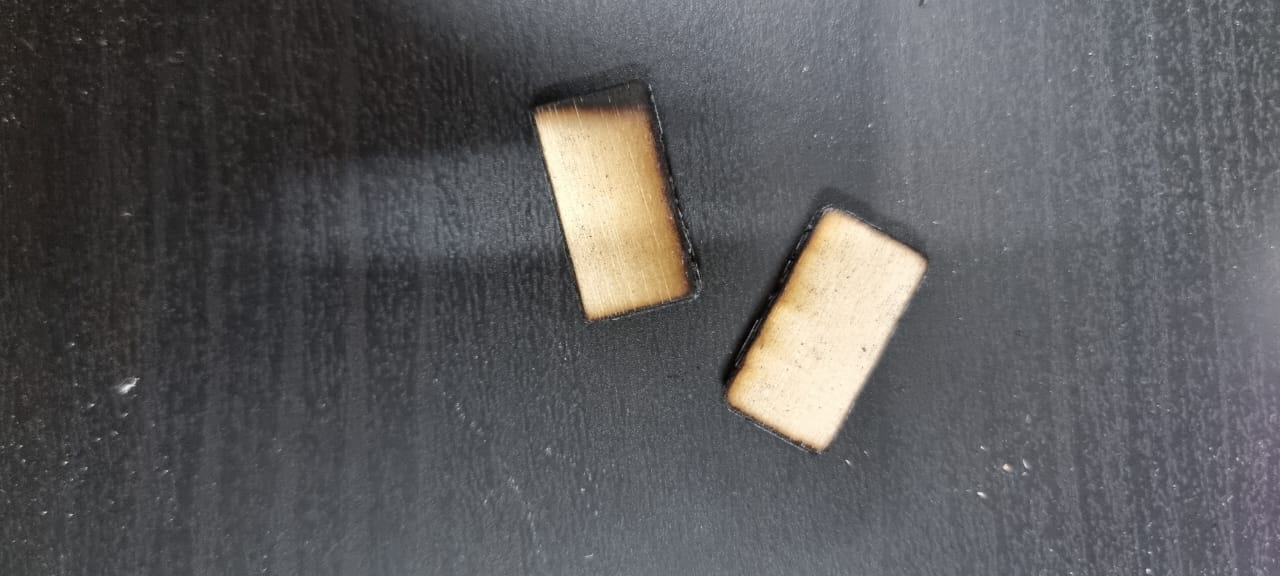
I didn’t have more of the wood I used for testing but I did have acrylic sheets. I switched the material I was going to use(even though I reallyy wanted to used wood).
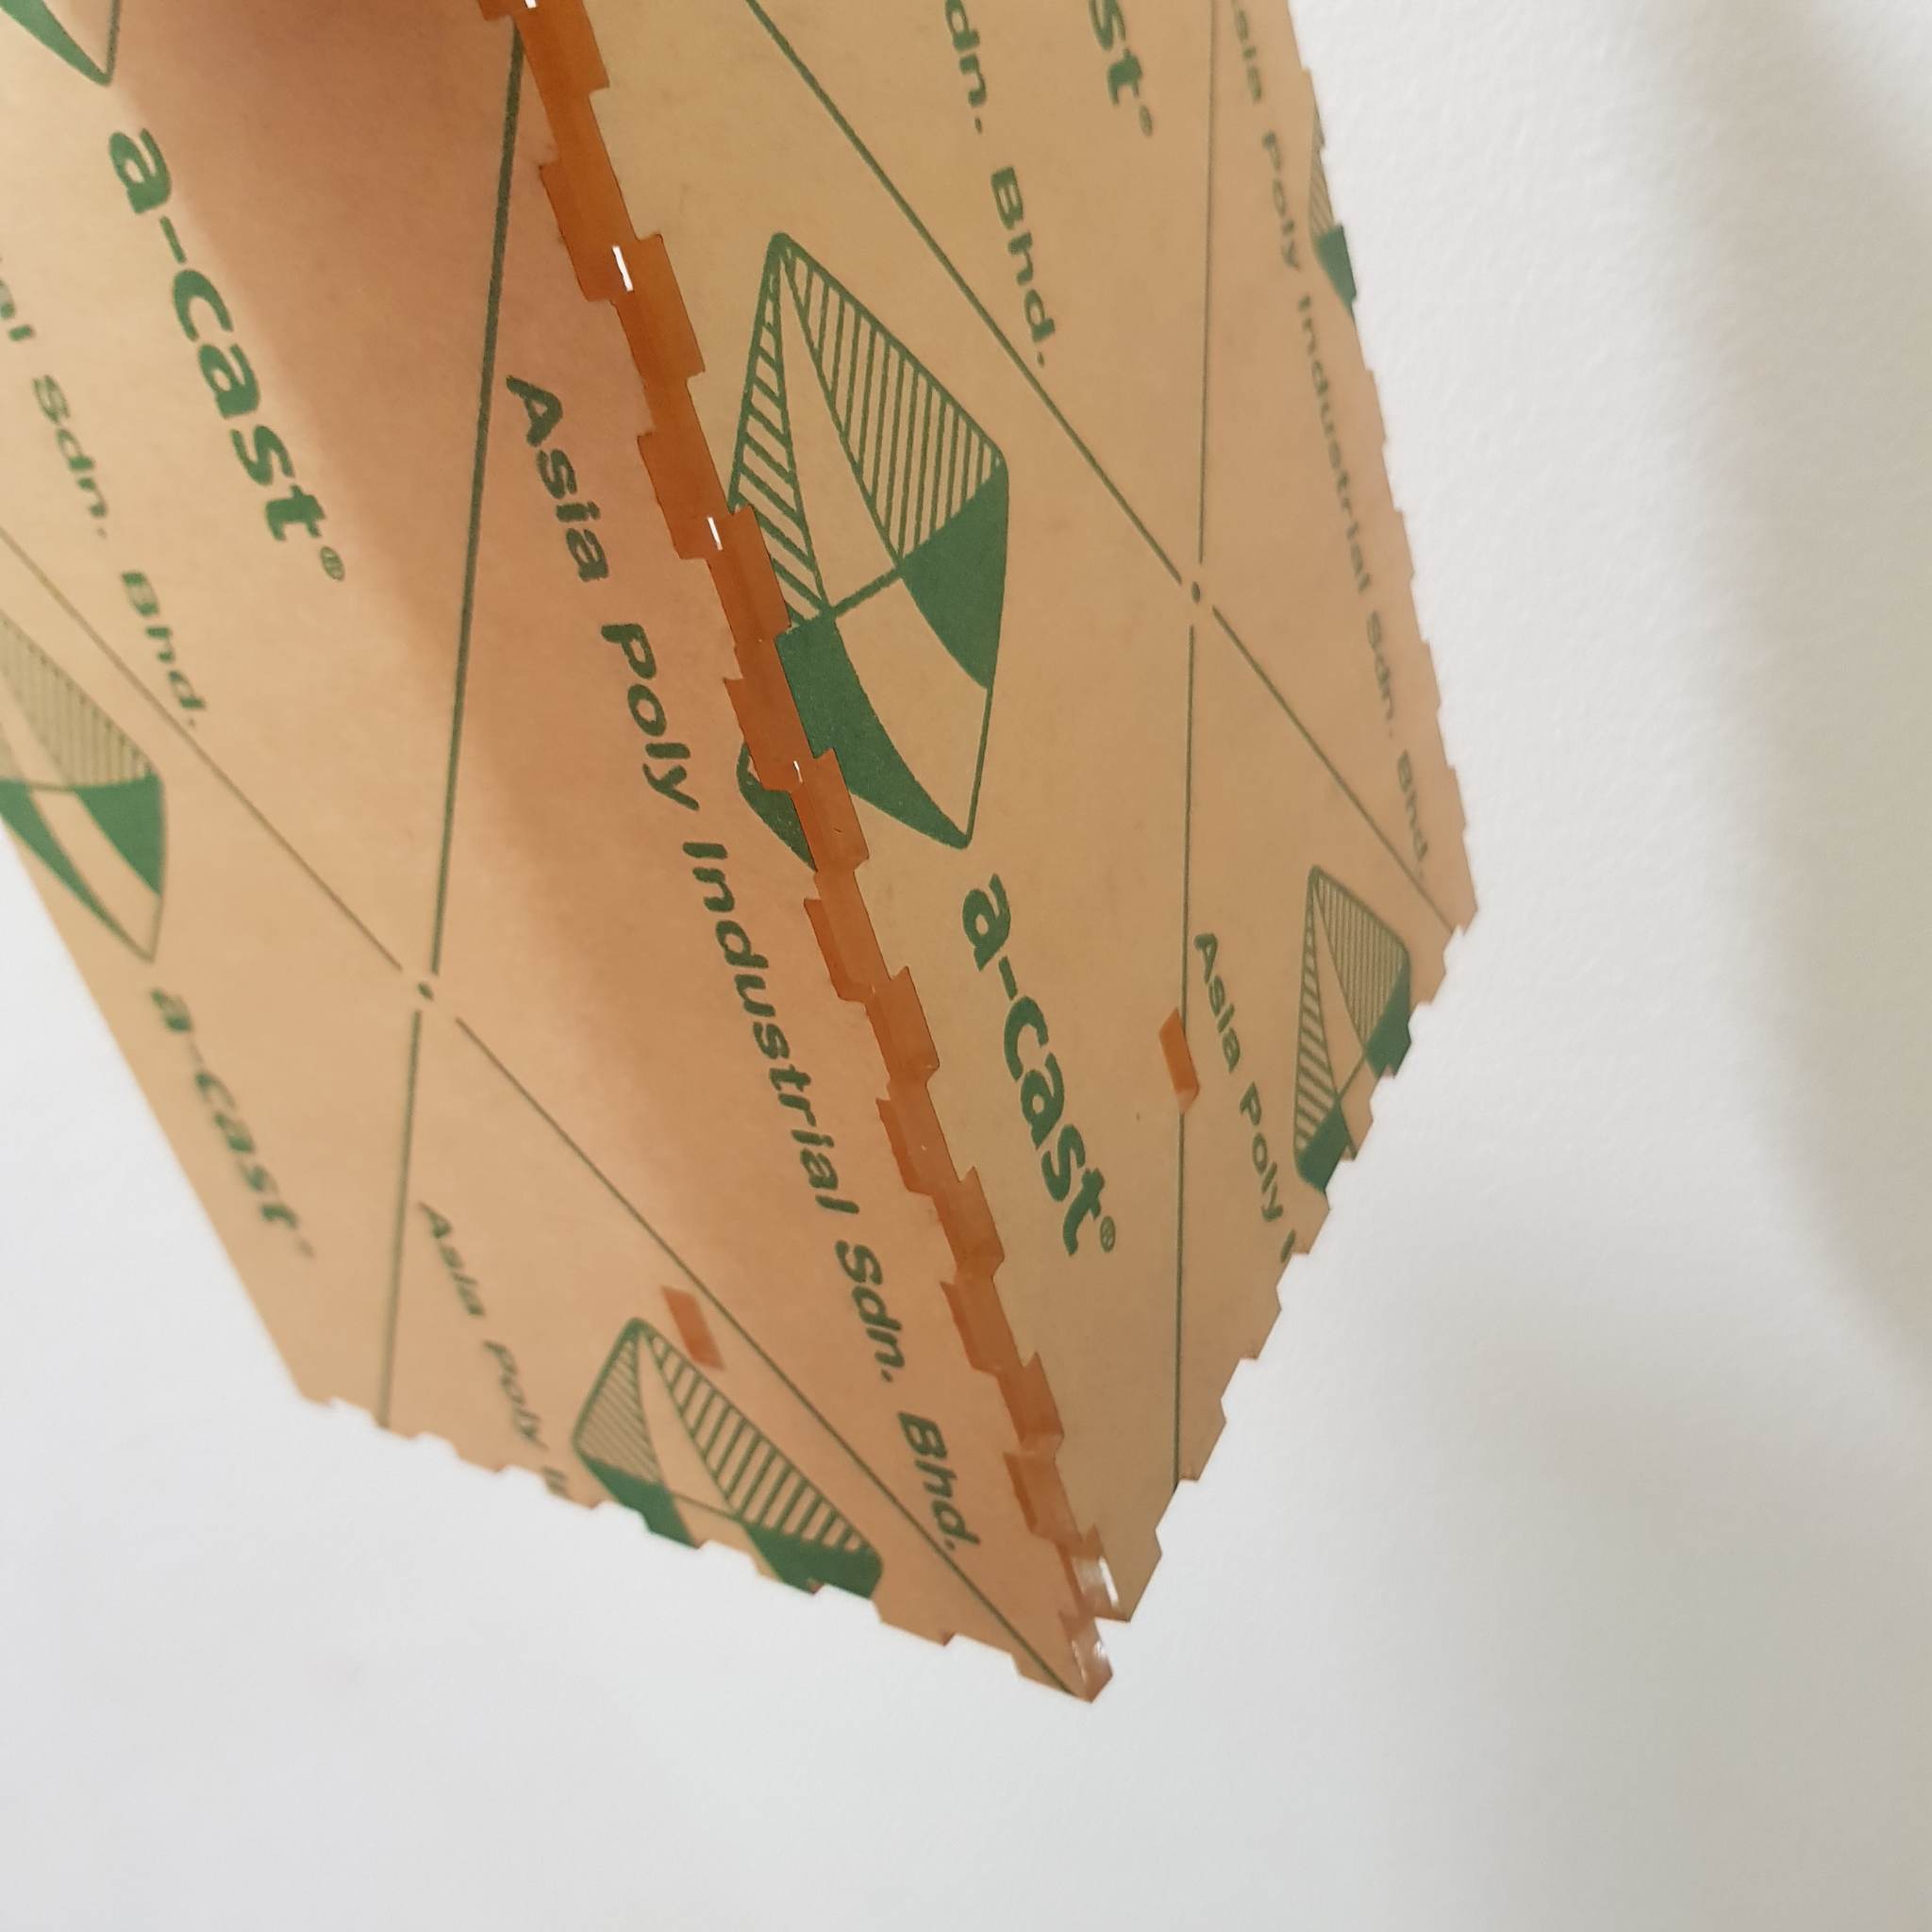
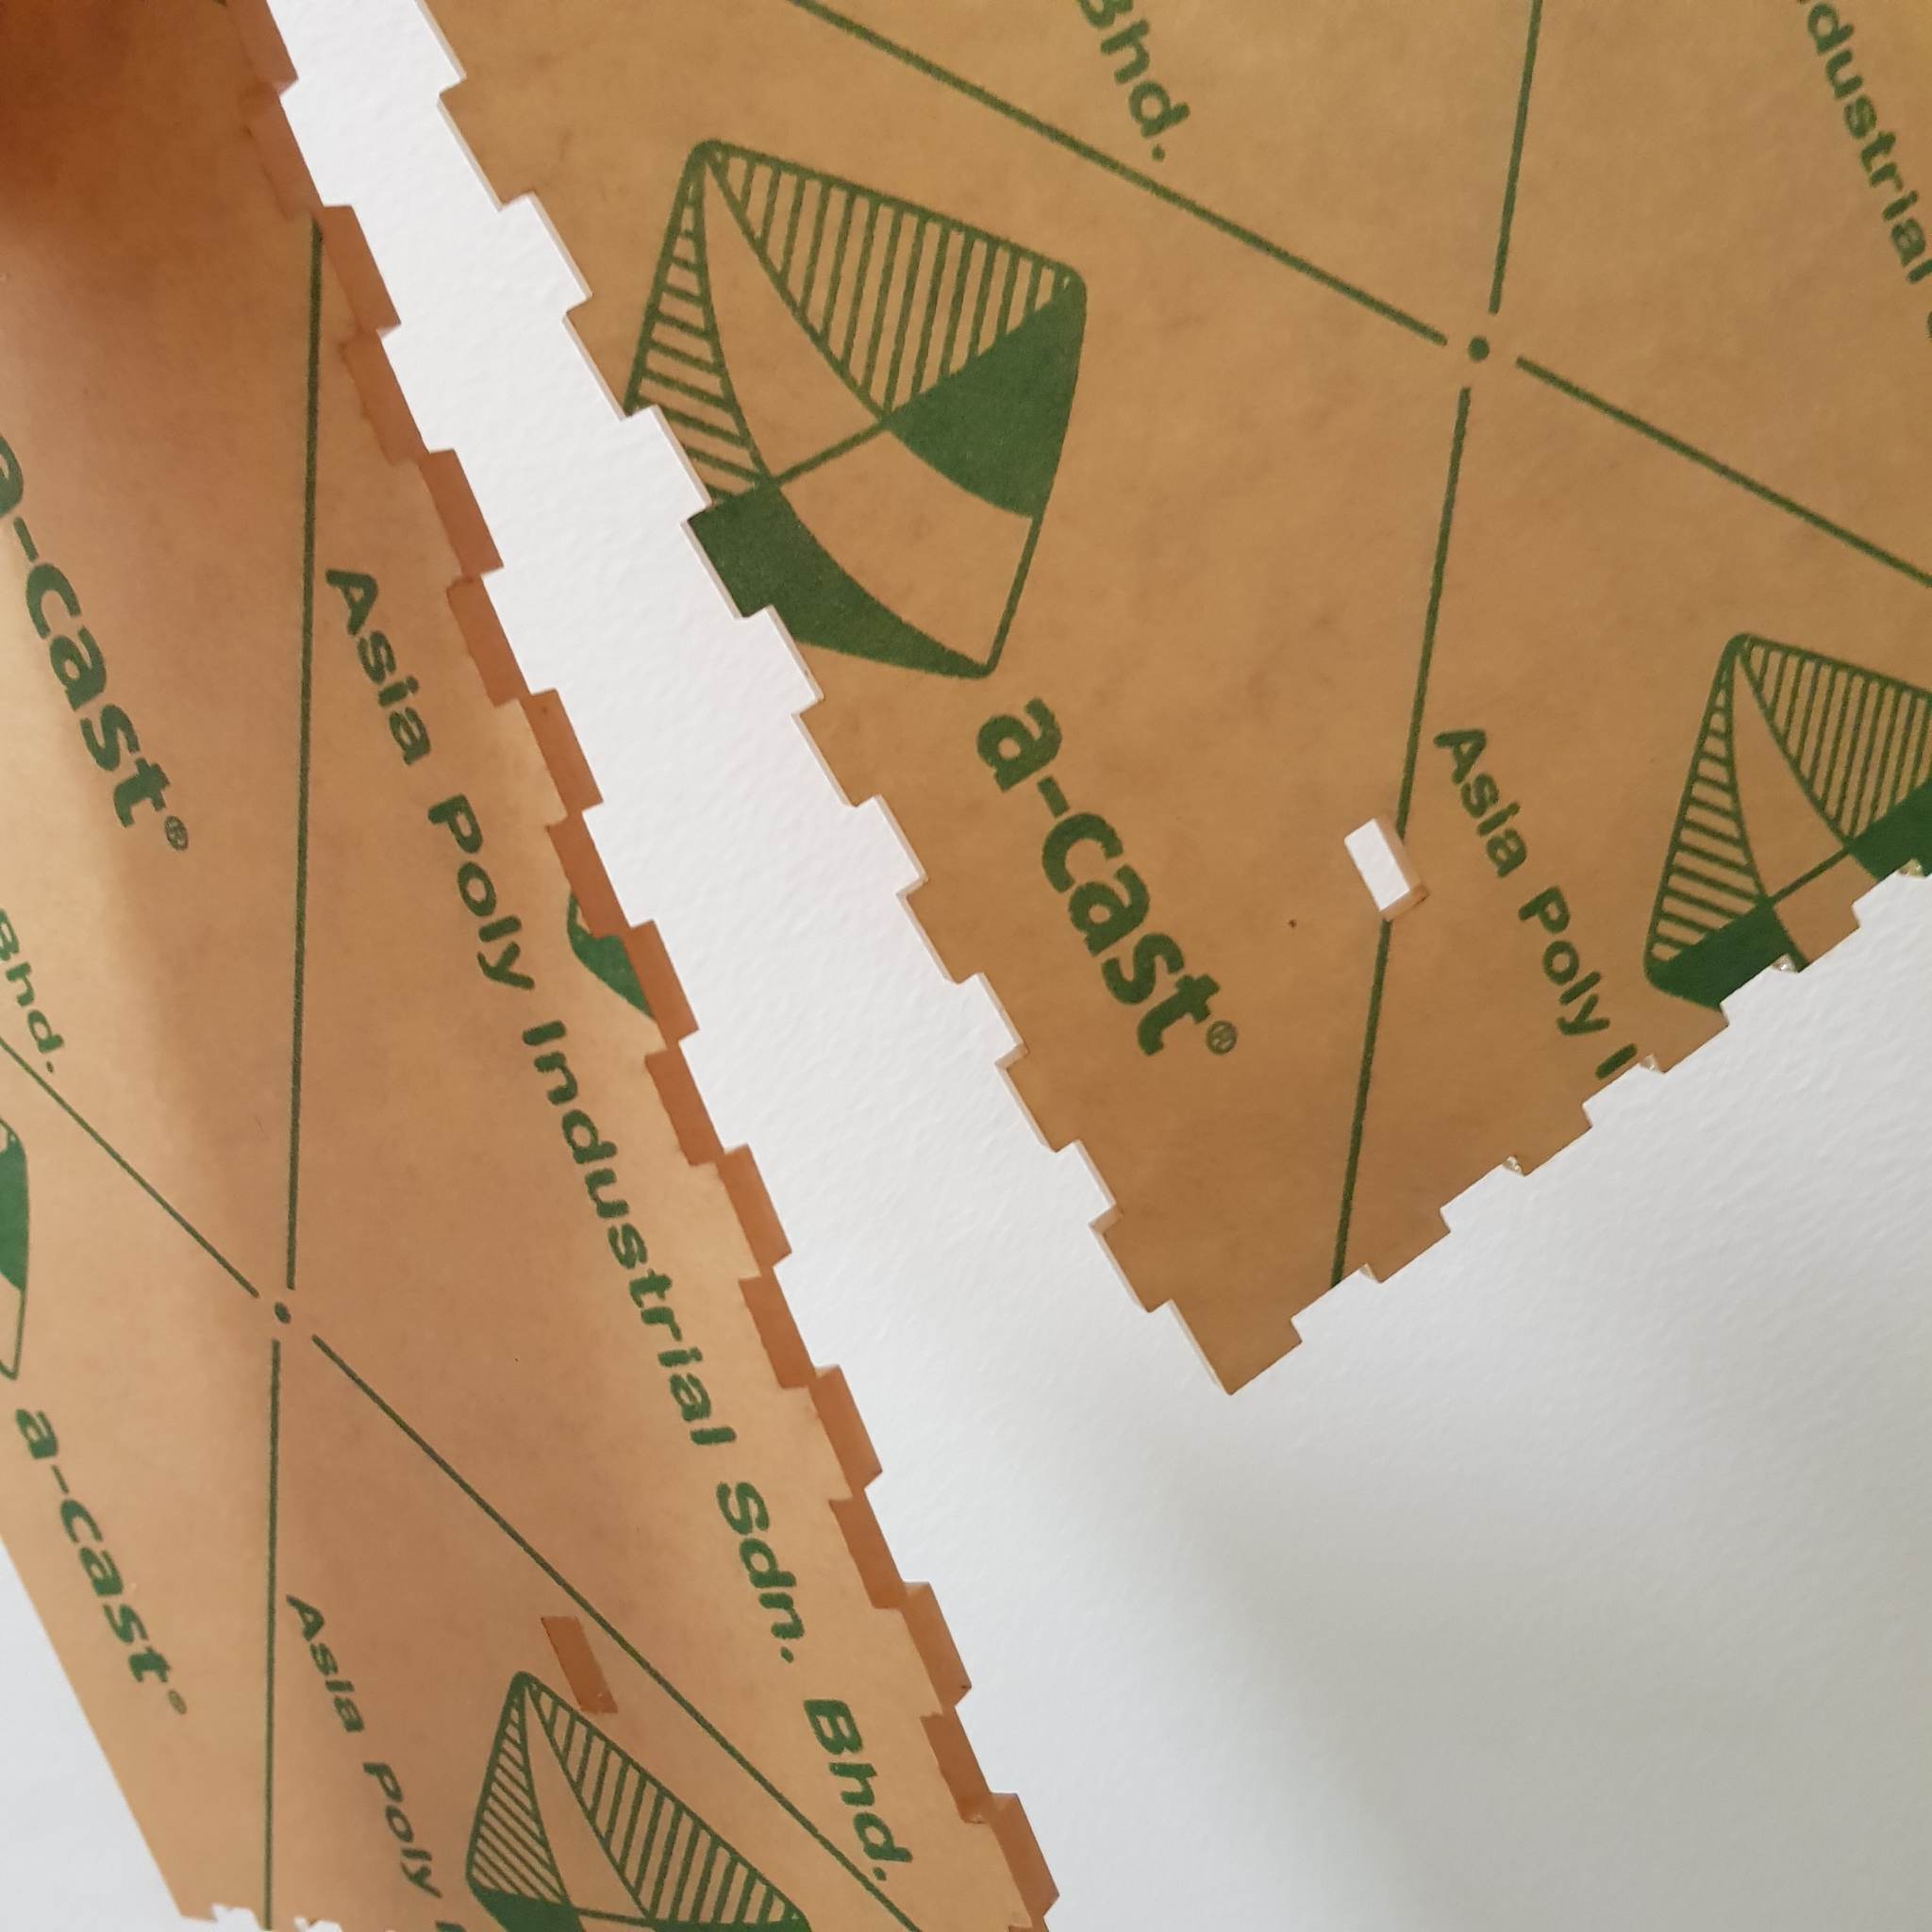
I cut the design on the acrylic but had a problem(I also changed the height of the combs to the width of the new material). Then I faced another problem, the pieces didn’t fit together, I think there was an error when I changed the width of the combs, because the acrylic fit in certain angles.
cutting and painting

I decided to redo the combs with the original measurements (1 cm between each comb and a 1cm comb). This worked!
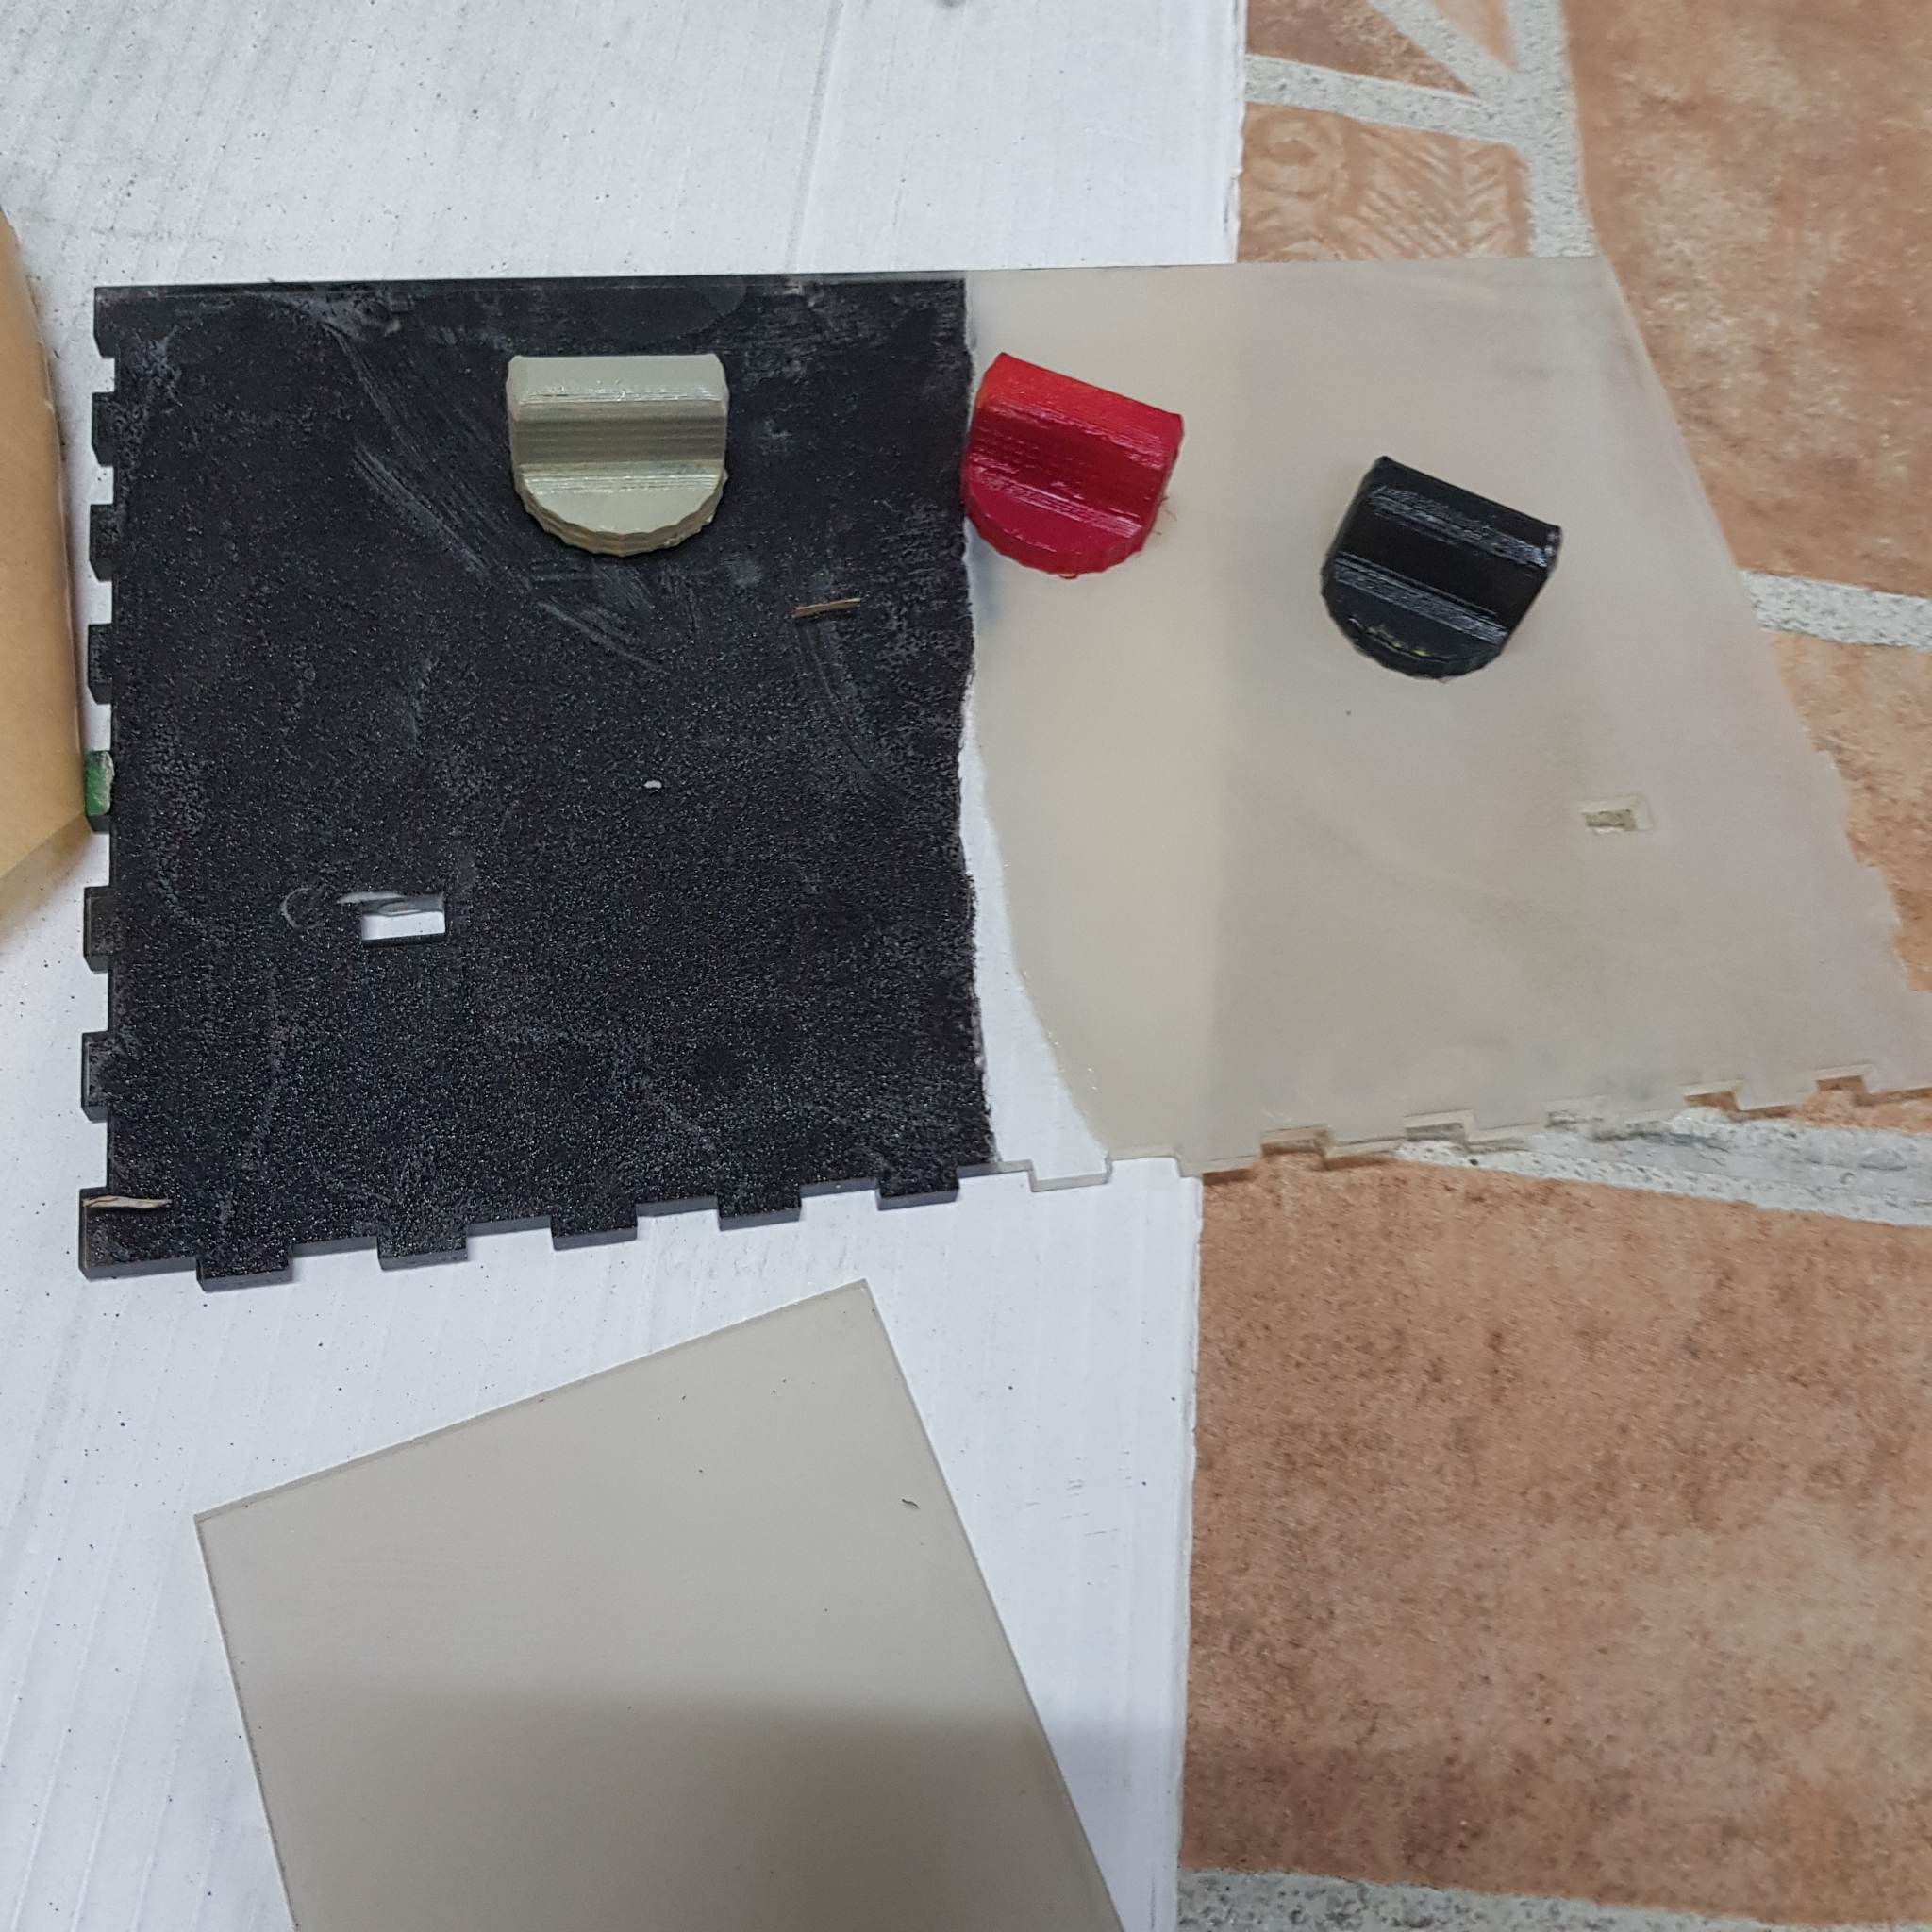
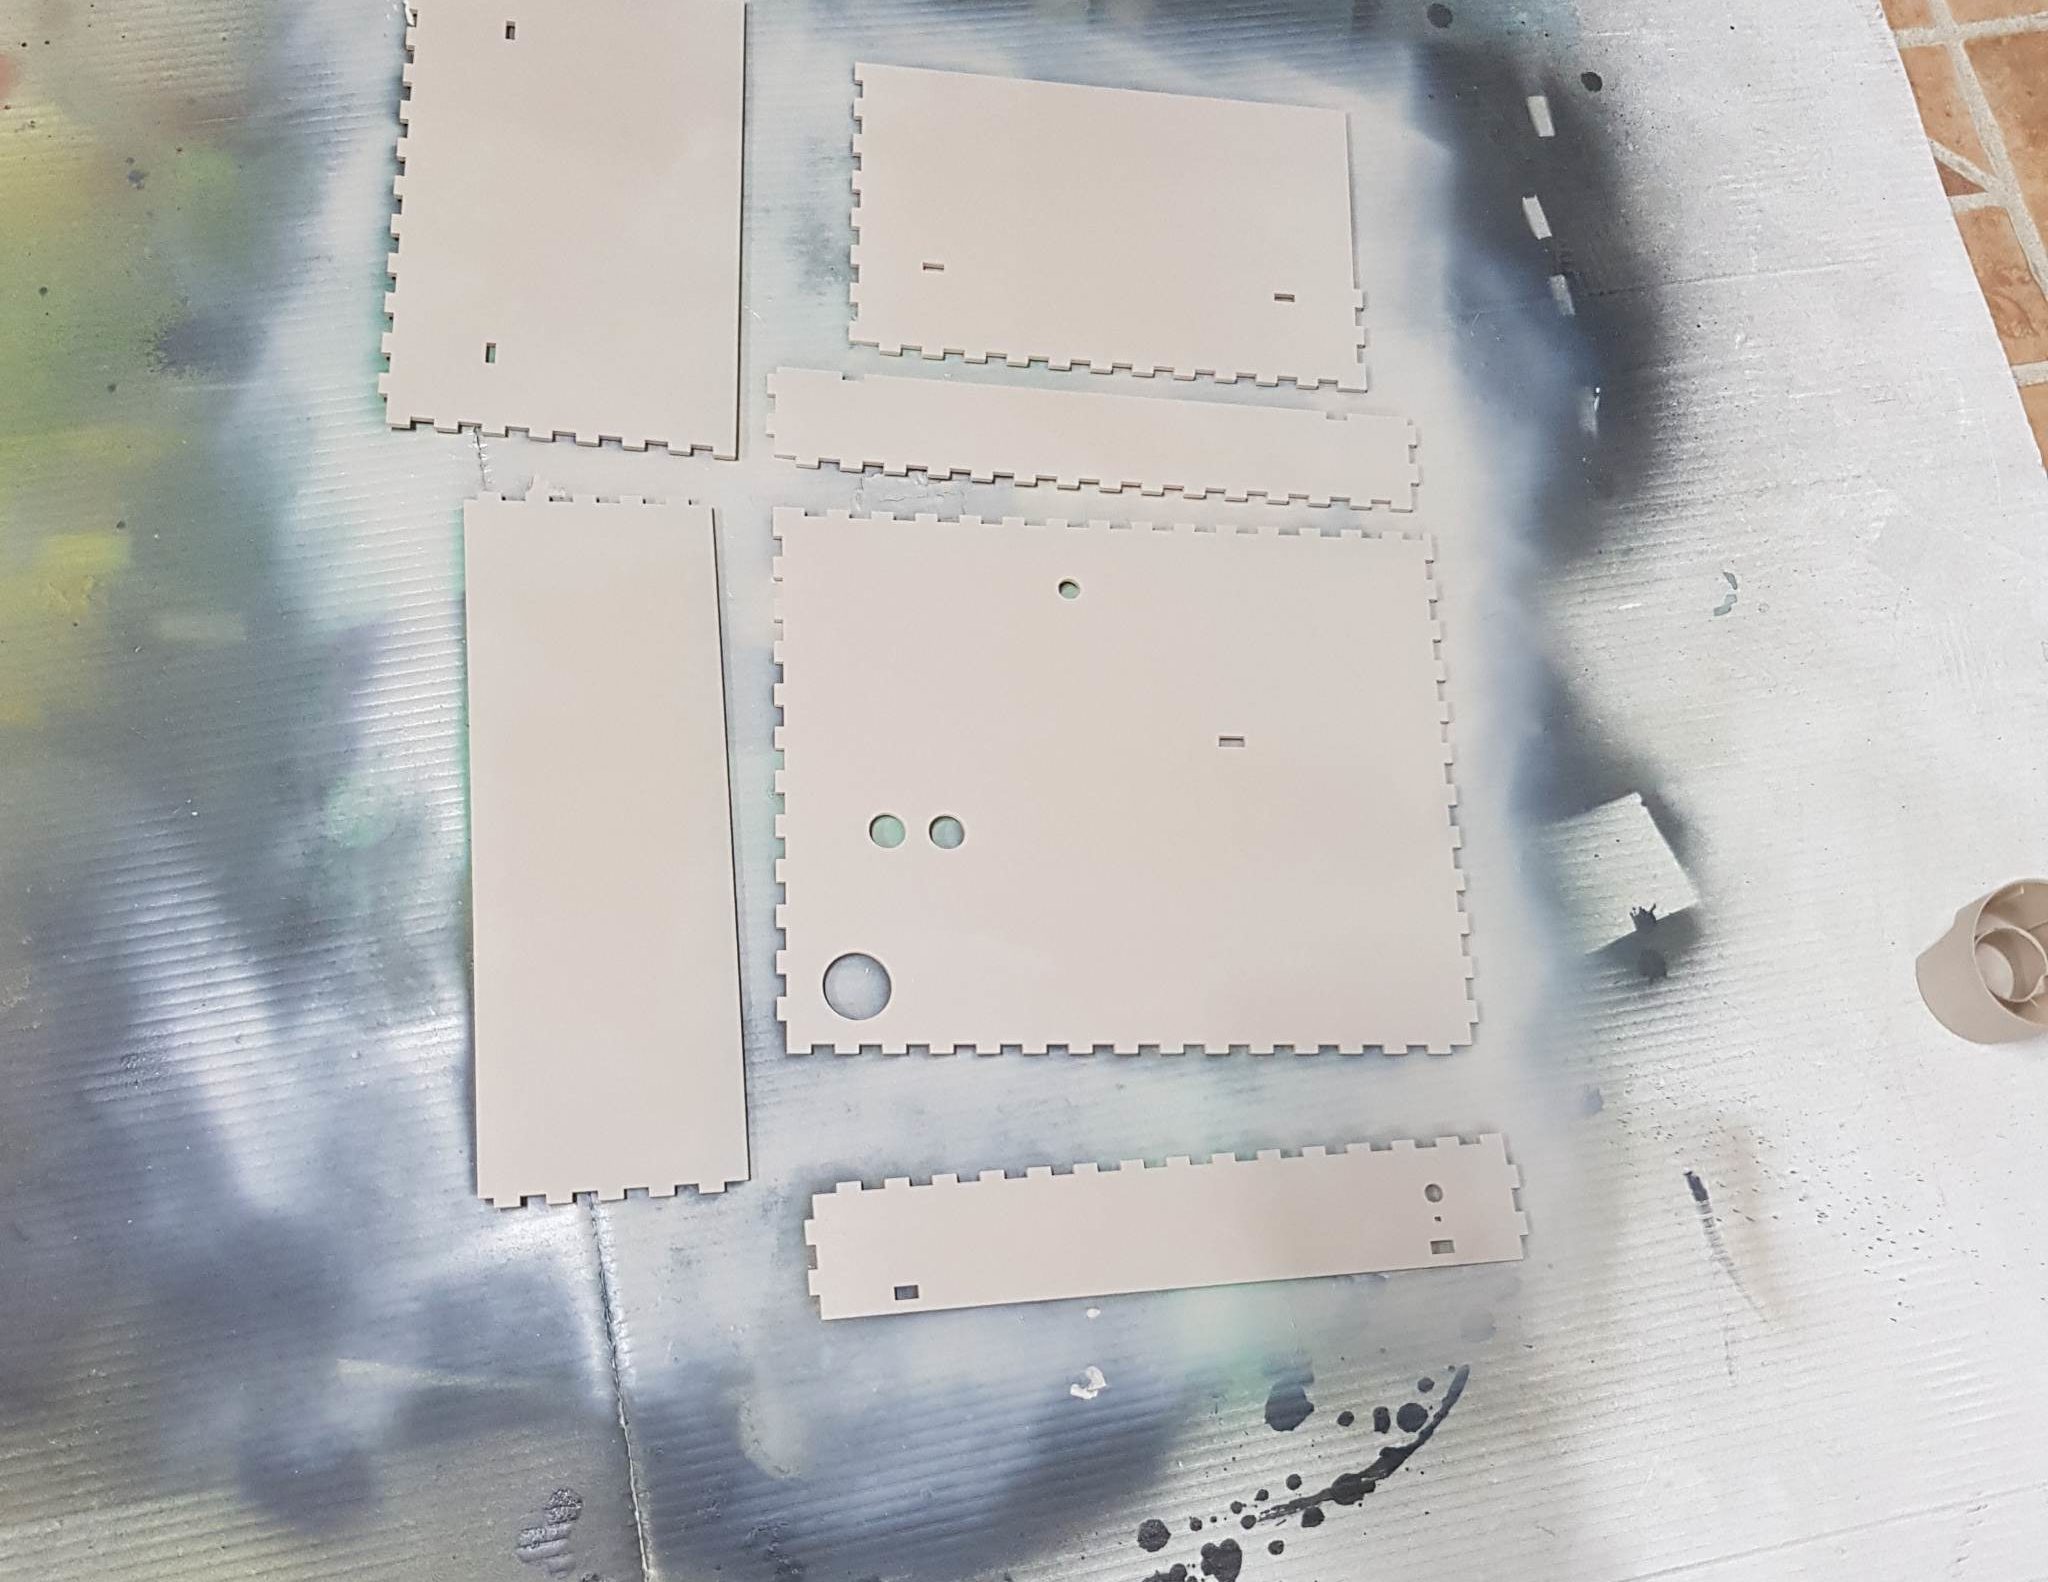
since I was using transparent acrylic I decided to paint it since having all the walls of the structure being transparent might be confusing or too distracting for the user.
I tested out a few colors then painted the structure(I also painted the oven knob so I tested some colors for that too).
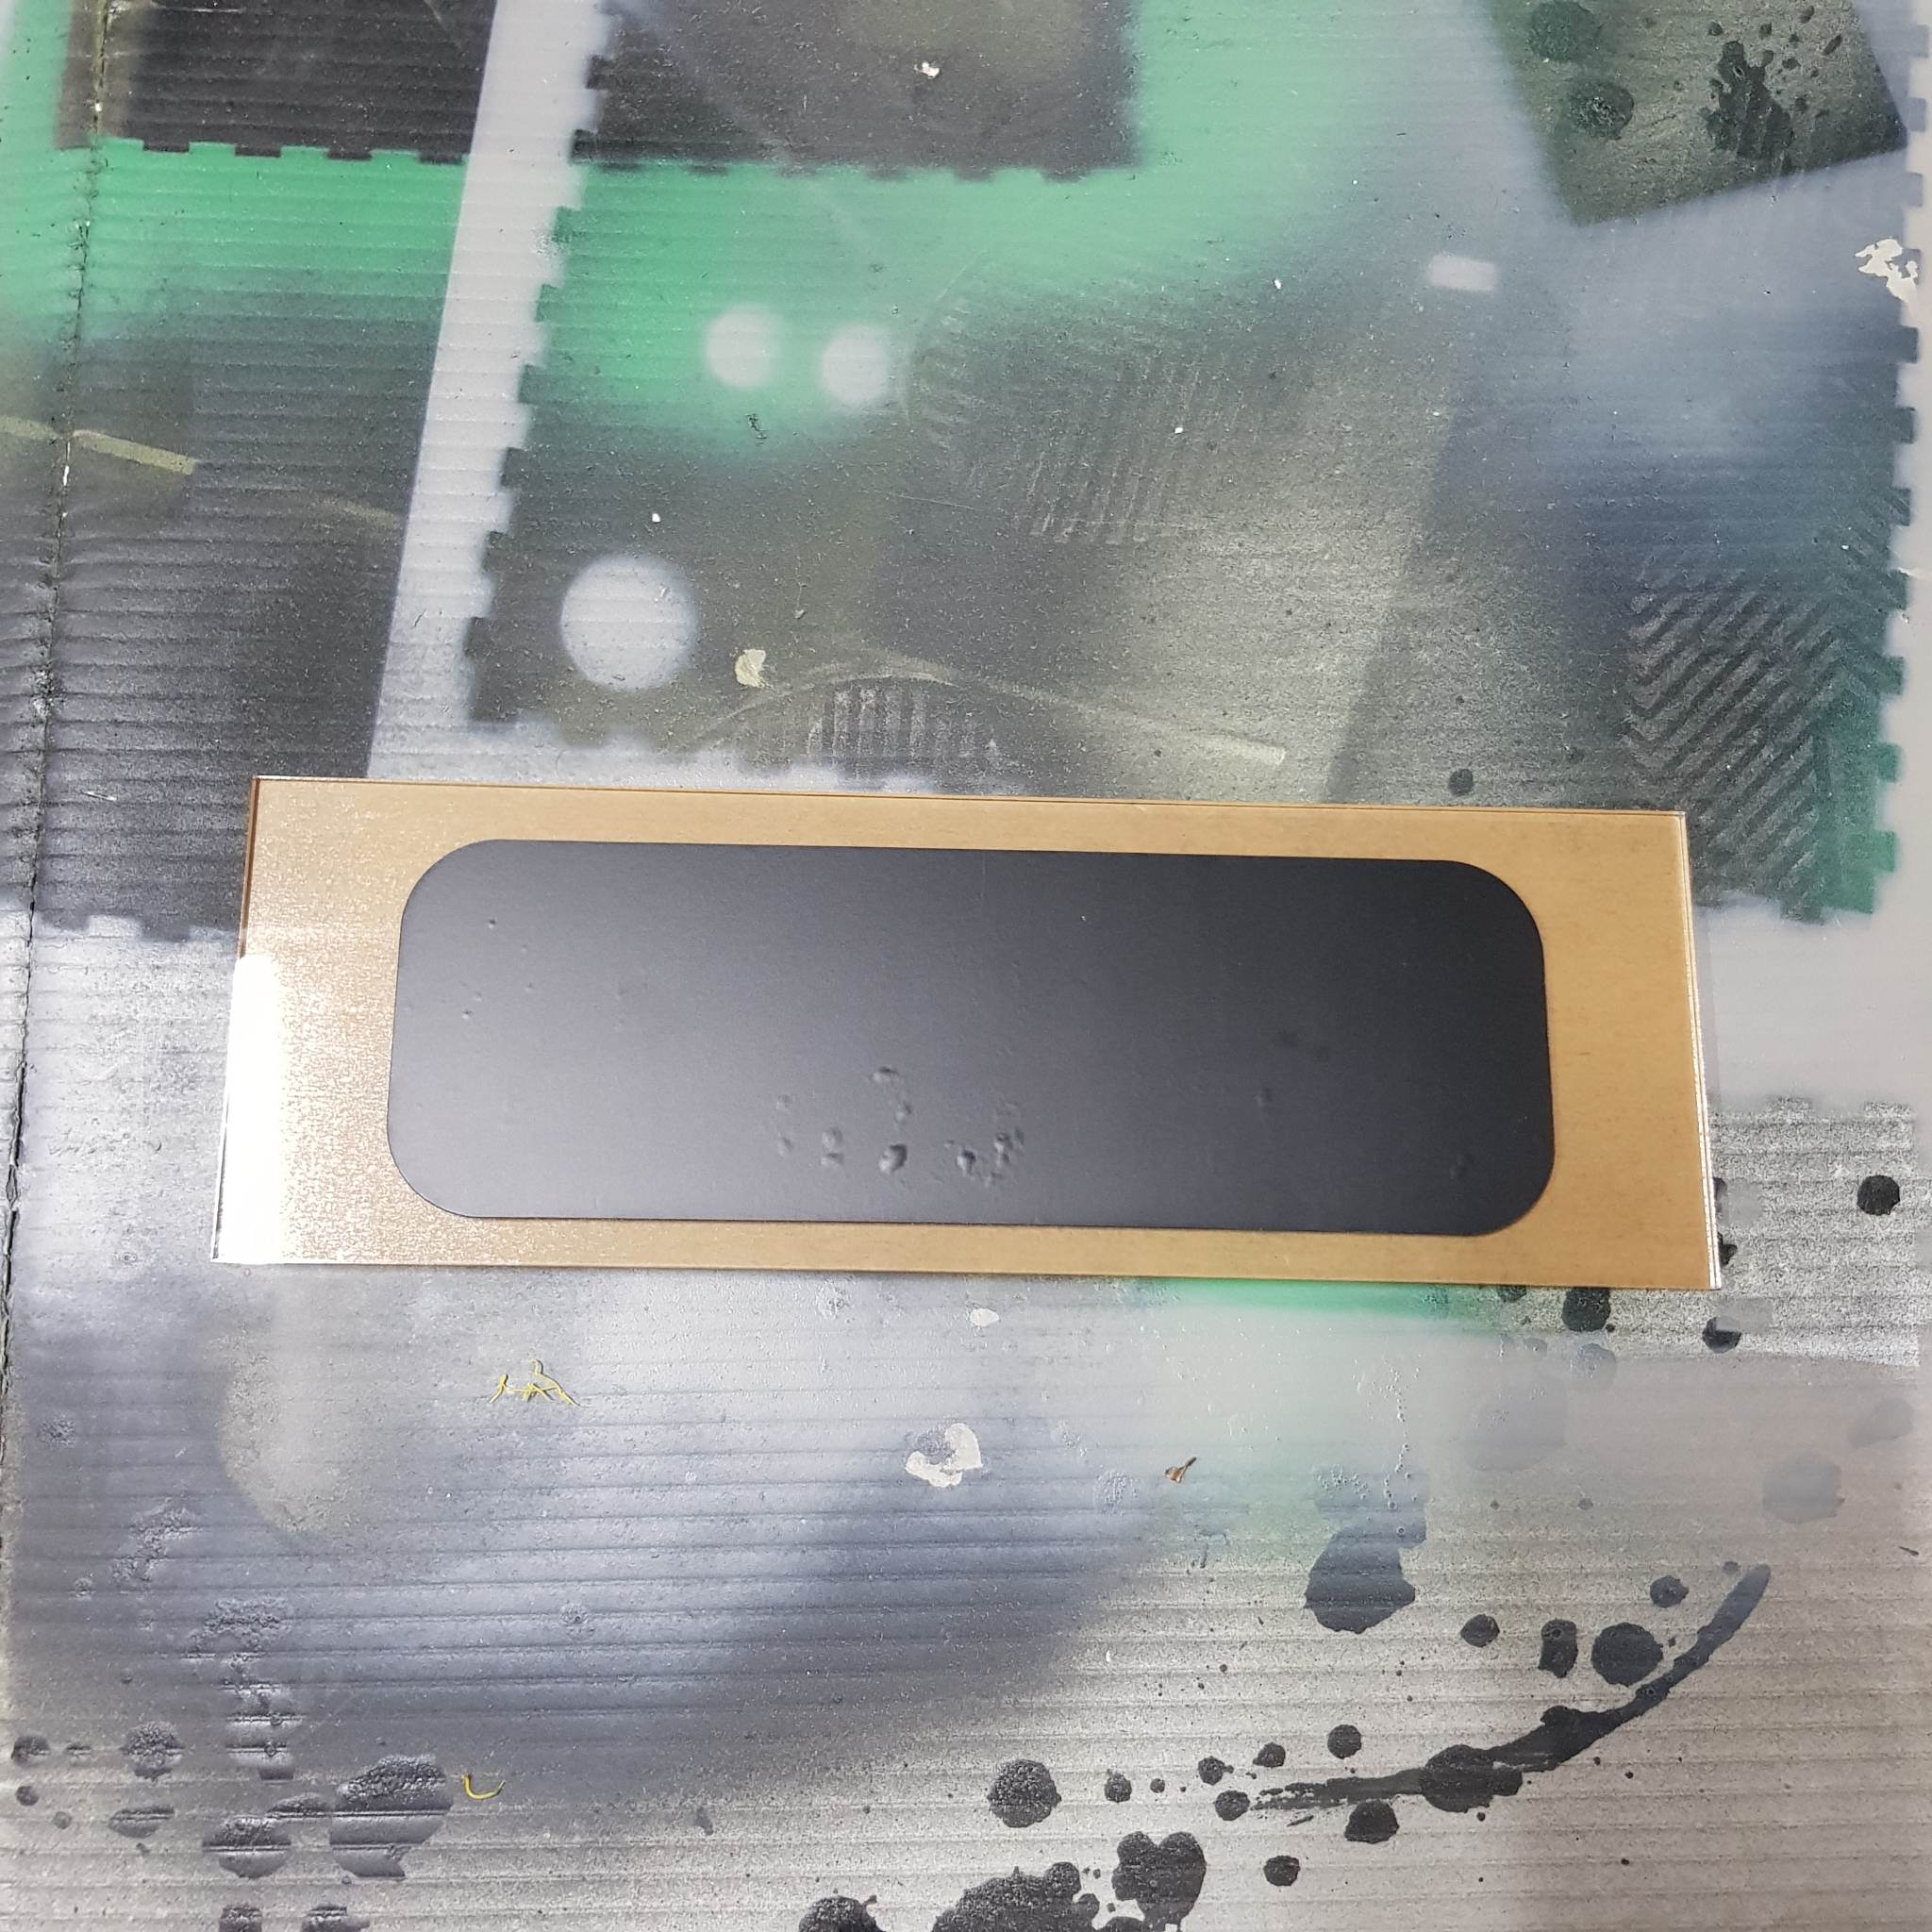
I also painted the oven door (the black part is a sticker to cover the parts I want to keep transparent.
assembly

I used super glue(and little white glue and glue gun in some parts) to stick all the parts together. There are a few structural things I would fix if I had time to make another prototype(for example I stuck the structure together in the “wrong” order, so it is slightly unaligned which affects the fit in some places.). I also used glue to add a hinge and stick some magnets to to the door. I also added magnets to the top back wall piece of the structure for easy access to the Arduino.

interface

I was not sure about how the interface would look like. I needed the task for each screen to be understandable with minimal text so that children who cannot yet read can still enjoy the game.

I decided to go with a front view, with a character that indicates what the current task is. I would also have the icons from the first instructions page to remind the child what to use for this task. Some of the pages also have  bars that indicate how long a task should be done for. I also need to consider that I have limited drawing skills, I tried to find game assets online, but didn’t find ones that I really liked. I started sketching a very basic representation of how I want each screen to look:

I tried this style but didn’t like it. I like the idea of the character wearing a Kandoora(Emirati traditional dress), but the eyes bordered on creepy and that was not the theme I was going for.
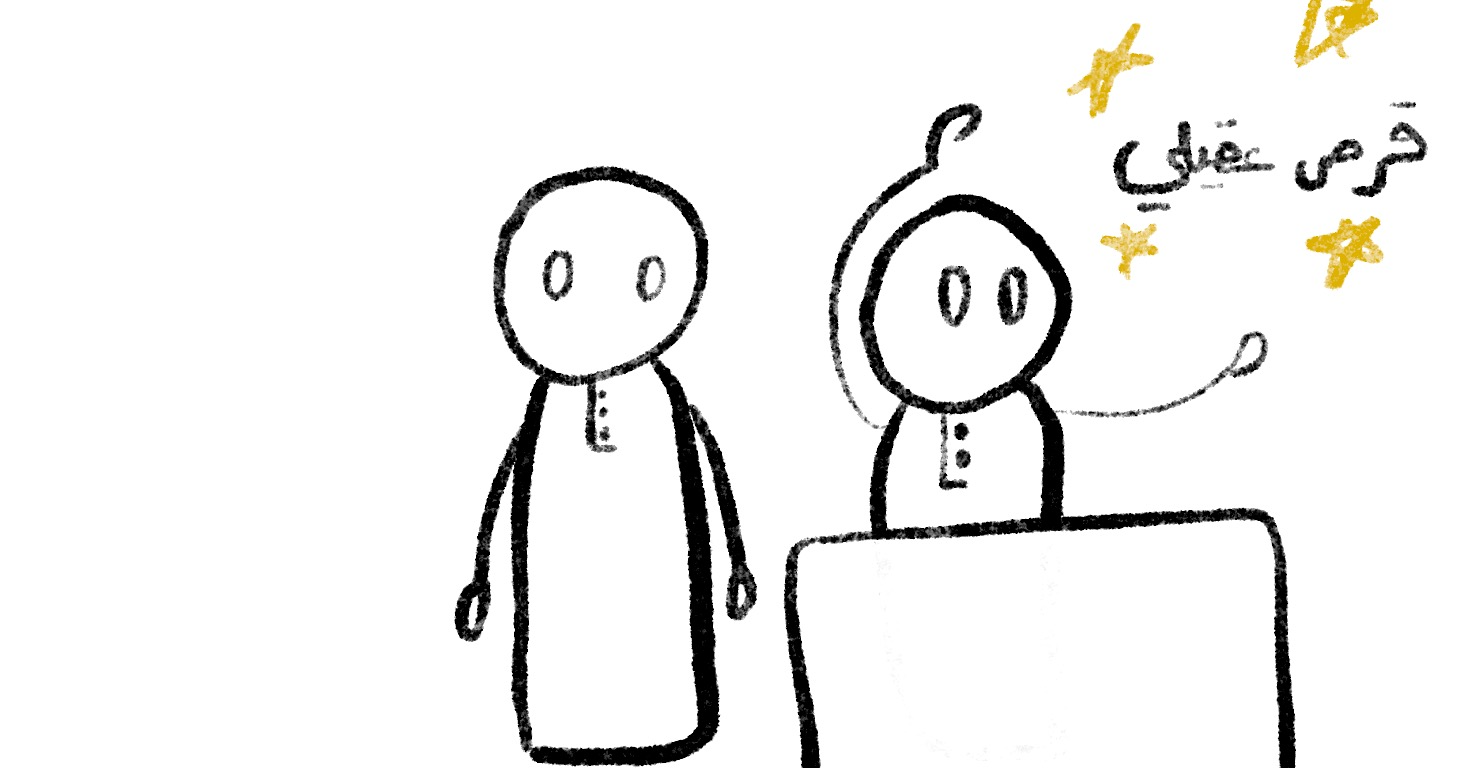
I asked my sister for input and she suggested a few things one of which is using colors without borders:

I liked this style more and I think I might stick with this style with a few adjustments.

Next steps

    • I will need to connect the arduino into the structure
    • I still need to finalize the p5js pages and find/make the graphics
    • user testing!

Final Projects User Testing

Progress

Following our last blog post, we (Samyam and Tim) are almost done with the project. The project was divided into three different major components:

    1. Building Hardware
    2. p5.js component
    3. Arduino component

After assembling the 3D printed and laser-cut pieces with motors, we have made some changes in the p5.js component – it has been adjusted so that the latency in data transfer does not affect the bidirectional communication between p5.js and the Arduino. In the same way, the Arduino code has been modified to facilitate smooth communication between those two components. Once the user clicks the SEND DATA button, p5.js sends data to the drawing arm via the Arduino, which in return sends a confirmation message to p5.js; this way, p5.js knows when to send the next message. In the meantime, the physical arm keeps on drawing the sketch. When all the data are sent from p5.js, the completed sketch can be found on the base plate of the platform.

User Testing

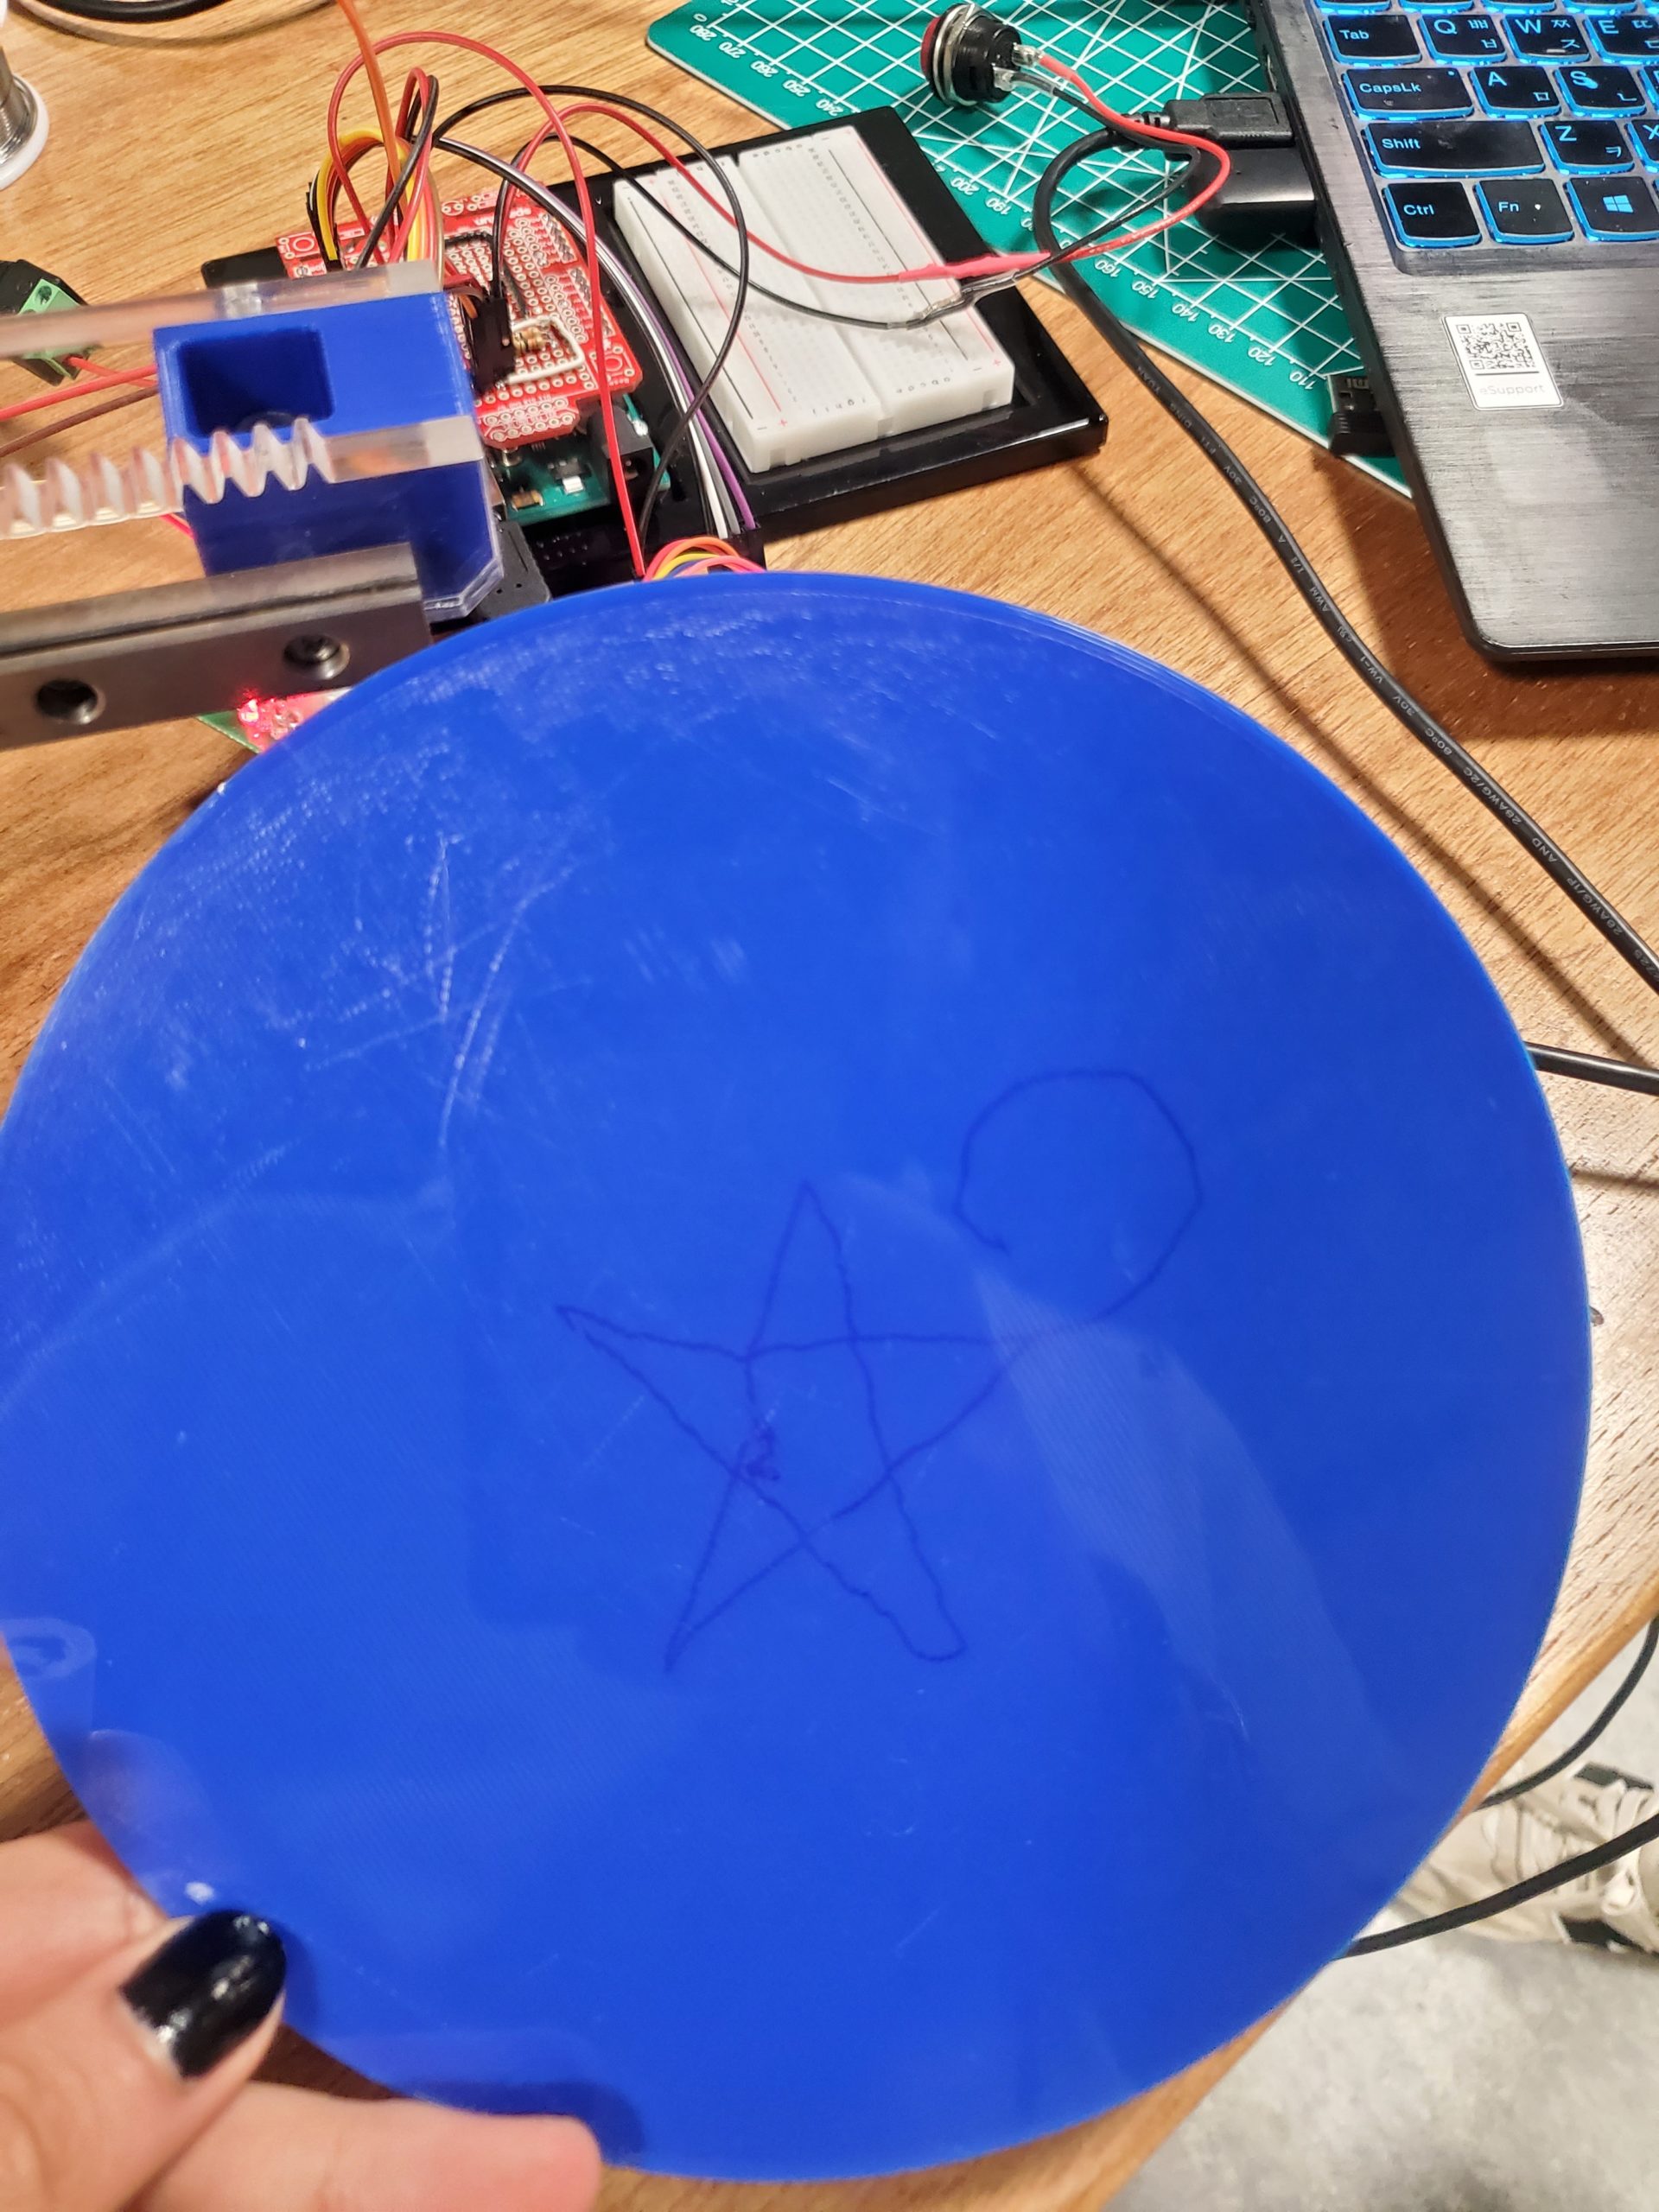
Here, after setting up the device, we draw a sketch of a star with a curved hook on one edge. Once the user clicks on SEND DATA button, mapped coordinates (mapped to polar coordinates) are relayed to the Arduino, and the sketch is drawn on the plate. The progress of the sketch can be tracked using the p5.js console, where the completion percentage as well as the coordinates transferred are displayed.

Find the user-testing video here along with the final sketch drawn on the plate.

The completed sketch:

Final Sketch

Future Plans

The device is functional and working as expected. Thus, we plan on further enhancing the hardware as well as software components of the project. The time the device takes to complete the sketch immensely depends on the complexity of the sketch, thus our plan is to improvise its performance as much as possible. In addition, the base plate will be re-engineered so that the user can place a paper for better visibility of the final sketch.

Final Project – User Testing [Samyam & Tim]

Progress

Following our last blog post, we (Samyam and Tim) are almost done with the project. The project was divided into three different major components: 

    1. Building Hardware
    2. p5.js component
    3. Arduino component

After assembling the 3D printed and laser-cut pieces with motors, we have made some changes in the p5.js component – it has been adjusted so that the latency in data transfer does not affect the bidirectional communication between p5.js and the Arduino. In the same way, the Arduino code has been modified to facilitate smooth communication between those two components. Once the user clicks the SEND DATA button, p5.js sends data to the drawing arm via the Arduino, which in return sends a confirmation message to p5.js; this way, p5.js knows when to send the next message. In the meantime, the physical arm keeps on drawing the sketch. When all the data are sent from p5.js, the completed sketch can be found on the base plate of the platform. 

User Testing 

Here, after setting up the device, we draw a sketch of a star with a curved hook on one edge. Once the user clicks on SEND DATA button, mapped coordinates (mapped to polar coordinates) are relayed to the Arduino, and the sketch is drawn on the plate. The progress of the sketch can be tracked using the p5.js console, where the completion percentage as well as the coordinates transferred are displayed. 

Find the user-testing video here along with the final sketch drawn on the plate.  

The completed sketch:

Final Sketch

Future Plans

The device is functional and working as expected. Thus, we plan on further enhancing the hardware as well as software components of the project. The time the device takes to complete the sketch immensely depends on the complexity of the sketch, thus our plan is to improvise its performance as much as possible. In addition, the base plate will be re-engineered so that the user can place a paper for better visibility of the final sketch. 

Final Project Update

Concept Recap

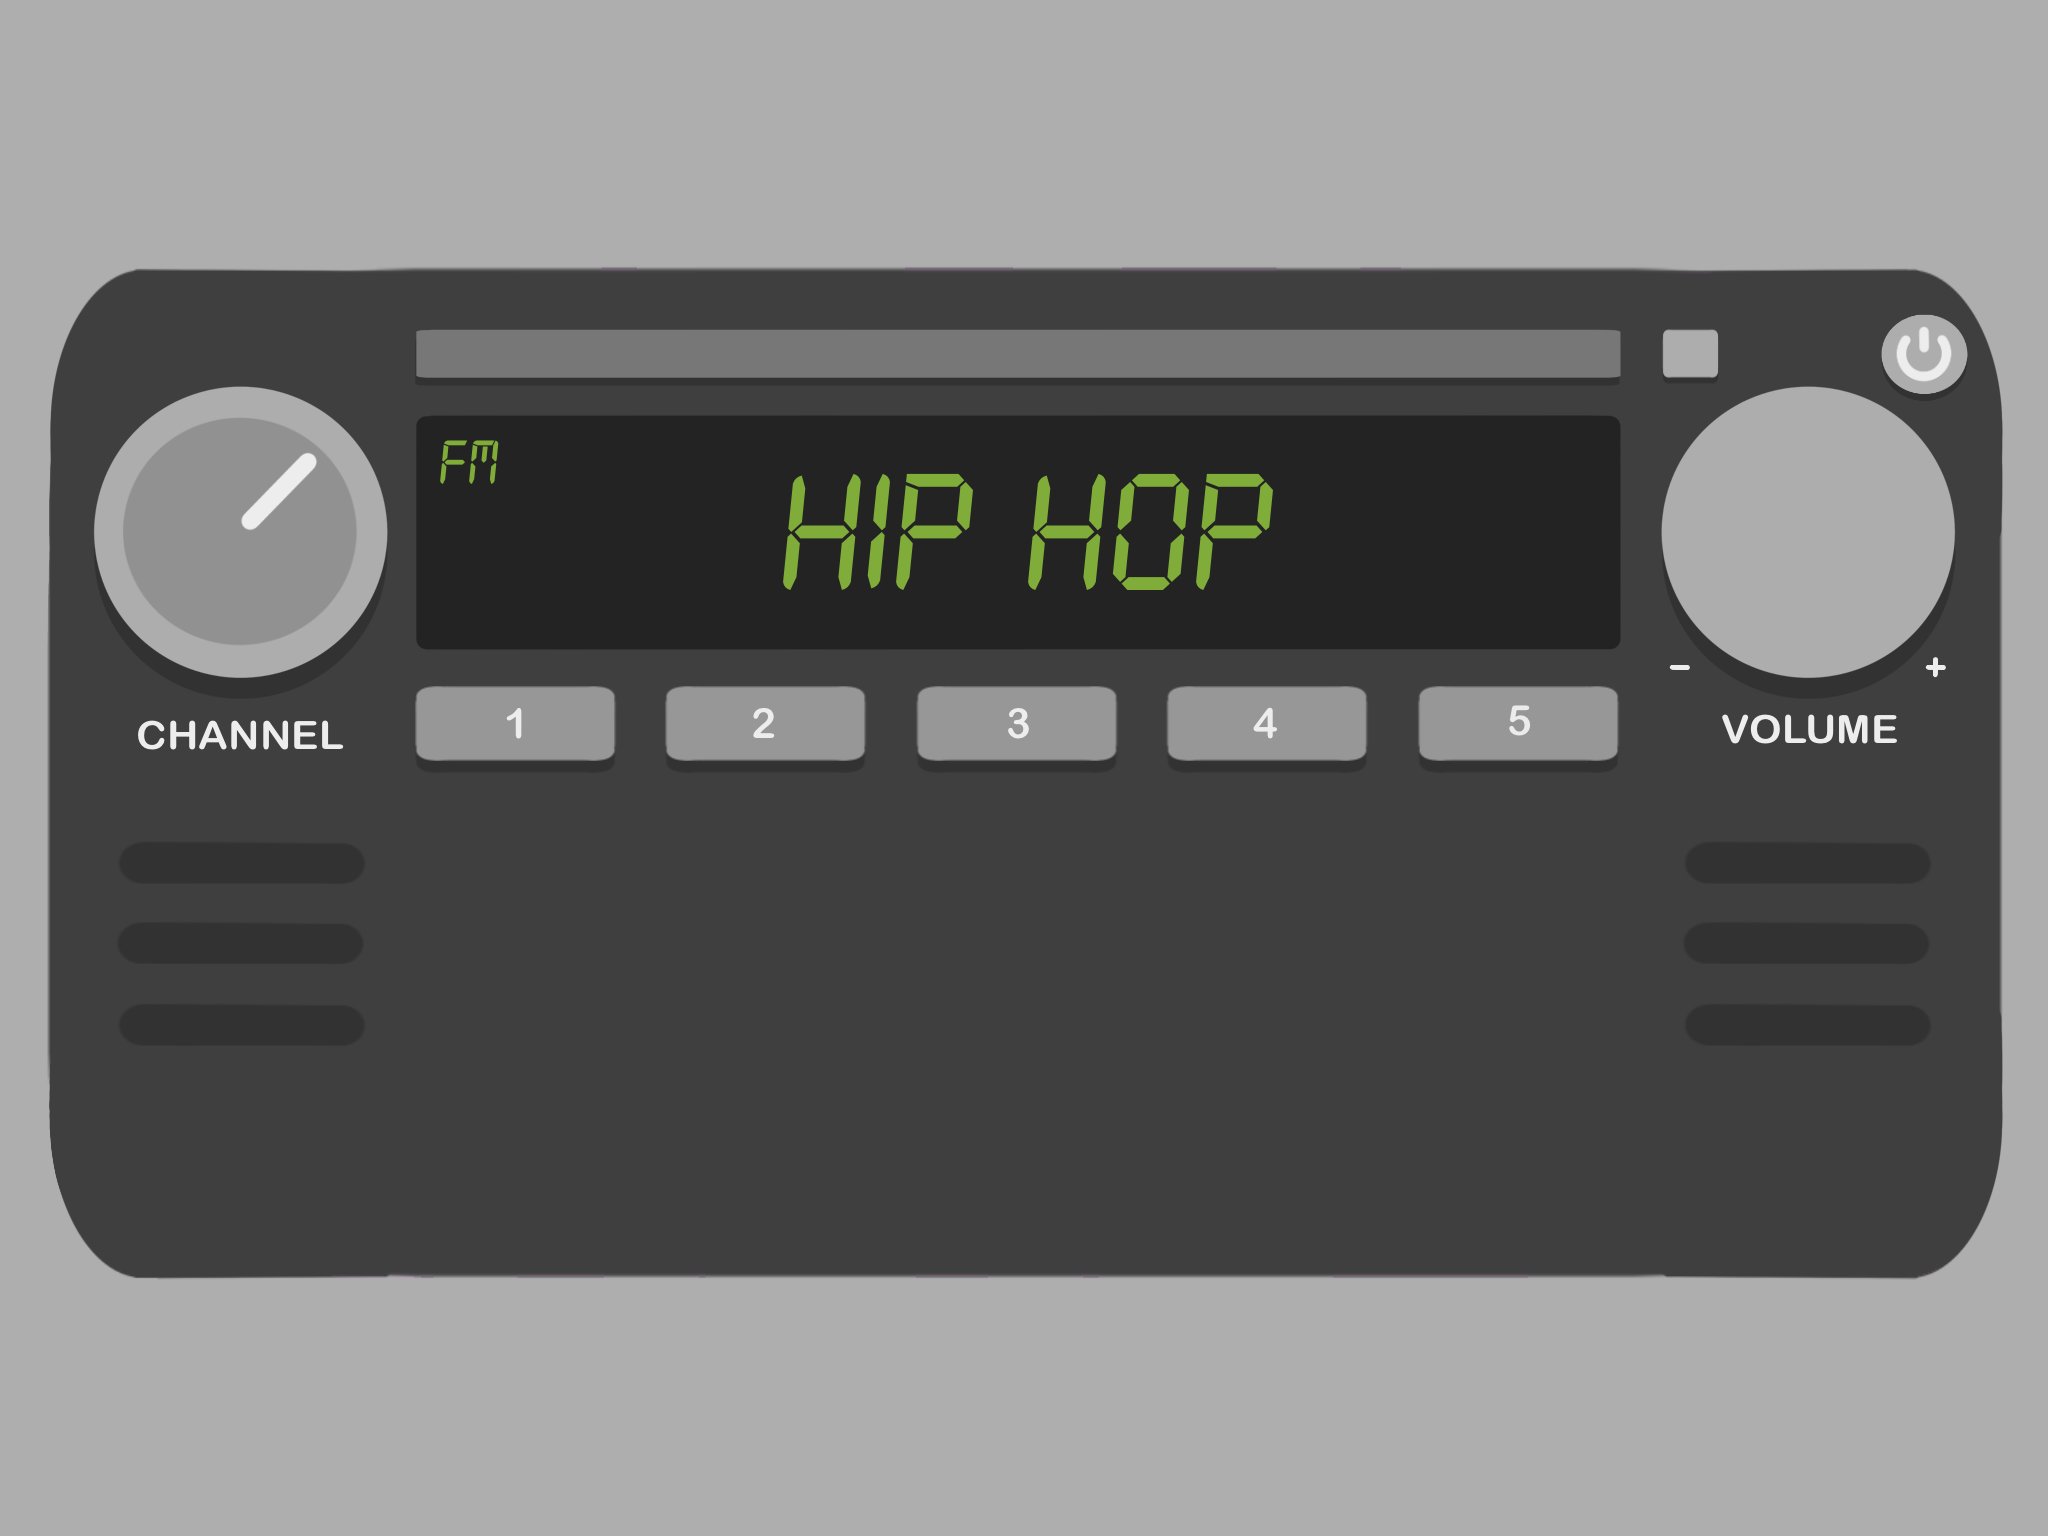
For my final project, I decided to make a radio that changes FM values according to what number you turn the potentiometer dial to (I will input song files that play according to their designated serial monitor value).

Each range of values will take you to a different channel.

This includes:

  • 4-204 (Hip Hop), which is designated the variable RED on p5
  • 205-408 (Historic Events), variable YELLOW on p5
  • 409-612 (Classic Rock/ Oldies), variable GREEN on p5
  • 613-816 (Classical), variable TEAL on p5
  • 817-1023 (Khaleeji), variable BLUE on p5

For 0-3 Radio is switched off (variable OFF on p5)

Design and Circuit


Still kind of stuck on what more to add to the bottom half of the p5 design, so it’s still subject to change!


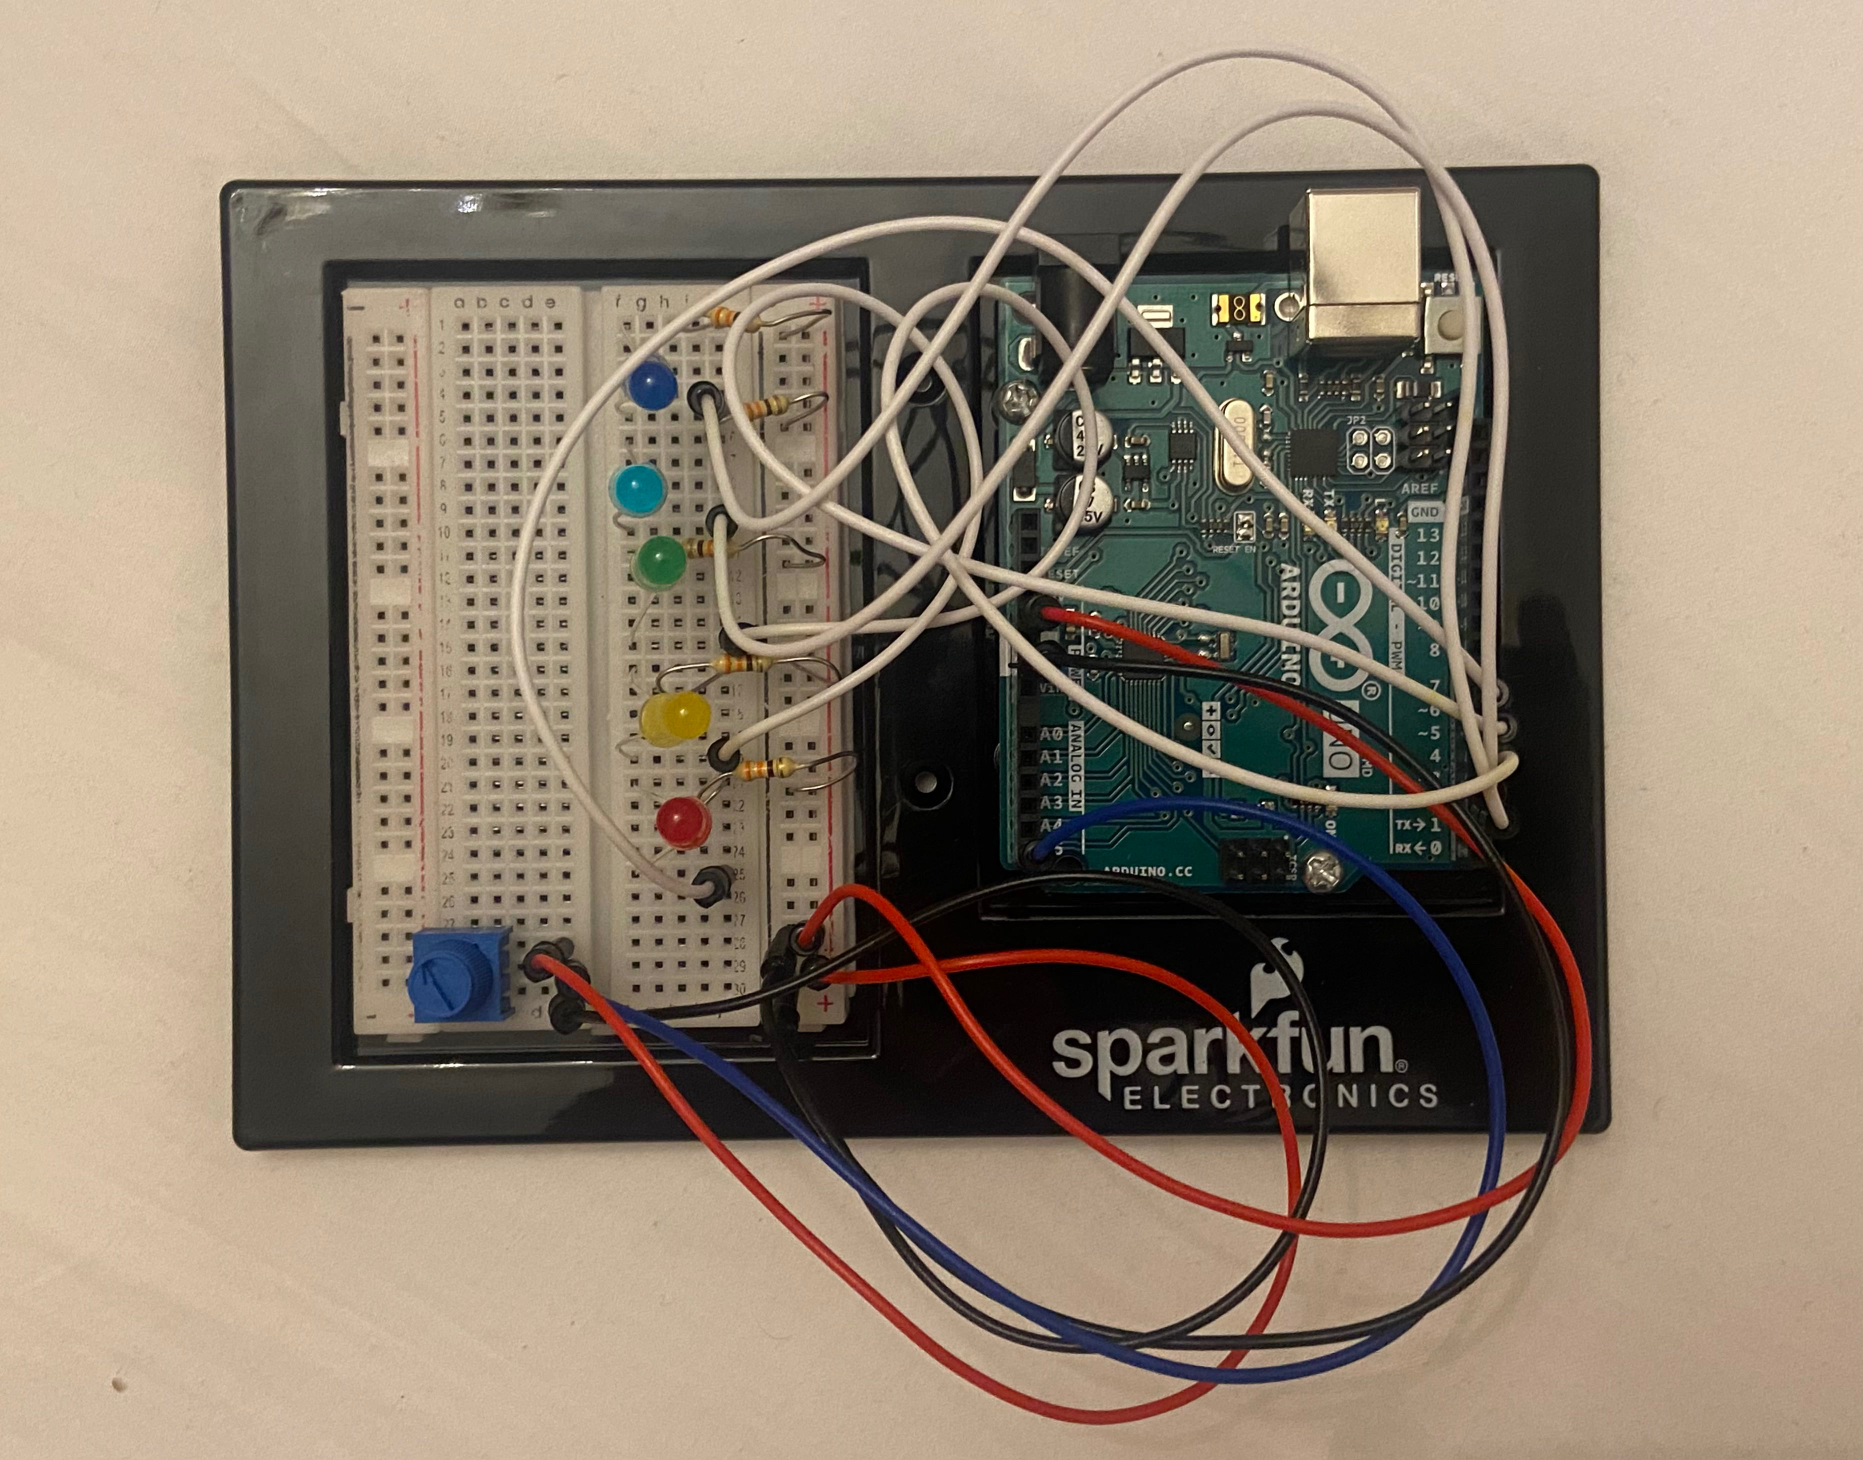
Arduino circuit is done, but still trying to see if I can fit making a cardboard/ wood covering in time. 

Note:

I need to lengthen the potentiometer diodes as they aren’t as tall as the LEDs’ diodes (I want to make a simple cardboard covering that hides everything but the potentiometer and the LEDs– basically anything that isn’t going to be used by the user).

Updates

I added variables that would encompass the ranges on both Arduino and p5, so instead of the designated range numbers from 0-1023 popping up, the numbers 0-6 would pop up for each input in the serial monitor on p5/ Arduino.

  • In p5, this is written in if statements:
else if (inData == GREEN) {

greenSongs(); // calls function that plays songs
// replace with randomized array?

noStroke();
fill (128,172,57); // text color
textFont(radioFont, 45); // (font name, font size)
text("CLASSIC ROCK", 142, 148); // (text, x, y)
glow(color(128,172,57), 19); // calls glow function

}
  • In Arduino, this is done by simply adding the integer currentColor which would equal each value from 0-6 depending on what the potentiometer value is. For example:
else if ((potMeasure >= 409) && (potMeasure < 613)) {
  currentColor = 4;
  digitalWrite (greenPin, HIGH);
  digitalWrite (redPin, LOW);
  digitalWrite (yellowPin, LOW);
  digitalWrite (tealPin, LOW);
  digitalWrite (bluePin, LOW);
  int GREEN = 3;
}

User Testing

Improvements to be made

  • The music was being played in function draw (), so it started to play in an infinite loop. I tried to fix this by adding another function that plays the music when draw calls it, but that didn’t work. The song just keep playing a thousand times per second and became inaudible.
  • I might cut up a wooden or cardboard slab to cover all the wires, but I don’t know if I’ll have time to do that until I figure out the software of playing the music files without them being on a loop.Welcome to you're "DOOM!"

Week 13 Progress update

OVERVIEW

As of this week, we had some tweaks to the concept of our whole idea. The idea will now center on connecting two people and two lamps to a single computer. This week has been filled with a range of challenges that have put our knowledge of Arduino and p5js to the test. Integrating a touch sensor to send data from Arduino to p5js and collecting and transmitting several bytes of information from p5js to Arduino are some examples of the operations that fall under this category. Among the concept adjustments we made was to use regular wire serial communication between Arduino and p5js rather than relying on the use of a bluetooth module, which would have made the project more interesting.

PROGRESS

At the moment we are struggling with successfully sending RGB values from p5js to Arduino and eventually displaying them on the LED strip. As of now, when we transmit specified color values from p5js to Arduino, they are displayed on the LED strip as intended. However, only the color white is projected on the LED strip when we send any other RGB values. Additionally, the lights do not “cycle” through their respective patterns like they should. For example, when we chose “flicker”, the lights flicker once and remain off, instead of flickering continuously as intended in the Arduino code.  We started by doing a number of comprehensive tests to rule out the possibility that the issue could be with the serial transmission. The only remaining hypotheses for the bugs that we are still investigating are if the problem could be caused by using the jpg color wheel to determine color values or whether there are more mechanisms involving how Arduino interacts with LED strips that we need to comprehend. The below is a compilation of test-related videos:

(lights only showing white and not looping continuously)

(testing the color printed in the console vs the color that appeared to be chosen from the wheel and seeing that they two colors do not match up)

SOLUTION

After several hours of debugging, we found that using an image to pick the color just wasn’t working.  We determined our hypothesis to be correct – that the issue was the values being sent by p5.js.

The mouse position was taking pixels from the original image and it was not being remapped to the resized and re positioned image we had in our code, even after applying the map function and several iterations of repositioning/resizing the image. We believe that the example used ( link ) to create the color picker worked because the image IS the canvas, which is not the case for ours.

We decided on a new way for the user to select the color, which would be by having an object that flashes a different color every few seconds where the user can then press a key to “freeze” the object on the selected color. In our updated sketch, all possible colors have been predetermined by us, though the process of choosing the color is more engaging now.

After making this change, the values sent to Arduino were actually representative of the color that was chosen when pressing a key, and the color that is displayed on the LED’s is now accurate. However, this did not solve the issue of the lights not looping.