When I first saw the title of this reading, I assumed that it referred to the three mathematicians that starred in Hidden Figures (2016). I was instead pleasantly surprised by a fresh perspective that was similar yet different, and happens to result in the creation of software engineering. As a Computer Science major, it was very cool to see how software was viewed before it became commonplace, and get to learn about the factors that shaped its development into what it is today. It’s still hard to imagine how they managed to put a man on the moon while being stuck in the era where the term ‘physical computing’ was all too literal.
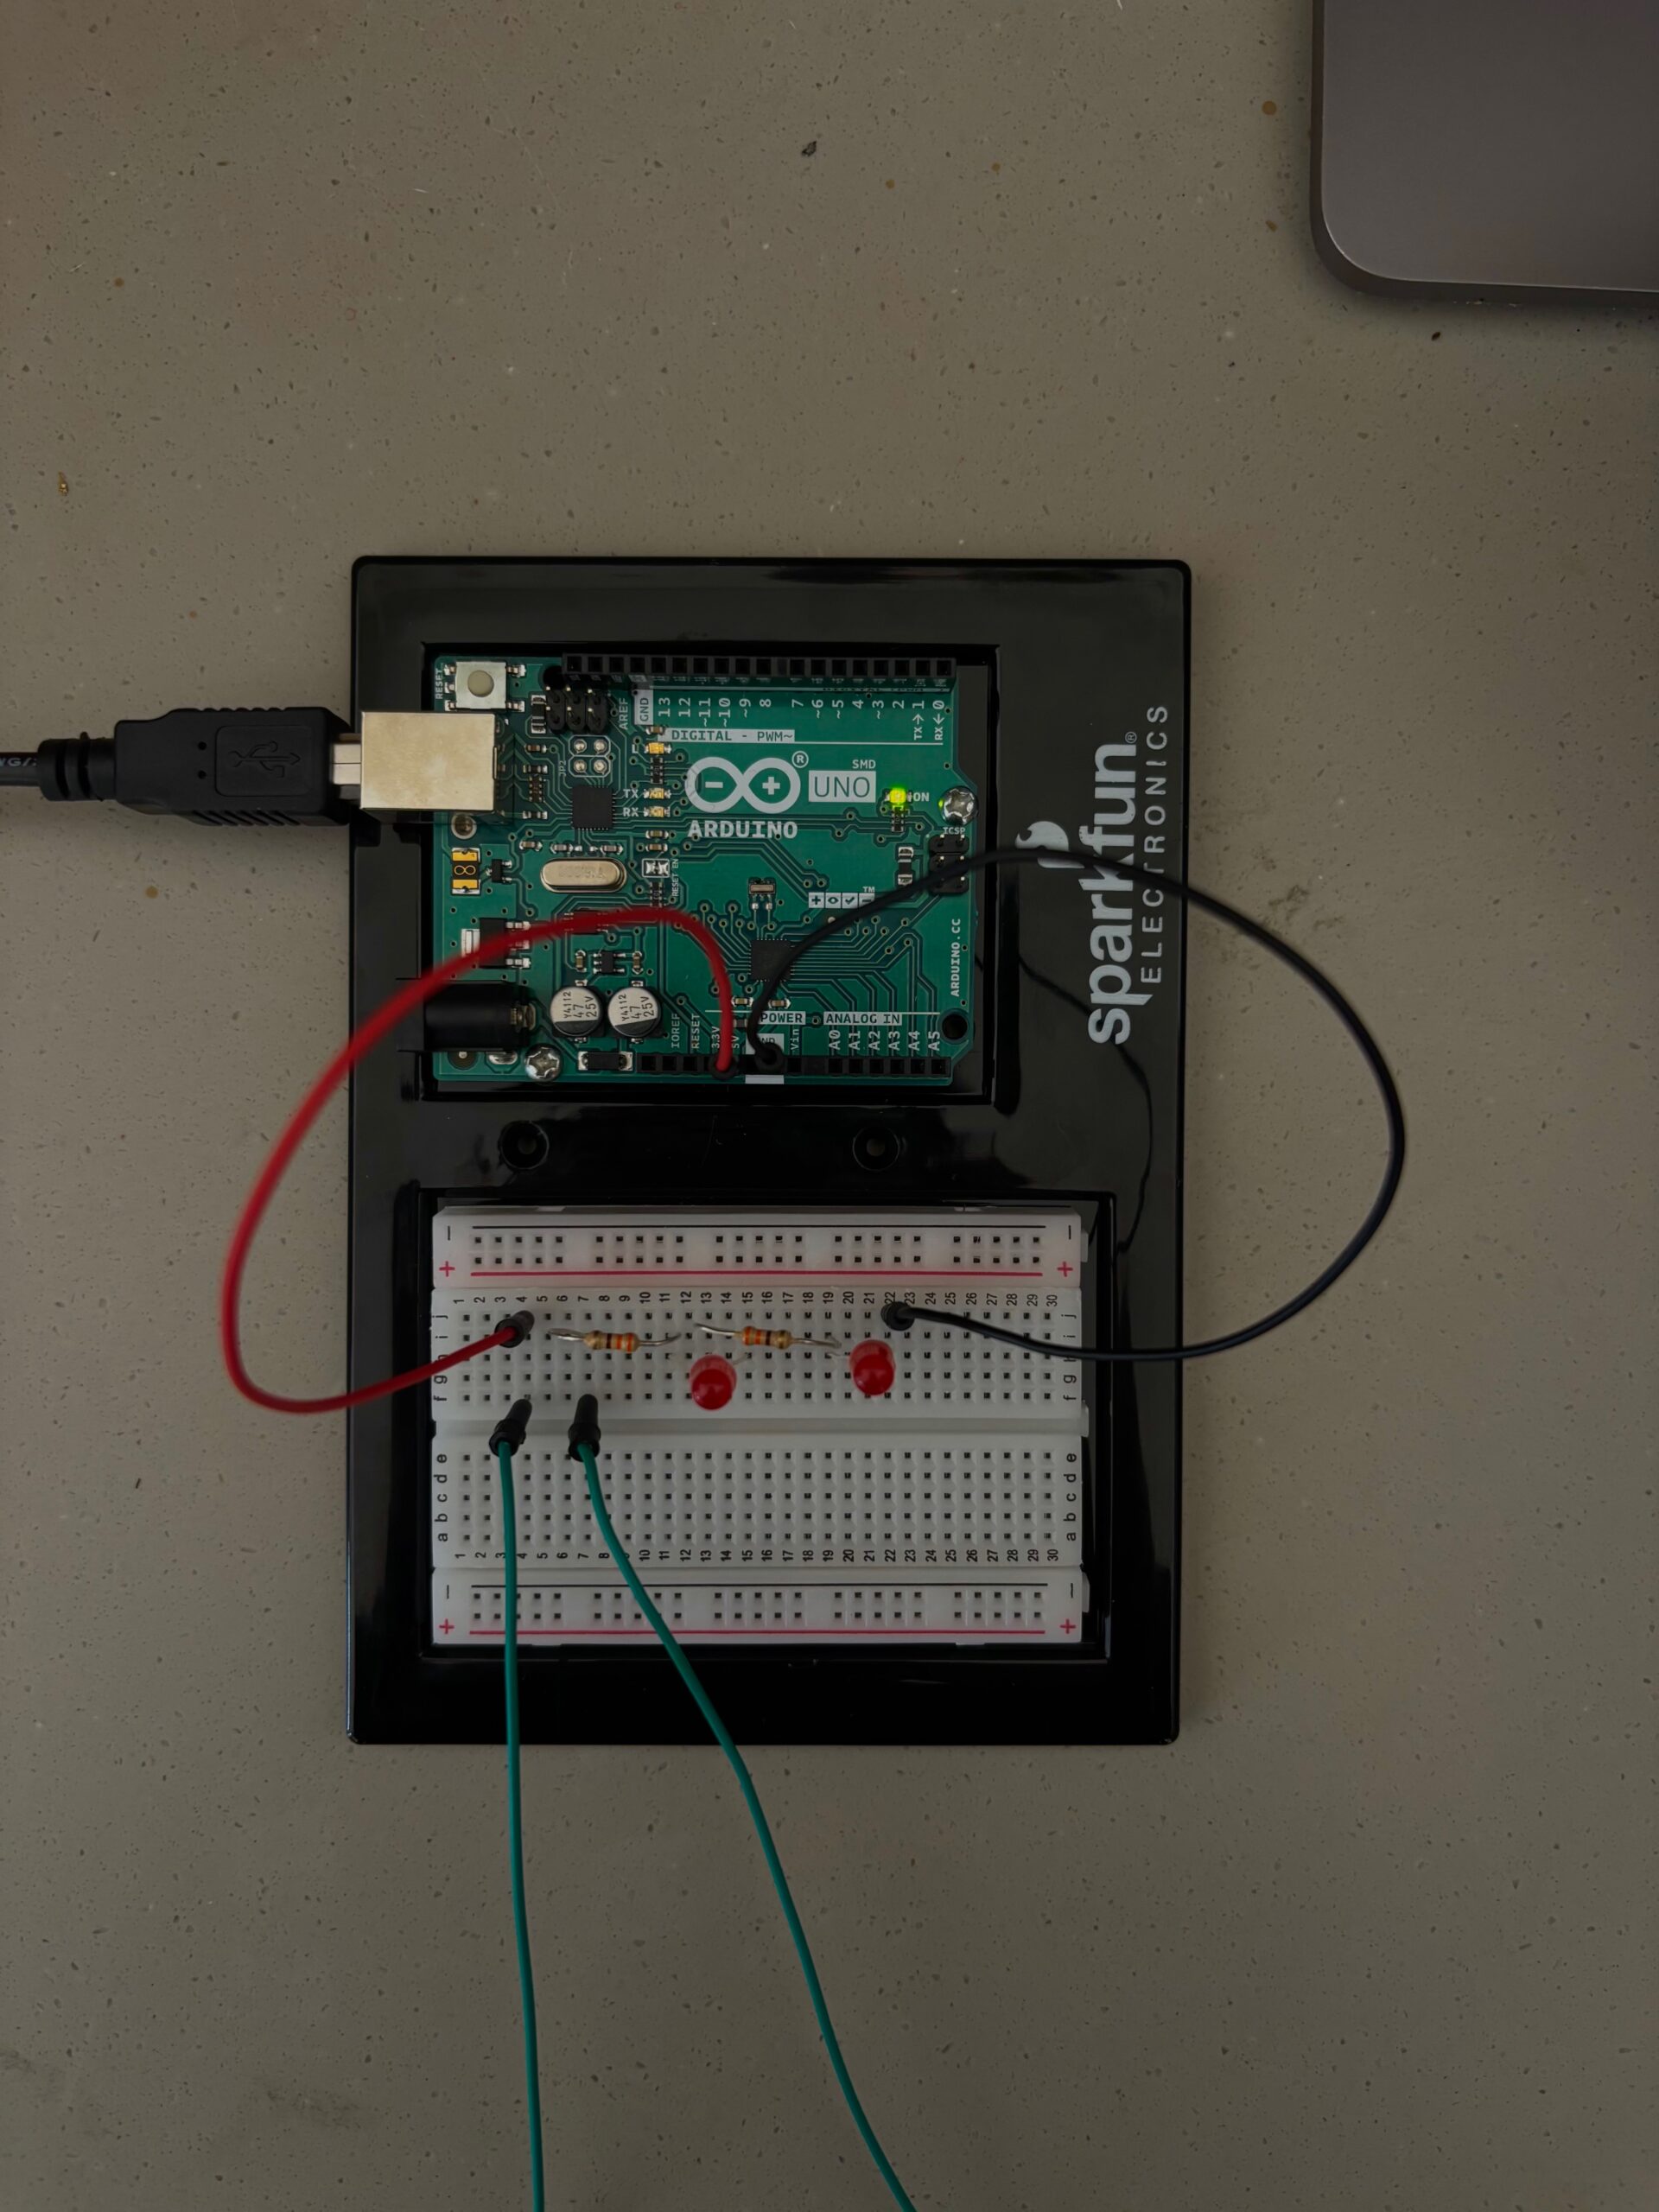
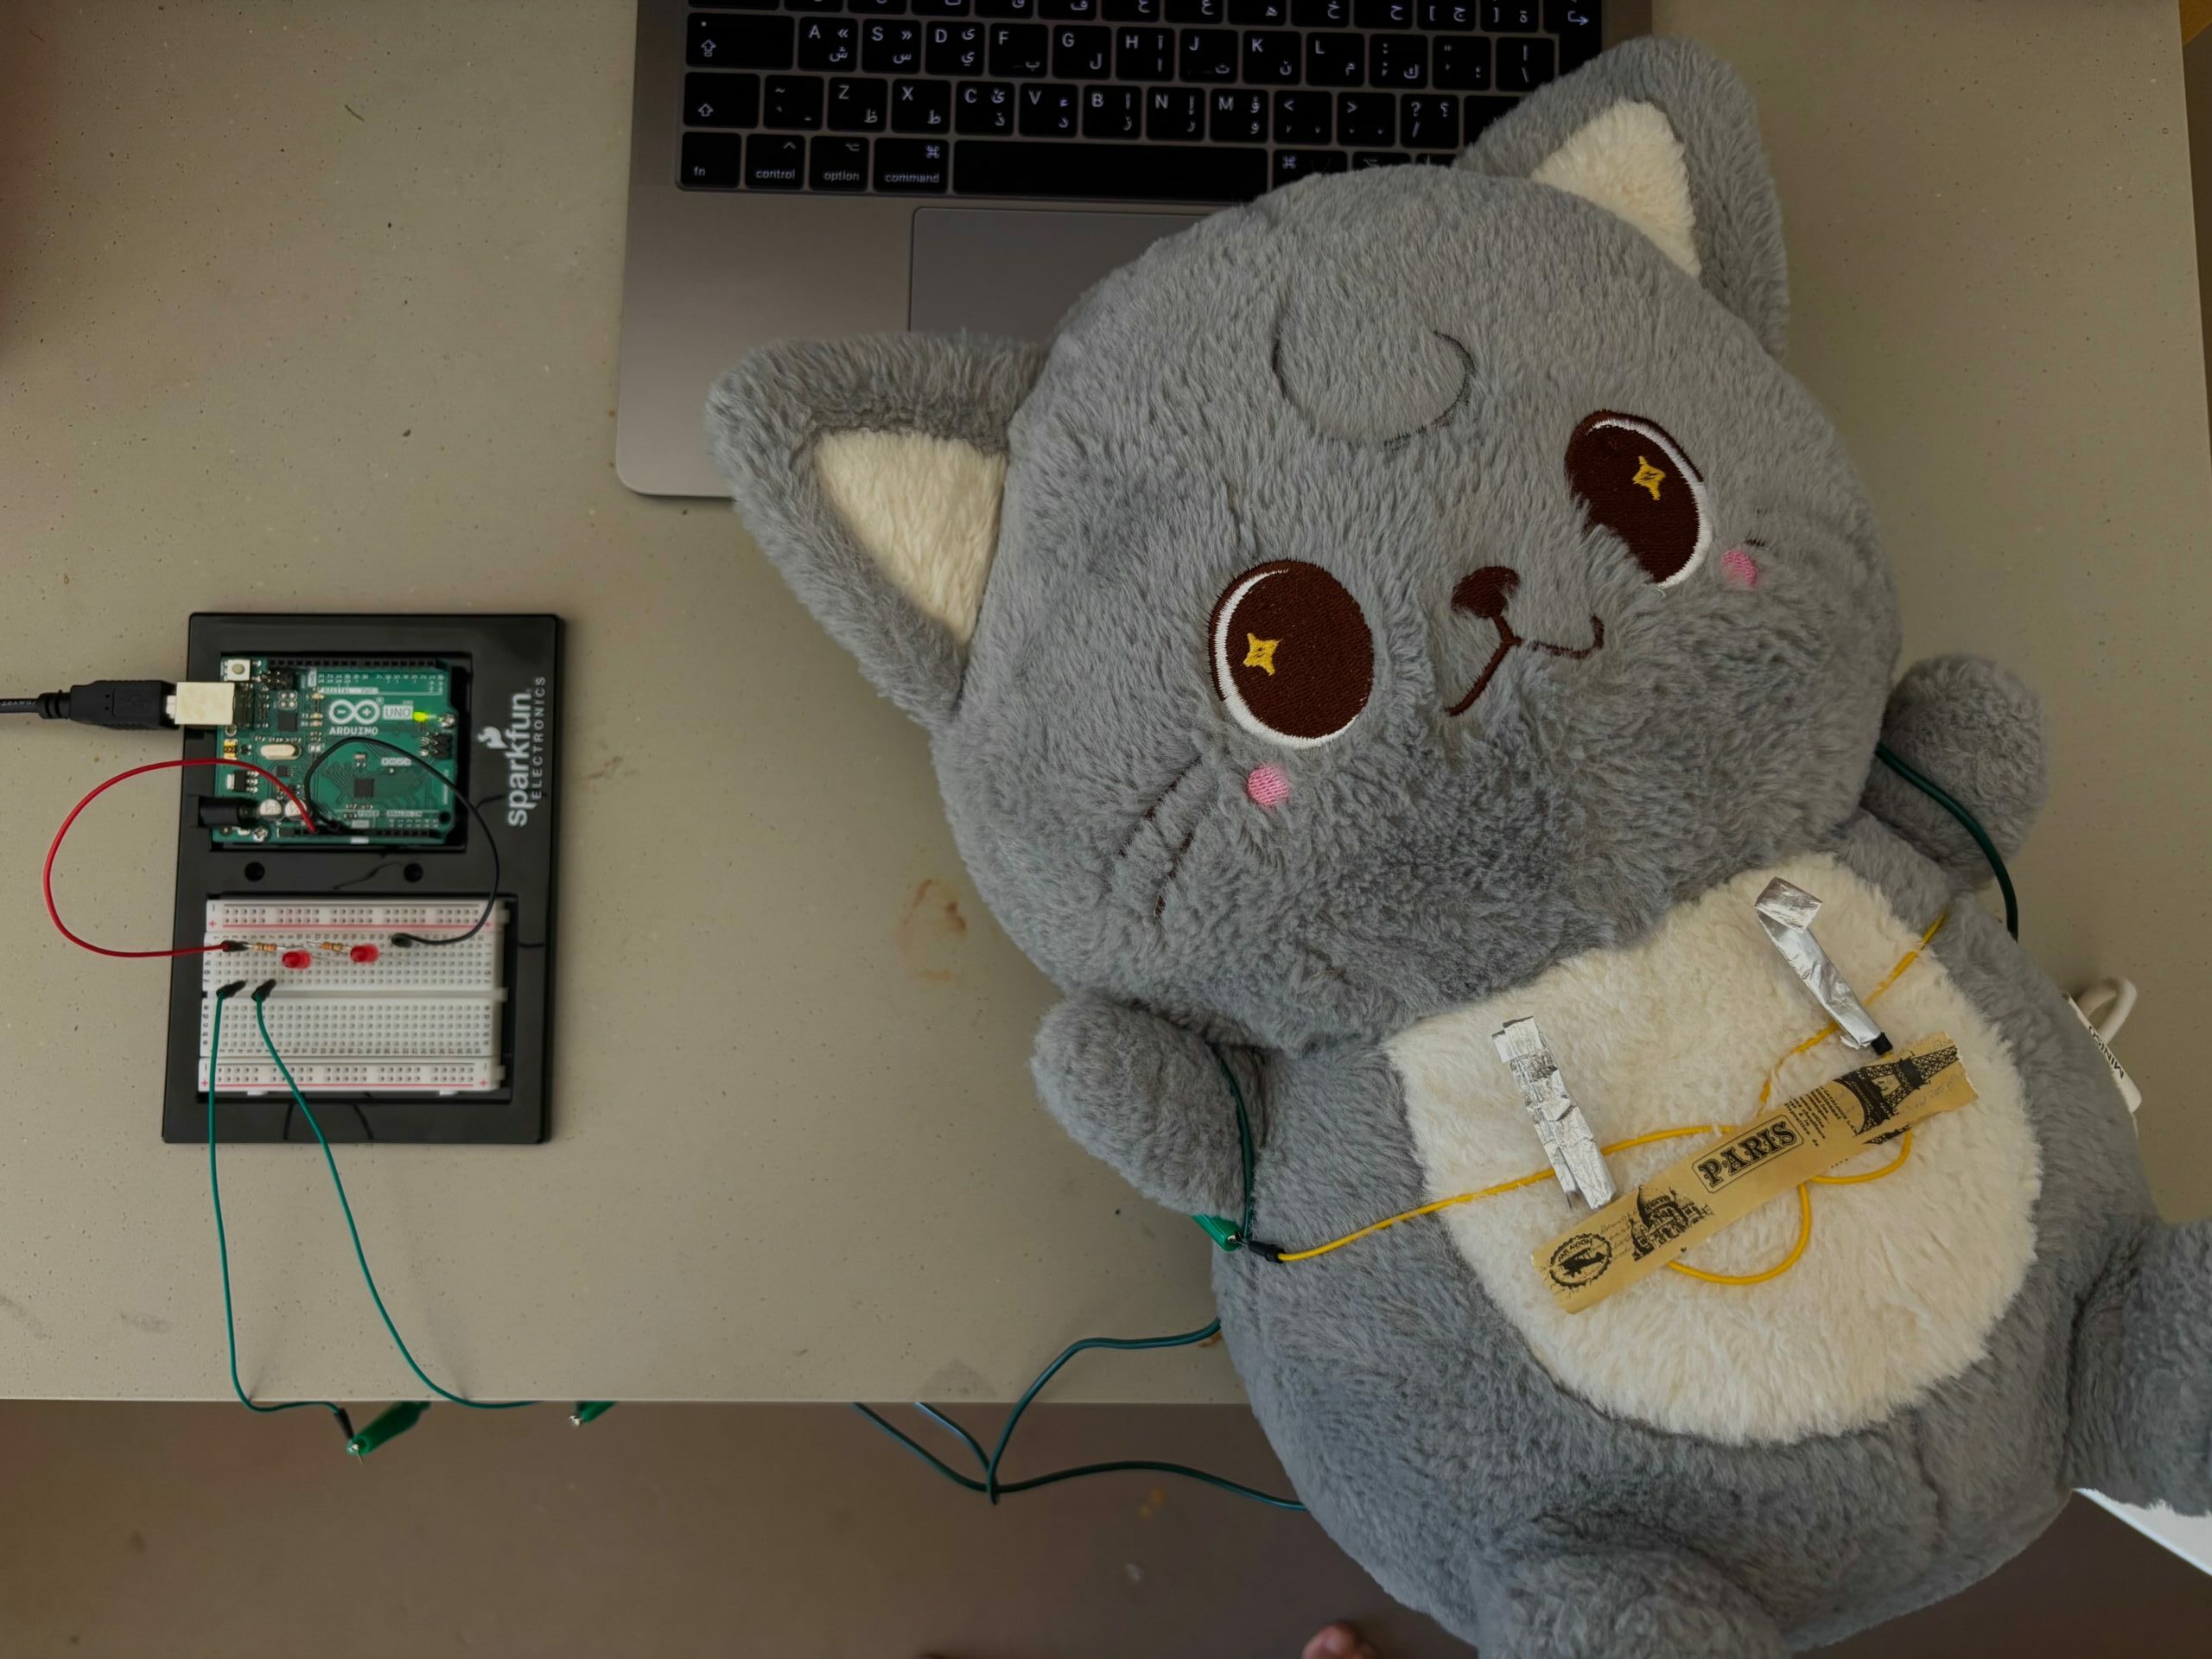
In that sense there is a clear tie-in to our Arduino work, what with having to wire components in by hand and having actual limitations on memory, although thankfully we still have access to an IDE. Even aside from the Interactive Media perspective, I got a lot out of this piece that can apply to the software engineering class I’m taking. For example, having to make asynchronous calls to the backend of our web application and dealing with potential errors. We’re actually currently in the middle of writing system tests for our next deliverable, so reading through the ‘That would never happen’ section was particularly painful.