For this project, I got inspired by bowling, and so I wanted to use a rolling ball to control the LED light. The idea was to turn it into a competition between two players, where the goal is to light up a bulb three times before the other player.
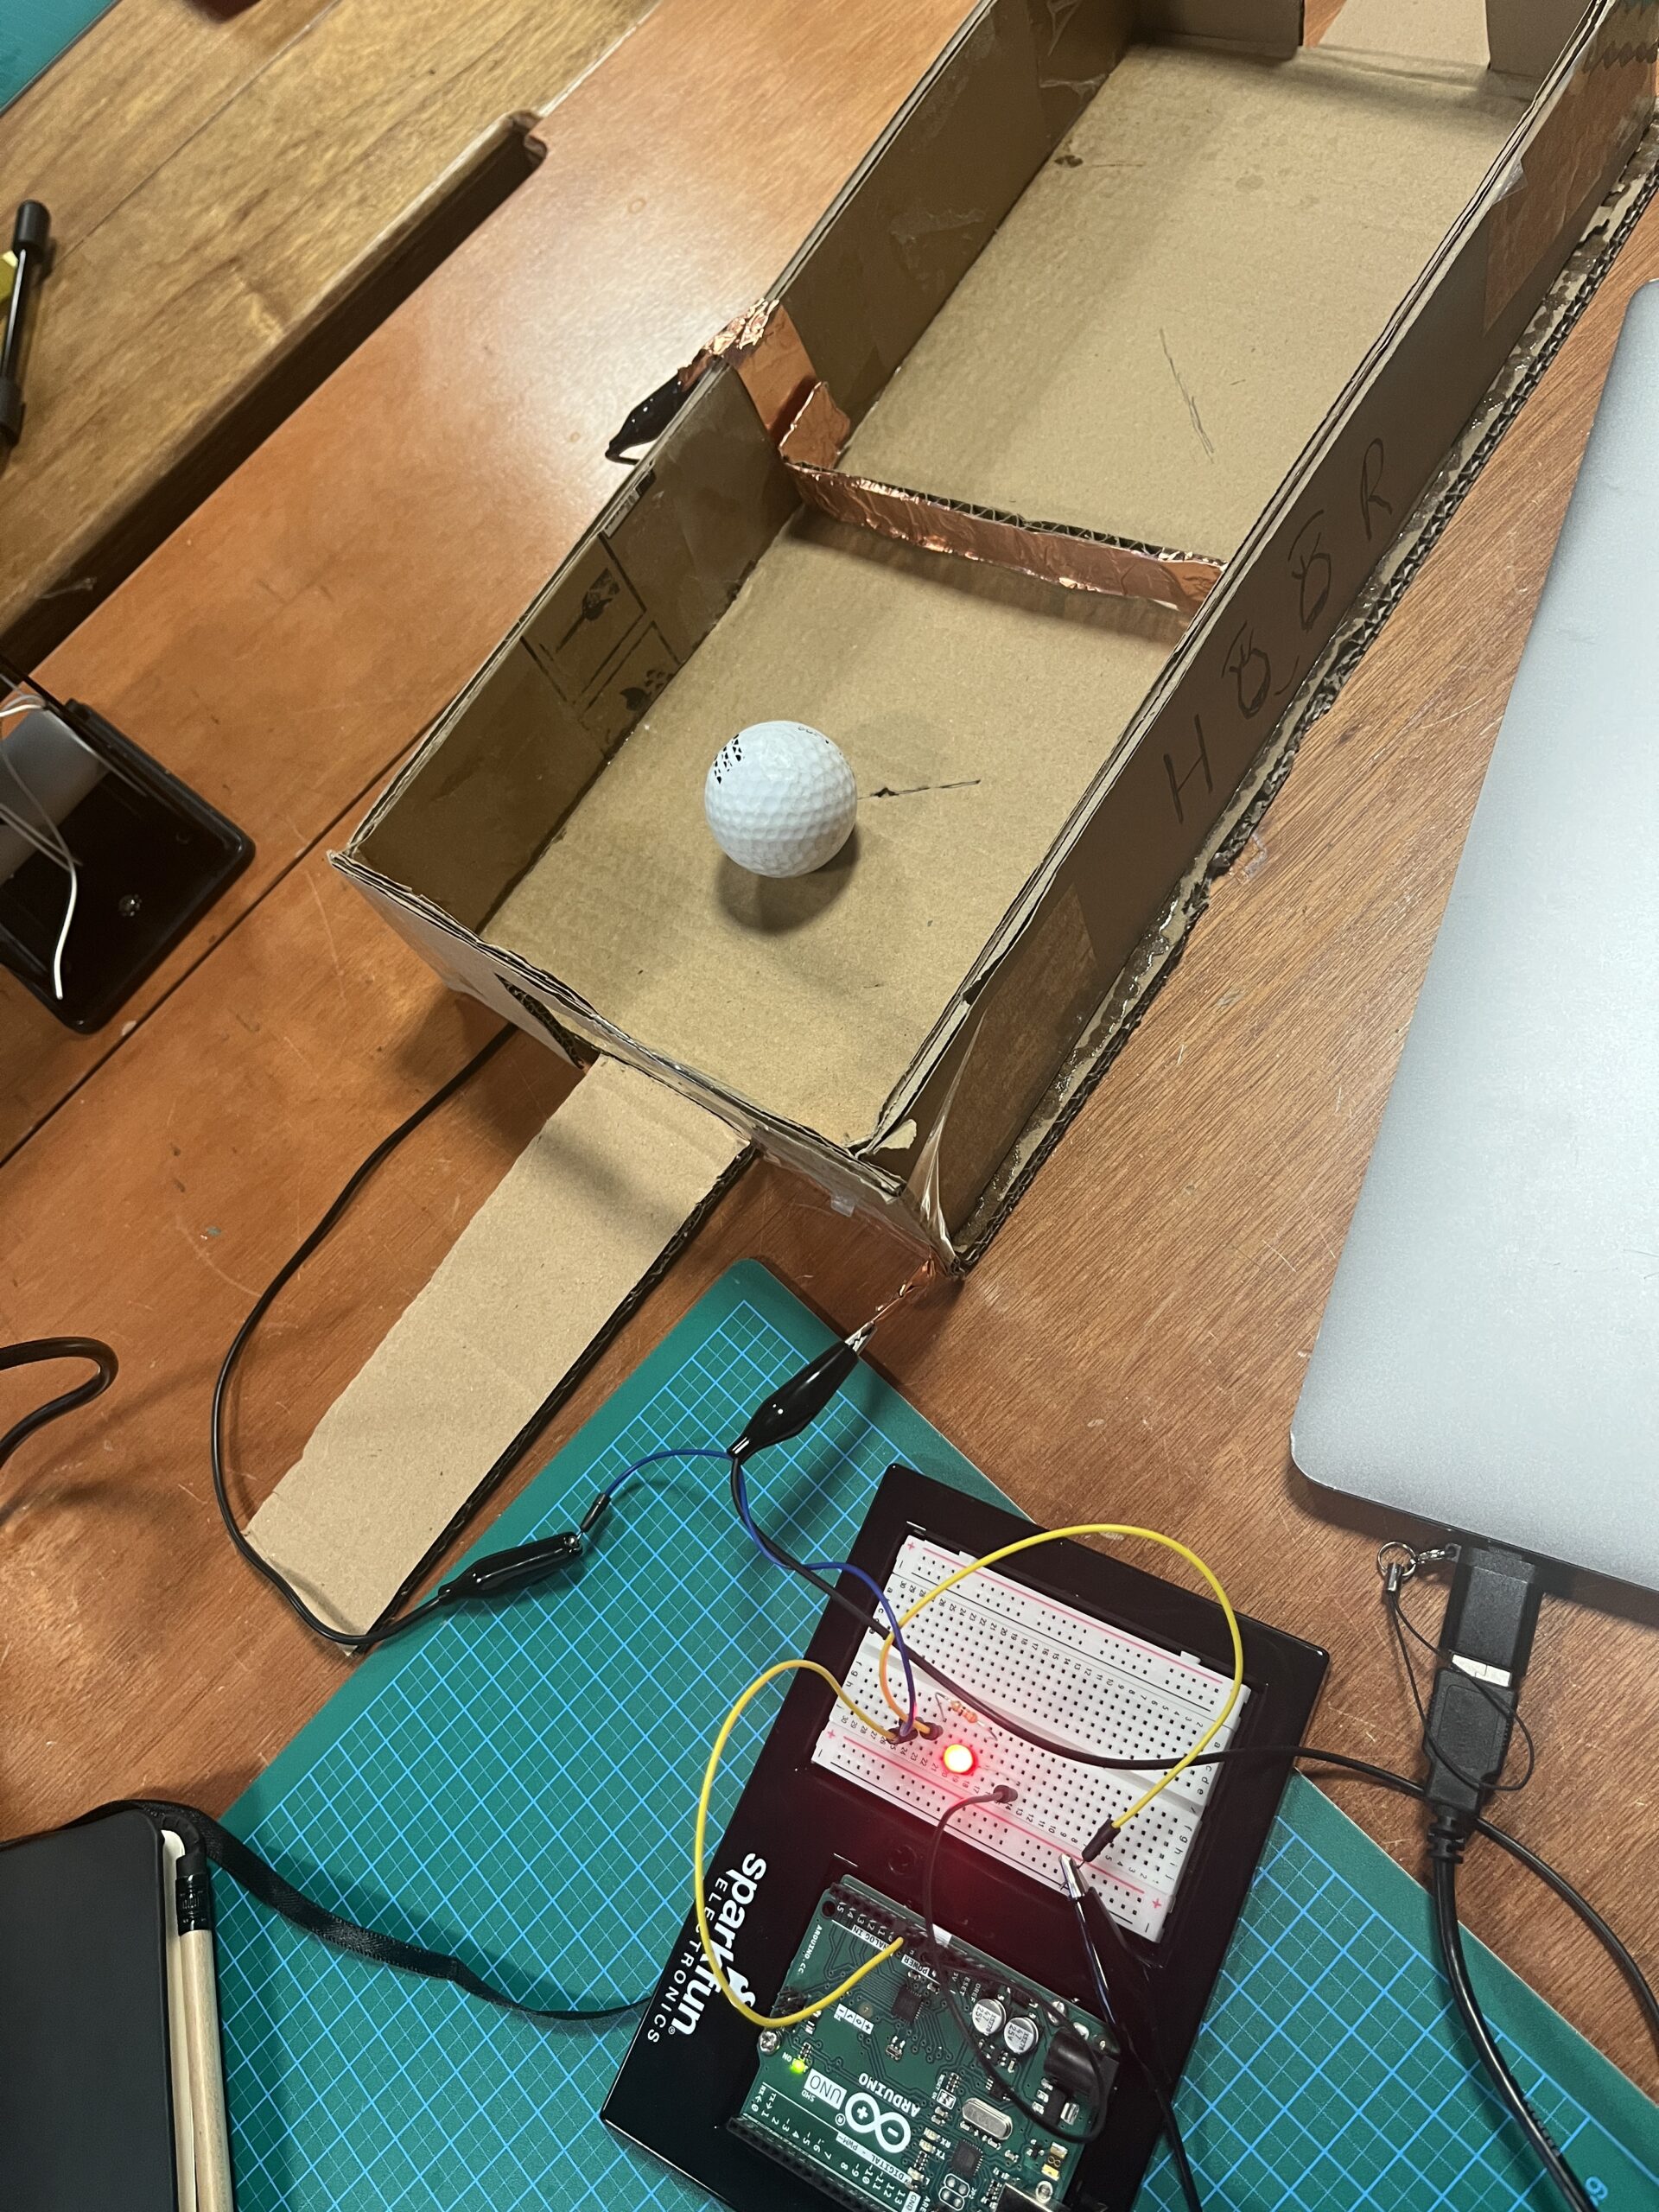
To build this, I created a mini bowling alley out of cardboard. At the center of the alley, there’s a handle wrapped in copper tape. The game starts with the handle tilted at an angle, and each player takes turns rolling a ball, trying to push the handle into the exact center position. When the handle aligns just right, it connects with another piece of copper tape, completing the circuit and lighting up an LED. The first player to do this successfully three times wins the game.
My favorite part of this project was designing the handle mechanism and experimenting with the balance between accuracy and force.
One challenge I faced was adjusting the friction of the handle. At first, it slid way too easily, which made the game too simple and boring. But when I added more resistance, it became too difficult, and no one could win. After asking multiple people to try the game and integrating their feedback I finally reached a state where the game worked as I pictured it at the start and became enjoyable to play.
Things I’d like to improve in the future include adding a digital scoreboard to track each player’s progress and wins. I’d also like to experiment with different materials as cardboard was really hard to work with due to differences in friction between different kinds and cuts of cardboard.
Starting/Losing: 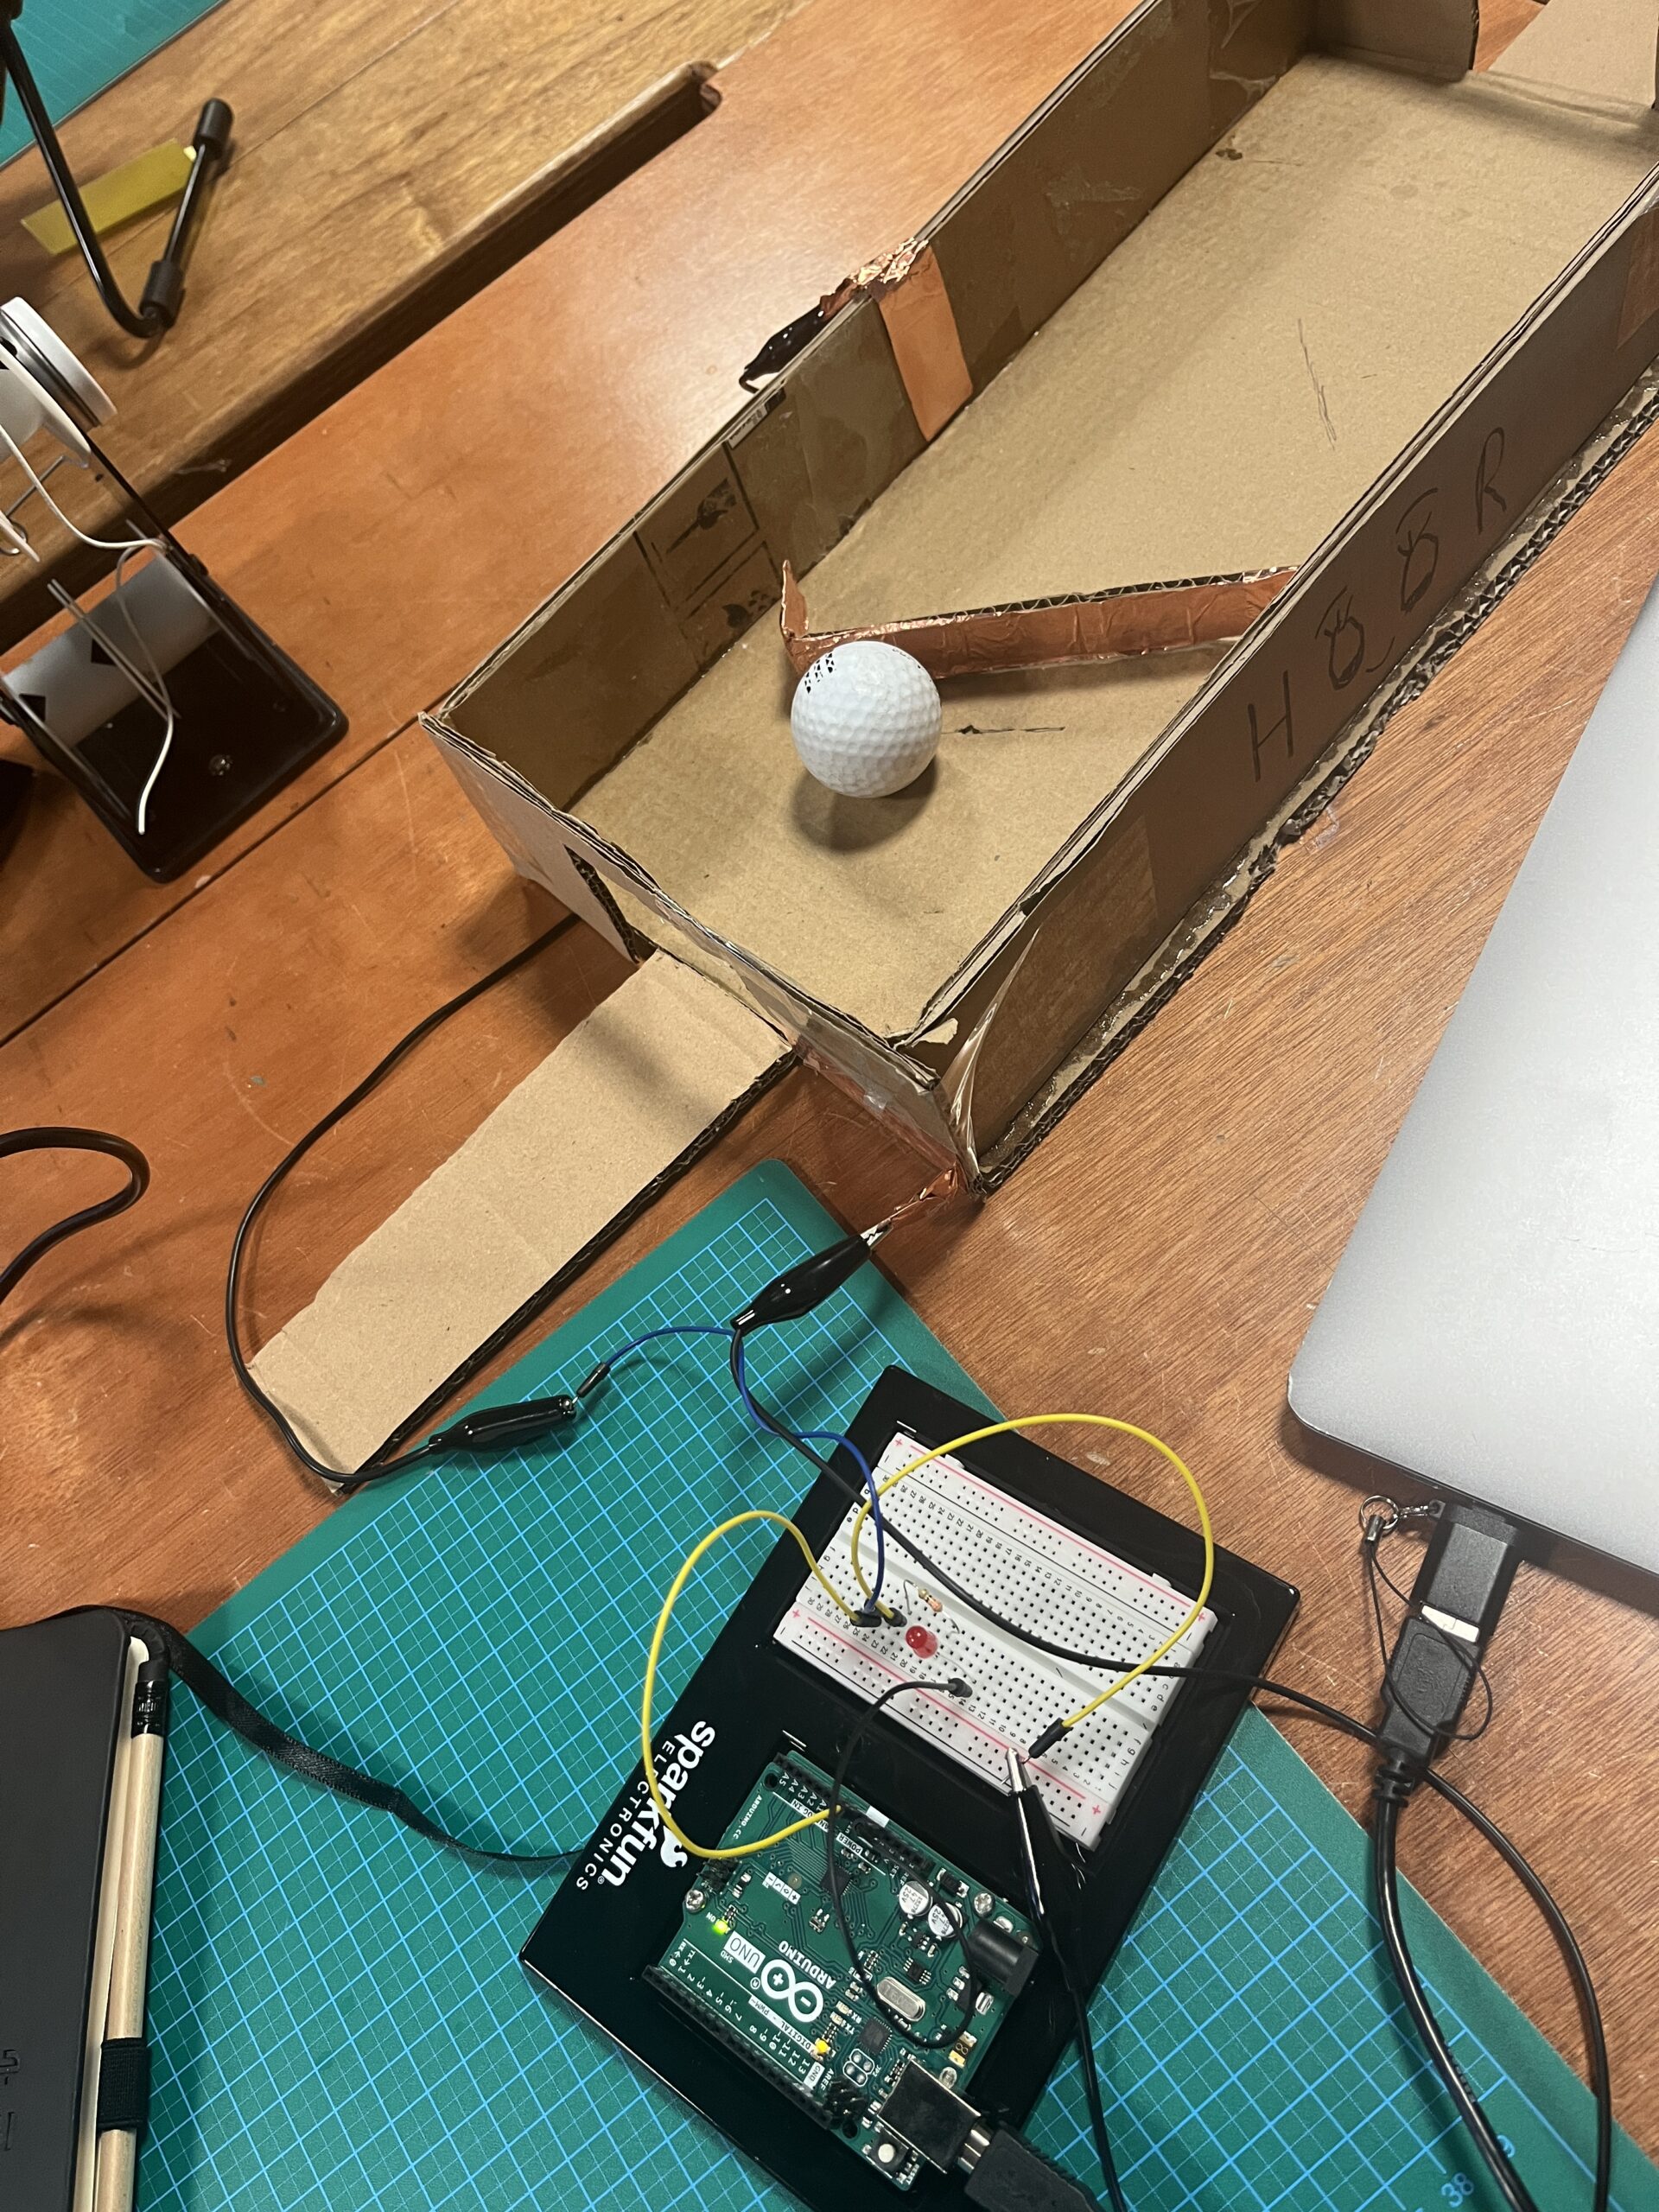
Winning: